Does anyone remember the olden days of electric brewing. I don't know, maybe about 10 years or so ago. There were more reasons to NOT do it than to do it. Funny that all those things have been forgotten. "The element will scorch the wort", "eBrewing is dangerous, water + electricity = bad", "Its' too expensive", "Its' too complicated", etc... In short anyone who did it was pretty much on their own.
Fast forward, Kal and PJ have helped move eBrewing from "underground" into common practice. With Kal's very detailed plans and parts requirements, and PJs professional and safe schematics anyone with a little know how and willingness to learn can build an eBrewing setup.
I spent years brewing with propane, and probably half of those thinking about how cool it would be to have an eBrewery. Putting it all together, and modifying the approaches found on Kals site and these forums took time. Makes you really consider what bells and whistles you want (and can afford), how the safety mechanisms work, what will work in your space, how to handle the electrical, which parts to use, how to neatly assemble everything, etc... The list goes on.
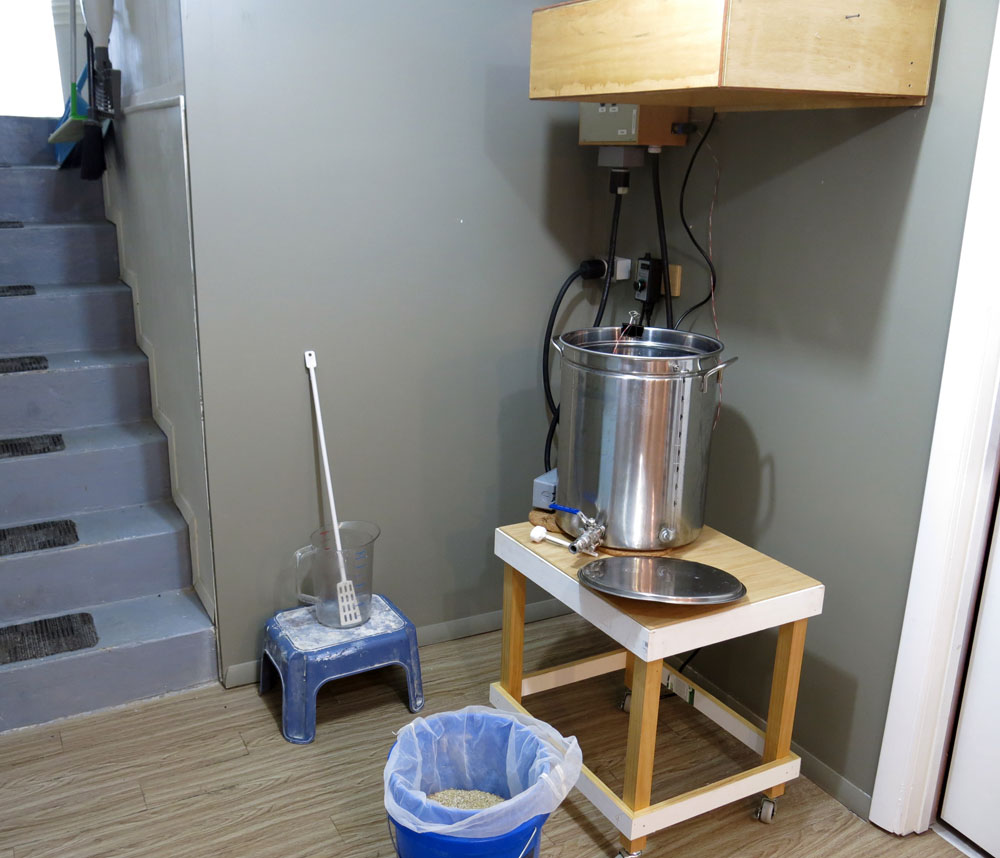
My approach was to work with the space I had, which is about 4' wide and a few feet deep. A 10 guage wire had to be run @15' to my main panel. I debated wiring it myself but decided to use an electrician I knew. I've been BIAB for about a year now so only needed one kettle for both mashing and boiling.
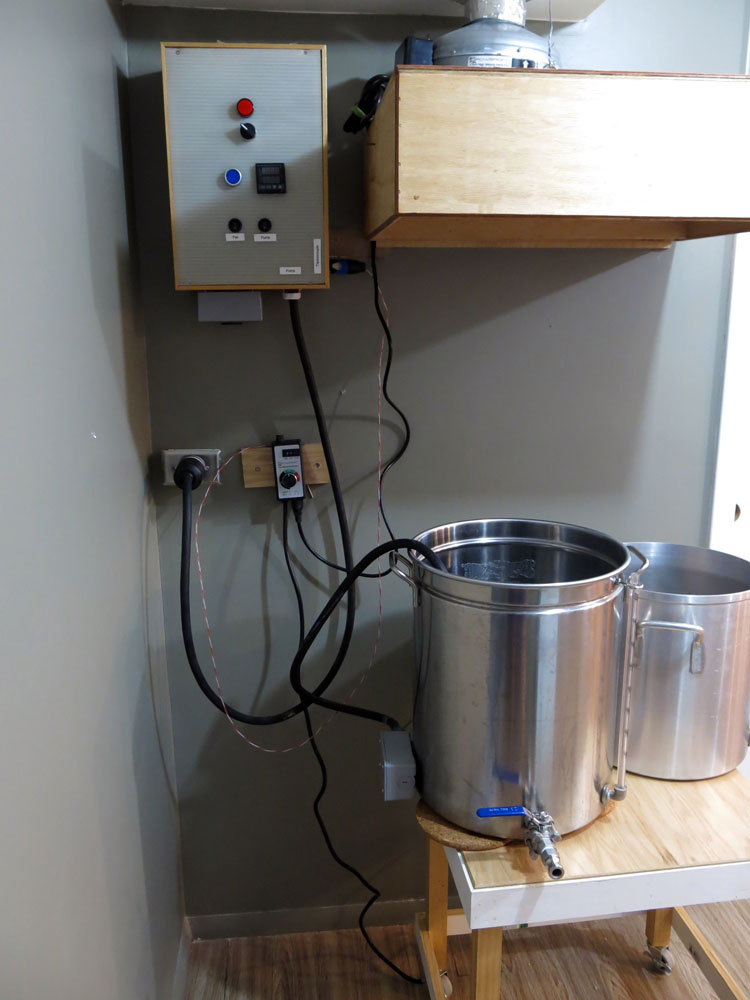
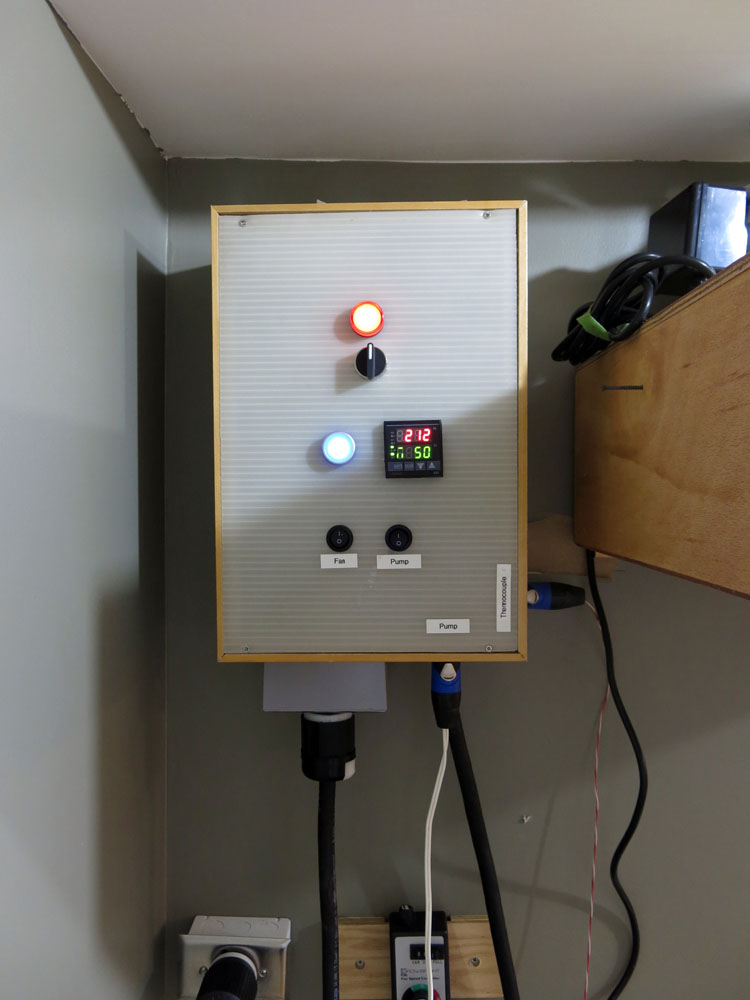
I have the tools and know how to work with wood, so some unconventional things were made with it. My control panel, hood, stand mainly. The panel has a fan, and has never felt hot to the touch. The hood and stand have been sealed with polyurethane. Plus I was able to build in baffles and a water channel into the hood, something hard for me to do with metal.
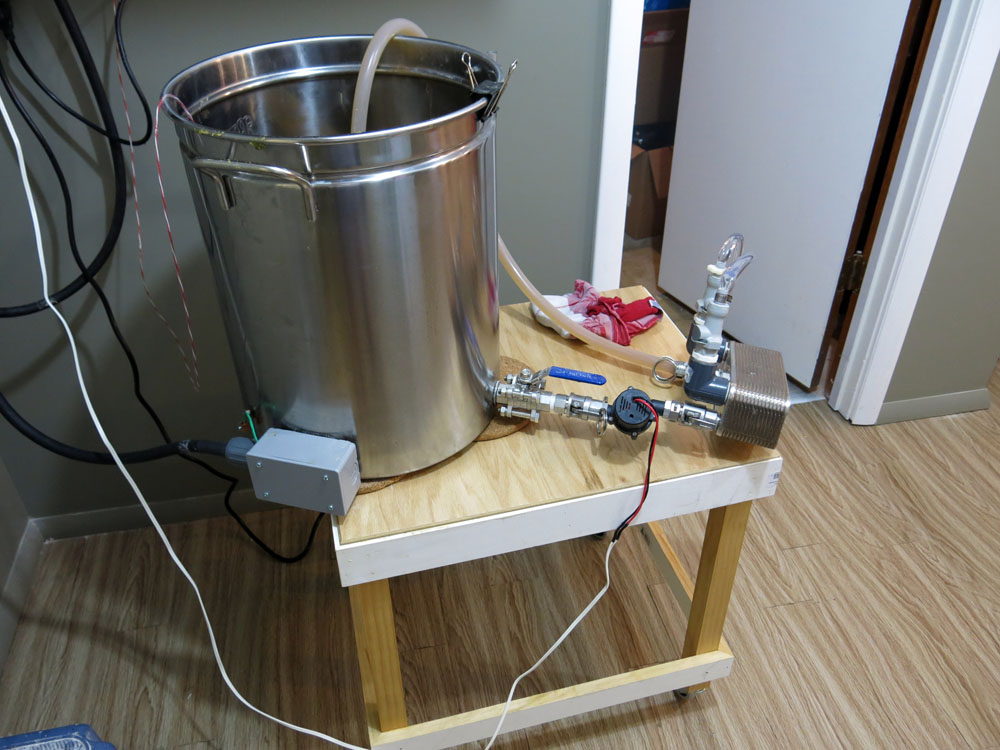
The stand is on wheels. After the mash I wheel it under the pully I have to help lift and hold the bag while it drain for a few minutes. When done I just wheel it back under the hood.
Moving ahead, improvements I need to make include;
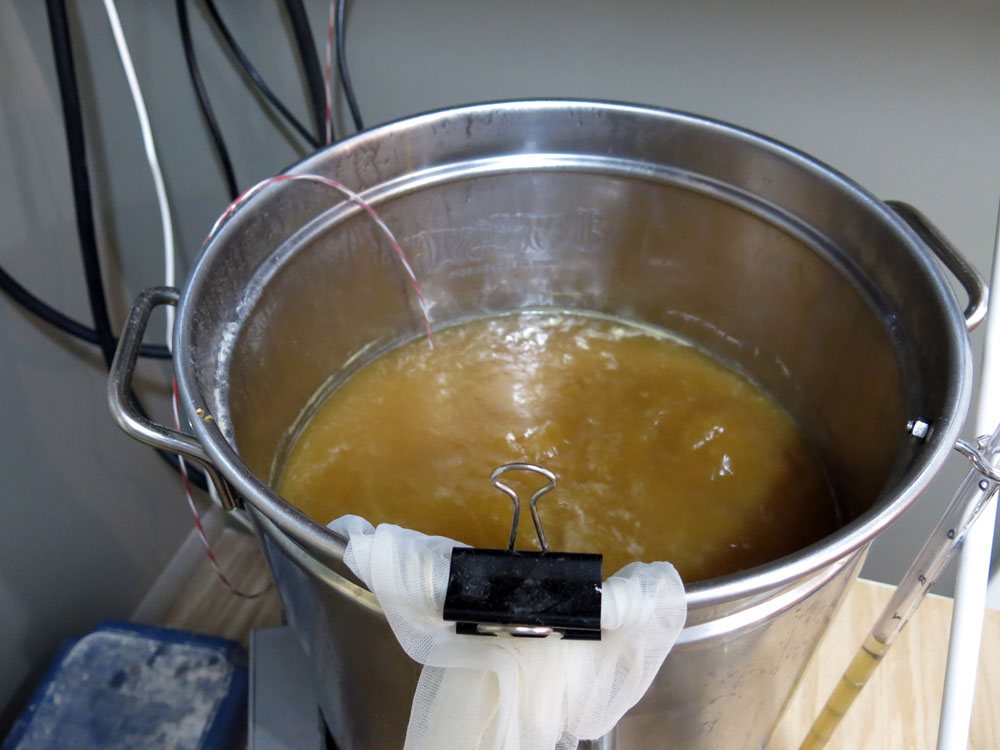
Brewing with electric was a little...scary... at first. But it seems pretty straightforward and safe now, with multiple safety measures. The surprising thing is my brew sessions are shorter. Not sure why exactly. They're also easier, nothing like setting a temp on the pid then walking away to take care of other things, only to come back and find the strike water at the exact temp you need. Nice! What's also nice is the consistant boil. I had an old omega pid, but had to get an Auber (2352) to control the element power. Setting the power output to 50% (that is, half the time on, half off), means I can fine tune to get the perfect amount of boil.
That's about it for now, let me know if you have any questions!
Cheers!
Kevin

Fast forward, Kal and PJ have helped move eBrewing from "underground" into common practice. With Kal's very detailed plans and parts requirements, and PJs professional and safe schematics anyone with a little know how and willingness to learn can build an eBrewing setup.
I spent years brewing with propane, and probably half of those thinking about how cool it would be to have an eBrewery. Putting it all together, and modifying the approaches found on Kals site and these forums took time. Makes you really consider what bells and whistles you want (and can afford), how the safety mechanisms work, what will work in your space, how to handle the electrical, which parts to use, how to neatly assemble everything, etc... The list goes on.
My approach was to work with the space I had, which is about 4' wide and a few feet deep. A 10 guage wire had to be run @15' to my main panel. I debated wiring it myself but decided to use an electrician I knew. I've been BIAB for about a year now so only needed one kettle for both mashing and boiling.
I have the tools and know how to work with wood, so some unconventional things were made with it. My control panel, hood, stand mainly. The panel has a fan, and has never felt hot to the touch. The hood and stand have been sealed with polyurethane. Plus I was able to build in baffles and a water channel into the hood, something hard for me to do with metal.
The stand is on wheels. After the mash I wheel it under the pully I have to help lift and hold the bag while it drain for a few minutes. When done I just wheel it back under the hood.
Moving ahead, improvements I need to make include;
- Tidying up the wires, somehow
- A separate mash bucket, with holes on the bottom, to let the poly bag drain. I can also pour cold water over the bag and squeeze any remaining wort out.
- A better way to insulate the kettle to hold mash temps. It has no insulation and all I do is put a metal lid on top to prevent too much heat from leaking. I'll probably apply some of that silver insulation with metal tape. Not sure how much it will help though.
- Update/improve the labeling on the control panel
- Not shown here, but a new hopper for my crank n stein, one that holds a full ~10lbs of grain.
- Anything else that comes up. Maybe some shelving, a built in water line for filling the kettle in place, who knows. Its the little tweaks that make a difference.
Brewing with electric was a little...scary... at first. But it seems pretty straightforward and safe now, with multiple safety measures. The surprising thing is my brew sessions are shorter. Not sure why exactly. They're also easier, nothing like setting a temp on the pid then walking away to take care of other things, only to come back and find the strike water at the exact temp you need. Nice! What's also nice is the consistant boil. I had an old omega pid, but had to get an Auber (2352) to control the element power. Setting the power output to 50% (that is, half the time on, half off), means I can fine tune to get the perfect amount of boil.
That's about it for now, let me know if you have any questions!
Cheers!
Kevin


