
adam25560
New Member
- Joined
- Mar 5, 2015
- Messages
- 4
- Reaction score
- 2
Built this over the weekend with lots of help from the knowledge in these forums, thanks everyone.
Overall an easy build and most importantly a fun build.
 Started with the Igloo 4.6 cu. ft. refrigerator, bought it from Wal-mart and didn't have any issues with it out of the box.
http://www.walmart.com/ip/Igloo-4.6-cu.-ft.-Refrigerator-and-Freezer-Black-FR464/15162430
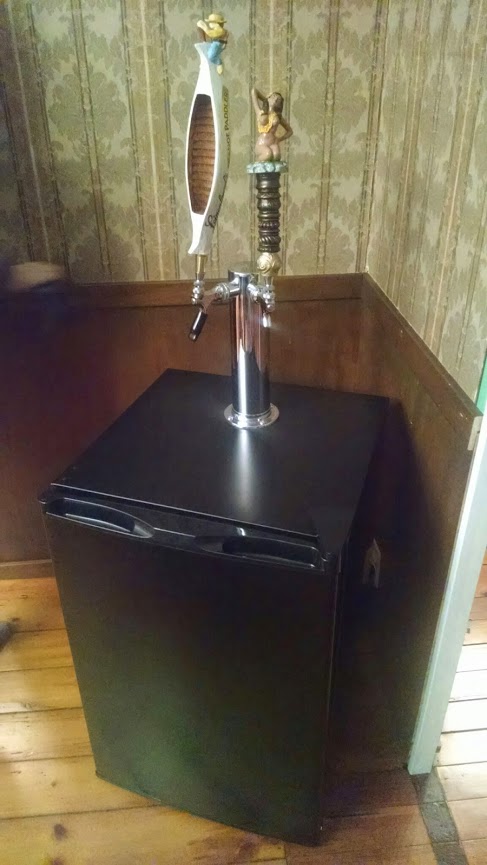
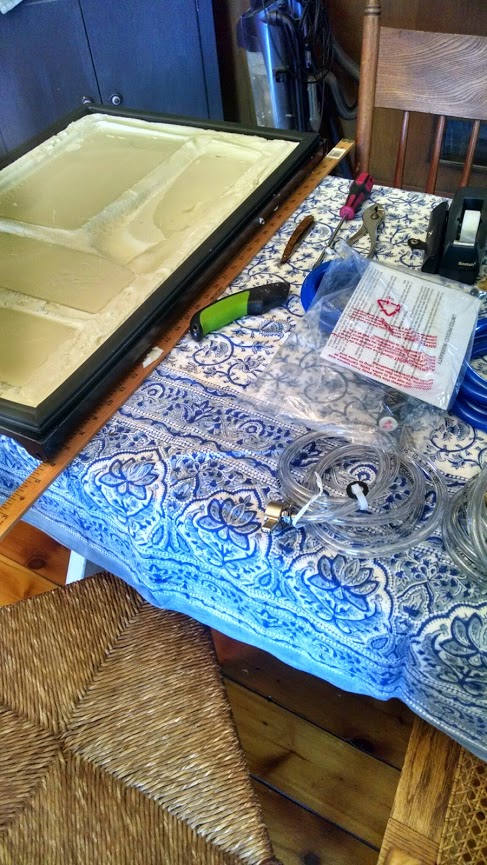
Gutted all the shelves out of the fridge and door. This model did not have screws holding the door shelves onto the door, so we had to cut the shelves out with a razor. A bit time consuming, and I'd recommend using a coping saw blade or something similar, and leather gloves, to cut away the excess foam. We then got a piece of finished aluminum to cover the door up(seen in finished pic).
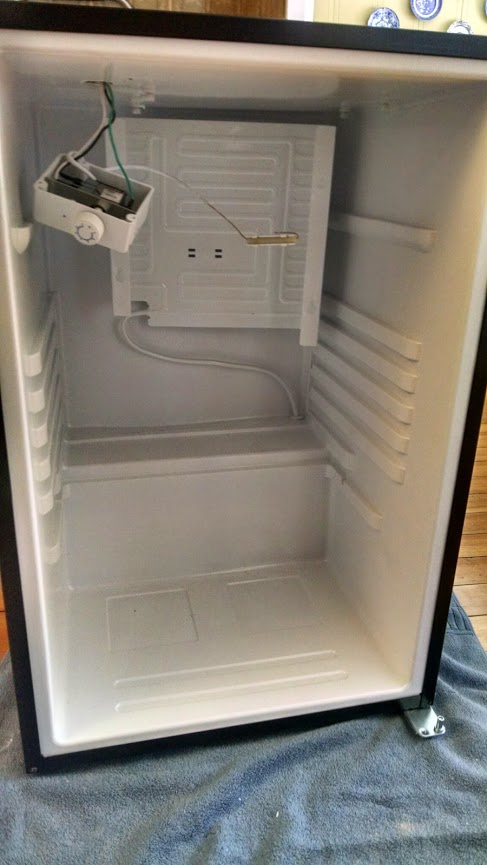
With the door done we started the serious work inside the fridge. Moving the freezer shelf to the back wasn't too bad, the coolant line is fairly flexible and I was able to gently bend it as needed with just my hands and a little patience. Removed the temperature probe from its designated spot, and now we just have it hanging off the back of the shelf. So far this is working.
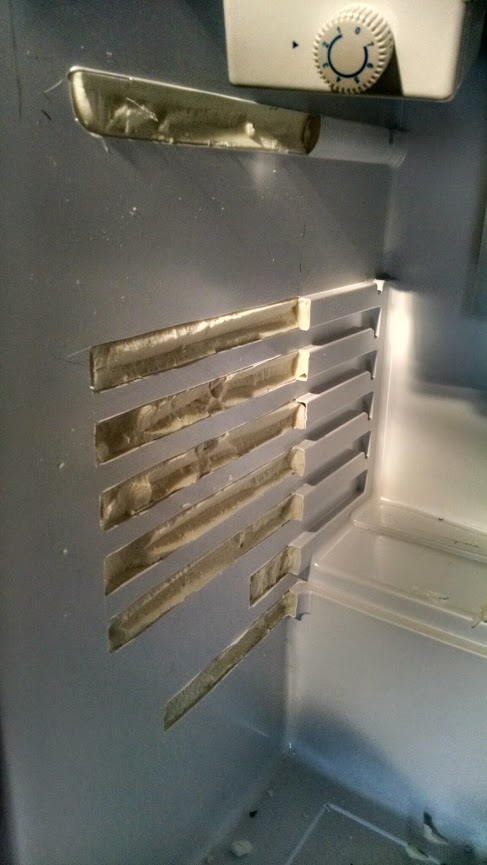
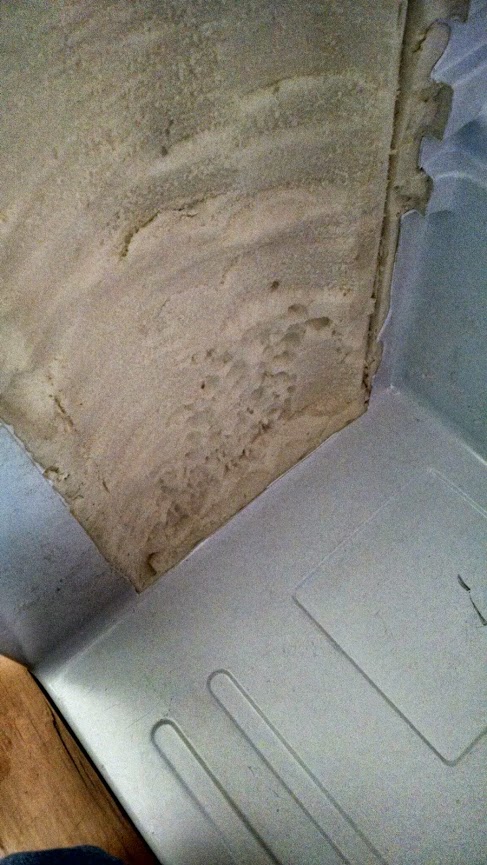
The next trick was to make room for two 1/6 barrels and the CO2. This required some more foam sculpting. Using a razor blade again to remove the plastic where needed, and the coping saw blade and a pocket knife to shave away the foam. I took my time and used caution for any type of lines in the walls but never came across any. I carved 3/4 at the deepest point on both the left and right side walls. I did not need to carve any foam from the rear wall/shelf area.
Then it was time for what I had been putting off as long as possible, the hole drilling. After hours of research trying to find if there were any lines to be concerned about, and not finding much, but did find some good techniques. We just put out tower on the top and pick the hole location based on what looked good to us. Turned out to be 13" from the front to hole center.
We started by drilling the inside just enough to remove the plastic, and sure enough we hit something.
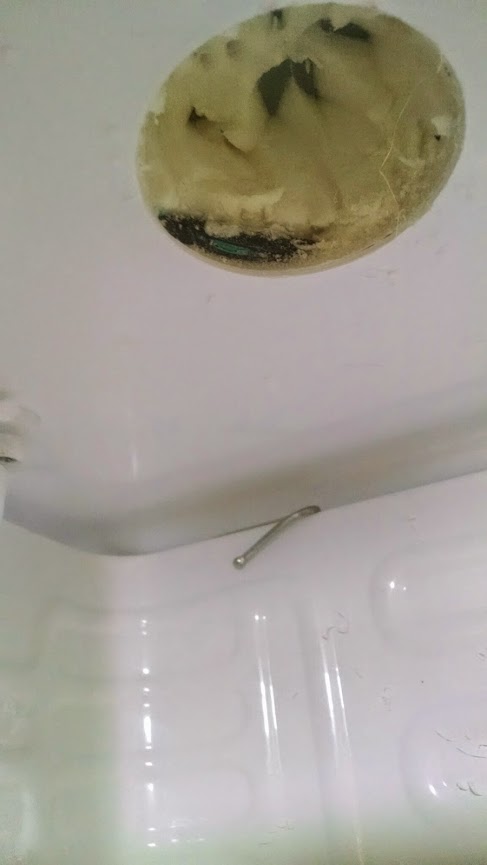 Luckily it turned out to be just the wires going from the rear of the fridge to the temp control unit. No harm done. Carved away more foam with the pocket knife until we hit the top of the fridge, then drilled again from the top down to make sure everything was nice and centered.
Assembled the tower and connected the hoses then screwed on the tower to the fridge. With that done we put together the rest of the tapping equipment and CO2 fittings.
In perhaps our wisest decision we had two 1/6 barrels outside on the porch ready for tapping. With the CO2 on the rear shelf, and two 1/6 barrels in front it is a very snug fit inside.


Some other random notes, you can see the temperature probe in of the pictures just hanging there, that hasn't been an issue so far. Also the temperature control unit you can see has been unscrewed and as of now is just sitting on top of one of the kegs until we find a better spot to secure it. Temperature control itself is a bit tricky, but after a few days we have found that setting the dial to about 0.5, or turn it off (0), then slowly turn the dial until it clicks and you can hear the unit start to run, keeps the inside temp approx 36*. Also we ran some copper tubing into the tower for the beer lines to help with temp control, seems to help, we have had good initial pours. Installed a super fancy Pyrex casserole tray as our drip pan.
I hope this helps some people that are considering making one or using this model fridge, best of luck!
Overall an easy build and most importantly a fun build.
http://www.walmart.com/ip/Igloo-4.6-cu.-ft.-Refrigerator-and-Freezer-Black-FR464/15162430
Gutted all the shelves out of the fridge and door. This model did not have screws holding the door shelves onto the door, so we had to cut the shelves out with a razor. A bit time consuming, and I'd recommend using a coping saw blade or something similar, and leather gloves, to cut away the excess foam. We then got a piece of finished aluminum to cover the door up(seen in finished pic).
With the door done we started the serious work inside the fridge. Moving the freezer shelf to the back wasn't too bad, the coolant line is fairly flexible and I was able to gently bend it as needed with just my hands and a little patience. Removed the temperature probe from its designated spot, and now we just have it hanging off the back of the shelf. So far this is working.
The next trick was to make room for two 1/6 barrels and the CO2. This required some more foam sculpting. Using a razor blade again to remove the plastic where needed, and the coping saw blade and a pocket knife to shave away the foam. I took my time and used caution for any type of lines in the walls but never came across any. I carved 3/4 at the deepest point on both the left and right side walls. I did not need to carve any foam from the rear wall/shelf area.
Then it was time for what I had been putting off as long as possible, the hole drilling. After hours of research trying to find if there were any lines to be concerned about, and not finding much, but did find some good techniques. We just put out tower on the top and pick the hole location based on what looked good to us. Turned out to be 13" from the front to hole center.
We started by drilling the inside just enough to remove the plastic, and sure enough we hit something.
Assembled the tower and connected the hoses then screwed on the tower to the fridge. With that done we put together the rest of the tapping equipment and CO2 fittings.
In perhaps our wisest decision we had two 1/6 barrels outside on the porch ready for tapping. With the CO2 on the rear shelf, and two 1/6 barrels in front it is a very snug fit inside.
Some other random notes, you can see the temperature probe in of the pictures just hanging there, that hasn't been an issue so far. Also the temperature control unit you can see has been unscrewed and as of now is just sitting on top of one of the kegs until we find a better spot to secure it. Temperature control itself is a bit tricky, but after a few days we have found that setting the dial to about 0.5, or turn it off (0), then slowly turn the dial until it clicks and you can hear the unit start to run, keeps the inside temp approx 36*. Also we ran some copper tubing into the tower for the beer lines to help with temp control, seems to help, we have had good initial pours. Installed a super fancy Pyrex casserole tray as our drip pan.
I hope this helps some people that are considering making one or using this model fridge, best of luck!
