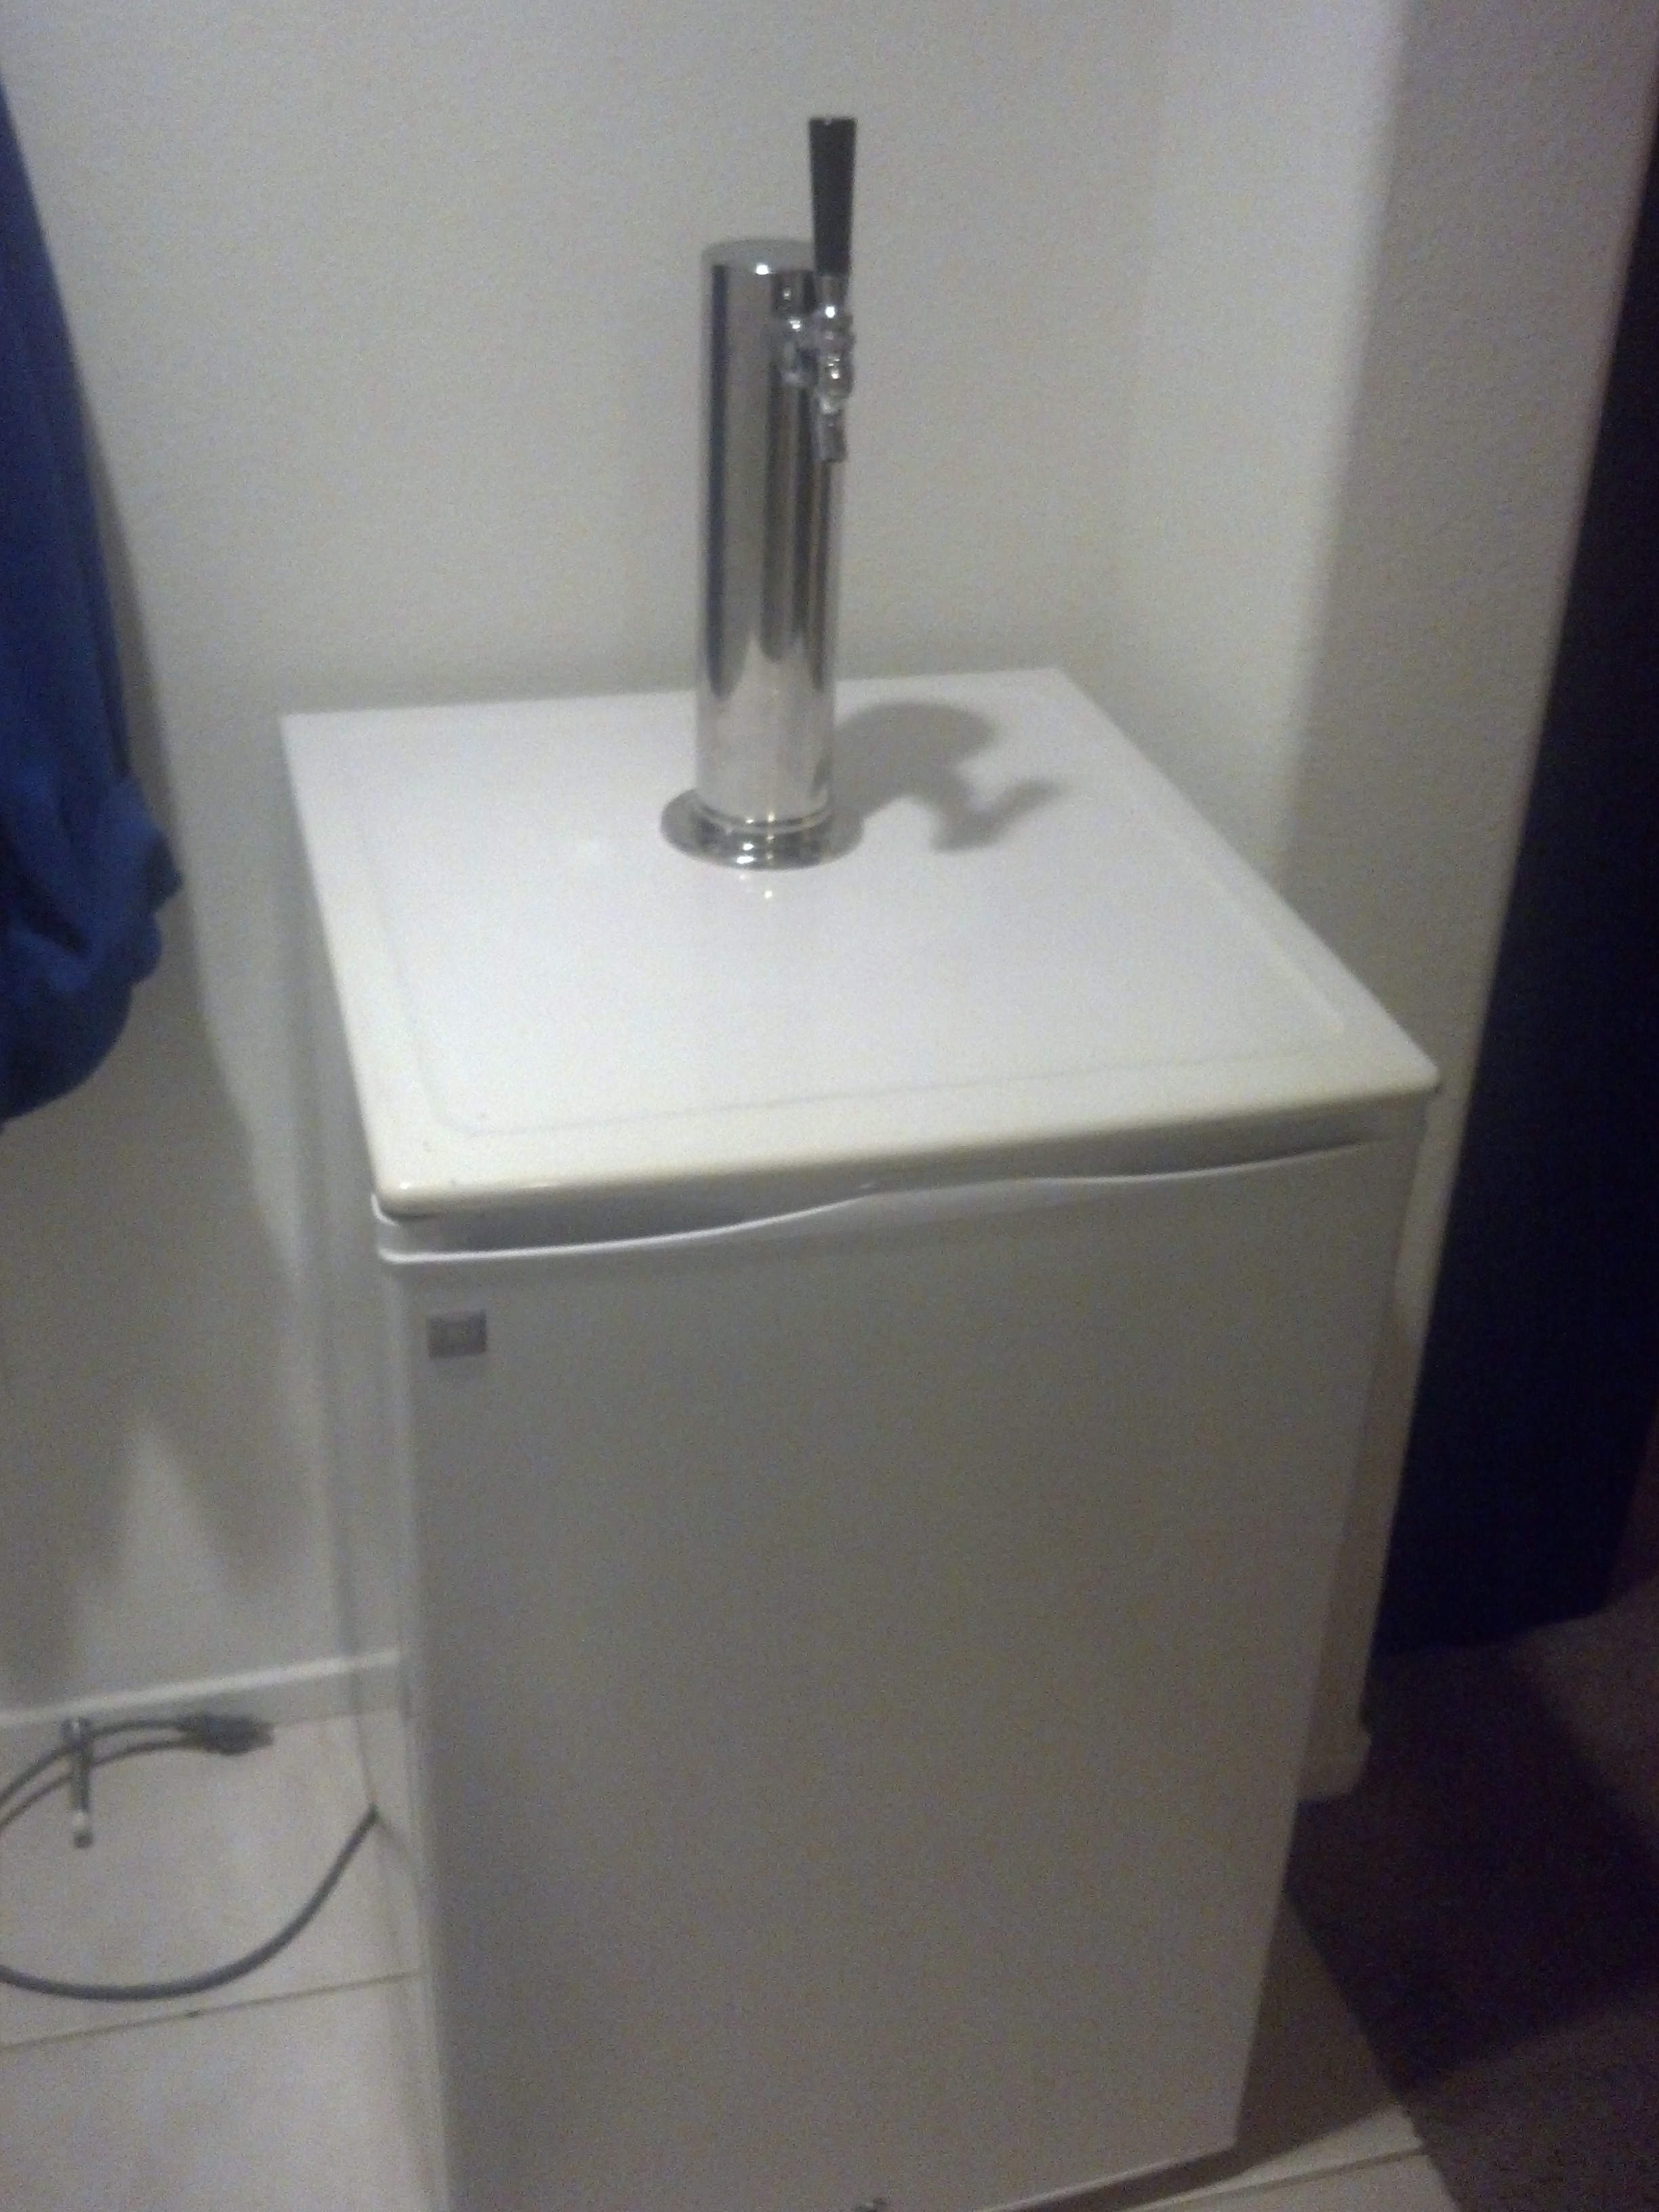
I managed to get a hold of a GE® 4.3 Cu. Ft. Compact Refrigerator
(SMR04DAMWW) for free, so I thought I'd turn it into my very first kegerator.
I searched high and low for a guide for converting this particular model and, aside from hedbutter's guide (found here), there was little to no documentation for doing it.
I blundered ahead anyhow, and figured I'd document my steps as I went, so anyone who decided to do it in the future would have an additional reference.
OVERVIEW
Here's the specs posted on the back of the fridge:

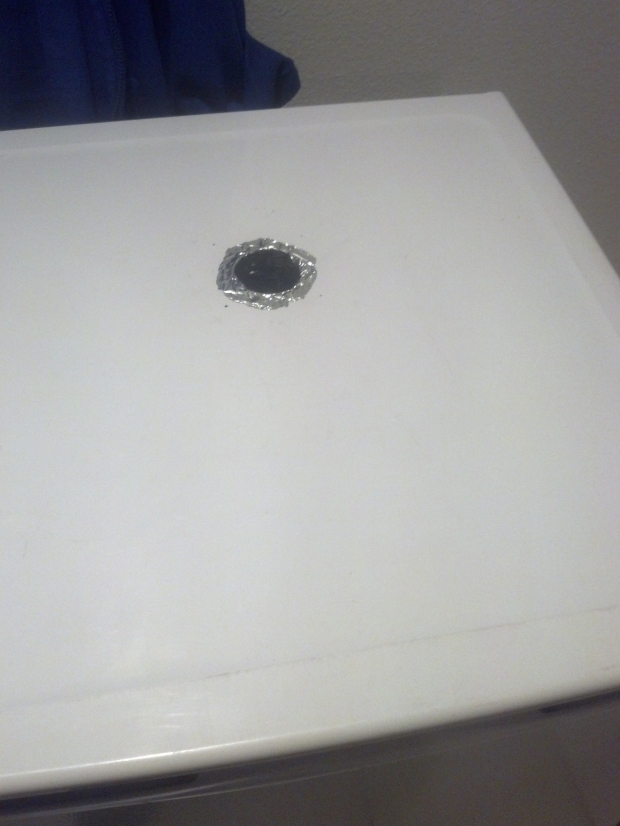
Because I'm paranoid, I ran the fridge for a while and checked for hot spots on the top before drilling, just to make sure the coolant lines are where they say they are. The one on top is about 4" from the front door. From there on back, you're free to go nuts.
Steps 1-4

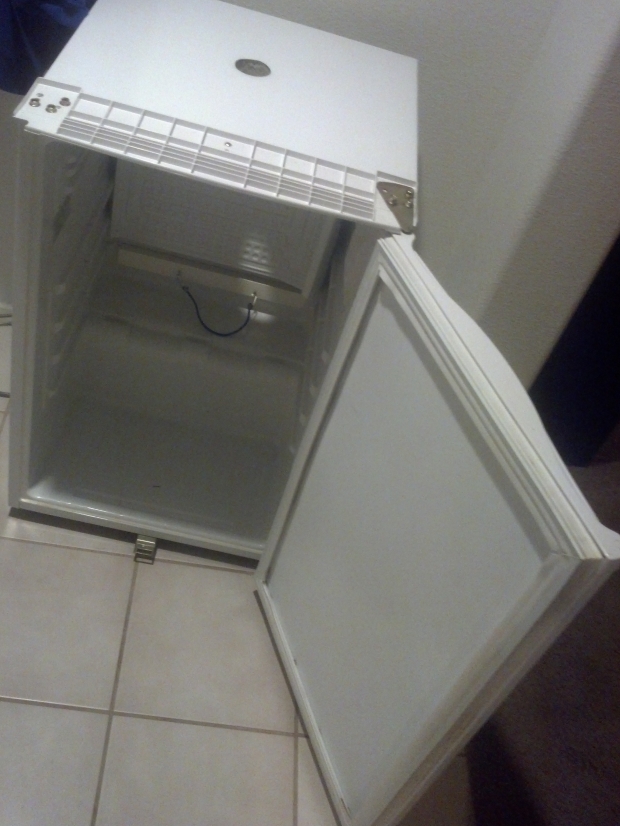
1. Remove the top (two screws in the back) and the door. There are three bolts holding it in that you can get to only after taking off the top.
2. Remove the inside door panel (see below photo).
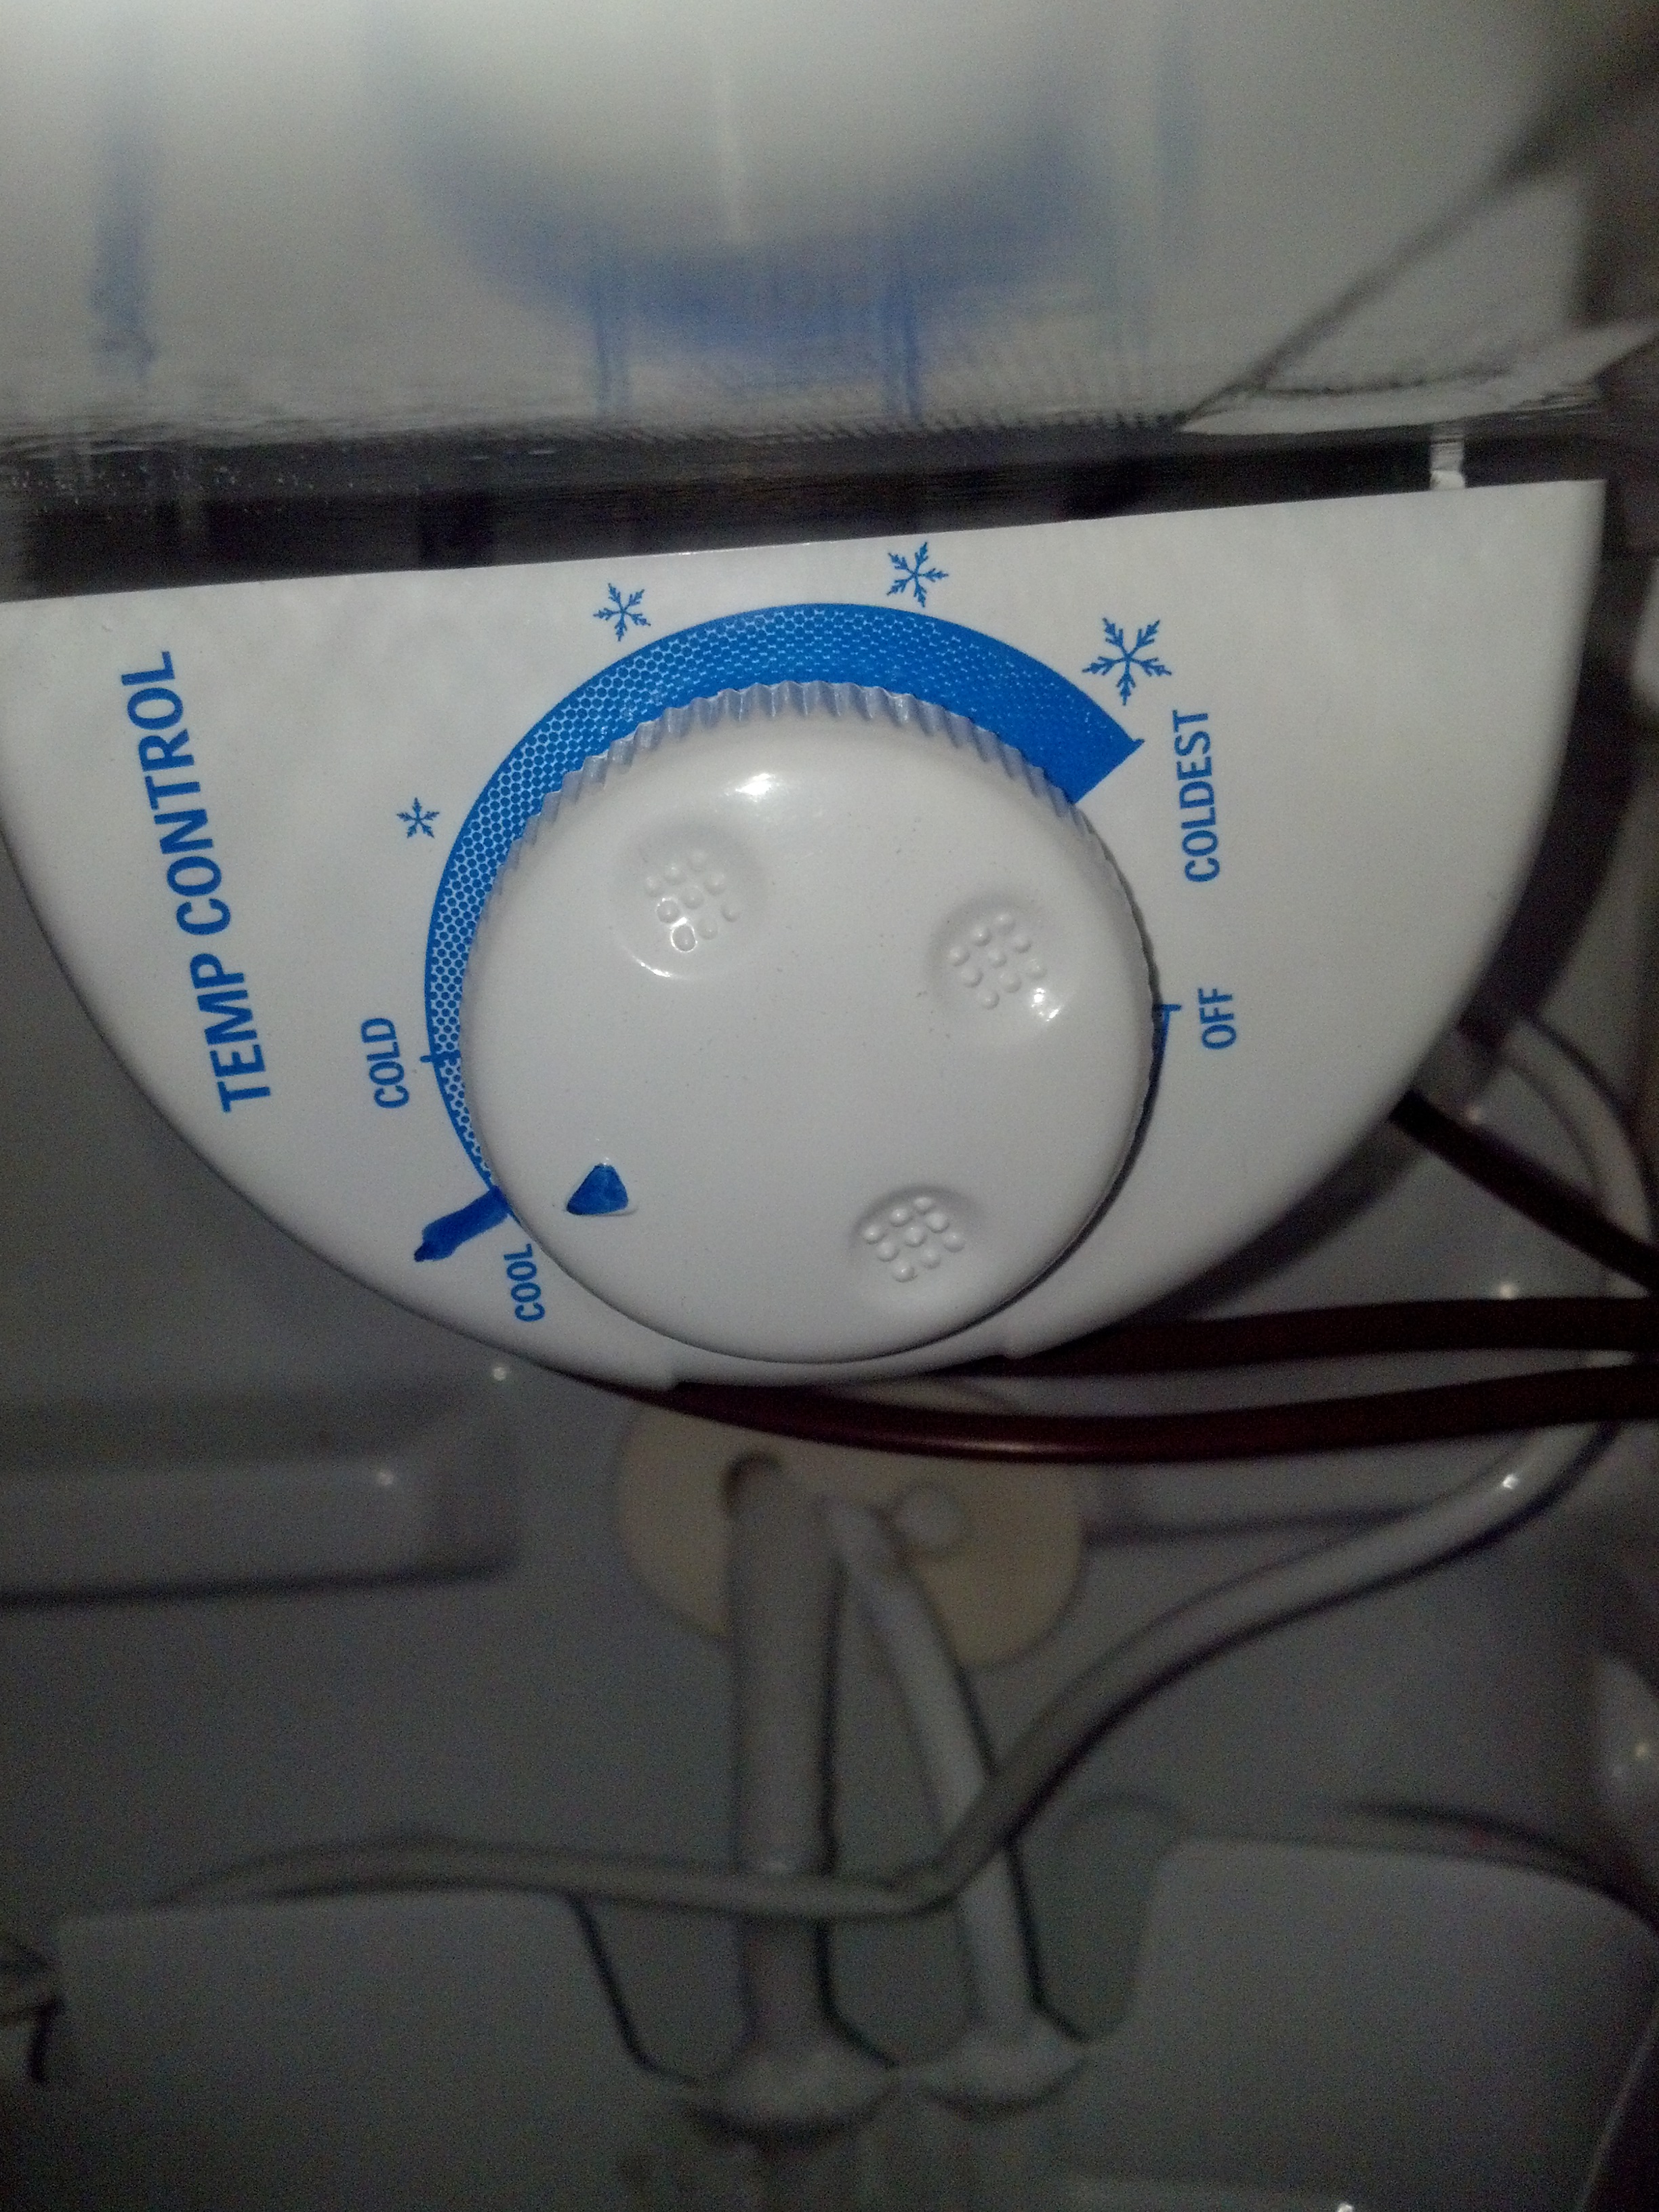
3. Unscrew the thermostat. It will need to be moved.
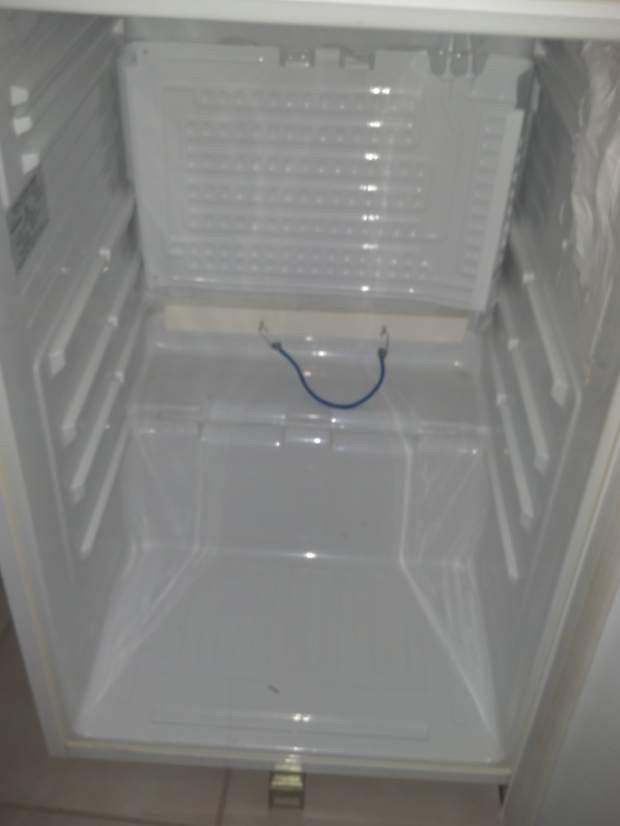
4. Bend the freezer plate down.
On bending the freezer plate down...
Take a moment to prepare yourself for this step, because -- not to freak you out -- if you mess this up, the entire fridge is junk. Make sure the fridge has been off for a good, long while. If not hours, days. Pop the freezer tray out from the plastic bits holding it inside the fridge by bending the right tray side inward (you can see how it is curved inward slightly in the above photo). If you don't do this, you won't clear that plastic bulge. Also, remove the thermostat's probe from the ridges holding it against the freezer plate.
Now... take a breath and begin to bend. SLOWLY. I put the fingers of one hand under the tube that protruded from the back of the fridge and the other palm down in the center of the freezer plate. I gently, slowly and firmly pressed down on the plate while pushing up on the tube so that it would curve around my fingers. I paused often to make sure I didn't get excited or overzealous. I also had a brew to calm down. Then I finished and all was well. It ended up being almost perfectly curved.

To remove the inside door panel you need to fold back the magnetic seal to get to the screws beneath.
Steps 5-6
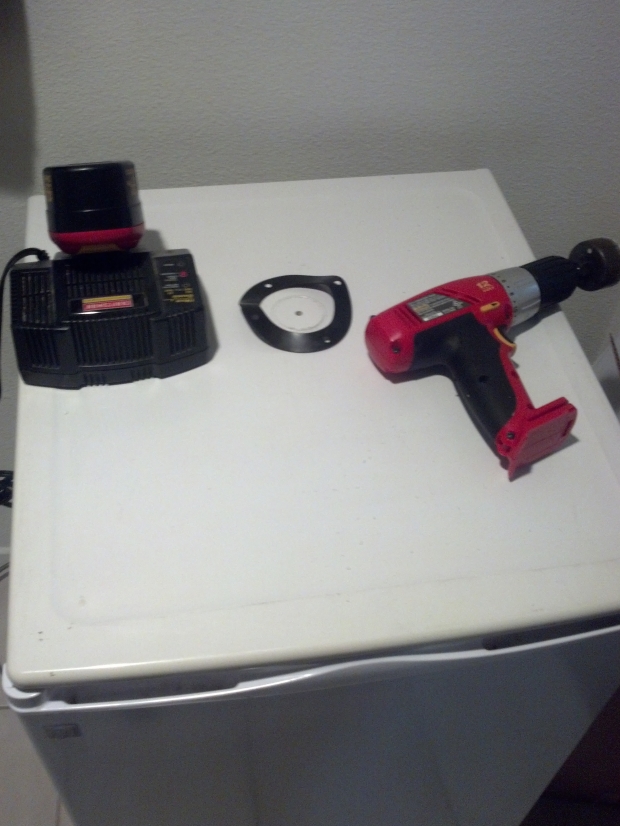
5. Extend the wires for the thermostat. I added male and female connectors to 3 -18 AWG thermostat wire and just plugged them in to the existing connections. I couldn't find connectors that were at a 90 degree angle (like the ones that fit inside the thermostat housing) so I just grooved the plastic so the wire could easily pop out the sides. I dd this with the cordless drill.

6. Mount the thermostat to the top right (rear) corner. No coolant lines here, so it's the perfect spot. I used the same screws and it was close enough to tuck the thermostat probe back into the same grooves I pulled it from off the freezer plate. As you can see, I also taped the hell out of the wire to plug the exposed hole and keep the wires in place.

(SMR04DAMWW) for free, so I thought I'd turn it into my very first kegerator.
I searched high and low for a guide for converting this particular model and, aside from hedbutter's guide (found here), there was little to no documentation for doing it.
I blundered ahead anyhow, and figured I'd document my steps as I went, so anyone who decided to do it in the future would have an additional reference.
OVERVIEW
- All said and done, the build ran about $250ish, after having acquired the fridge for free. You can probably do it cheaper, if you know what parts you need and can buy ala carte. But I didn't. $188+ of this was this kegerator kit from Beverage Factory.
- I am by no means handy. I did this with a basic tool kit and a cordless drill. The one thing I did borrow was the hole saw.
- This fridge will fit 2 BALL LOCK kegs and a 5# CO2 tank. Pin locks are too wide and will not fit two side by side.
Here's the specs posted on the back of the fridge:
Because I'm paranoid, I ran the fridge for a while and checked for hot spots on the top before drilling, just to make sure the coolant lines are where they say they are. The one on top is about 4" from the front door. From there on back, you're free to go nuts.
Steps 1-4
1. Remove the top (two screws in the back) and the door. There are three bolts holding it in that you can get to only after taking off the top.
2. Remove the inside door panel (see below photo).
3. Unscrew the thermostat. It will need to be moved.
4. Bend the freezer plate down.
On bending the freezer plate down...
Take a moment to prepare yourself for this step, because -- not to freak you out -- if you mess this up, the entire fridge is junk. Make sure the fridge has been off for a good, long while. If not hours, days. Pop the freezer tray out from the plastic bits holding it inside the fridge by bending the right tray side inward (you can see how it is curved inward slightly in the above photo). If you don't do this, you won't clear that plastic bulge. Also, remove the thermostat's probe from the ridges holding it against the freezer plate.
Now... take a breath and begin to bend. SLOWLY. I put the fingers of one hand under the tube that protruded from the back of the fridge and the other palm down in the center of the freezer plate. I gently, slowly and firmly pressed down on the plate while pushing up on the tube so that it would curve around my fingers. I paused often to make sure I didn't get excited or overzealous. I also had a brew to calm down. Then I finished and all was well. It ended up being almost perfectly curved.
To remove the inside door panel you need to fold back the magnetic seal to get to the screws beneath.
Steps 5-6
5. Extend the wires for the thermostat. I added male and female connectors to 3 -18 AWG thermostat wire and just plugged them in to the existing connections. I couldn't find connectors that were at a 90 degree angle (like the ones that fit inside the thermostat housing) so I just grooved the plastic so the wire could easily pop out the sides. I dd this with the cordless drill.
6. Mount the thermostat to the top right (rear) corner. No coolant lines here, so it's the perfect spot. I used the same screws and it was close enough to tuck the thermostat probe back into the same grooves I pulled it from off the freezer plate. As you can see, I also taped the hell out of the wire to plug the exposed hole and keep the wires in place.