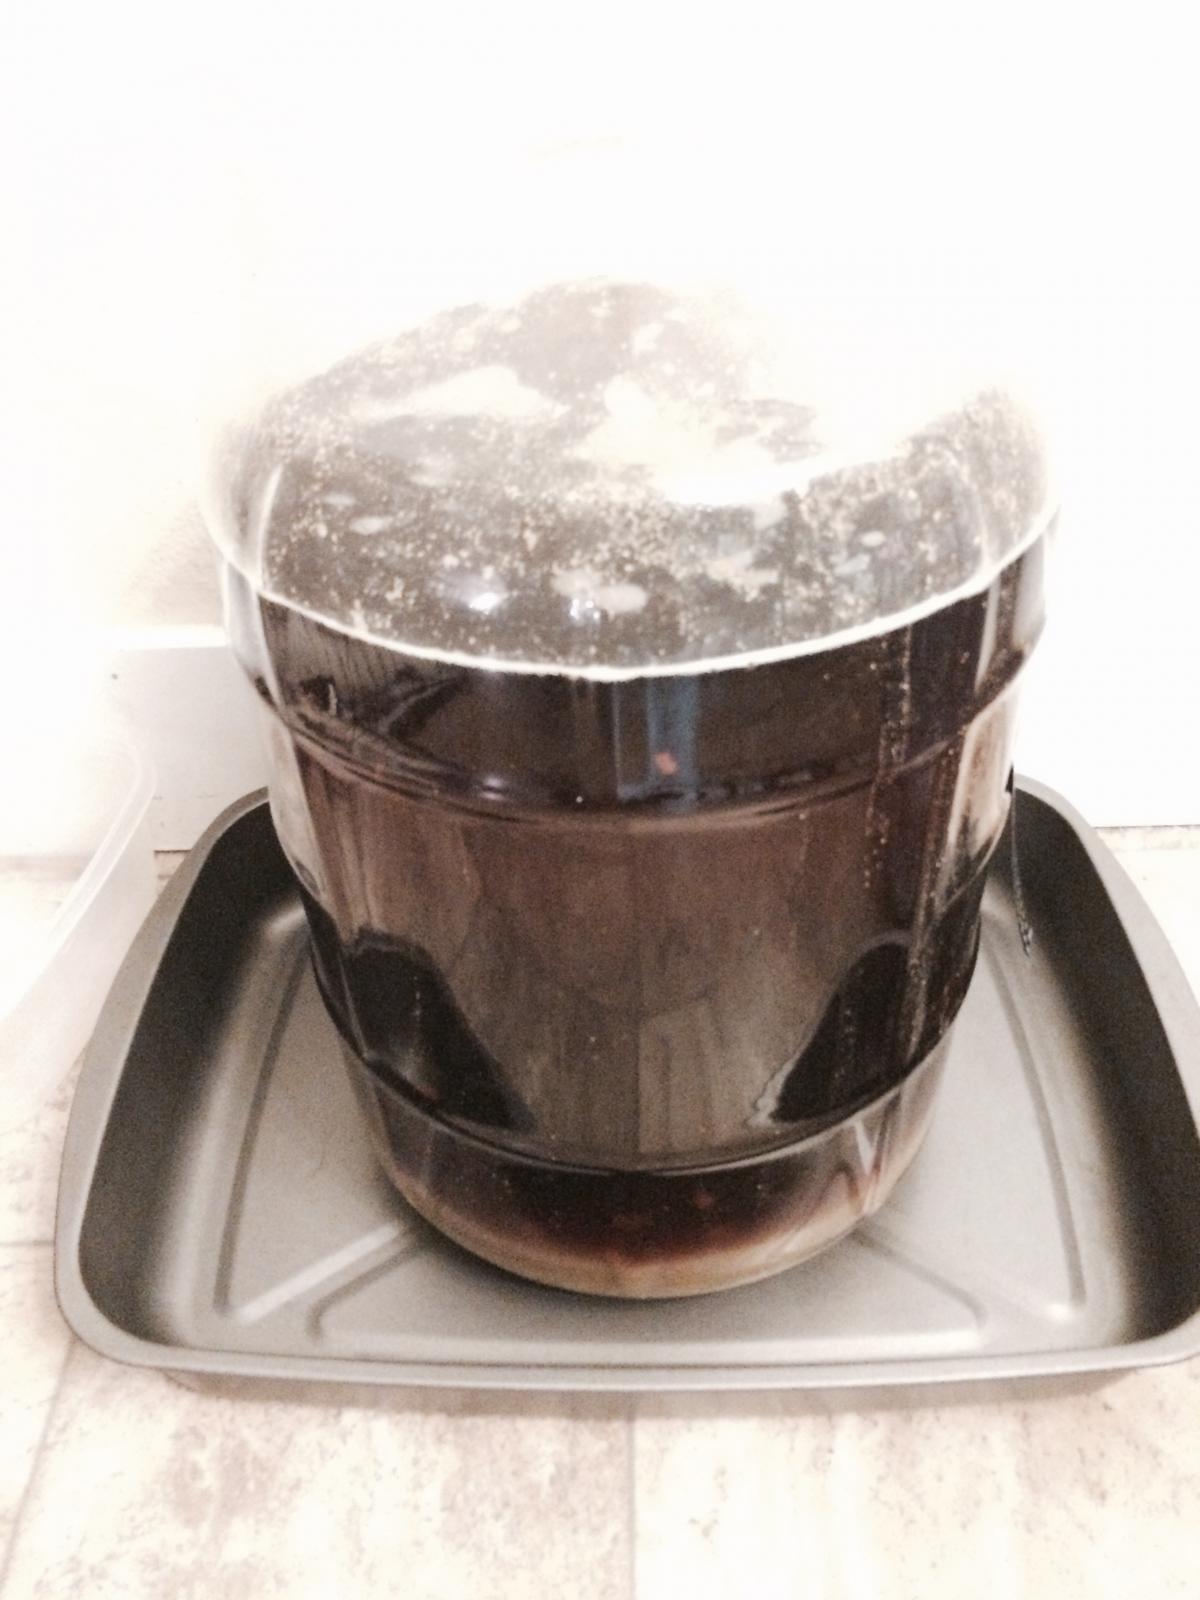
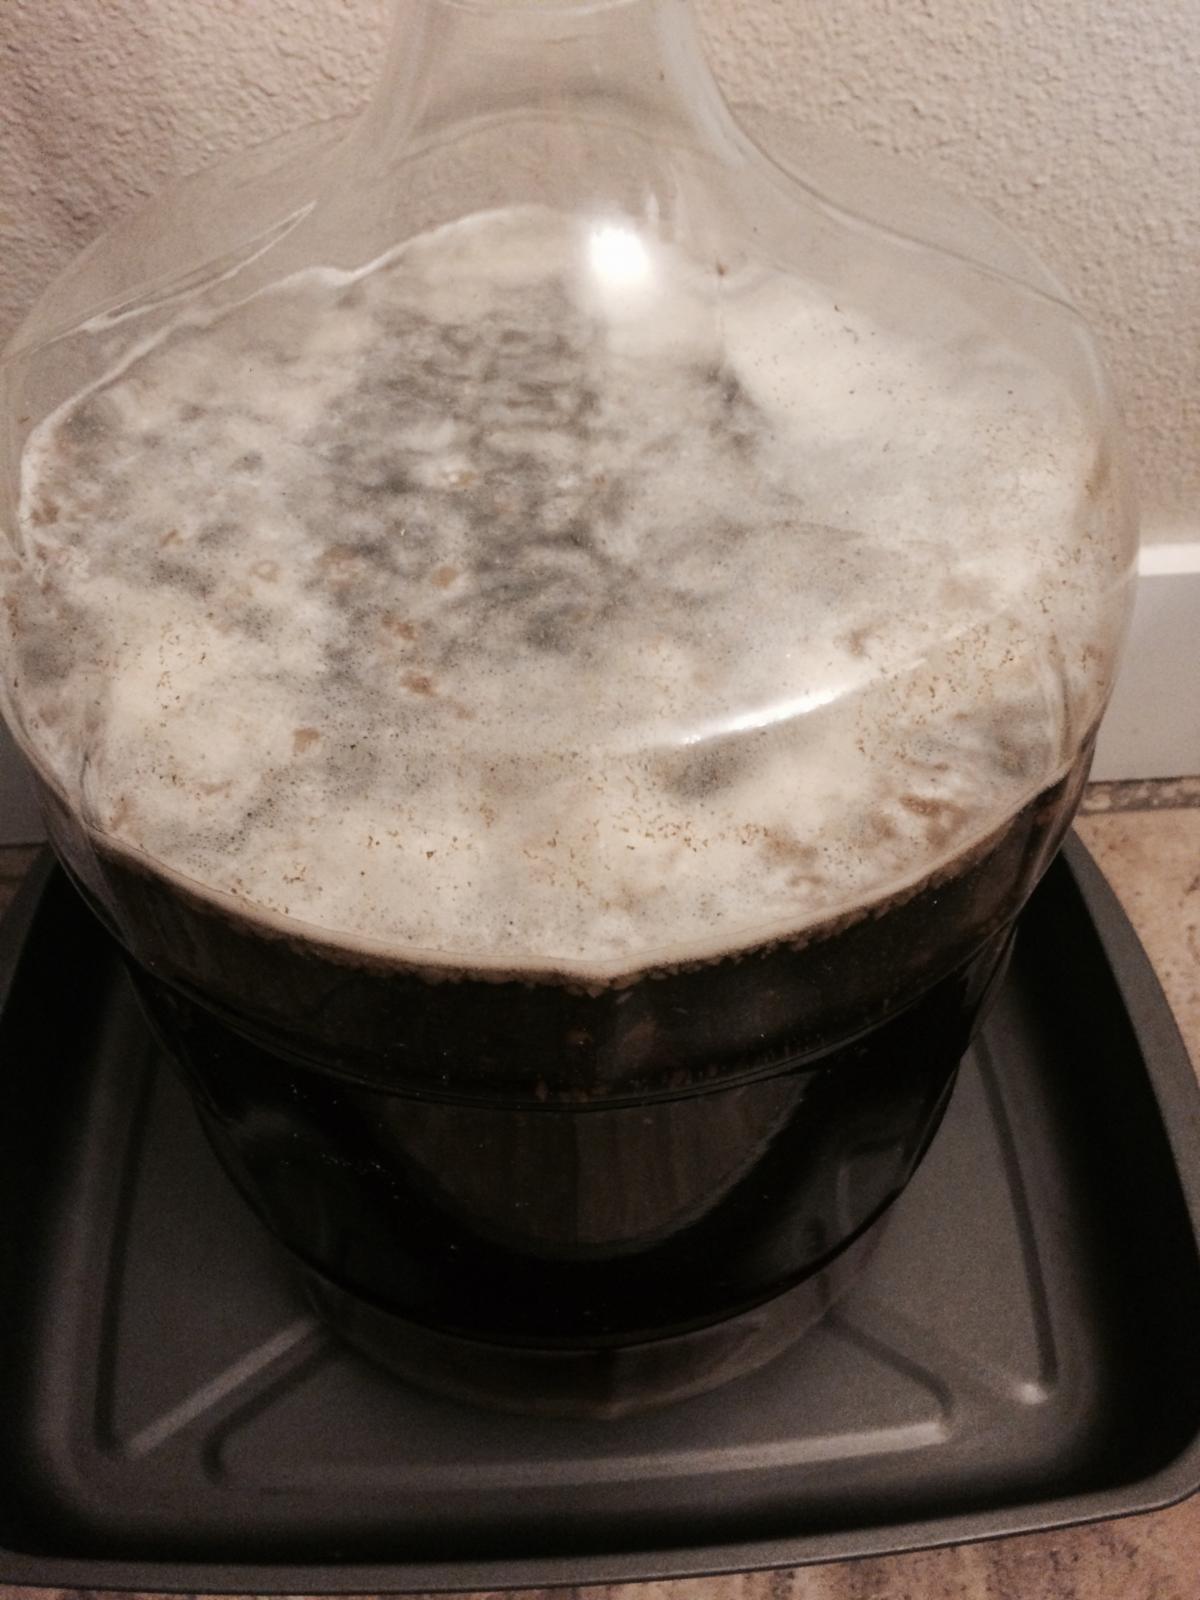
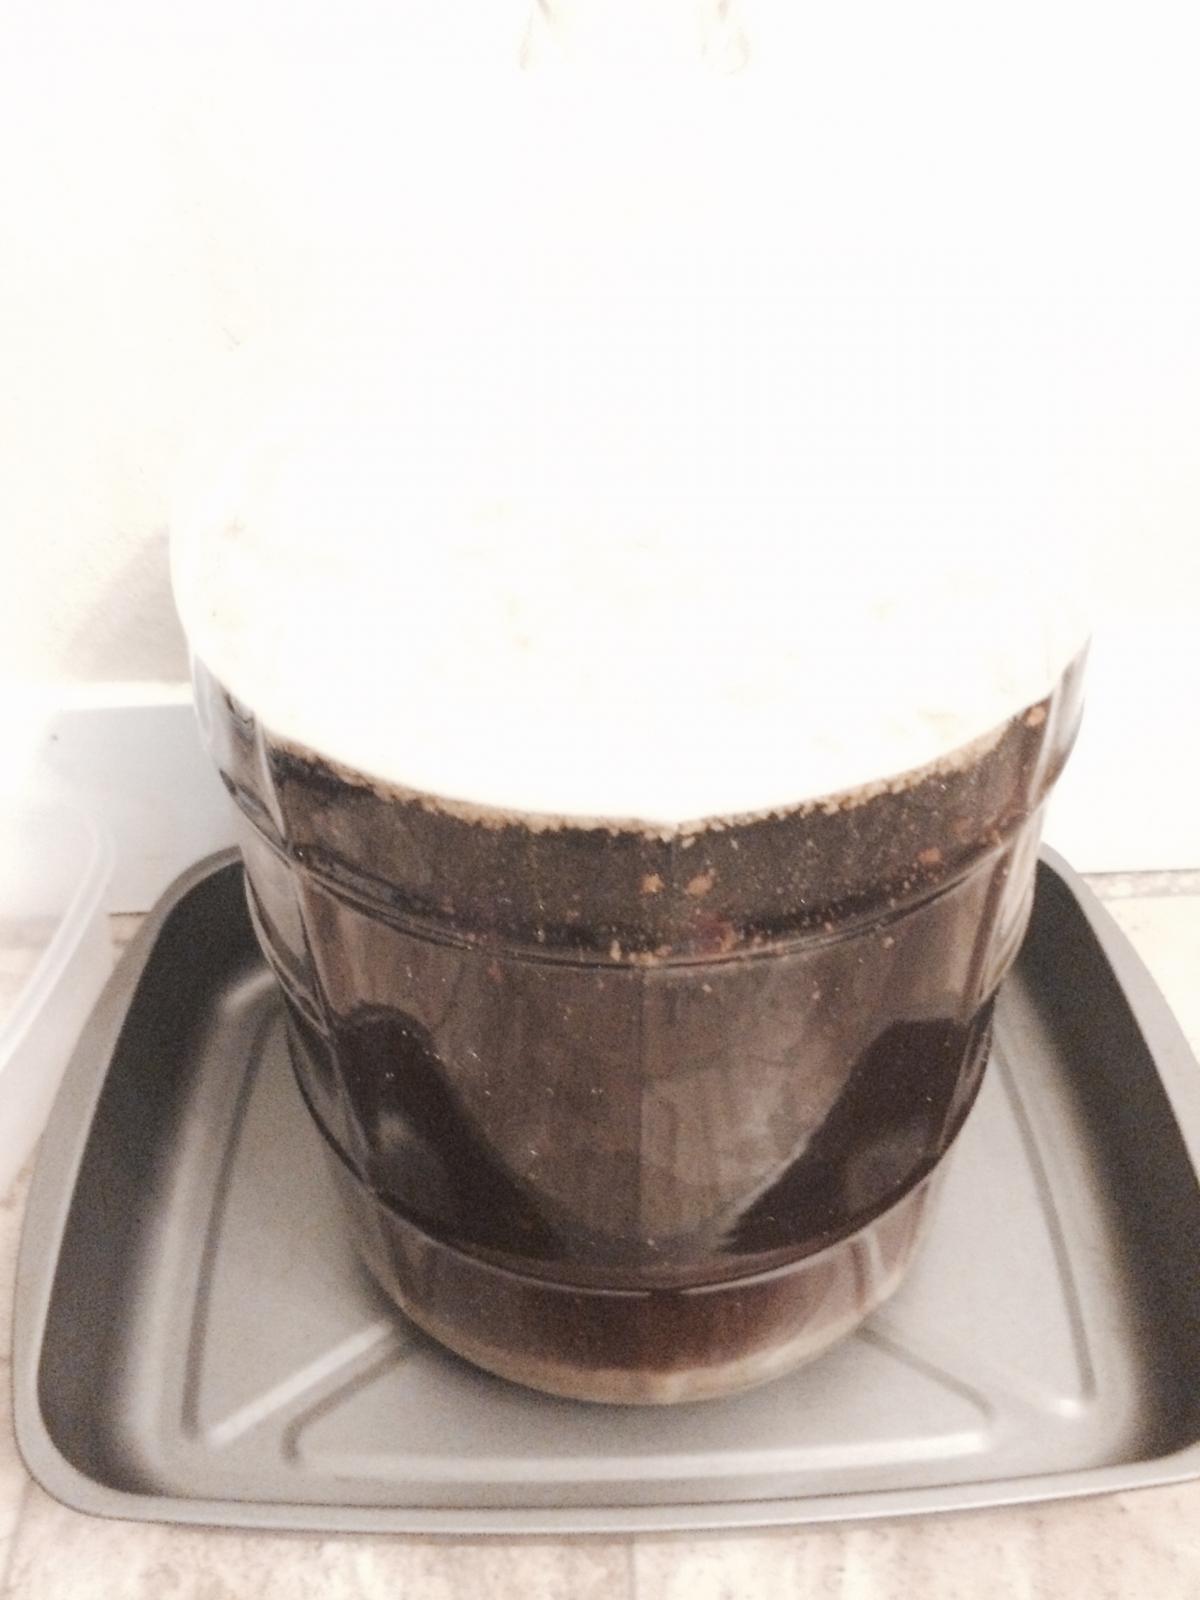
First brew so be gentle.

Homebrew Talk - Beer, Wine, Mead, & Cider Brewing Discussion Forum

Help Support Homebrew Talk - Beer, Wine, Mead, & Cider Brewing Discussion Forum:

This site may earn a commission from merchant affiliate links, including eBay, Amazon, and others.

Ethan21

Active Member
Joined
Jan 5, 2015
Messages
25
Reaction score
1
Location
Bordman
So, for my first brew I decided on Falconers Flight IPA. Lets just say I learned a lot. Here goes my story.
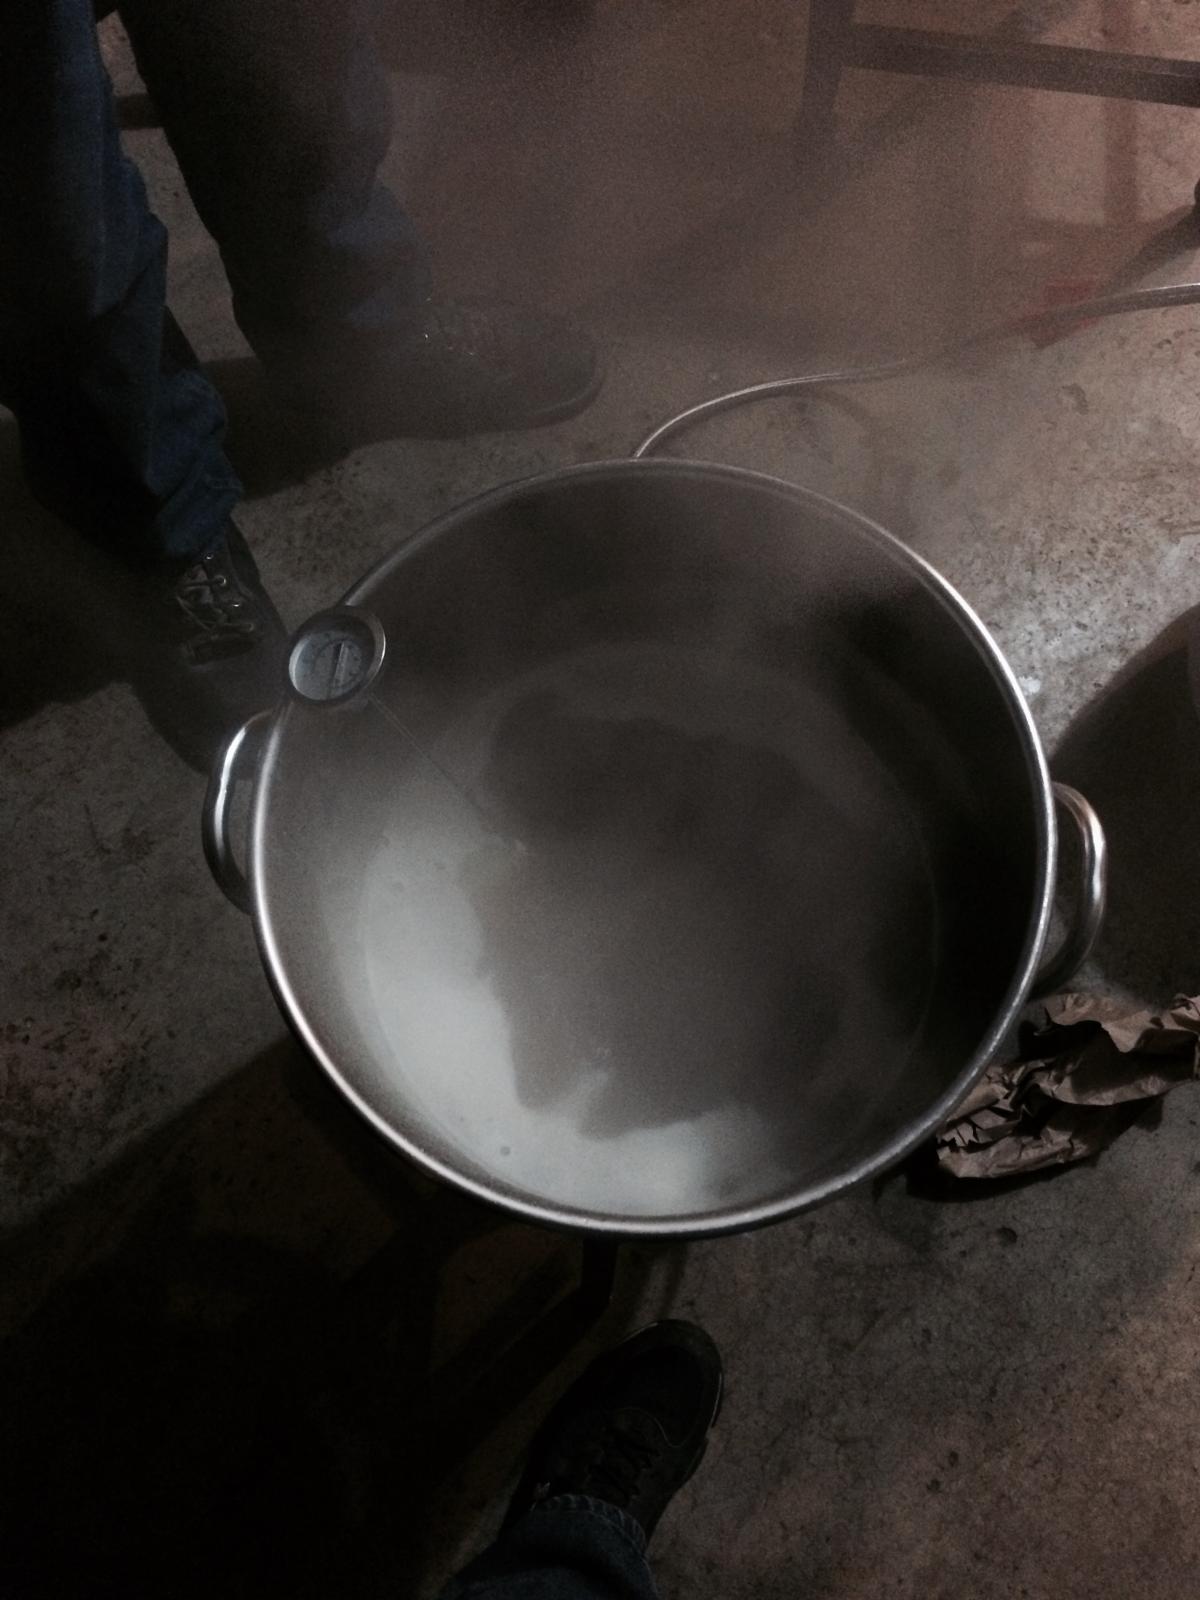
I heated up my water in my garage to place the steeping grains in which went well other than the fact that outside was freezing, so I needed to turn the burner on once to keep temperature. I then brought it to a boil and the hot break was manageable as I have a 8 gallon kettle. Eventually I was able to add my first hop addition, this also went well with a little hot break but other than that everything went smooth... until I tried to put it into my carboy to ferment. UGH what a mess, my garage floor was so sticky and messy. I learned enough to be able to keep my garage floor clean!!
Enjoy these pictures that I was unable to insert in the places I wanted which is why this mess got edited up a little. I know my writing is not perfect, but I enjoy doing this and sharing it with you folks so like I said be easy
How is everything looking?
I learned so much and can't wait to brew again.
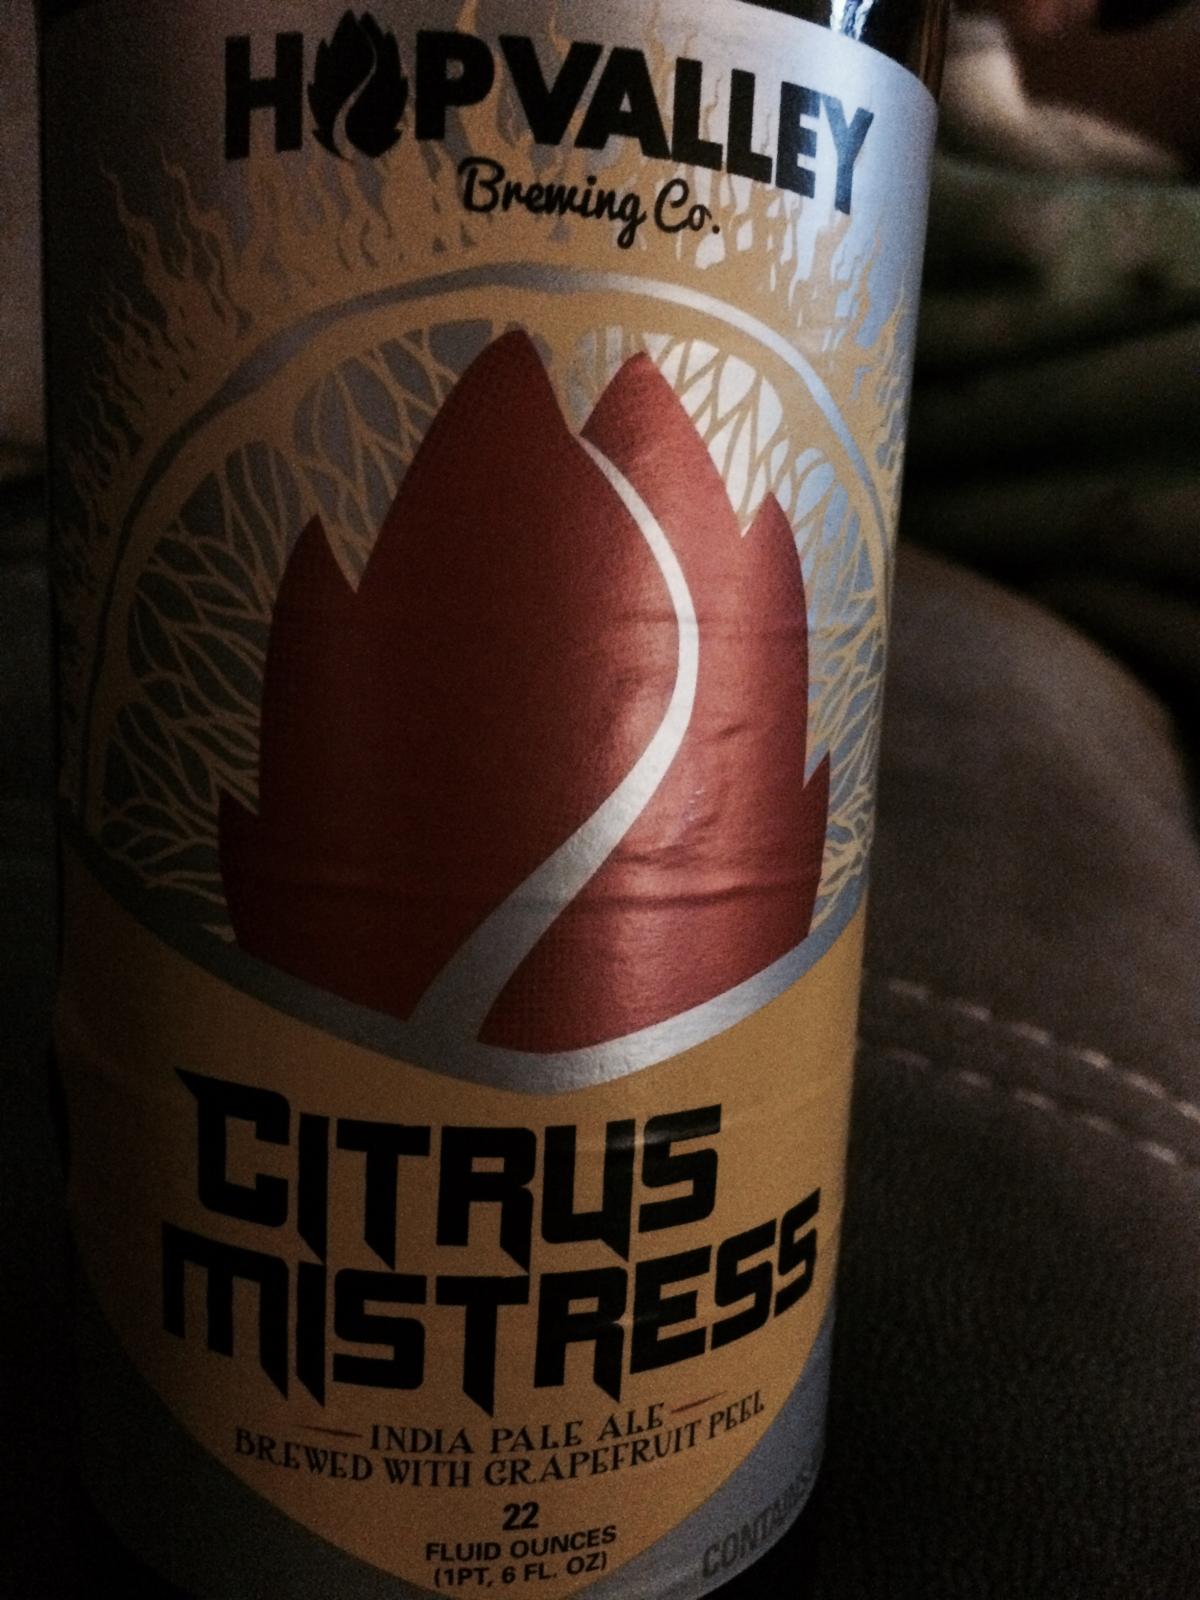
But while I wait I'm going to enjoy my Citrus Mistress!!
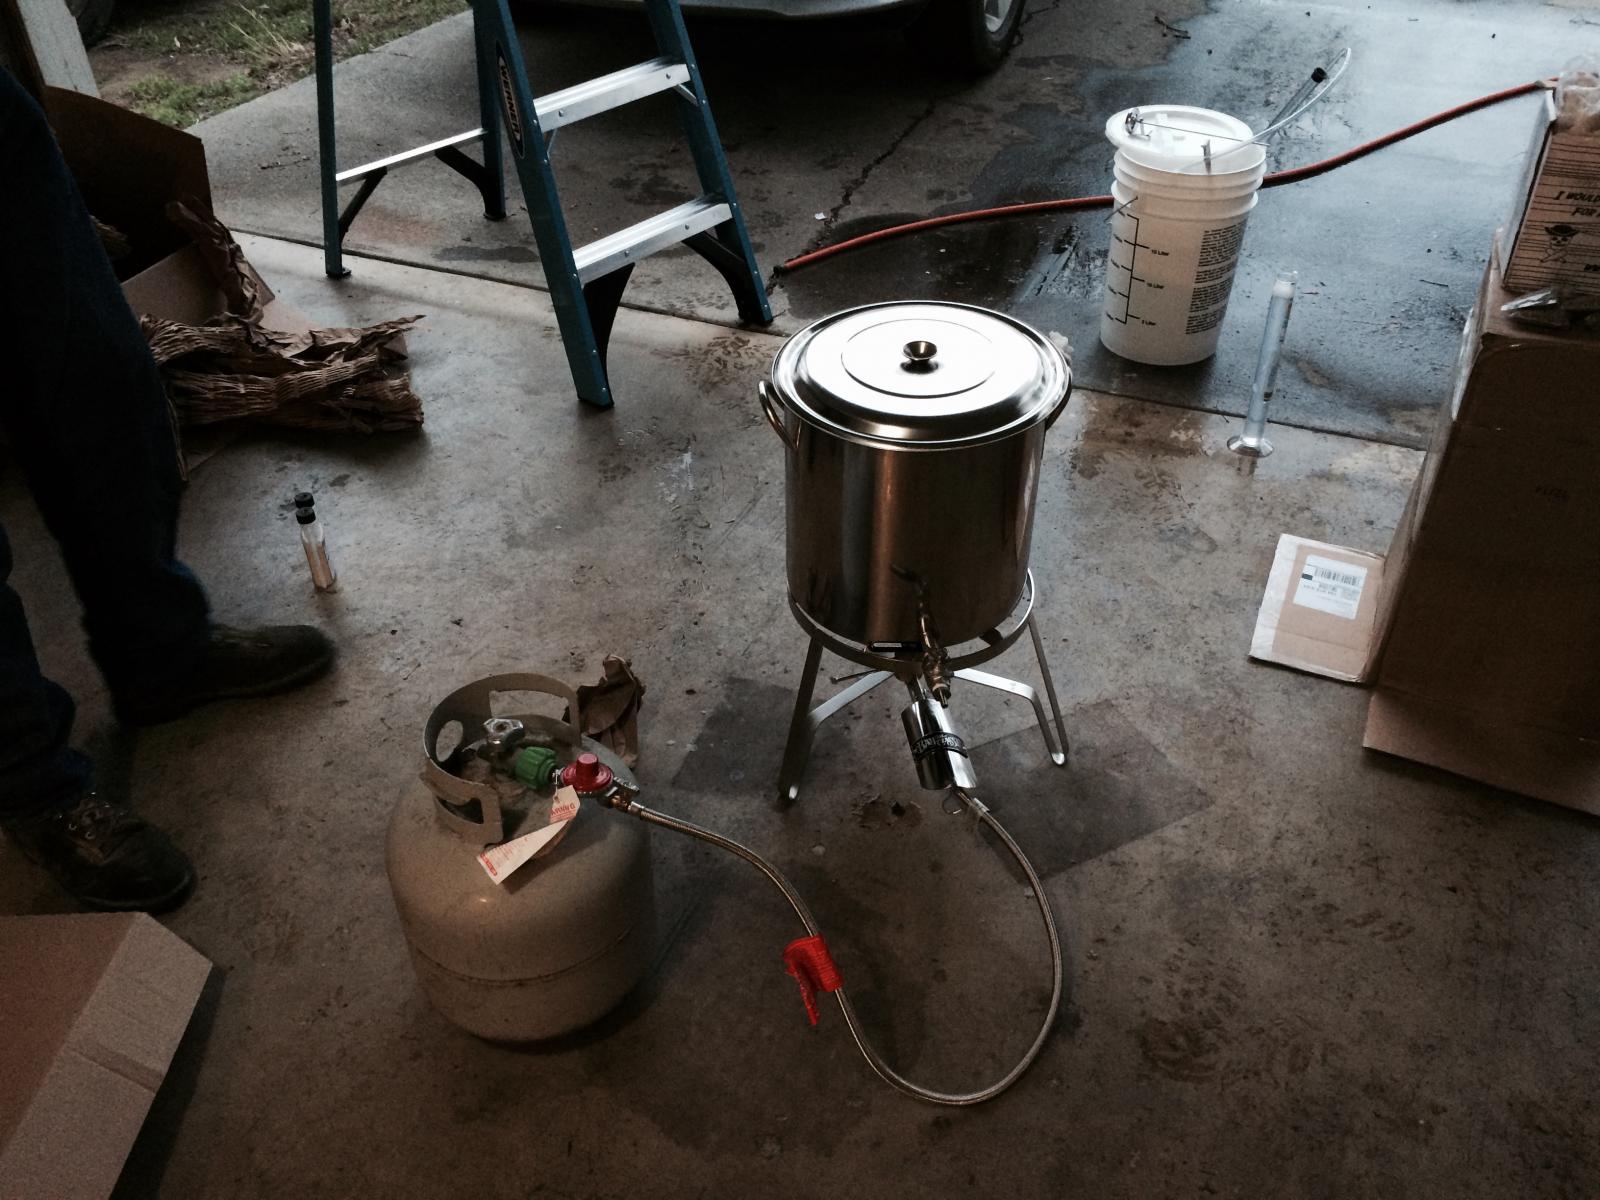
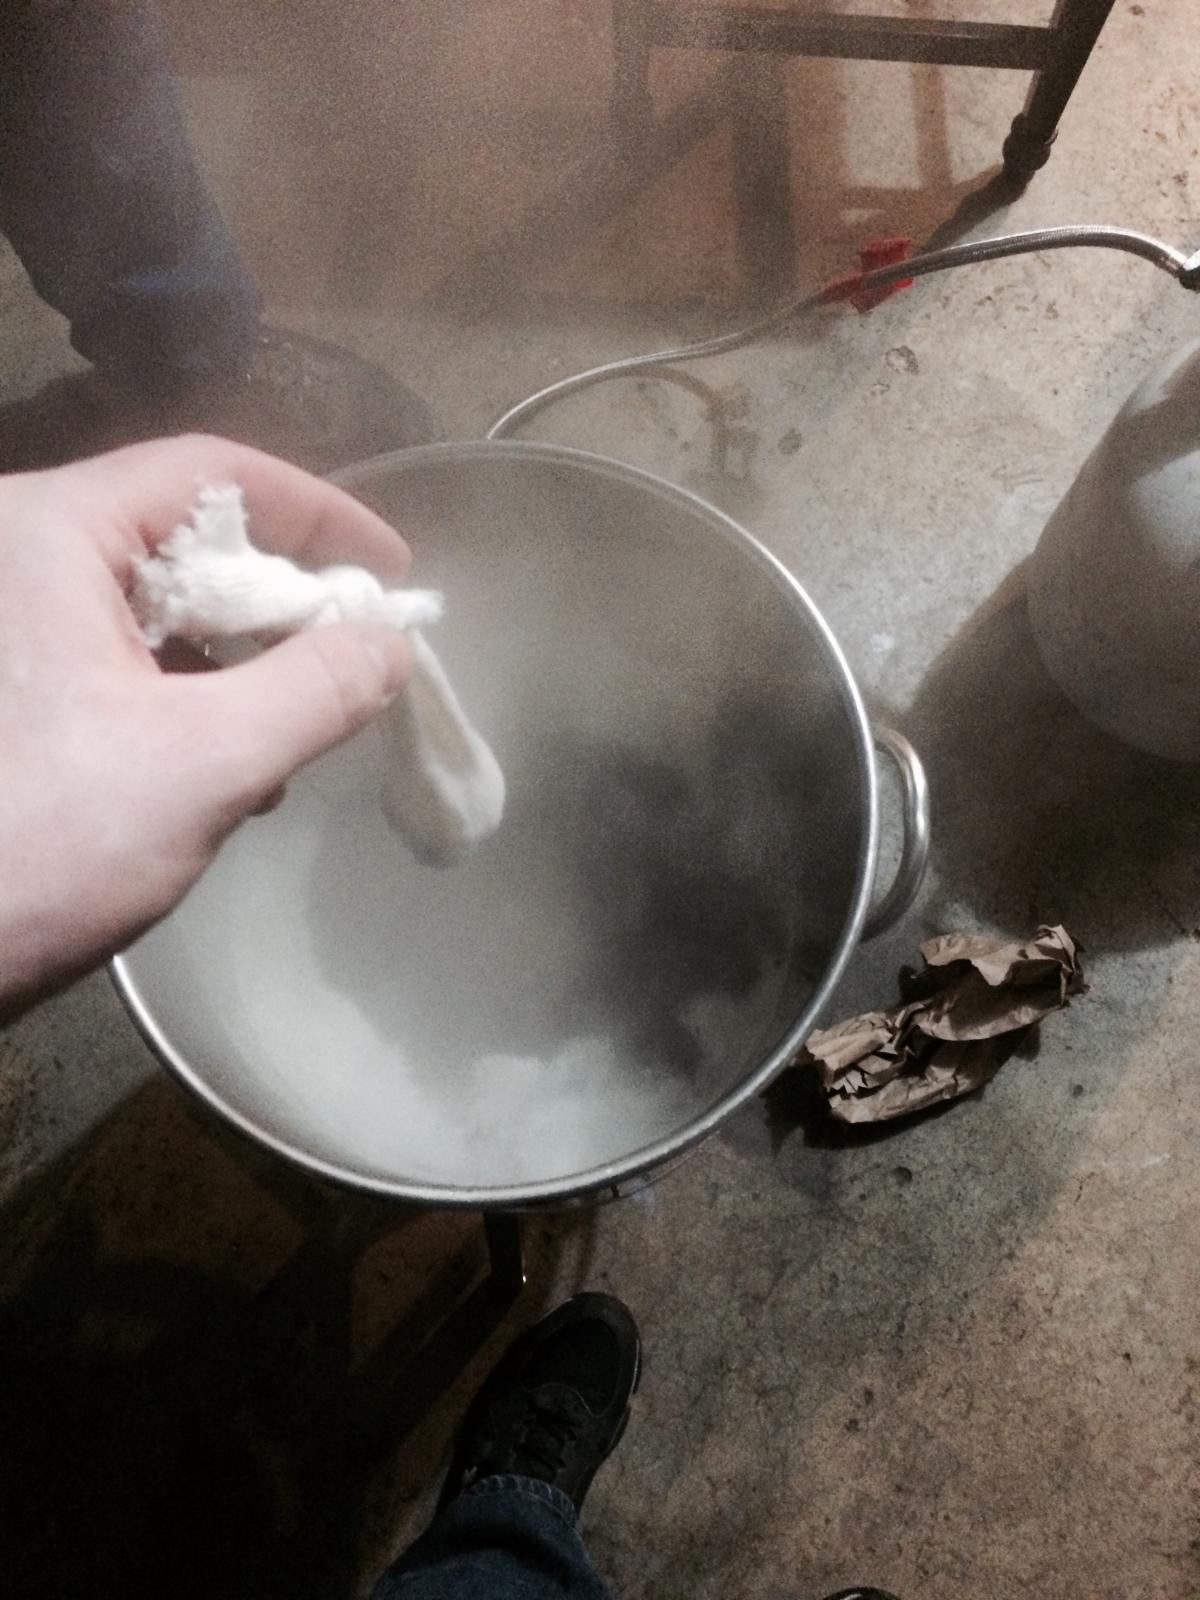
image4 (1).jpg


image4.jpg


image3.jpg


image1 (4).jpg
 
So for my first brew I decided on Falconers Flight IPA. Lets just say I learned a lot here goes.
I heated up my water in my garage to place the steeping grains in which went well other than the fact that outside was freezing so I needed to turn the burner on once to keep temperature.
Then brought it to a boil was fine with the hot break as I have a 8 gallon kettle, that seemed to go smooth.
Eventually I was able to add my first hop addition:
After that little hot break everything went smooth... until I tried to put it into my carboy to ferment. UGH what a mess my garage floor was so sticky and messy but I found out a new way and more clean way to do it without spilling all over the place.
Anyway here is from 24 hours in:
Here is from 48 hours in:
How is everything looking?
I learned so much and can't wait to brew again.
But while I wait I'm going to enjoy my Citrus Mistress!!

My middle school English teacher is rolling in her grave right now. Other than the ridiculous lack of punctuation and paragraphs, congrats on the brew and many more to come!
 
Welcome to the club! Say good bye to your savings! It's a magical moment when you get your first buzz from your own brew.
 
Looks good so far. But I agree to get a temp strip on the fermenter to monitor internal temps of the fermenting wort. Wanna keep the temp in the yeast's optimal range. And I hope you're keeping it covered or in a dark area to prevent skunking the fermenting beer?
 
Looks good so far. But I agree to get a temp strip on the fermenter to monitor internal temps of the fermenting wort. Wanna keep the temp in the yeast's optimal range. And I hope you're keeping it covered or in a dark area to prevent skunking the fermenting beer?

Yes it is covered.
 
My middle school English teacher is rolling in her grave right now. Other than the ridiculous lack of punctuation and paragraphs

I was actually trying to tell a piece of the story insert a picture and so on, it didn't work and looks horrible I agree. I will try to clean it up. But I am not perfect.
 
So, for my first brew I decided on Falconers Flight IPA. Lets just say I learned a lot. Here goes my story.
I heated up my water in my garage to place the steeping grains in which went well other than the fact that outside was freezing, so I needed to turn the burner on once to keep temperature. I then brought it to a boil and the hot break was manageable as I have a 8 gallon kettle. Eventually I was able to add my first hop addition, this also went well with a little hot break but other than that everything went smooth... until I tried to put it into my carboy to ferment. UGH what a mess, my garage floor was so sticky and messy. I learned enough to be able to keep my garage floor clean!!
Enjoy these pictures that I was unable to insert in the places I wanted which is why this mess got edited up a little. I know my writing is not perfect, but I enjoy doing this and sharing it with you folks so like I said be easy
How is everything looking?
I learned so much and can't wait to brew again.
But while I wait I'm going to enjoy my Citrus Mistress!!


You have done very well for your first brew. Way better than mine. I would suggest using a sanitized auto siphon to transfer your beer into your primary. Just shake the primary to add o2 for the yeast.

Was that a extract kit or all grain?

If it was an extract kit I suggest doing a few more and then switching to all grain (Atleast brew in a bag method). You seem like your ready for it. Starting from scratch is just awesome . I still do extracts on occasion though because they still great. Good luck and continue to have fun brewing!

I was having so much trouble with that damn auto siphon so I built a stand. Hoping this works.

Yes it was and extract kit I would like to do quite a few before I switch over though.
 
I was actually trying to tell a piece of the story insert a picture and so on, it didn't work and looks horrible I agree. I will try to clean it up. But I am not perfect.

See, thats not what all of us were told so you could understand the confusion :D I kid I kid. Based on the photos and your description it sounds like you are well off on the right foot (we'll pretend that you didnt water your garage floor with some beer :drunk:). Anyways, welcome to the addiction!
 
I was having so much trouble with that damn auto siphon so I built a stand. Hoping this works.

Have you considered draining your kettle using the ball valve? That's how I fill my carboys now. They also make siphon clips that can attach to the side of the kettle, then you could just lower the siphon as the kettle empties.

Have a picture of your stand? I recently built a stand for siphoning from my carboys to my kegs that works OK. Interested in seeing what you're using.
 
See, thats not what all of us were told so you could understand the confusion :D I kid I kid. Based on the photos and your description it sounds like you are well off on the right foot (we'll pretend that you didnt water your garage floor with some beer :drunk:). Anyways, welcome to the addiction!

I am only perfect at my profession which is not beer brewing... yet!
:)
 
Have you considered draining your kettle using the ball valve? That's how I fill my carboys now. They also make siphon clips that can attach to the side of the kettle, then you could just lower the siphon as the kettle empties.

Have a picture of your stand? I recently built a stand for siphoning from my carboys to my kegs that works OK. Interested in seeing what you're using.

I have a ball valve for it yes but i had the thermometer screwed in instead:smack:
I will get a pic up its nothing special just scraps.
 
I have a ball valve for it yes but i had the thermometer screwed in instead:smack:
I will get a pic up its nothing special just scraps.

I have a tee on one of my kettles, run the thermometer straight in and attach the valve to the branch. Two-in-one thermometer/valve setup.
 
I have a ball valve for it yes but i had the thermometer screwed in instead:smack:
I will get a pic up its nothing special just scraps.

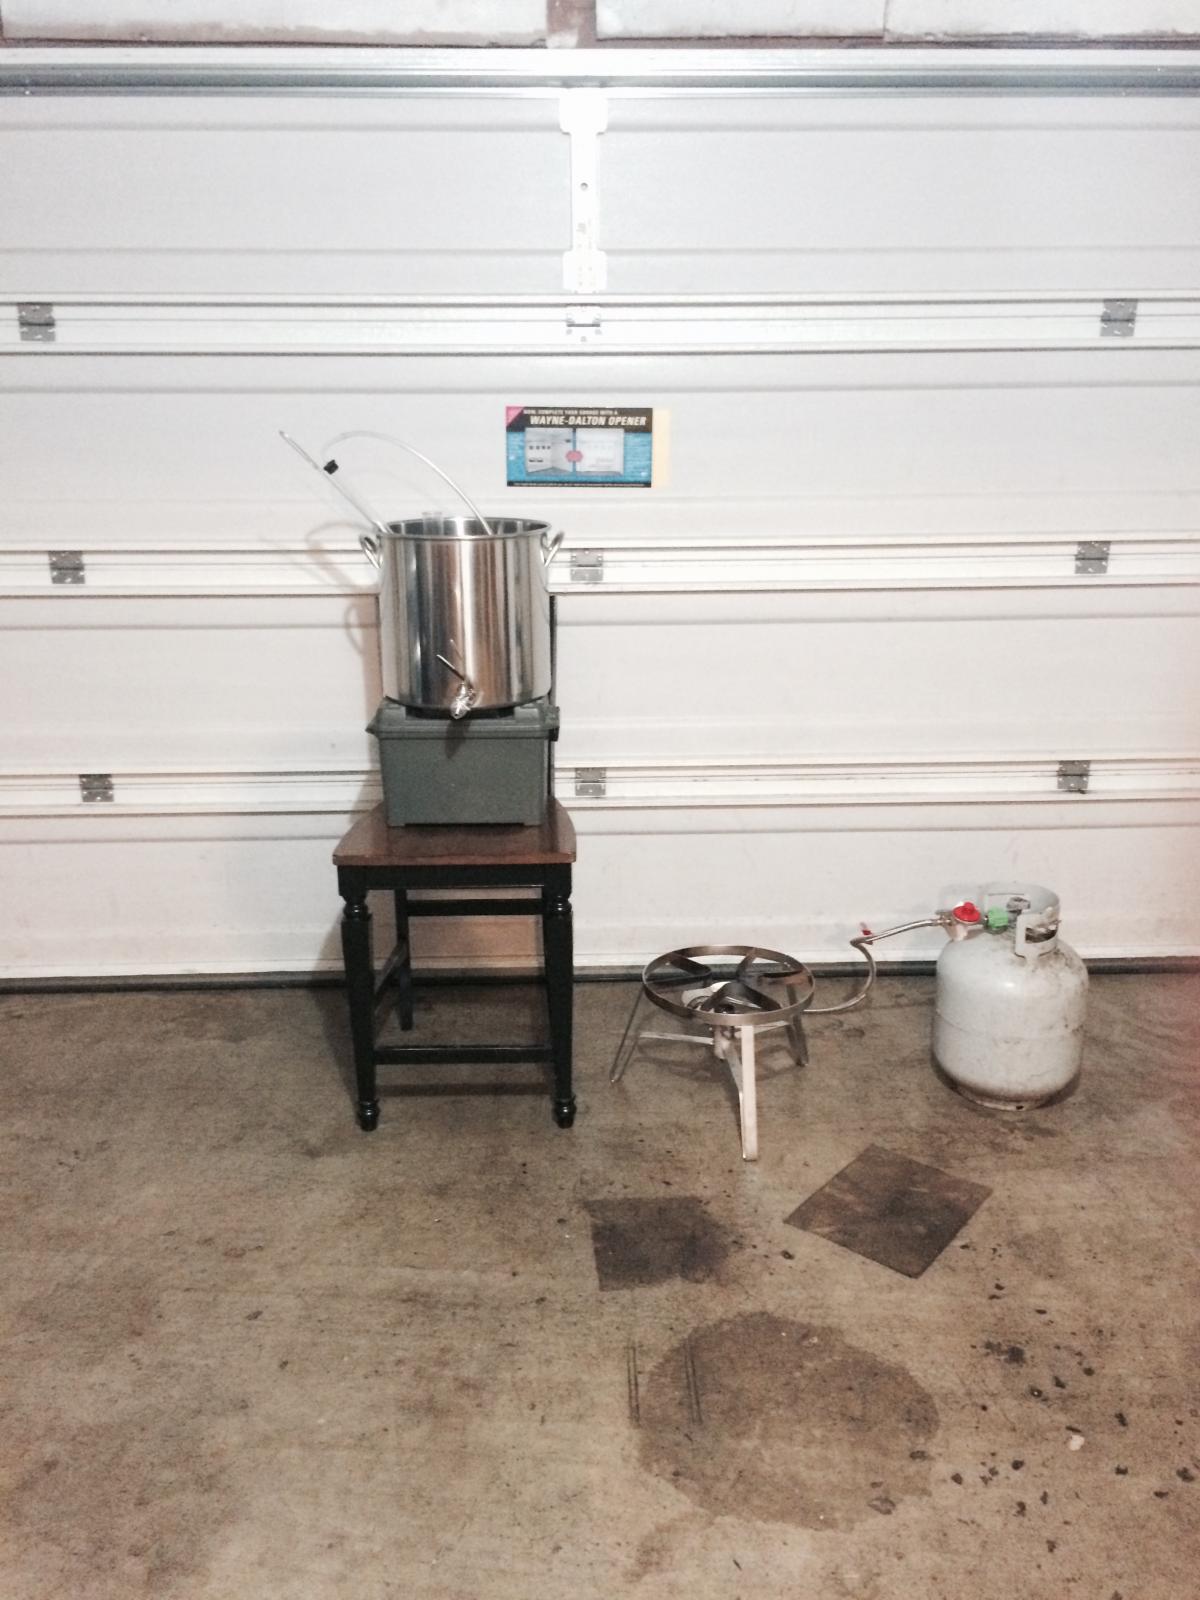
Here it is basically an ammo box an old chair and my burner but essentially I will have a higher wood stand attached to the chair and I will be building a metal frame for when I go to all grain.
Like I said scraps for now but I will start another thread for when I actually start building the real one with metal.

image1 (8).jpg
 
I have a tee on one of my kettles, run the thermometer straight in and attach the valve to the branch. Two-in-one thermometer/valve setup.

This is a good idea I will have to check out my local hardware store and see if they have something similar. My brew setup is only 4 days old so thats why its just scrapped together.
 
Have you considered draining your kettle using the ball valve? That's how I fill my carboys now.

Just wondering if you could tell me what sort of hose/connector you would need for the ball valve to drain directly into your fermenter? My kettle has a ball valve too, and my original plan was just to open that up and let it flow into my fermenter, but now I'm thinking it might be easier and less of a mess with a hose connected.
 
Just wondering if you could tell me what sort of hose/connector you would need for the ball valve to drain directly into your fermenter? My kettle has a ball valve too, and my original plan was just to open that up and let it flow into my fermenter, but now I'm thinking it might be easier and less of a mess with a hose connected.

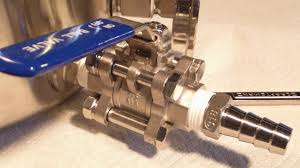
Mine came with this hose connector.

download.jpg
 
This I might be interested in buying. Whered you get it?

It's just a stainless tee, which can be purchased online at BrewHardware or BargainFittings, with an extra hex couple to attach the valve to the tee branch, and a temperature probe of appropriate length to extend into the kettle, but not get in the way if you use an immersion chiller.

SS 1/2" Tee

I can take a pic when I get home.
 
Just wondering if you could tell me what sort of hose/connector you would need for the ball valve to drain directly into your fermenter? My kettle has a ball valve too, and my original plan was just to open that up and let it flow into my fermenter, but now I'm thinking it might be easier and less of a mess with a hose connected.

Just get a barb with the right threads for your ball valve setup and the hose will slide right onto that

Like this...

263957.png
 
It's just a stainless tee, which can be purchased online at BrewHardware or BargainFittings, with an extra hex couple to attach the valve to the tee branch, and a temperature probe of appropriate length to extend into the kettle, but not get in the way if you use an immersion chiller.

SS 1/2" Tee

I can take a pic when I get home.

Derp. Apparently this is my intro class to plumbing supplies haha. As soon as I saw that I went "ohhhhhh, how did I not get that from his earlier post". Stopping at home depot tonight :D
 
It's just a stainless tee, which can be purchased online at BrewHardware or BargainFittings, with an extra hex couple to attach the valve to the tee branch, and a temperature probe of appropriate length to extend into the kettle, but not get in the way if you use an immersion chiller.

SS 1/2" Tee

I can take a pic when I get home.

This is a very good idea that I will be incorporating into my setup.
 
Just wondering if you could tell me what sort of hose/connector you would need for the ball valve to drain directly into your fermenter? My kettle has a ball valve too, and my original plan was just to open that up and let it flow into my fermenter, but now I'm thinking it might be easier and less of a mess with a hose connected.

A hose barb as the OP suggested would work. I pump and have camlock fittings on all of my valves. Much easier to attach and remove tubing compared to threading and unthreading. You would need camlock connections on the valve and the tubing if you went that direction. So two SS pieces and a couple feet or so of tubing.

Found this picture on google:
Camlock connection

This is what you need for the camlock:
Connect 1/2" hose to this
Connect this to valve
 
This is a very good idea that I will be incorporating into my setup.

Just keep in mind that there will be more crevices for gunk to collect in, so I would recommend at least removing the thermometer and thoroughly rinsing the tee whiling opening and closing the ball valve after each brew.
 
A hose barb as the OP suggested would work. I pump and have camlock fittings on all of my valves. Much easier to attach and remove tubing compared to threading and unthreading. You would need camlock connections on the valve and the tubing if you went that direction. So two SS pieces and a couple feet or so of tubing.

Found this picture on google:
Camlock connection

This is what you need for the camlock:
Connect 1/2" hose to this
Connect this to valve

Once I have a few brews under my belt I will integrate this into my system.
 
Just keep in mind that there will be more crevices for gunk to collect in, so I would recommend at least removing the thermometer and thoroughly rinsing the tee whiling opening and closing the ball valve after each brew.

Good advice thank you.
 
Back
Top