Drilling hole in side of chest freezer?

Homebrew Talk - Beer, Wine, Mead, & Cider Brewing Discussion Forum

Help Support Homebrew Talk - Beer, Wine, Mead, & Cider Brewing Discussion Forum:

This site may earn a commission from merchant affiliate links, including eBay, Amazon, and others.

GratefulBear

Supporting Member
HBT Supporter
Joined
Jul 21, 2019
Messages
103
Reaction score
18
Location
MA
I found a freezer that (according to measurements and someone else's conversion) will fit 6 ball lock corny kegs with some room left over. I'm not doing a collar (putting draft tower on top of door) and I want to put 4 CO2 lines in from outside. That means I'll have to drill about a 2" hole somewhere. Preferably in the side or back of the freezer. Where do the coolant lines etc usually run on a freezer?

This Hotpoint 9.4 is the one I'm thinking right now:
https://www.homedepot.com/p/Hotpoin...rost-Chest-Freezer-HCM9DMWW/305143881#overlay
 
In a chest freezer, the lines run along both, the inside and outside shell, zigzagged with about 1.5-2" spacing between each turn.
Inside (cold) evap lines, outside (hot) condenser lines.

Why not go through the lid, where you plan to put the tower? May need some reinforcements in the lid or on top to make it a bit sturdier.
 
^Exactly^

Modern chest freezers stick the evaporator loop to the inside liner and the condenser loop to the exterior skin, then foam the cavity. So you're not just looking at avoiding one loop, but two - at least for the better part of the chassis, typically from a few inches below the lid interface to a "belt line" a couple of feet below. While there is the famous "alcohol and corn starch" technique (paint a vertical swath a few inches wide where you want to drill then look for the area that dries out the slowest) can work there's no matching technique for the evaporator.

It's pretty high risk imo, that's why for my first and second keezer I ran all my gas lines and power and telemetry wiring through the back edge of the lid. And on my third keezer, I just designed my own lid and ran everything through the back :)

Cheers!
 
Thanks guys. I can definitely go through the top/door but it will be a cleaner design if I went through side/back. However that's a great idea about going through the back of the door, day_trippr. This freezer has a light in the door so that's the one thing I'll have to look out for...
 
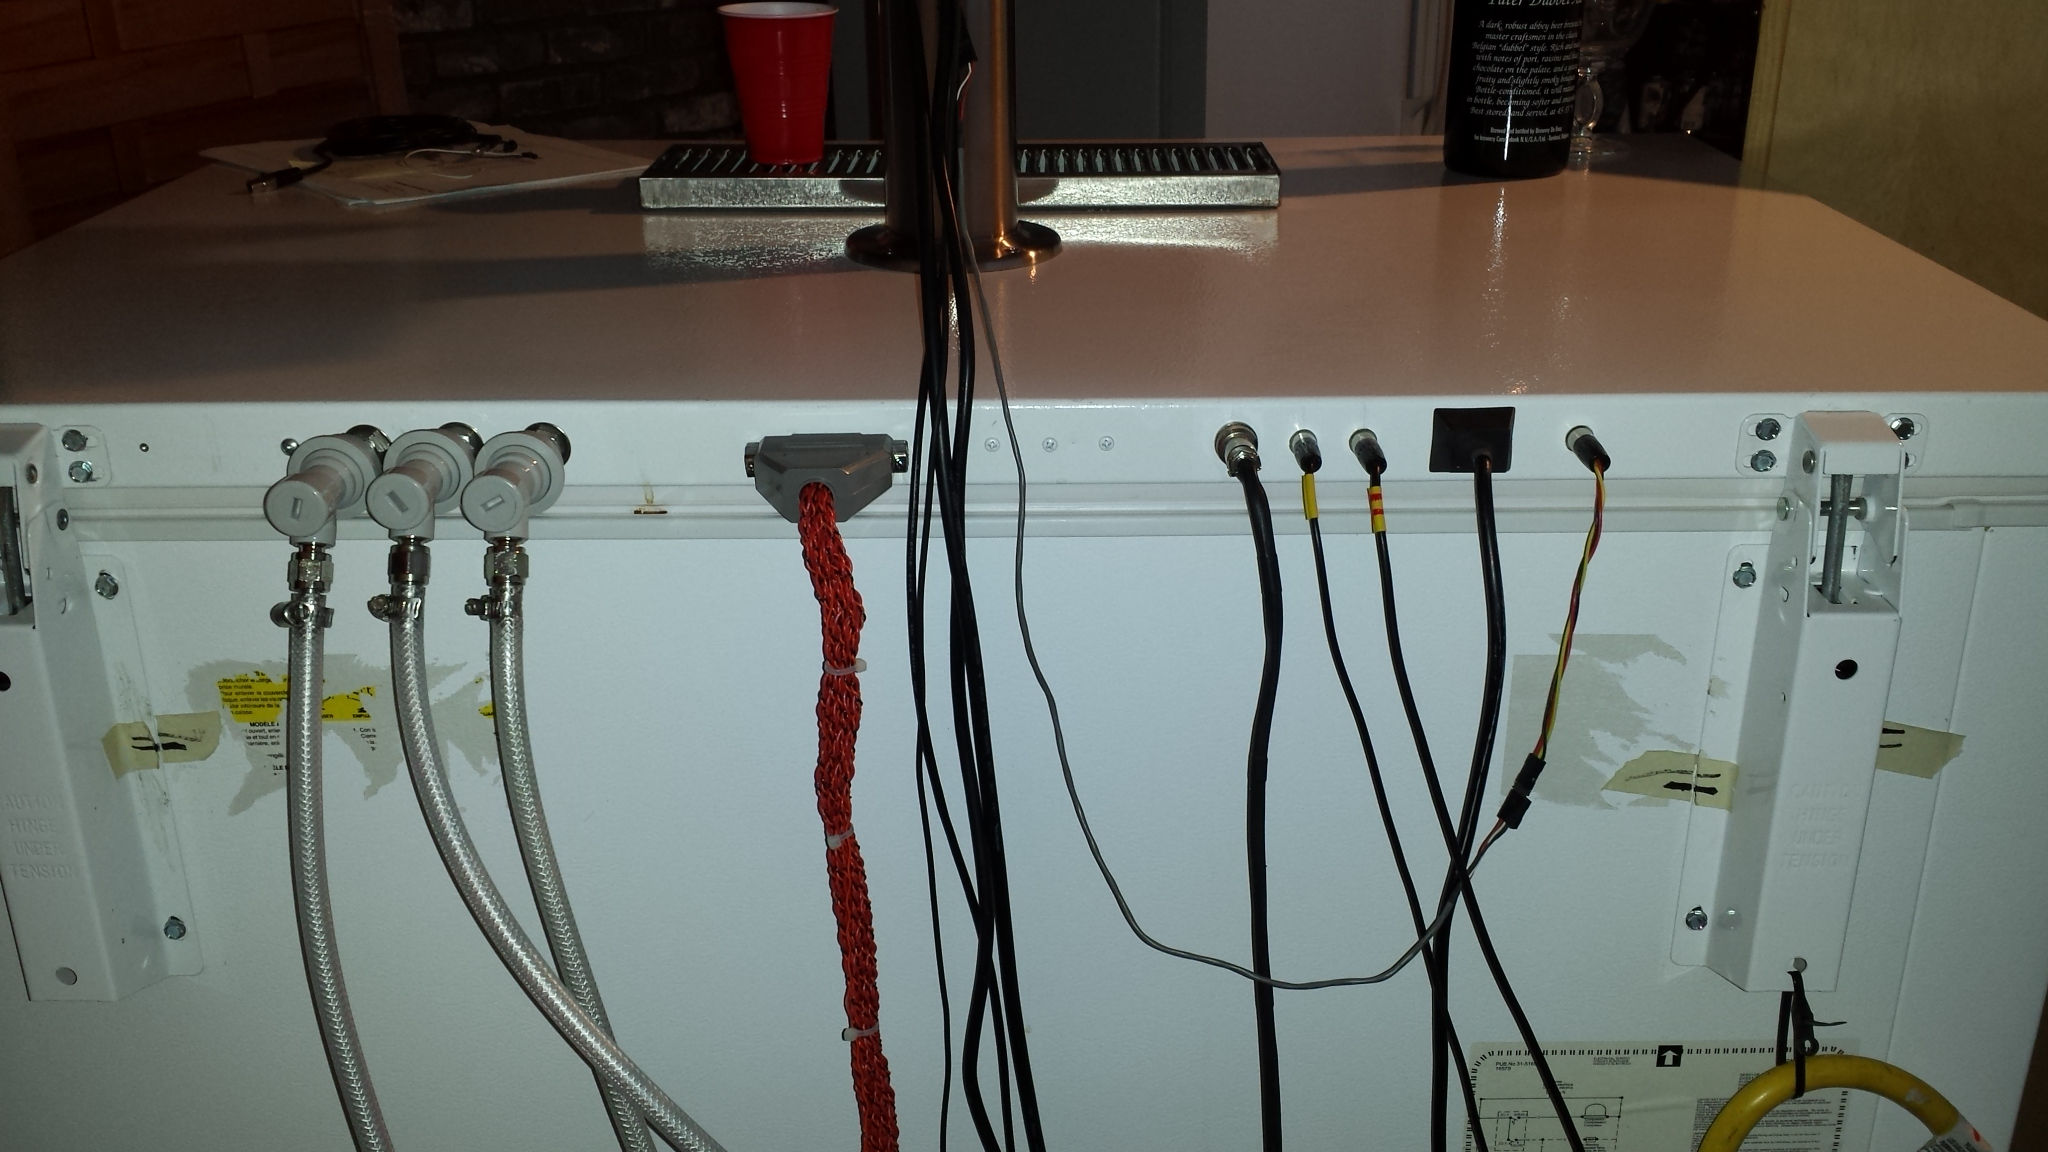
So, this is like full-on extreme, but this was the back of my K2 keezer (rip). All kinds of gas, power and control signalling through the back of the lid...

1621487574128.png


Cheers!
 
You said you don't want to build a collar with the tower on top. With a wooden collar the taps can go through the collar and seems much easier than going through the lip of the lid. Also, there is no way in hell I'd attempt to ho through the side. There are great instructional videos on YouTube.
 
While there is the famous "alcohol and corn starch" technique (paint a vertical swath a few inches wide where you want to drill then look for the area that dries out the slowest) can work there's no matching technique for the evaporator.
In my (30+ year old) freezer the first frost forms inside, right where the evap coils are. That could be an indication where they are.

If you feel lucky you can drill a small hole in between, pry around to remove some insulation and see where the condensor coils are on the opposite side, (spot welded) onto the outside shell.

Now any hoses coming out the back or side will require some clearance from the wall to make the bend.
 
If you are gonna drill thru the side or back...make a small exploratory hole first.

Just break thru the metal skin and then probe with a blunt instrument for the refrigerant lines. work your way thru to the inner skin. If you hit a line just seal up the hole and try again. If nothing then carefully proceed.
 
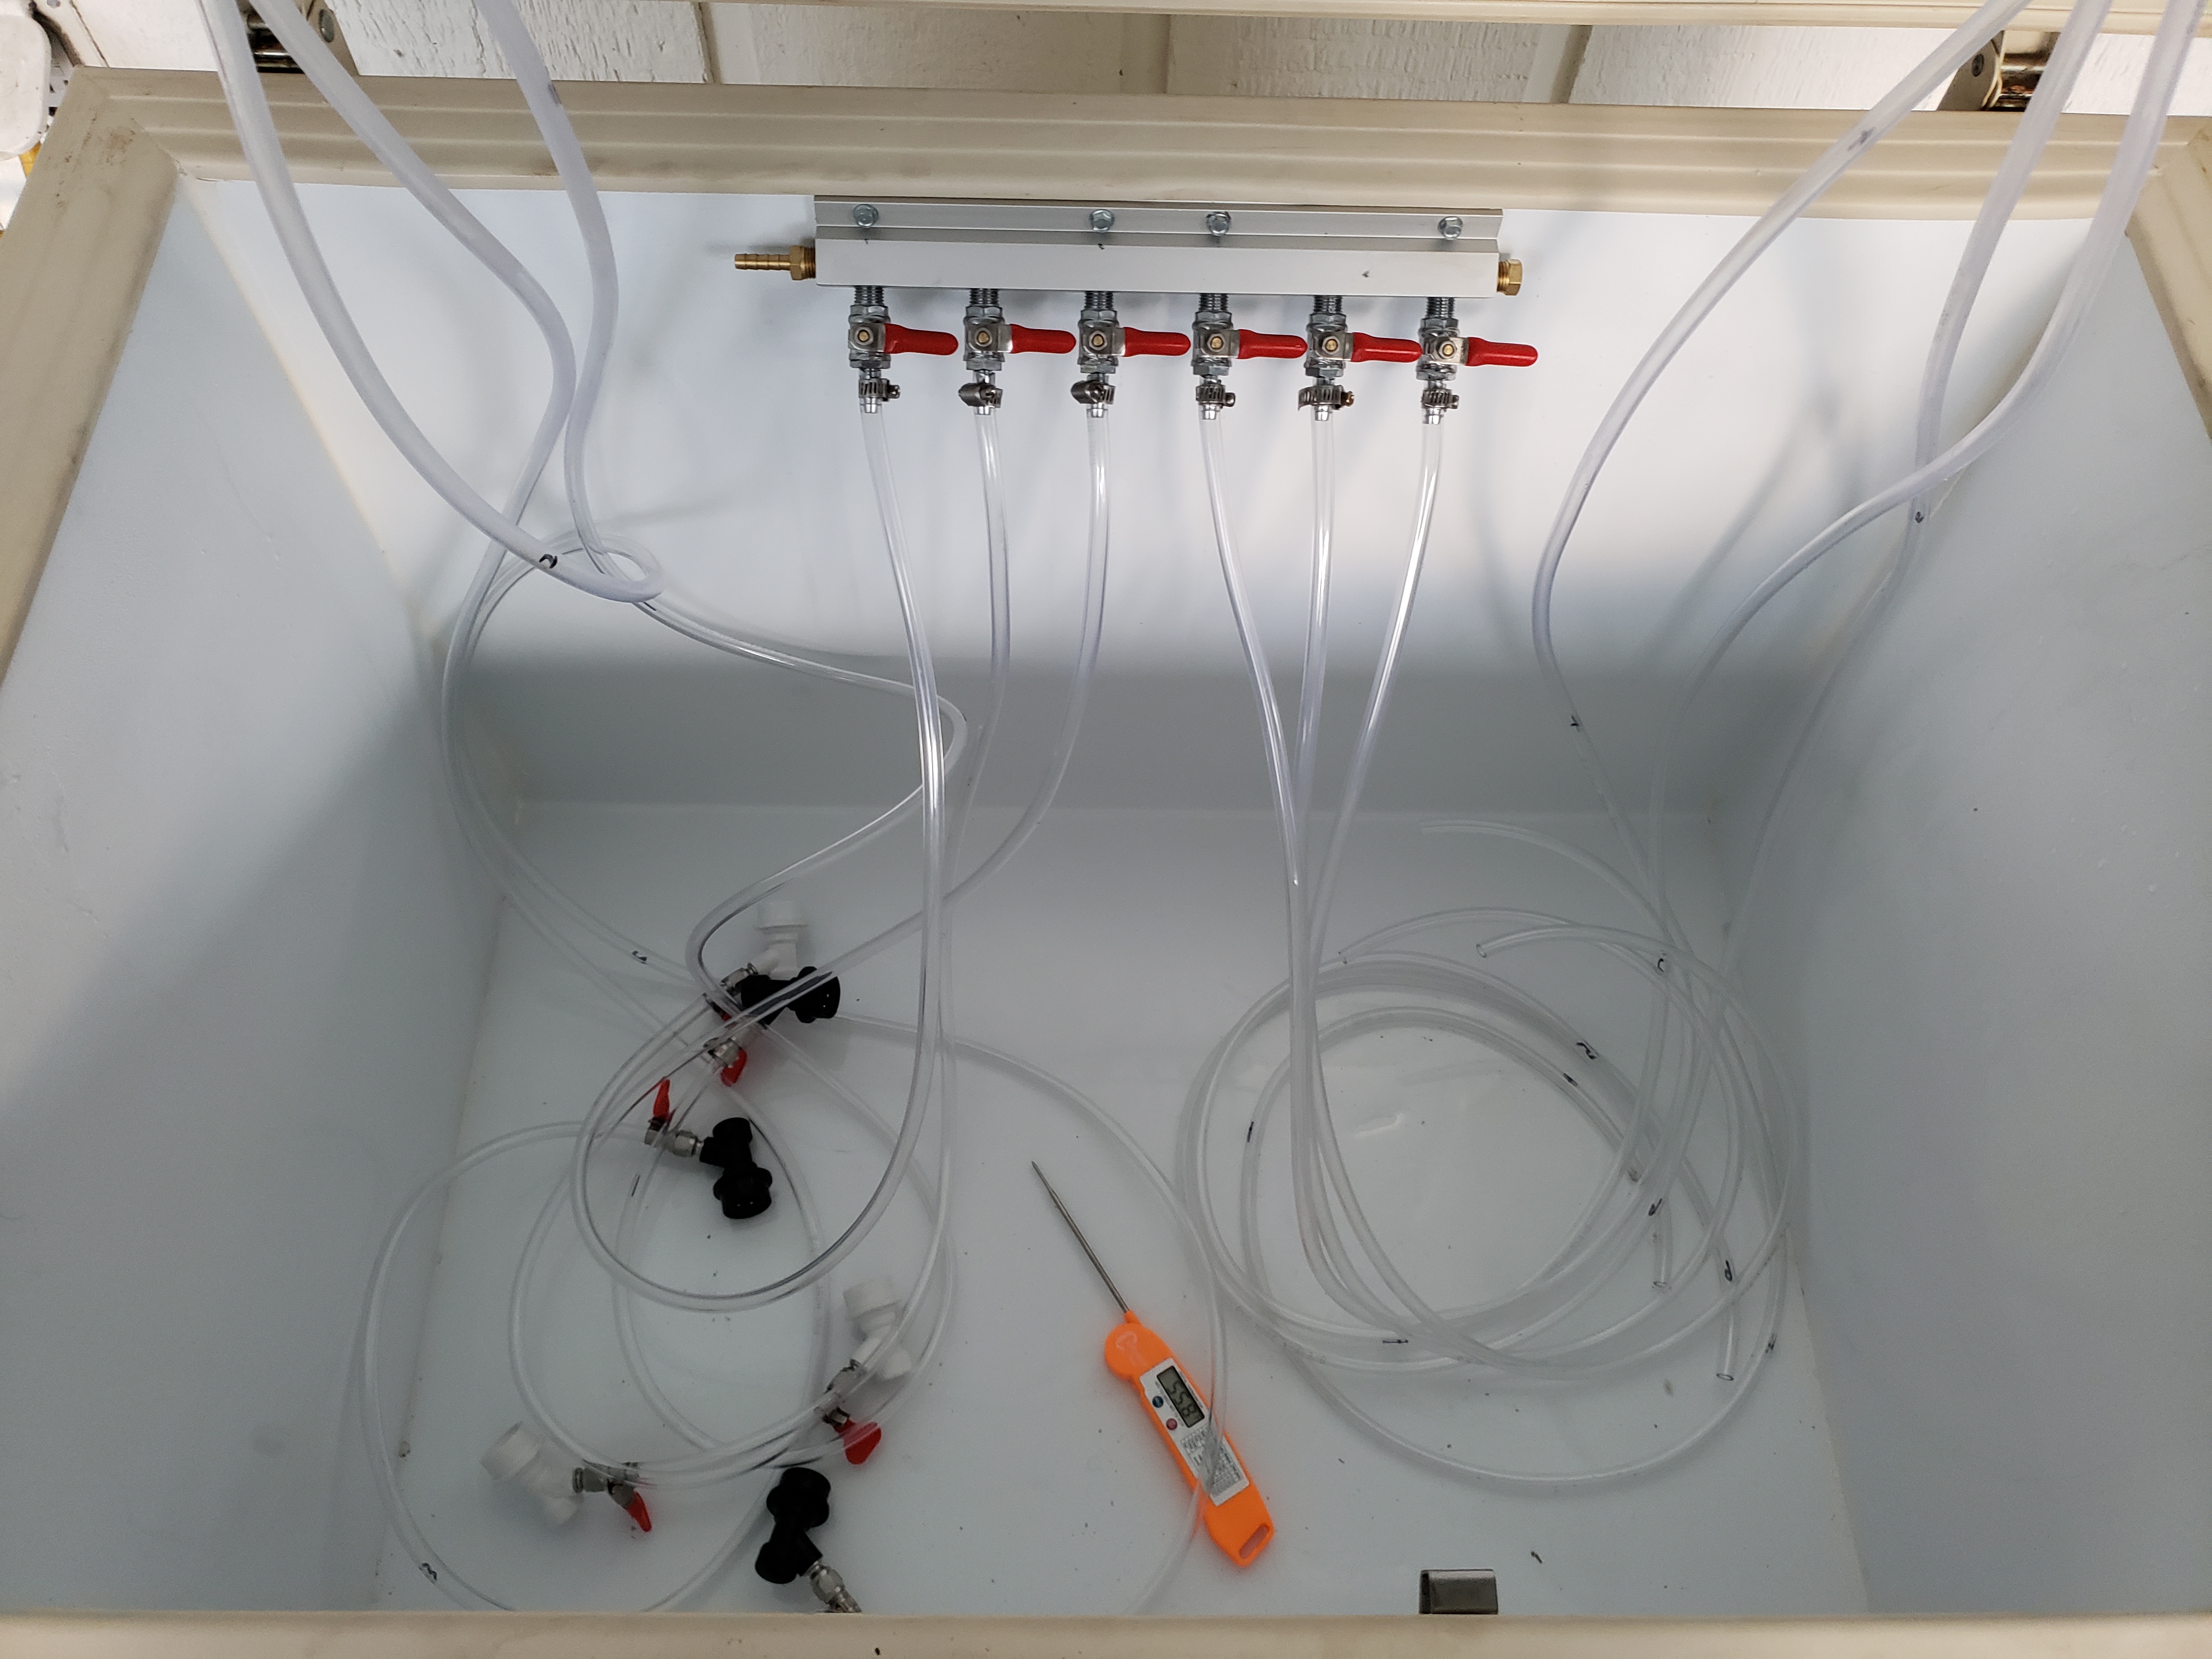
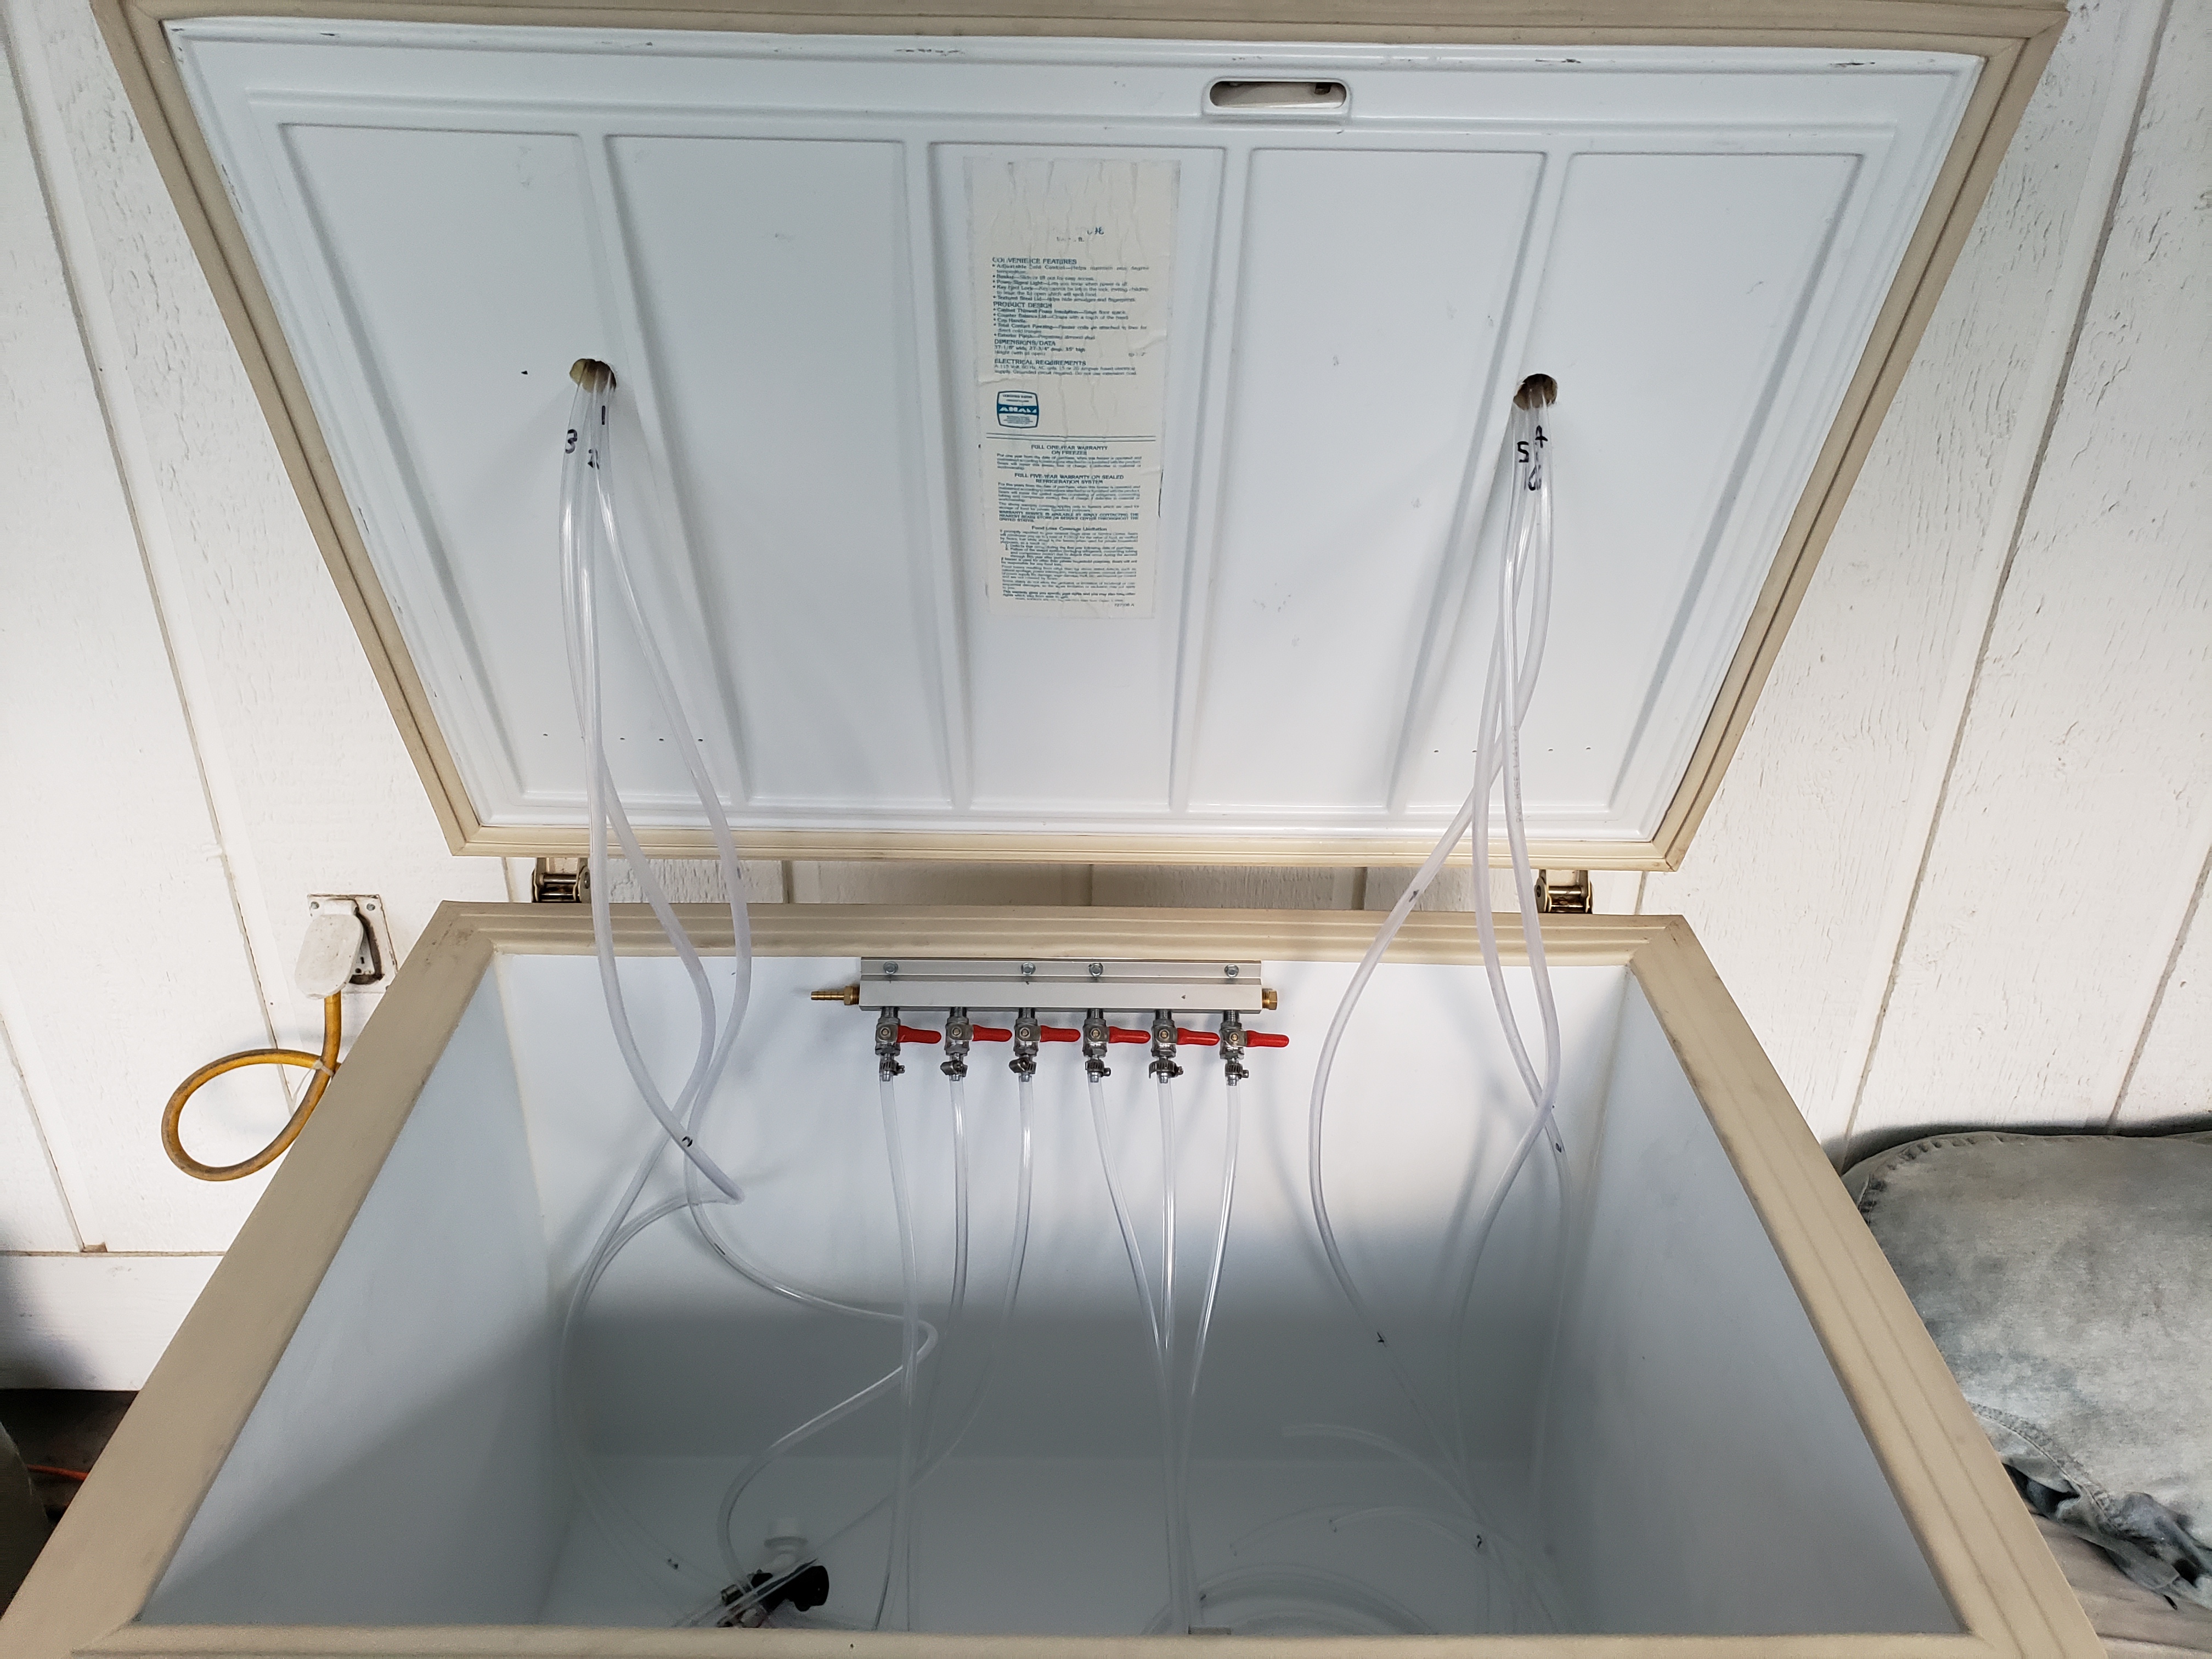
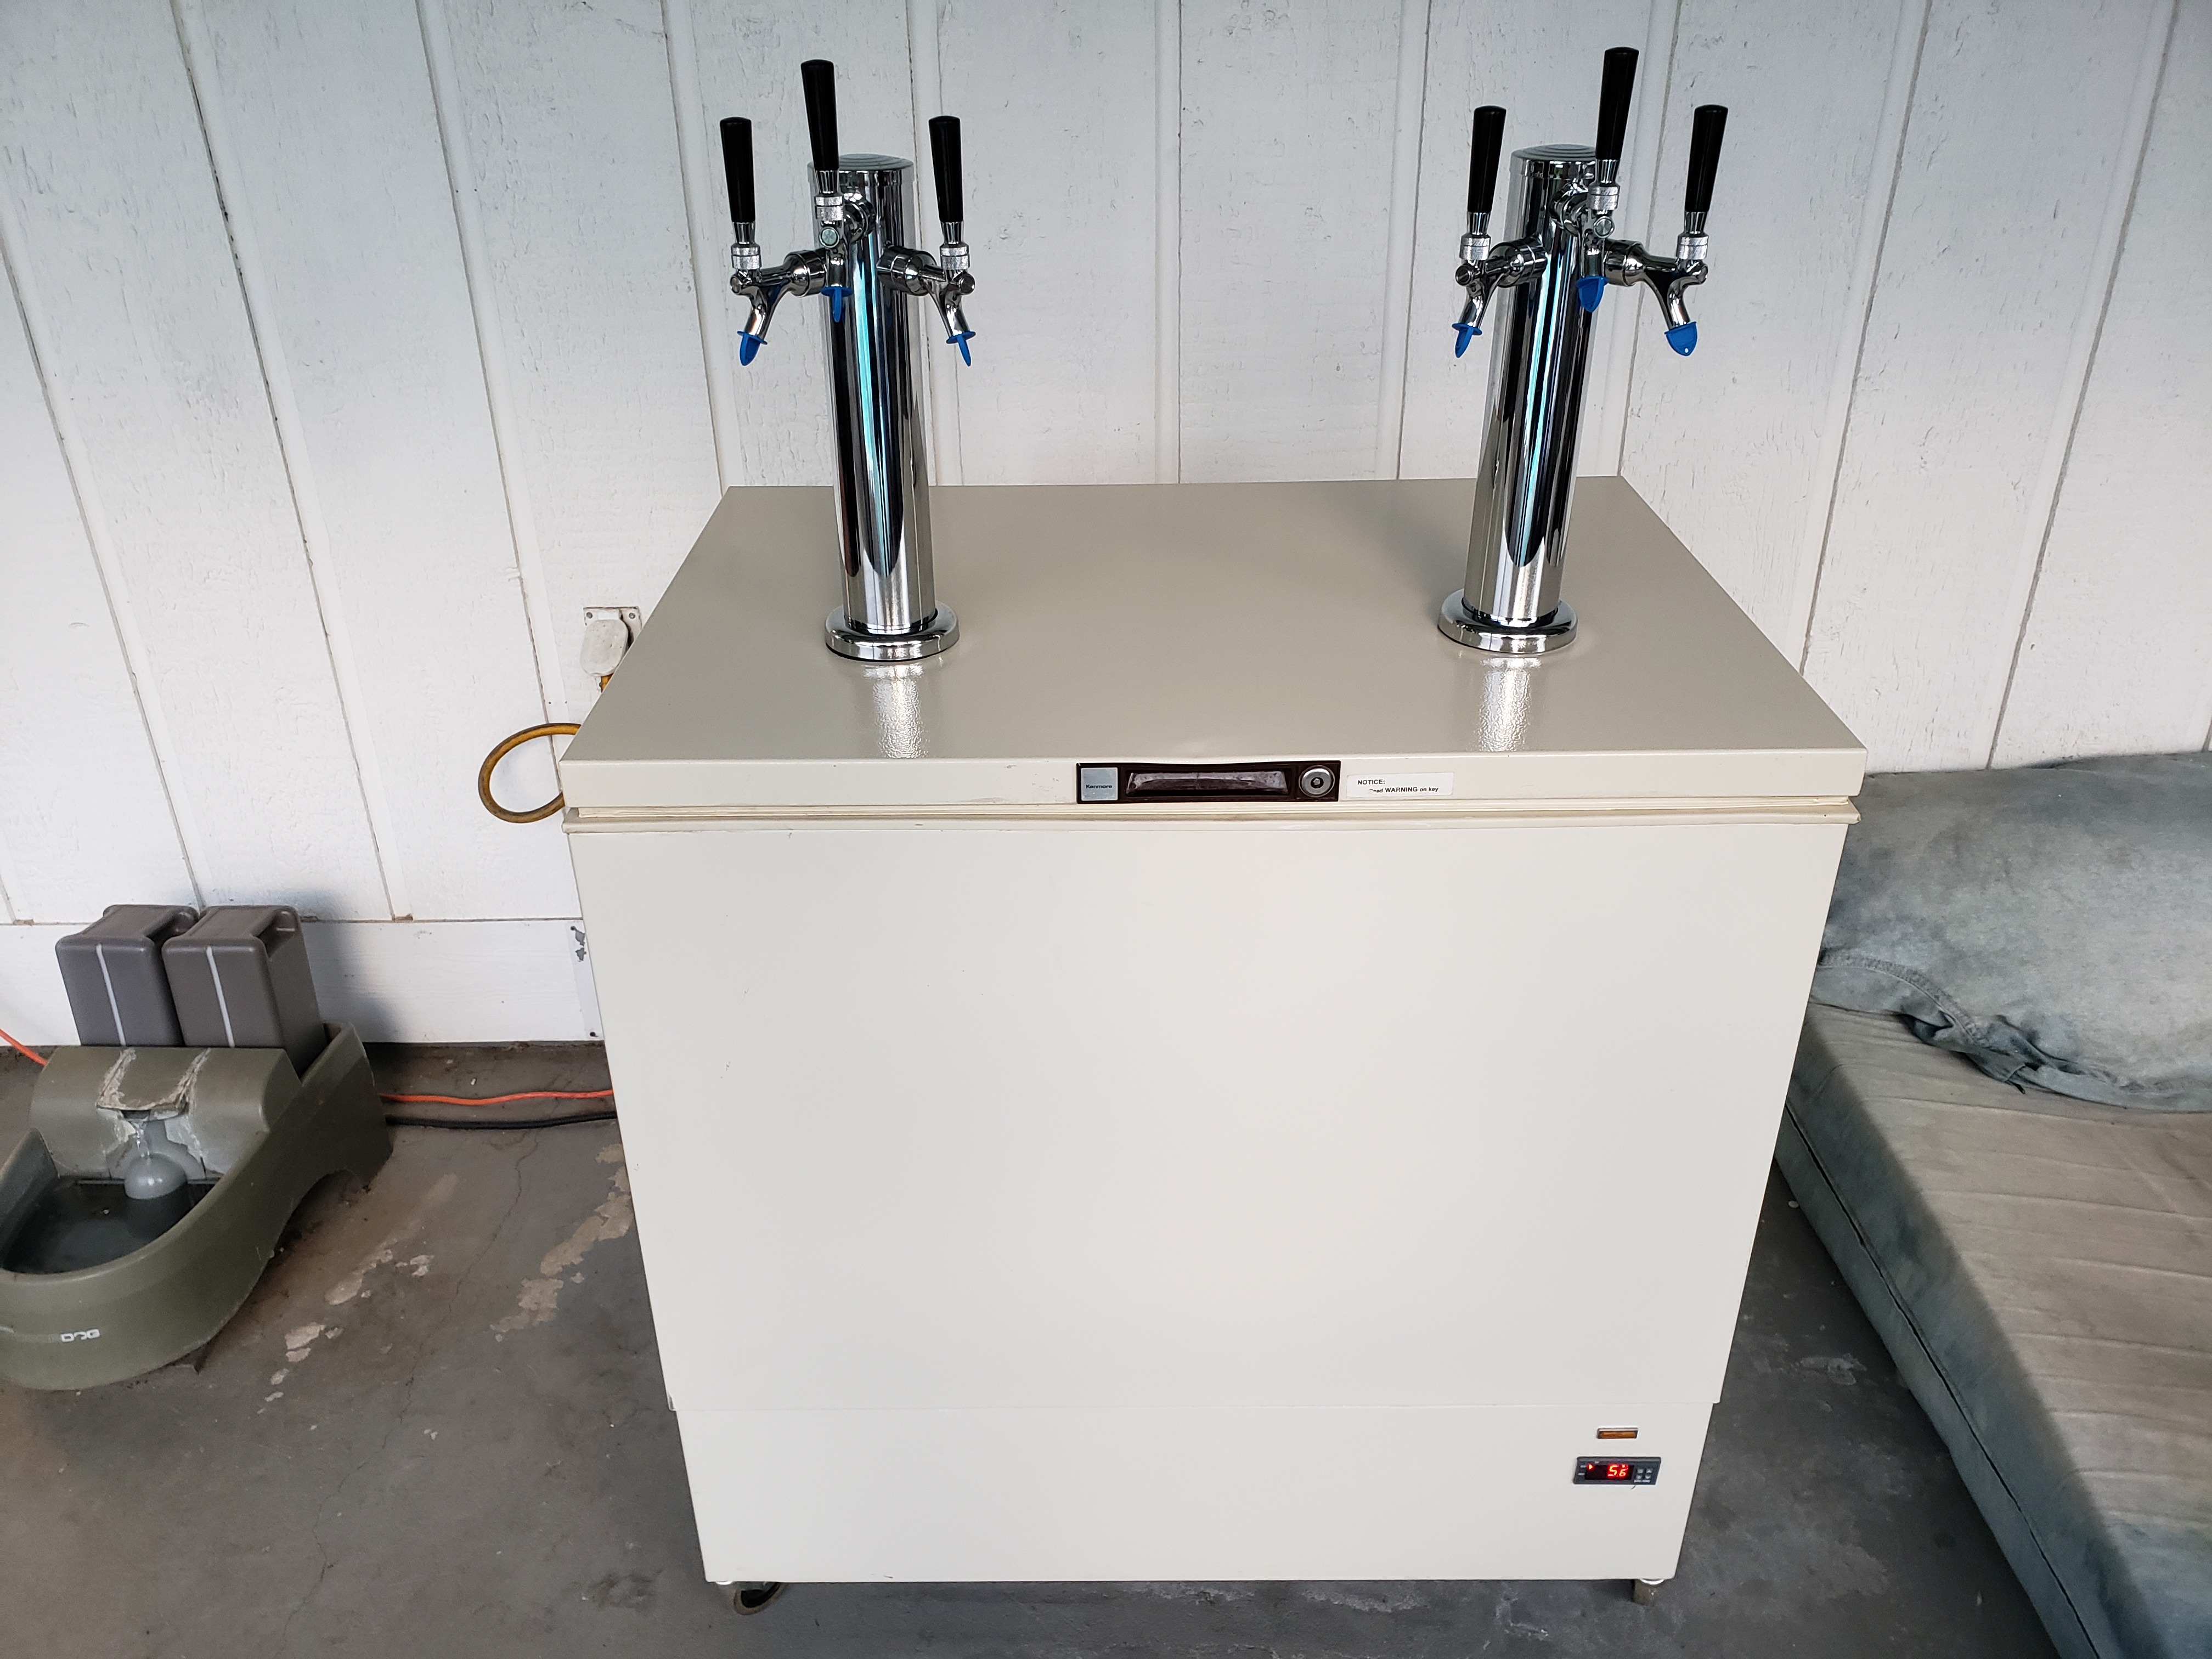
I avoided drilling and put 2 towers on the top.

The chest freezer I have does not have a hump it it. so I am able to fix 7 maybe 8 kegs with the C02 tank inside.

I had a butt pucker moment while drilling the 4 self tapping screws to mount the Valve rail

oEGrJr4.jpg

MCX1Z4P.jpg

s2HnBFY.jpg
 
Last edited:
I actually made some more alterations since the those pictures were taken.

I widened the holes in the top, to allow more cold air in the Towers, added a circulation fan to blow the air into the towers.. Added neoprene Tower covers too keep the cold in. (they actually got really cold)

I will get some more updated Pics, I still need to figure out a way to mount the fan up on the wall so I am not using up Keg space. Again Don't want to drill
 
You can get a pretty good idea where the coils run but turning it on and feeling where the exterior is warm. You may also be able to look for a replacement parts diagram which shows an exploded view of the internal parts.
 
Back
Top