
cohen_fetters
Active Member
- Joined
- Oct 25, 2013
- Messages
- 33
- Reaction score
- 2
Disclaimer:I did not come up with the idea of Wallace I am simply just writing up a DIY of my build which was based off Sam Scotts Wallace.
Also this is a work in progress. Come back for updates
I am fairly new to home brewing with only a few extract batches under my belt (and barely drinkable) and have been wanting to get into All Grain brewing for sometime. I have been looking around the past few days at commercial brew stands and trees and just can't fork over the $600 even for a gravity system at this point in time with out my wife KILLING me!!!
One day I stumbled across Señor Wallace while trying to gather ideas for what i wanted to build since it was way cheaper and I could customize it to my liking. Another thing holding me back was I don't have a welder or for that matter know how to weld. And lets face it I could use that extra money on more equipment!!!
So I studied Sams build and made my way to Lowes to pick up stuff to build my very own "Wallace" for a fraction of the cost of a commercial stand.
My dimensions right now are 54 1/4'' by 23 1/2" by 16 1/4"
Supplies:
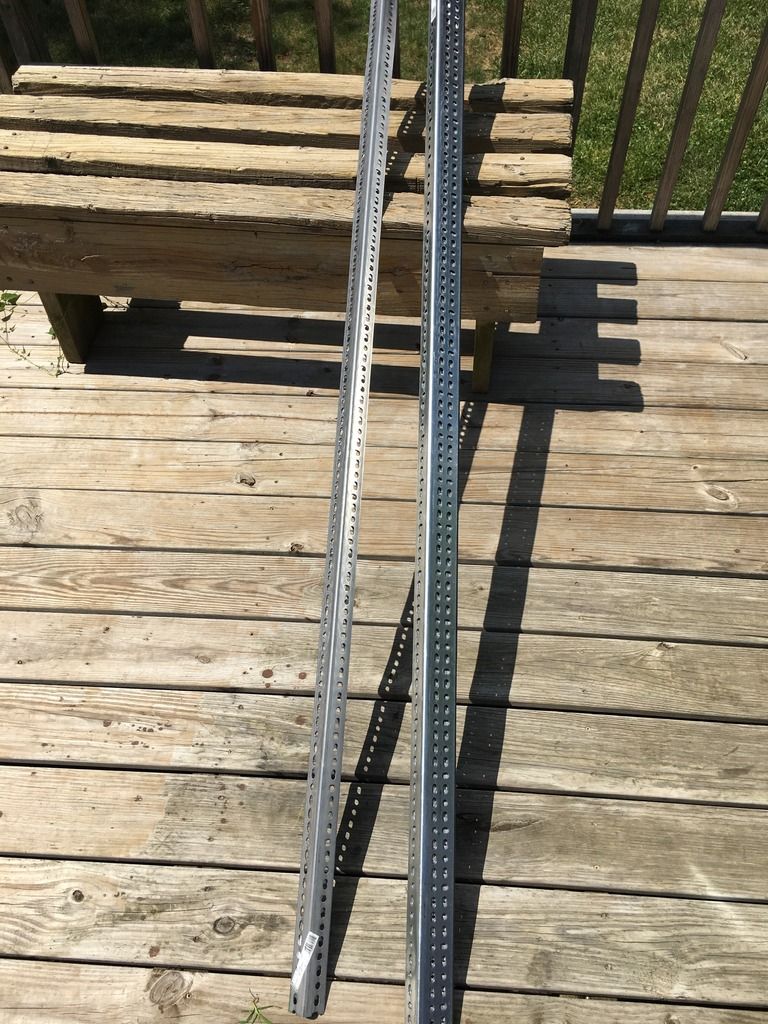
Zinc Plated Angle Iron
Hardware
Tools
1. I measured 54" on 2 1/4" irons and cut 2 16" pieces for my sides. I did this for both top and the bottom.
For the bottom I but the larger side out.

For the top the larger side is on the top (the part that will contact the kettles)

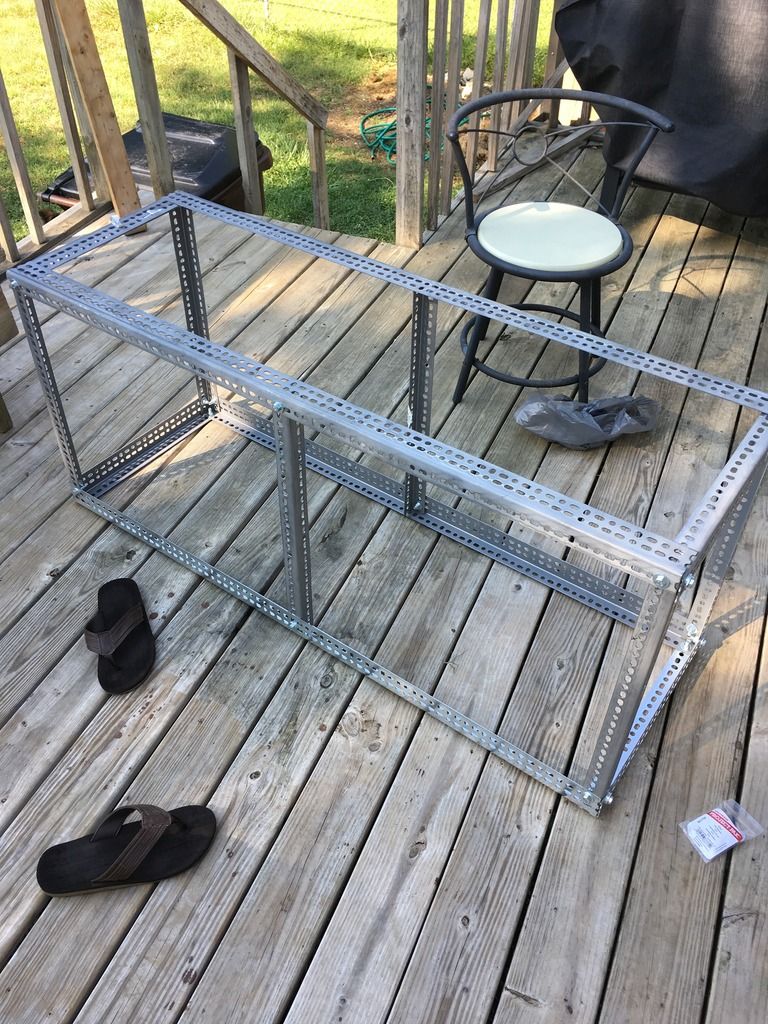
2. Cut 6 legs at 23". 4 for the out side and 2 in the middle for support and bolt them up.
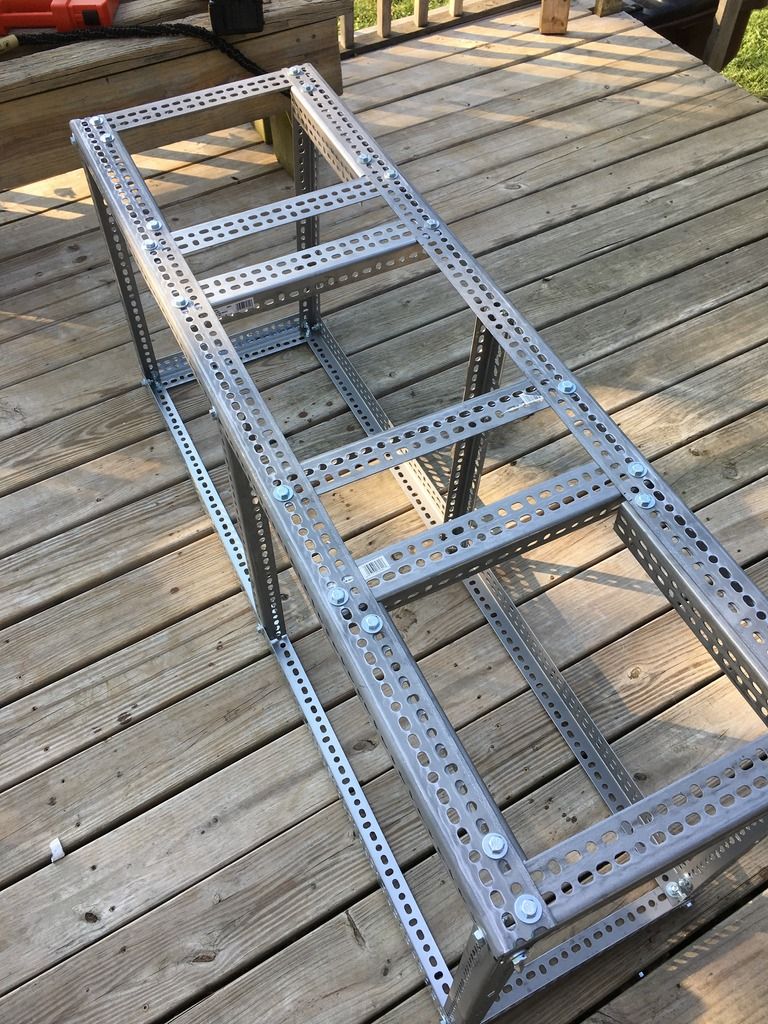
You should end up with something like this:
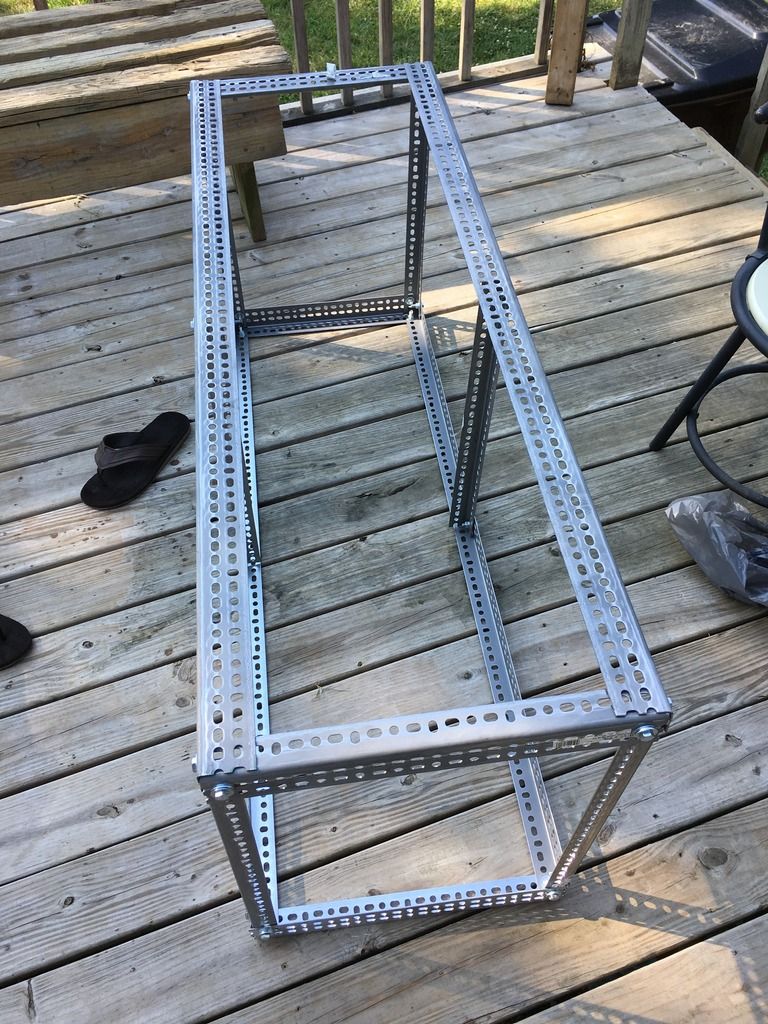
Finally for the 3 section on the top I cut 2 11 1/4'' pieces and 16" pieces to form my housings for the burners.
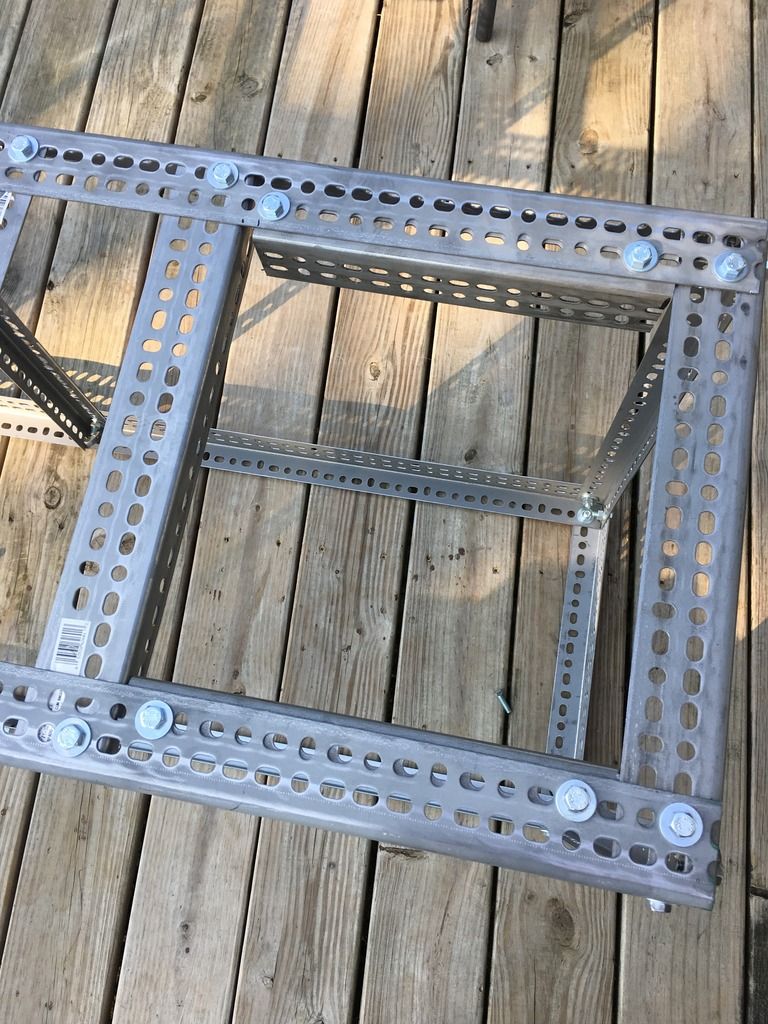
I am holding onto the scraps as I think i can use them as brackets when I mount my burners ( which i am leaning towards hurricane or BG12 burners.
As you can see this is only a skeleton I still have stuff to add to it. I still need to add caster wheels and the brackets for up top to hold my 2 burners and mash tun. This is what i got done today for about $125.
Trying to figure out what burners I should use that is what is holding me back at this moment in time from building them in and the spot for my mash tun in the middle
Stay tuned for more updates
Also this is a work in progress. Come back for updates
I am fairly new to home brewing with only a few extract batches under my belt (and barely drinkable) and have been wanting to get into All Grain brewing for sometime. I have been looking around the past few days at commercial brew stands and trees and just can't fork over the $600 even for a gravity system at this point in time with out my wife KILLING me!!!
One day I stumbled across Señor Wallace while trying to gather ideas for what i wanted to build since it was way cheaper and I could customize it to my liking. Another thing holding me back was I don't have a welder or for that matter know how to weld. And lets face it I could use that extra money on more equipment!!!
So I studied Sams build and made my way to Lowes to pick up stuff to build my very own "Wallace" for a fraction of the cost of a commercial stand.
My dimensions right now are 54 1/4'' by 23 1/2" by 16 1/4"
Supplies:
Zinc Plated Angle Iron
- (2) 1-1/2" X 1-1/2" X 6ft $15 each
- (6) 2-1/4" X 1-1/2" X 6ft $21 each
Hardware
- (2) boxes 5/16"x 3/4" bolts
- plenty off washers
- (2) boxes of 5/16'' nuts

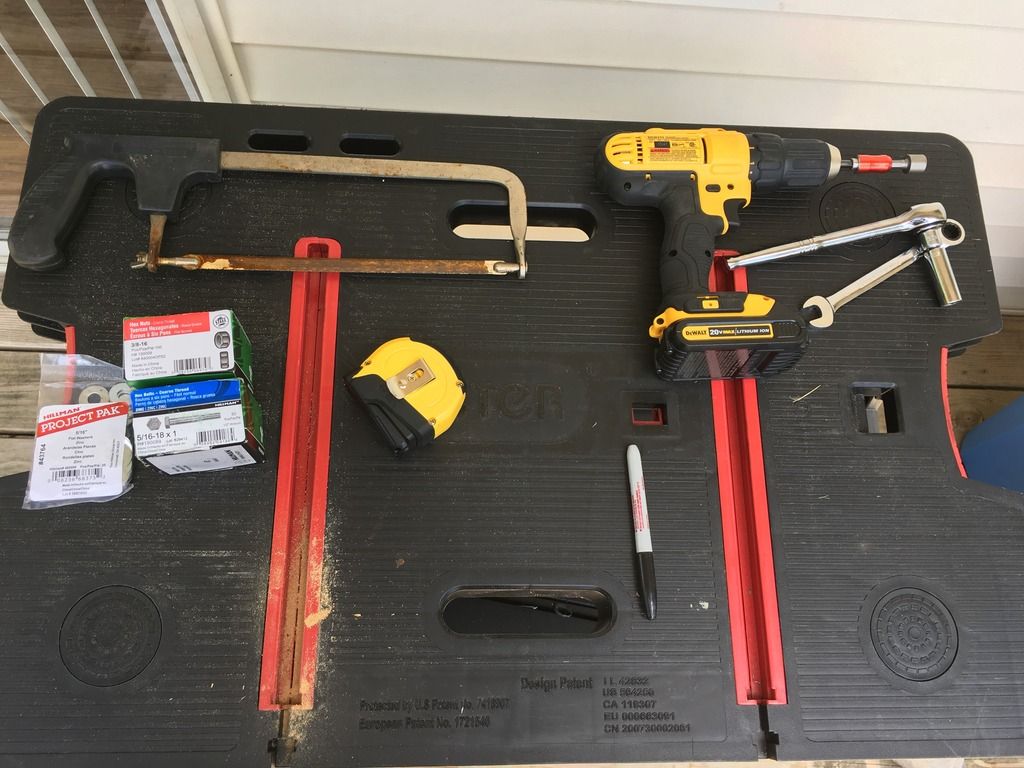
Tools
- Hack Saw (PITA and not very precise)
- 1/2" wrench and socket
- Tape measure
- Workbench and clamps
- Sharpie
- BEER BEER BEER

1. I measured 54" on 2 1/4" irons and cut 2 16" pieces for my sides. I did this for both top and the bottom.
For the bottom I but the larger side out.

For the top the larger side is on the top (the part that will contact the kettles)

2. Cut 6 legs at 23". 4 for the out side and 2 in the middle for support and bolt them up.
You should end up with something like this:


Finally for the 3 section on the top I cut 2 11 1/4'' pieces and 16" pieces to form my housings for the burners.

I am holding onto the scraps as I think i can use them as brackets when I mount my burners ( which i am leaning towards hurricane or BG12 burners.
As you can see this is only a skeleton I still have stuff to add to it. I still need to add caster wheels and the brackets for up top to hold my 2 burners and mash tun. This is what i got done today for about $125.

Trying to figure out what burners I should use that is what is holding me back at this moment in time from building them in and the spot for my mash tun in the middle
Stay tuned for more updates
