Direct Fire MLT Insulation Project

Homebrew Talk - Beer, Wine, Mead, & Cider Brewing Discussion Forum

Help Support Homebrew Talk - Beer, Wine, Mead, & Cider Brewing Discussion Forum:

This site may earn a commission from merchant affiliate links, including eBay, Amazon, and others.
Bobby, that looks great! I may try to do something like this eventually, but for now I need a cheaper and easier solution for insulation.

I wasn't keen on using the reflectix either, and I saw in another thread that you had recommended using a welding blanket for insulation. I just bought this one: http://www.amazon.com/gp/product/B0057RJD0E

Do you think that will help at all? I figure I can wrap it around the MLT just to see if it makes any difference.
 
Last edited by a moderator:
That stuff is a bit more of a spark shield as it's very thin 1/32". It will help a little bit by trapping a layer of air, but it's a large enough piece of material that you can use it to make an encapsulated fiberglass blanket. Get some 1 or 2" thick fiberglass insulation (unfaced, no paper or foil) and lay it down the center of that welding blanket. Then fold the blanket over the fiberglass overlapping. Use some safety pins or binder clips to hold the flaps together. That side can now face towards the MLT and it will look pretty neat and work 100x better than just the thin welding blanket.
 
That stuff is a bit more of a spark shield as it's very thin 1/32". It will help a little bit by trapping a layer of air, but it's a large enough piece of material that you can use it to make an encapsulated fiberglass blanket. Get some 1 or 2" thick fiberglass insulation (unfaced, no paper or foil) and lay it down the center of that welding blanket. Then fold the blanket over the fiberglass overlapping. Use some safety pins or binder clips to hold the flaps together. That side can now face towards the MLT and it will look pretty neat and work 100x better than just the thin welding blanket.

Hey Bobby, this thread has been a great help, thanks for sticking with it. When you suggest the welding blanket wrapped around the unfaced insulation, are you suggesting that in place of the mineral wool, or on place of the whole wool/sheet metal arrangement? I'm just getting ready to insulate my direct fire MLT and figure there's no use reinventing the wheel!

Life is Good!
David
 
I was suggesting the thin welding blanket would make a good fiber encapsulation method for easy to find fiberglass batting. I don't think I'd use mineral wool for a soft wrap type insulation because it really does need a stiffer shell to make it nice and round. So, mineral wool + metal shell or fiberglass batting wrapped in thin welding blanket.
 
back from the dead LOL!!

I was reading through this thread and Bobby M referenced this "3M Super 88 spray adhesive" but i cannot find this product anywhere when i search online. What can i use in its place? I was reading and a post above stated they had a burning smell etc which could have been the adhesive they used.

What should i use?
 
I used the 3M adhesive spray that was mentioned in Bobby's thread and I do pick up a nasty odor each time I heat the mash tun. Over time (several years now) it has deminished substantially. However, if I were to do it again I would try omitting the spray adhesive all together but still use the silicone sealant on top to keep water out. You could always go back in and add an adhesive if you were unhappy with the results.

Agreed. I've taken mine off my keggle only once since I built it. If you can just get it on for the first time you wouldn't need any glue. That said if you google 3m Super 77 you'll find a bunch of results. That's what I used. No odor that I notice.
 
Agreed. I've taken mine off my keggle only once since I built it. If you can just get it on for the first time you wouldn't need any glue. That said if you google 3m Super 77 you'll find a bunch of results. That's what I used. No odor that I notice.

I was looking at that one but it is only heat resistant to 150 and is flammable. Thinking maybe step up to the one that is resistant to 230.

How about this one: http://solutions.3m.com/wps/portal/...w-VOC-25-?N=8457824+5582876+3294387807&rt=rud
 
Maybe i will just use your advise and skip the adhesive.

By the way, for the record, i ordered that mineral wool from McMaster Carr without a clue they were in south atlanta (im in the north metro area). The lady on the phone says, you will likely get this today. I was like yeah, okay.. sure but did not say anything. Got home today. it was on my porch.. SAME DAY delivery was just 10 bucks. Insane!
 
Bobby, I know this thread is old but hows the insulated mlt working? Anything you would do differently if you were to build it today? Also how did you install the thermometer? did you extend it out with a nipple or coupler?
 
The insulation is still like new. I wouldn't do anything differently. My thermo coupler was already sticking out from the keg by about 3/4" so it cleared the wrap by a bit already.
 
i put mine together last week and brewed on Sunday. I was very happy with it. Seems to hold heat much better than my jacket that I had before.

I think we went about 30 or 40 minutes in about 35 degree weather before we needed to heat it at all. It was the smoothest mash i have had yet on this system.
Do you recirc your mash also?
 
i decided i was loosing too much heat doing so. I only did after i turned the burner on to keep from scorching it
 
His directions are very good. I used .032 sheet metal and was able to install with ratcheting straps which makes it very easy. Instead of using latches, I just riveted the seam. If need to take apart I will have to drill them out but people have stated they have not ever taking apart.The hardest part was the fittings and making sure they dont leak.


That is really cool, thank you. I wanted to insulate my kettle, but was concerned about using any meltables or fabrics...ive actually used Mineral Wool on a few 3B buildings now, its great, non combustible stuff! Ill be going this route, thanks again for showing this.
 
I built this direct fire MT last winter. I was fairly easy following the post here. The main issue I had was making sure the bulkheads didn't leak. It took some time and fun discovery finding leaks during water tests and then after using a few times. The bulkheads would move depending on outside temp and just not paying attention.

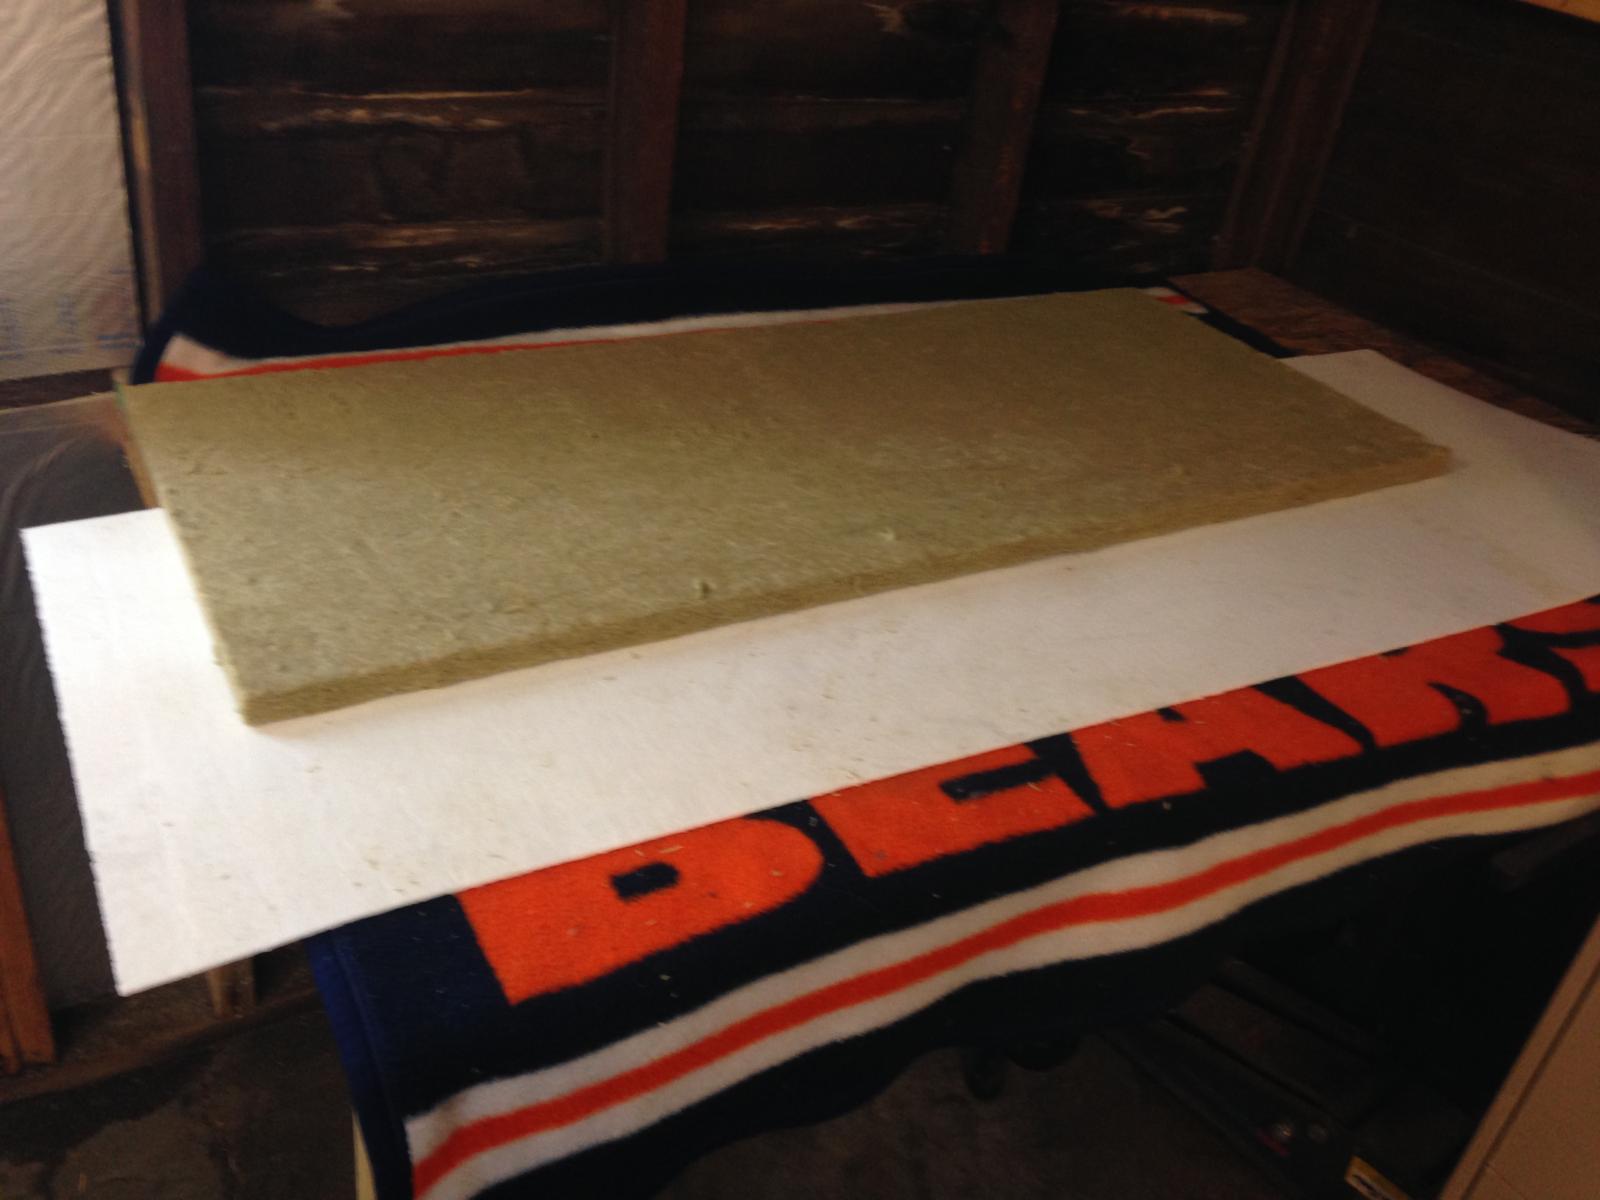
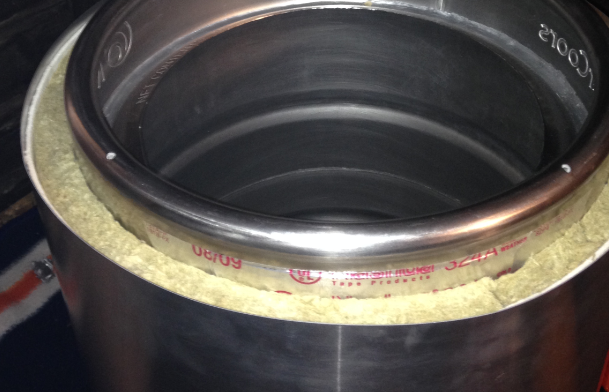
This winter I decided to check insulation. I removed the sheathing and found that the insulation held up well but was obvious that there had been leakage. The main evidence was the rusting on the wool.

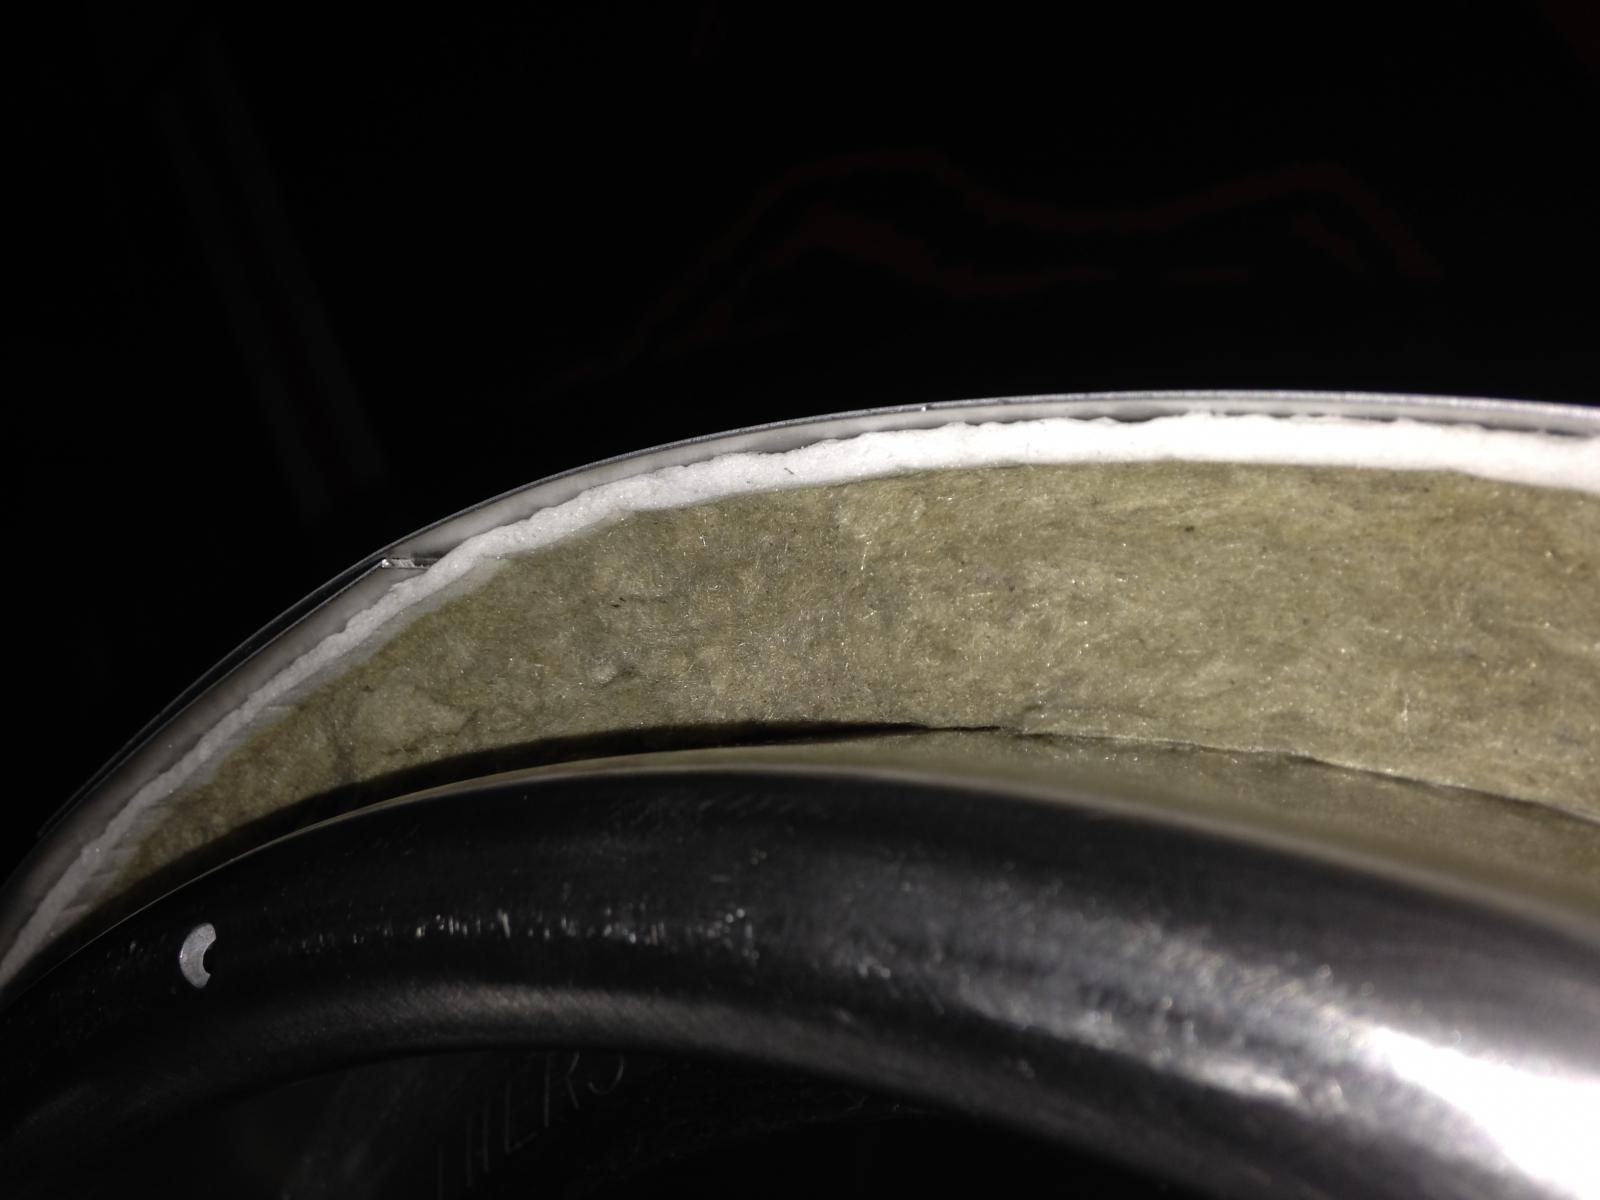
I bought some new rockwool from McMaster ($7). I also decided to add a layer of ceramic insulation and find some bulkheads that would ease my paranoia. I found new bulkheads at brewhardware. Bobby pretty much guarantied that you could crank these down and they would not leak. Sold. SO purchased them and cranked them down and did leak tests. NO LEAKS and tight. They will not budge when connecting and disconnecting the quick connects. Awesome product - True Weldless Bulkheads. (https://www.brewhardware.com/product_p/truebulkheadfem.htm)

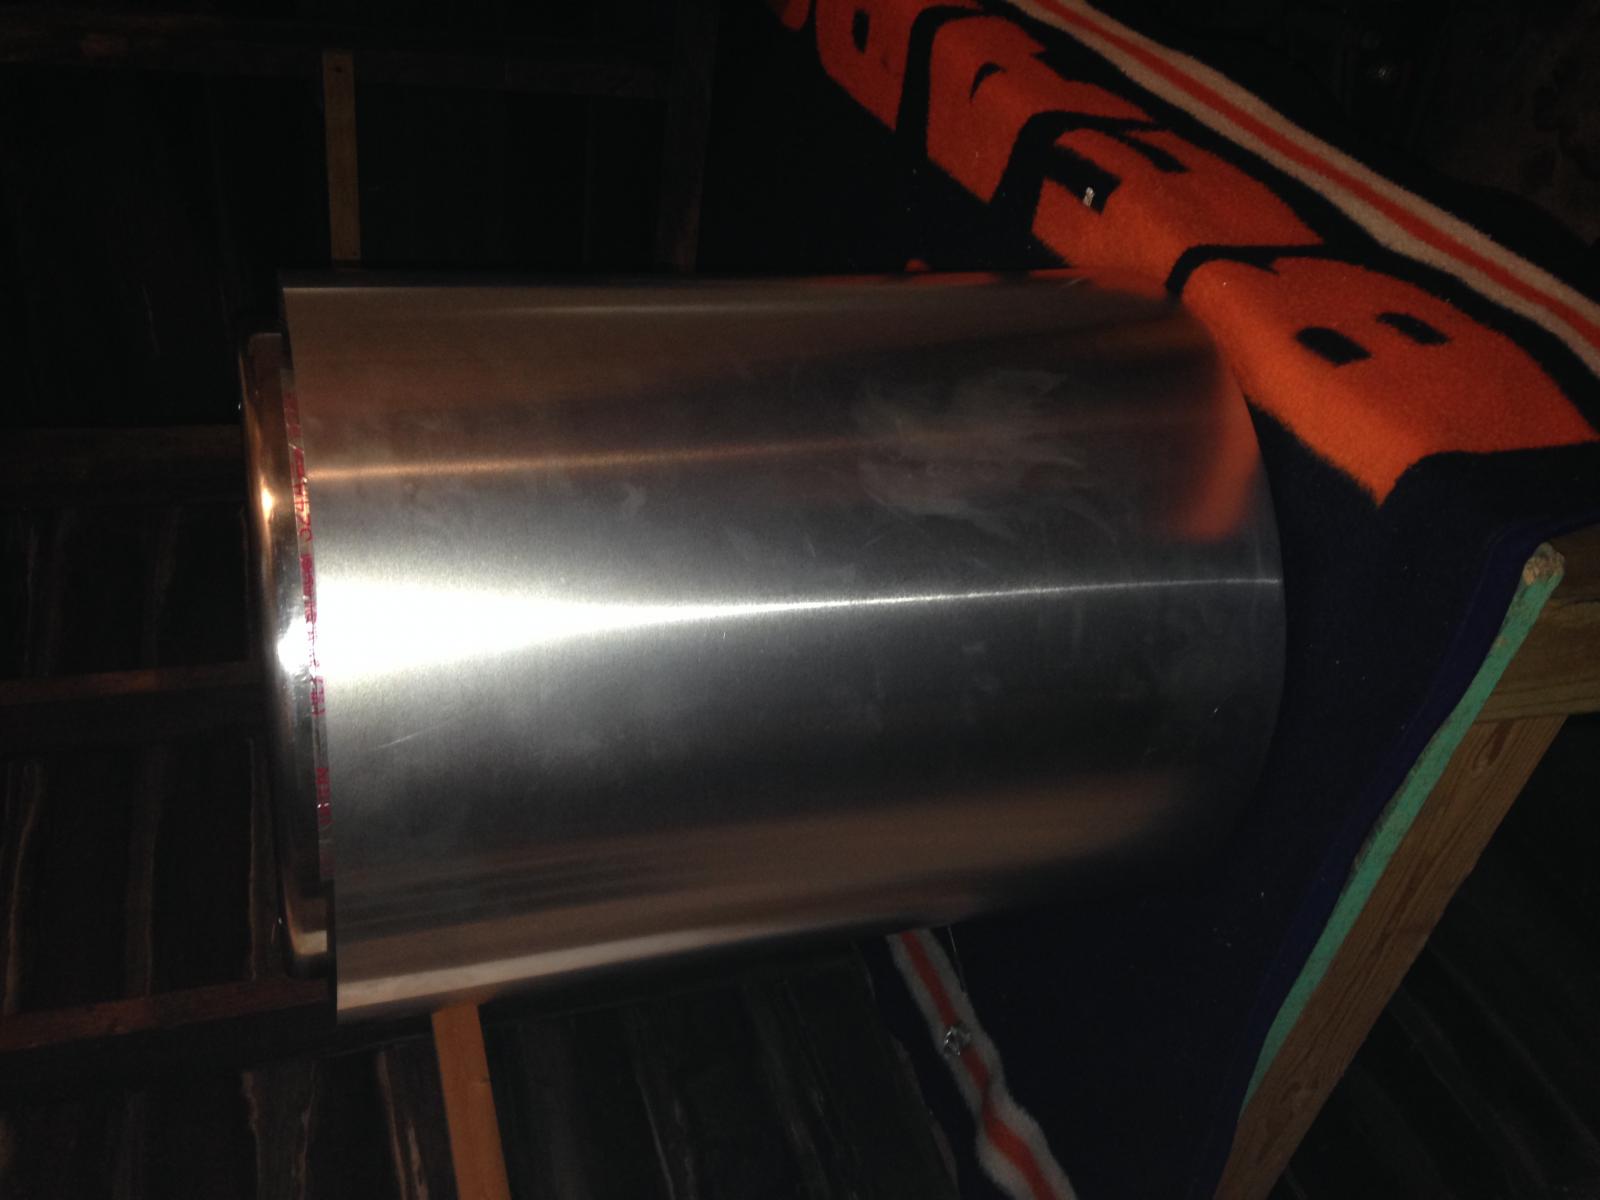
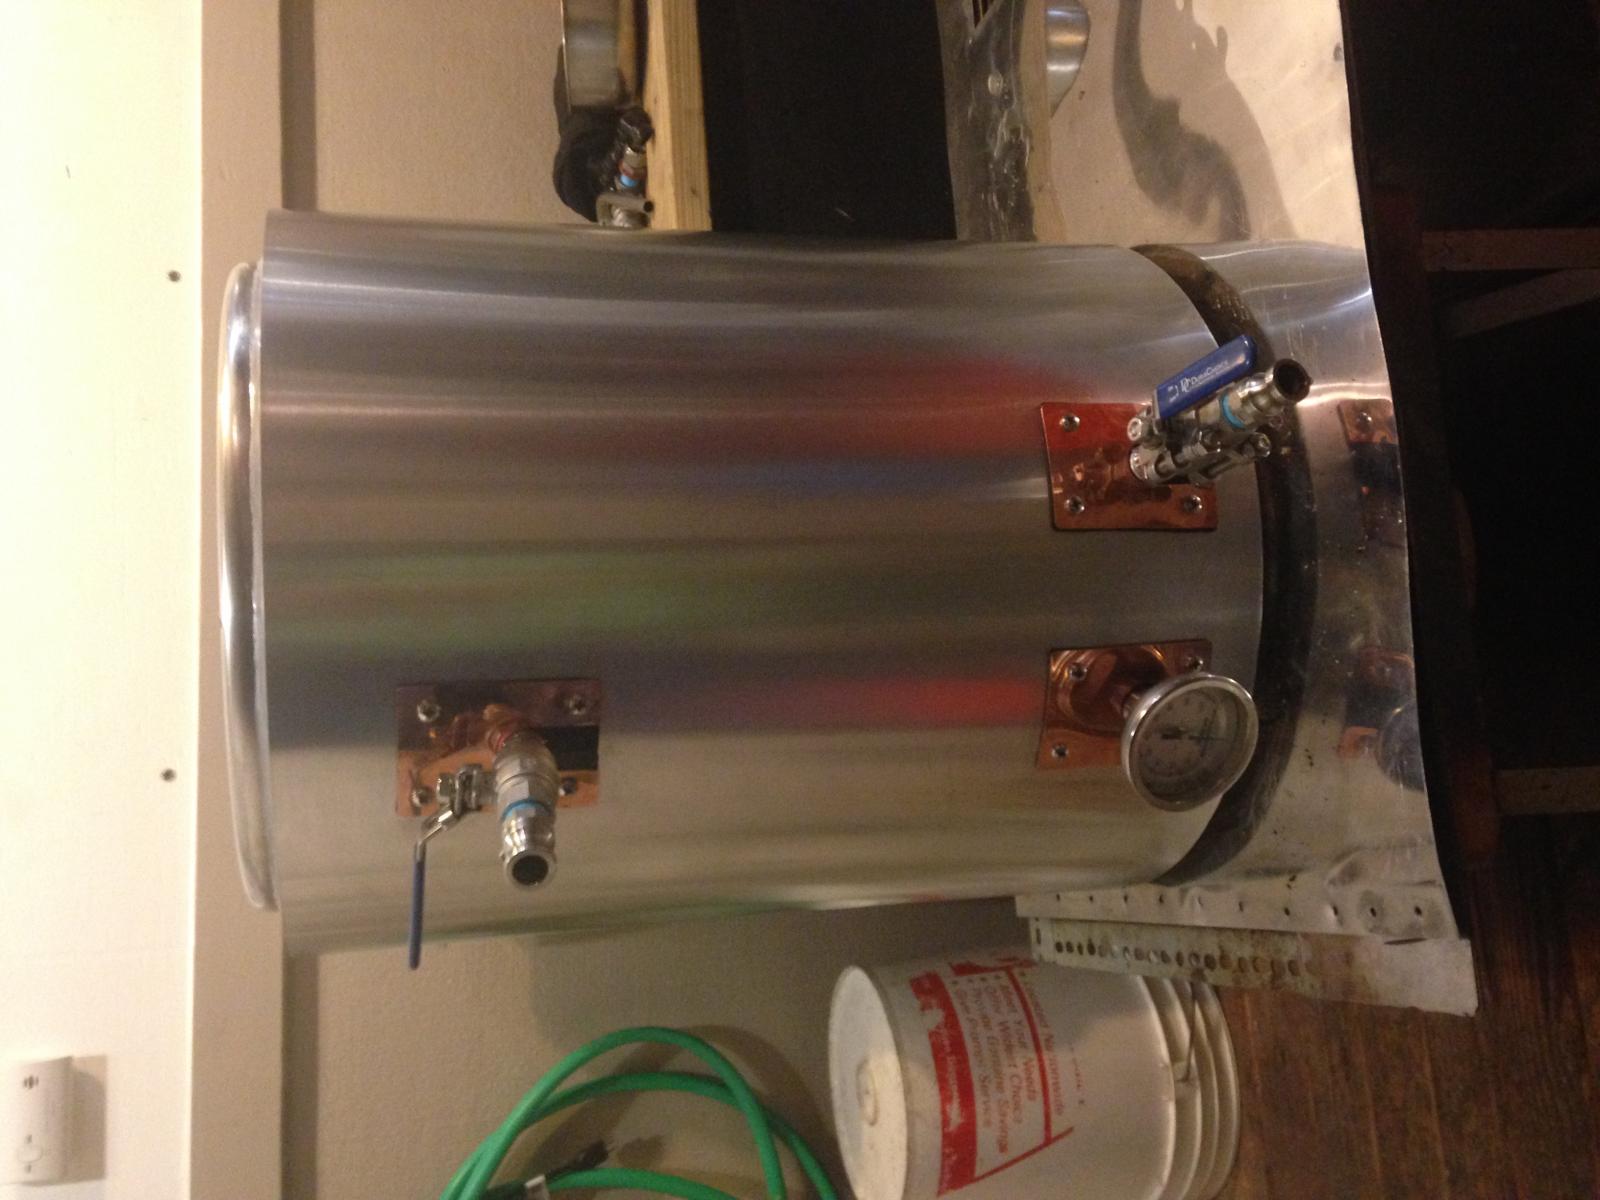
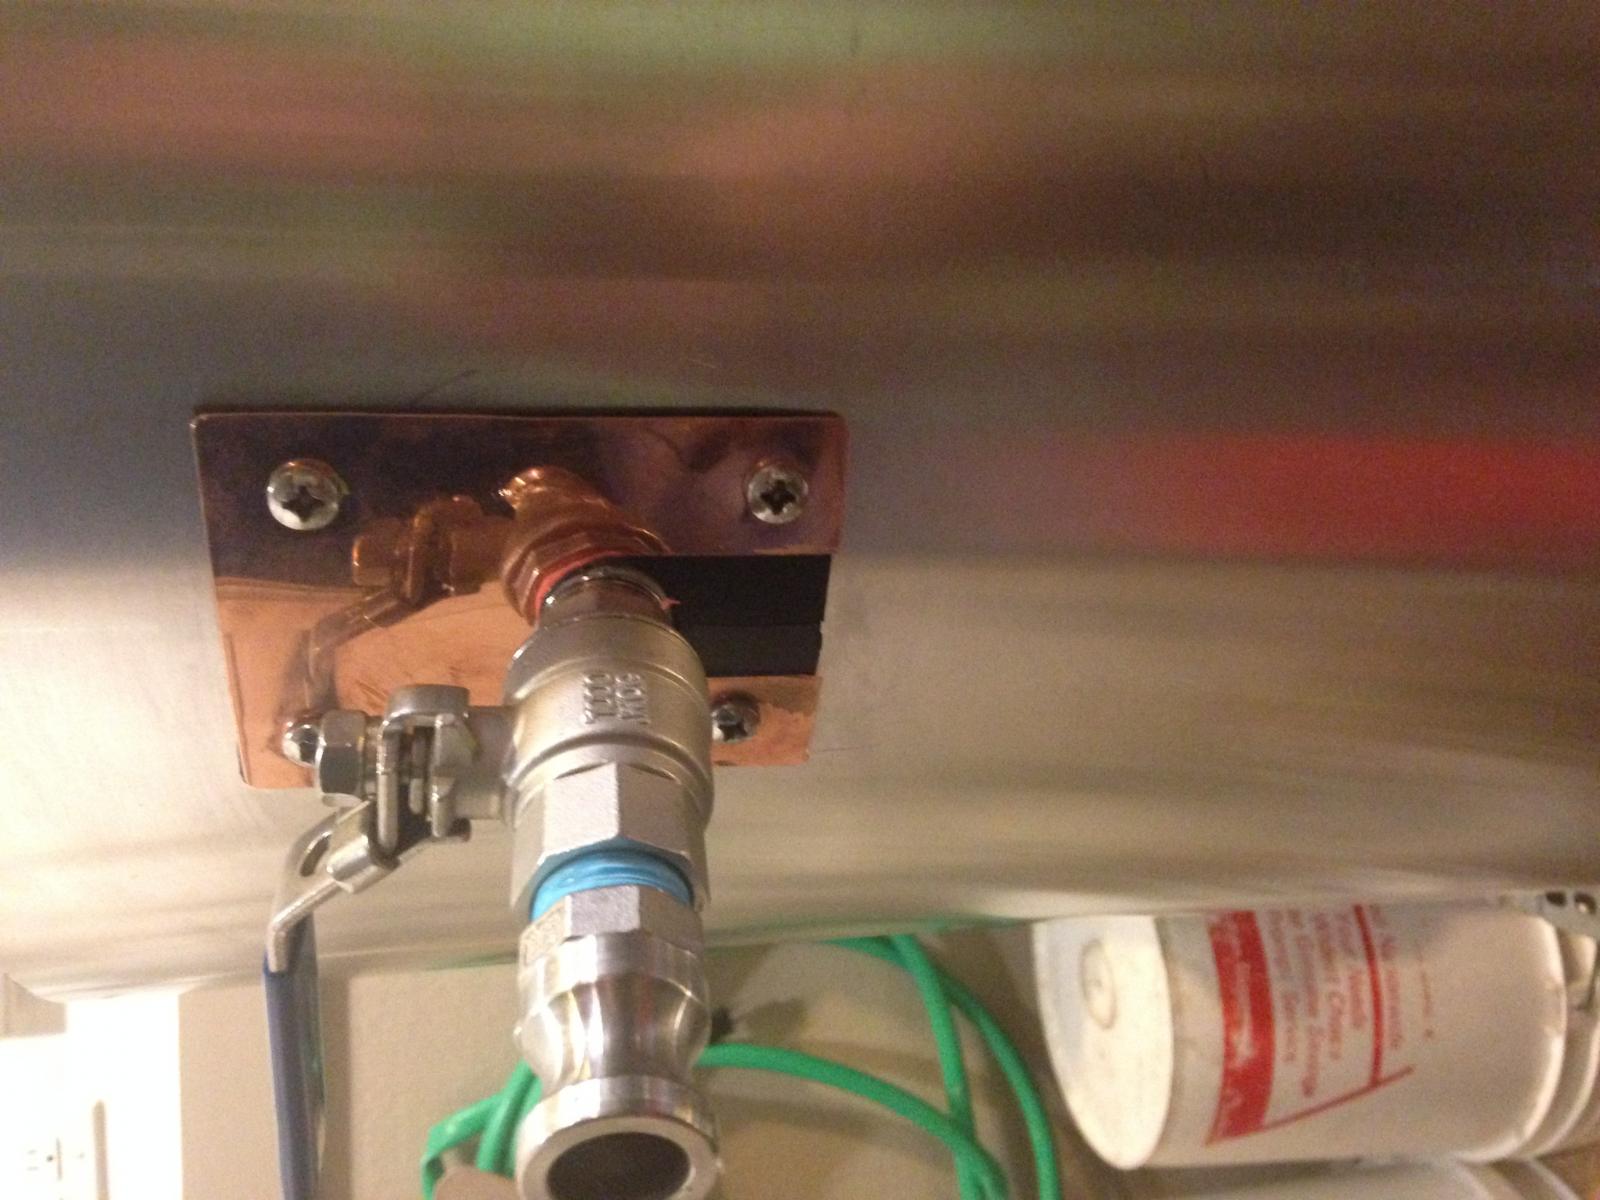
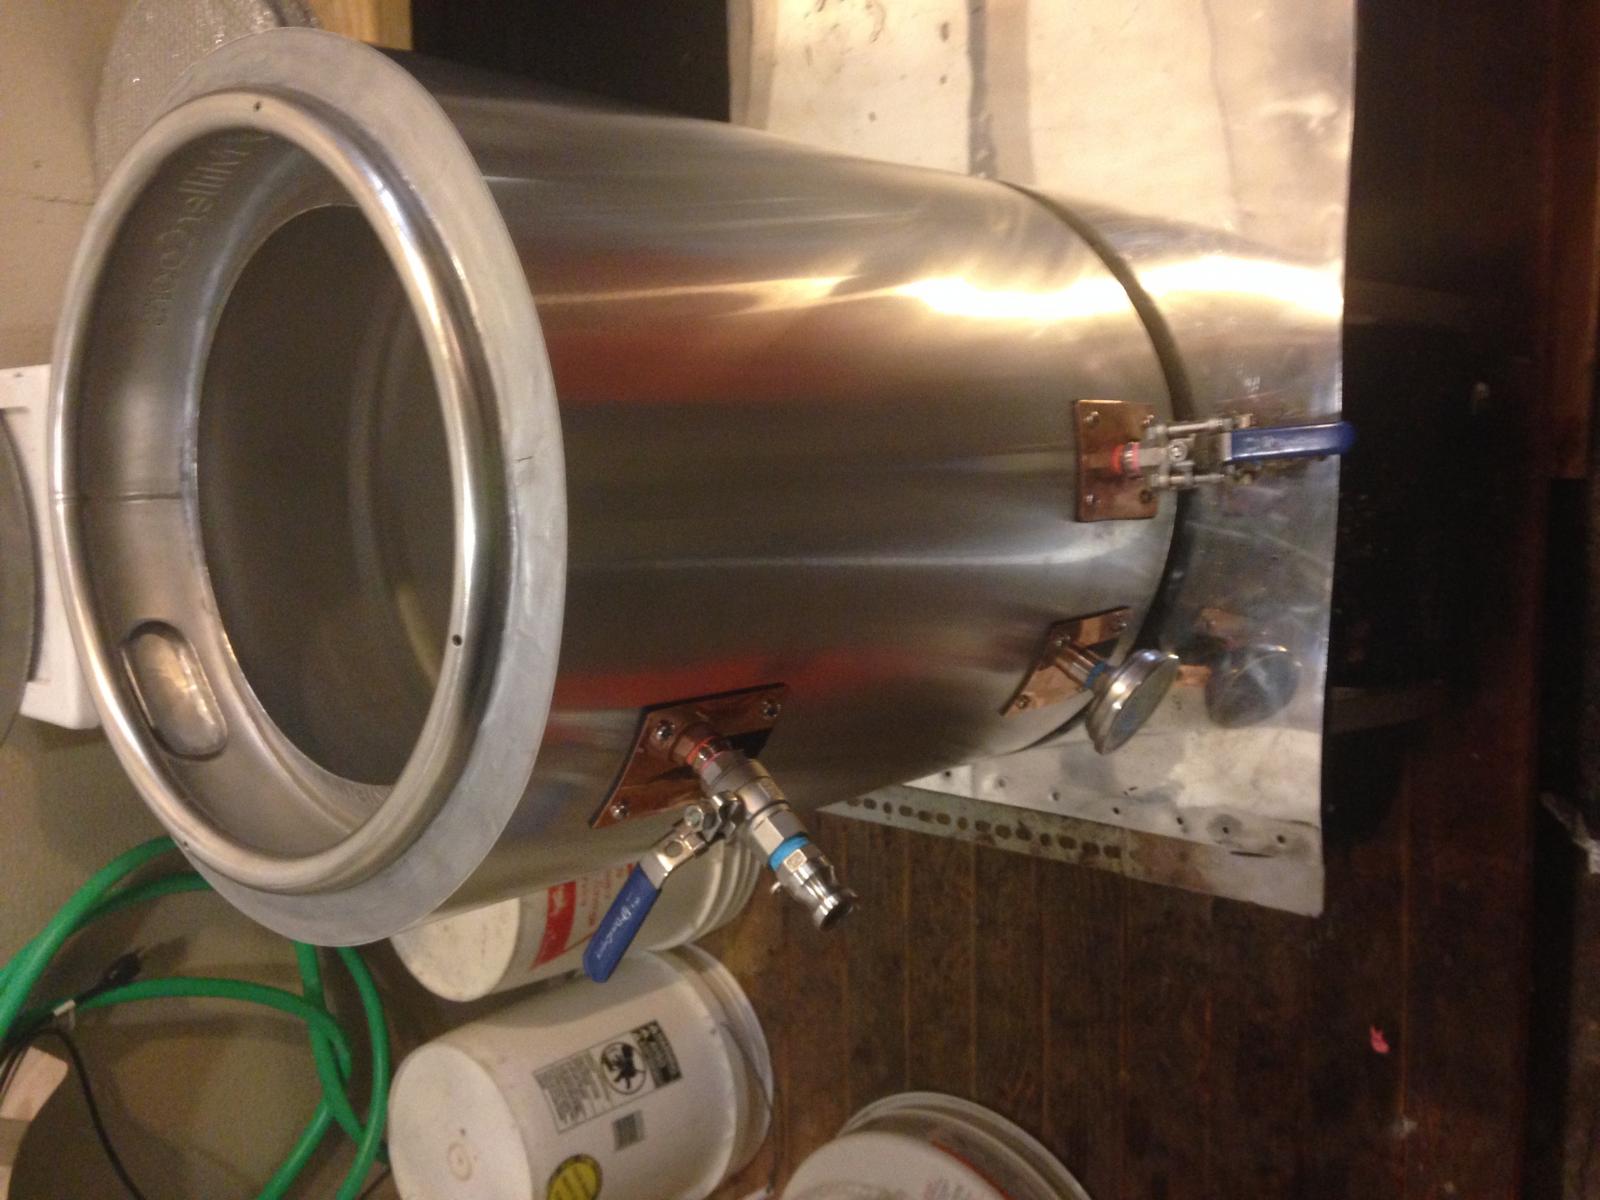
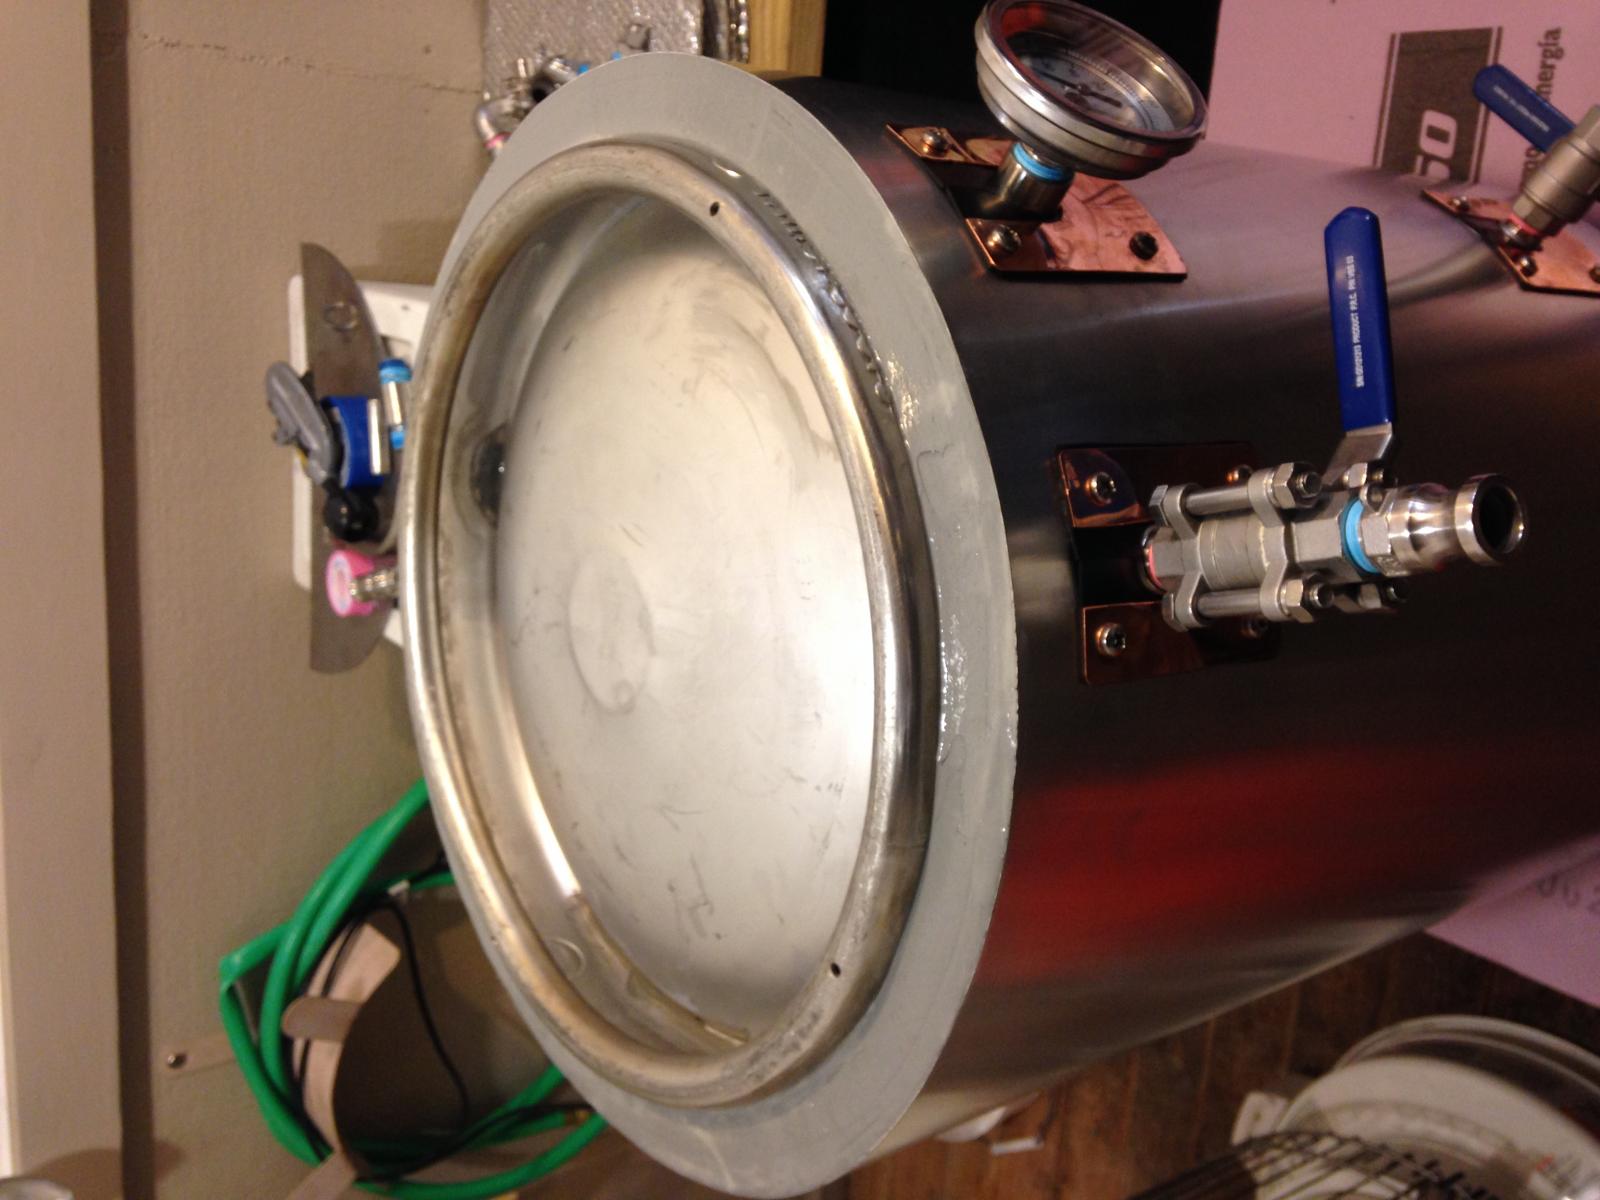
Here are some photos:

IMG_0079.jpg


IMG_0224.jpg


IMG_0231.jpg


IMG_0233.jpg


IMG_0269.jpg


IMG_0270.jpg


IMG_0271.jpg


IMG_0272.jpg


IMG_0291.jpg


IMG_0292.jpg
 
It looks like over kill but I wanted to make sure I never have to do this again. Things I learned...
- The bulkheads need to be tight as with it extending out as much as it does it doesn't take much to loosen outside bulkhead nut. Solution was to buy BobbyMs True Weldless bulkheads available at brewhardware.com
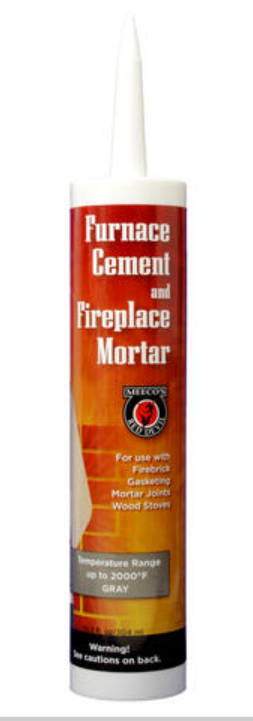
- I found that heat in old MT be uneven after applying heat. This was due to the bottom not being properly shielded and where the hole are on the bottom would allow more heat the where I had shielding. Solution was to make sure to heat shield the outside of keg well. I also used a tube of Furnace Cement and Fireplace Mortar from Menards. Heat resistant up 2000 degrees
- I did have to replace the sheathing as it was 1/4 inch to short with added ceramic blanket. I used the old sheathing as a fireshield on would stand. I also had enough sheathing to put top on stand above burners
- I also used screws to attach sheathing instead of rivets. Just easier to remove if required
 
mlafnitzegger, what was your process and product for finishing the top and bottom around the insulation?
 
mlafnitzegger, what was your process and product for finishing the top and bottom around the insulation?

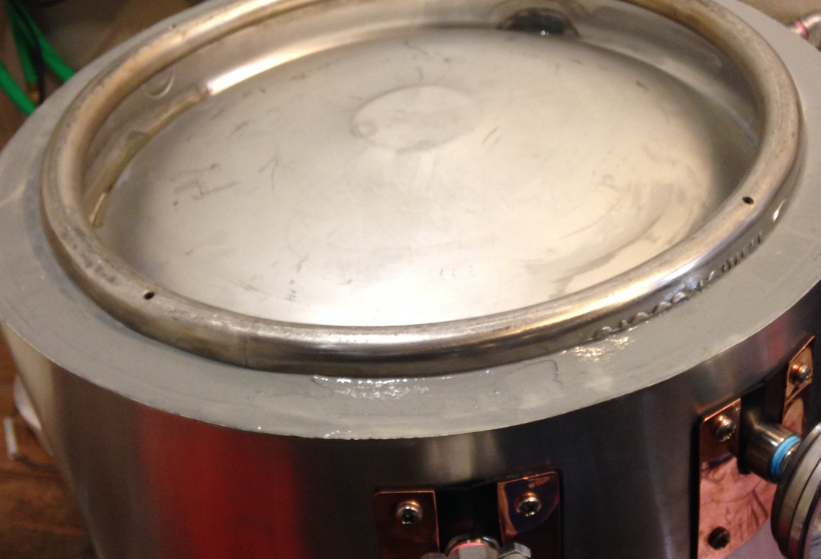
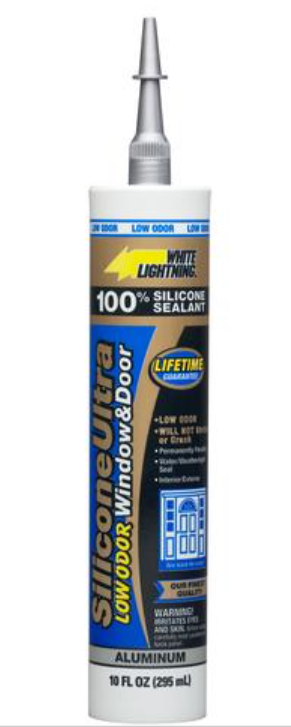
My old MT I used aluminum color pure silicon caulk on top and white pure silicon on bottom (I had white lying around and it's on the bottom). The top help up well. The bottom was ok but charred.

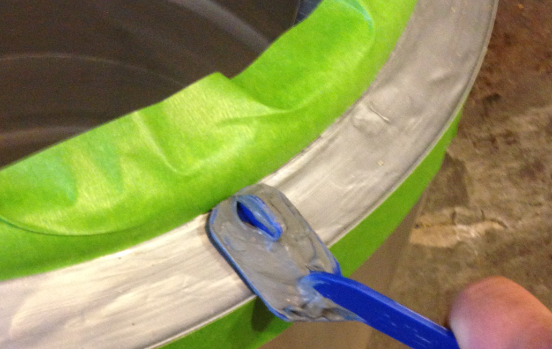
The new MT I had to replace the sheath so I went with 21.5" width and 69" length. This gave me extra space on top and bottom between insulation and top of sheathing. I taped the top outside edge of sheathing and a line on keg. I filled up the top with aluminum caulk. Did it in two layers as it's a good 1/2" deep. Let it cure for 24hrs between layers. I used a cheap plastic brush bar from Menards and cut it to use as a jig to smooth the caulking out as best I could. Smooth out to the tape on keg. Let dry for 5 minutes or so and remove tape. Use your finger carefully to smooth out any gaps left by removing tape. Let cure and try not to poke it until after first brew. It's very tempting to poke just because...

The bottom was the same procedure except I used gray fireplace & mortar cement. It has dried pretty good but I haven't brewed with it yet. It is supposed to get rock hard and resist heat up to 2000 degrees. Shouldn't have to worry... ever. Just make sure to clean up any mess before it dries as it will not come off easy I suspect. Purchased caulking at Menards.

untaped.PNG


tape.jpg


sealed.PNG


smoothing.PNG


caulk for top.PNG


bottomcaulk.PNG
 
Update after two brews;
1st the furnace cement is weird and did drip. I would go back to silicon
2nd No leaks with True bulkheads from Brewhardware.com
3rd the temp retention is great, lose about 1.5 degrees in an hour mash at 55 degrees ambient temp and no wind.
I transfer 176 from hlt to mt which is at 169 when transfer is complete and I wait 10 minutes for temp to equalize. I then mash in for 10 minutes and end up with 152.5. At the end of an hour the temp was 151 with no heat added during mash

The new design work great other then the cement around bottom. The cement still protects the insulation and is rock hard.
 
Have you tried boiling using that setup? I'd like to know what the time difference and boil intensity is like. I'm considering using it on my kettle.
 
I haven't tried boiling using it. I only use it for my Mash Tun, and I don't fire the burner under it very often, although I could. I just built a RIMS tube for my mash.
 
Why would the insulation break down? It can't handle those temps? I'm looking at doing something similar but with steel top/bottom instead of silicone.
 
Why would the insulation break down? It can't handle those temps? I'm looking at doing something similar but with steel top/bottom instead of silicone.

It's not the mineral wool itself that breaks down. It the binder of the insulation that I would worry about. The binder will evaporate around 275 Celsius. It will then evaporate some nasty fumes, but once they have evaporated it will never happen again.

I wouldn't worry as long you have something that keeps the insulation in place. Like sheet metal for instance.
 
Considering the original design, would there be an advantage to bending the metal skin as shown in cross section in the attached image to hold the mineral wool and to protect the mineral wool on the top from liquid and on the bottom from heat?

Drawing1.jpg
 
Considering the original design, would there be an advantage to bending the metal skin as shown in cross section in the attached image to hold the mineral wool and to protect the mineral wool on the top from liquid and on the bottom from heat?


Looks like it would have some definite advantages.

Curious as to how you'll roll it, if for a round mash tun.:D
 
Shaping it to the mash tun could certainly be a problem. I thought of that, but I thought I'd like to hear from others about the advantages or disadvantages to this before pursuing it.

I have a brother-in-law who is a professional machinist with equipment like you wouldn't believe. I thought I might tap him for the shaping, but only if the design was a definite improvement.
 

Latest posts

Back
Top