Danby DAR125SLDD Kegerator Build

Homebrew Talk - Beer, Wine, Mead, & Cider Brewing Discussion Forum

Help Support Homebrew Talk - Beer, Wine, Mead, & Cider Brewing Discussion Forum:

This site may earn a commission from merchant affiliate links, including eBay, Amazon, and others.
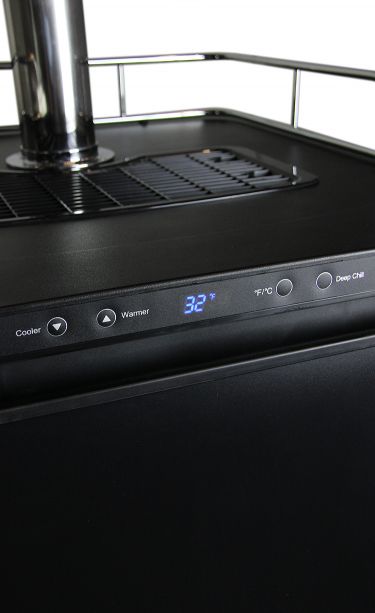
For some inexplicable reason, I cannot seem to figure out how to set a reasonable temperature with my new build, and I am wondering if anyone had this issue. I turn the little doohickey about 3/4 of the way and the temperature (by way of thermometer) reads around 44-46. I turn it what I believe to be a millimeter to the right and the temp plummets to 32 or below and bad things happen, not to mention that the chill plate freezes and the fridge runs what seems to be forever. The only logical explanation I have is that based on the thermal mass in the unit and the fact that I am using a (temporary) steel CO2 tank. I have hooked up a Johnson A419 digital controller because why not spend more money, but I was just wondering if anyone had this experience or another solution.

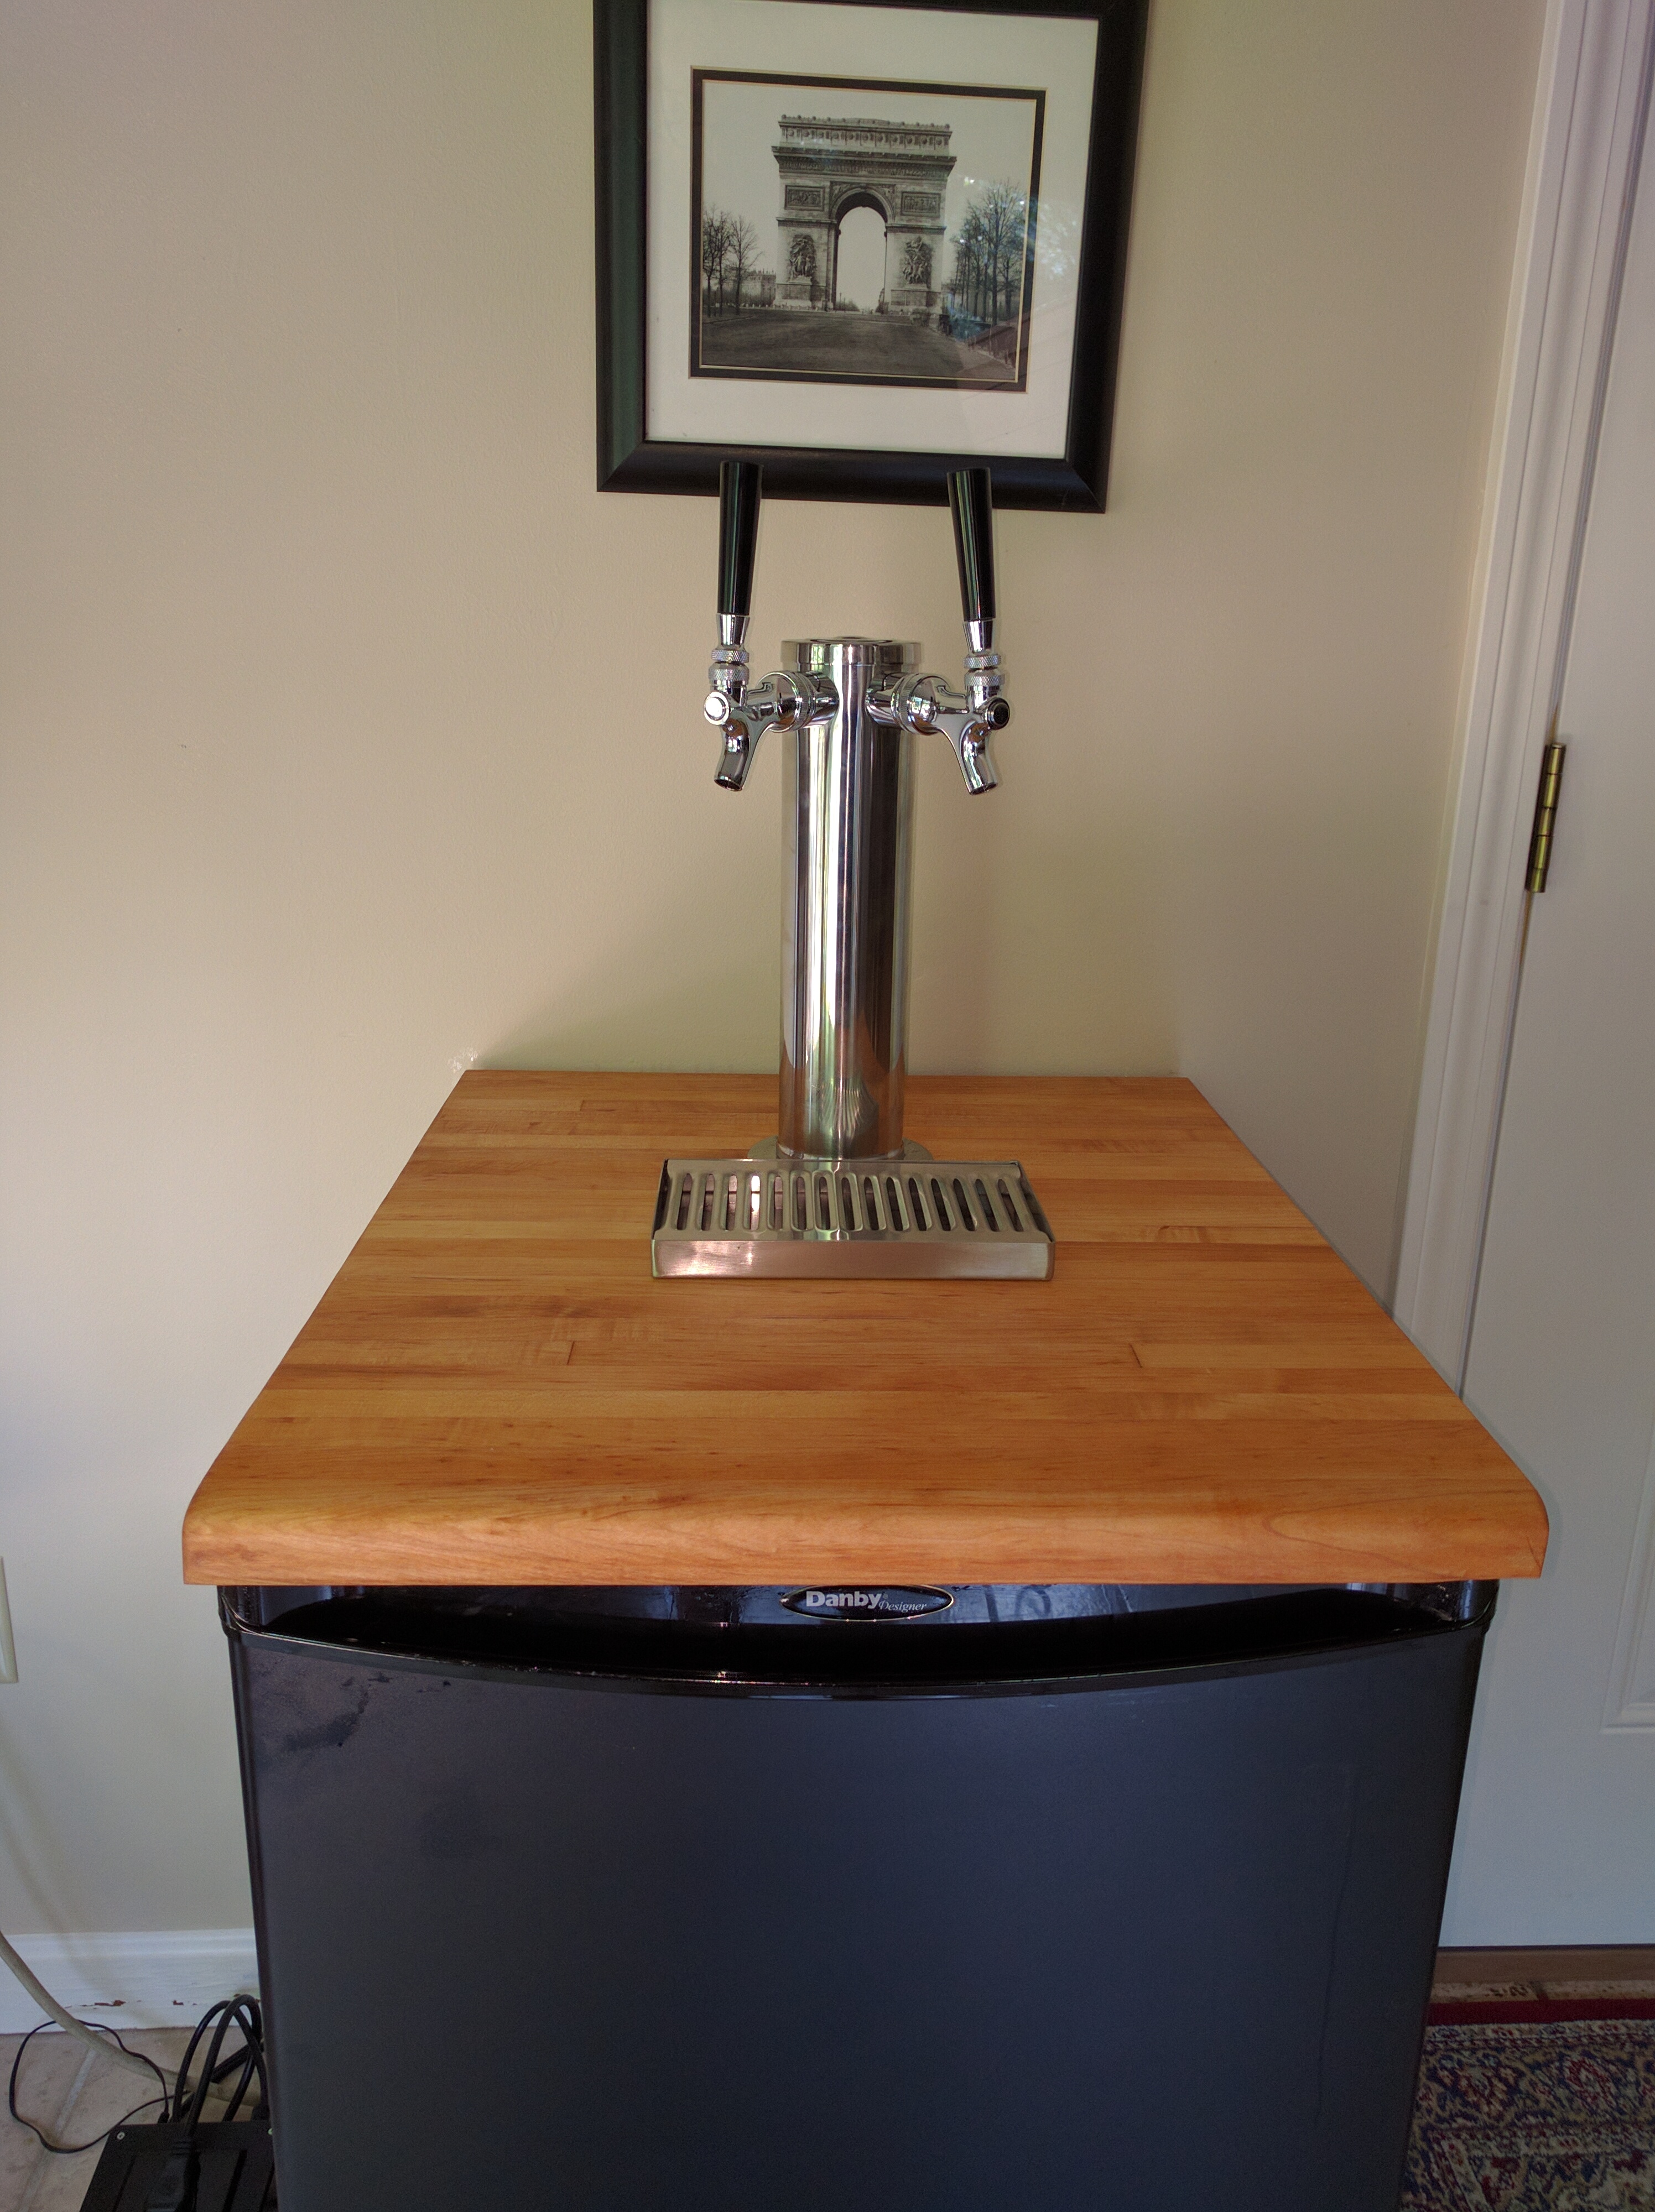
Aside from that, I would like to say that after a week of operation, the copper pipe (1 in.) works great, it keeps the tower surprisingly cold, and with my "stock" 5' beer lines, the beer comes out cold and without foaming issues. The entire thing is awesome.
 
Thanks for all the great info. I am in the midst of converting my fridge. Just using a picnic tap for now. Gotta wait for next payday. Thank goodness it is a three pay day month! This is mine so far...
Sorry pic is sideways.

IMG_20141008_152833[1].jpg
 
Hey, all... I have a GE SMR04DASACS. I removed the gasket and removed the plastic door cover, but now that I've got some rigid foam insulation on there, I can't seem to find what I did with the gasket. Any suggestions on where to find a replacement? Even GE's website doesn't seem to list a part number for the gasket. :( This is one of the gaskets that use screws rather than just going into a slot in the door.
 
At the risk of stating the obvious, do you think you can scavenge one from another appliance at a junk yard or a fridge that someone is tossing? Even if it is the wrong size/shape, I bet you can make it work.
 
At the risk of stating the obvious, do you think you can scavenge one from another appliance at a junk yard or a fridge that someone is tossing? Even if it is the wrong size/shape, I bet you can make it work.

May have to. I messaged the folks Stealth suggested and they said GE doesn't make a separate gasket for that fridge. :( I suspect just about any fridge the right size might work. Going to have to look into that.
 
May have to. I messaged the folks Stealth suggested and they said GE doesn't make a separate gasket for that fridge. :( I suspect just about any fridge the right size might work. Going to have to look into that.

I don't think there is much too it, just a magnet in a plastic housing. I would try to get one from a full size fridge and then use the two long sides, cut your corners in, and then glue the two (total of 4) ends together. At least that way, you will avoid having the joints in the corner and you will be able to glue the ends together flat.
 
I just completed my Kegerator build. I've posted a fairly detailed walk-through on my personal blog. This thread helped me a ton, thanks guys!

Walkthrough

IMG_5852.jpg

Two Pin-Lock Kegs hanging out together!

So, I just purchased two pin lock keg kits and started researching what currently available mini fridges will fit two pin locks. Got excited when I found this thread since everyone else recommends the 440BL which seems to not be available anywhere now. Then I was bummed when the OP stated that there was no way you could fit two pin locks in the 125SLDD, but you seem to have proven him wrong about that. I wonder what the difference was? Maybe just trimming off those lower shelf ridges?

Other part that still sucks is that it seems the price on this unit has gone up. Walmart has it listed for $229. Everything cheaper has the freezer panel that you have to bend out of the way, don't want to risk it, but was really hoping to find something good for closer to $150.

I almost bought a complete Kegco Dual Kegerator system for $1000 but just couldn't bring myself to spend that much. Going the cheaper route and converting my own in the hopes of saving a few hundred dollars. I have plenty of tools out in my workshop and a degree in mechanical engineering, so this shouldn't be that difficult... :drunk:
 
I'm torn though, I like working on stuff and building my own things, but my wife actually came home and said she decided I could buy the $1000 setup from Kegco that I was looking at and just consider it my birthday/Christmas present. I had just paid $360 for the two keg kits off ebay though so I figured I'd just modify and save some money anyways. Now I'm thinking about getting the smaller Kegco kegerator model K199B-2 that can fit up to a full sized keg or two pin locks comfortably.

Price Comparison:
$400 - Danby 125SDDL w/ Two faucet SS tower with PC Perlicks and 12x5 drip tray and modification materials, plus a good day's worth of labor

$620 - Kegco K199B-2 w/ Two faucet SS tower with SS Perlicks, 12x5 SS drip tray, ready to assemble and use... (That price includes 20% off sale price plus $99 freight)
http://www.beveragefactory.com/draftbeer/kegerators/dualkegerator/Kegco_K199B-2.shtml
hqdefault.jpg


... I mean, I could just skip the work it would take to modify the Danby and use that time to transfer my 27 gallons of hard cider I have in the works and maybe start up that Belgian Dubbel kit I've been sitting on... it is my birthday/Christmas present right?? lol... :ban:

still a lot of money though... :(
 
I am a spoiled boy! My wife just ordered the 309B-2 ($790 shipped). Dual tap, built in digital thermostat and circulating fan. Can easily fit 3 pin locks or full size keg with some room to spare. Has some stellar reviews, very excited!
:ban::mug::rockin::tank::rockin::mug::ban:
http://www.beveragefactory.com/draftbeer/kegerators/dualkegerator/Kegco_K309B-2_dual_faucet_kegerator.html
tn375_K309B_temp_control_reduce071013001358.jpg


The 199 model will only fit two pin locks, the 203/309 models fit three pin locks. The 209/309 versions have a smaller hump for the CO2 tank in one corner (instead of all the way across), and come with a tank holder already attached over the hump, AND the fridge itself is actually a little larger than the 199. They also have a flush molded plastic drain tray on top, while the 199 does not. All three models are available with 1-3 taps and multiple customizable options depending on what you want with it.

The three tap version would add about another $100 with the SS perlick taps. For how much I drink, I think two will be plenty, costs a little less and is less to maintain. I can use the extra space for chilling beer glasses or another keg. It also converts to a regular refrigerator for when you don't have any kegs to tap...
 
Three taps is nice, it allows a variety of beers and if you go with two and want to add a third tap later your screwed. I'm in the later camp, want a third tap and am out if luck...


Sent from the window of an airplane...
 
Not really out of luck, I could always buy the three tap tower later and sell the two tap version on ebay if I decide I want to... Swapping them out shouldn't be that difficult either, they even show the tower removed when you want to use it as a regular refrigerator. I'm guessing they might even include a cap for the tower hole. Not to mention I usually only do 2-3 batches twice a year (spring/fall). I will still probably bottle some so that I have bottles ready to take with me. Can't have all my brew stuck at home... or I could chill a third keg in it before taking it somewhere to use with my picnic tap...

Edit: Was just reading some reviews that said the triple taps are too close together to use most of the larger custom tap handles with them. Just a thought if you like custom handles.
:off:
Also, sorry if I sort of hijacked this thread. Last night I was convinced I was going to have to do the Danby conversion but thanks to my wife making some extra money at work, I was able to go with the nicer Kegco system. I feel the extra expense is going to be well worth it based on the reviews and the fact I don't have to do any hard work to set it up. If you can afford it, I recommend getting a Kegco. I read a few comments on the Kegco from people saying they too are glad they chose to fork out the extra money instead of hacking a Danby.
 
Semi-on topic here... I was at a local discount appliance reseller here locally the other day. They had several Danby Kegerators. All you had to do was install the tower -- the hole was already cut out and everything. The "freezer" plate had already been bent down at the factory and was flush against the back wall. Pretty sweet! Unfortunately they said they weren't for sale...didn't work. Of course, I think it may have been a partial misunderstanding as I don't speak fluent Spanish and the store folks don't speak very good English. :)
 
That's bizarre. Why did they have them if they we're for sale and didn't work? Cutting the hole was the hardest part for me, but I used a wood hole saw. Once I switched the metal cutting blade in a jigsaw, it was much easier.
 
Just did this build and it was real easy due to the info on this thread. Thanks to all who contributed, it was nice to have all this knowledge while standing in front of my shiny brand new fridge with a hole saw, dremel and utility knife.

I did add one small thing which may help others. I went with the 1" copper pipe up into the tower to keep the lines cool, but wasn't confident that it would stay put over time. So I bought a coupler with no stop, slid it up the pipe and soldered it in place so that it rests on top of the plastic top of the fridge which is sitting on the plywood I sandwiched in there. Feels solid.
 
fpymIcj.jpg


Thanks to everyone who posted in this thread, I wouldn't have been able to do this conversion without it. Here's a very poor quality picture of my build so far. My problem now is that my fridge just isn't getting cold enough. On the coldest setting the beer is coming out at 7C (45F), I'd like it to be closer to 4C (40F). What's my best option here? Is there a way to turn the fridge to always on so I can use a temp controller like this one? http://www.ontariobeerkegs.com/Anycontrol_AC_211_Heat_Cool_Temperature_Controller_p/ac211-temp-control.htm
 
Ya, that's a common issue I've seen on these conversion threads. Regular fridge t-stats use a wider temp differential like around +/-5F. That's one of the reasons I went with the Kegco pre-built with built in digital t-stat. Pretty sure the homebrew t-stats use a much tighter differential around +/-2F. My Kegco also allows temp adjust from 25 to 70F.
 
Thanks to everyone who posted in this thread, I wouldn't have been able to do this conversion without it. Here's a very poor quality picture of my build so far. My problem now is that my fridge just isn't getting cold enough. On the coldest setting the beer is coming out at 7C (45F), I'd like it to be closer to 4C (40F). What's my best option here? Is there a way to turn the fridge to always on so I can use a temp controller like this one? http://www.ontariobeerkegs.com/Anycontrol_AC_211_Heat_Cool_Temperature_Controller_p/ac211-temp-control.htm
That's weird because mine will get to 40C and below. In fact one day I came home and my thermometer read <32F! I do hate the huge temperature swings though and would love to get a temperature controller. BTW, nice looking kegerator.
 
That's weird because mine will get to 40C and below. In fact one day I came home and my thermometer read <32F! I do hate the huge temperature swings though and would love to get a temperature controller. BTW, nice looking kegerator.


Thanks. It seems most people's fridges have no problem getting cold enough. I've ordered a temp controller and I'll try jumpering out the thermostat. That should solve my problem.
 
Thanks. It seems most people's fridges have no problem getting cold enough. I've ordered a temp controller and I'll try jumpering out the thermostat. That should solve my problem.

I have the same model and I was able to resolve the temperature problems you are having by turning the factory thermostat down to just about the coldest setting, and then using an A419 to control the temperature. I did not have to bypass the factory thermostat. I ran the temp probe through the drain hole (the metal end will not fit, you have to use the wire end) and mounted it to the side of the unit with some industrial velcro. Works like a charm now, and no more freezing issues.
 
Thanks. It seems most people's fridges have no problem getting cold enough. I've ordered a temp controller and I'll try jumpering out the thermostat. That should solve my problem.

Yeah unfortunately once we do the conversion to the fridge it voids the warranty. I made sure my fridge worked as expected before cutting into it. Did you alter the door seal at all? This is a common problem for people who cut out the door and place their own flat board. I simply trimmed the door shelves back and cut a notch in the bottom for the keg. My dial is set at 3/4 high and it stays between 38-40 degrees.
 
Yeah unfortunately once we do the conversion to the fridge it voids the warranty. I made sure my fridge worked as expected before cutting into it. Did you alter the door seal at all? This is a common problem for people who cut out the door and place their own flat board. I simply trimmed the door shelves back and cut a notch in the bottom for the keg. My dial is set at 3/4 high and it stays between 38-40 degrees.


How did you test yours? Before I modified mine I put a glass of water in it and checked the temp. It got to 4C (about 40F) at 3/4 high. I didn't touch the seal, just trimmed the door. I considered buying a new fridge, swapping the doors and returning the old one, but there's no guarantee the new fridge would work for me either. The temp controller should solve my problem.
 
I'd really like to move my CO2 tank to the outside of the fridge. Is there any issues drilling a hole out the back or sides of these fridges?

No problem at all. Just make sure you use a rubber gromit or insulating foam to keep the cold from escaping.
 
Wish I had the exact list of parts but I did this a couple of years ago and honestly dont remember...either way, with the pics you should get the gist of it. Its basically an "L" shaped brass tubing combo that I put together with different parts coming out the back left corner. Its been there for a couple of years and have never had any leaking or cold loss issues. Let me know if you can see them, its been a while since I post any pics to a forum and dont know if Im doing it right. Cheers!!
14jlr9f.jpg
4sdxti.jpg
 
Yep, I can see them. That looks awesome. Great idea. I don't know if I'll get as fancy as that, but I didn't think about drilling through there. Thanks.
 
Has anyone tried to fit a slim quarter keg? I'm thinking it'll be barely too big for the kegerator but might be able to squeeze it in with some modifications.
 
Hi Everyone,
I found this thread about 4 years ago and bought the fridge on Black Friday on Amazon. The door panel didn't have the door storage screwed on so I had to use my Dremel tool and remove the storage (creating a GIANT mess) and putting tape over the openings. For a while this is where I stopped. I also bought the STC-1000 and built a temp control box. The two corny kegs, regulator, and 5lb CO2 tank all fit in the fridge perfectly. I had some picnic taps and no budget so I just used the fridge in that condition and was happy.

This year I moved and finally took the next step with my build! I like the look of Butcher Block and I figured I needed some structure for the top of my fridge so I went hunting on Craig's List and found someone selling a BB table for $10. Perfect! My friend pointed me to a dual tap system on eBay and off I went! Here are some pics from my build and some notes.

http://imgur.com/a/CDj36

5oM644Q.jpg
 
I love this! I may do something similar with the Kegerator kit I bought off Craig's List awhile back. Supposed to come with "rails" on the side (clearly because there are holes in the top for it) but they are missing. Looks bad, but this looks AWESOME!
 
FWIW, Wal-Mart has an FR464 Igloo on sale for $115 right now. This is a 4.5 CU foot refrigerator. VERY good fridge for making into a Kegerator. :)
 
I've poked through quite a few of these Danby builds and they're all very informative. I've bought most of the major components and will drop by Home Depot this weekend to pick up a few odds and ends to round out the parts list.

One question that I have, that I haven't seen mentioned in any of these posts, is: how is everyone securing their copper tubing inside of the draft tower? Most walkthroughs which mention using copper pipe to keep the draft lines cool neglect to mention how they are secured, unless you have all found some anti-gravity copper, in which case, send me a link!

I've seen some people use a fan that takes the cold air and forces it through the tap tower. I don't use either. After the first pour my taps stay nice a cold until we are done drinking :mug:
 
The fit of the copper tubing inside the hole you make is so tight it barely budges. I used 1/2 inch copper for each line (because my home depot didn't have 1 inch for sale) and a 1-1/4 inch hole. the two pipes fit through pretty snugly so that you'd have to yank on them to move them down. At some point i'll take some spray foam insulation and spray it in for added durability, but it's working fine for now.
 
Back
Top