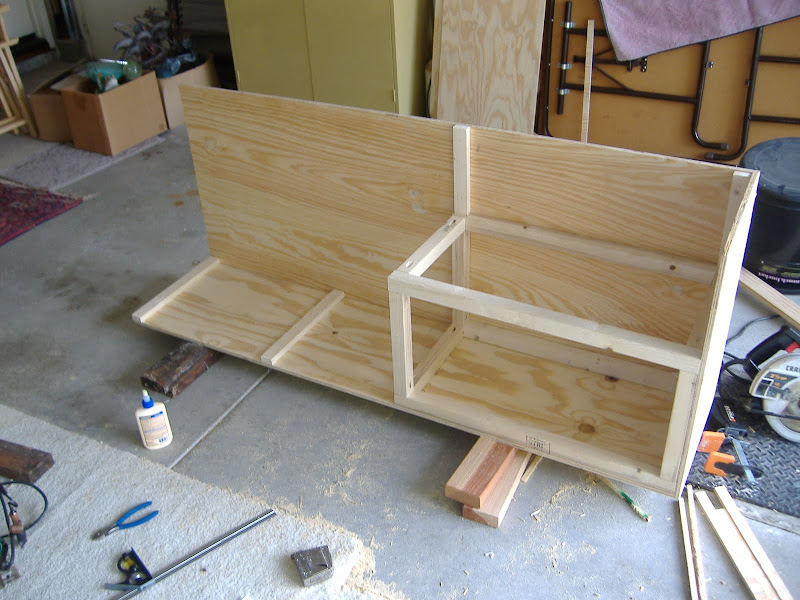
I have been reading so many different ideas and this is what I finally ended up with.
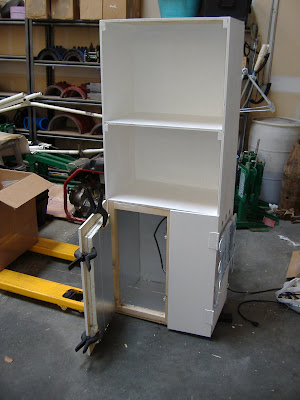
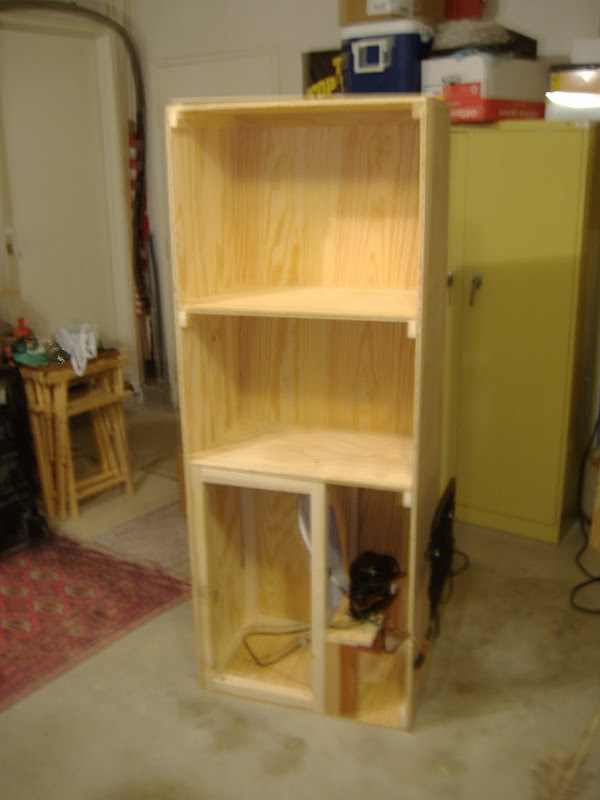
I live in a condo in Downtown San Diego so I don't have a ton of room. Plus the wife has limited my beer equipment to the closet in the office. I needed a way to organize all my equipment in the closet so I figured this would be a great time to build myself a temperature controlled fermentation cabinet.
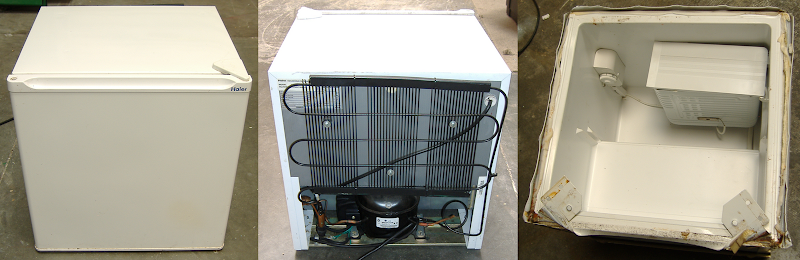
I really liked the cabinets that used the fridge guts. The look clean and seem to be a fun DIY project.
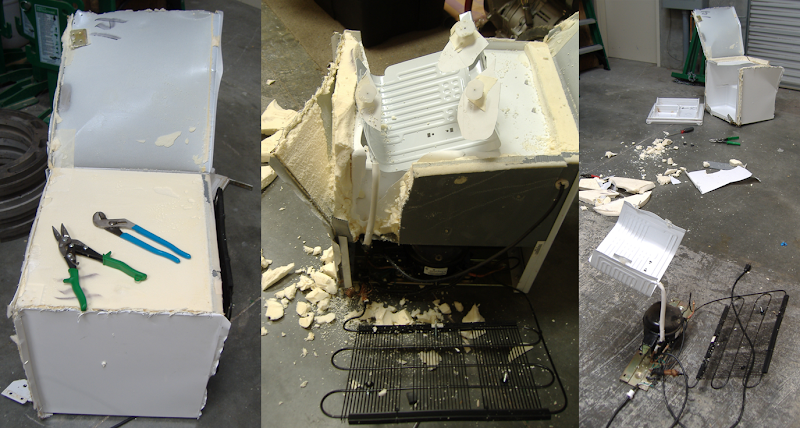
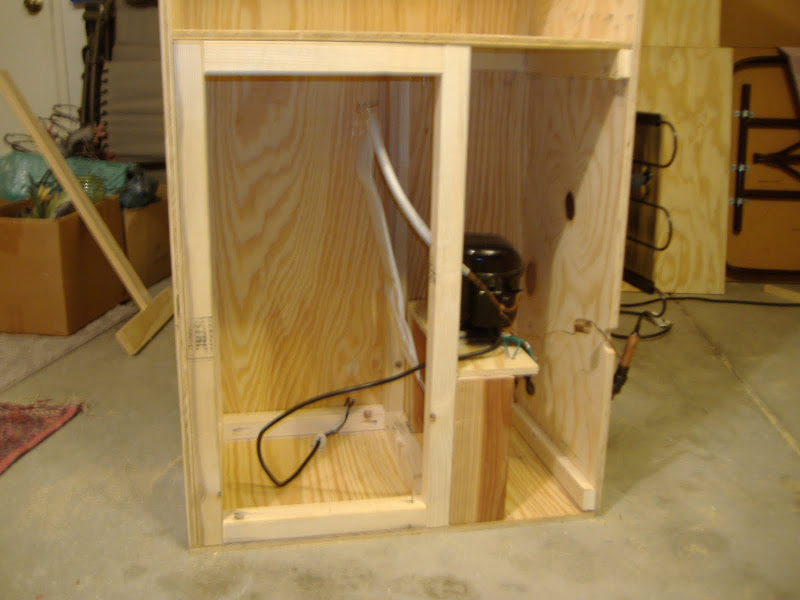
One step that many of the fridge gutted cabinets was how to get the guts out. They simply say it was hard but here it is. So I decided to document myself doing the demo.
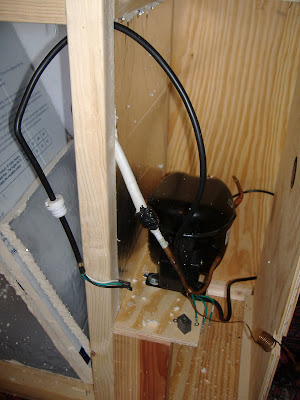
Here is the first fridge:

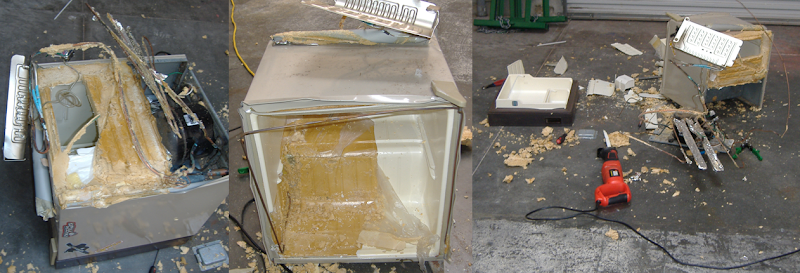
I busted this one in 2 places. First I punctured the freezer unit with the Reciprocating saw then I broke the cooper line while trying to pull it out. Any break in the system and you are done. The price to fix it and recharge with new coolant is more expensive and time consuming then starting over. I did salvage a few parts that I may use on another project.
Lessons Learned: 1) Try to find a mini fridge that only the freezer compartment does the cooling 2) Don't use a Reciprocating Saw - its just too out of control 3) Be careful and take your time, don't take shortcuts
I live in a condo in Downtown San Diego so I don't have a ton of room. Plus the wife has limited my beer equipment to the closet in the office. I needed a way to organize all my equipment in the closet so I figured this would be a great time to build myself a temperature controlled fermentation cabinet.
I really liked the cabinets that used the fridge guts. The look clean and seem to be a fun DIY project.
One step that many of the fridge gutted cabinets was how to get the guts out. They simply say it was hard but here it is. So I decided to document myself doing the demo.
Here is the first fridge:
I busted this one in 2 places. First I punctured the freezer unit with the Reciprocating saw then I broke the cooper line while trying to pull it out. Any break in the system and you are done. The price to fix it and recharge with new coolant is more expensive and time consuming then starting over. I did salvage a few parts that I may use on another project.
Lessons Learned: 1) Try to find a mini fridge that only the freezer compartment does the cooling 2) Don't use a Reciprocating Saw - its just too out of control 3) Be careful and take your time, don't take shortcuts
")