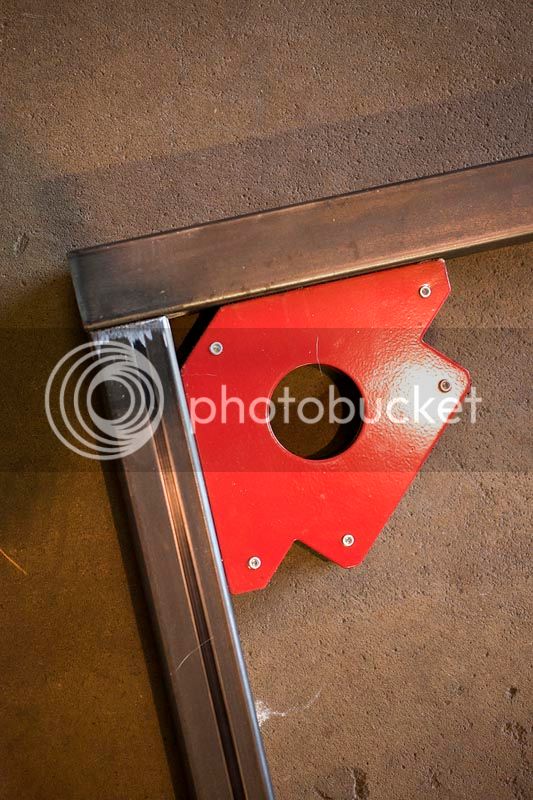
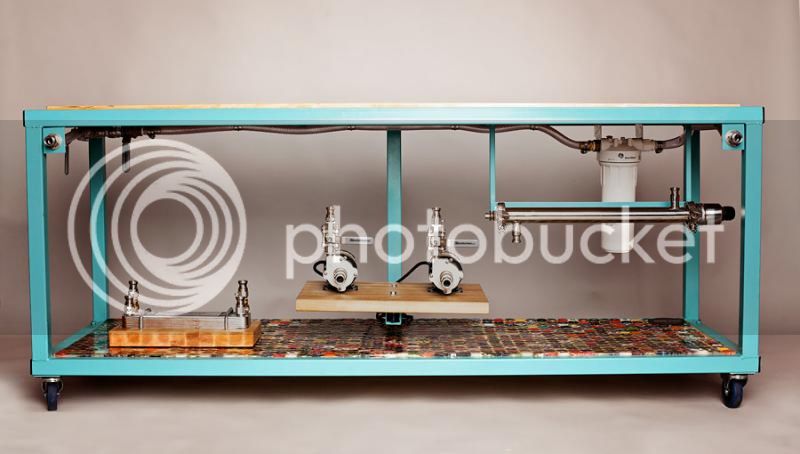
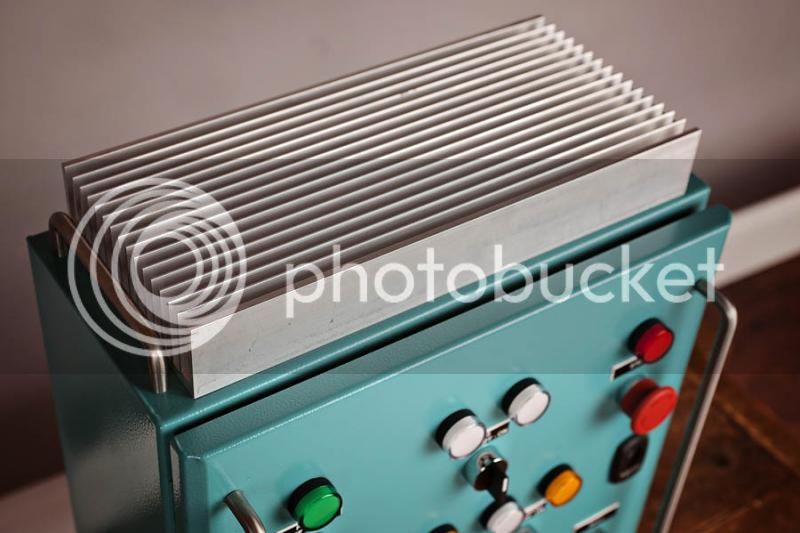
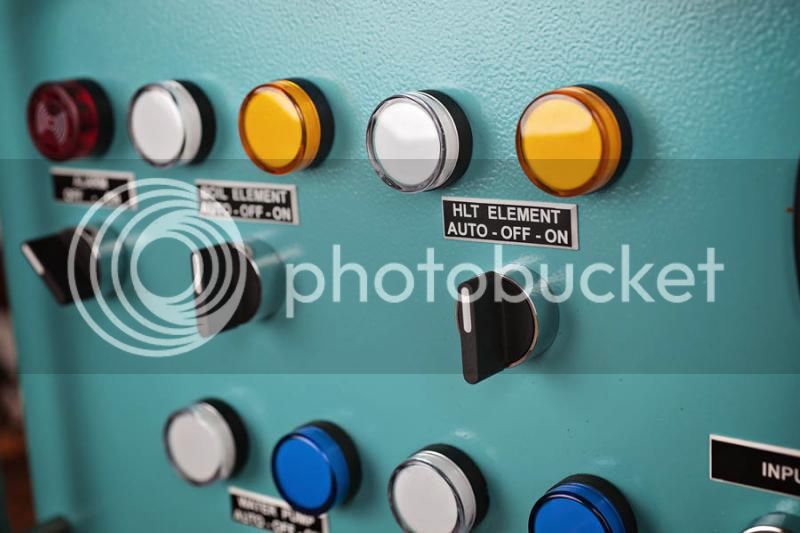
I don't know what half that stuff does, but I R i luvz. I really like the bottle cap bottom too. Did you mention how you ddi that anywhere?
I'll tell you how I did it and maybe you can learn from my mistakes

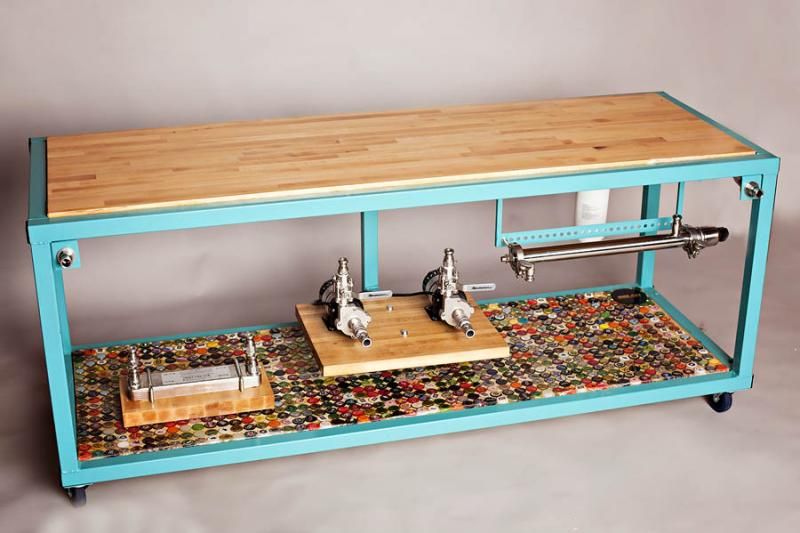
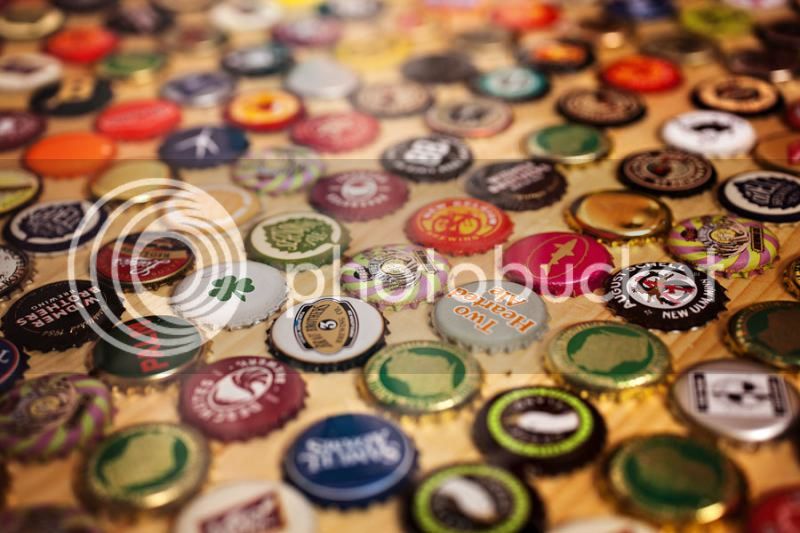
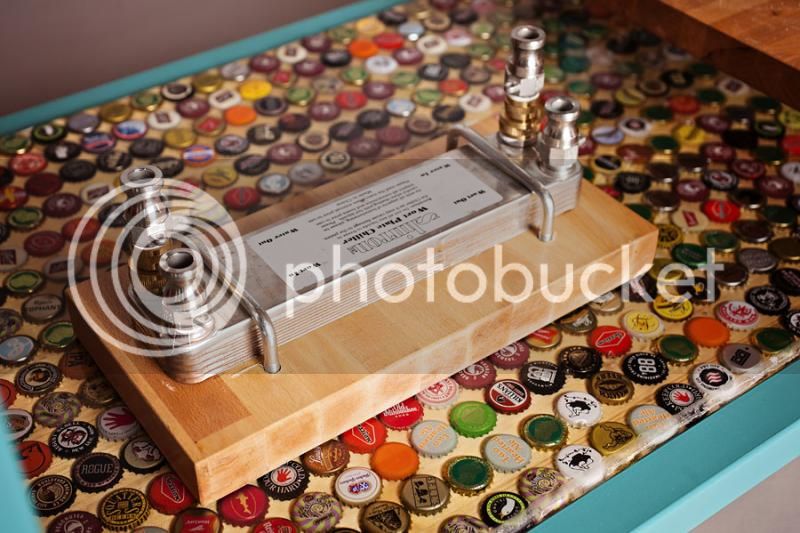
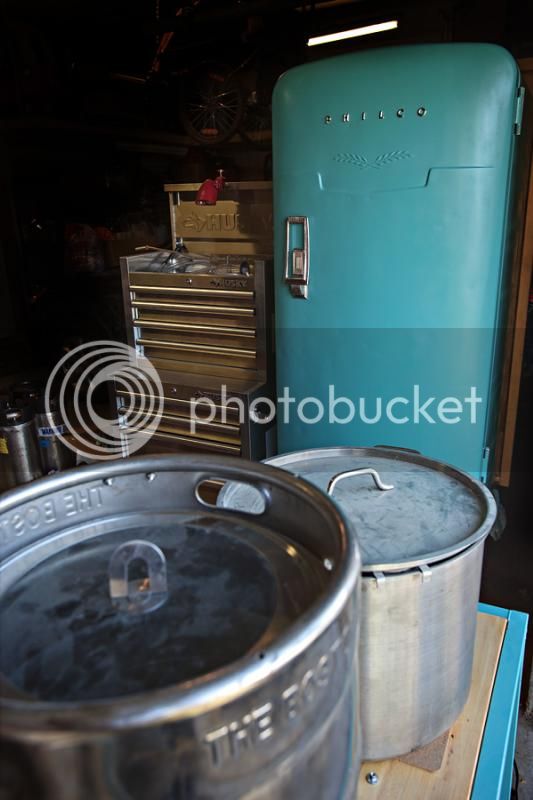
The bottle cap shelf is about five years of me drinking beer and saving caps
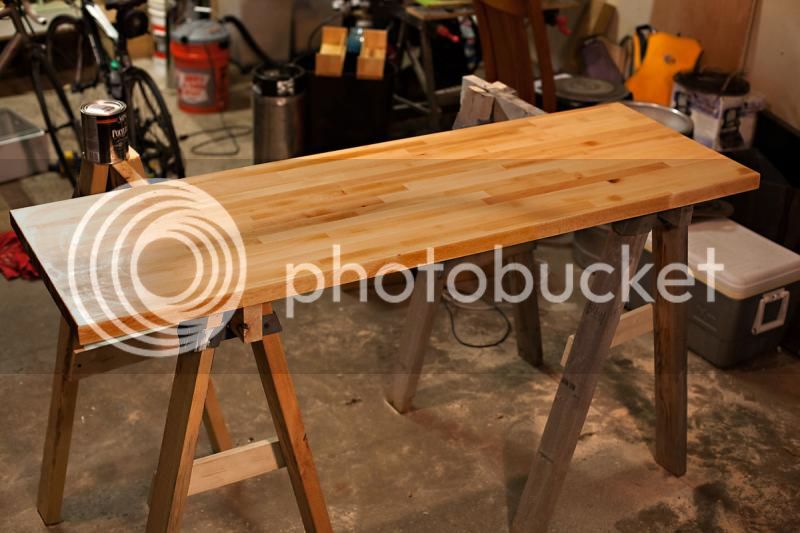
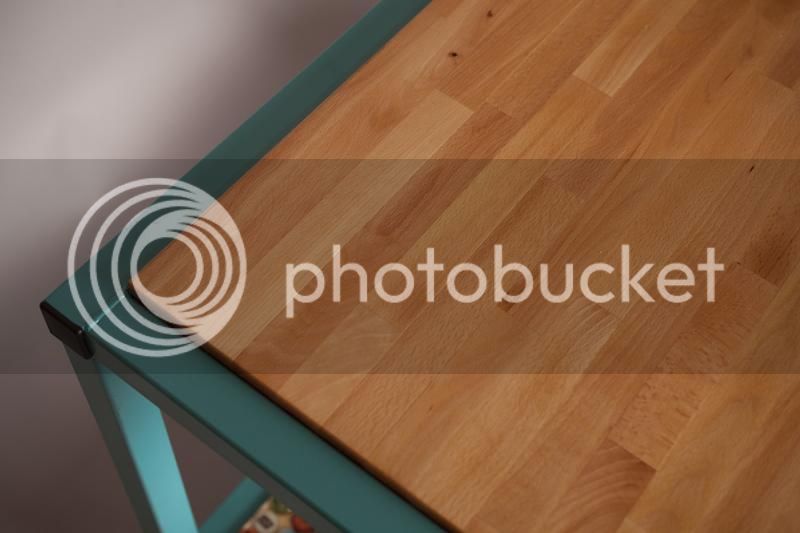
Once you've accomplished the fun part your next task is head to your local menards/home dept/lowes and pick out a board, some stain and a two part clear resin epoxy. I found it by the stains, look for like crystal clear table top casting epoxy. You'll know it when you see it.
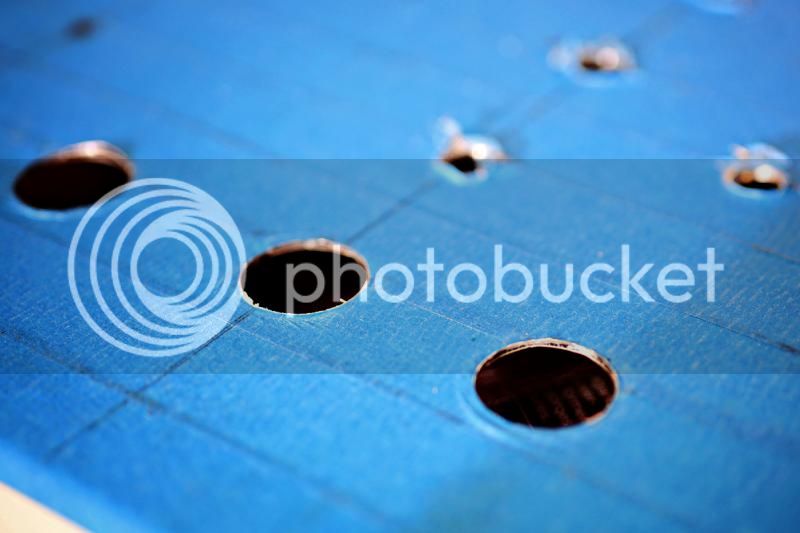
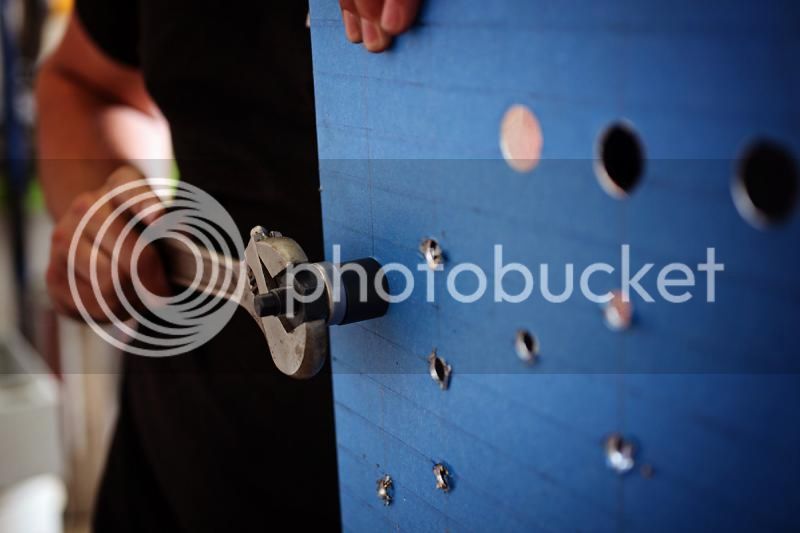
Once you have your board cut to size and stained the color of your choice you'll need to get some wax paper and cardboard. Using the wax paper and cardboard create a raised side that goes all around the board. I used some staples to hold the cardboard in place. Make sure you make a good seal as this will keep the resin from just dripping off the side of the board.
The next step there has to be a better way and caused me the most issues. I started by filling the backside of each bottle cap with wood glue but after exhausting two bottles of glue and hardly making a dent I just decided to give up, that wasn't a smart decision on my part. The idea behind that is to fill the gap making no space for air to get trapped when you pour the epoxy.
Up next I laid down a heavy base coat of the epoxy to coat the board and then laid down my caps. Doing this allows the caps to "glue" themselves to the board. If they aren't stuck down they'll float up to the top when you cover them fully in epoxy.
Okay once that base coat is dry and you're sure the caps are stuck on the board mix up a big ole mess of epoxy. This job took me one gallon of the stuff. Pour the epoxy onto your board and you can use a piece of carboard to help move it around.
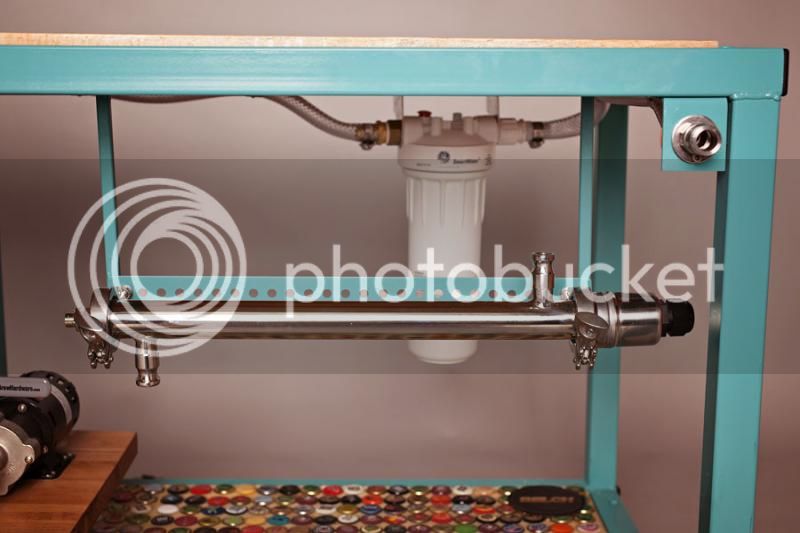
As it starts to cure you'll want a strong hair dryer or a heat gun on hand to assist in getting the bubbles to come up to the surface. Take warning from me. Now is not the time to go tuck your kids into bed only to get caught in a child meltdown upon which returning to the garage see that your epoxy is setting up a lot faster than you thought and you have bubbles that no longer can be pushed out using heat.
Fortunately for me that section of the shelf is hidden under my pumps so it isn't the end of the world but after the amount of time I'd spent on this it was a bit of a bummer.
Keep it out of dust and let it cure overnight and bam you've got a cool, crystal clear, shelf that is smooth (minus my bubbles) as glass.