Beverage Air BM23 Cleaning and Preparing a Used Kegerator

Homebrew Talk - Beer, Wine, Mead, & Cider Brewing Discussion Forum

Help Support Homebrew Talk - Beer, Wine, Mead, & Cider Brewing Discussion Forum:

This site may earn a commission from merchant affiliate links, including eBay, Amazon, and others.

csonka

New Member
Joined
Jun 29, 2013
Messages
3
Reaction score
1
Hello all,

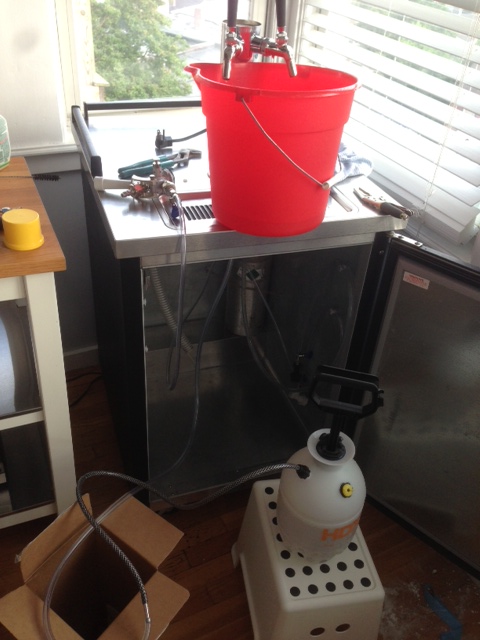
Just picked up my first kegerator off of CL. Great deal, just needs a little TLC and parts. I wanted to come to you for some help and suggestions on cleaning up rust, the galvanized walls and anything else to watch for. Below are my specific questions, but all tips are welcome!

ItBRGgR.jpg

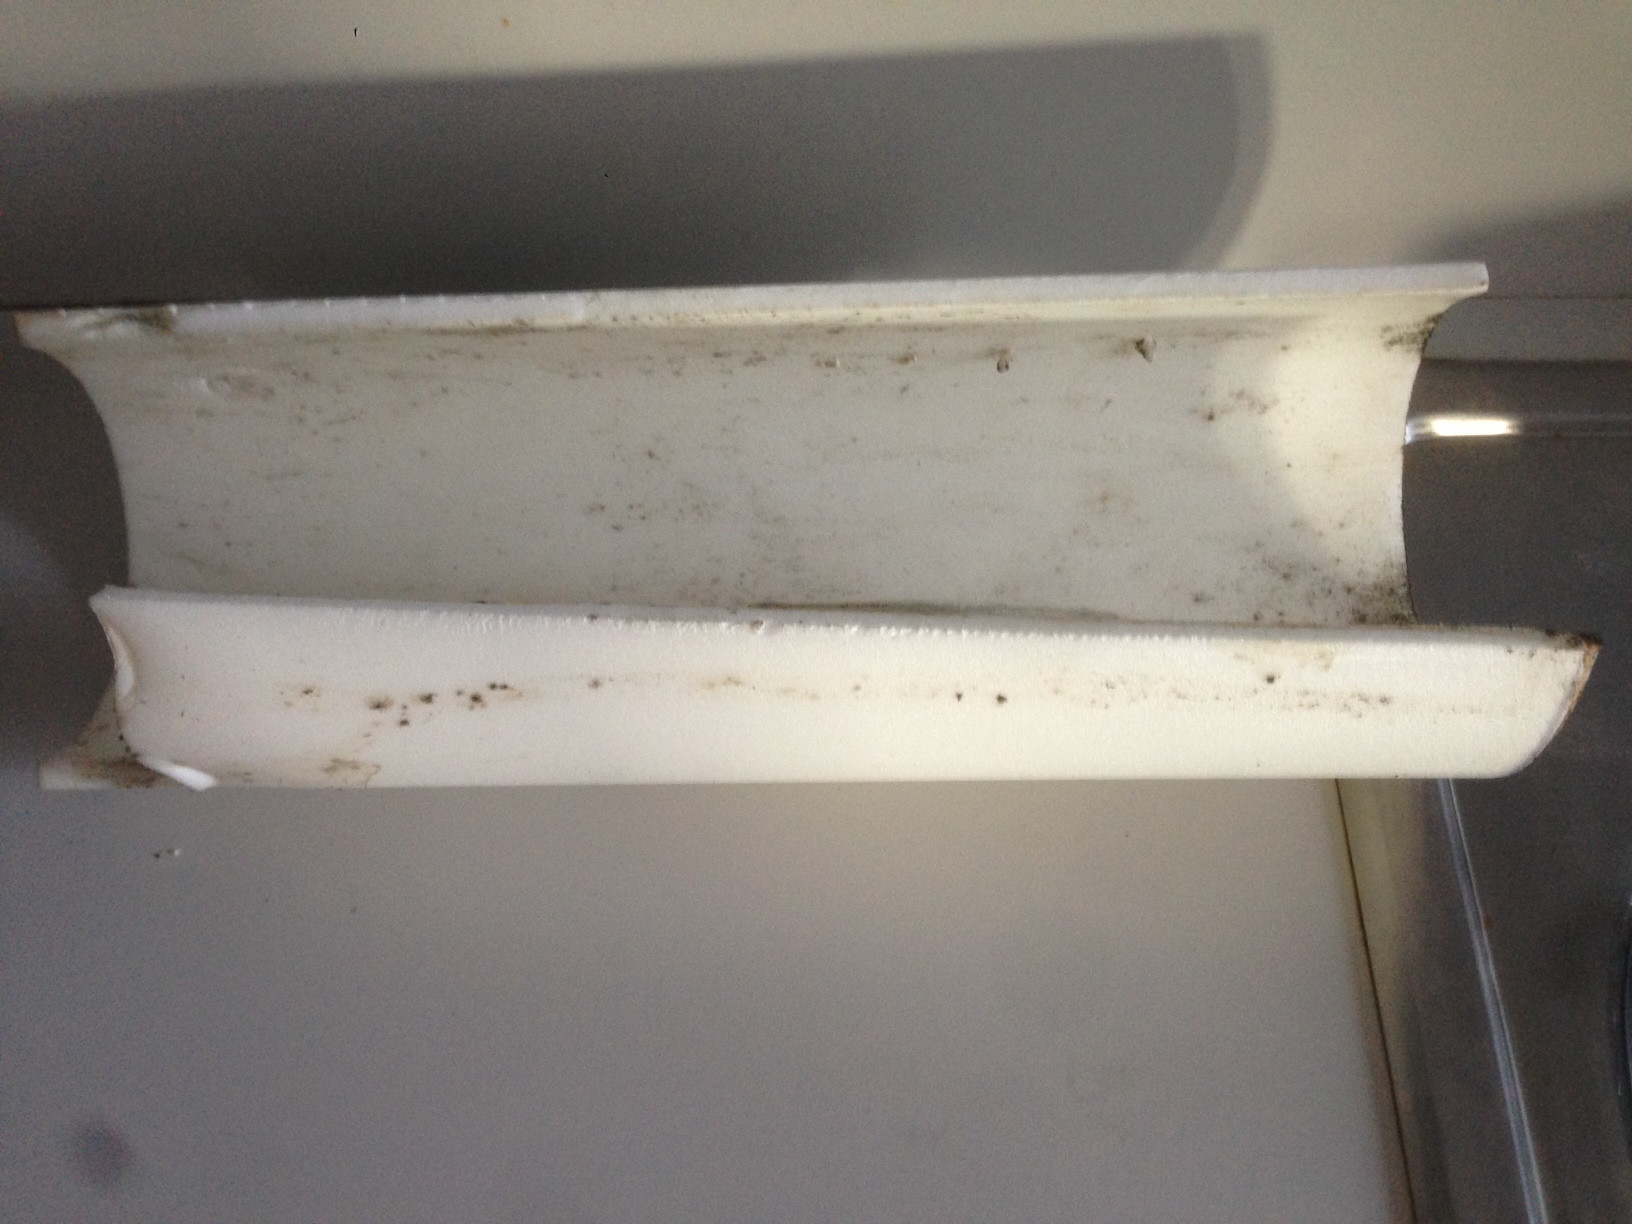
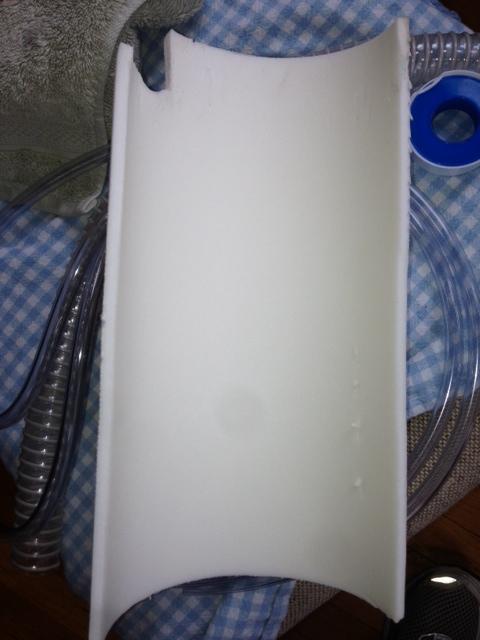
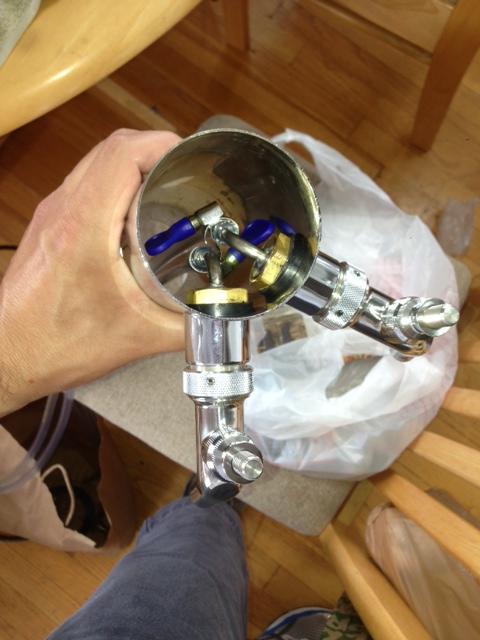
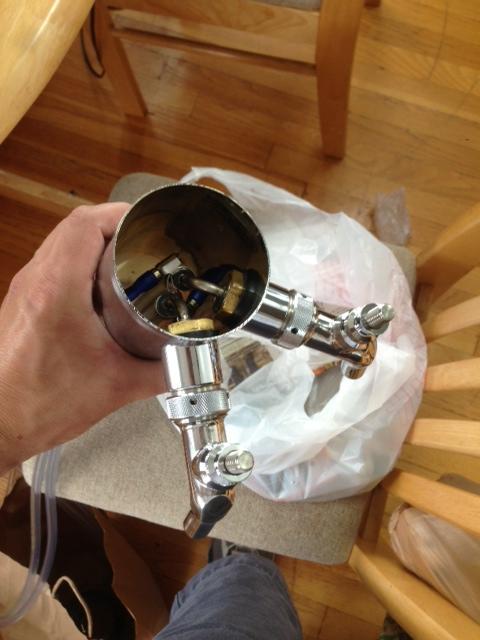
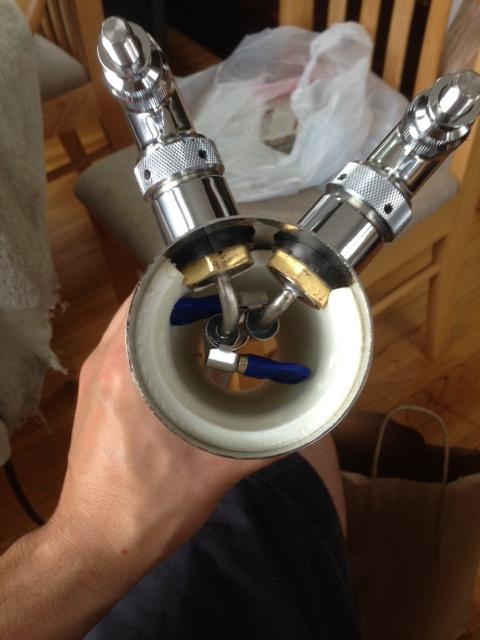
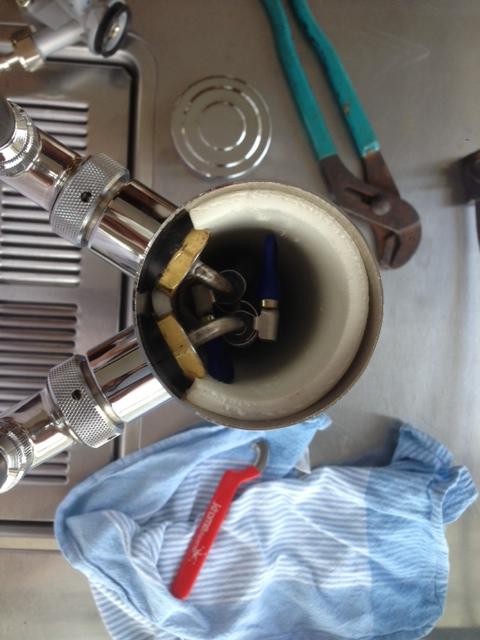
The tap tower had this insulating sleeve. I removed it since it was nasty. Should I replace it or just leave it out? If replacing, where do I get another one?

2jXHVCA.jpg

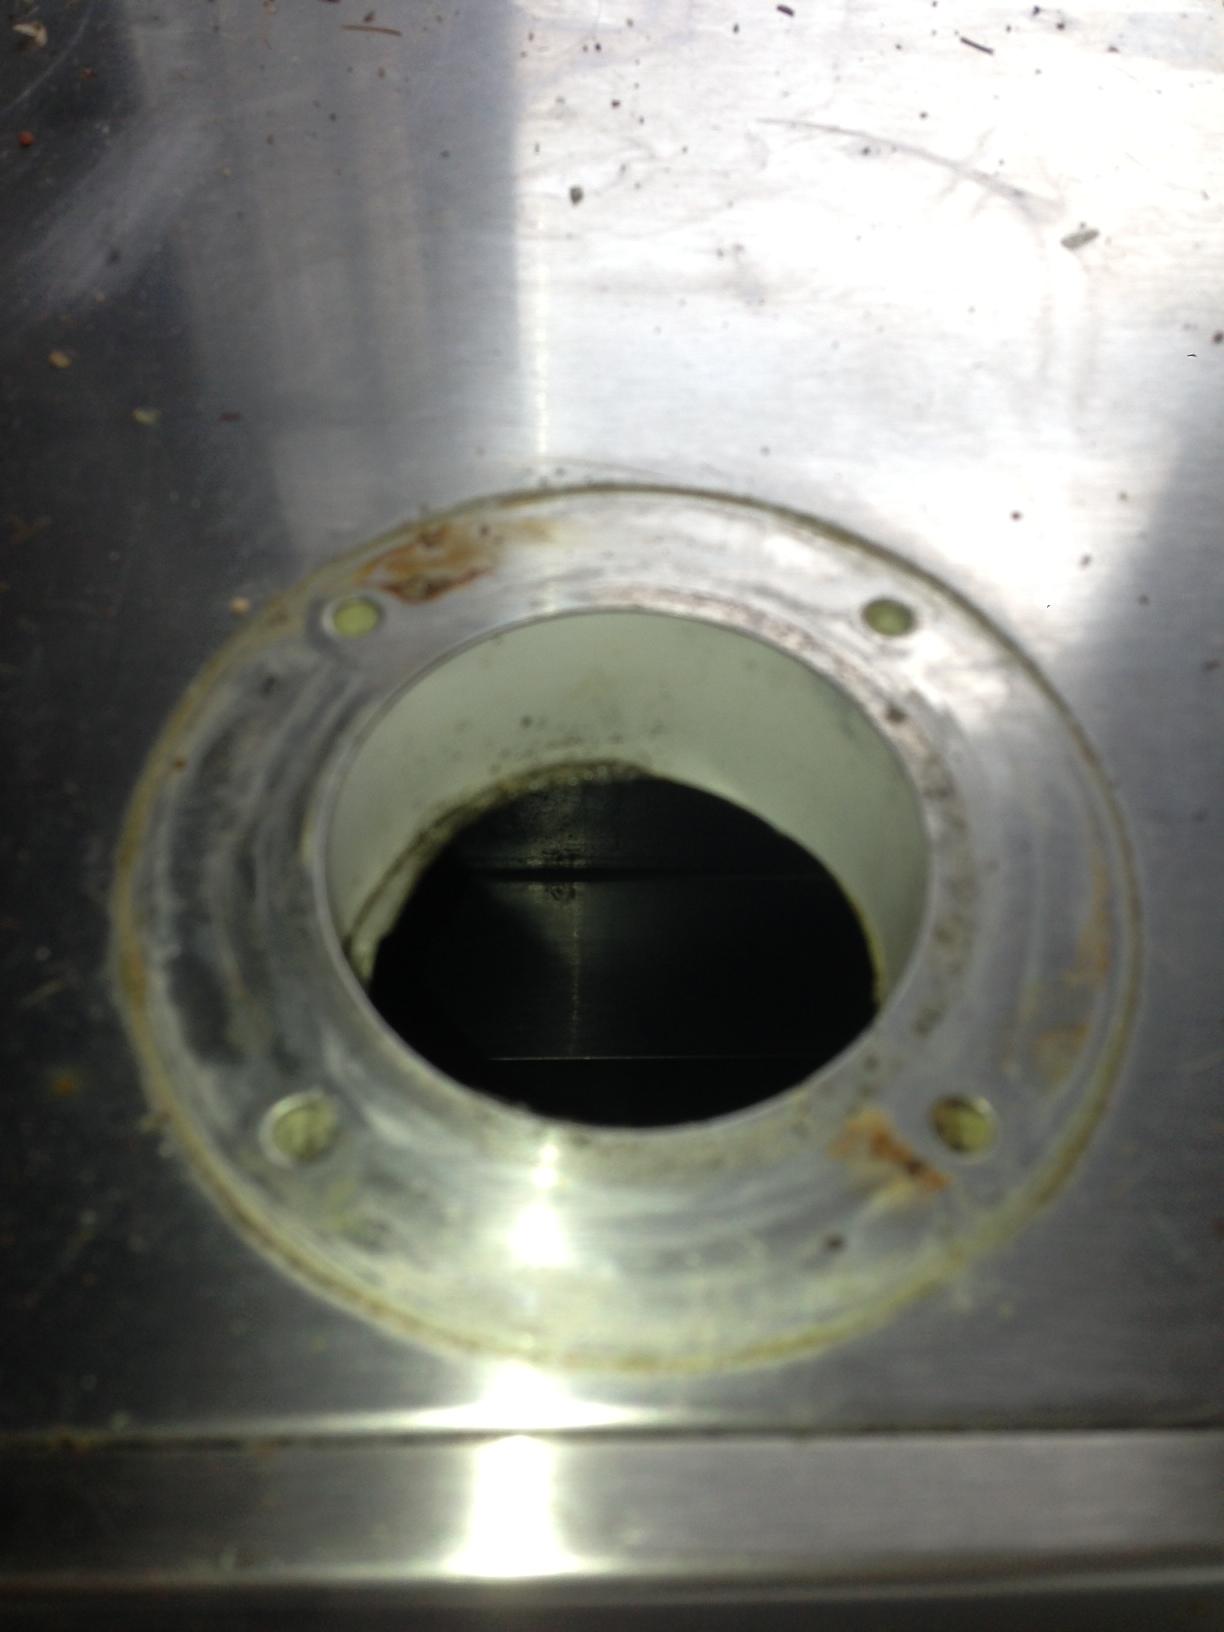
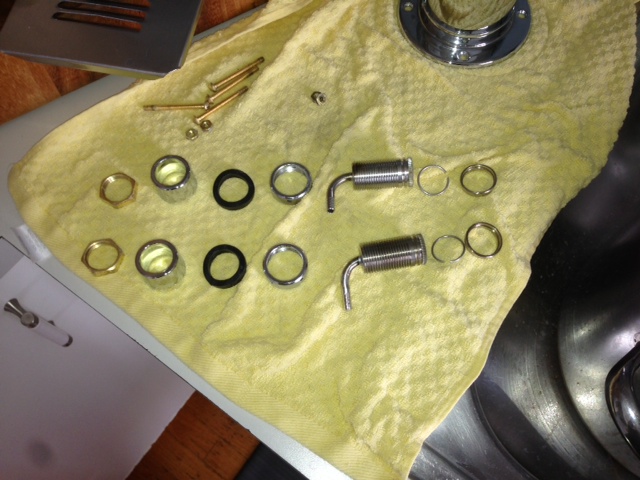
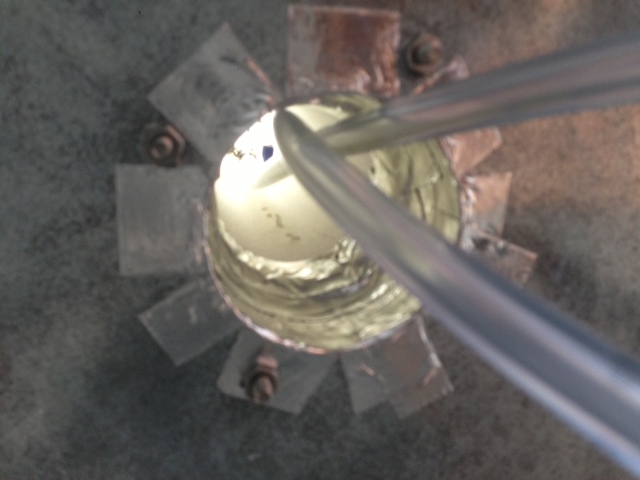
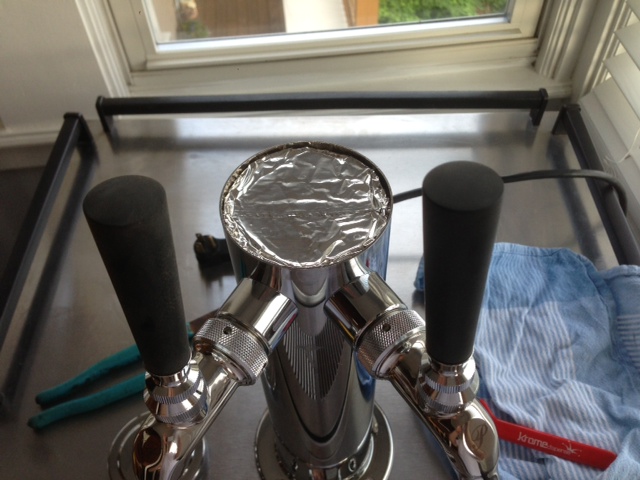
The hole that the tap tower mounts over is pretty dirty too. Is it safe to scrape and bleach all of this?

tSkMkna.jpg

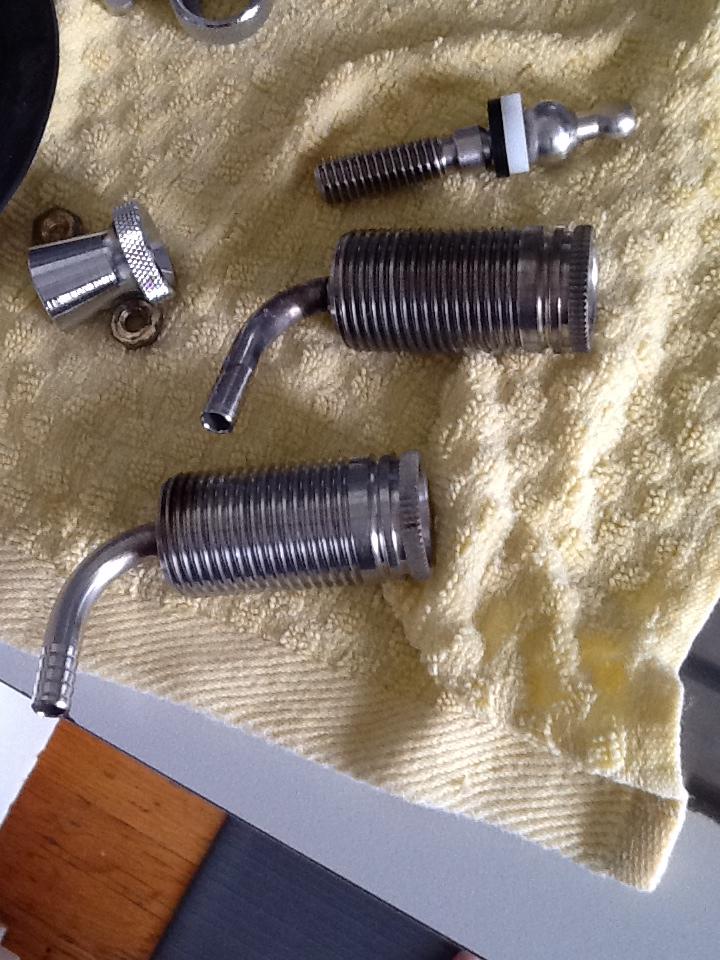
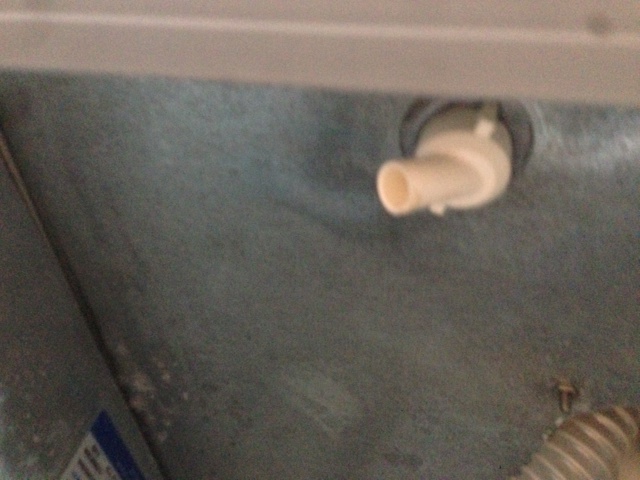
This is the drain port. Pretty ugly but I am sure some bleach and pipe cleaner would do the trick. I'd remove it but I imagine it is sealed in place.

RS9dMTm.jpg

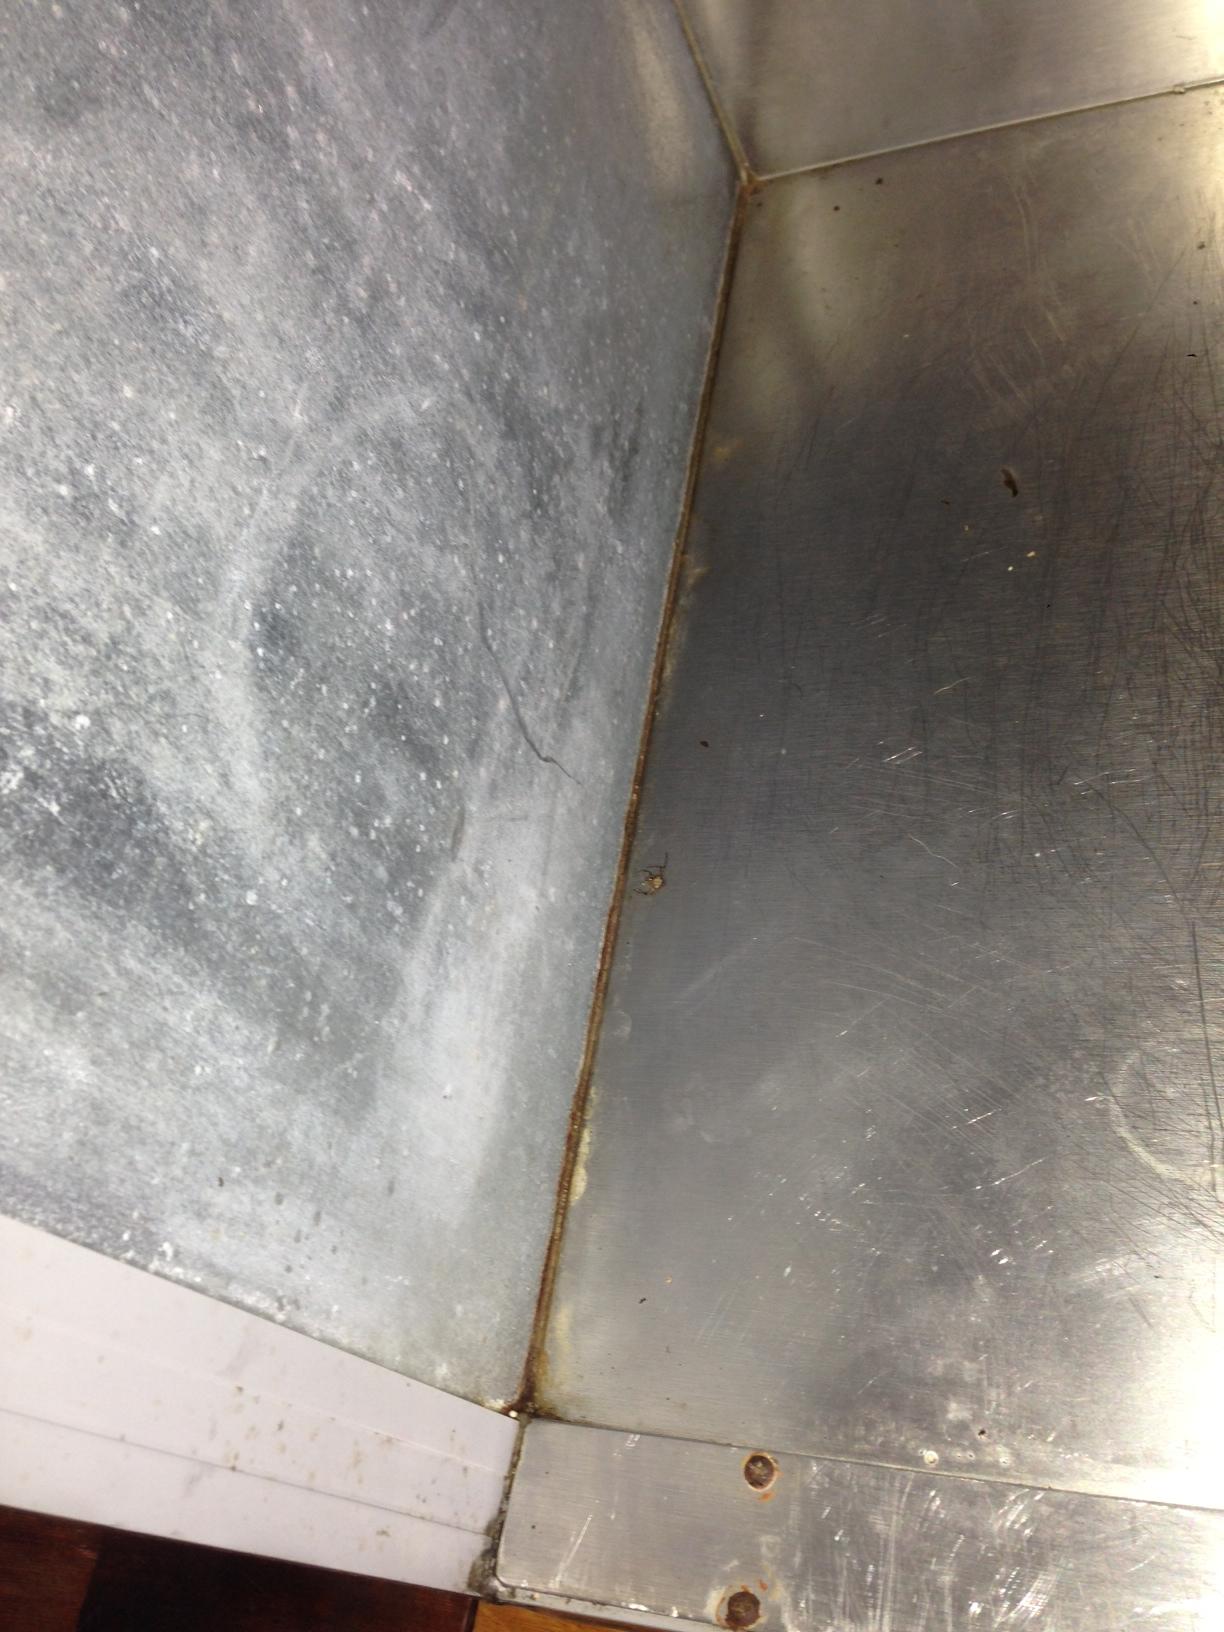
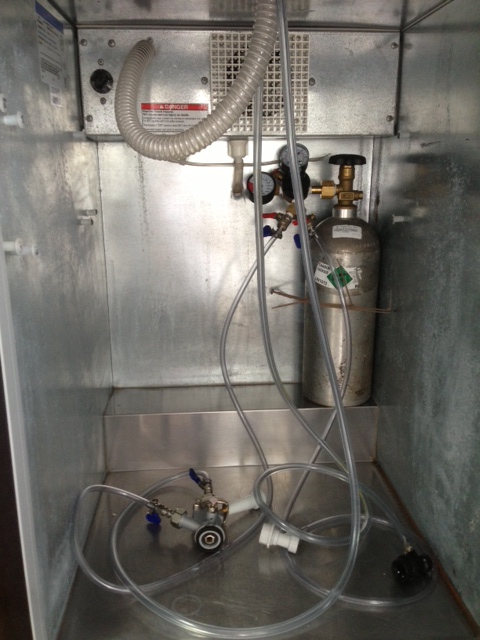
Look at the seams! I'm all for taking stuff apart, but what is the best way to clean up the rust here on the galvanized metal wall seams?

aBGWC7N.jpg

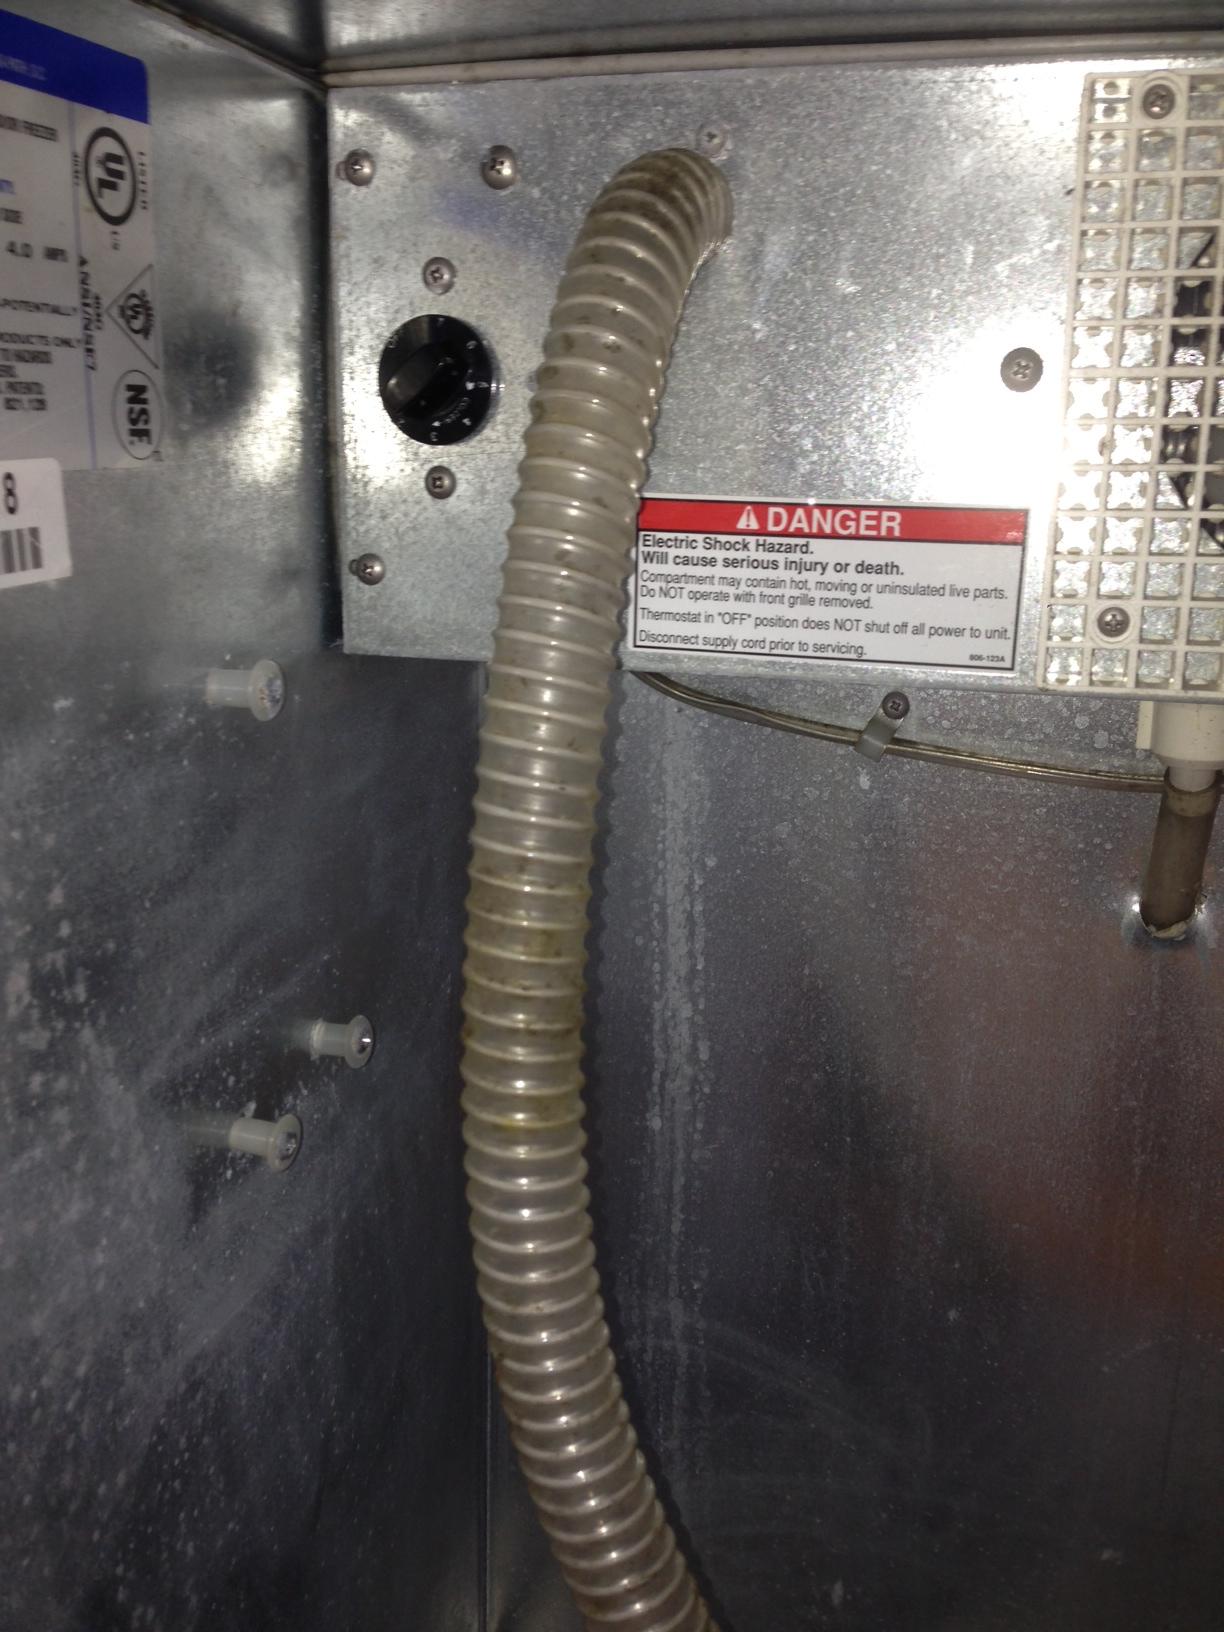
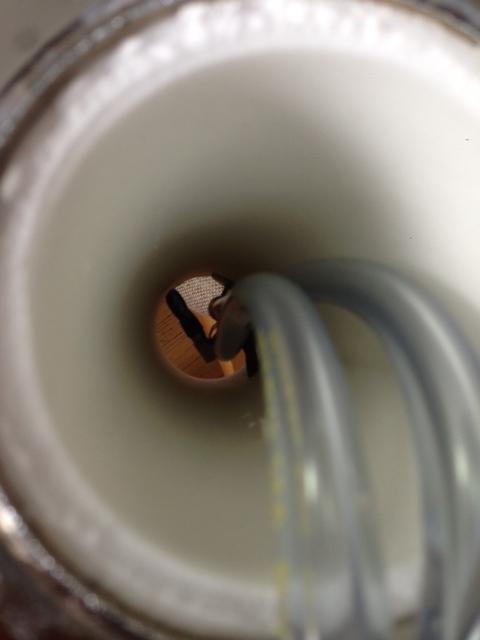
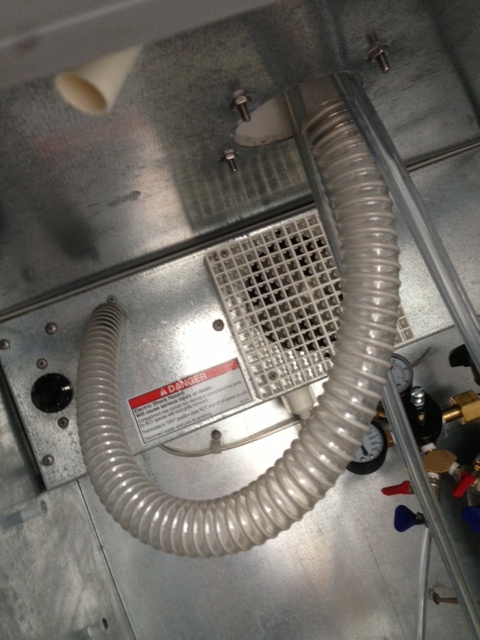
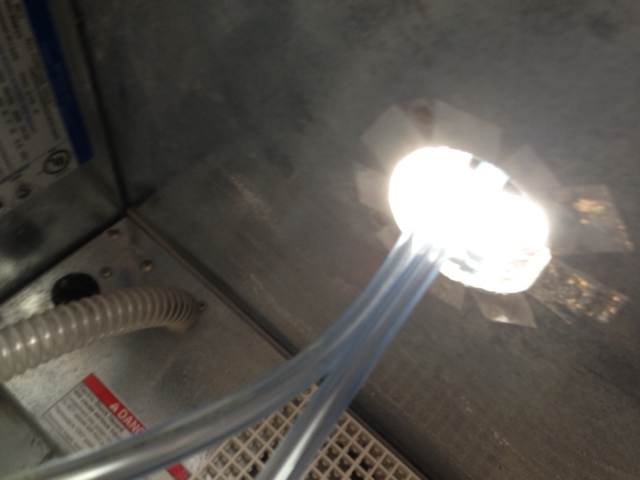
The hose that blows air up through the tower is gross and has what appears to be mold or mildew. Would taking apart the metal box be all that's needed to remove and clean it?

UED3QqI.jpg

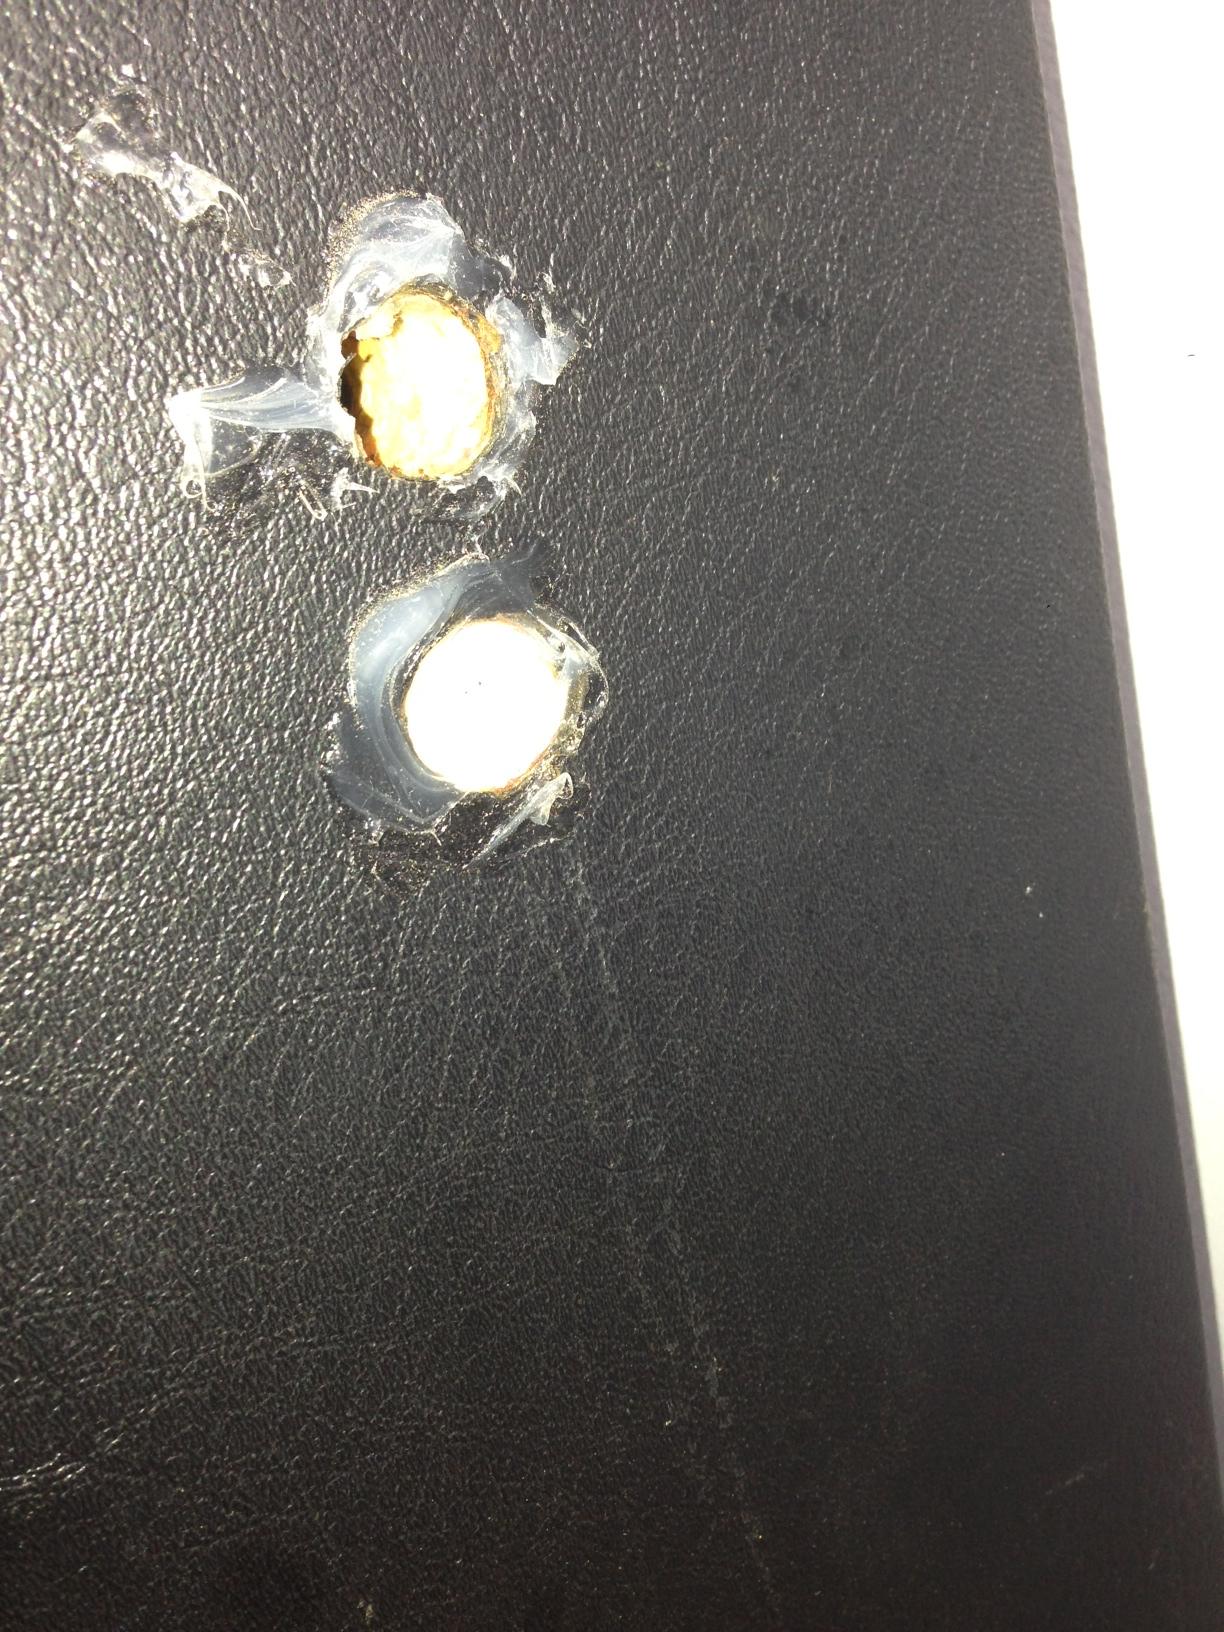
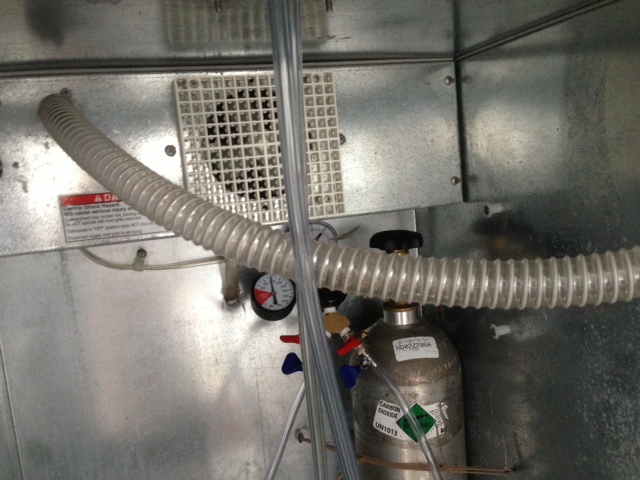
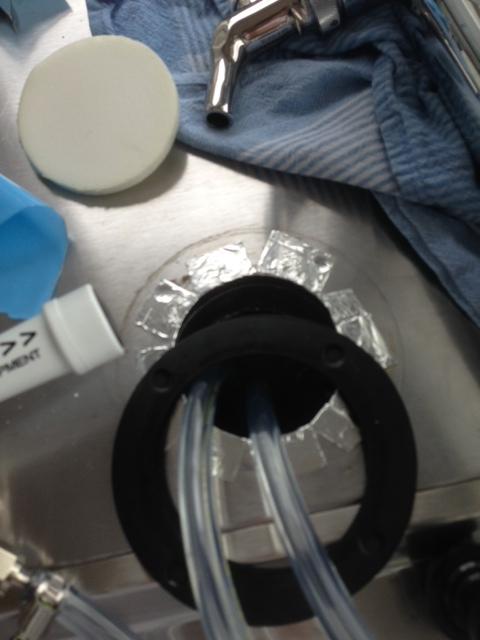
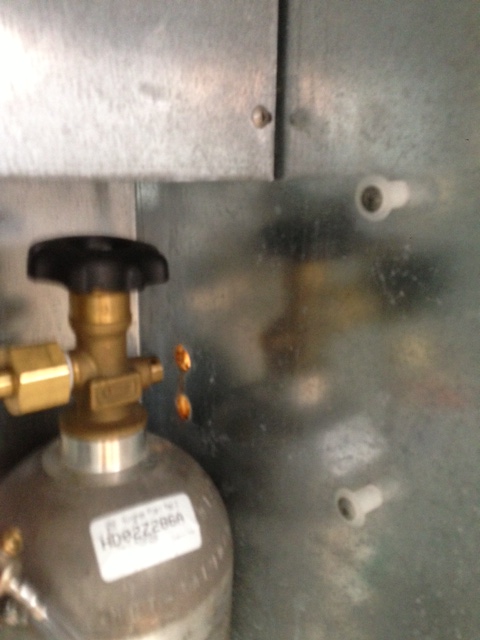
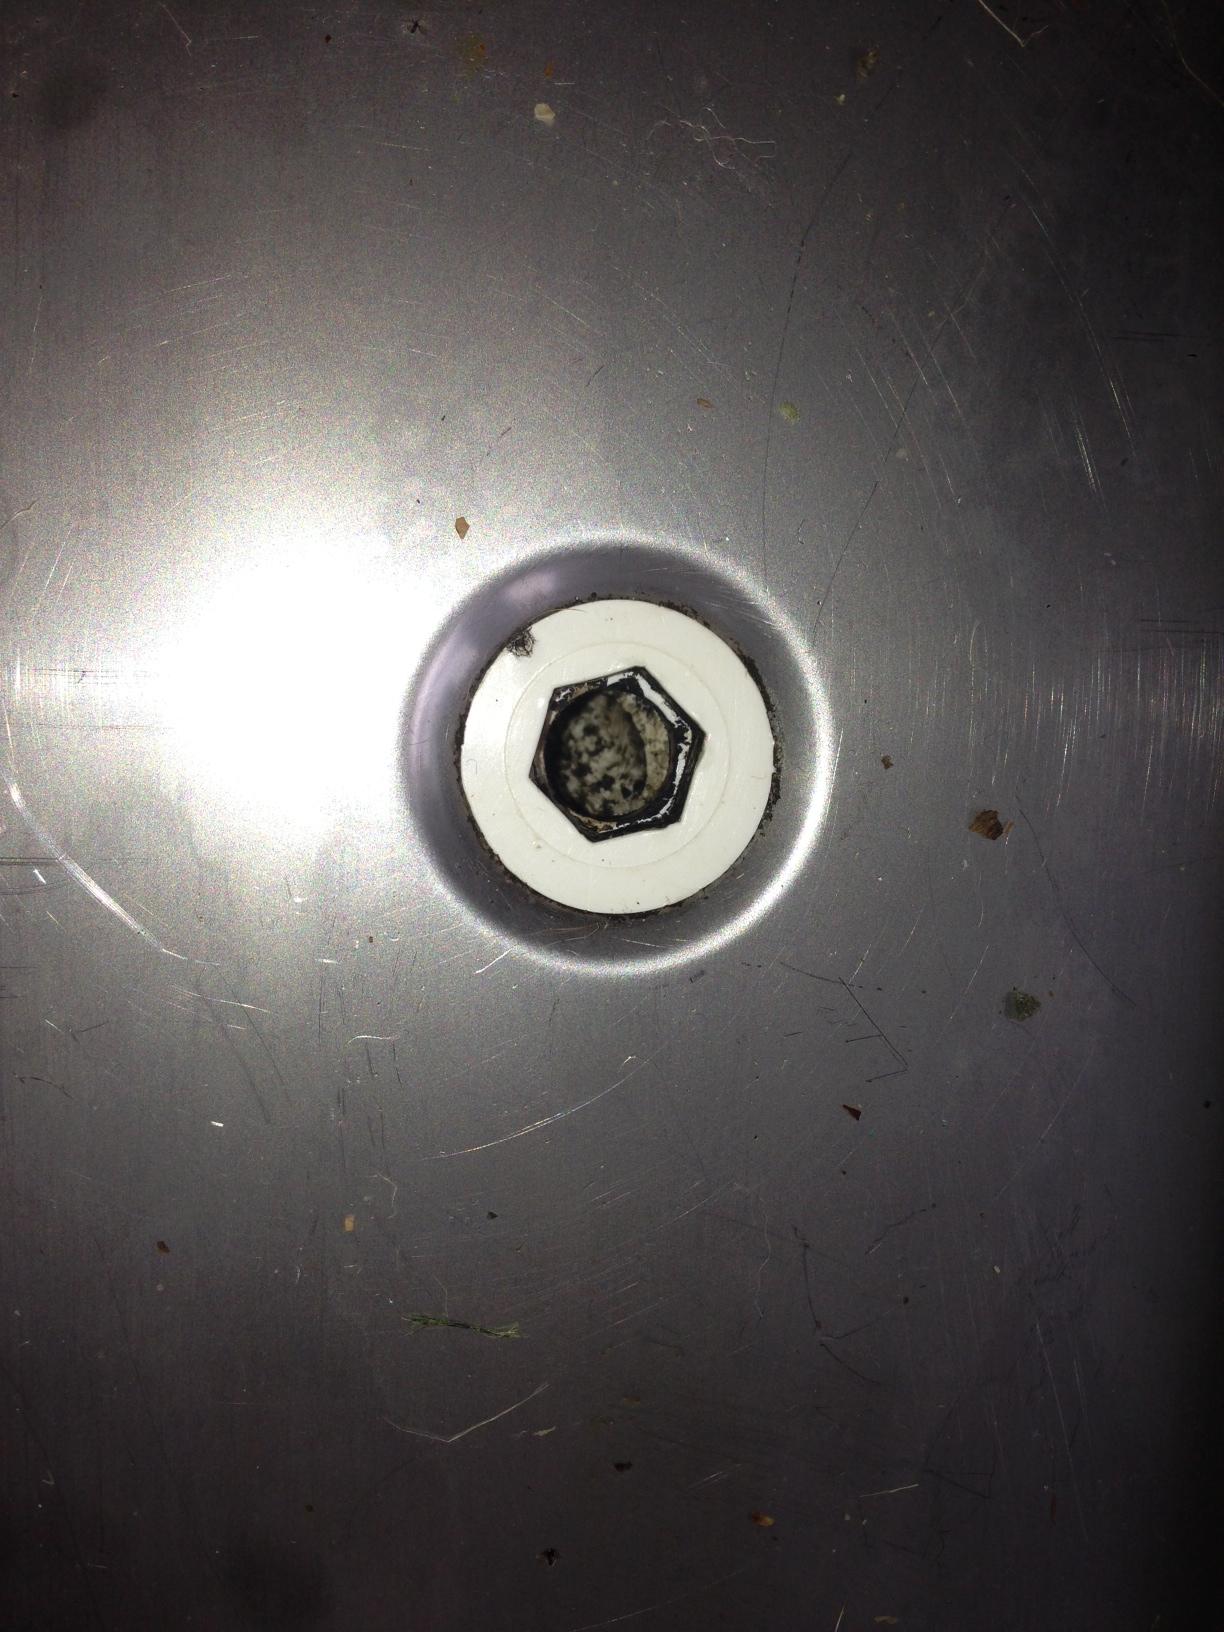
Someone drilled another hole through this and it has started to rust, as you can see. I'd like to bore out a slight larger hole to remove the silicone and rust and replace it with a stop plug. Any other suggestions?

That'll do for now. Thank you in advance for your help!
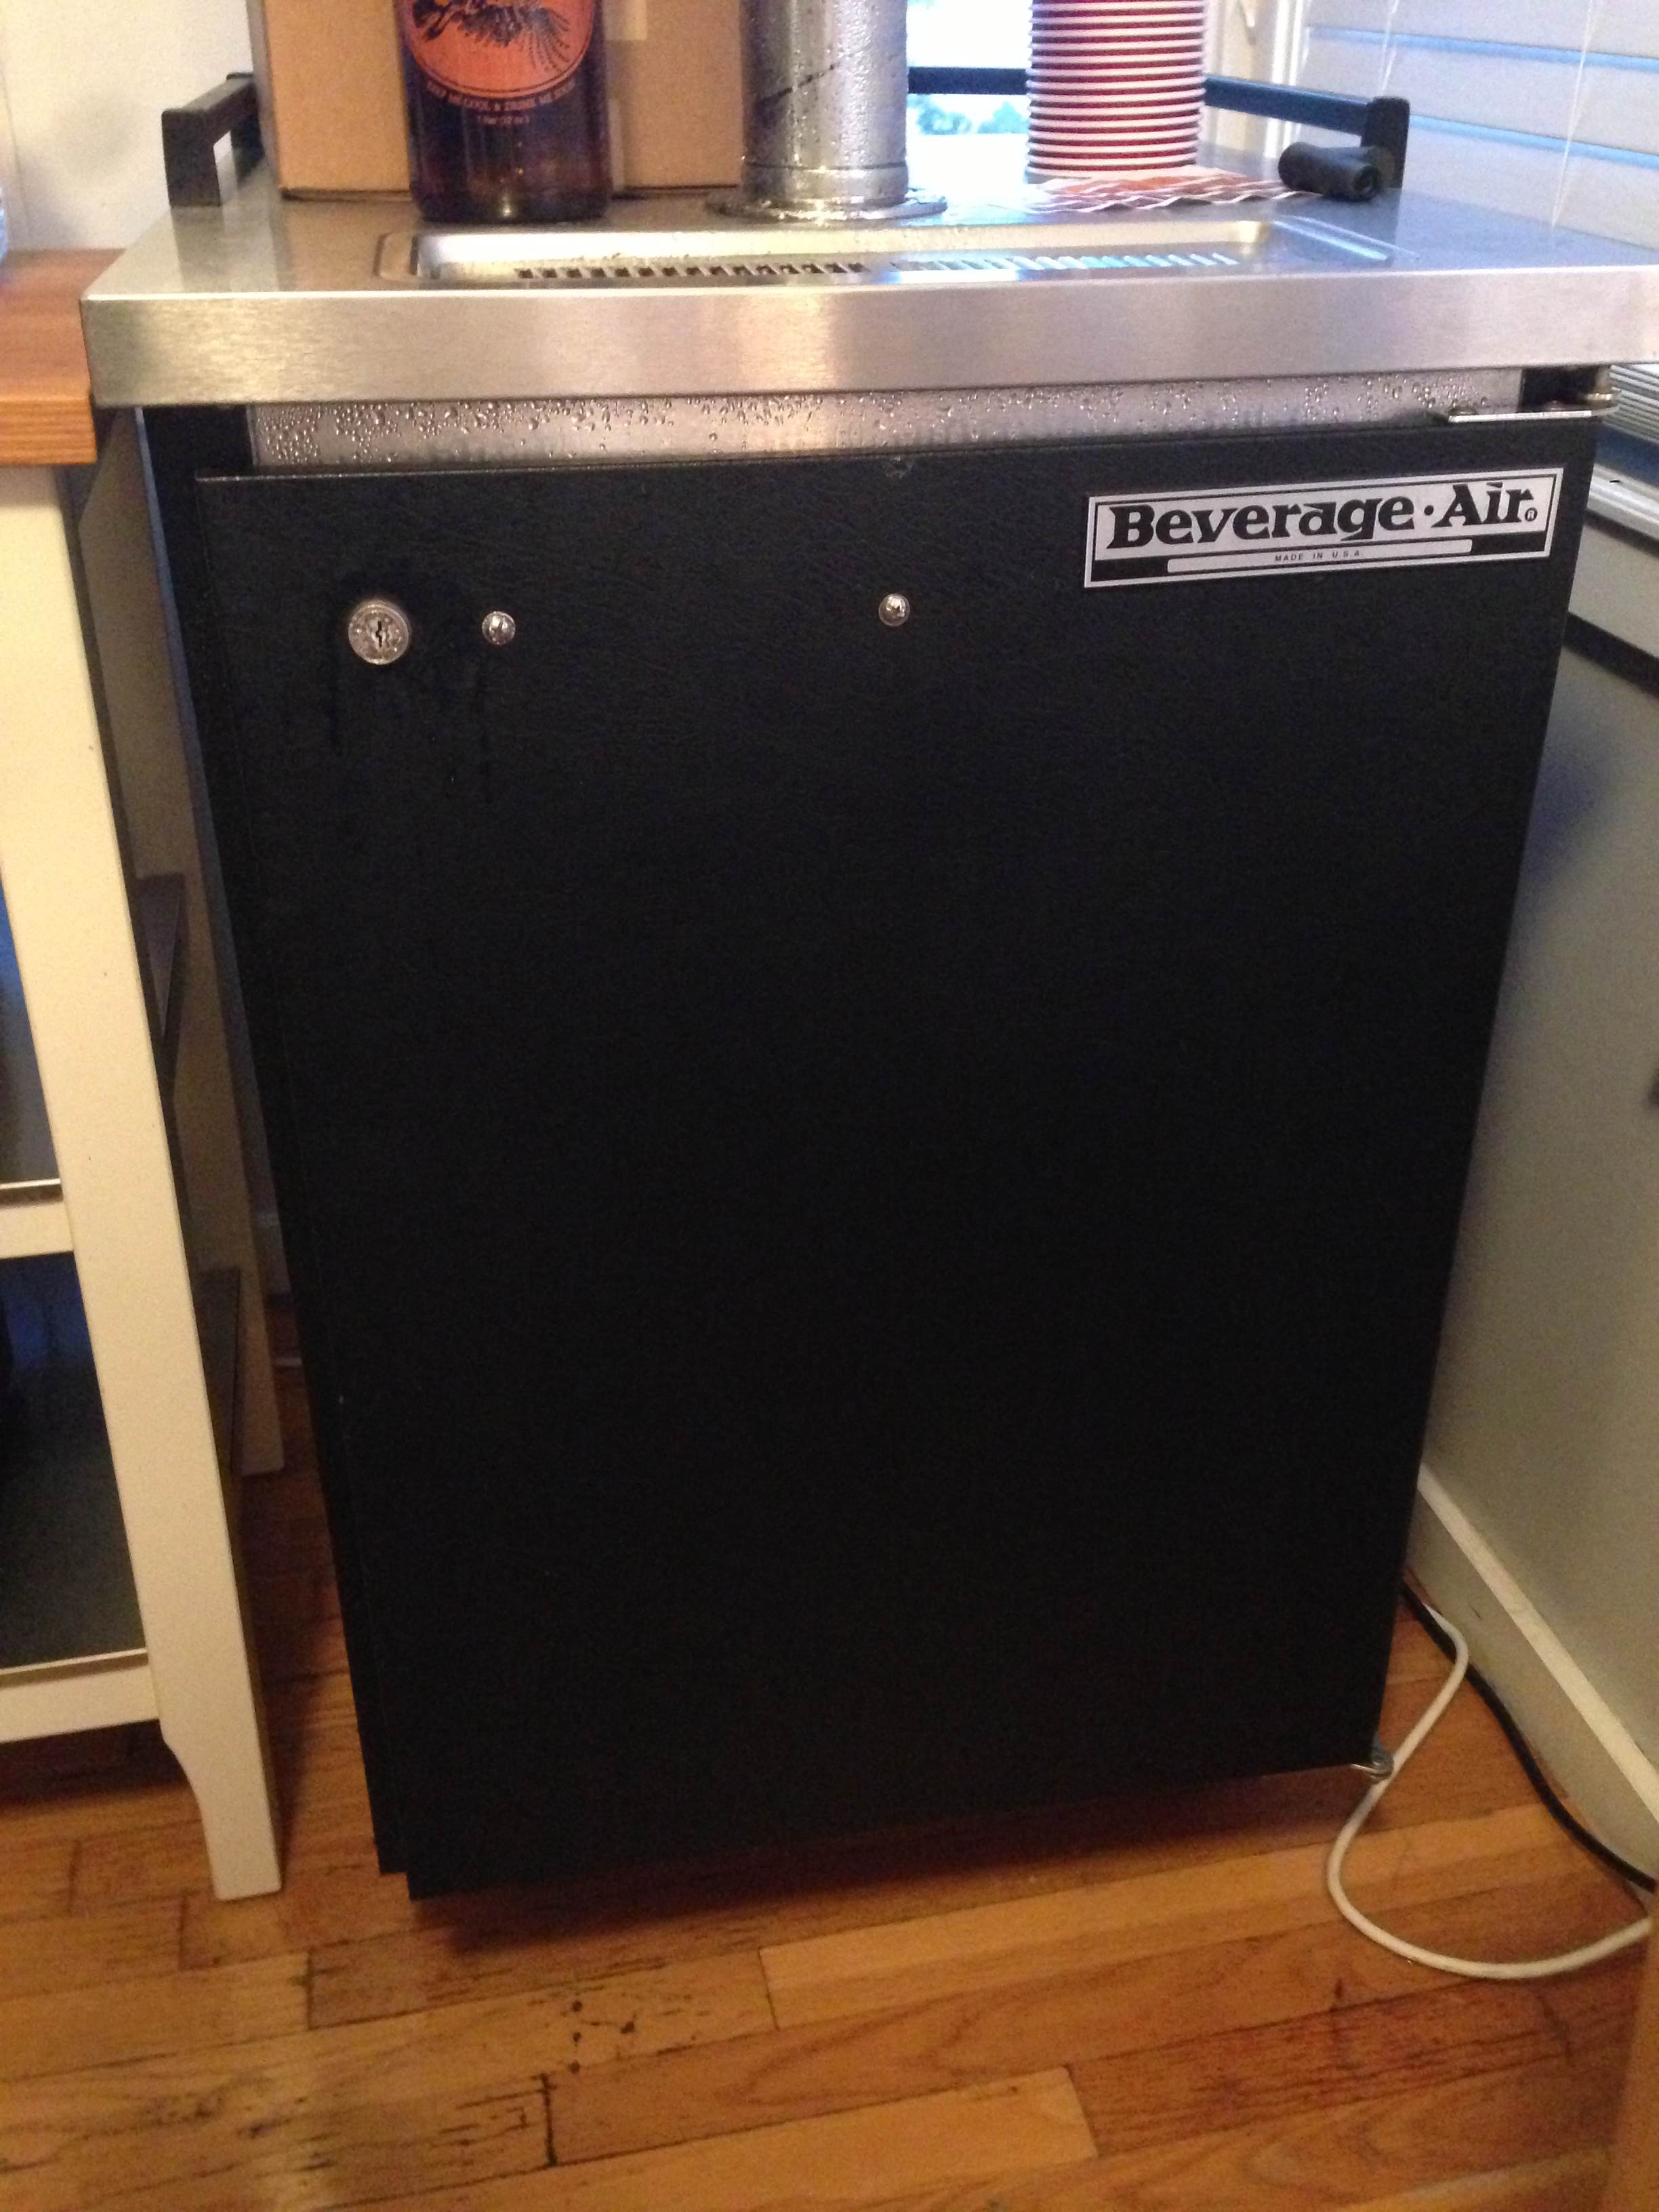
 
I have the same one that started out with wood grain on it. I took it completely apart after having a new (used) compressor put in, ground out all of the rust in the seams, sealed the seams with calking. Once that was done I sprayed the top half a gloss white and used undercoating on the bottom half. I fixed the cancer on the outside with bondo and spray painted it with a black hammered paint. I replaced the door seals, a lot of the parts that you listed and added a stainless steel tower with a triple Perlick 525s. It works perfect now. Take your time and you will be very happy with it when your done.
 
Thank you for the words on your experience!

Here's an update:

-Removed as much rust as I could on the bottom inside seams.
Question: What is a good sealant for inside of a metal fridge? I am assuming a low temp food grade silicone exists.

-PBW, bleached and rinsed everything inside and out, including those moldy parts you saw (cold air hose to tower).

-Wiped off fan blades and cleaned fins.

-Bought a regulator, tank, lines, connects and the Perlick 525ss arrived in the mail today.
Question: Since these are brand new parts, I am assuming that I can just connect everything up (using Teflon tape where needed) without cleaning it, correct? I plan on running about gallon of Star San through everything.

-Cleaned the tower shanks but there is some dark discolorations.
Question: Can that be cleaned or should these be replaced? Hoping that is not a concern.

xkBvkxT.jpg


Pics will come once finished!
 
Okay we have some updates.

First and foremost, the keg is tapped and the beer is flowing perfectly.

I ordered a replacement handle, condensation drip pan fins and a key for the lock so it is completely without missing parts.

The last thing to figure out is why I am getting so much condensation around the door seal. The seal looks great, however the door looks crooked. How can I fix that? Here's a picture starting with the door, and then everything else leading up to that point.

Crooked door letting air in and causing some sweat along the edge of the seal. No idea how to fix this. Help!
nyDdkgW.jpg


Soaked the shanks and all parts in PBW
Q2qnz1N.jpg


PBW, scrub, bleach, scrub. Just like new.
8FDiSeK.jpg


pgZO2vm.jpg


ftv4T8V.jpg


HU9KQPE.jpg


YzY5Aox.jpg


Walls and tubing cleaned and sanitized. Fitting was perfect.
6CLCtHr.jpg


Checking length of newly cleaned cold air tube.
m1kSIoI.jpg


WL3k8b8.jpg


hZRWTo1.jpg


Drip pan spout.
FnzpQL0.jpg


Decided to use some low temperature insulated tape to cover and line the seams. All in hopes to avoid air leaking at that point between the tower and fridge below.
6cmYx98.jpg


Dang thing stunk. Vinegar and baking soda paste took care of that.
5cMtKly.jpg


You'll notice I replaced the brass screws for the tower with stainless steel.
vsZad5J.jpg


LQiB03a.jpg


Previous owner drilled two holes. The rust and exposure is concerning.
GwWIzqK.jpg


So I slapped on some of that insulated tape and filled the holes with expanding foam.
OOBfM1r.jpg


Inexpensive but effective home made tap line cleaner.
qcvqToR.jpg


All mounted. Looking down.
bwNJ3oe.jpg


pgf6fi9.jpg
 
You can check your seal by drying the area and closing the door on a dollar bill the seal should be tight enough to hold the bill in place snugly. I found the quickest way is turn off all the in the room with a bright light inside of the unit. If it's a small leak in the seal you can use a hair dryer to heat up the seal so the magnetic steep touches the housing then leave it cool down without disturbing for several hours. You could also just need to see if the plastic spacer is broken/missing on the bottom hinge it will keep the door from sitting high enough to seal the top.
 
A few questions for you.

How did you clean your air tube from the fan unit, Did it come off easily without taking the face plate off?

Where does your drip line run to? Mine is set up for a floor drain. I am trying to come up with a better solution than having it run to a bucket in my bev air, because I dont have access to a drain.
 
I bought the exact same model, and I got about the same reconditionning and upgrading plan as yours! I will add a tower with dual faucet (maybe not perlick now, but will upgrade later) and I will scrub the thing to death, replacing some tubing and screws.

Did you end up removing rust on the floor corner.. PBW is not making it for me so far for this! Any stuff or alimentary coat to suggest?

And what about the air hose lie Will319 asked? Did you removed it for cleaning or did you use a brush inside out?
 
To answer the question about the air line that cools the draft towers; There is a sheet metal screw right above the tube on the condenser. This retains a metal wire that holds the tube to the condenser. Remove the screw and the cooling tube should come right off for you to soak/scrub or do whatever to.
 
What do you guys use for a drip pan inside the cooler? Mine looks just like yours, but I seem to be missing a pan to catch the overflow or head beer. I really don't want a bunch of beer draining into my kegerator!!
 
Potter,

I first off took the hoses that came with it and tossed them and replaced them with new flexible clear PVC tubing. If you do this get the flimsier tubing because it will stiffen significantly at 35 degrees. As for a reservoir to hold the waste I use a 1gal Arizona Tea jug, that way I can toss it if it gets nasty. I also use a length of tubing to run from the condenser drip in the back of the unit to the same jug. I have a DD68 so there is a little more room than a BM23 to have a jug in there, but I haven't had an issue where I needed more space because of it.

https://www.homebrewtalk.com/f51/cold-bottom-kegerator-410894/
 
Just got the same model about a month ago. Gotten mostly everything replaced with new parts.

What did you clean your cold air line with and what mixture did you use for cleaning the inside. Last two things I need to do other than find something to use for the condenser drip tray underneath the unit. Don't want to pay $80 for one from Beverage Air.
 
I removed the air lines and soaked them in a soapy water solution. A wine bottle brush works well in them too. I currently don't use a drip pan under the compressor becuase I'm too cheap to buy the bev air one and it sits out in the garage. It doesn't drip that much anyway. If you're concerned try trimming down a aluminum foil pan.
 
I removed the air lines and soaked them in a soapy water solution. A wine bottle brush works well in them too. I currently don't use a drip pan under the compressor becuase I'm too cheap to buy the bev air one and it sits out in the garage. It doesn't drip that much anyway. If you're concerned try trimming down a aluminum foil pan.

Very nice. Yeah I can't wait to get my first keg in it. My last shipment of parts will arrive on Christmas eve.
New co2 tank, cleaning kit, and a new section of hose for the waste line. I still need to get a waste bottle but I can rig something up in the mean time.

I also need to seal the evaporator fitment with silicone since it's cracked and leaks a little when running.

View attachment 1419110587477.jpg
 
To answer the question about the air line that cools the draft towers; There is a sheet metal screw right above the tube on the condenser. This retains a metal wire that holds the tube to the condenser. Remove the screw and the cooling tube should come right off for you to soak/scrub or do whatever to.


I know this is old but im hoping youre still around. Could you elaborate on this? I unscrewed the retaining screw above it, but its still stuck on there pretty tough. Im afraid to force it. There seems to be a metal ring that goes around it but squeezing and twisting did nothing.
 
On mine the air tube just popped in. it is a very snug fit. Try to spin it or use a small amount of warm water if there is some crud on there. I would keep working it. Let us know how it goes.
 
On mine the air tube just popped in. it is a very snug fit. Try to spin it or use a small amount of warm water if there is some crud on there. I would keep working it. Let us know how it goes.

Thanks bud, i got it off and soaked it in bleach like you did.
Now the hard part of getting it put back on
 
On mine the air tube just popped in. it is a very snug fit. Try to spin it or use a small amount of warm water if there is some crud on there. I would keep working it. Let us know how it goes.


Before:


After:


Not quite as beautiful as yours, but im happy with it
 
Back
Top