6 Tap Keezer and Bartop

Homebrew Talk - Beer, Wine, Mead, & Cider Brewing Discussion Forum

Help Support Homebrew Talk - Beer, Wine, Mead, & Cider Brewing Discussion Forum:

This site may earn a commission from merchant affiliate links, including eBay, Amazon, and others.

JimboVorlaufski

Active Member
Joined
Nov 1, 2013
Messages
38
Reaction score
30
Location
Chicago
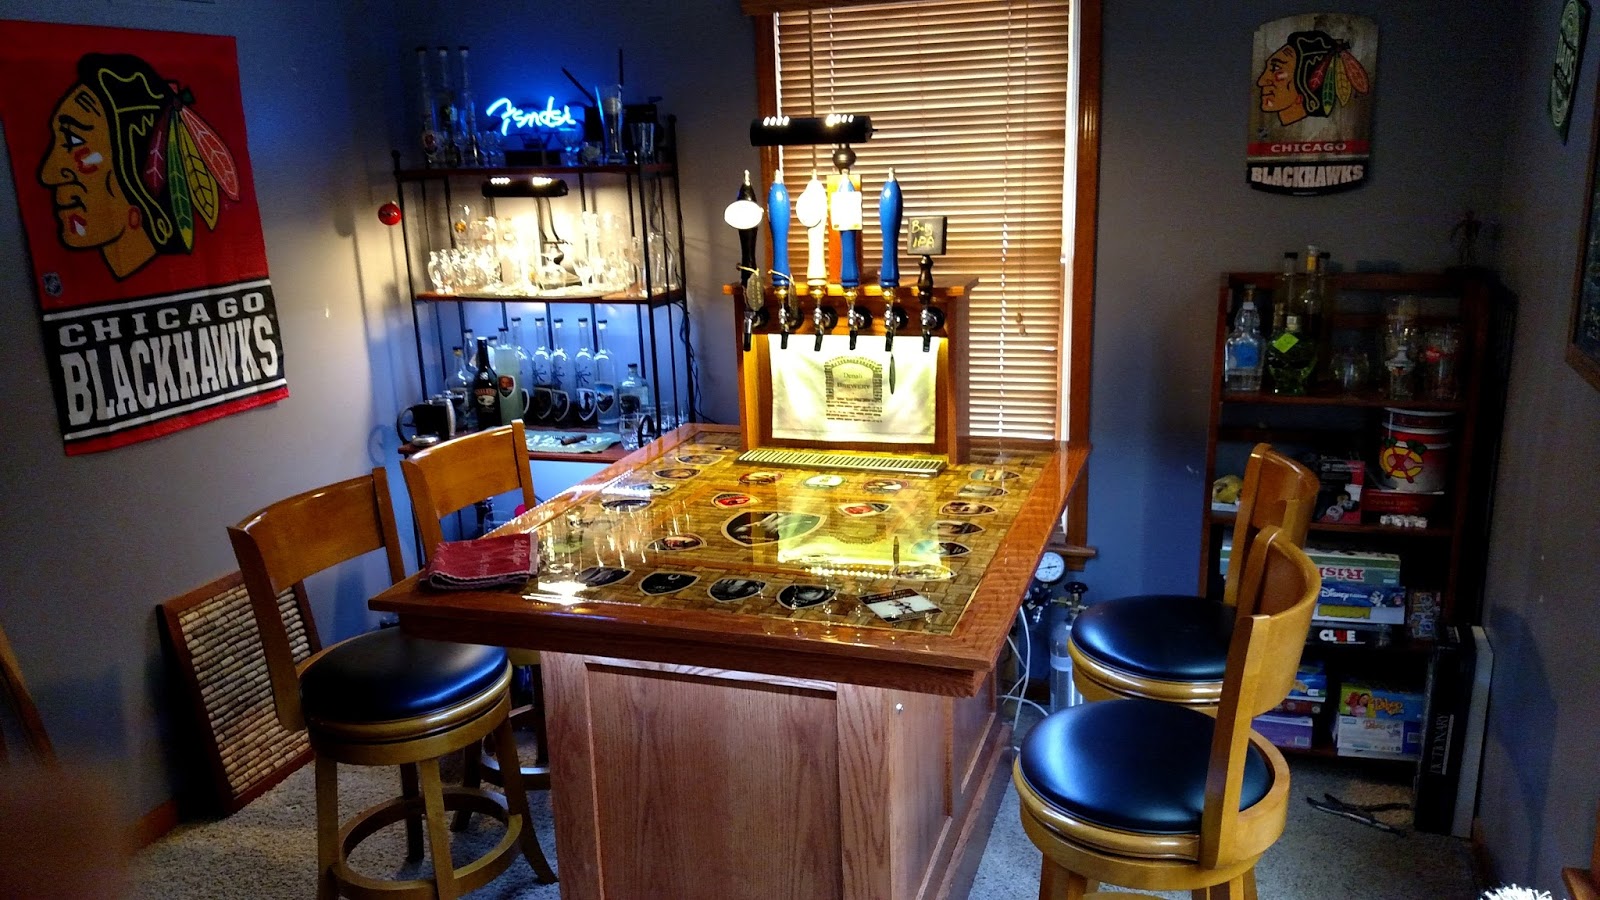
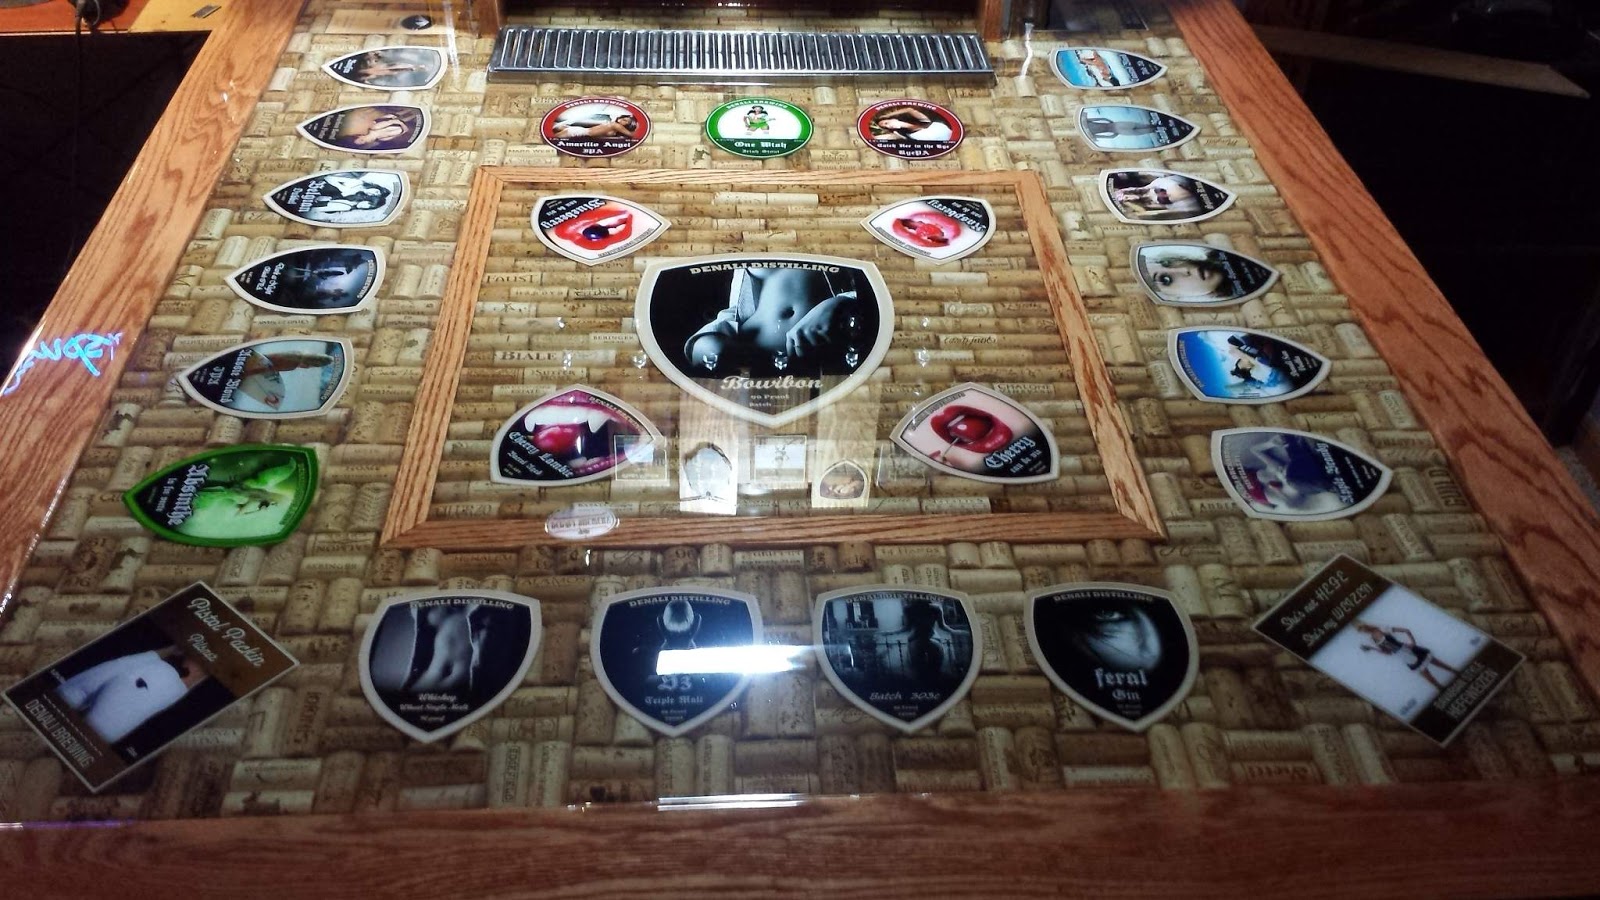
Been meaning to post this up for some time now. I built this over xmas break last year. The freezer is a 10.2 ft older model (R12) which holds 6 corny kegs perfectly without a raised skirt. Pretty unique model I guess as new models with the same outside dimensions only hold 4 or 5 due to the thicker wall requirements for energy star. Anyway, here's some pics. It currently has 1 perlick and 5 **** quality cheapo taps. I just placed an order for 5 more Perlicks. Spend the money its worth it, there's no competition between the Perlicks and the cheap crap. A nitro stout tap and regulator are on my xmas list. The top is several hundred corks cut in half, glued in place then a layer of bartop resin, a bunch of labels I created for some of my brews and another coat of bartop resin, allowed to run over the edge. Tricky tedious work, need a dental pick in one hand and a propane torch in the other for a couple hours while it sets up to remove dust, cat hair, and raise bubbles, but worth the effort, very happy with how it turned out. I added LED lighting under the top, nice effect on the cabinet/skirt below. There's 2 2" holes to the tower box, with a small fan circulating cold air into the tower. The bar can seat 6 comfortably. I have 6 of those chairs, but only keep 4 around it unless company comes over. Cheers, Jimbo.

Bar3.JPG


bar2.JPG


bar4.JPG
 
Can I bother you for some advice using the resin? What stuff did you use?
 
Thanks everyone. Was a fun project, and get a lot of response from the friends. That bartop resin stuff does a nice job.

Can I bother you for some advice using the resin? What stuff did you use?

No bother, happy to answer any questions. It was a 2 part epoxy from Menards. I did a search and doesnt look like they carry it anymore, but its this stuff, you can still get it all over. http://www.ebay.com/itm/Crystal-Cle...86c47d&pid=100669&rk=1&rkt=24&sd=281756320926

I used a gallon (1/2 gal x 2 parts) first to cover the corks and get a flat surface for my hooch labels. Then another gallon to flow over the labels and cover the whole top to dripping off. Be sure to use a level on your surface first.
 
Thanks guys. I had a bit of head scratcher snafu on my keezer recently. The compressor cooling system sprung a leak. And the piping is buried in the foam walls of the freezer. Unfixable. ****e! I tried to find a new freezer that would fit in the oak skirt and still hold 6 corny's. No luck.

In desperation I ripped apart my lagering chest keezer, spooled up the condensor (hot) side piping , soldered in a nice evaporator I tore out of a broken fridge, and modified my keezer to fit the new rube goldberg design. The evaporator is taller than the step so I had to cut out half the compressor step and build a tray. Works great. Phew, crisis averted.

Picture is worth a thousand words, Ill post up photo's tonight.

Cheers,

Jimbo
 
Ok here's the pics as promised of my keezer coolant system rebuild. Basically ditched the built in R12 system and used an R134 system from my lagering chest. Except I clipped off the long steel evap line thats used in chest freezers, and soldered in a proper evaporator coil scavenged out of a broken refrigerator. HVAC buddy of mine drew a vacuum on the system, recharged with 134 and she works PERFECT. Way better than original. I have a double box fan behind it recirculating air through the coils. You can see the condensor (hot) side behind the keezer. Its a bit of a cluster fornication but works fine, coils get hot and lose their heat to the room wiht a little help from fans sitting on top of the compressor blowing upward. Some day Ill put a proper condensor coil on that side of the system too, but it works and its out of sight behind the bar so no big. See first post in this thread for more pictures of the bar top and cabinet. Cheers, Jimbo

keezrebuild1.JPG

keezrebuild2.JPG

Bar1.JPG
 
Back
Top