
iceman80403
Well-Known Member
Hi all! I've been a homebrewer and member of the forums for a number of years, but haven't been too active. I've gleaned a lot of great information and inspiration from these forums over the years and thought I'd give back by posting my winerator build. I hope you enjoy!
This build was a fun and educational process. I certainly made mistakes along the way and if I were to do it again, I'd do it in a different order and make different choices. I really just made things up as I went, but I'm really happy with how it turned out. This is an abridged version of my build.
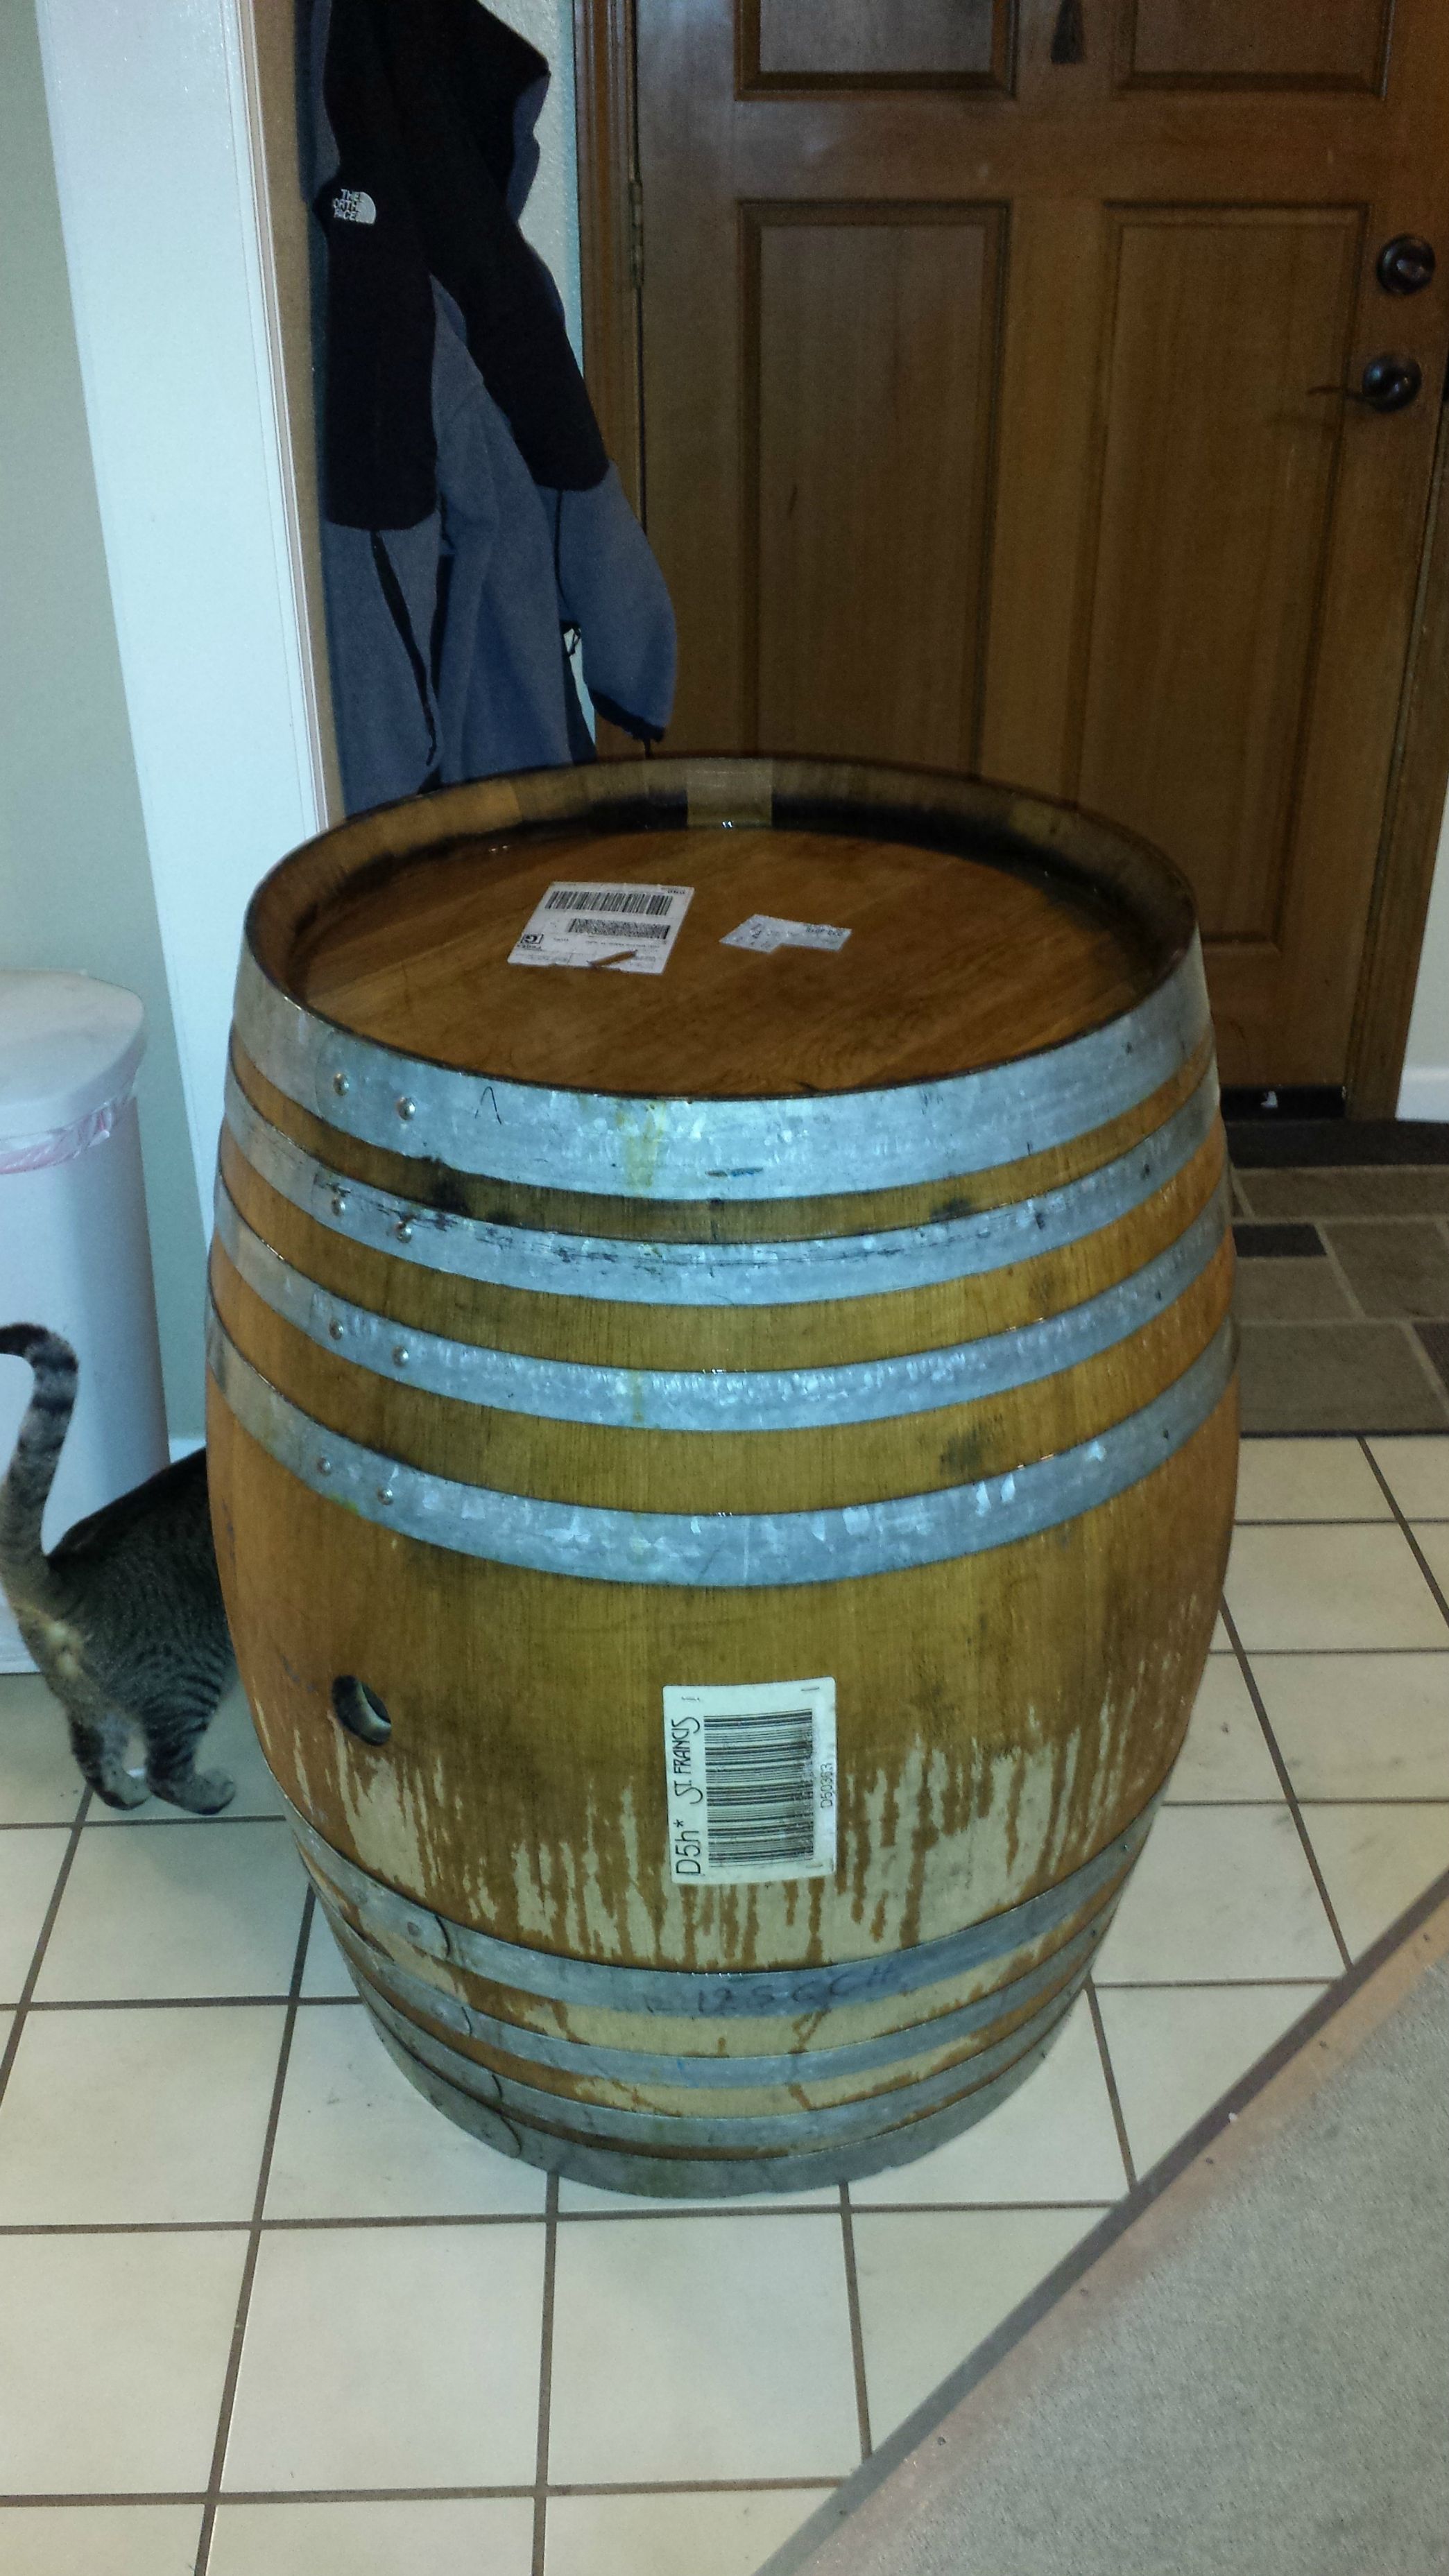
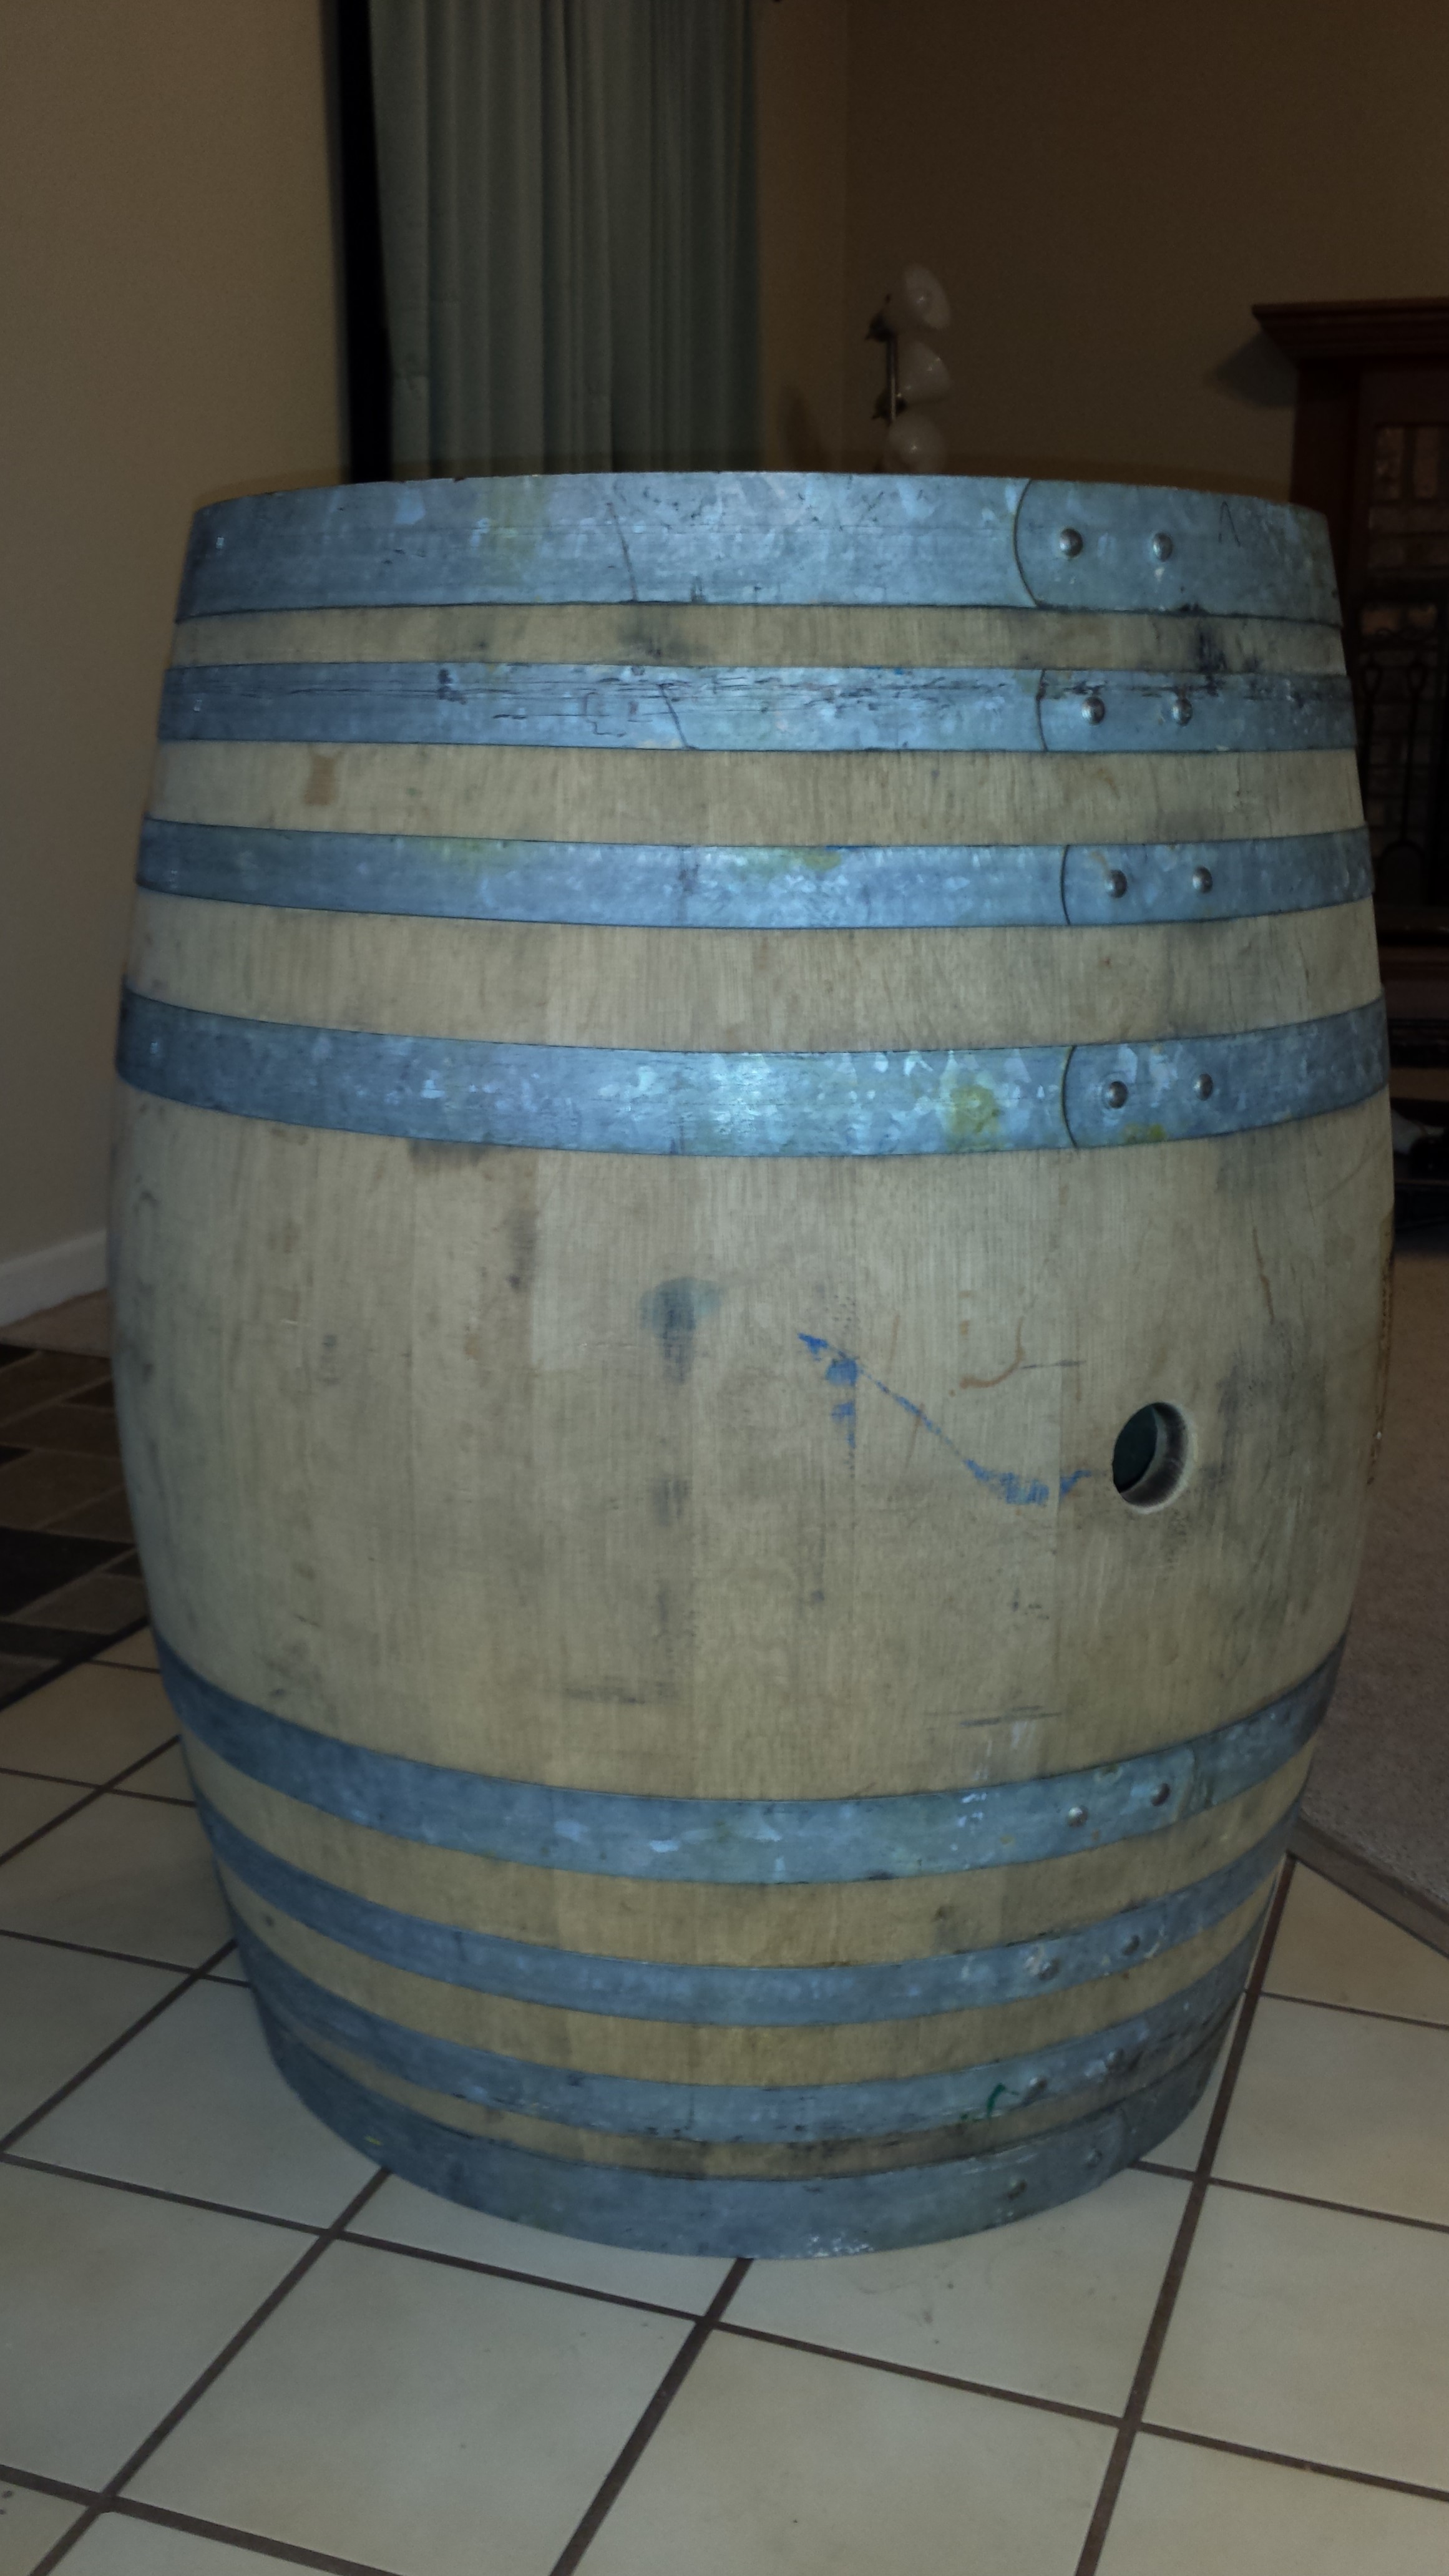
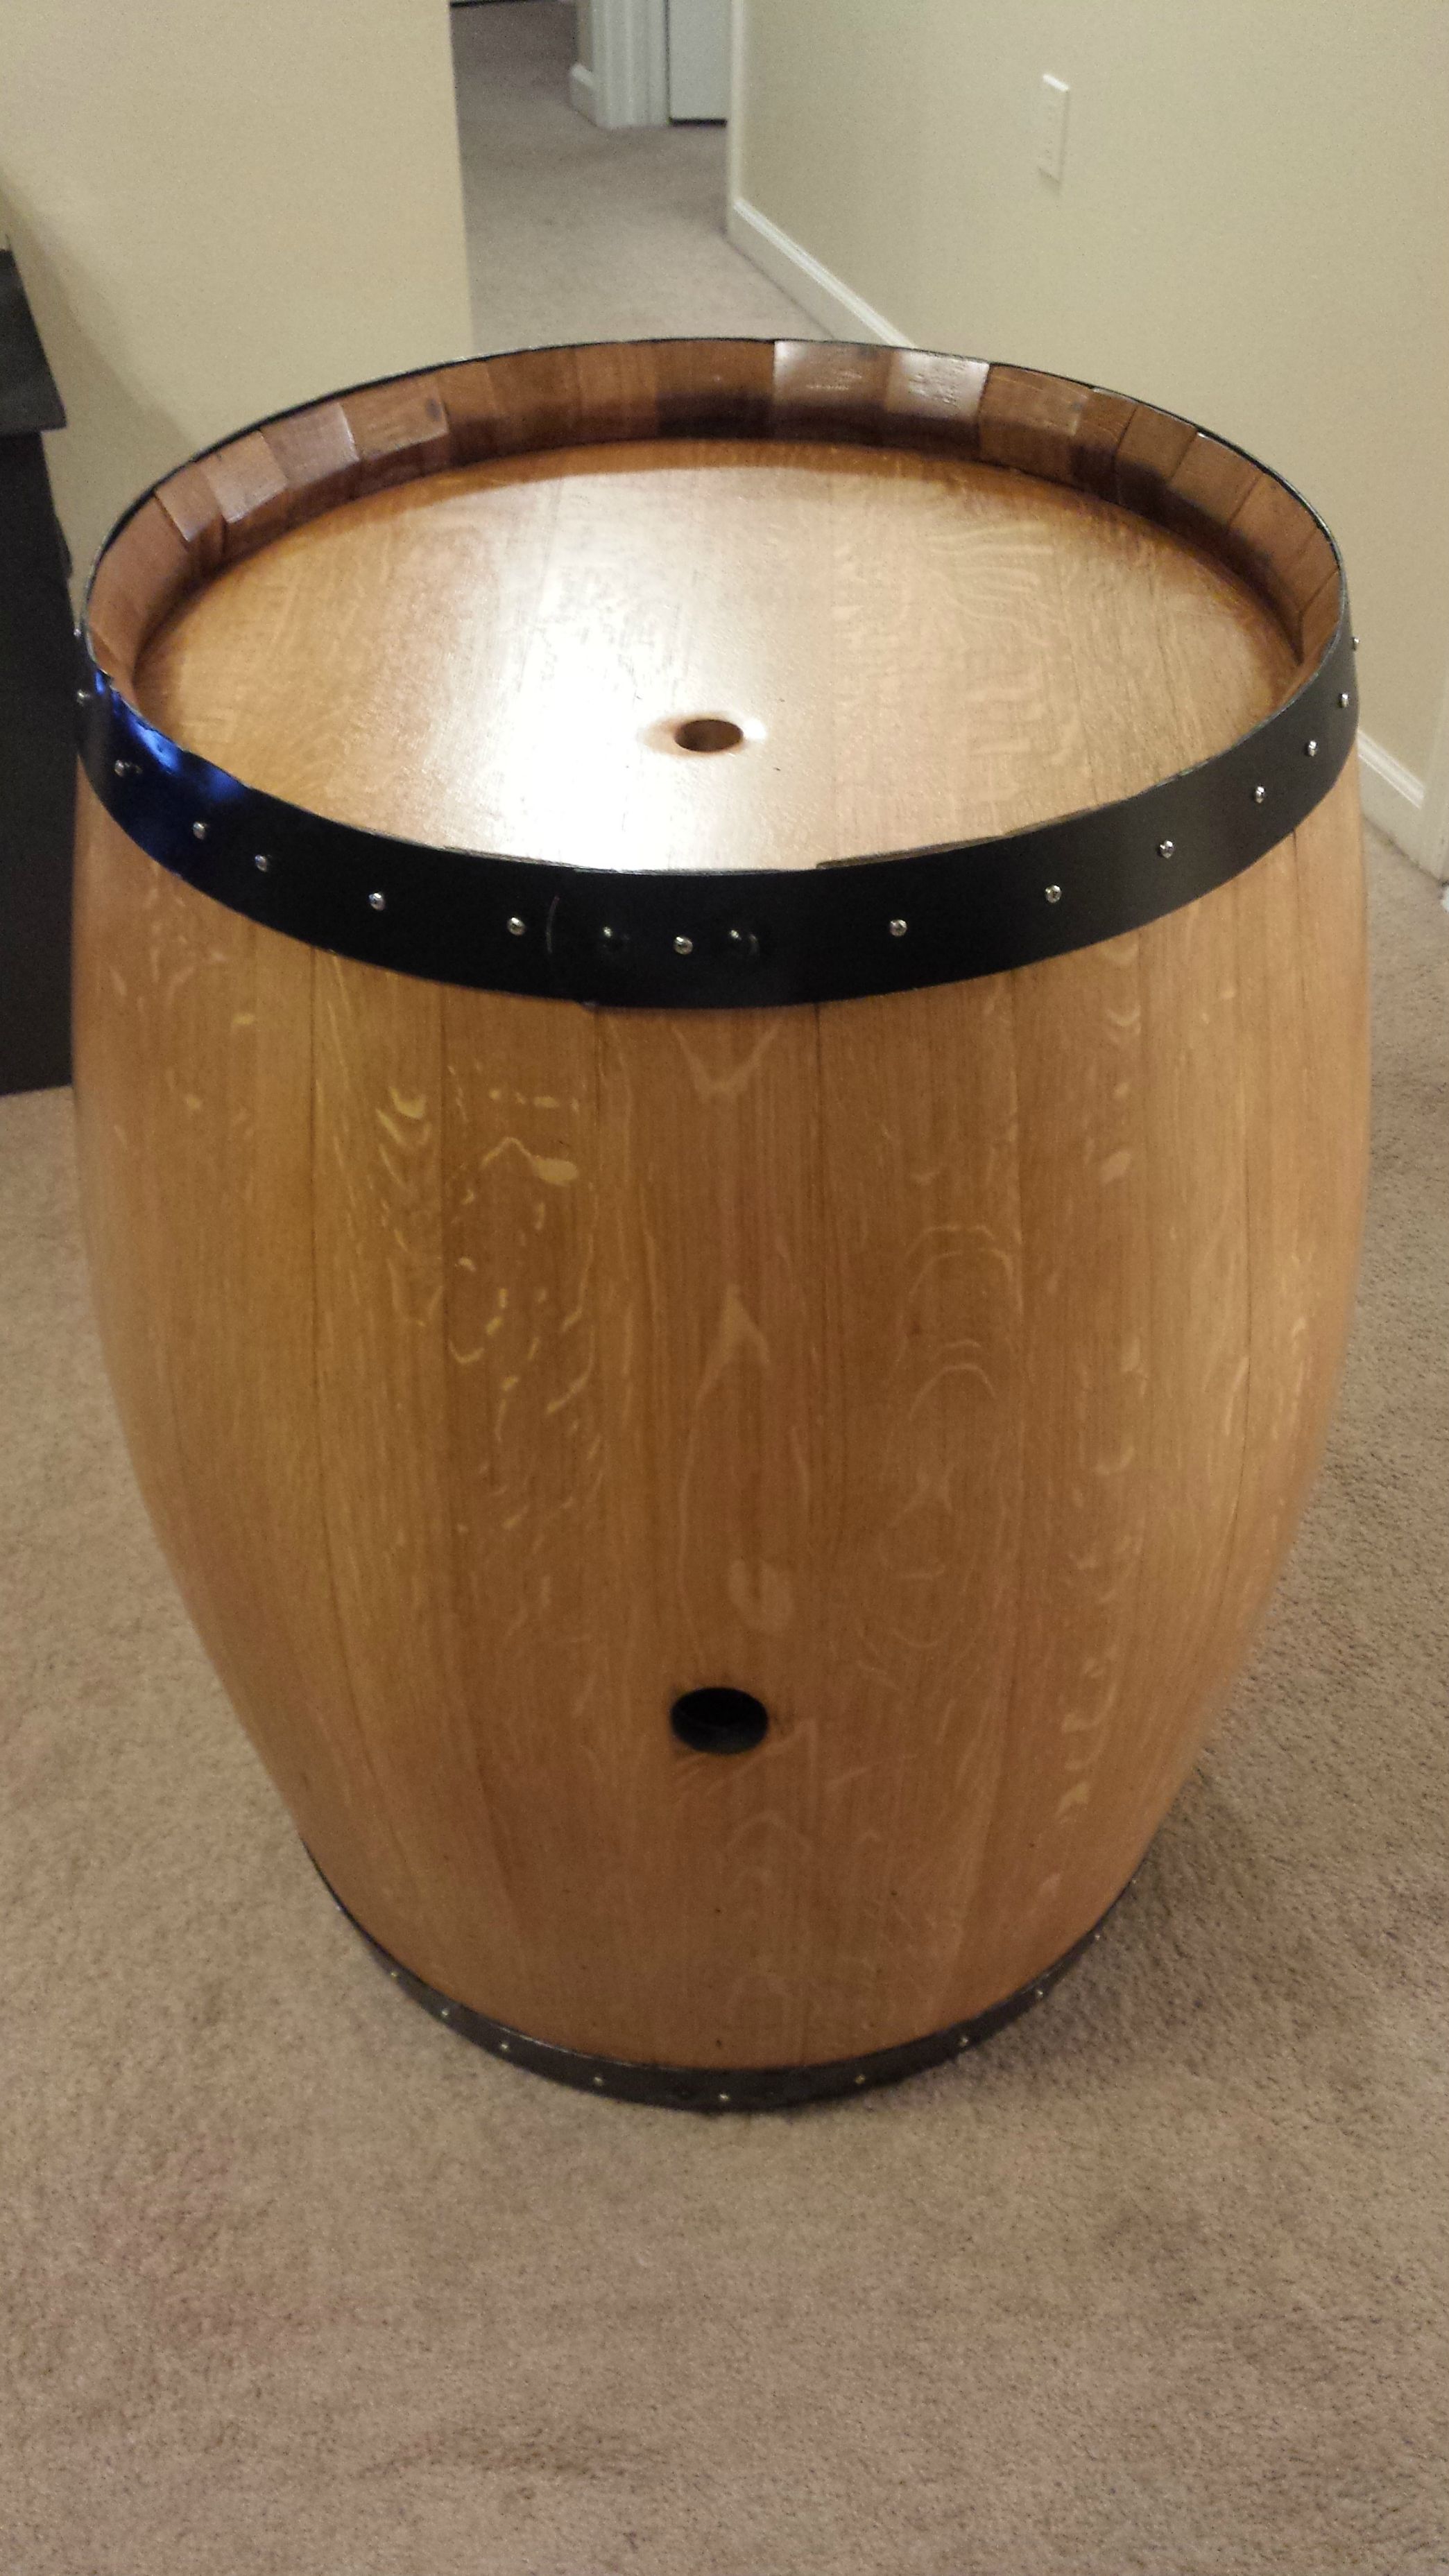
I purchased a used wine barrel from a winery in Nappa Valley, California. It was raining the day it arrived. The barrel was in pretty poor shape, but I knew gorgeous wood was beneath all the damage.
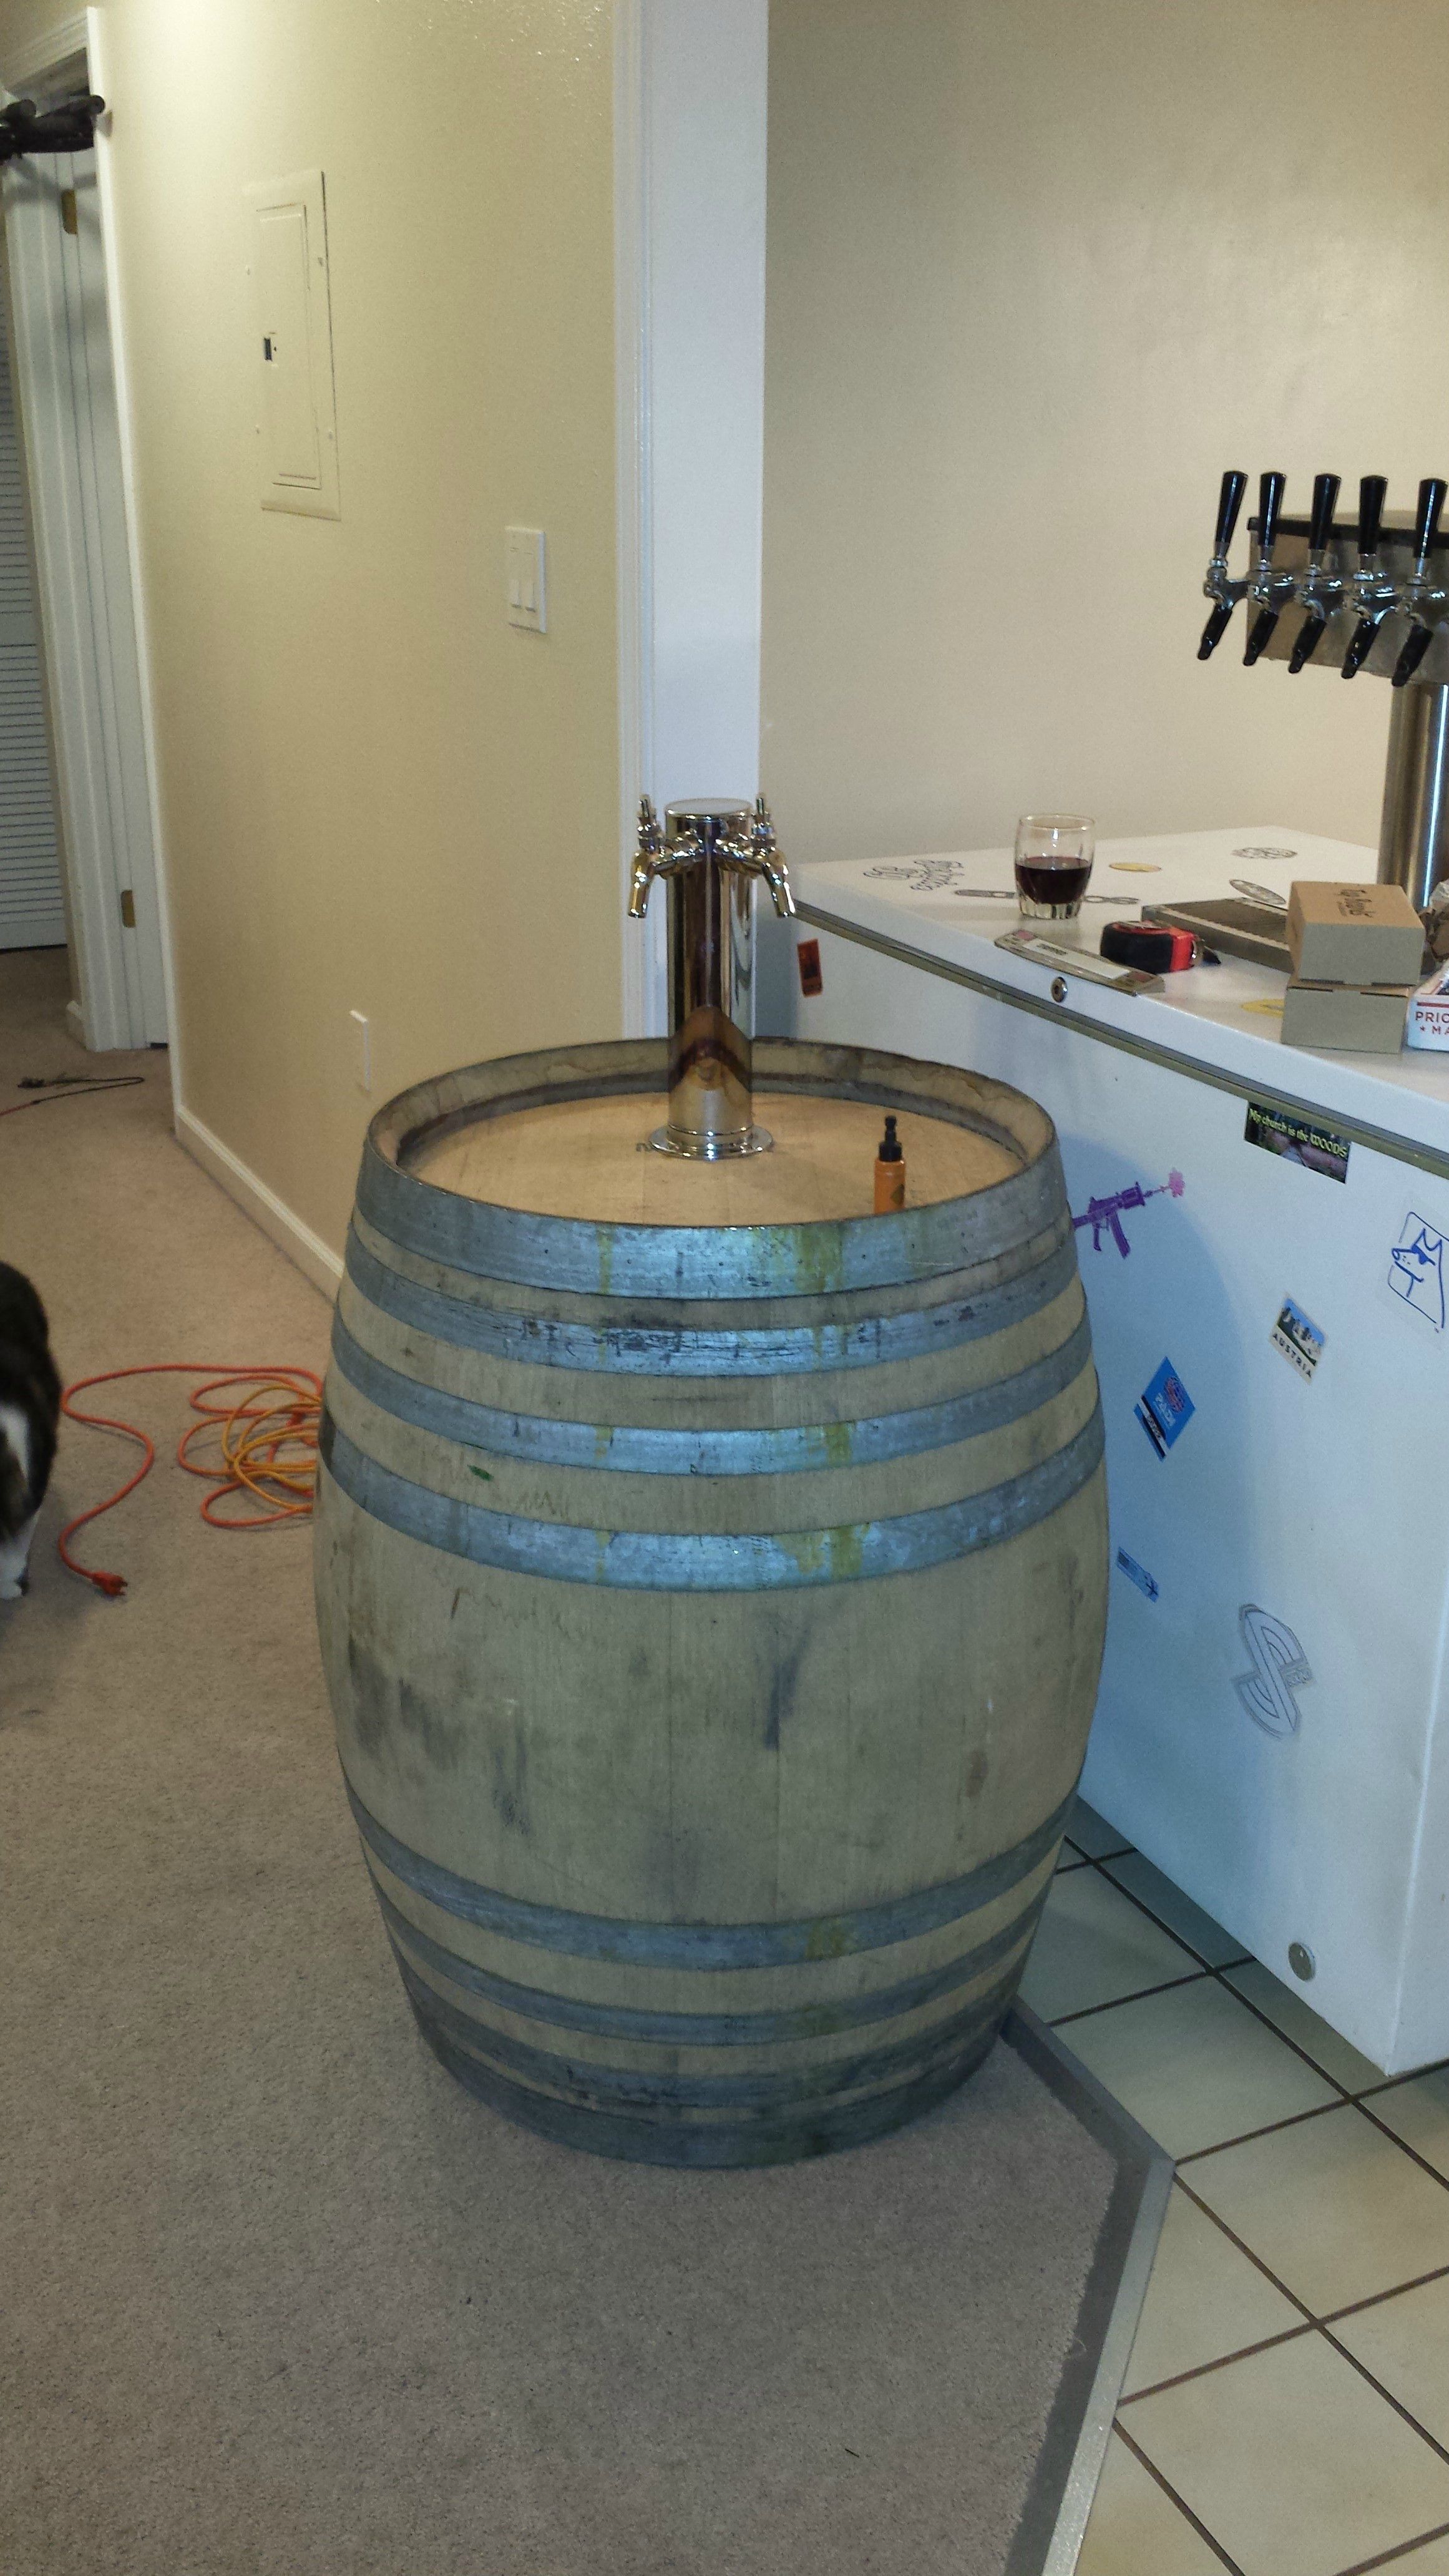
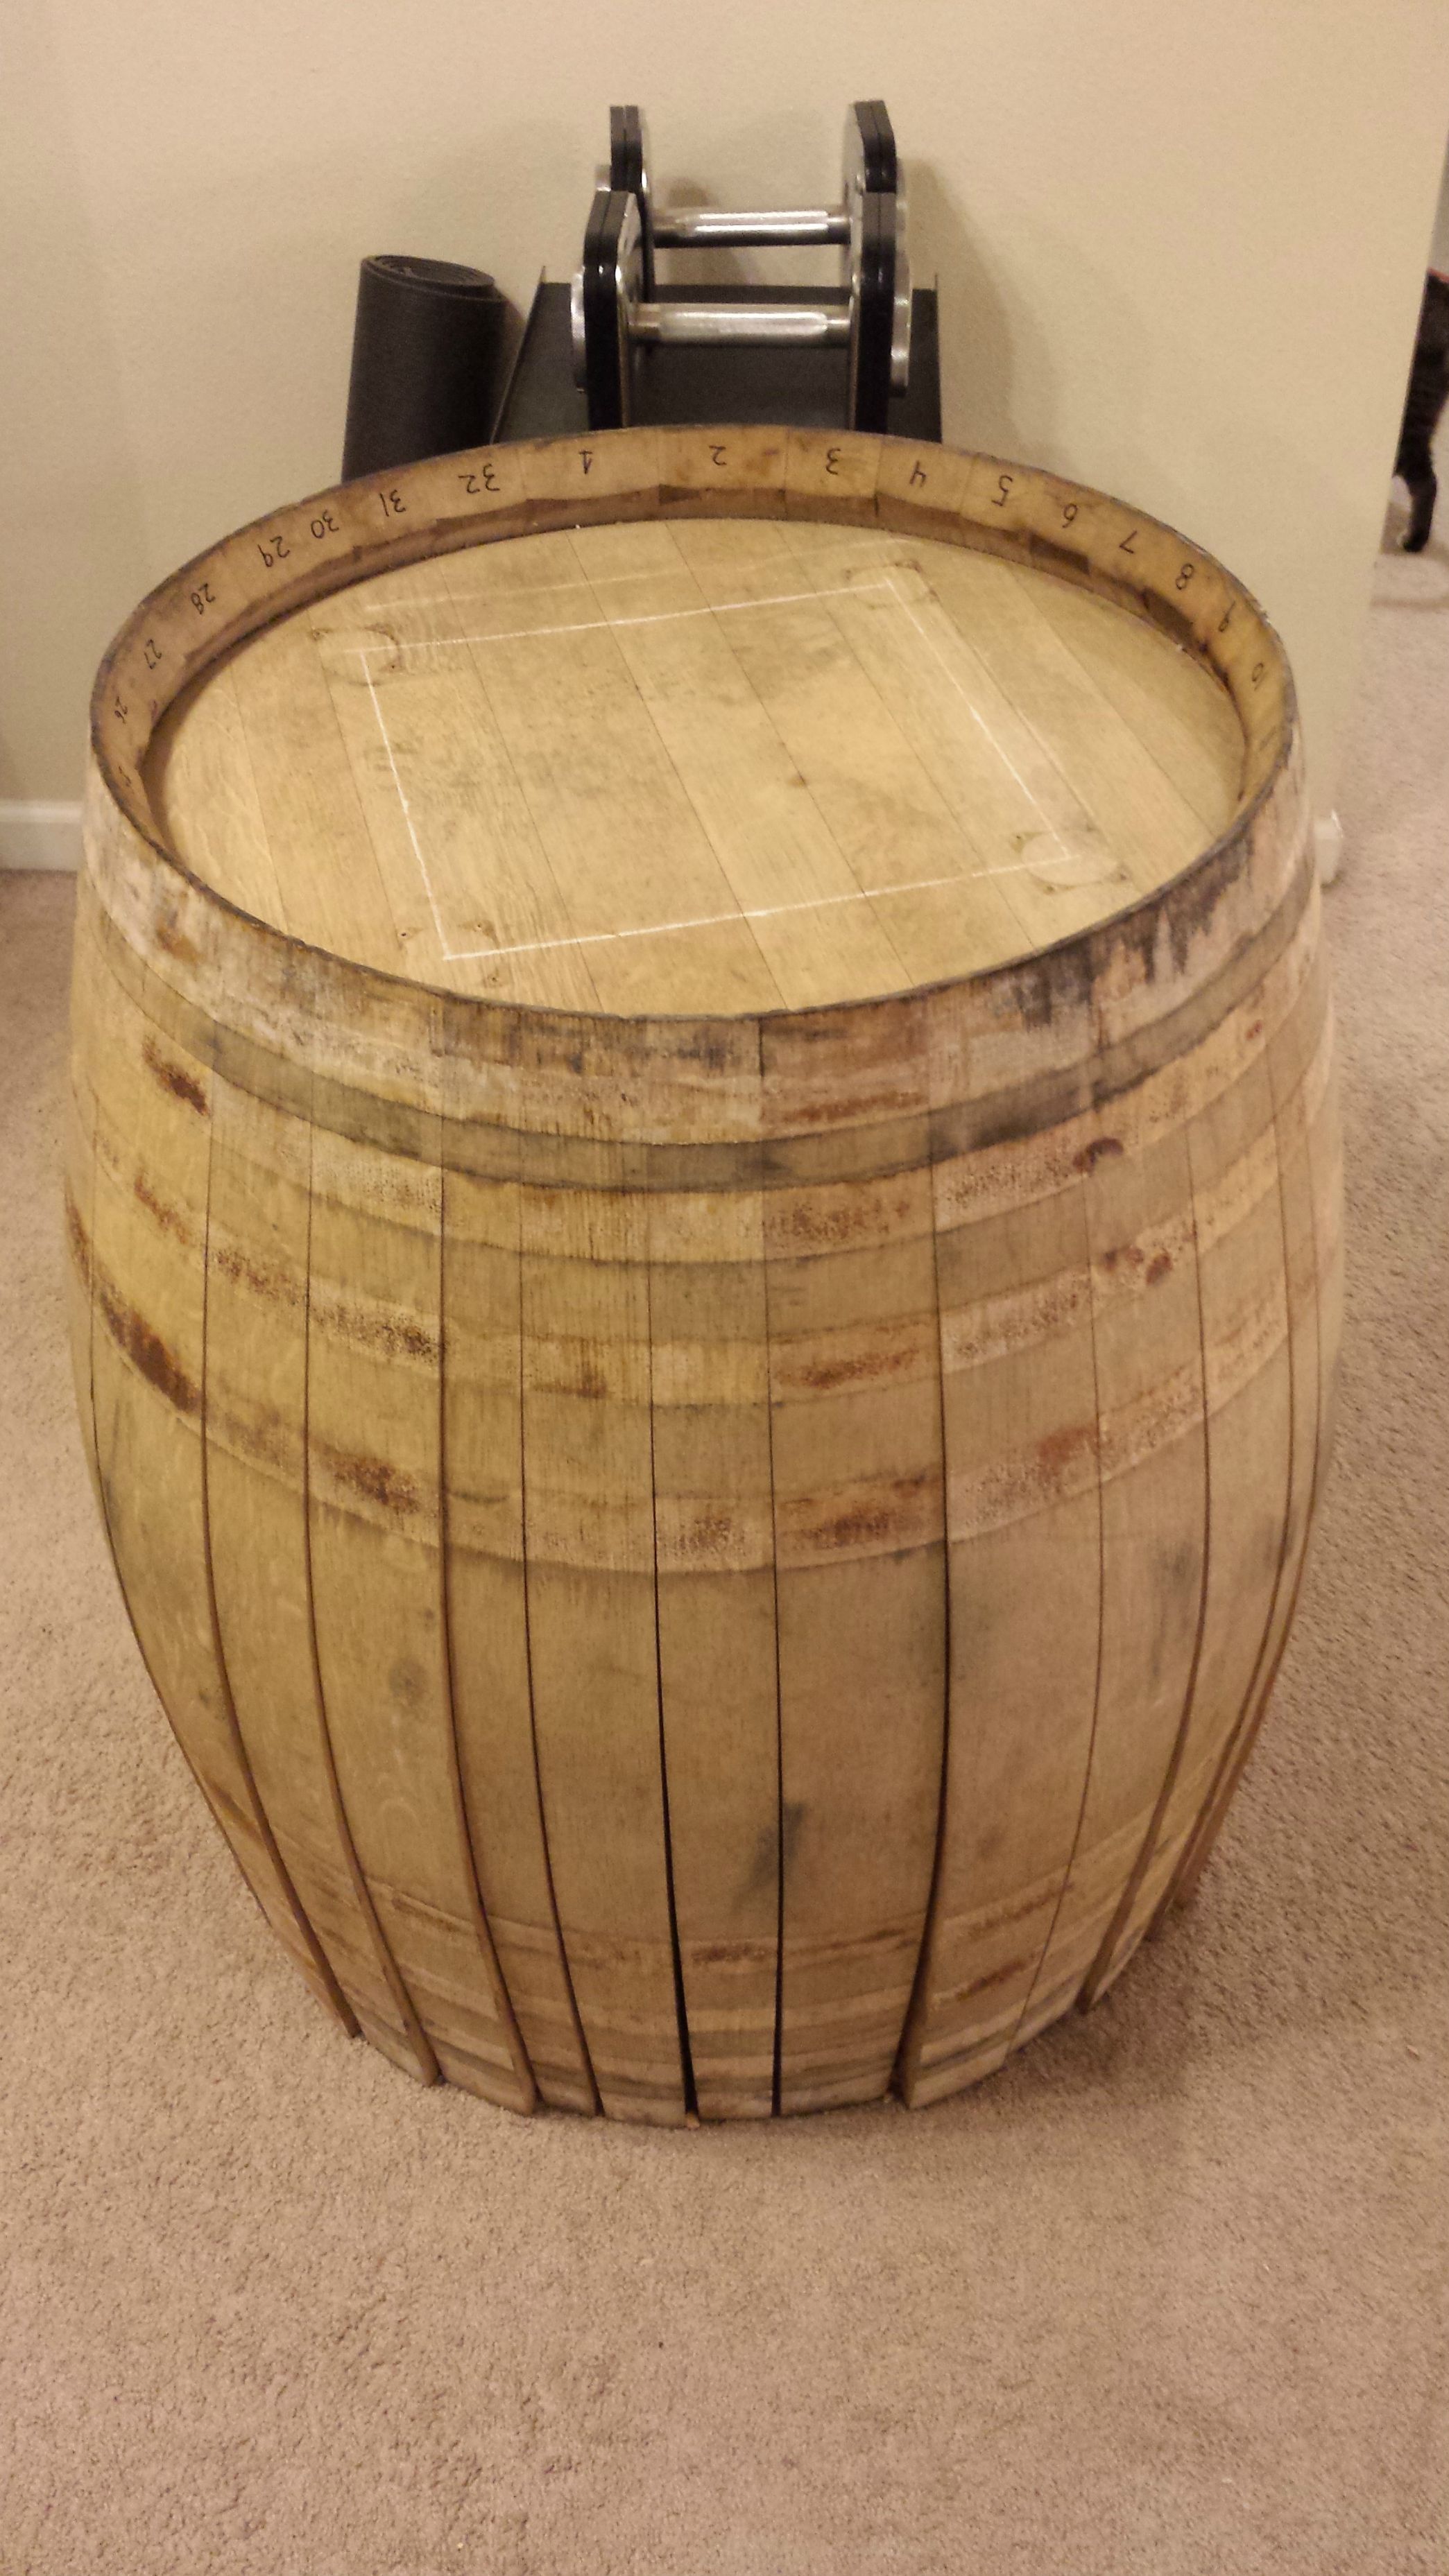
The first thing I did was to set up the tower and formulate a vision for what to do with it. I obviously had to fit a couple kegs in the barrel, but I didn't know if I wanted to have the top lift off to access the interior or cut a door in the side.
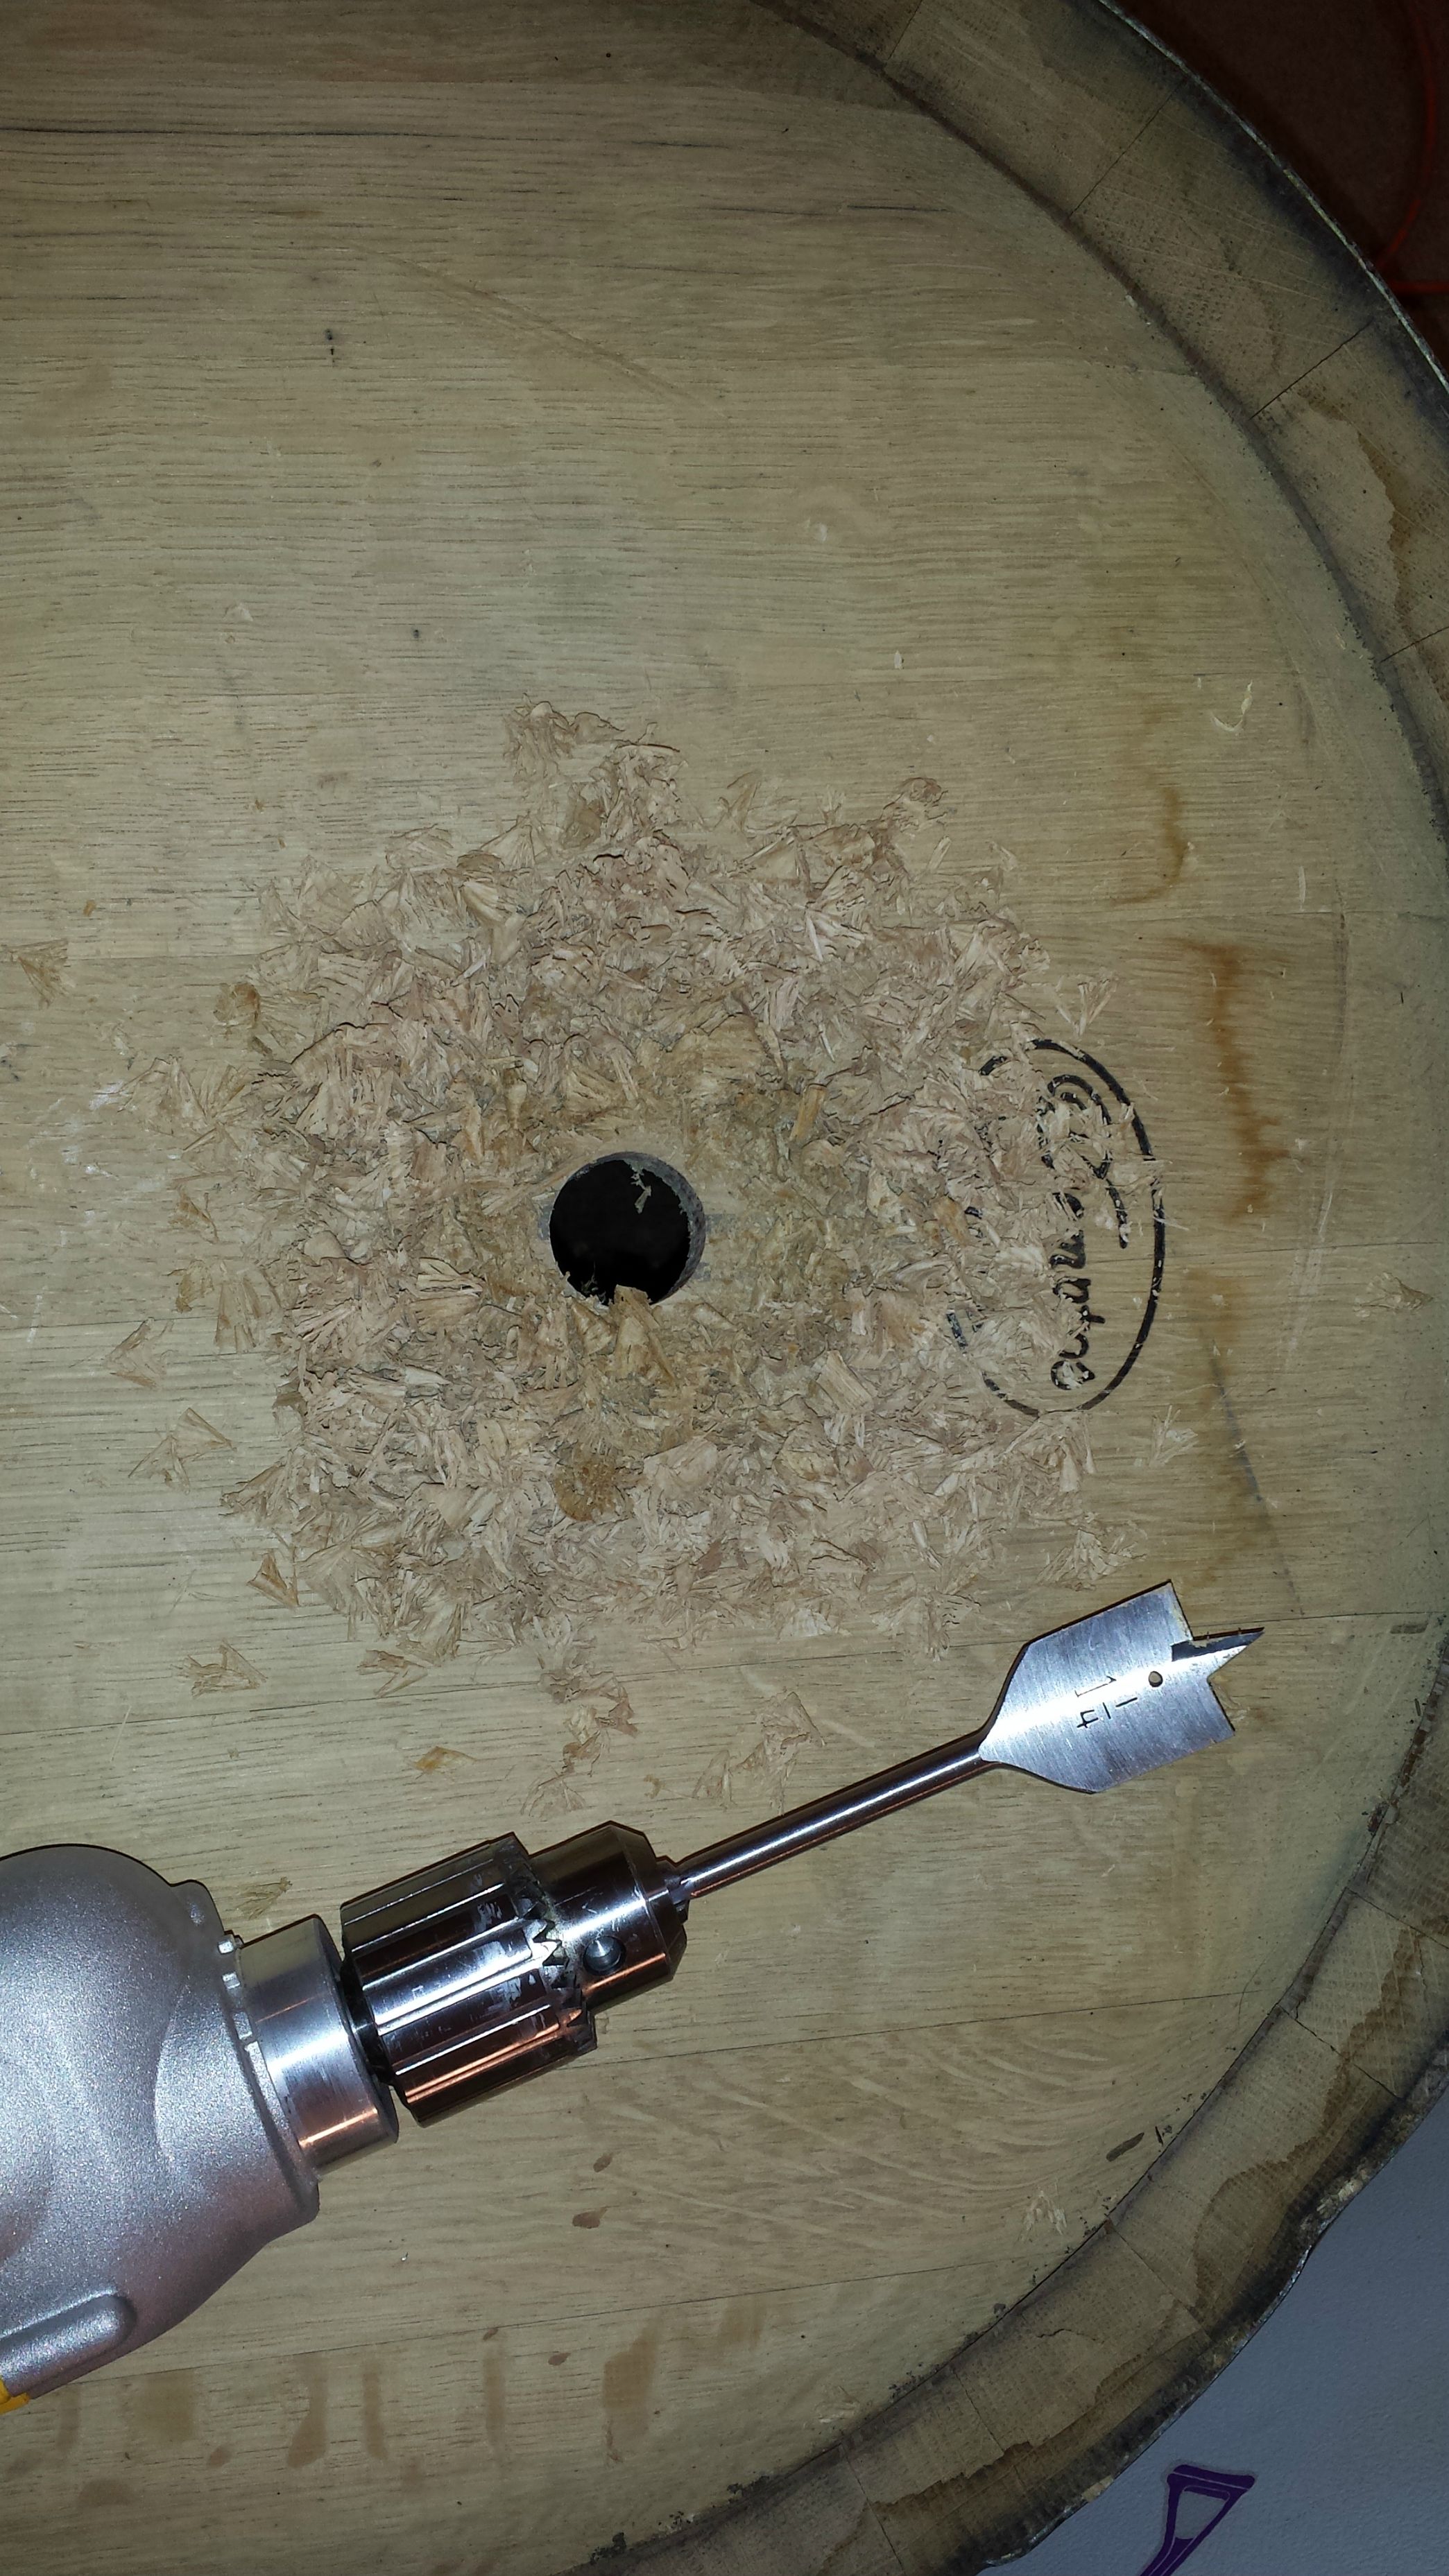
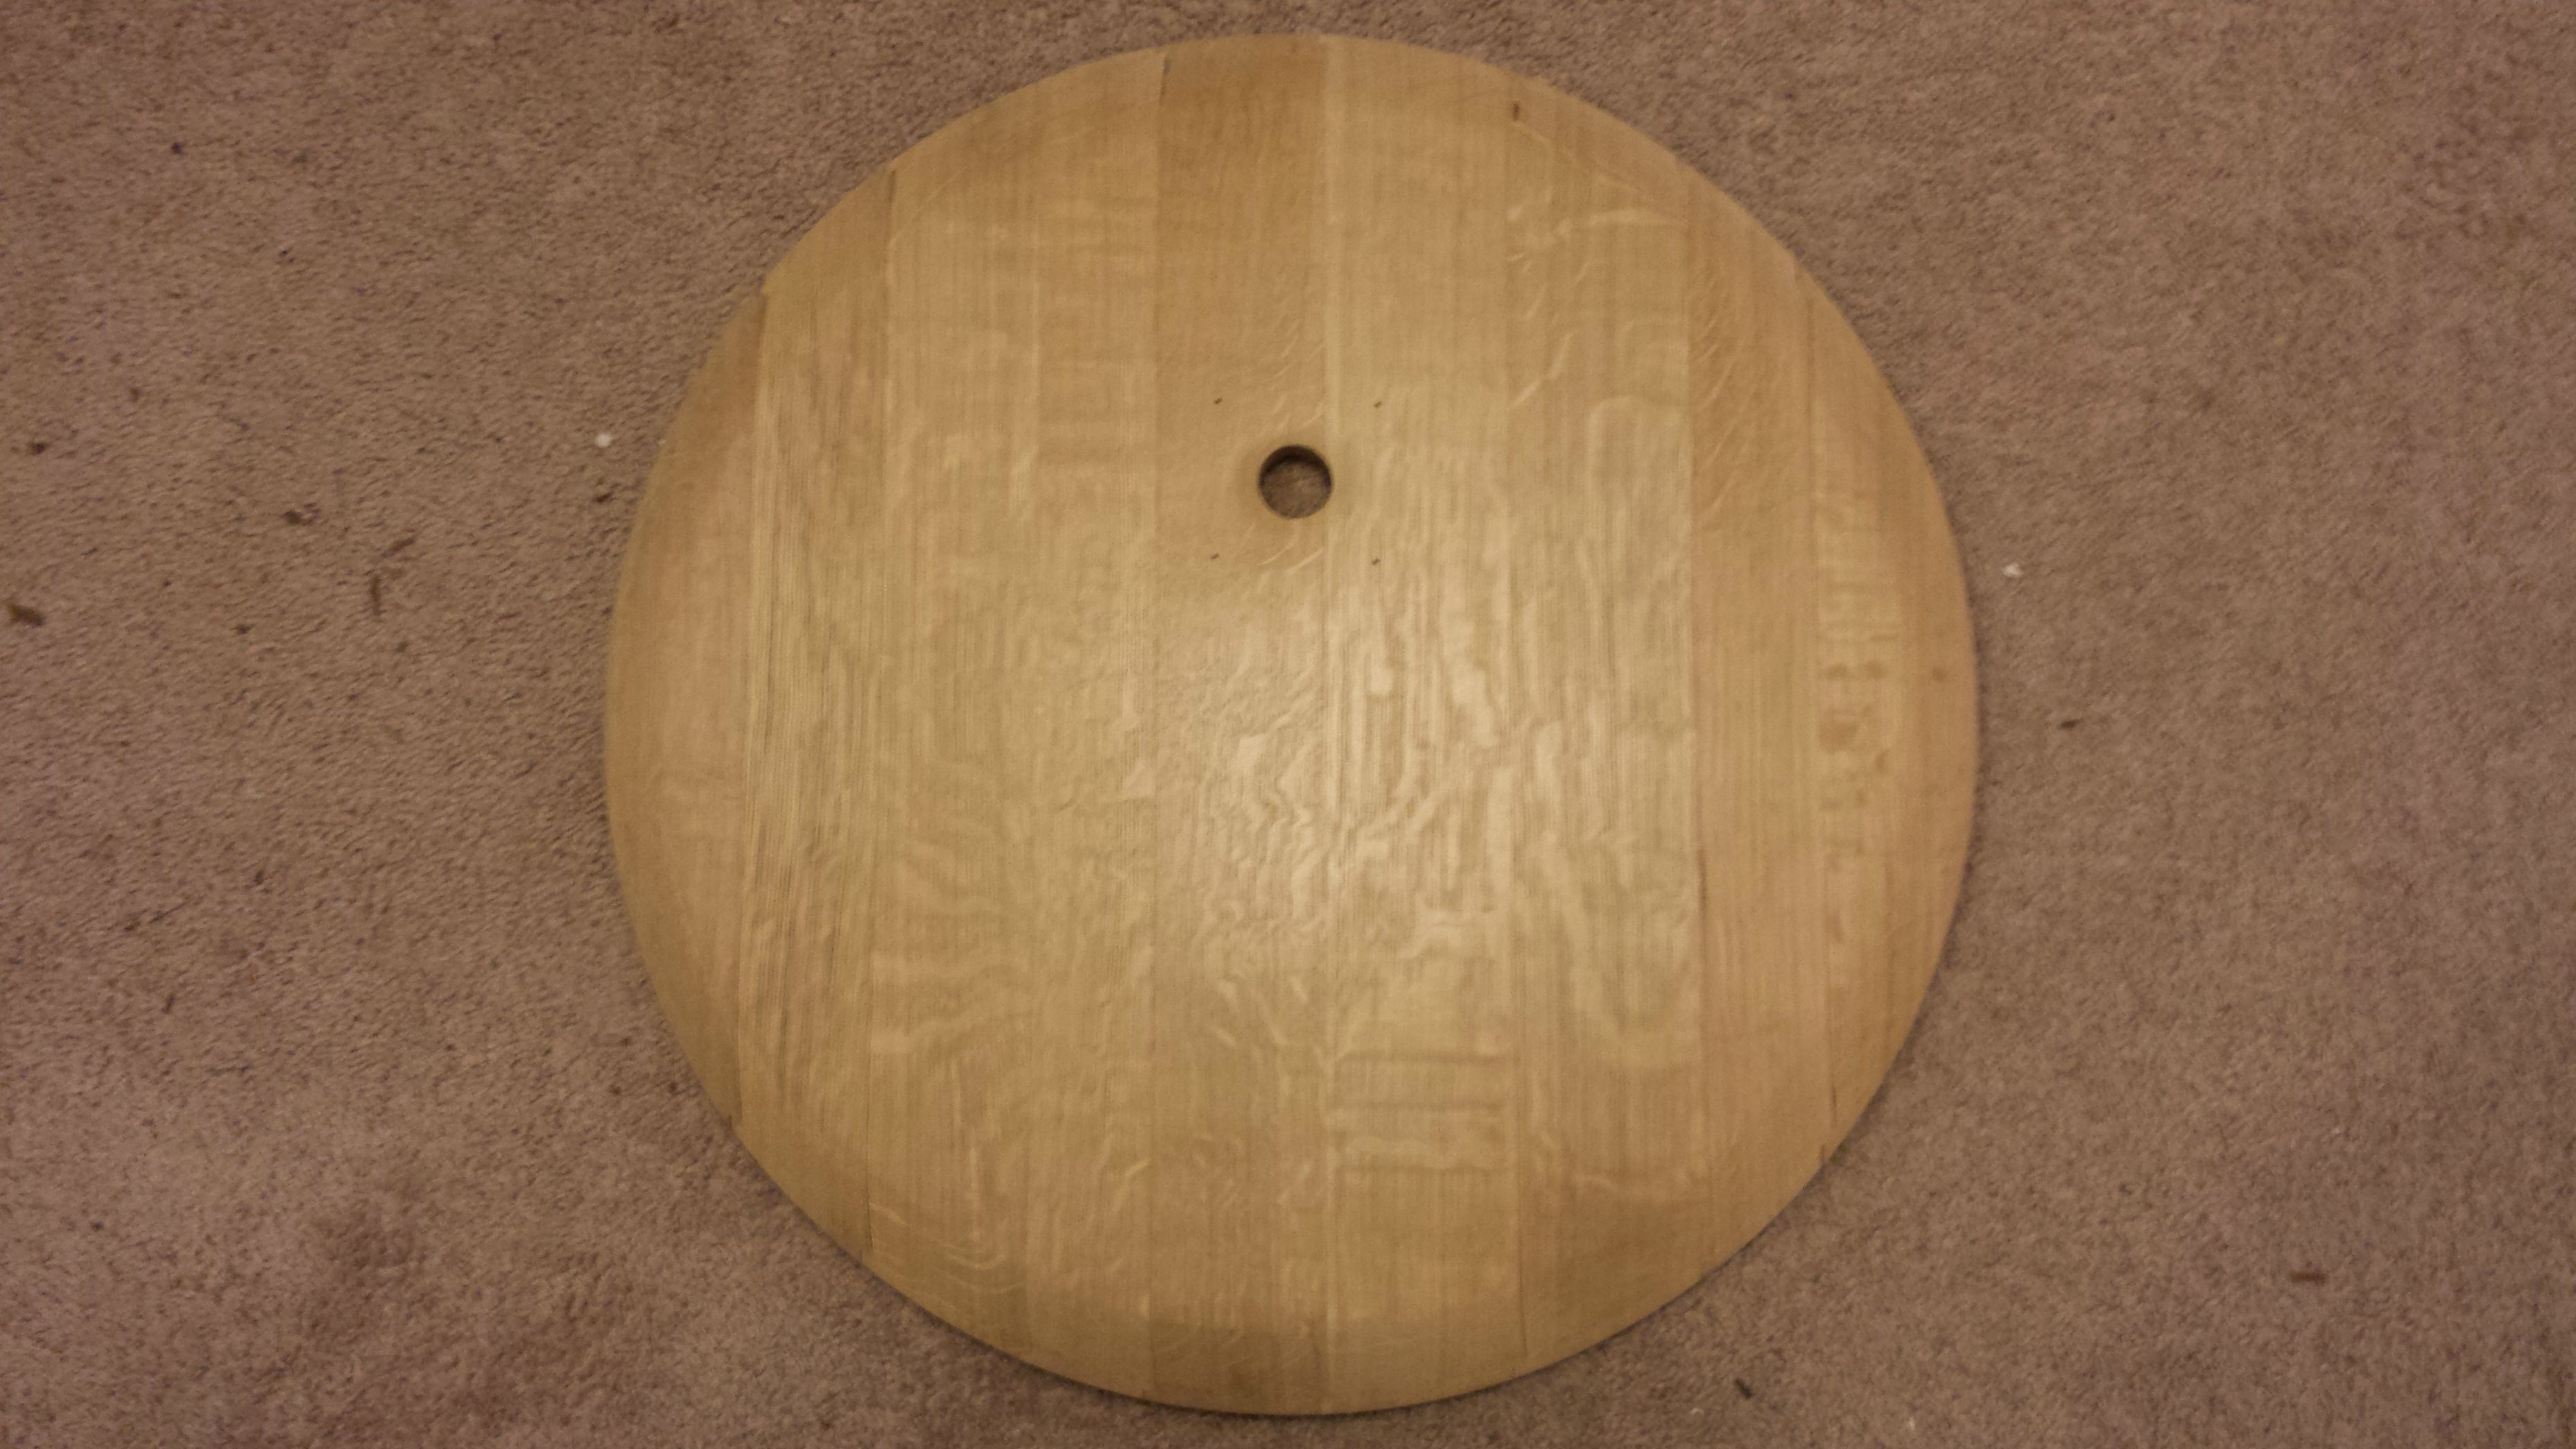
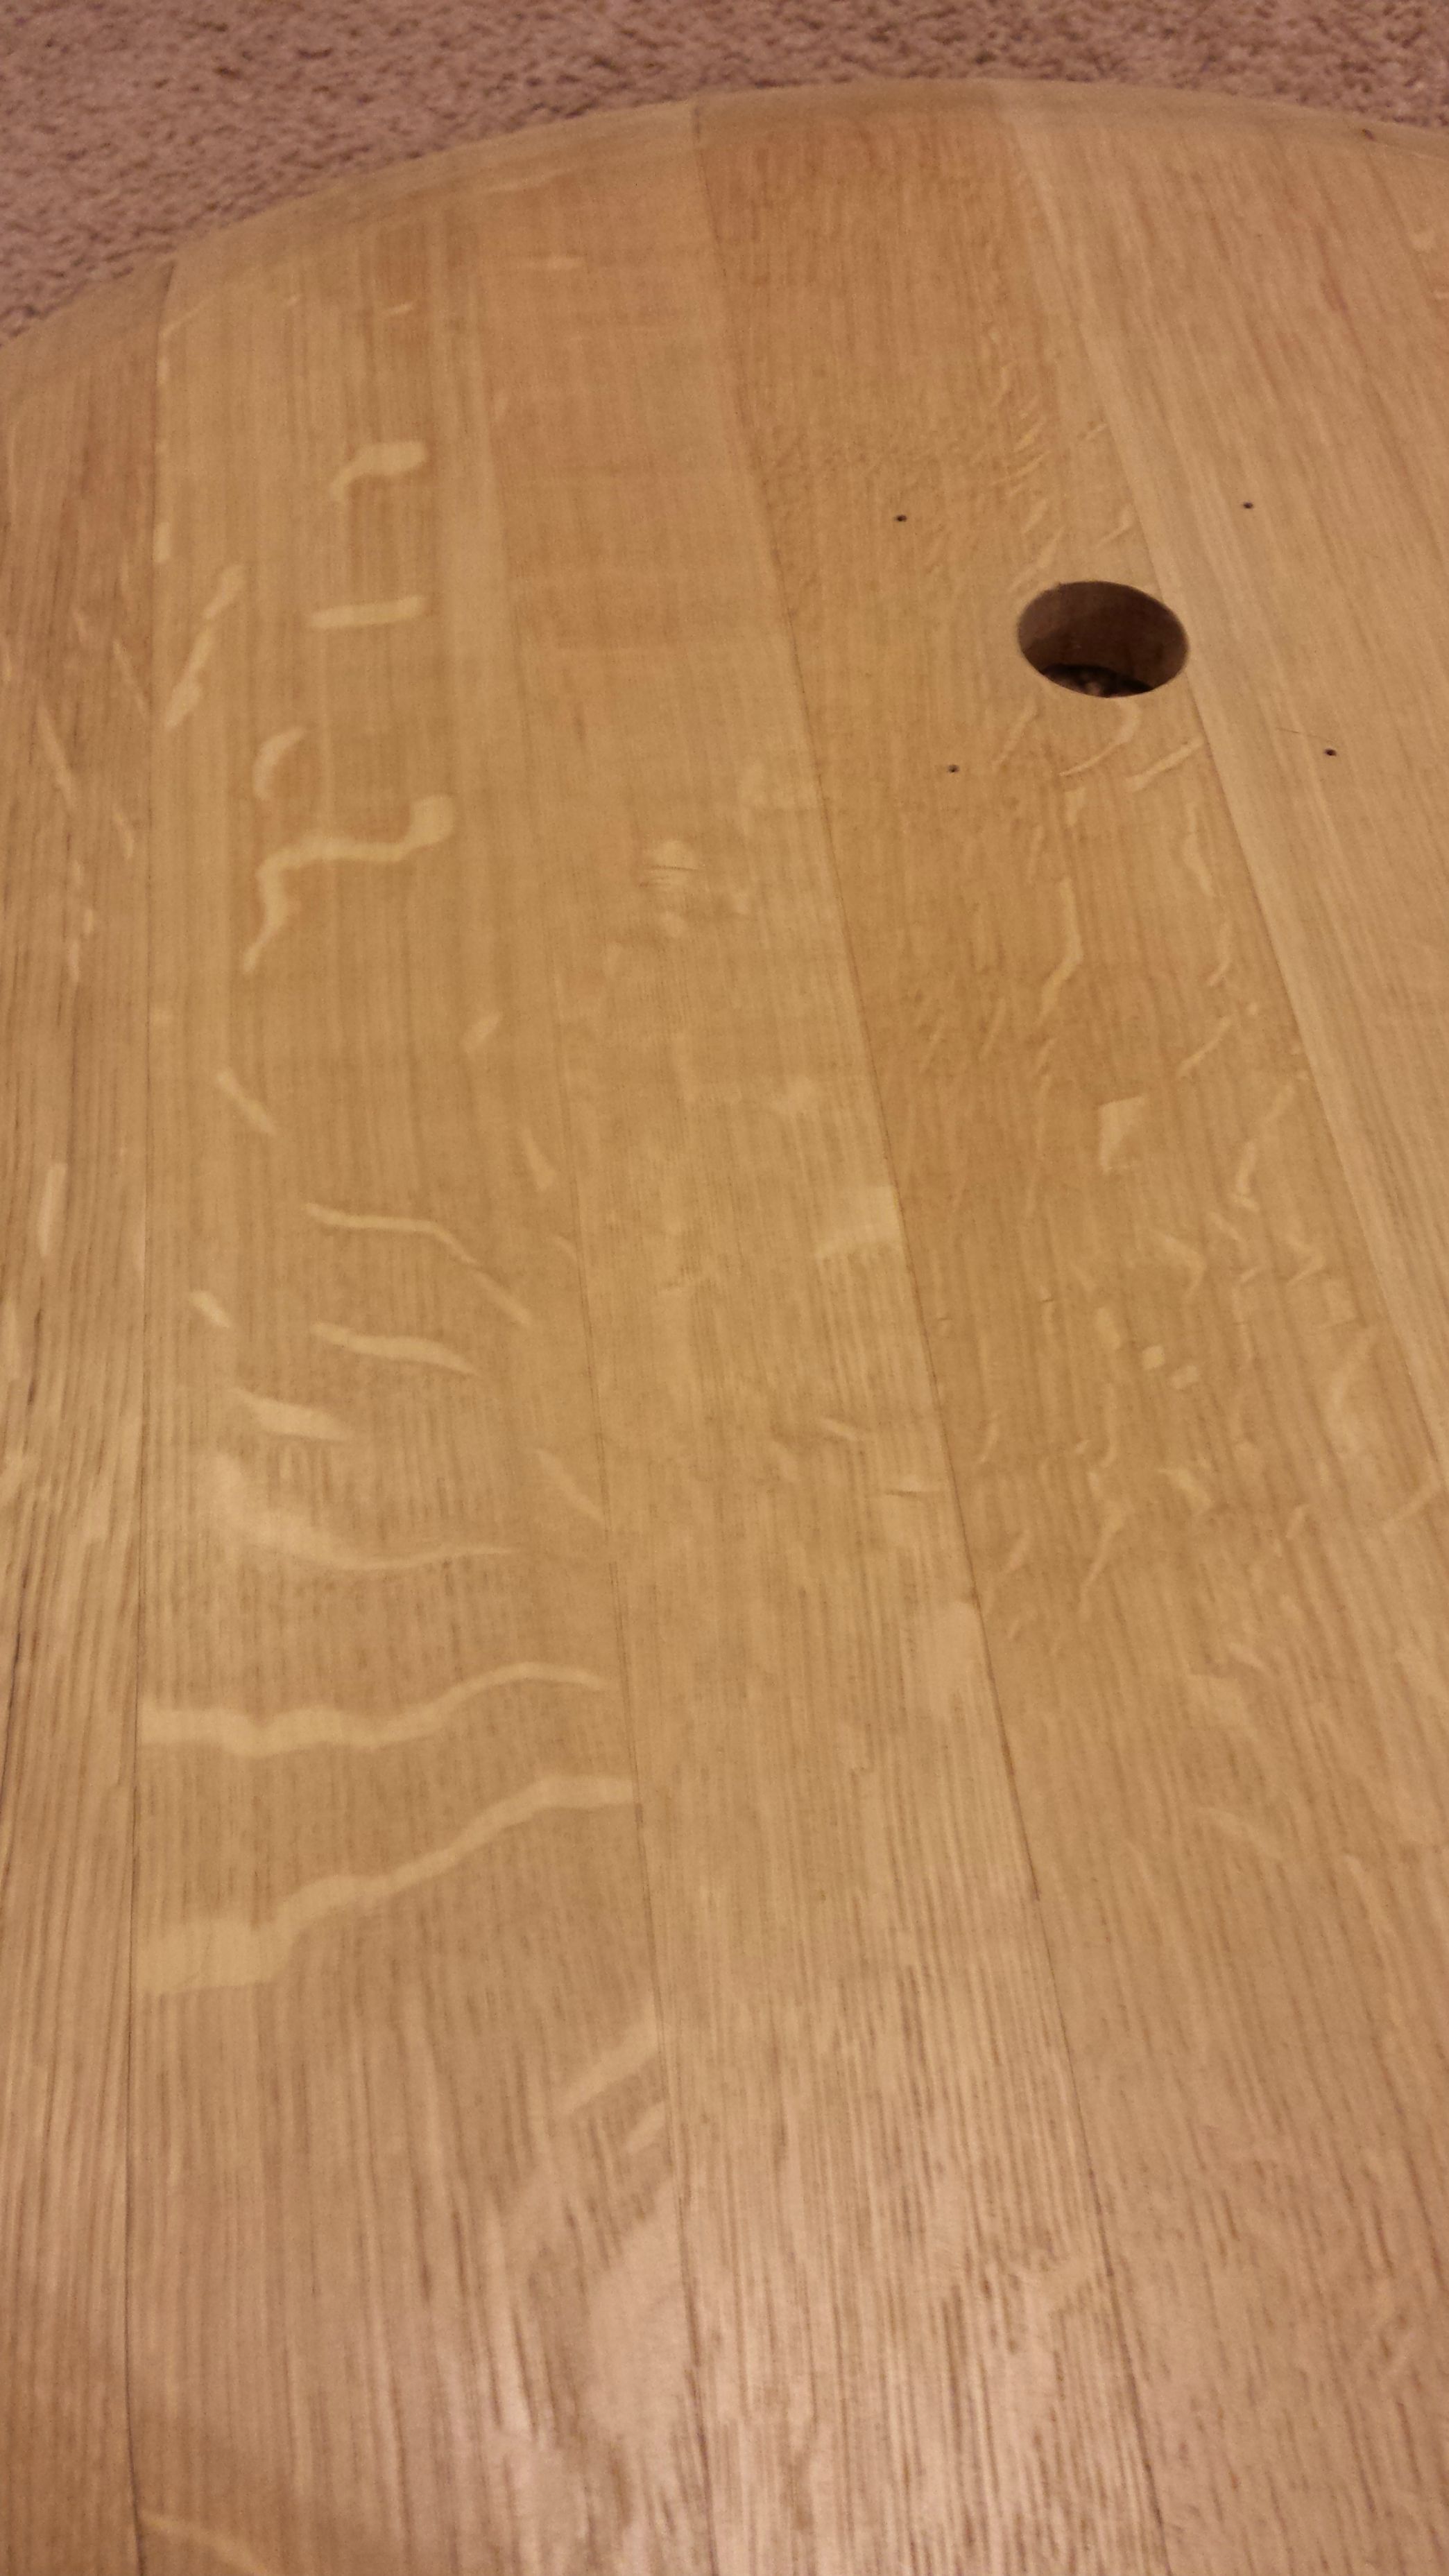
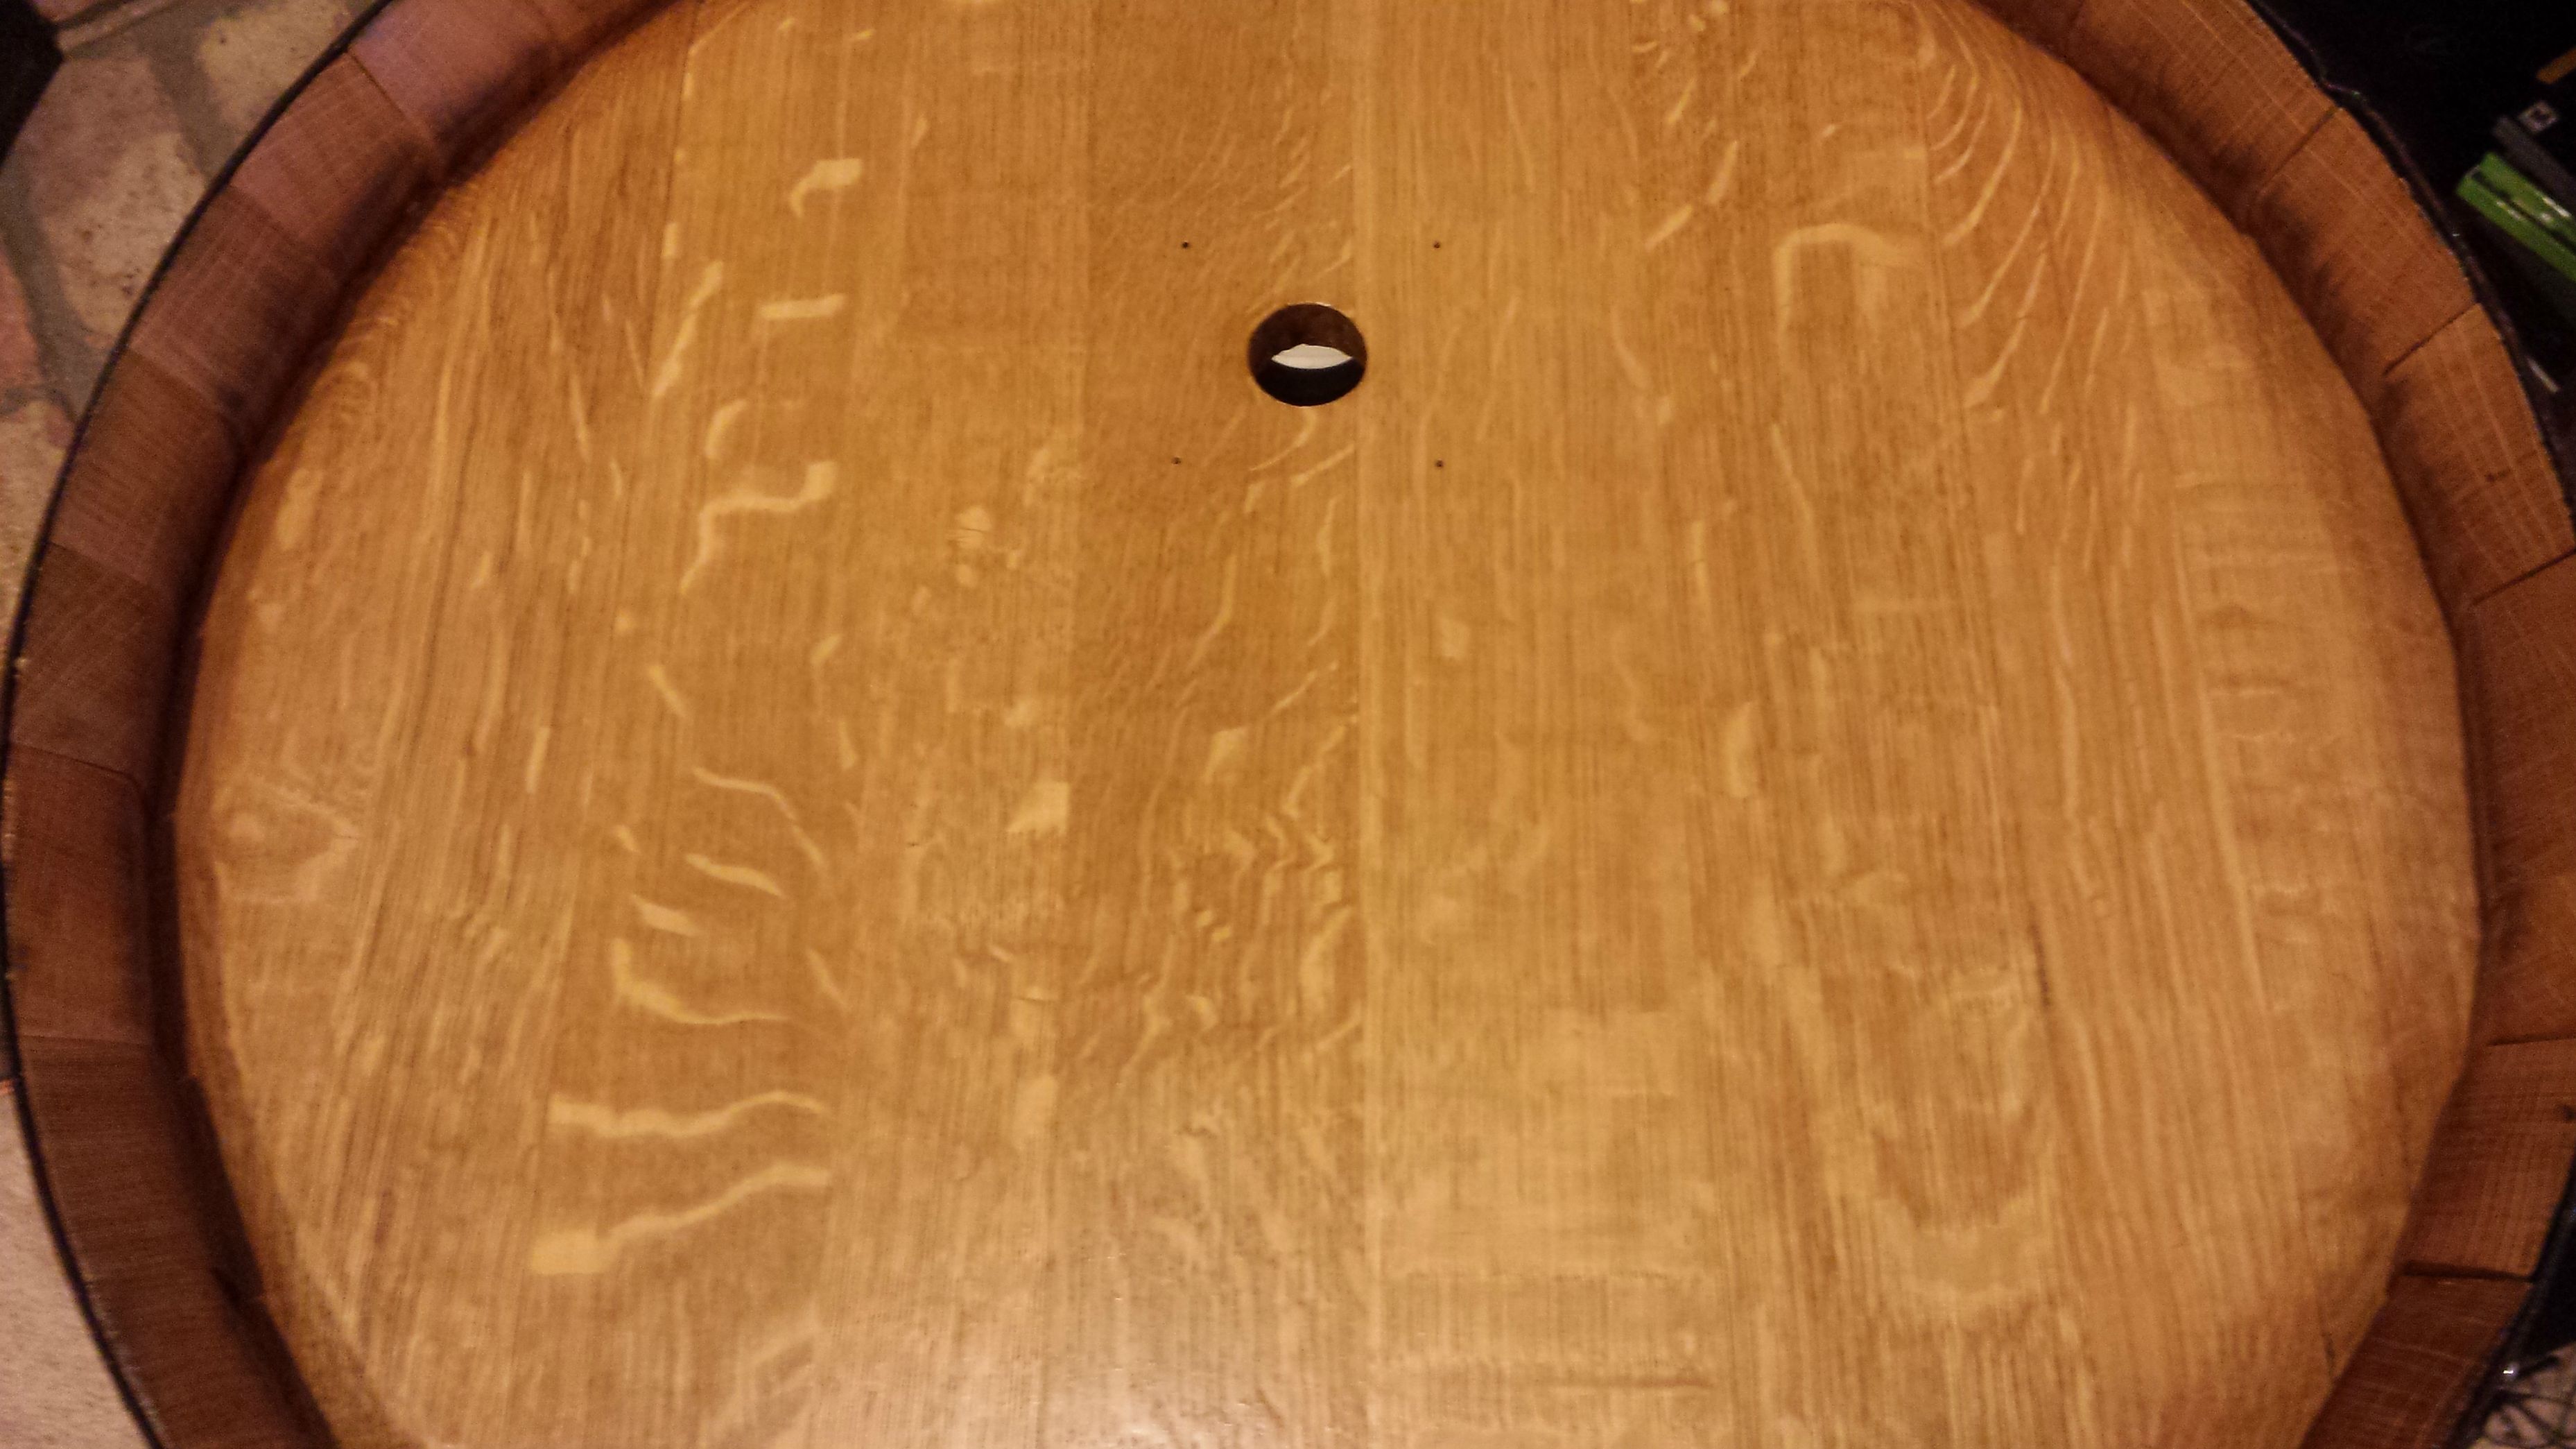
I started, perhaps naively, by cutting a hole and screw holes for the tower.

I decided to use an auger bit instead of the hole bit.
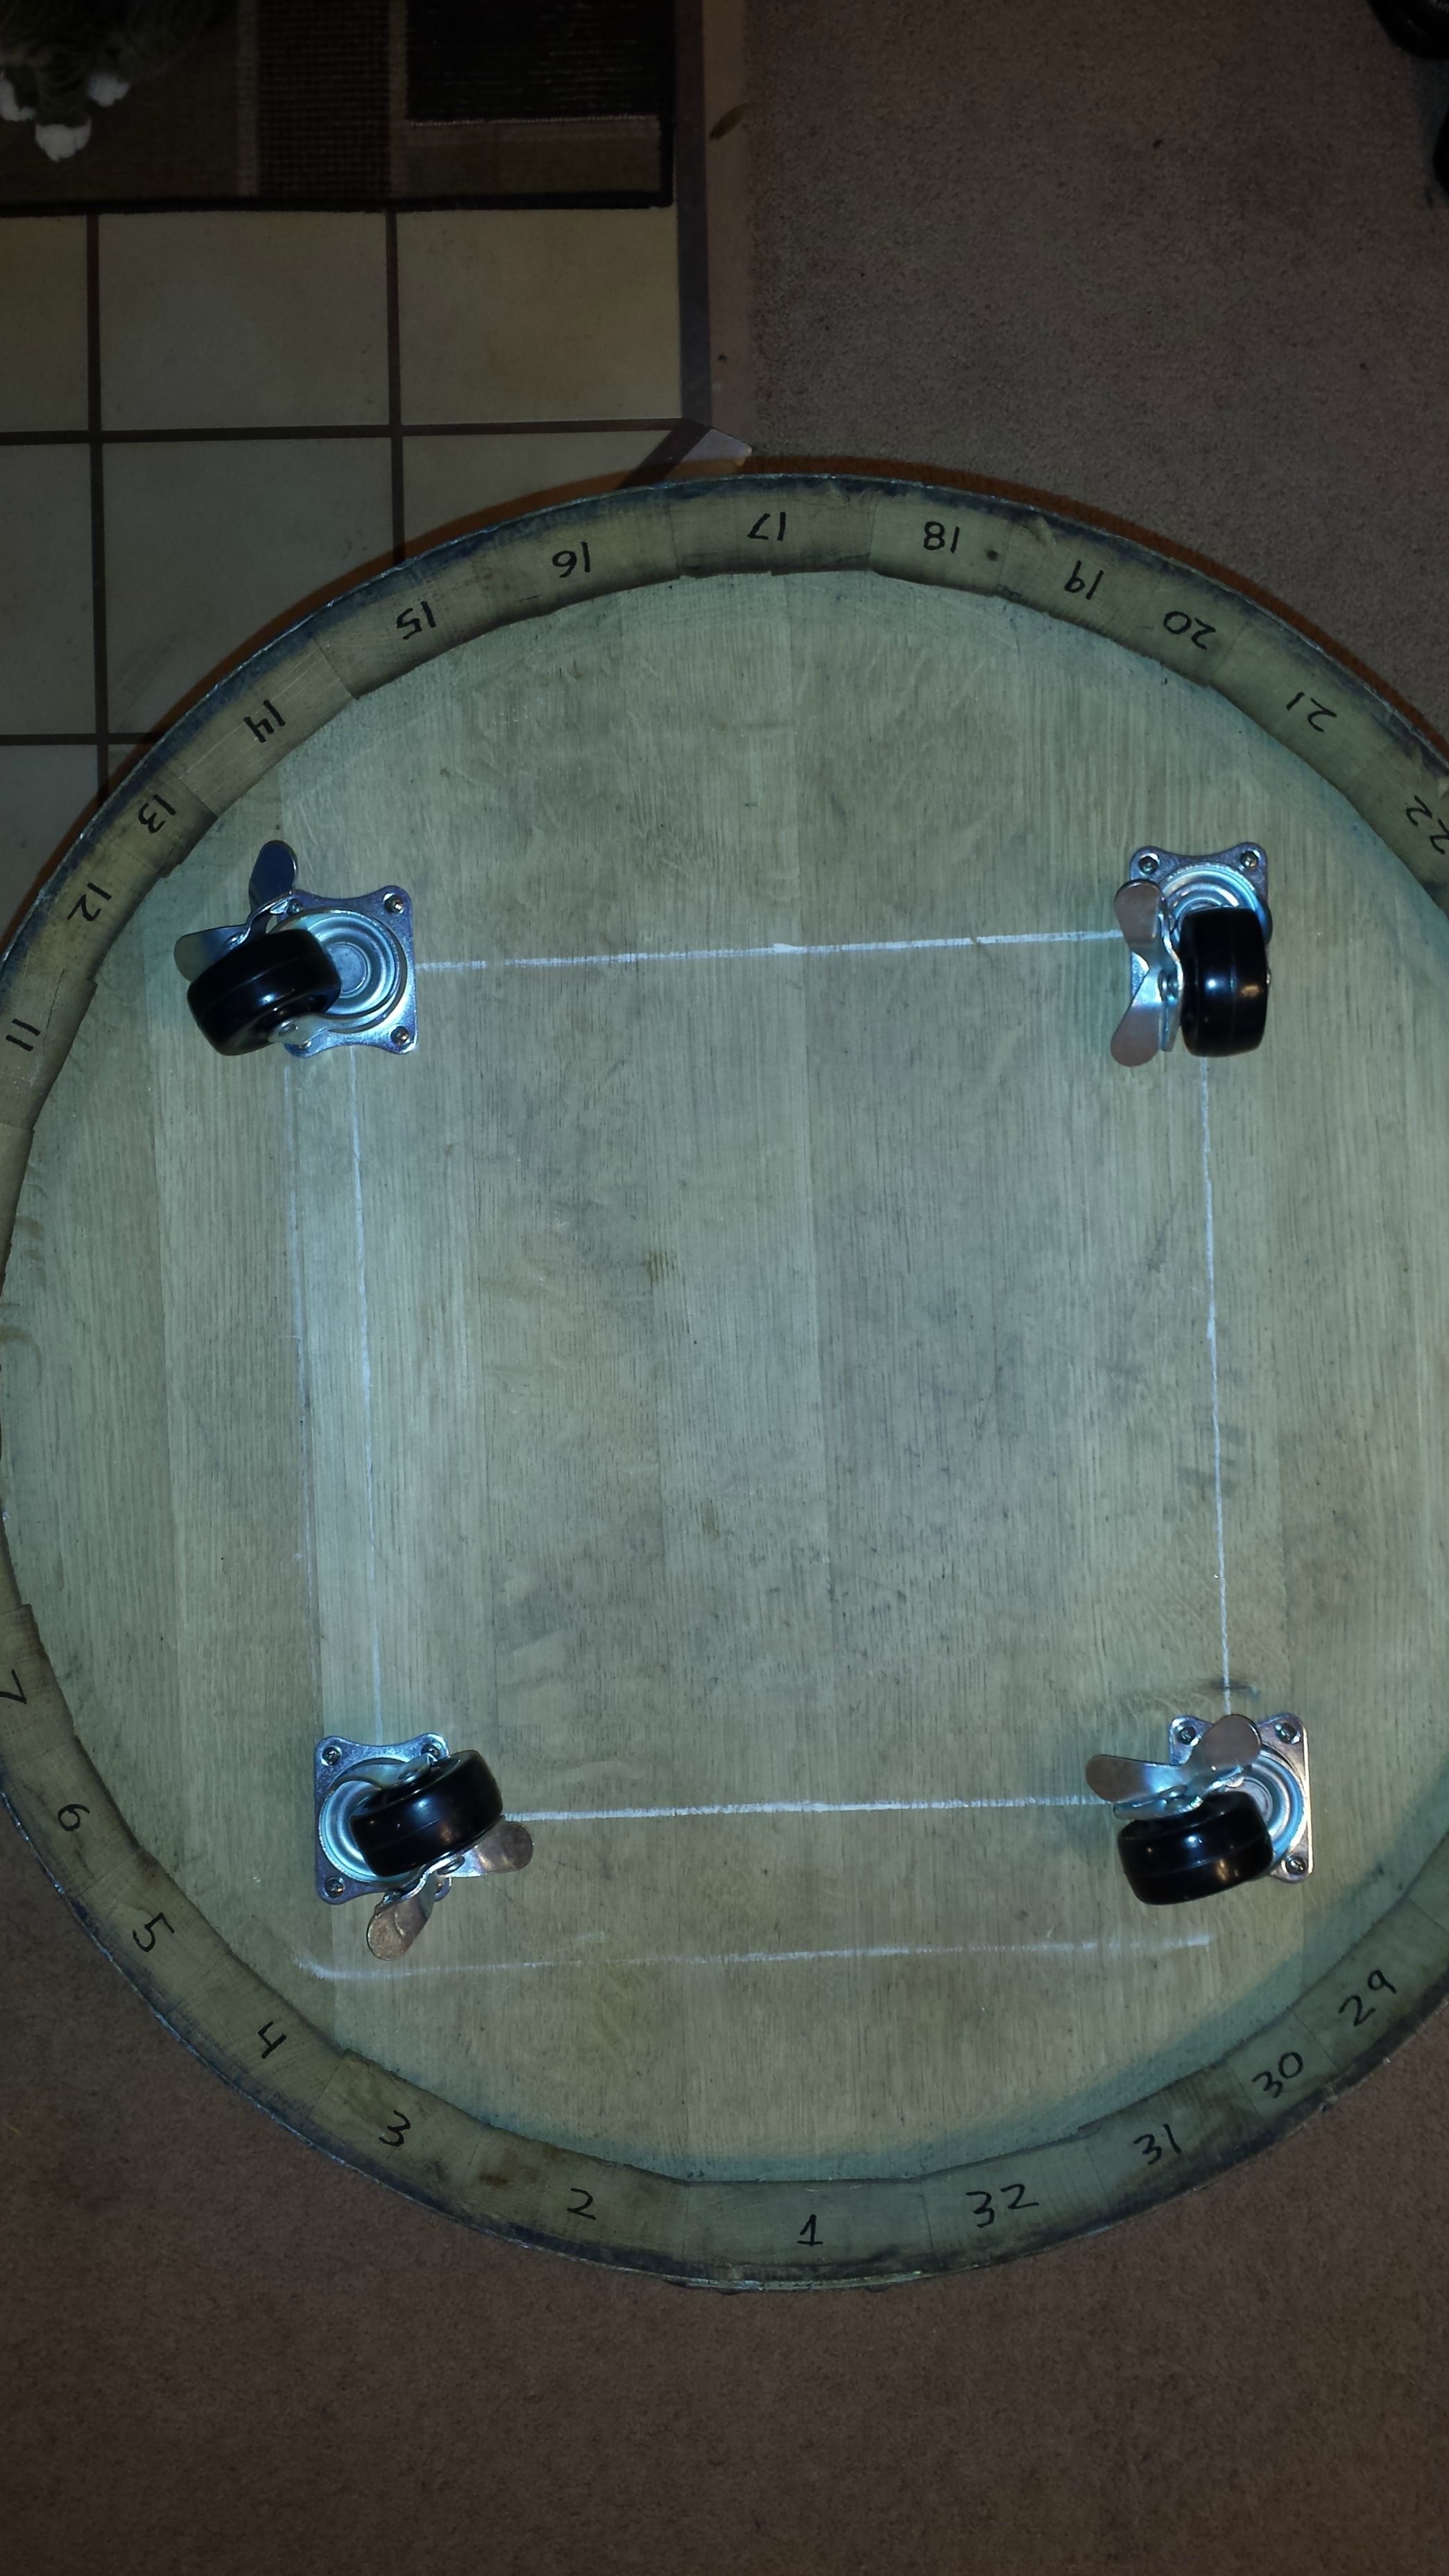
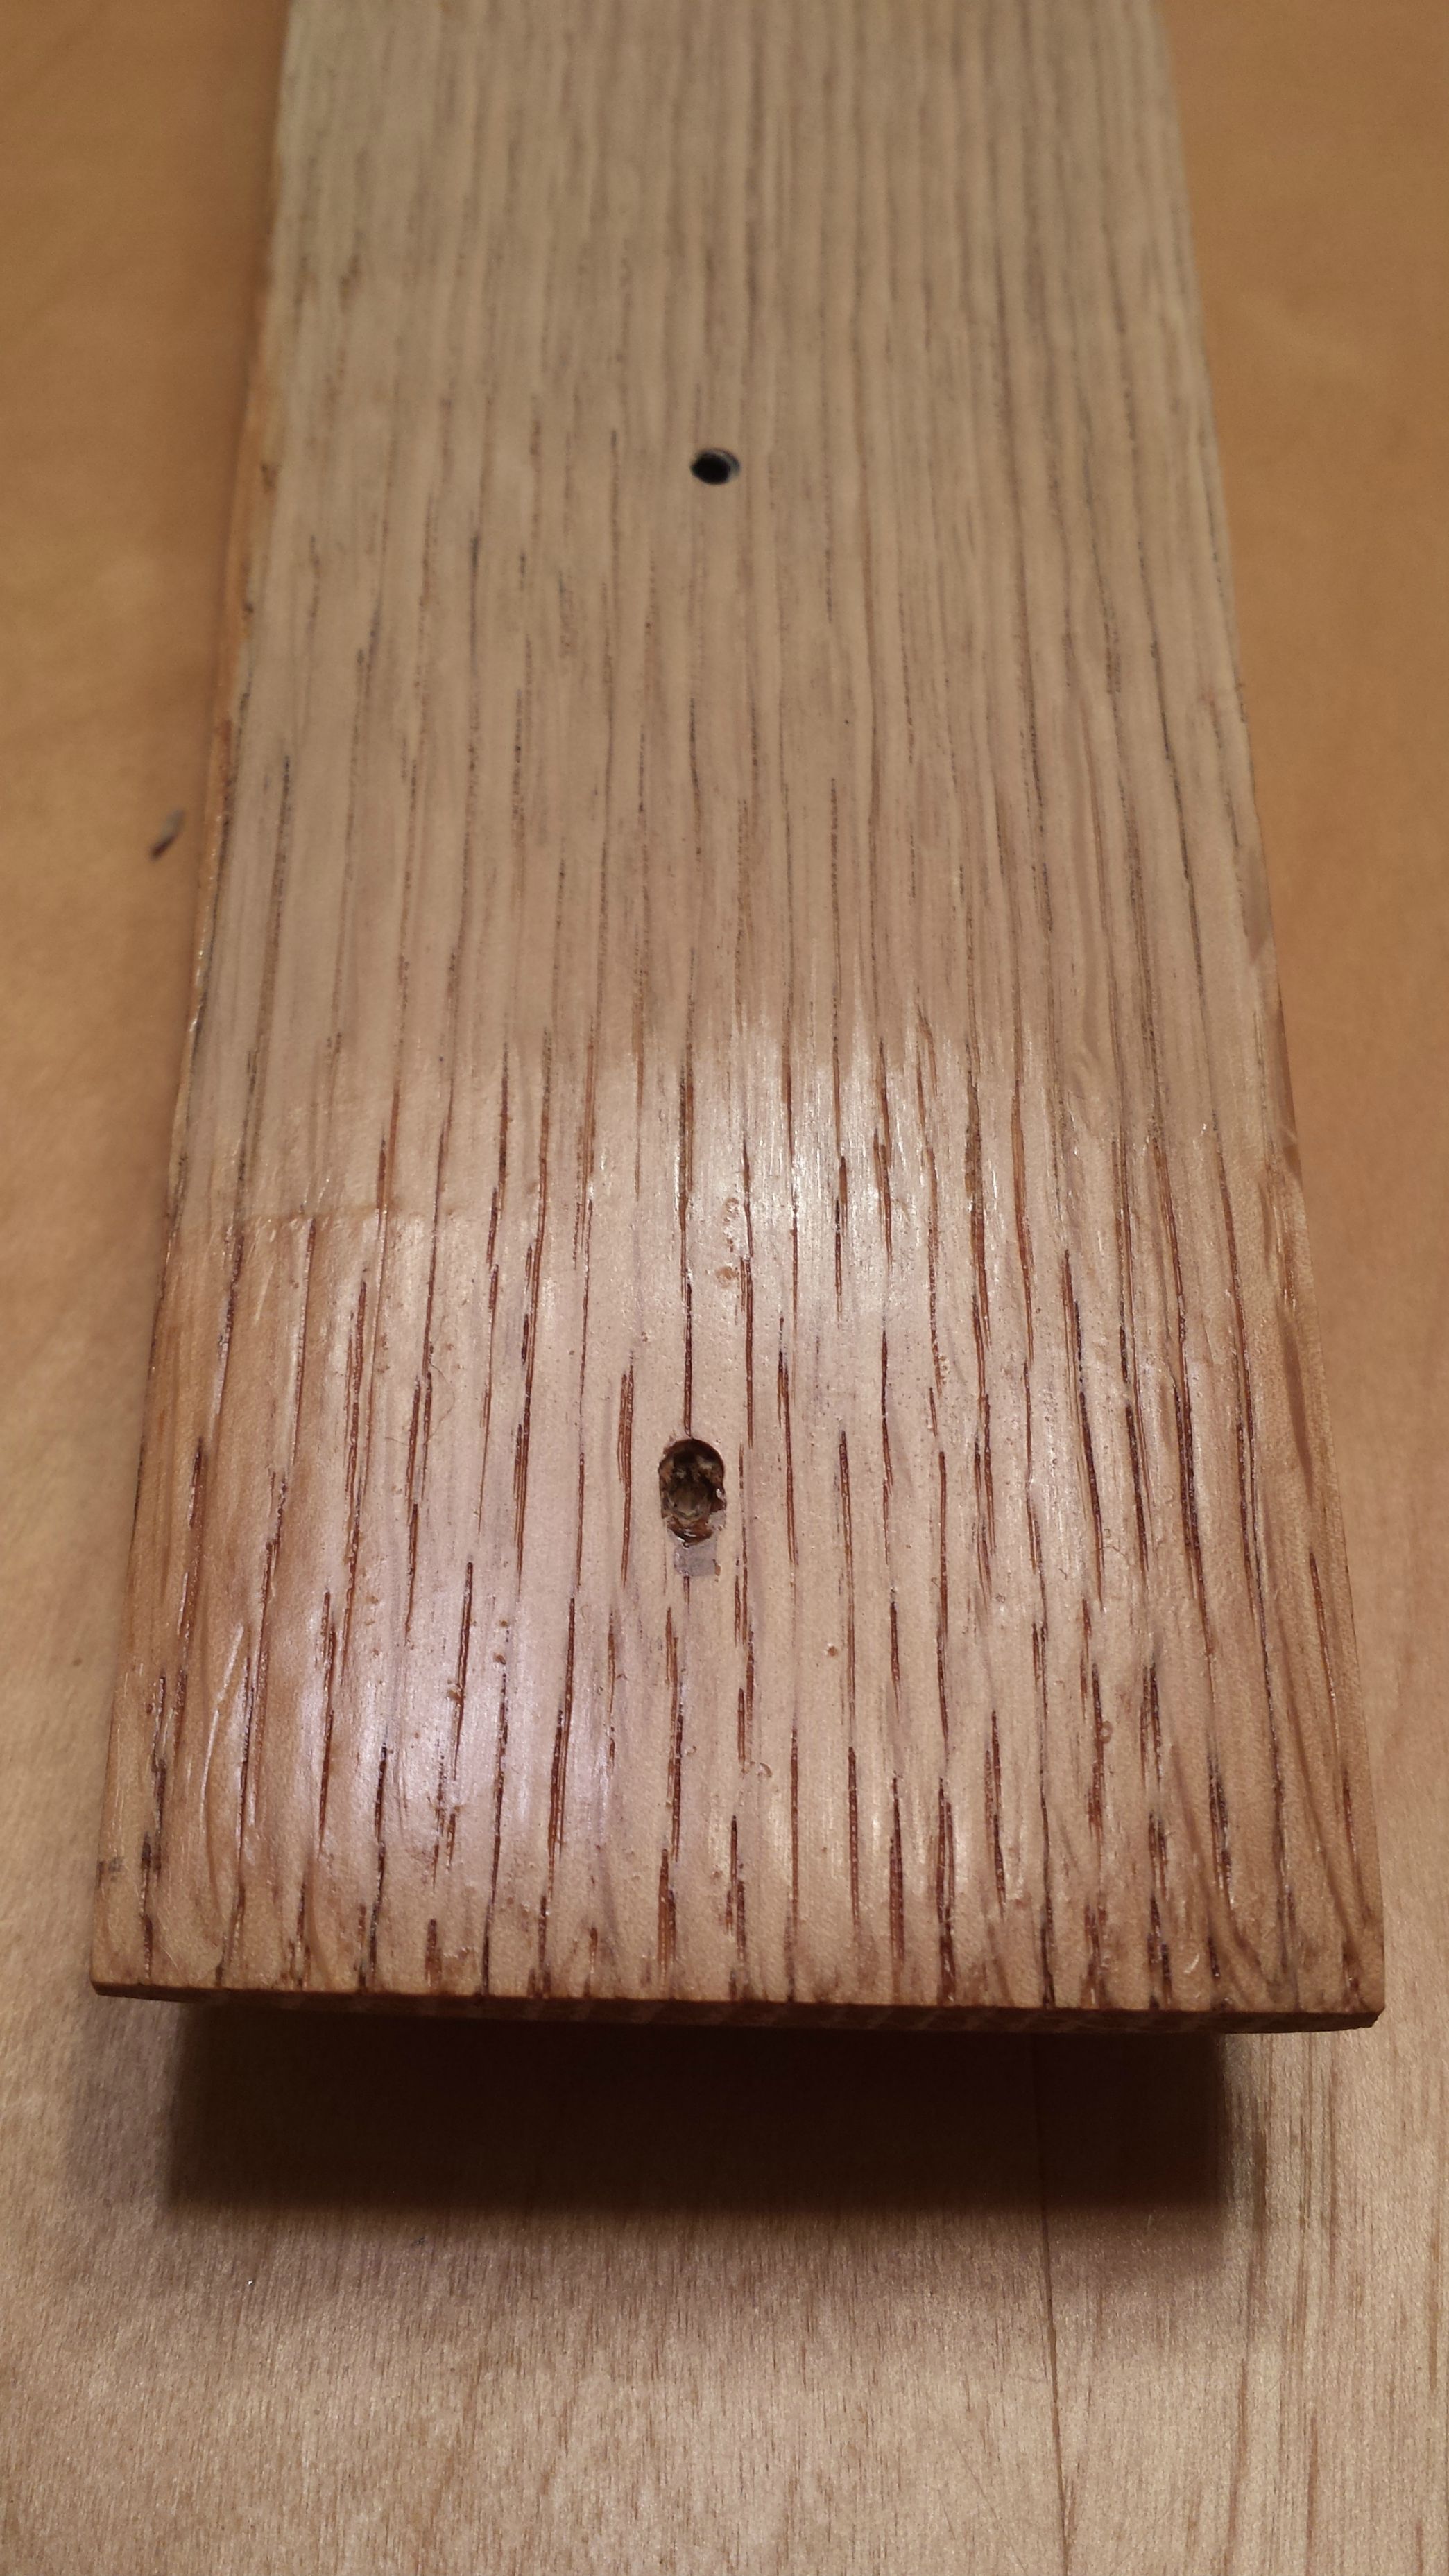
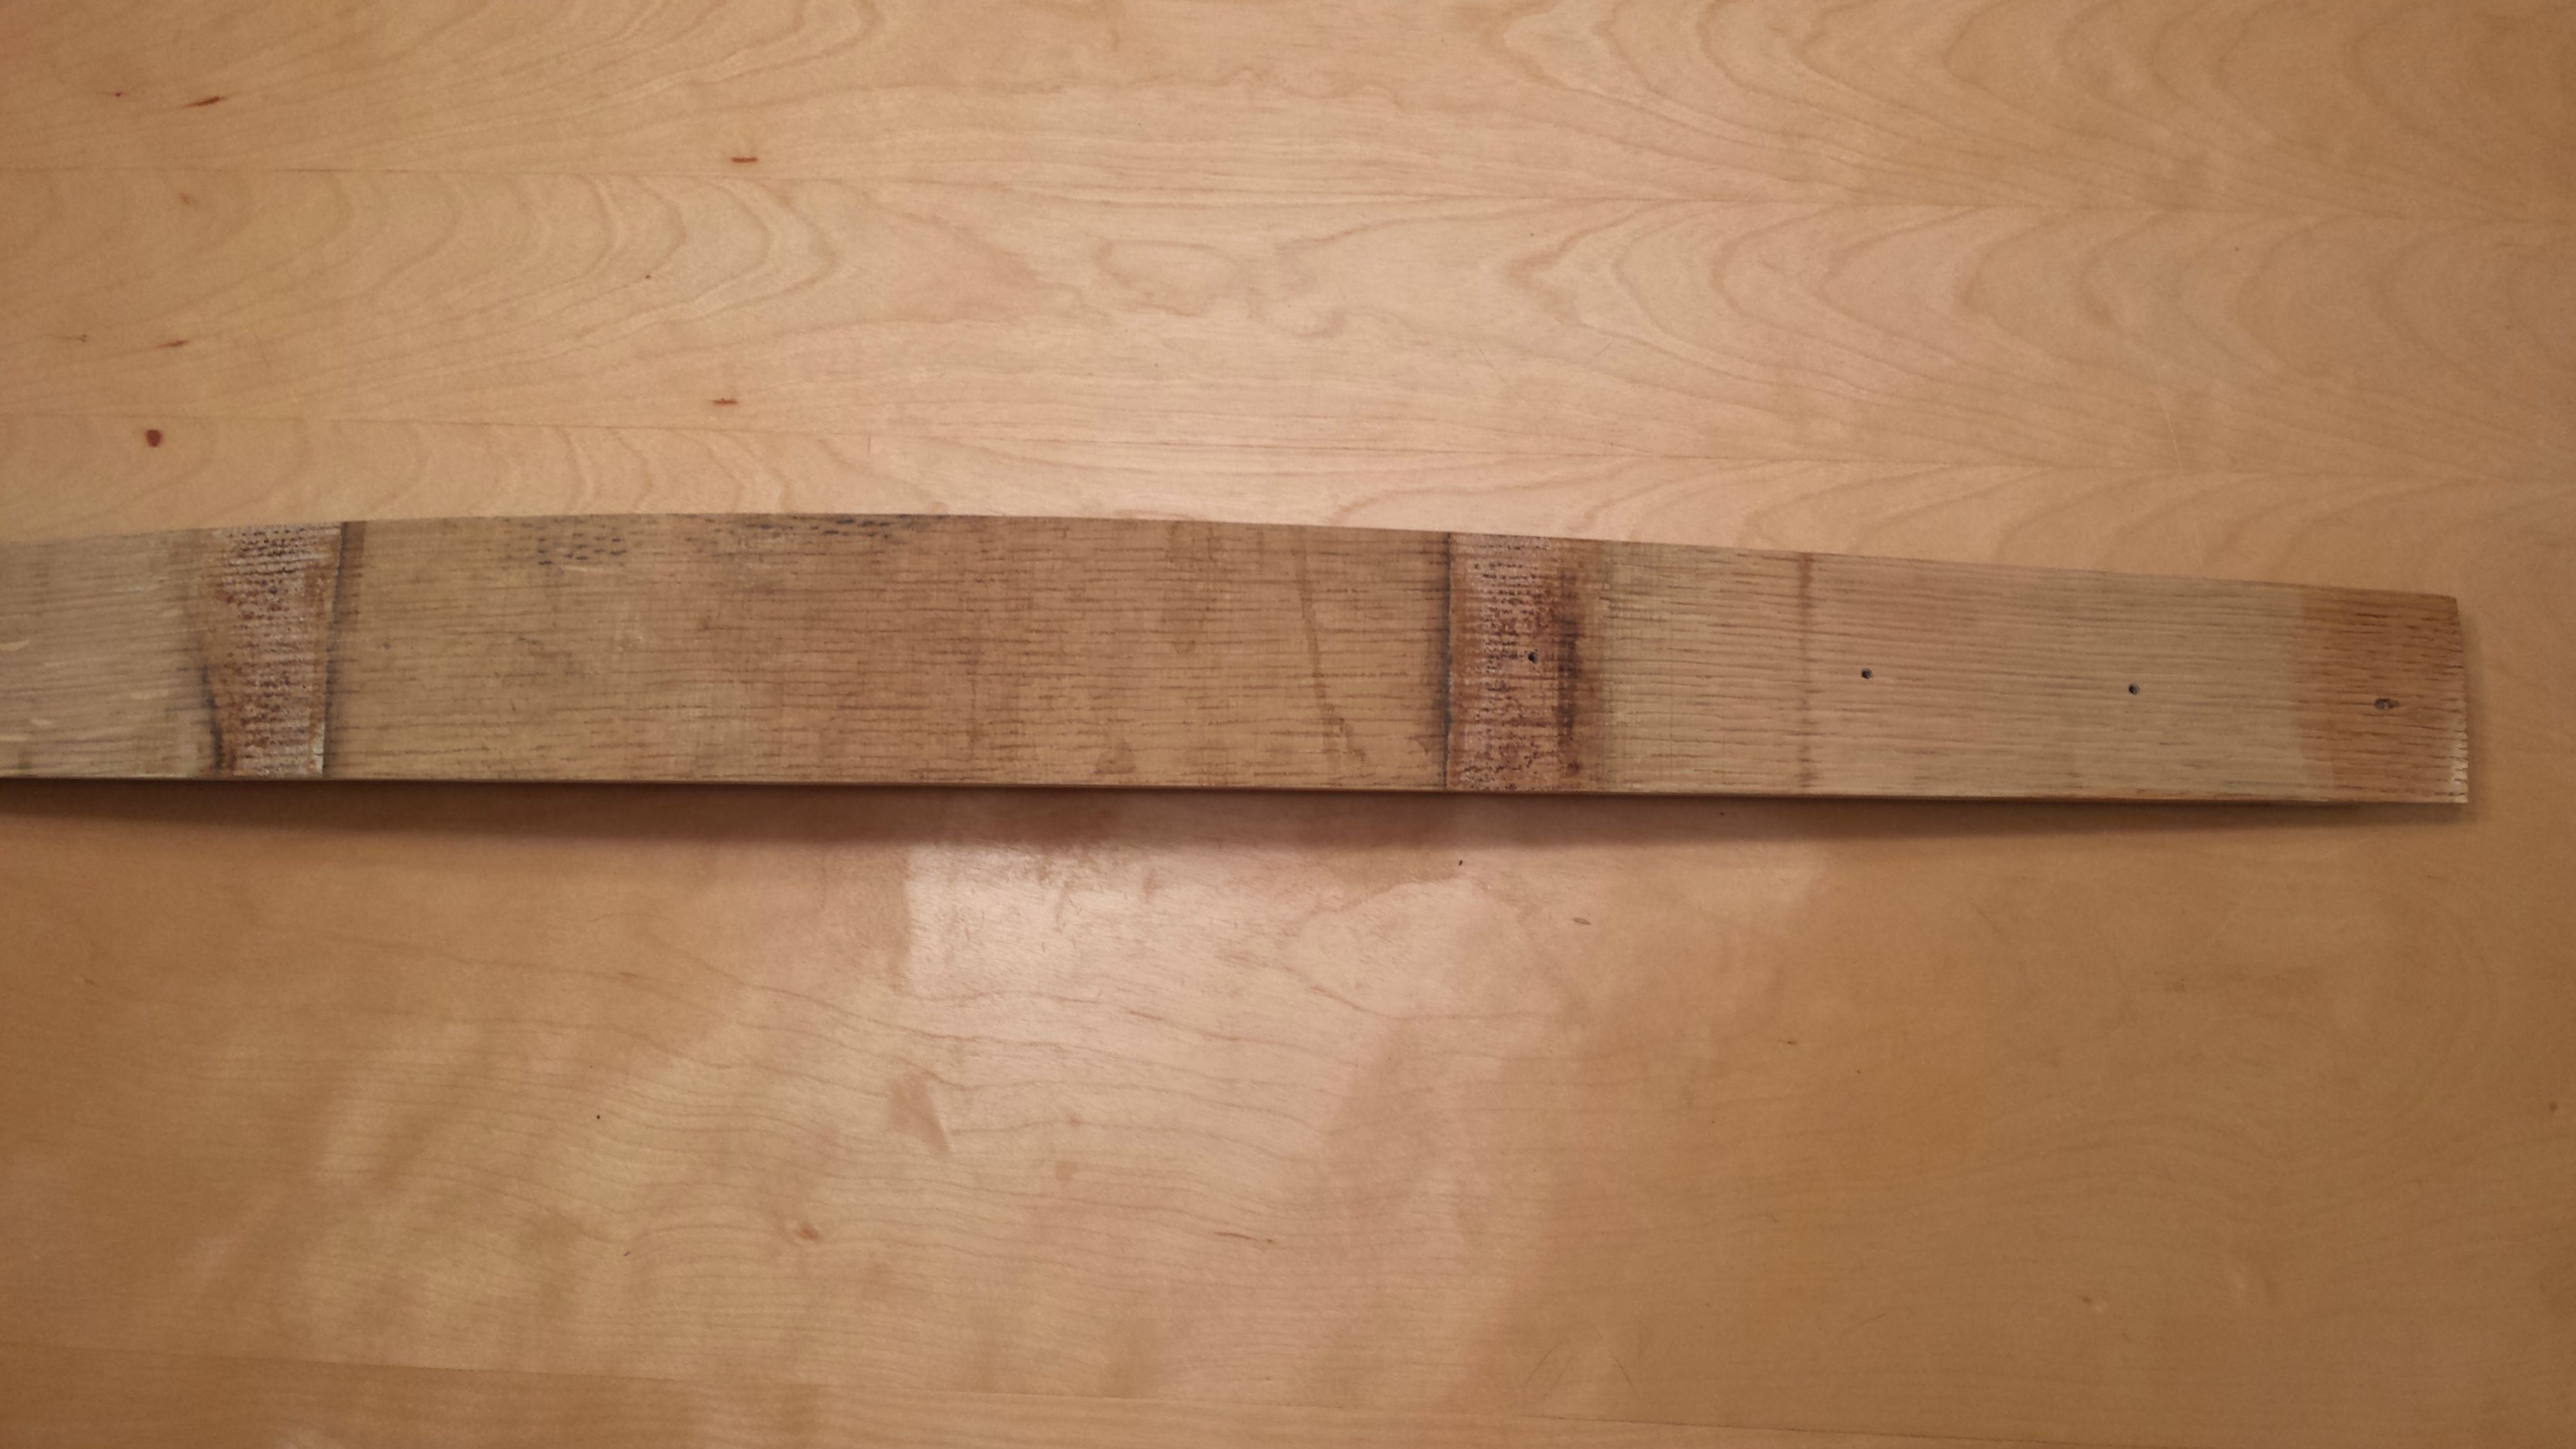
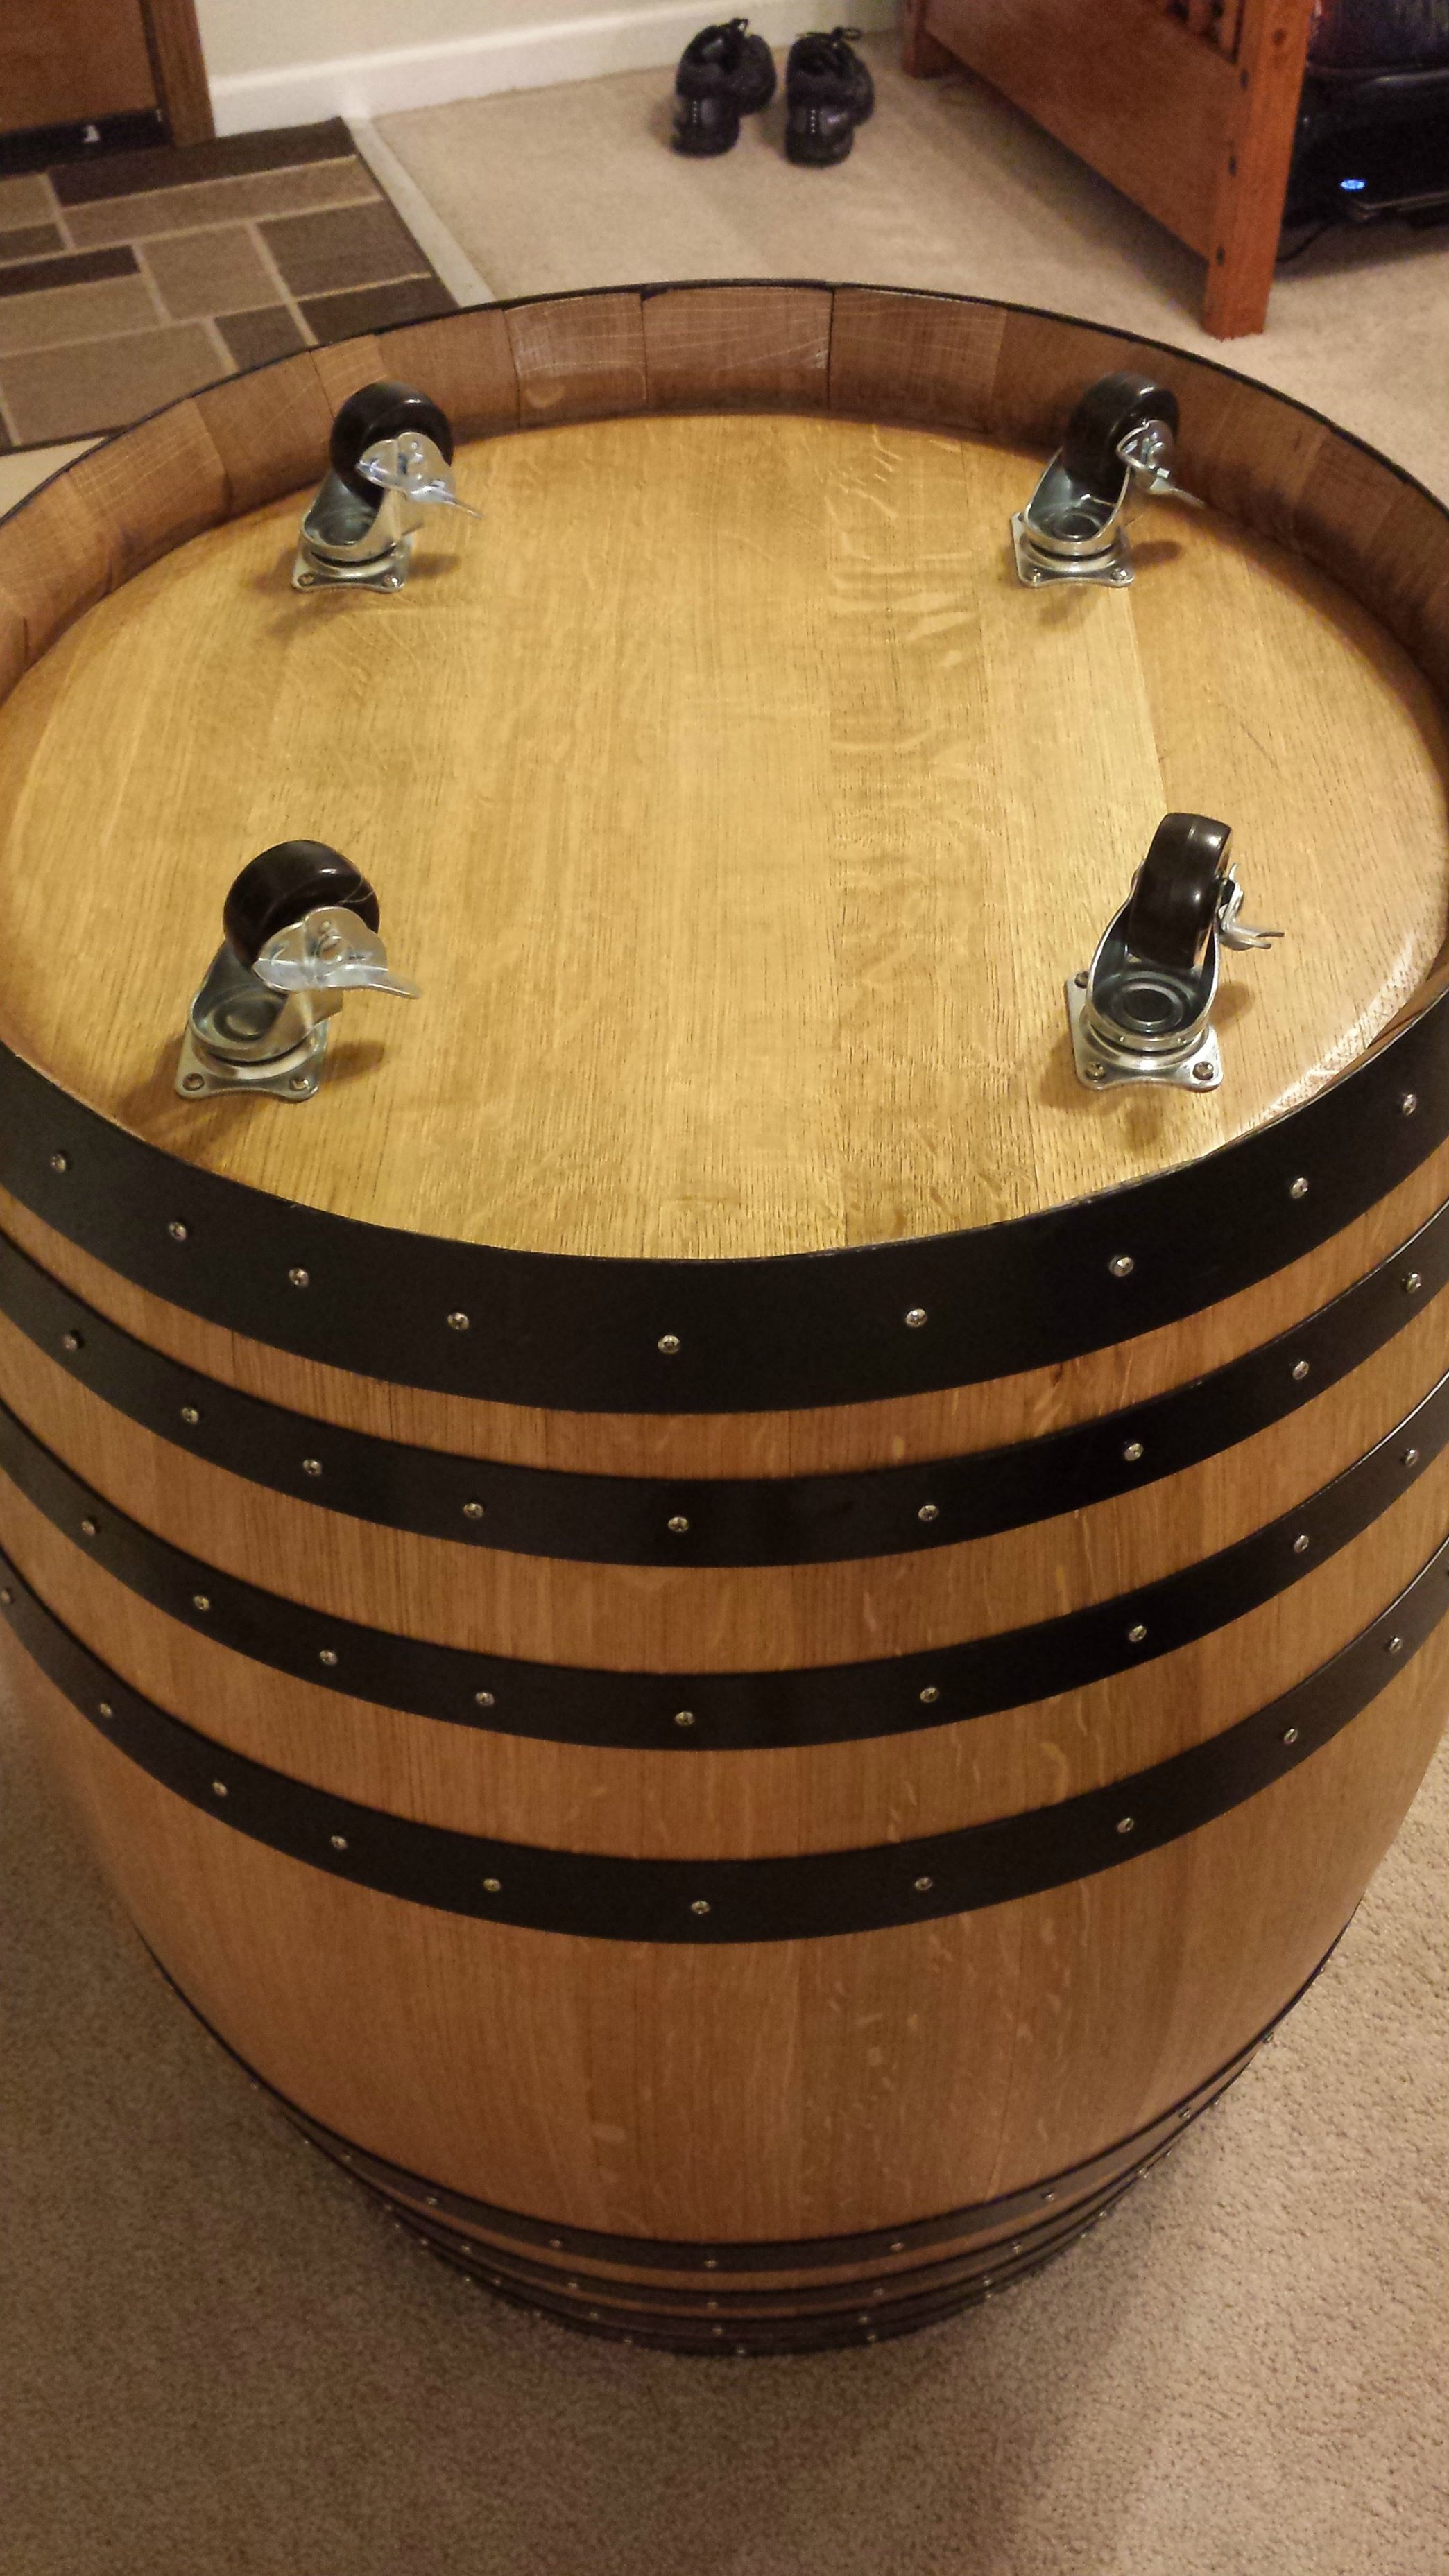
I then flipped the barrel over, measured out locations for the casters, and drilled screw holes for them. I also numbered the staves sequentially so I could reassemble them correctly later.
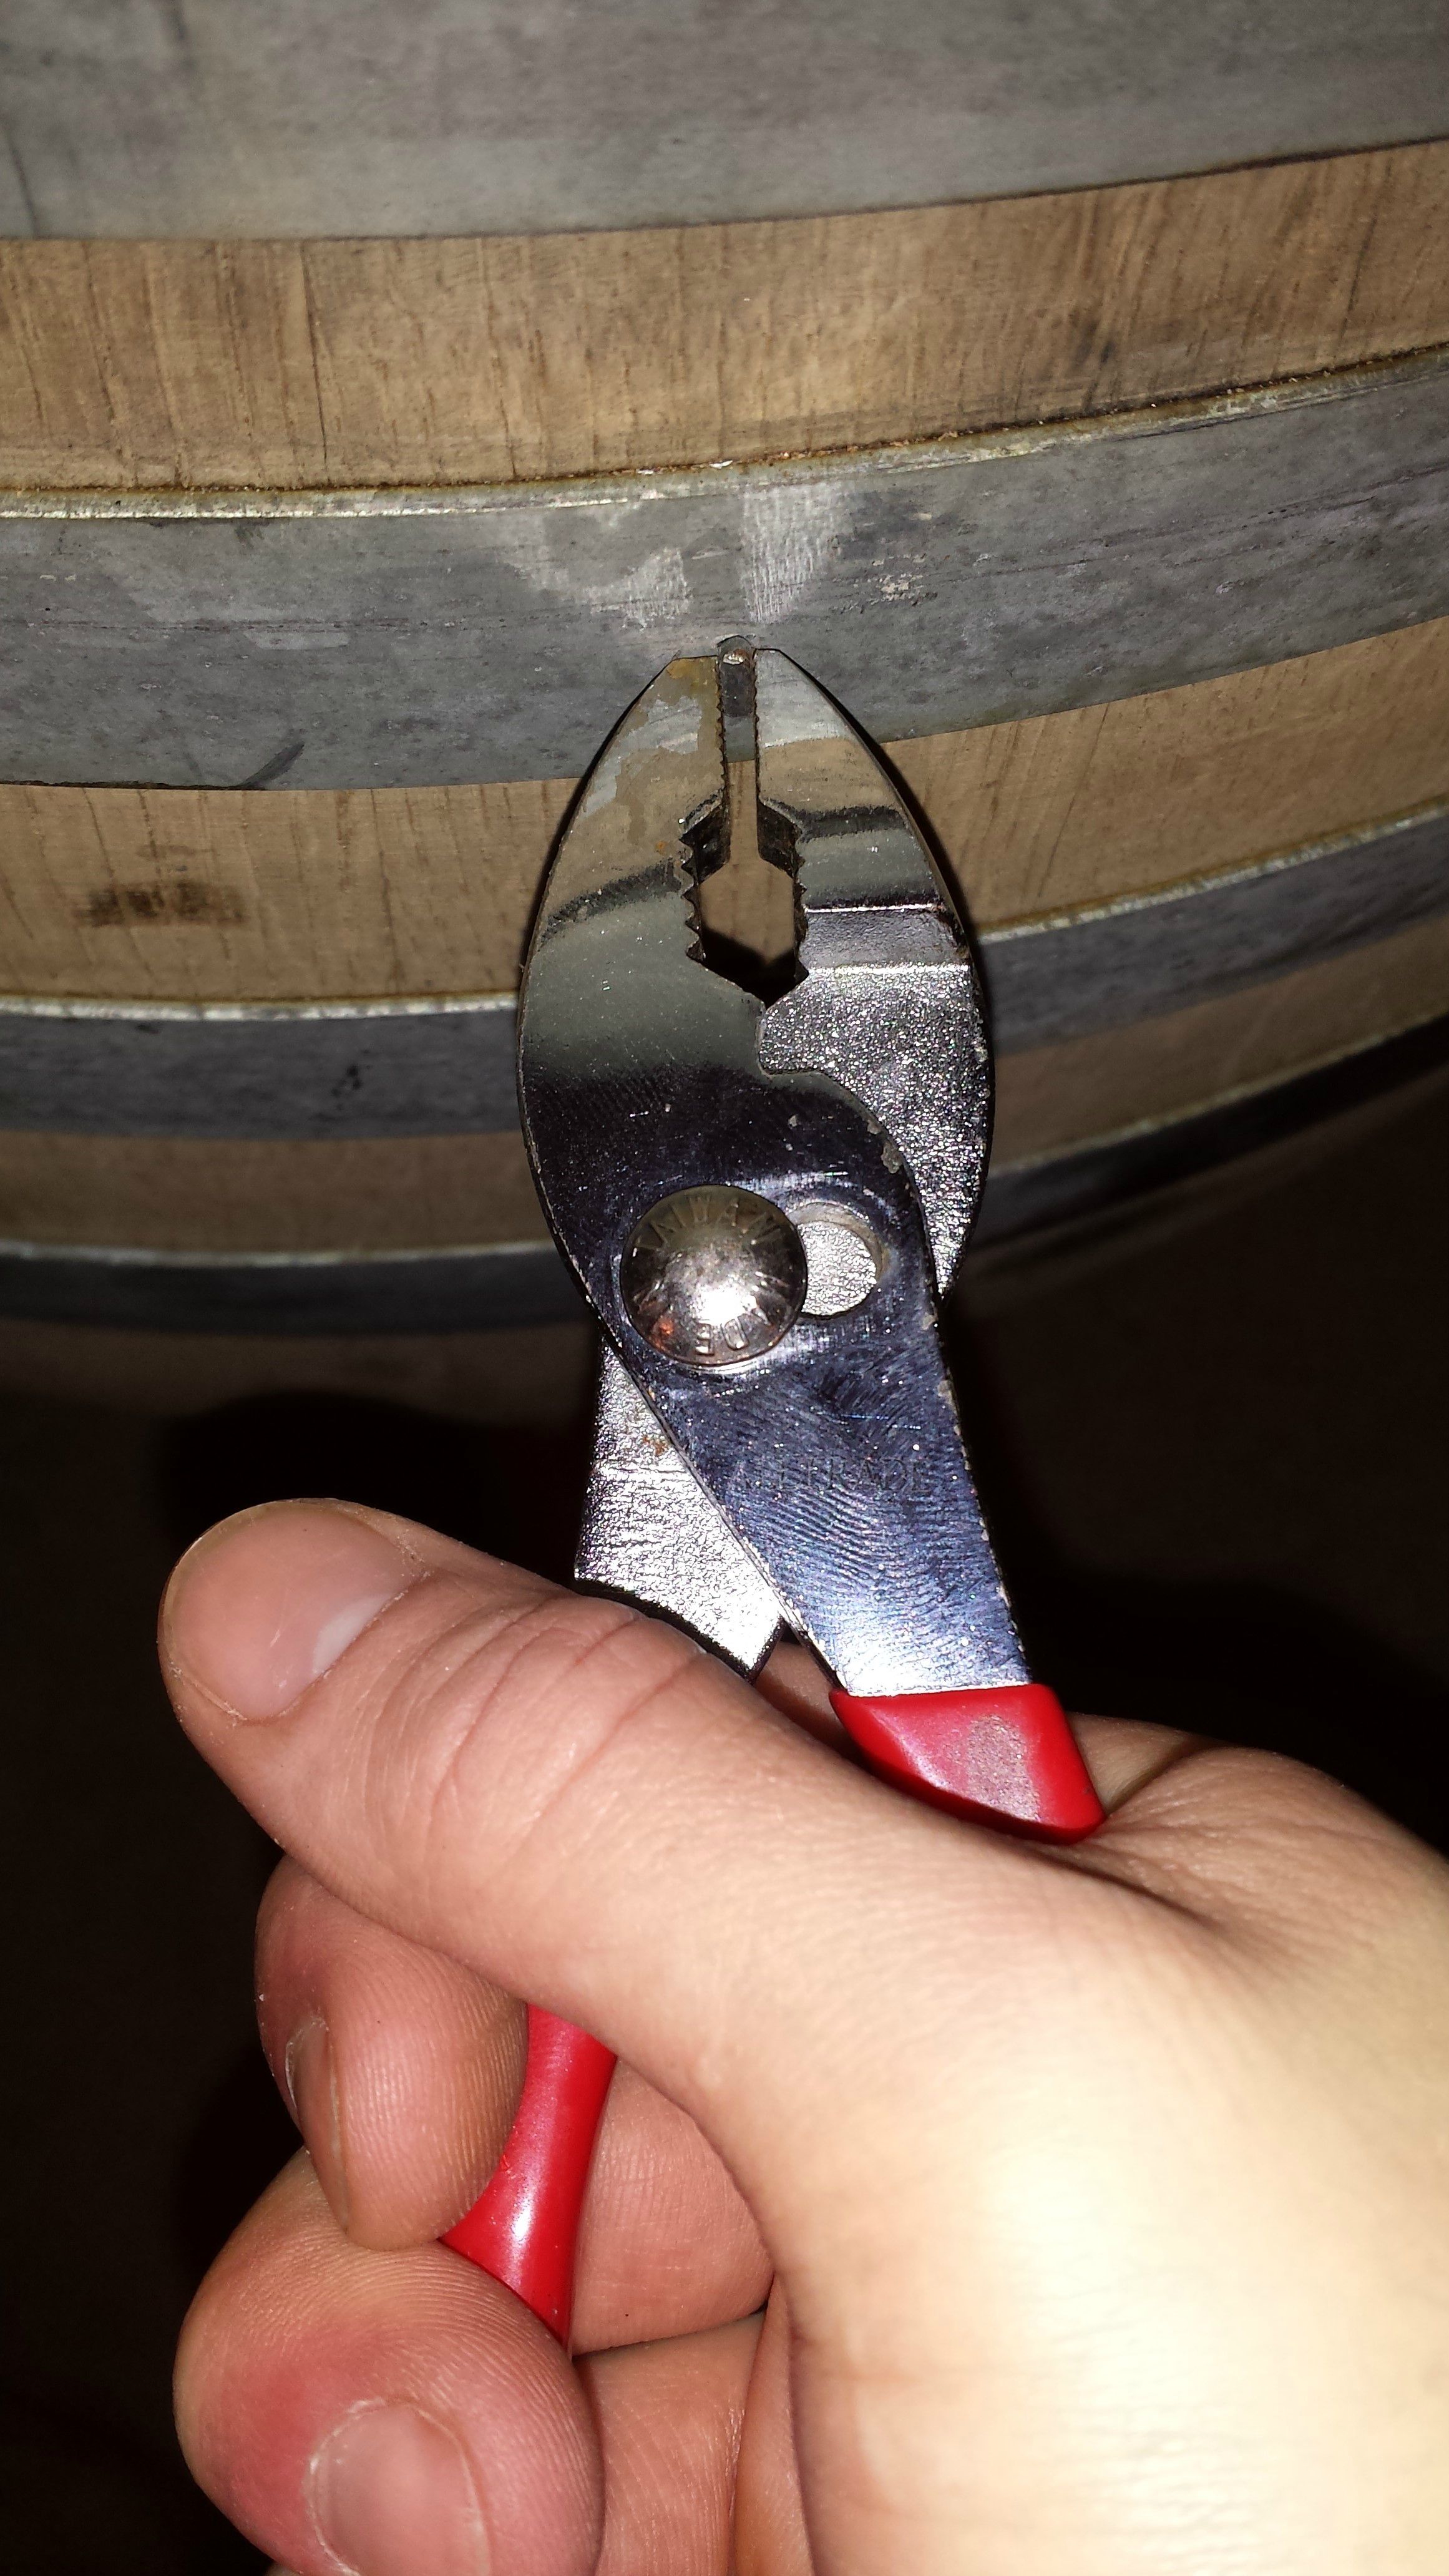
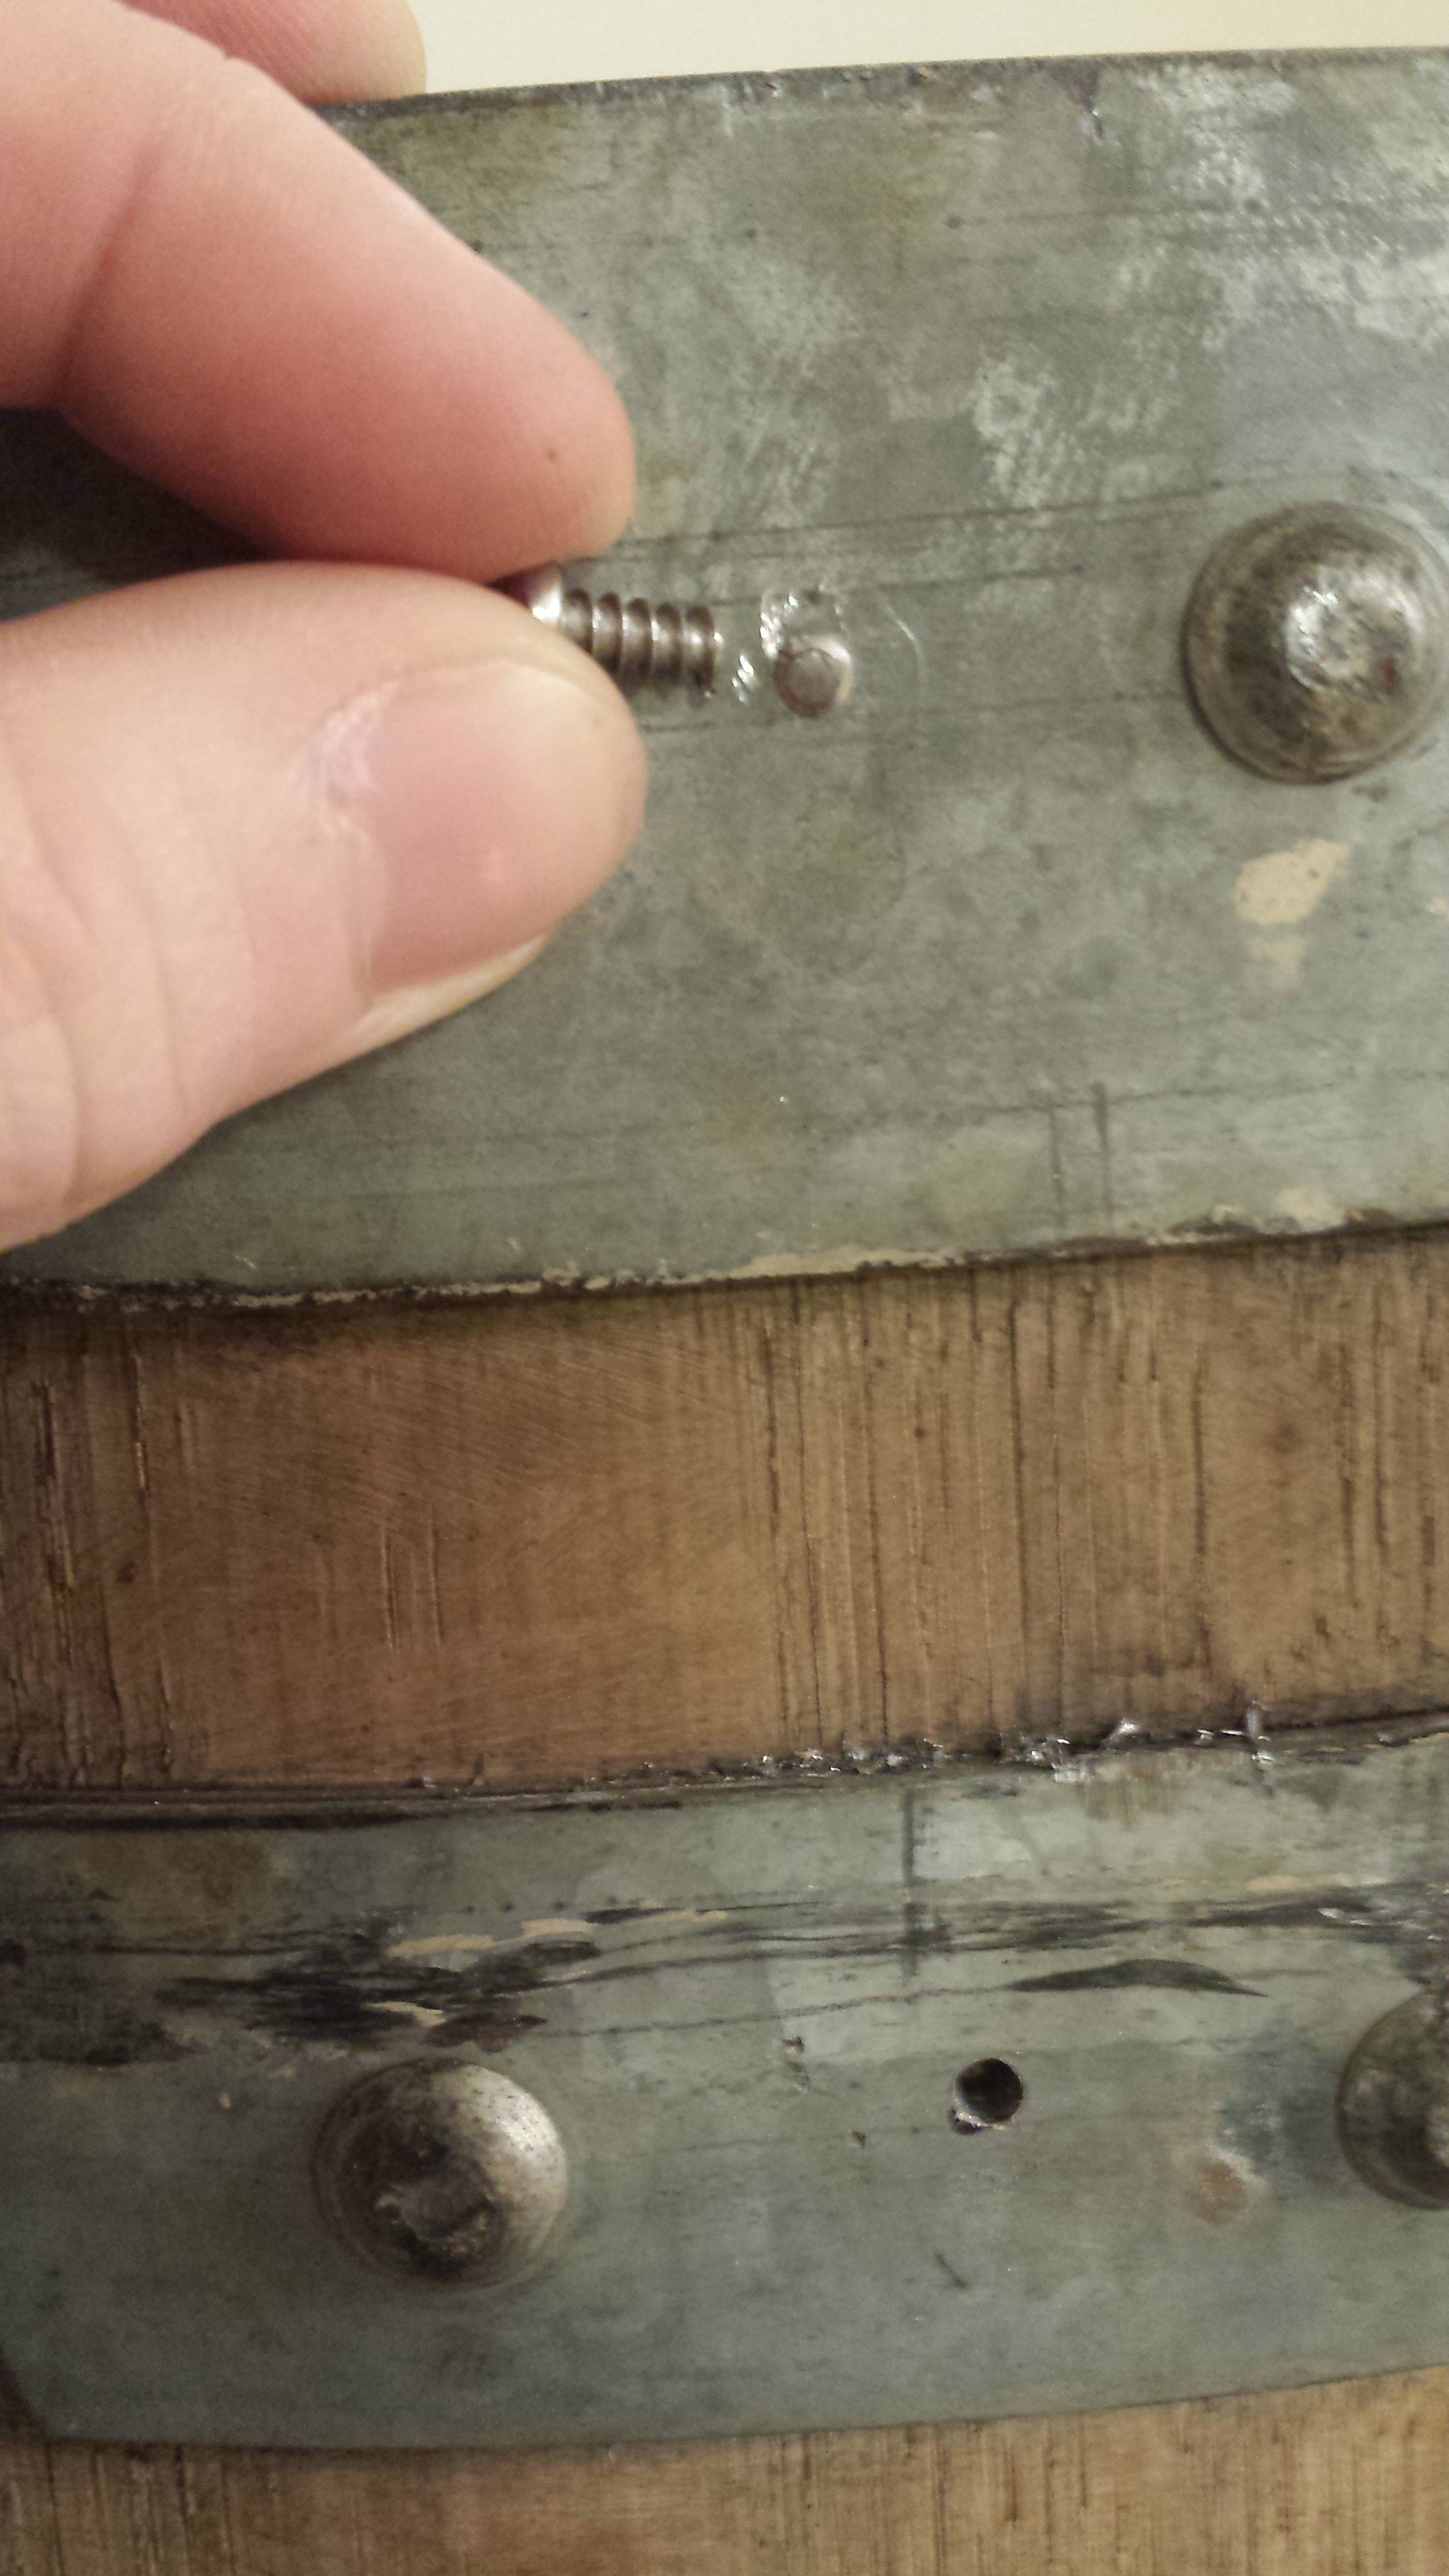
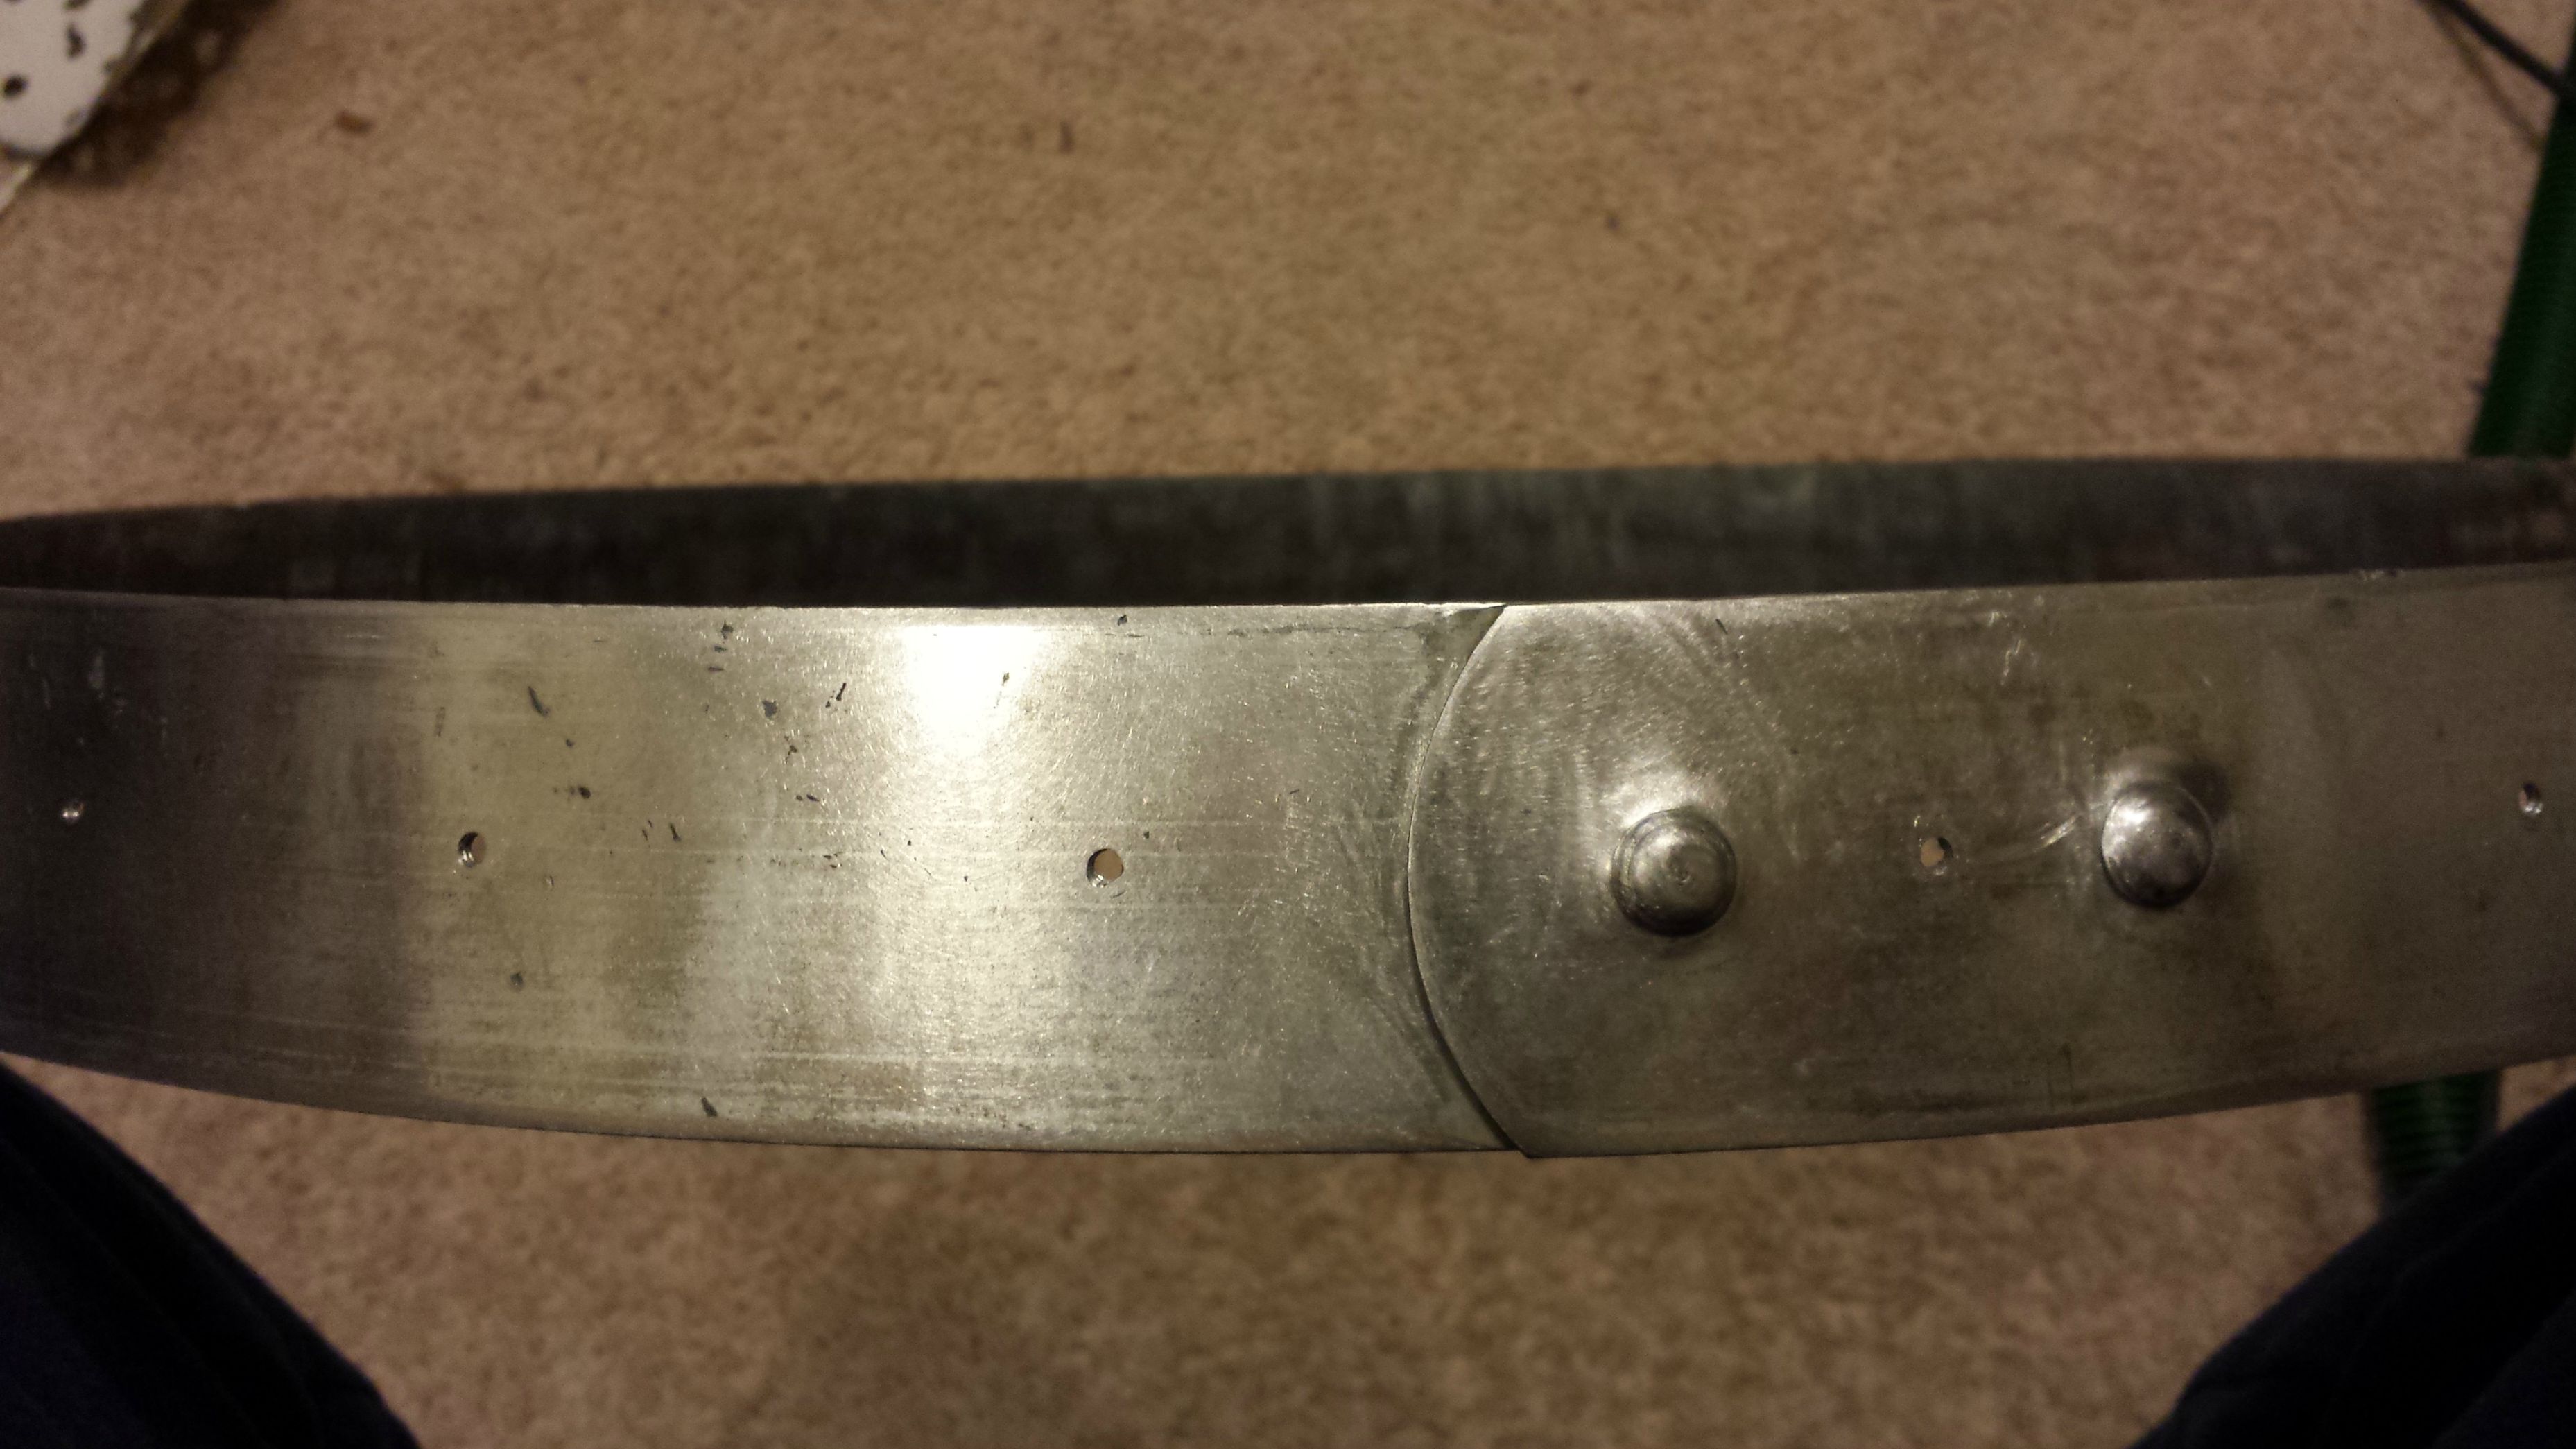
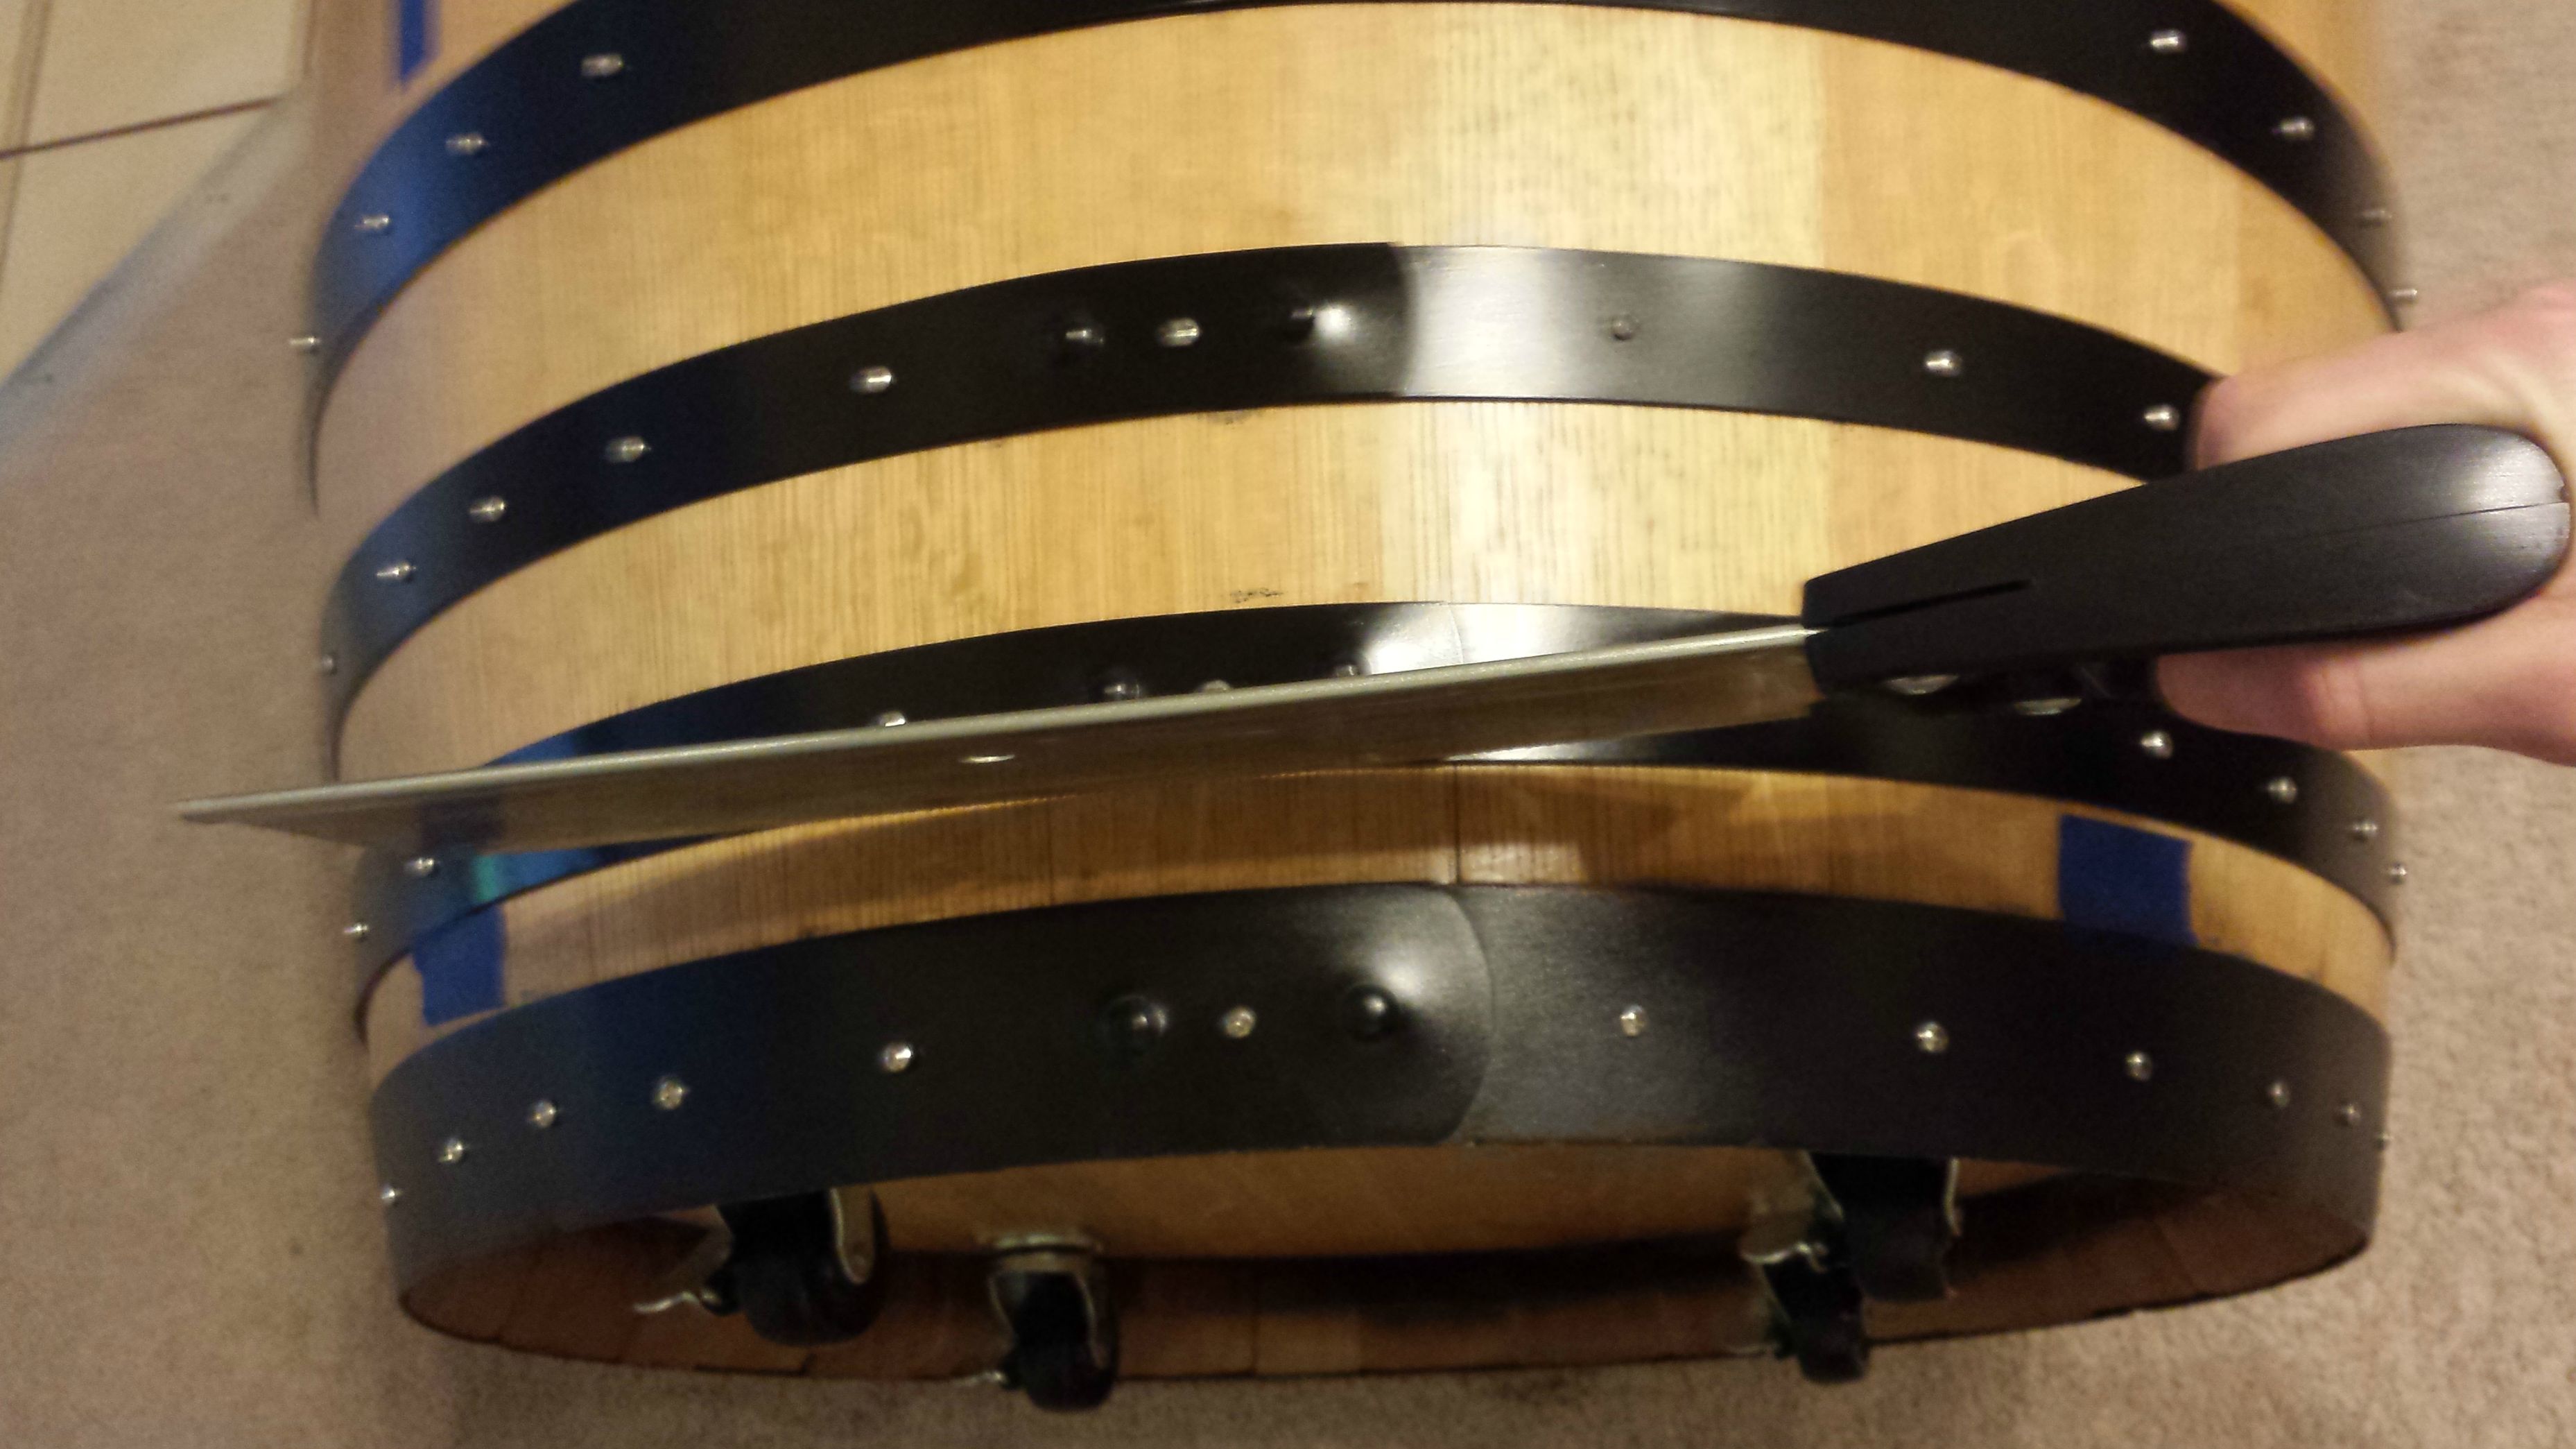
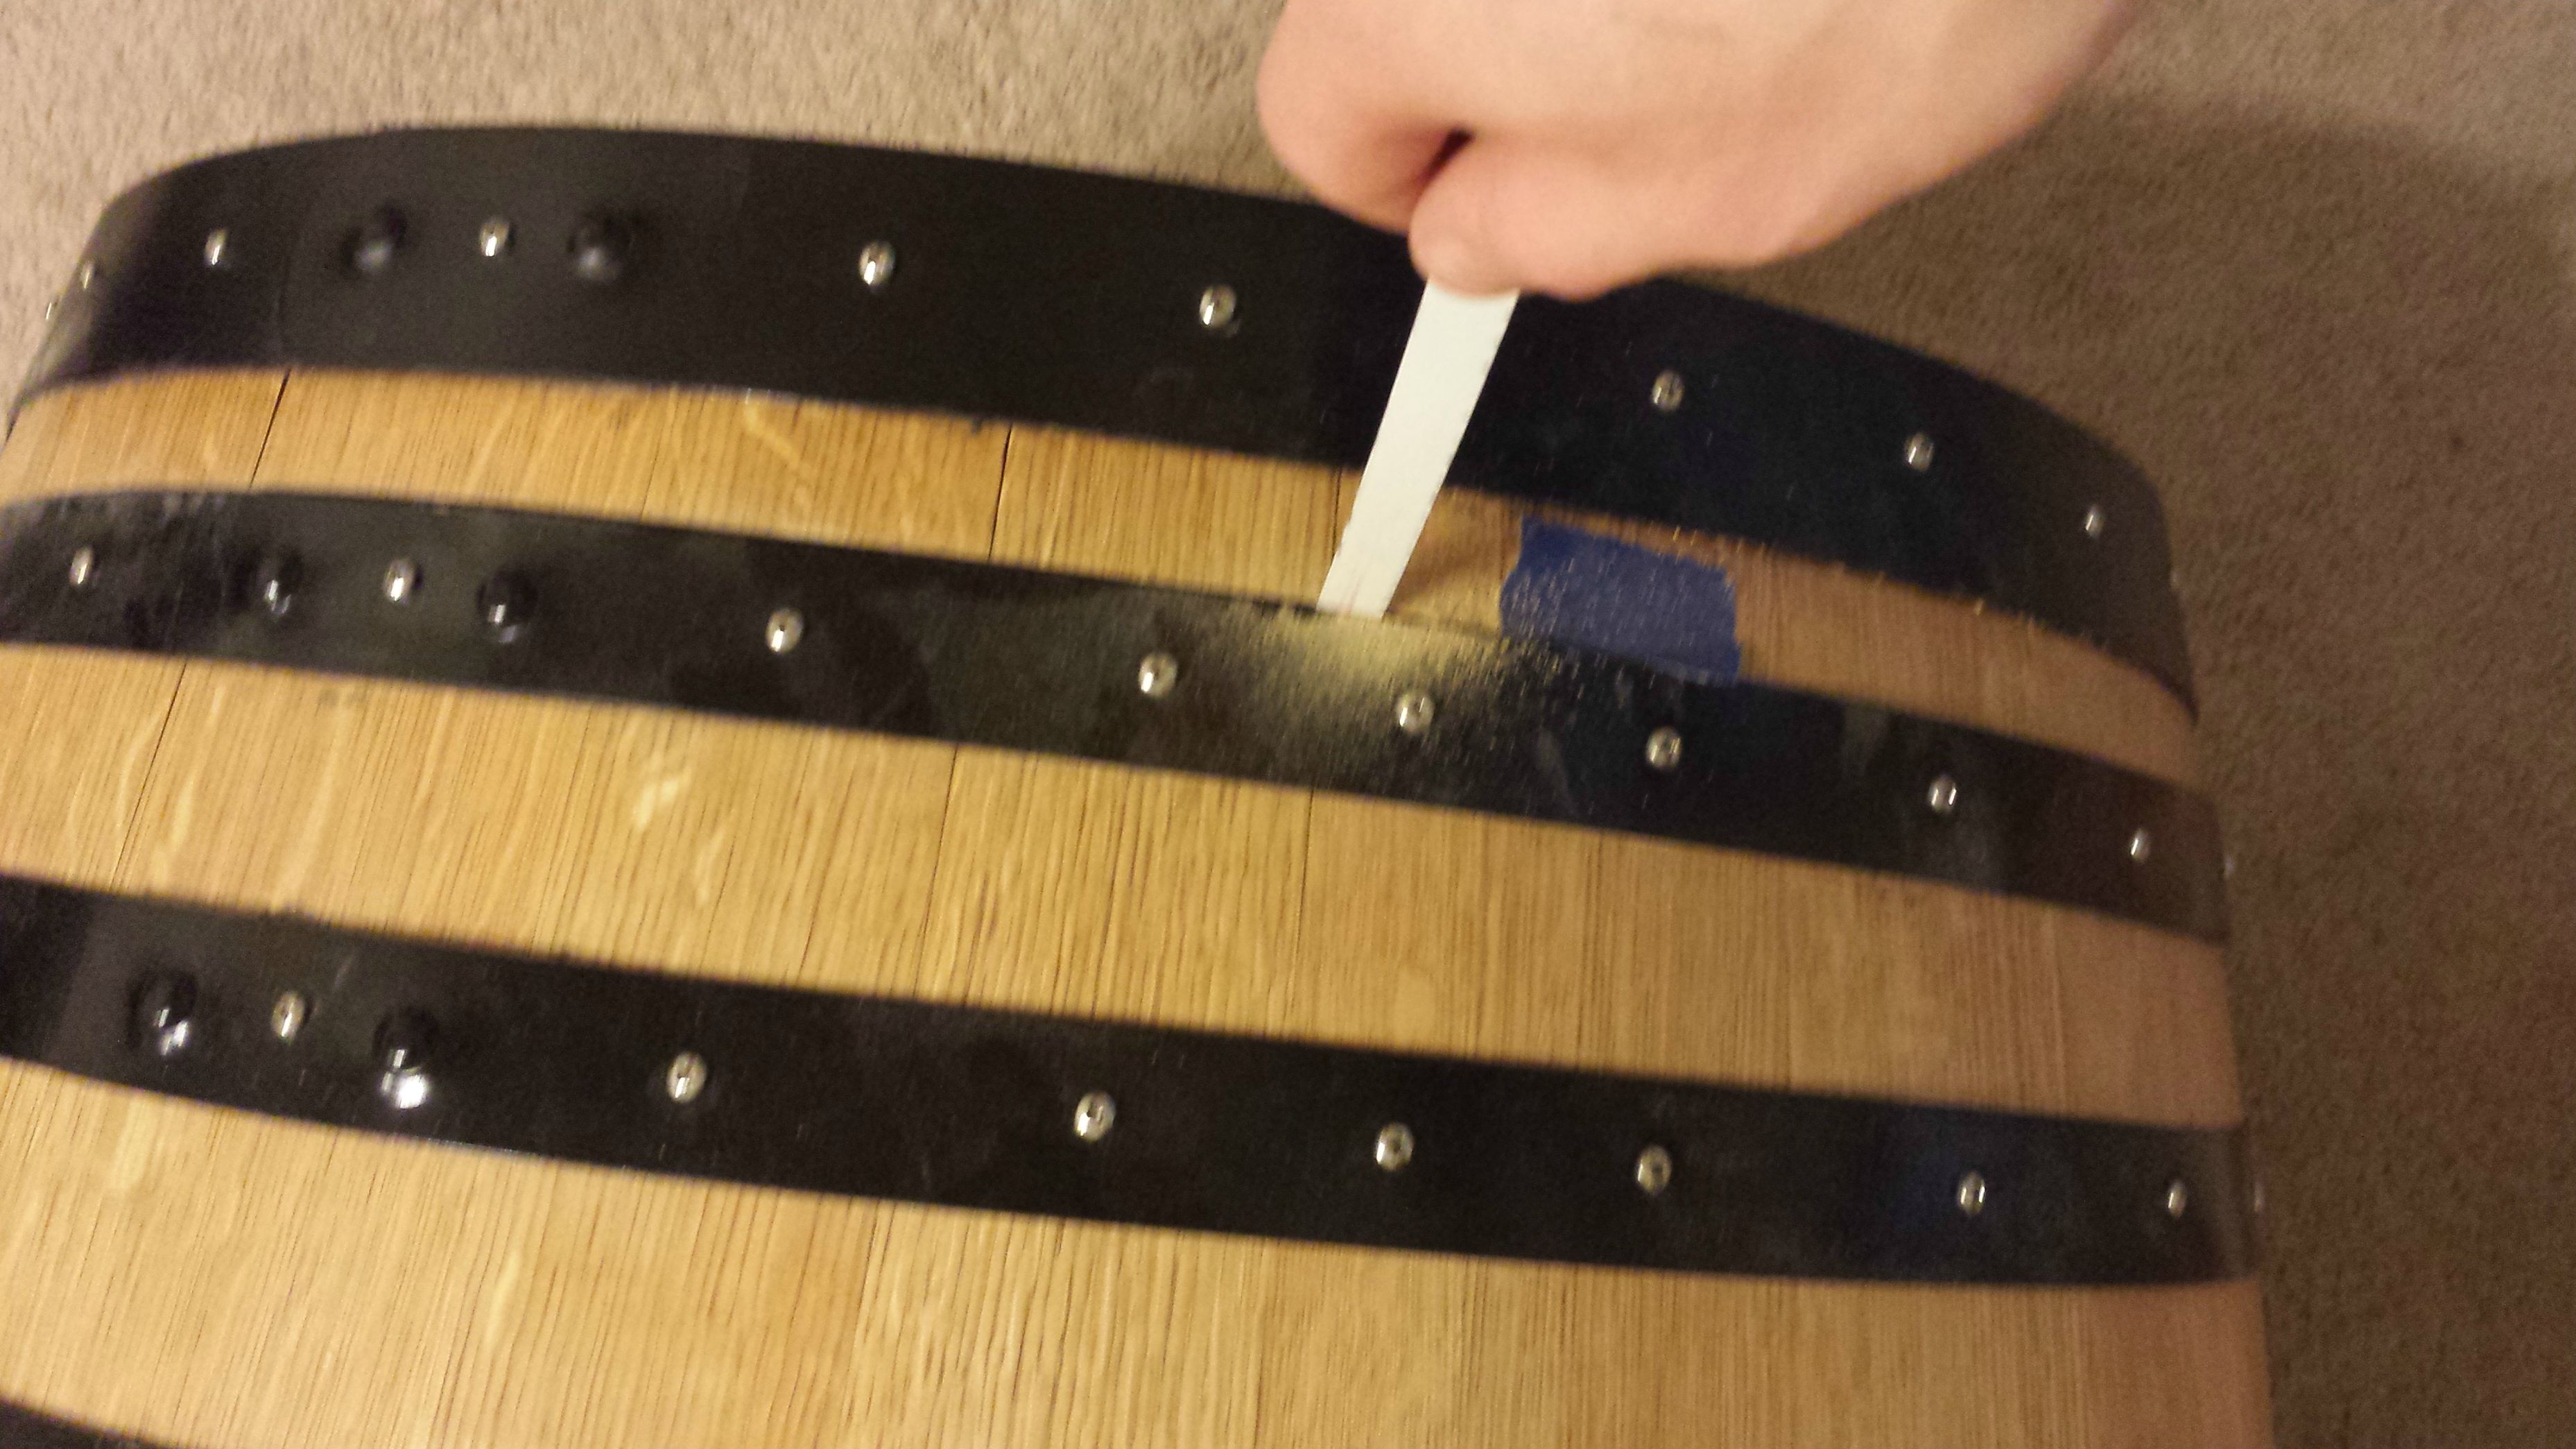
The next step was to remove all the metal rings to get to the bare oak. Each ring had two nails holding it in.
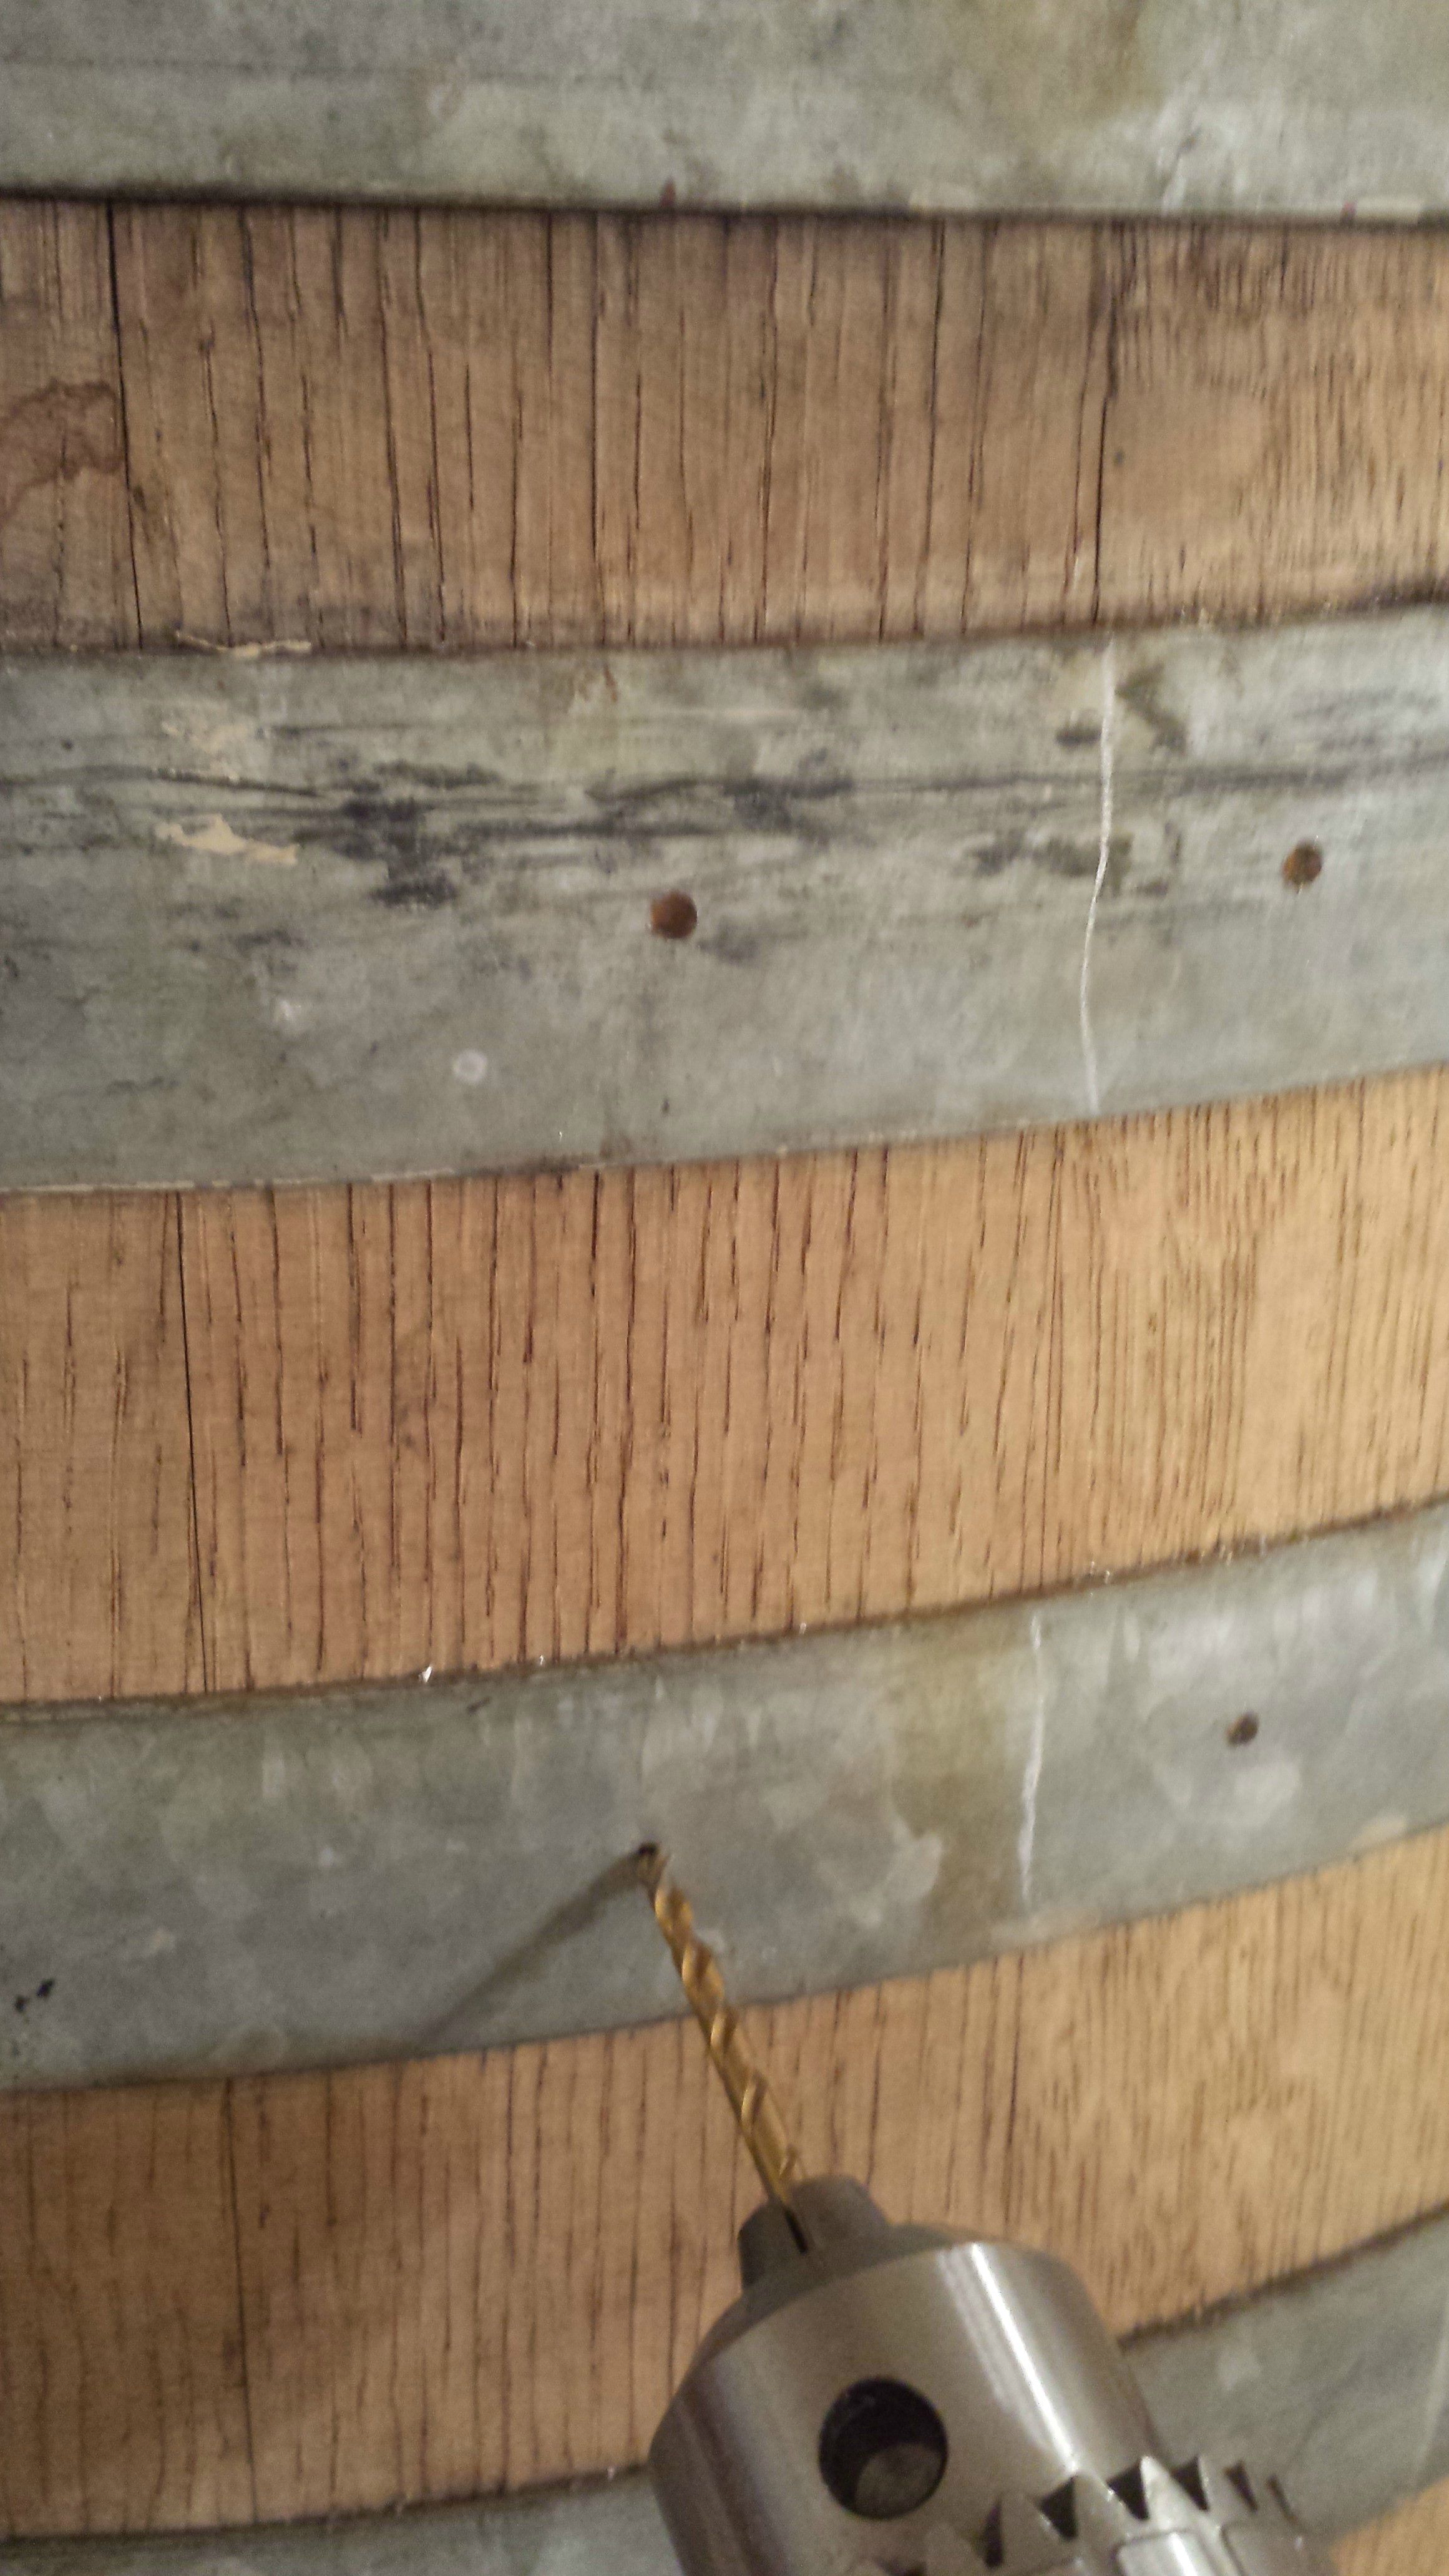
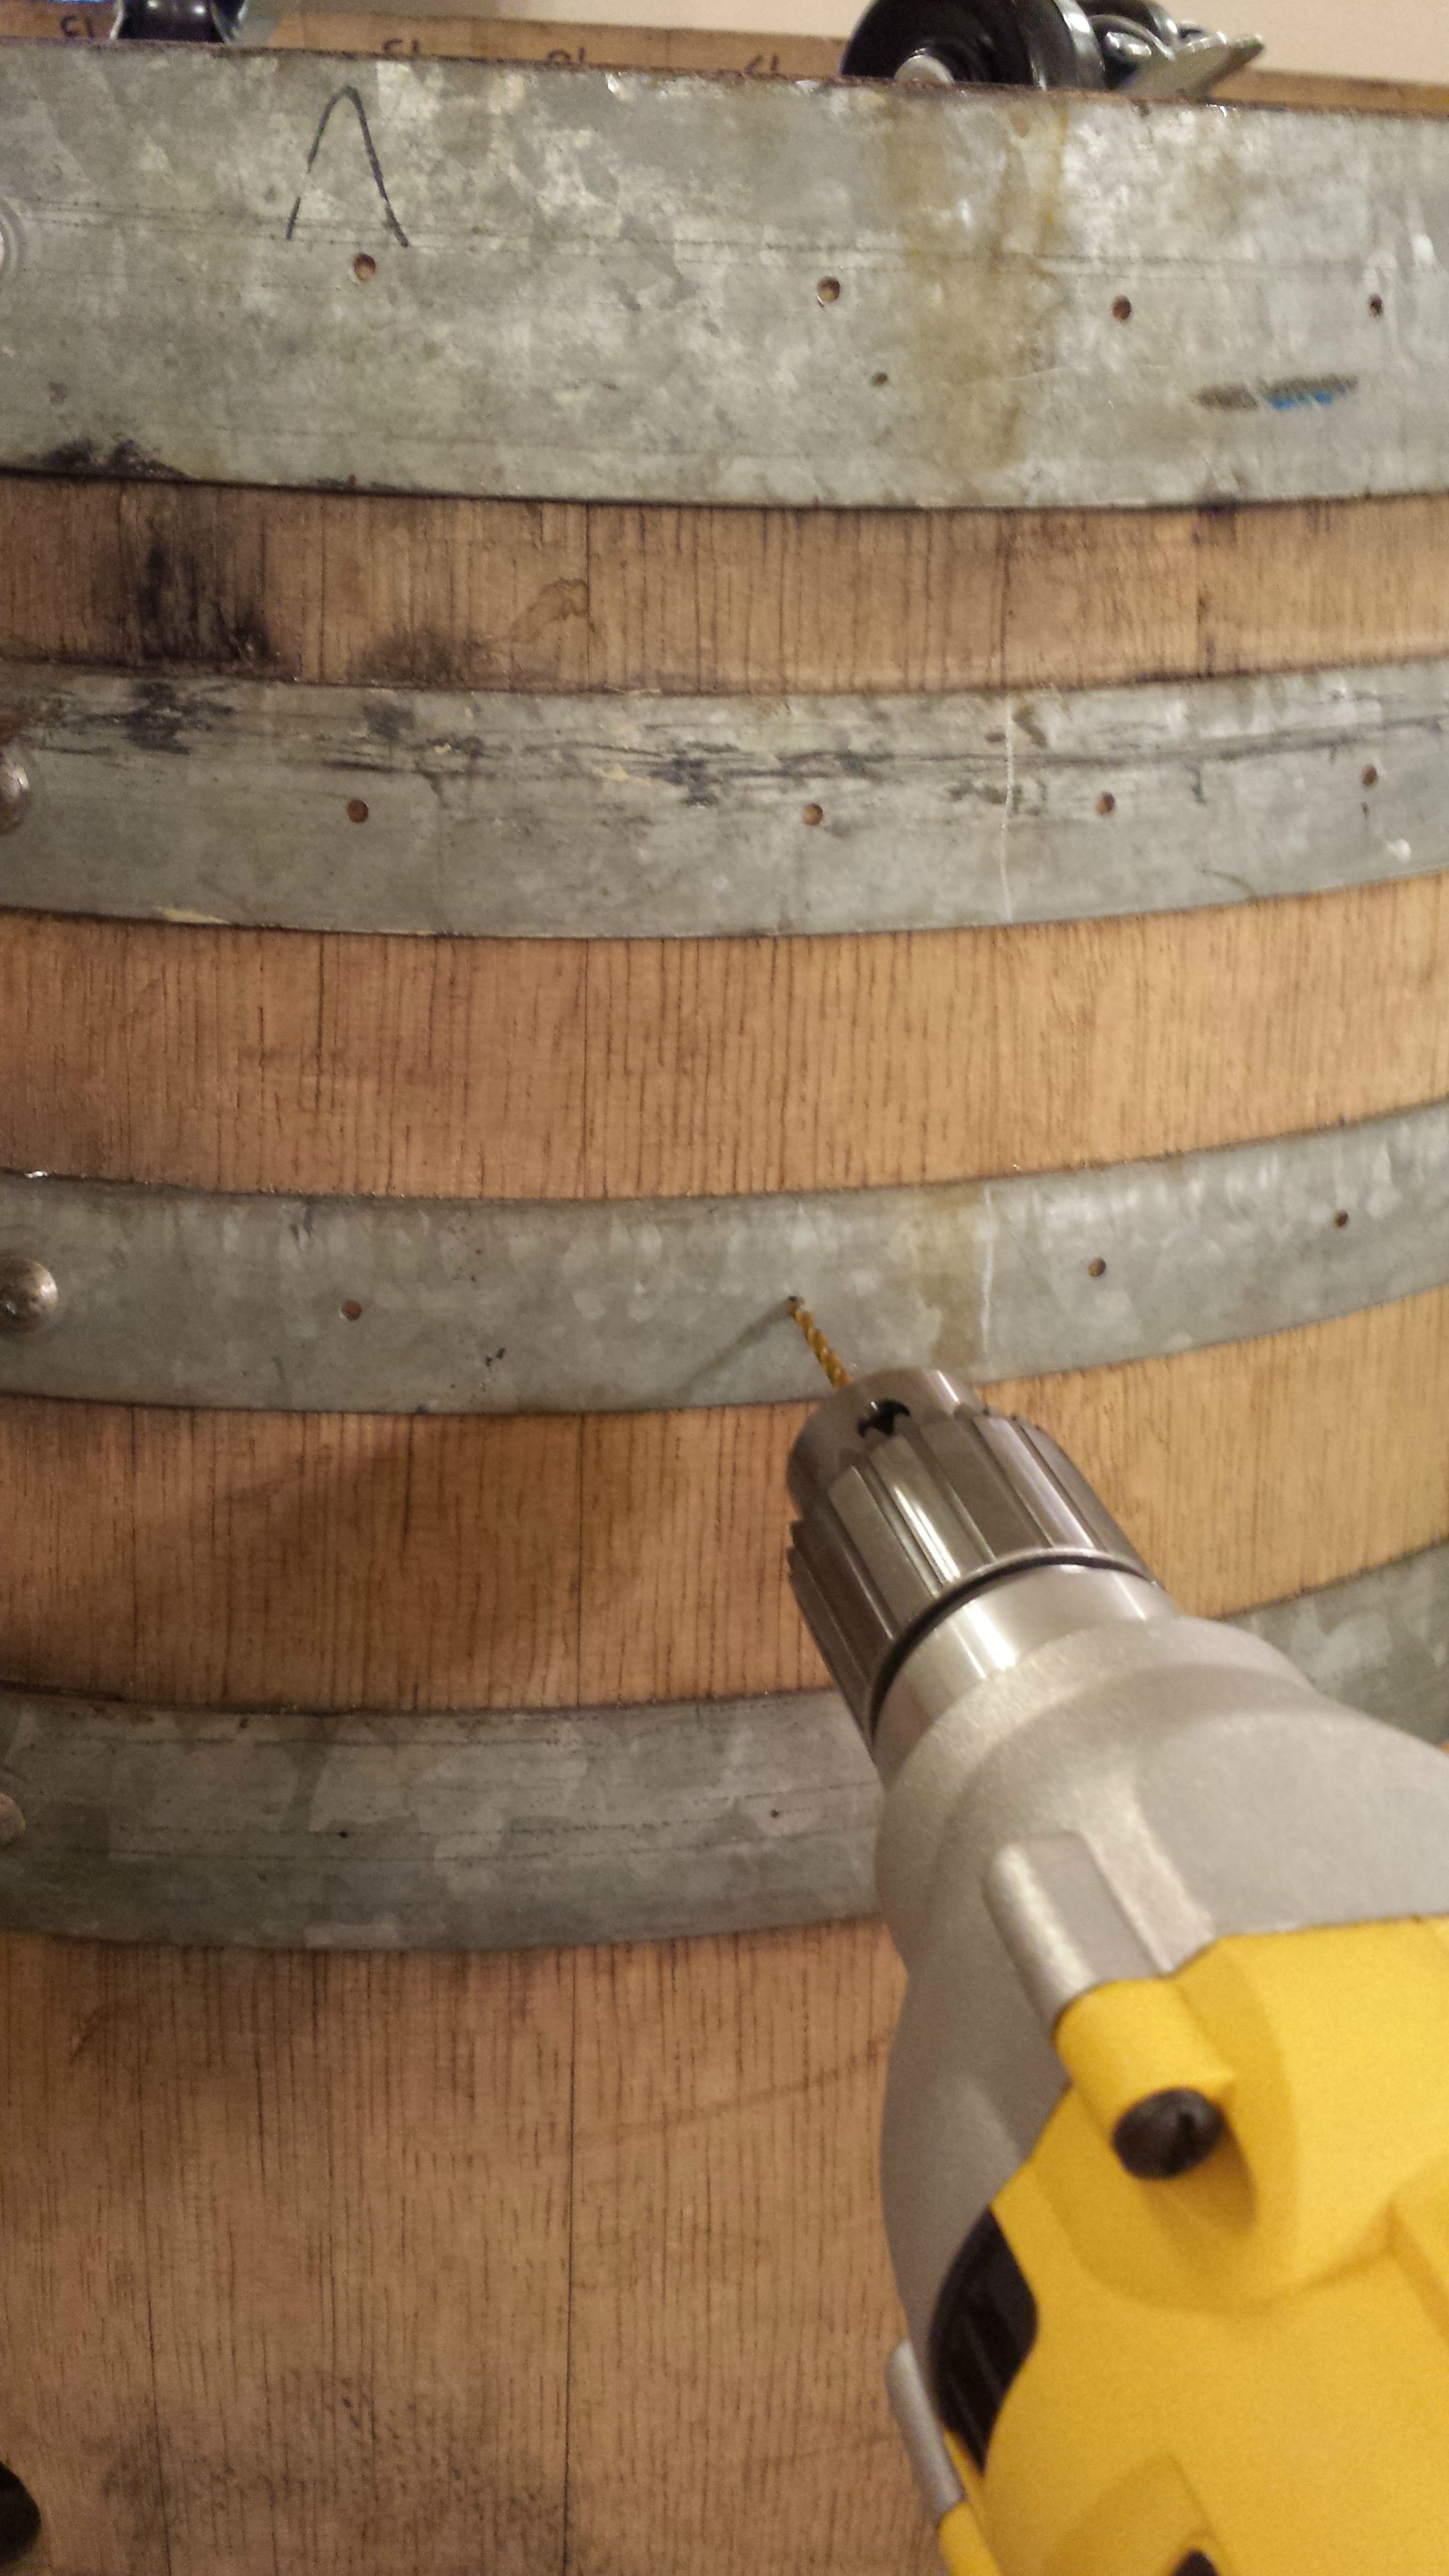
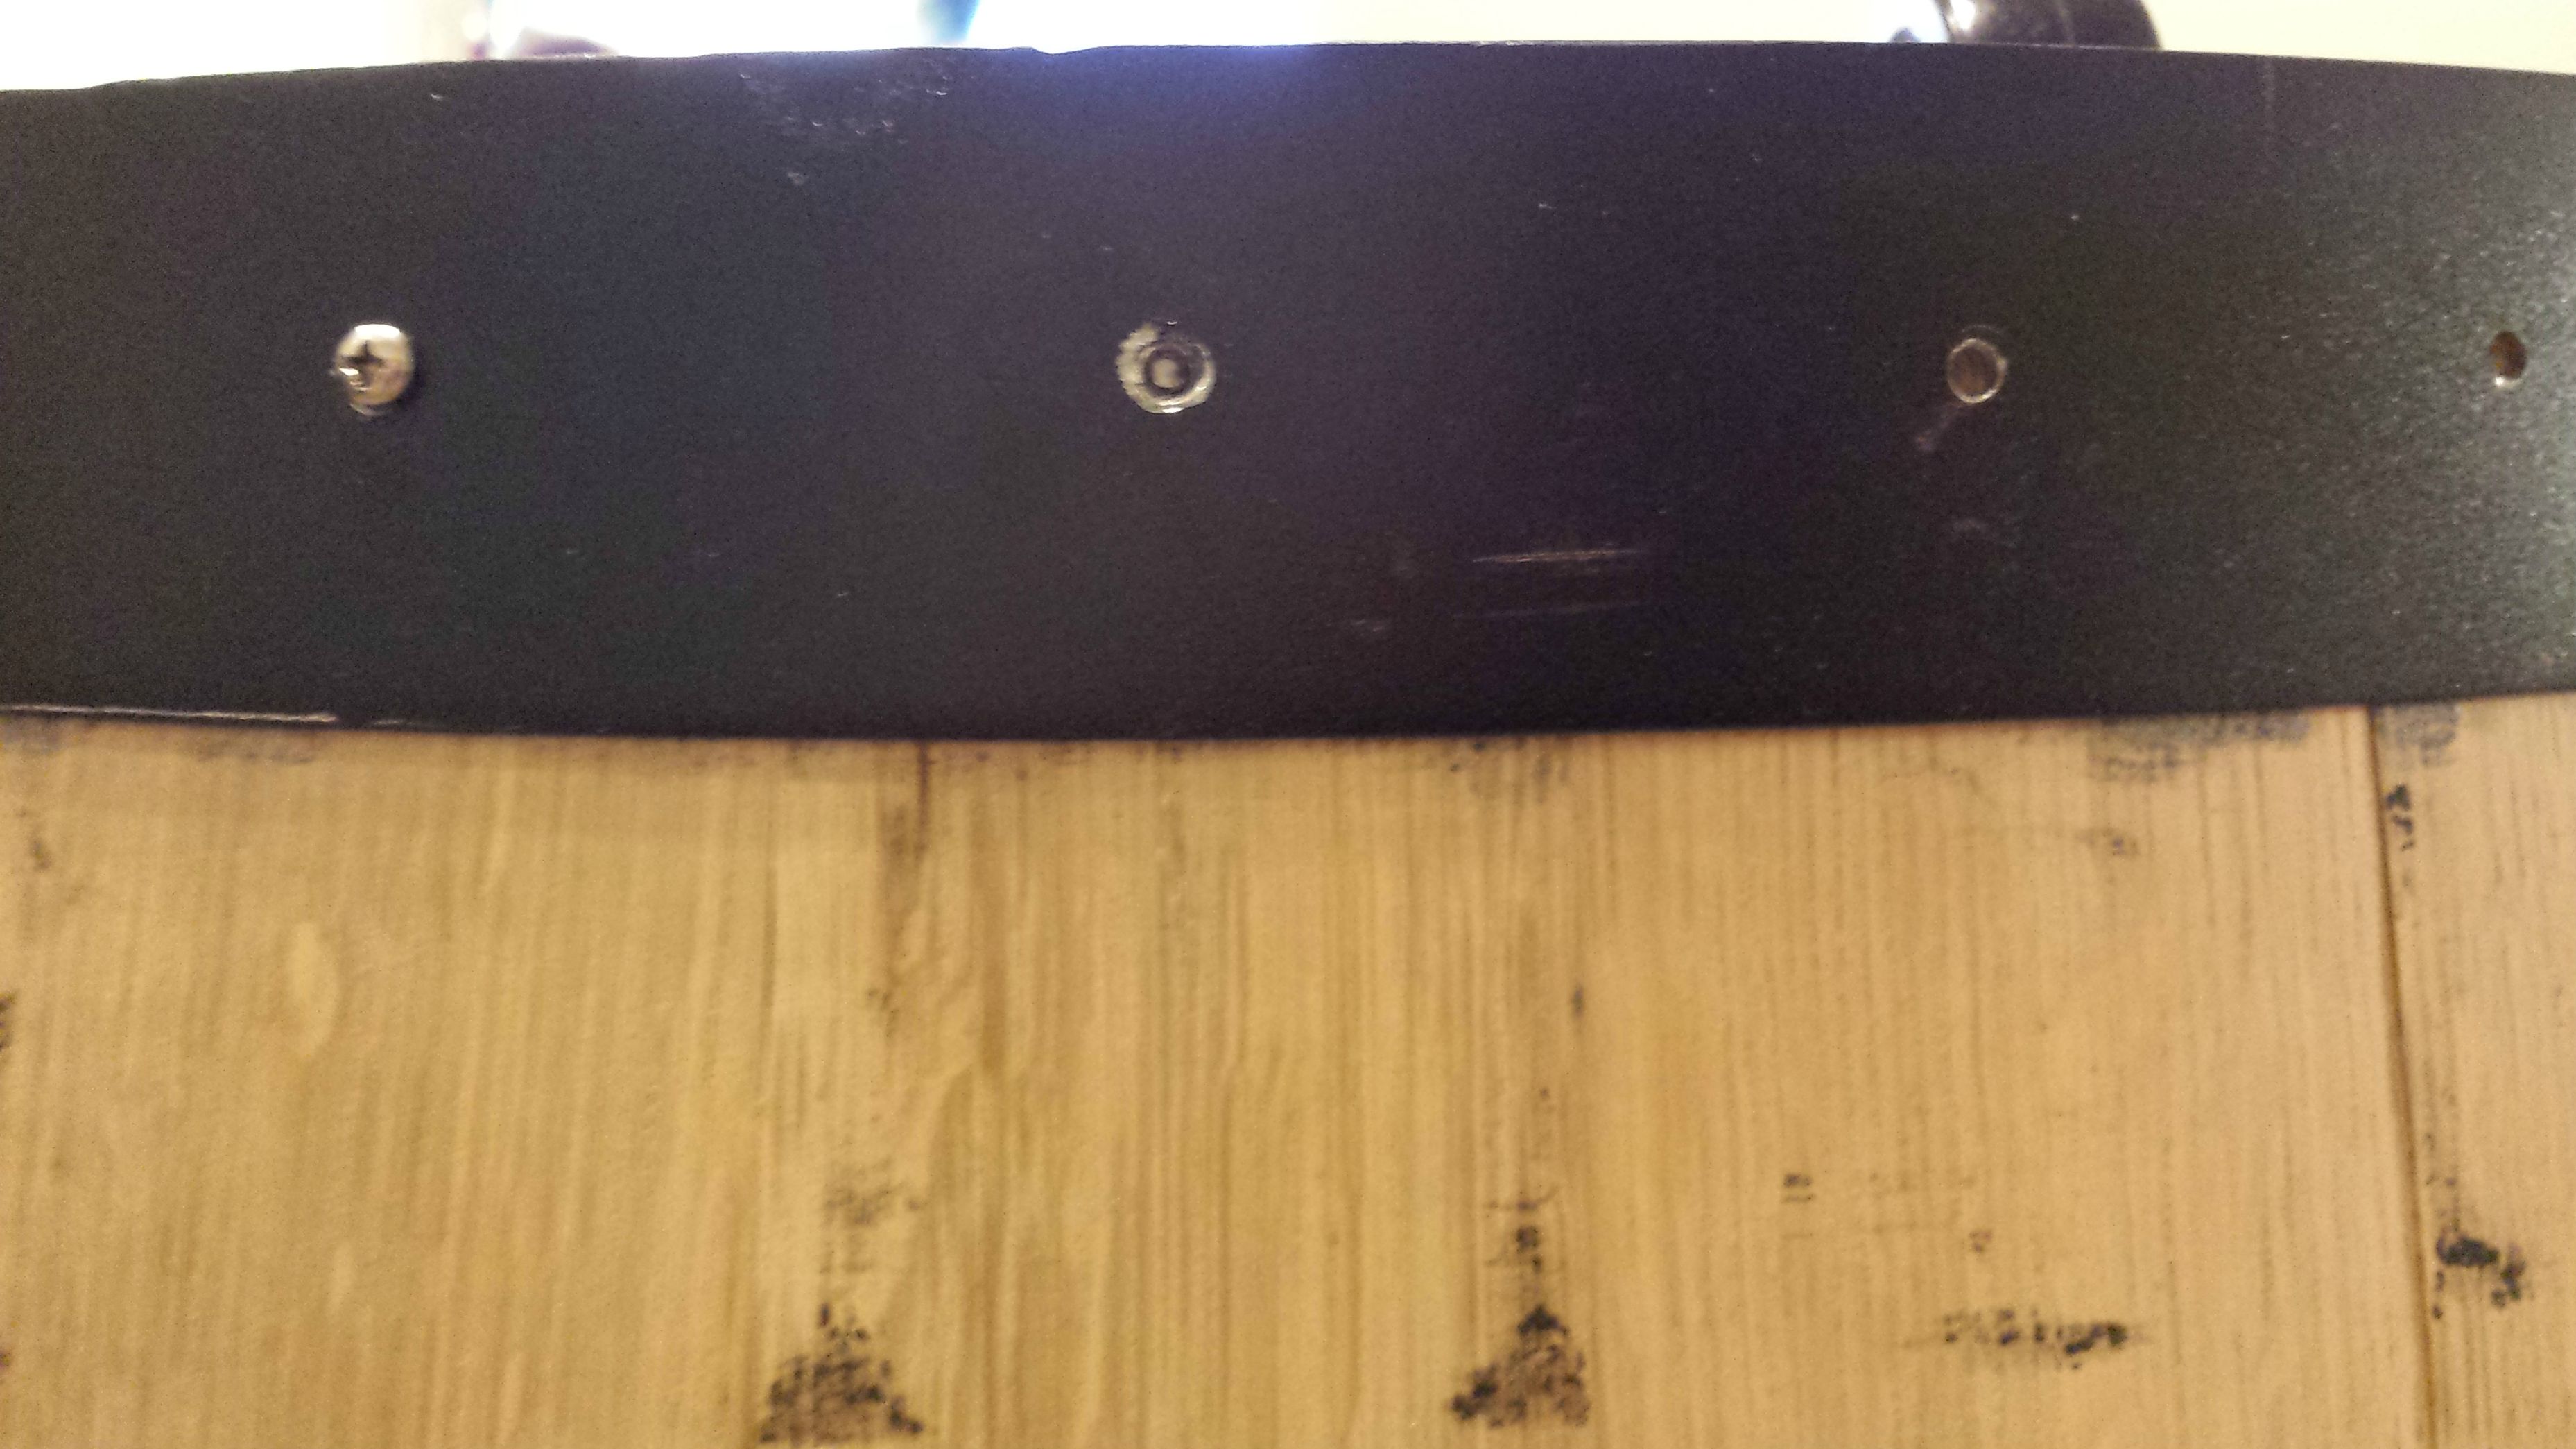
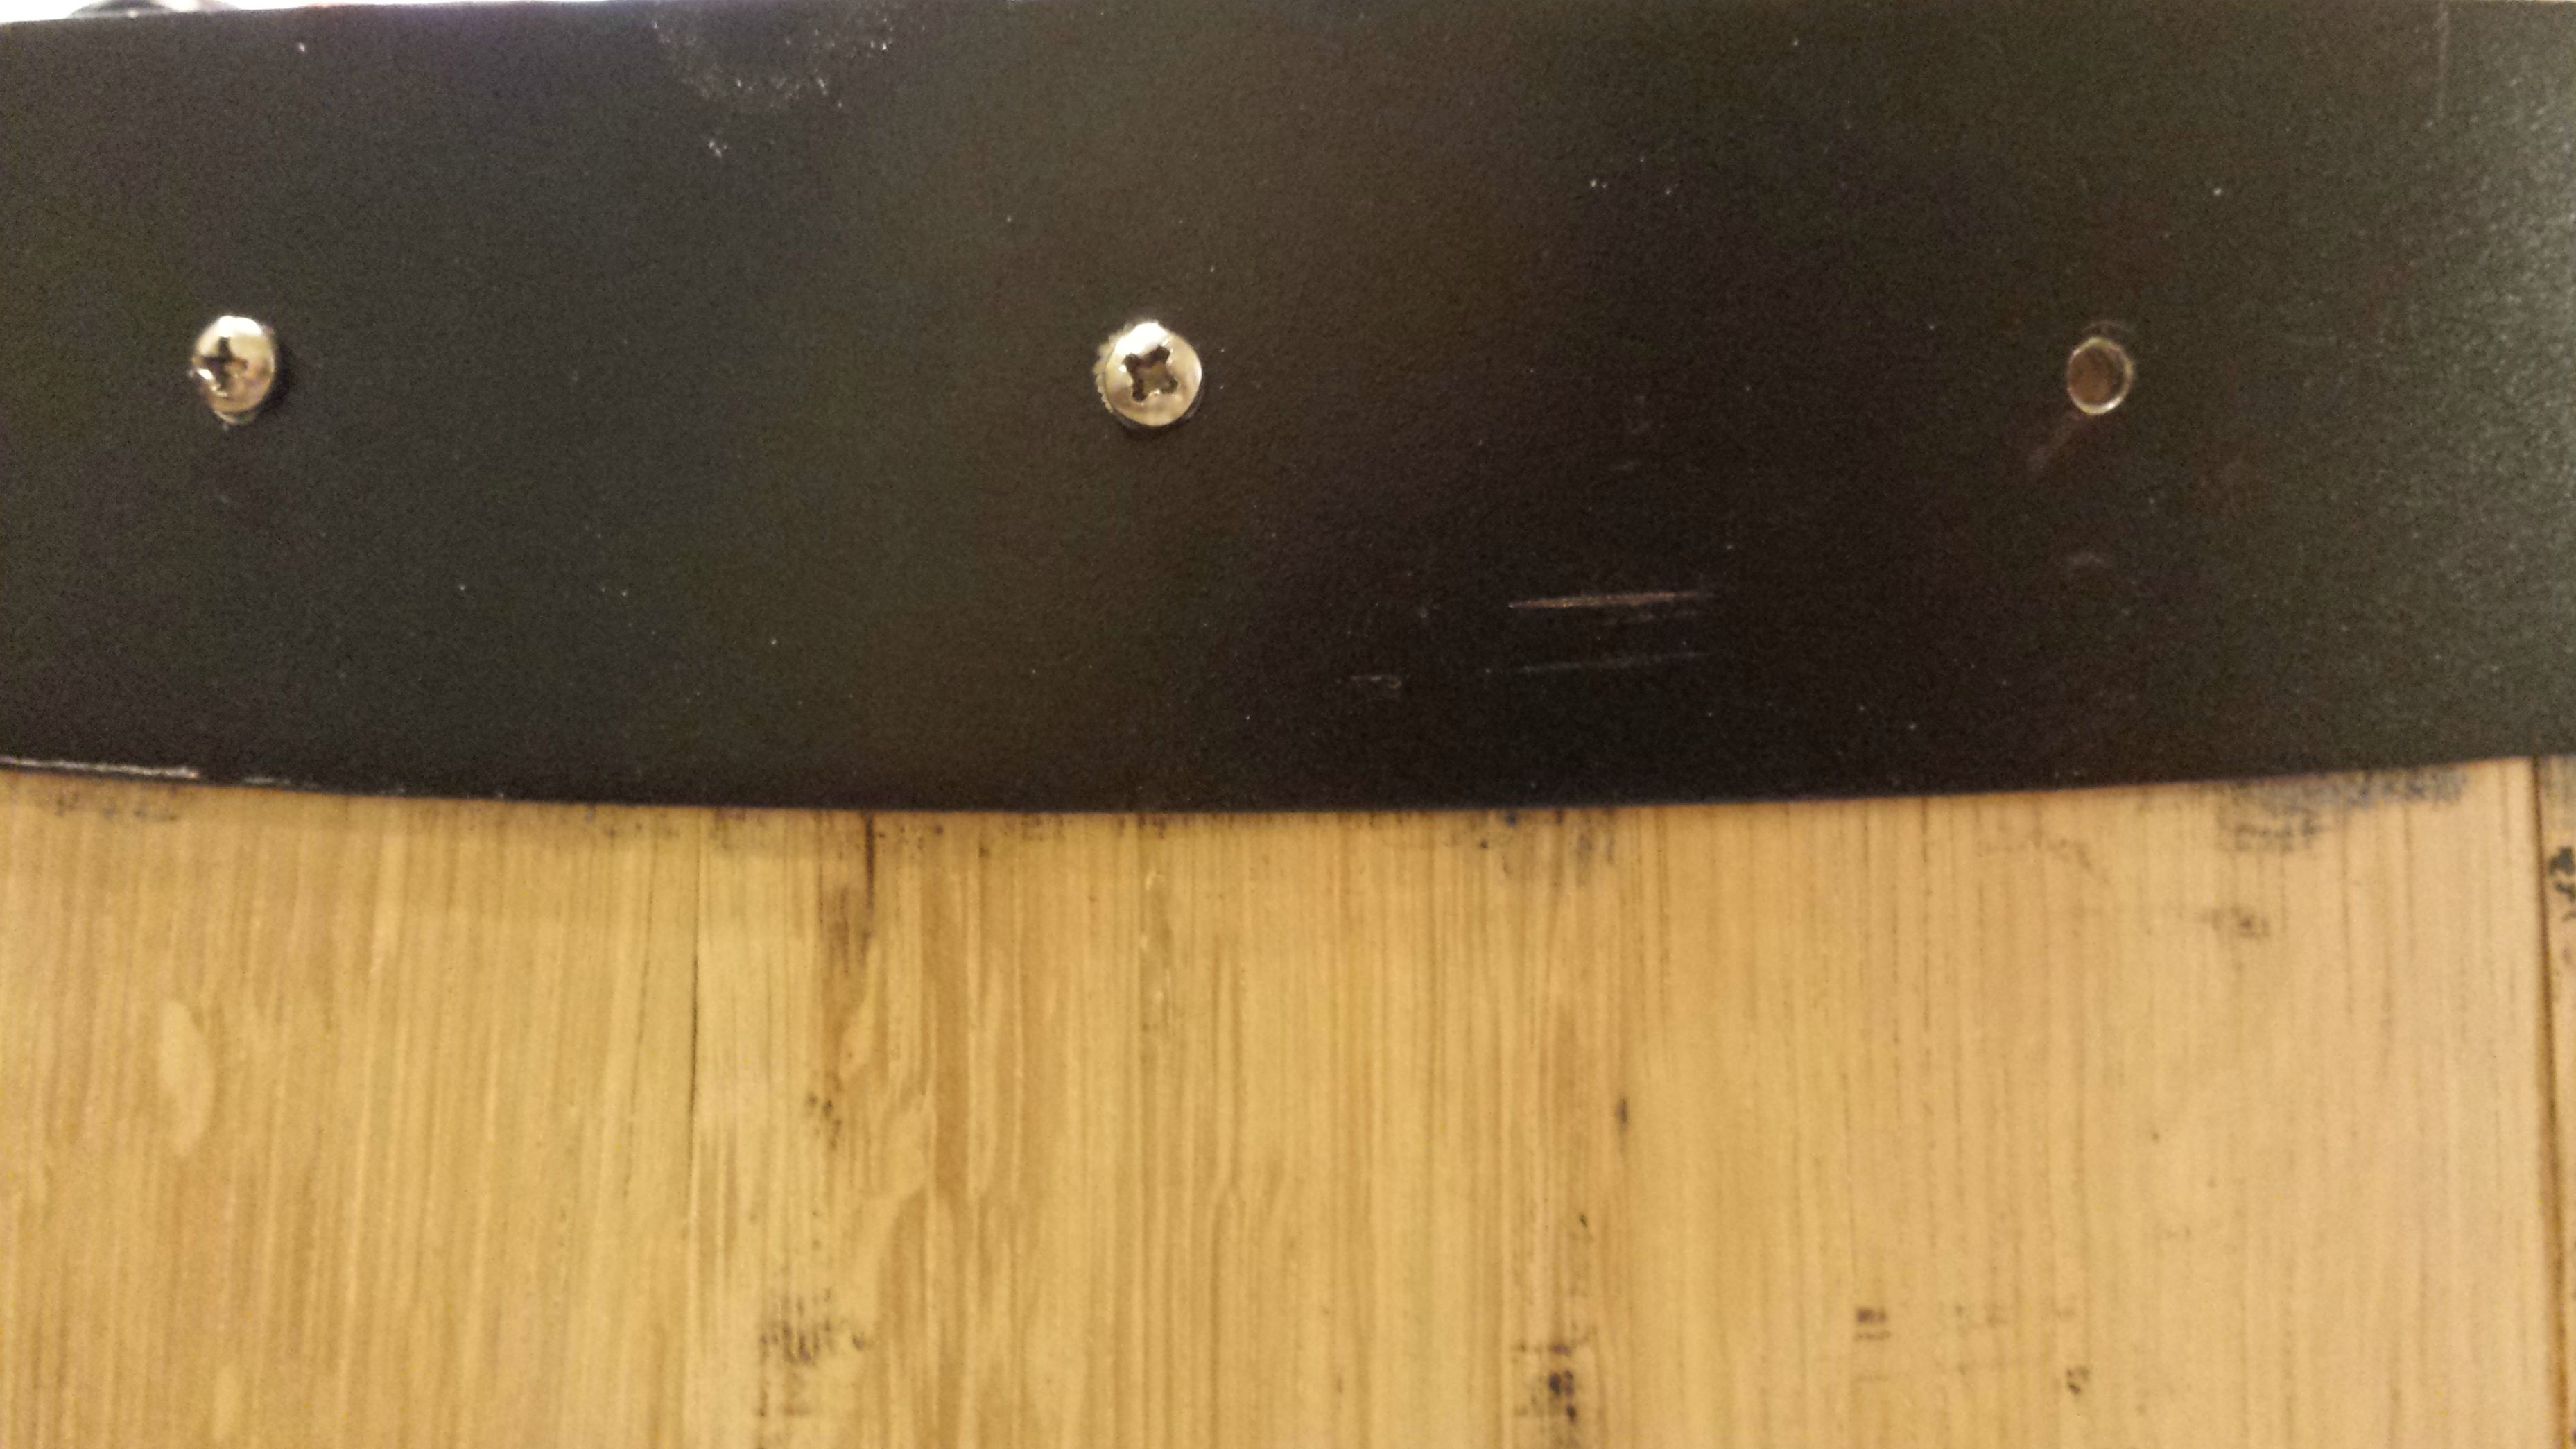
I then drilled (8 rings)*(32 staves) = (256 holes) in the metal rings for screws to hold it together. When not filled with wine, the barrel staves will begin to shrink and the barrel could fall apart otherwise. I drilled by eye trying to pick the location in the middle of the ring and stave. The screw holes did not come out in an exact grid pattern and I think it adds a nice rustic look.
I had drilled the holes to the same diameter as the screws which I found out was a bad idea because the screws would bind and break if not driven exactly perpendicular to the hole. Later on, I had to re-drill the 256 holes a bit larger to prevent more broken screws. For the screws that broke, I either worked the broken pieces out or glued a screw head over the hole to make it look like an actual screw.
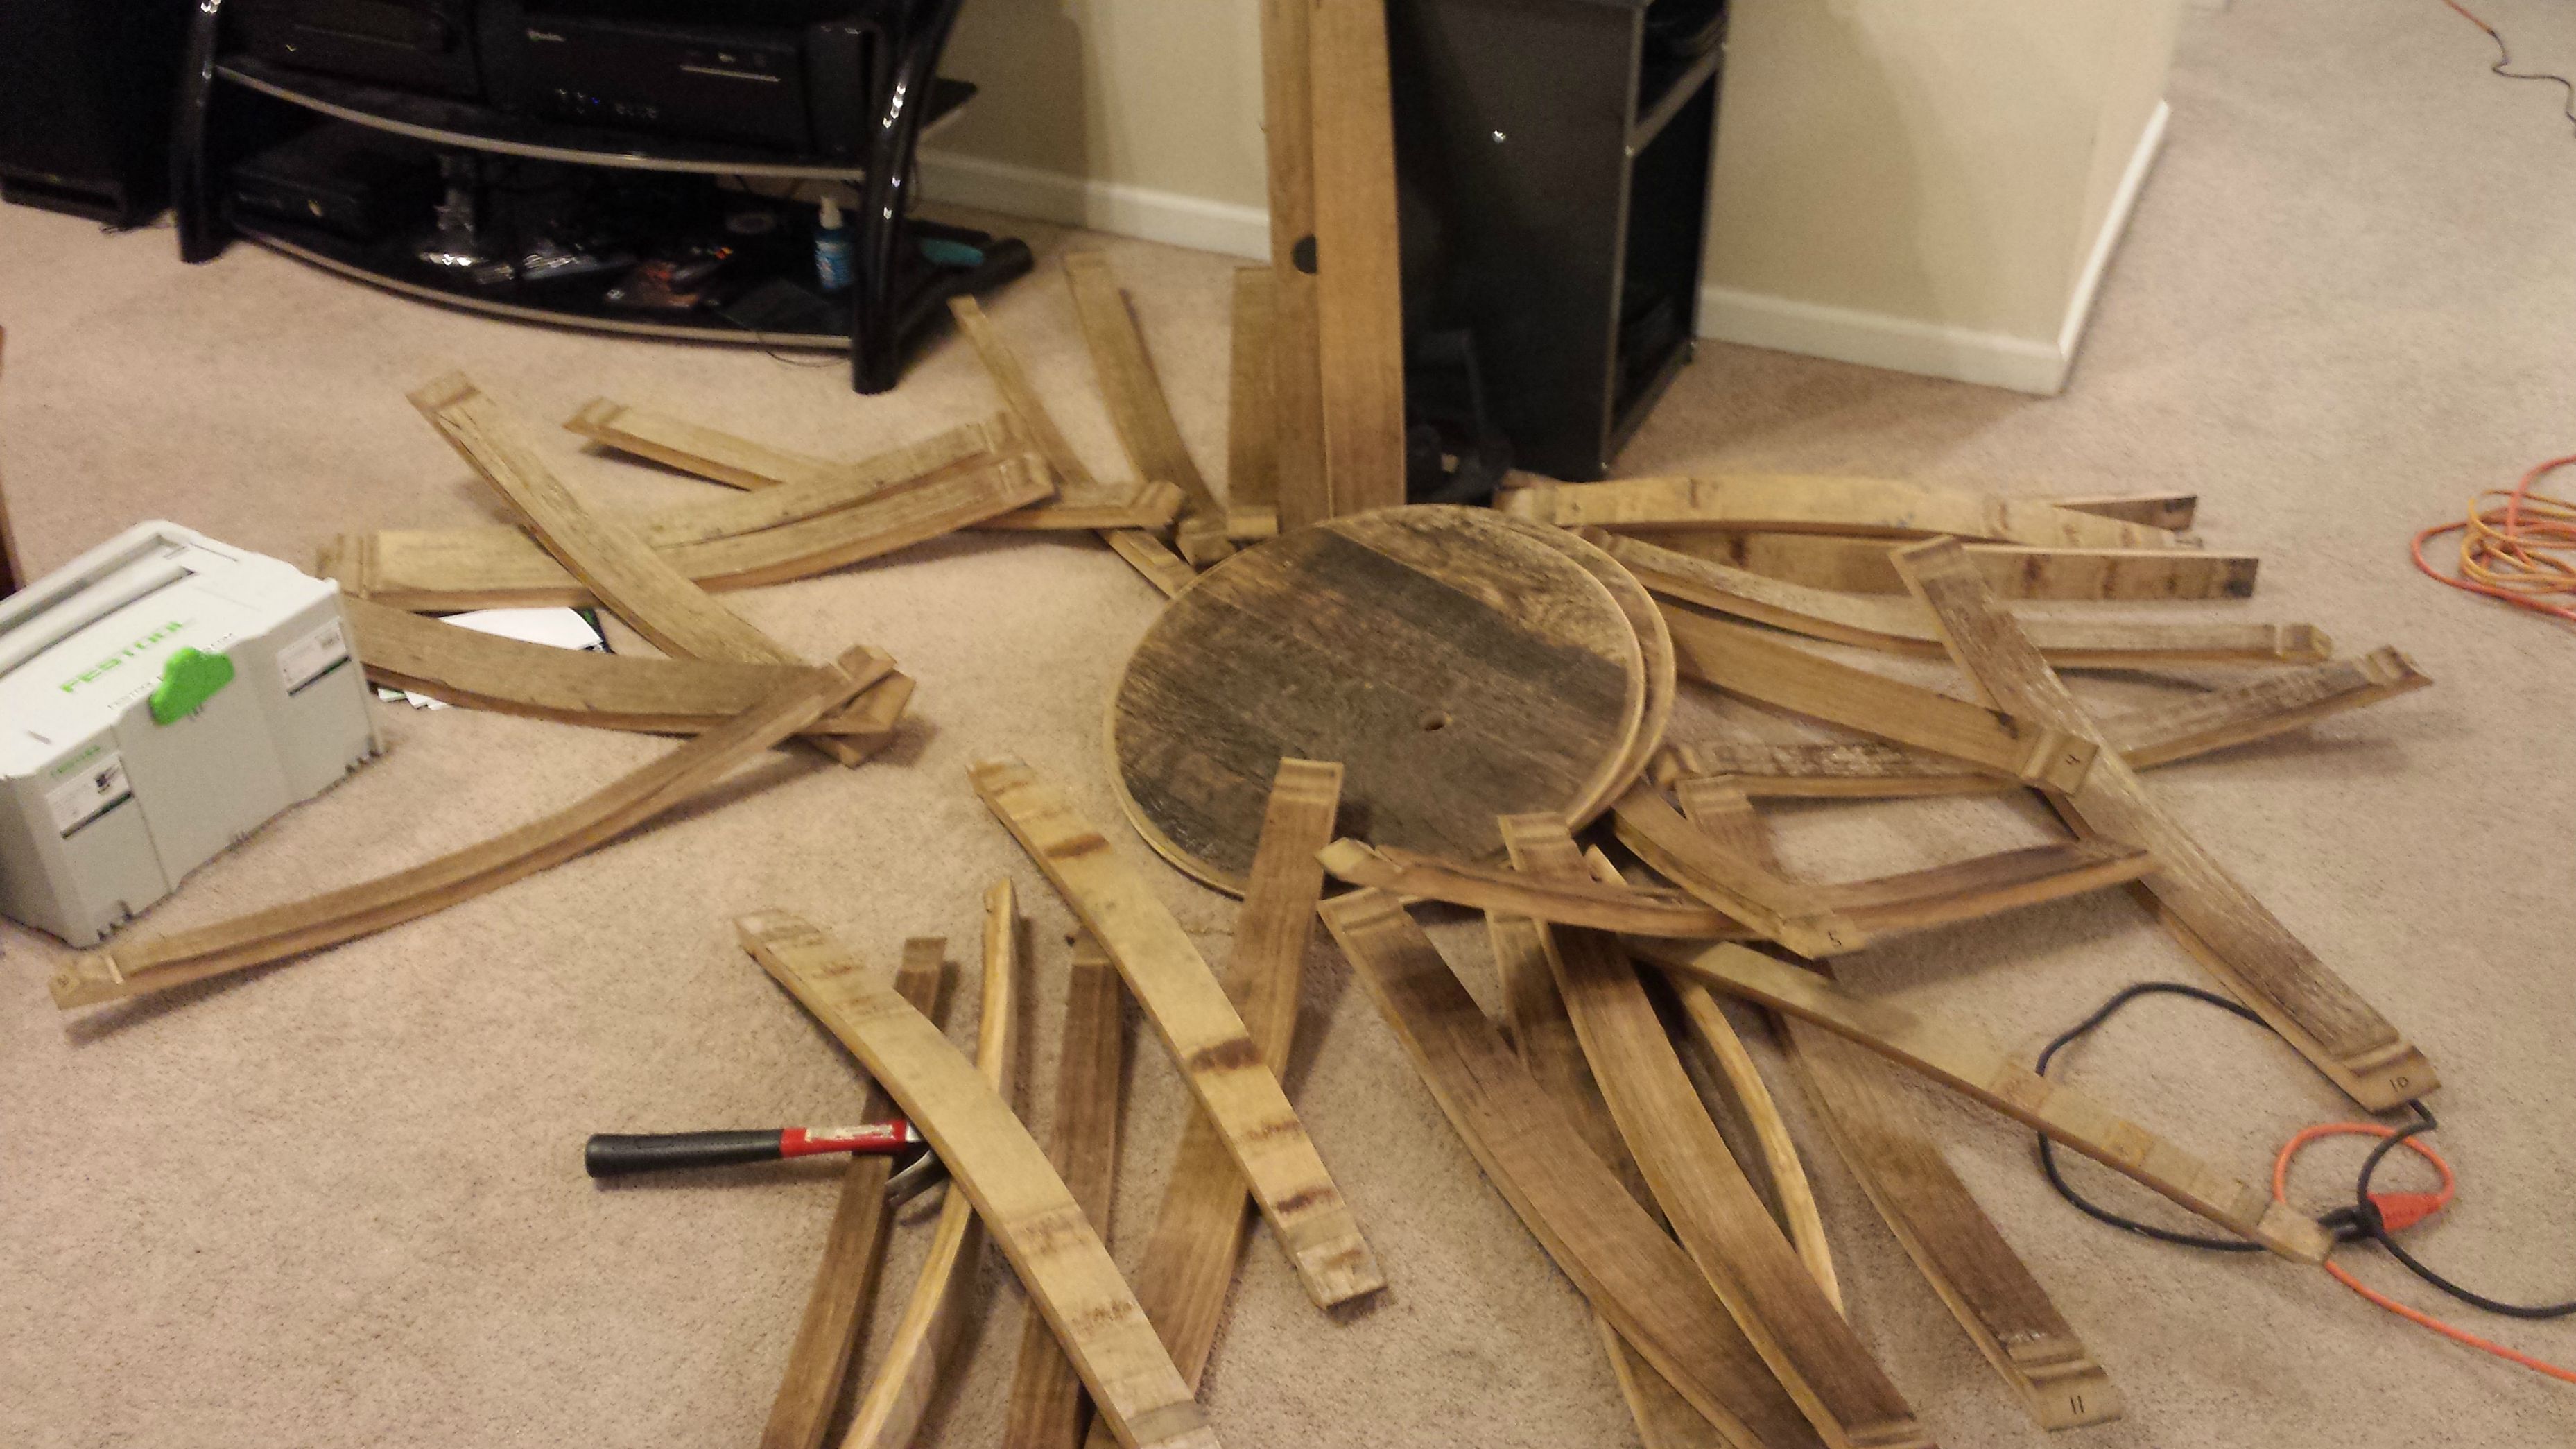
Taking the barrel apart.
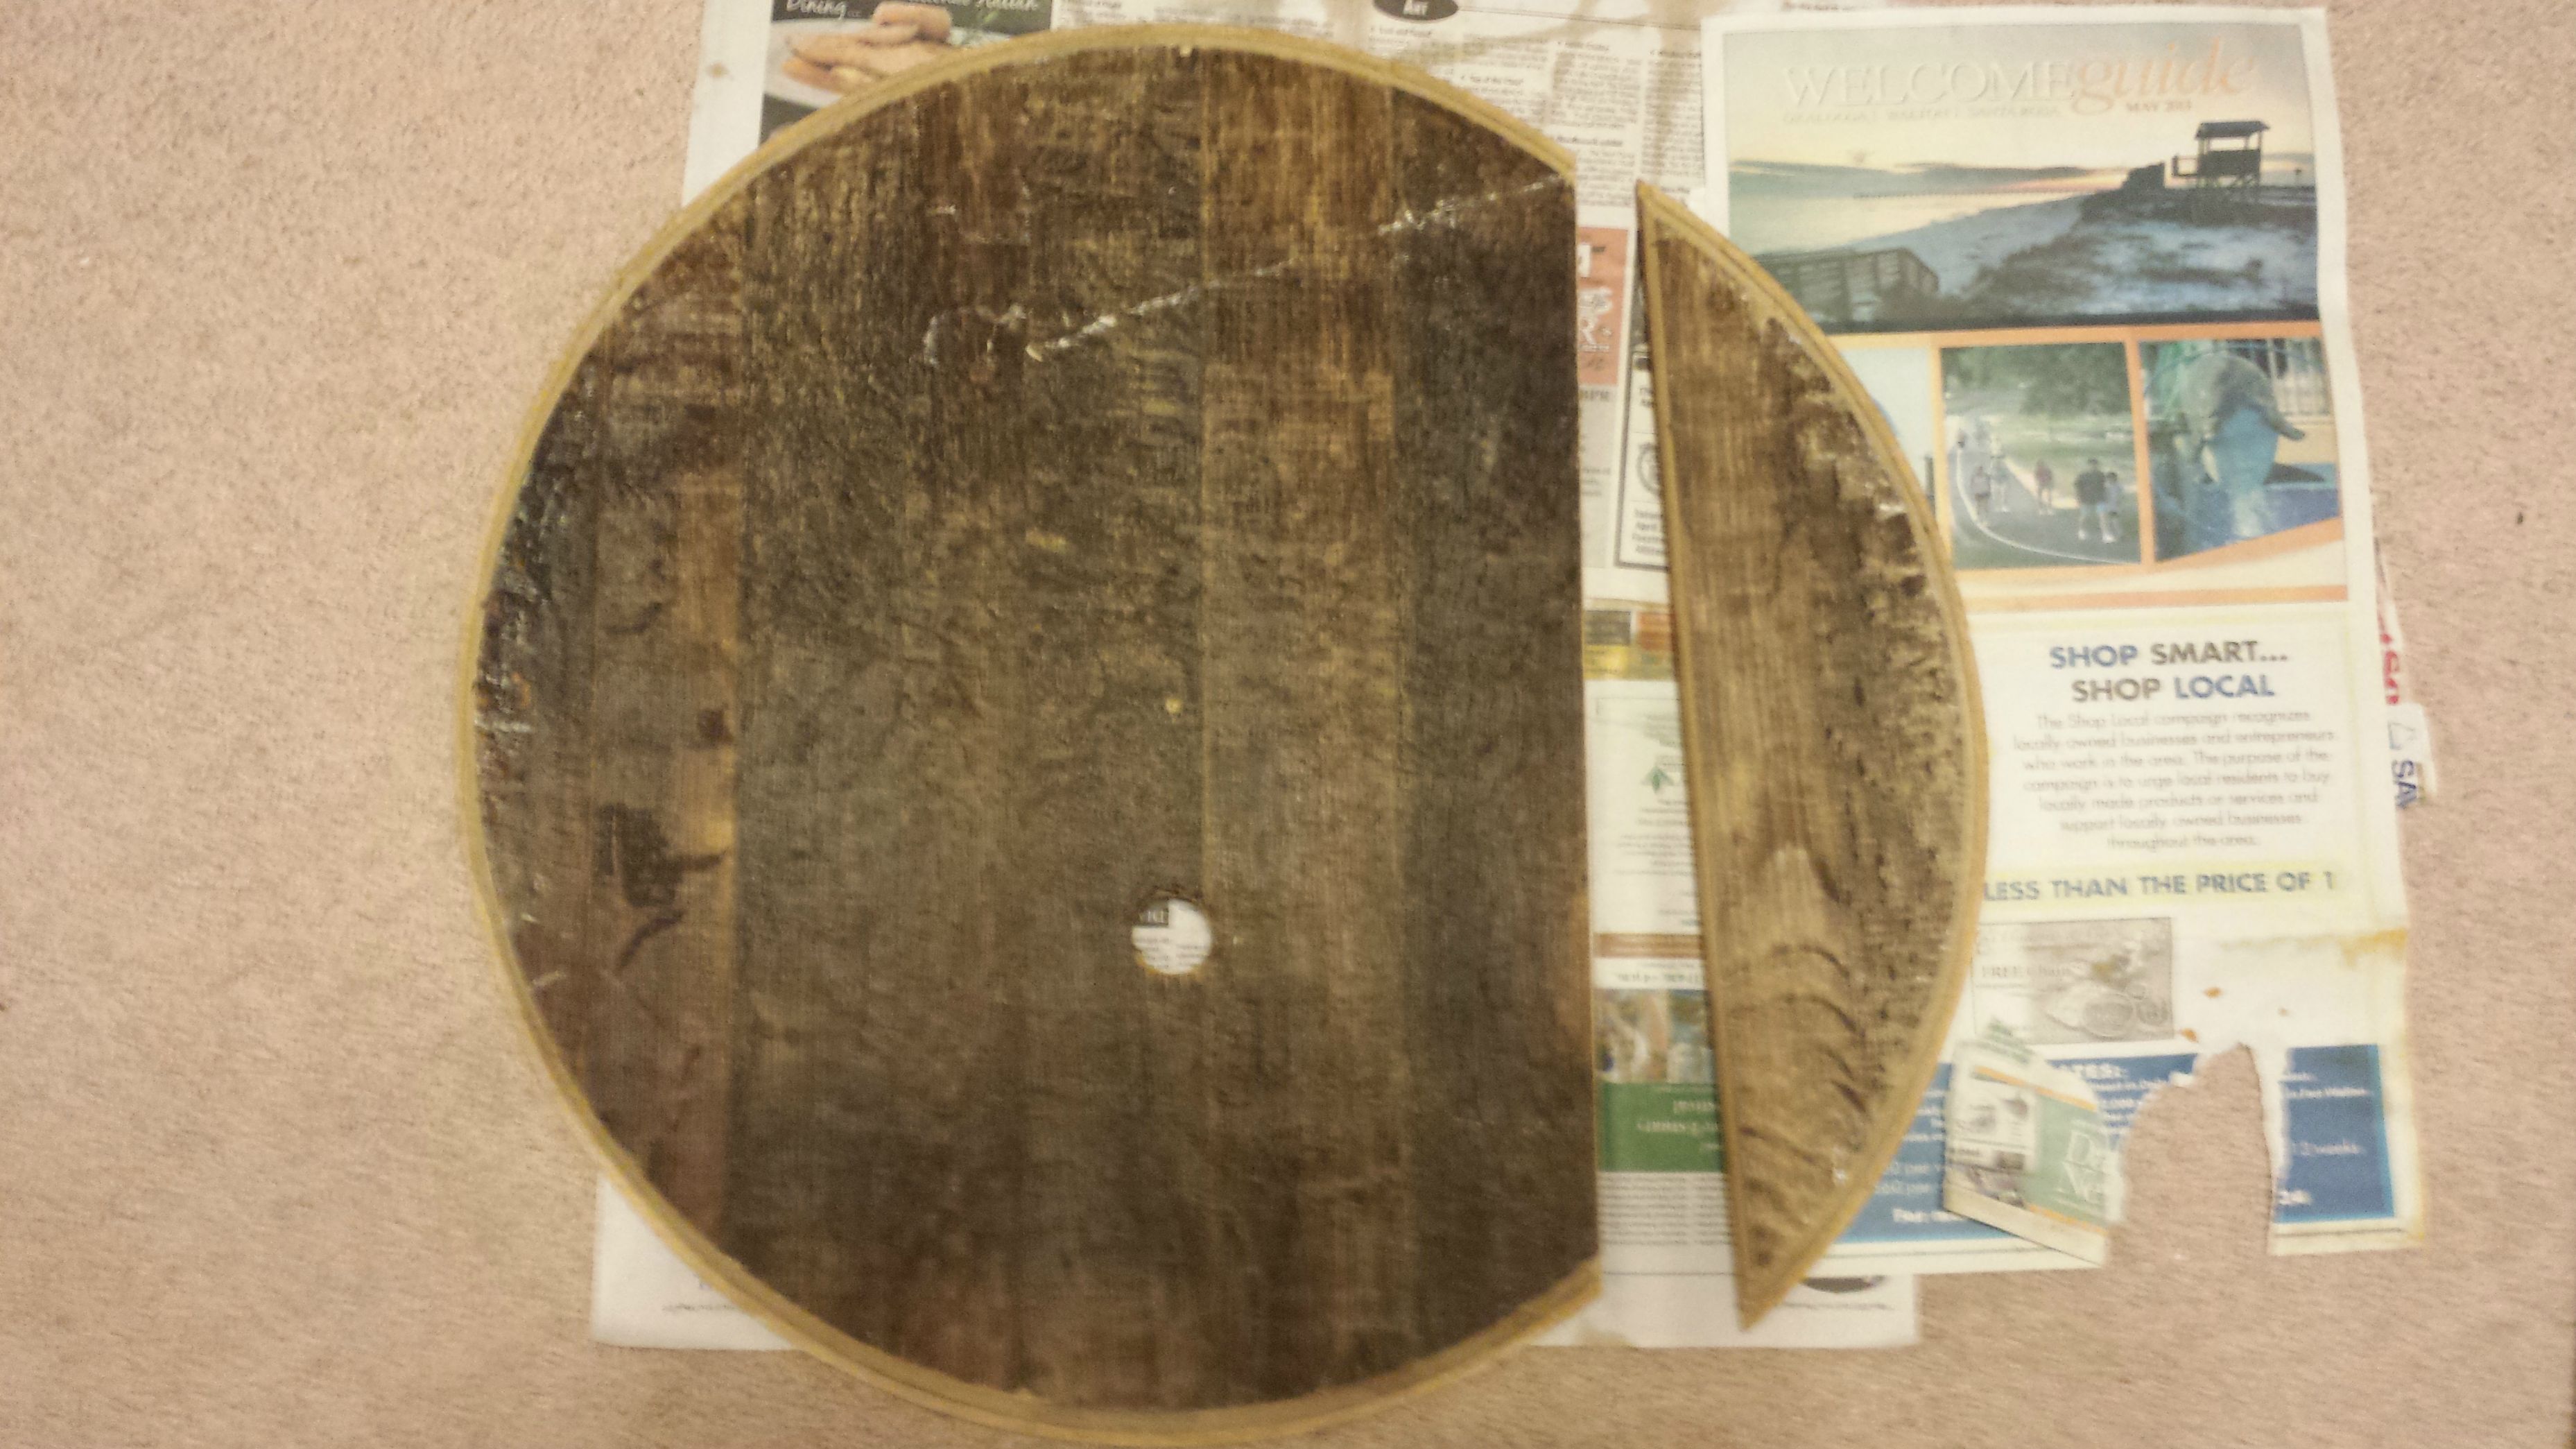
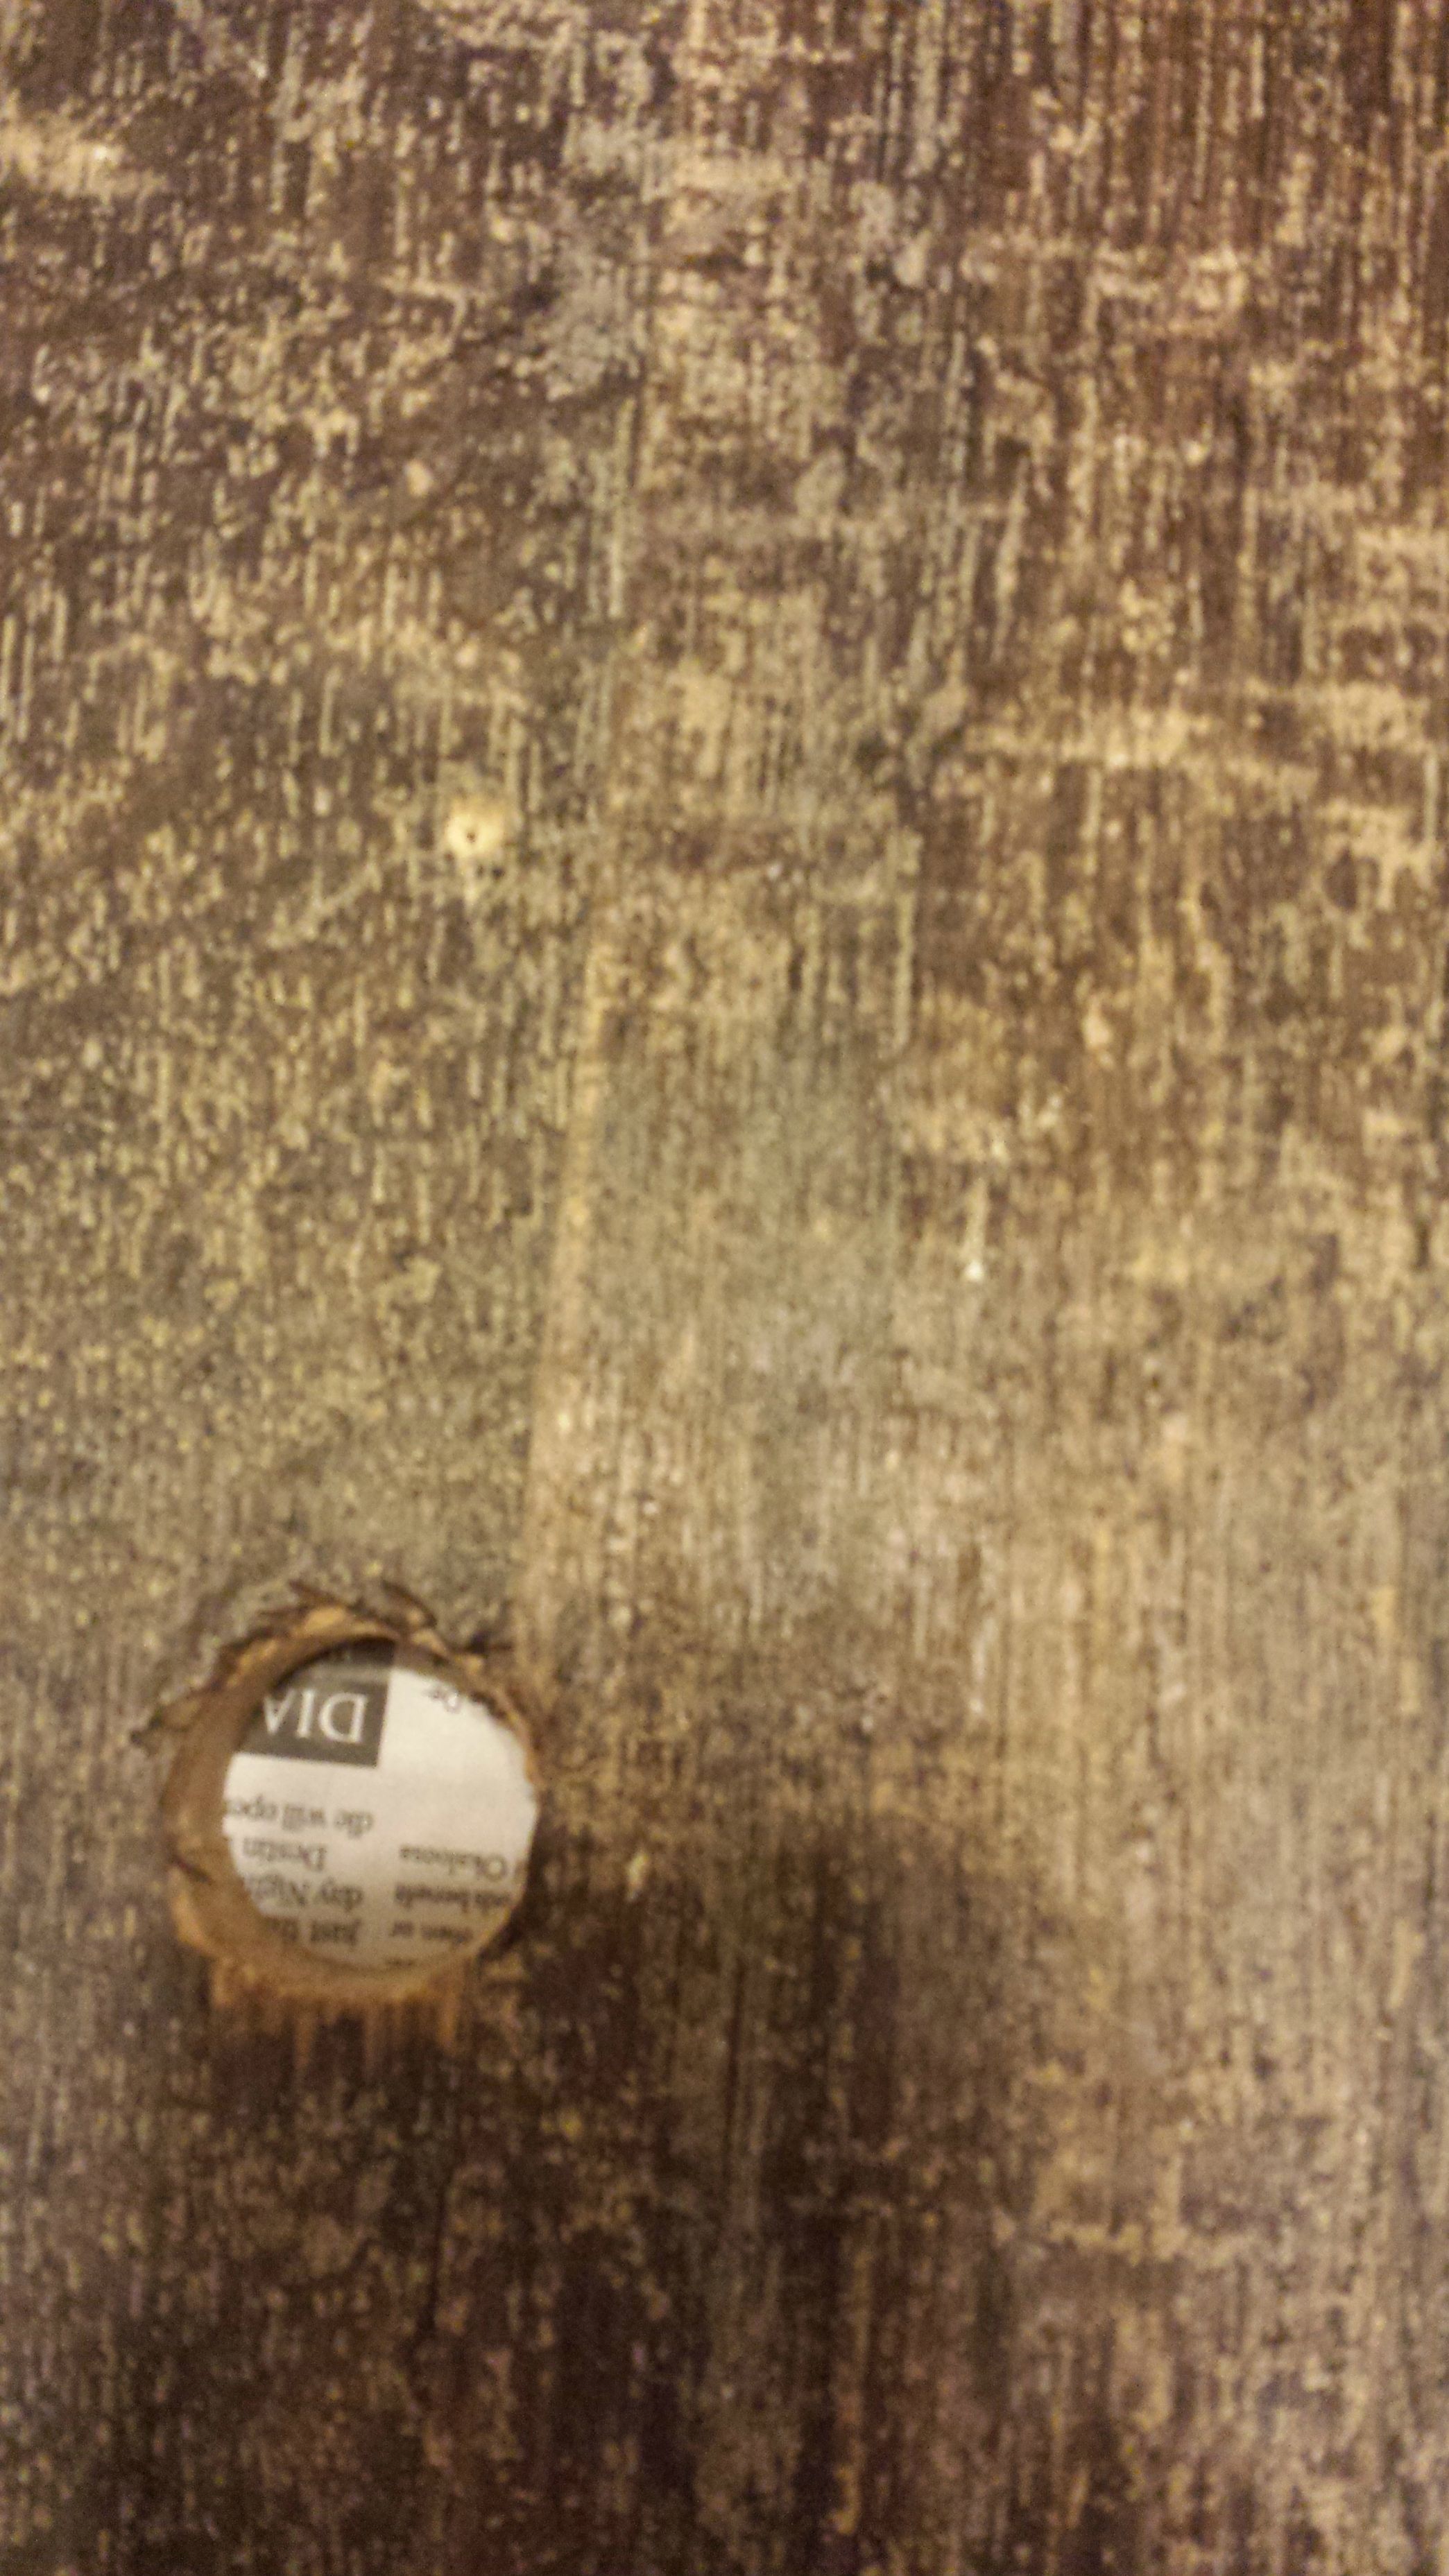
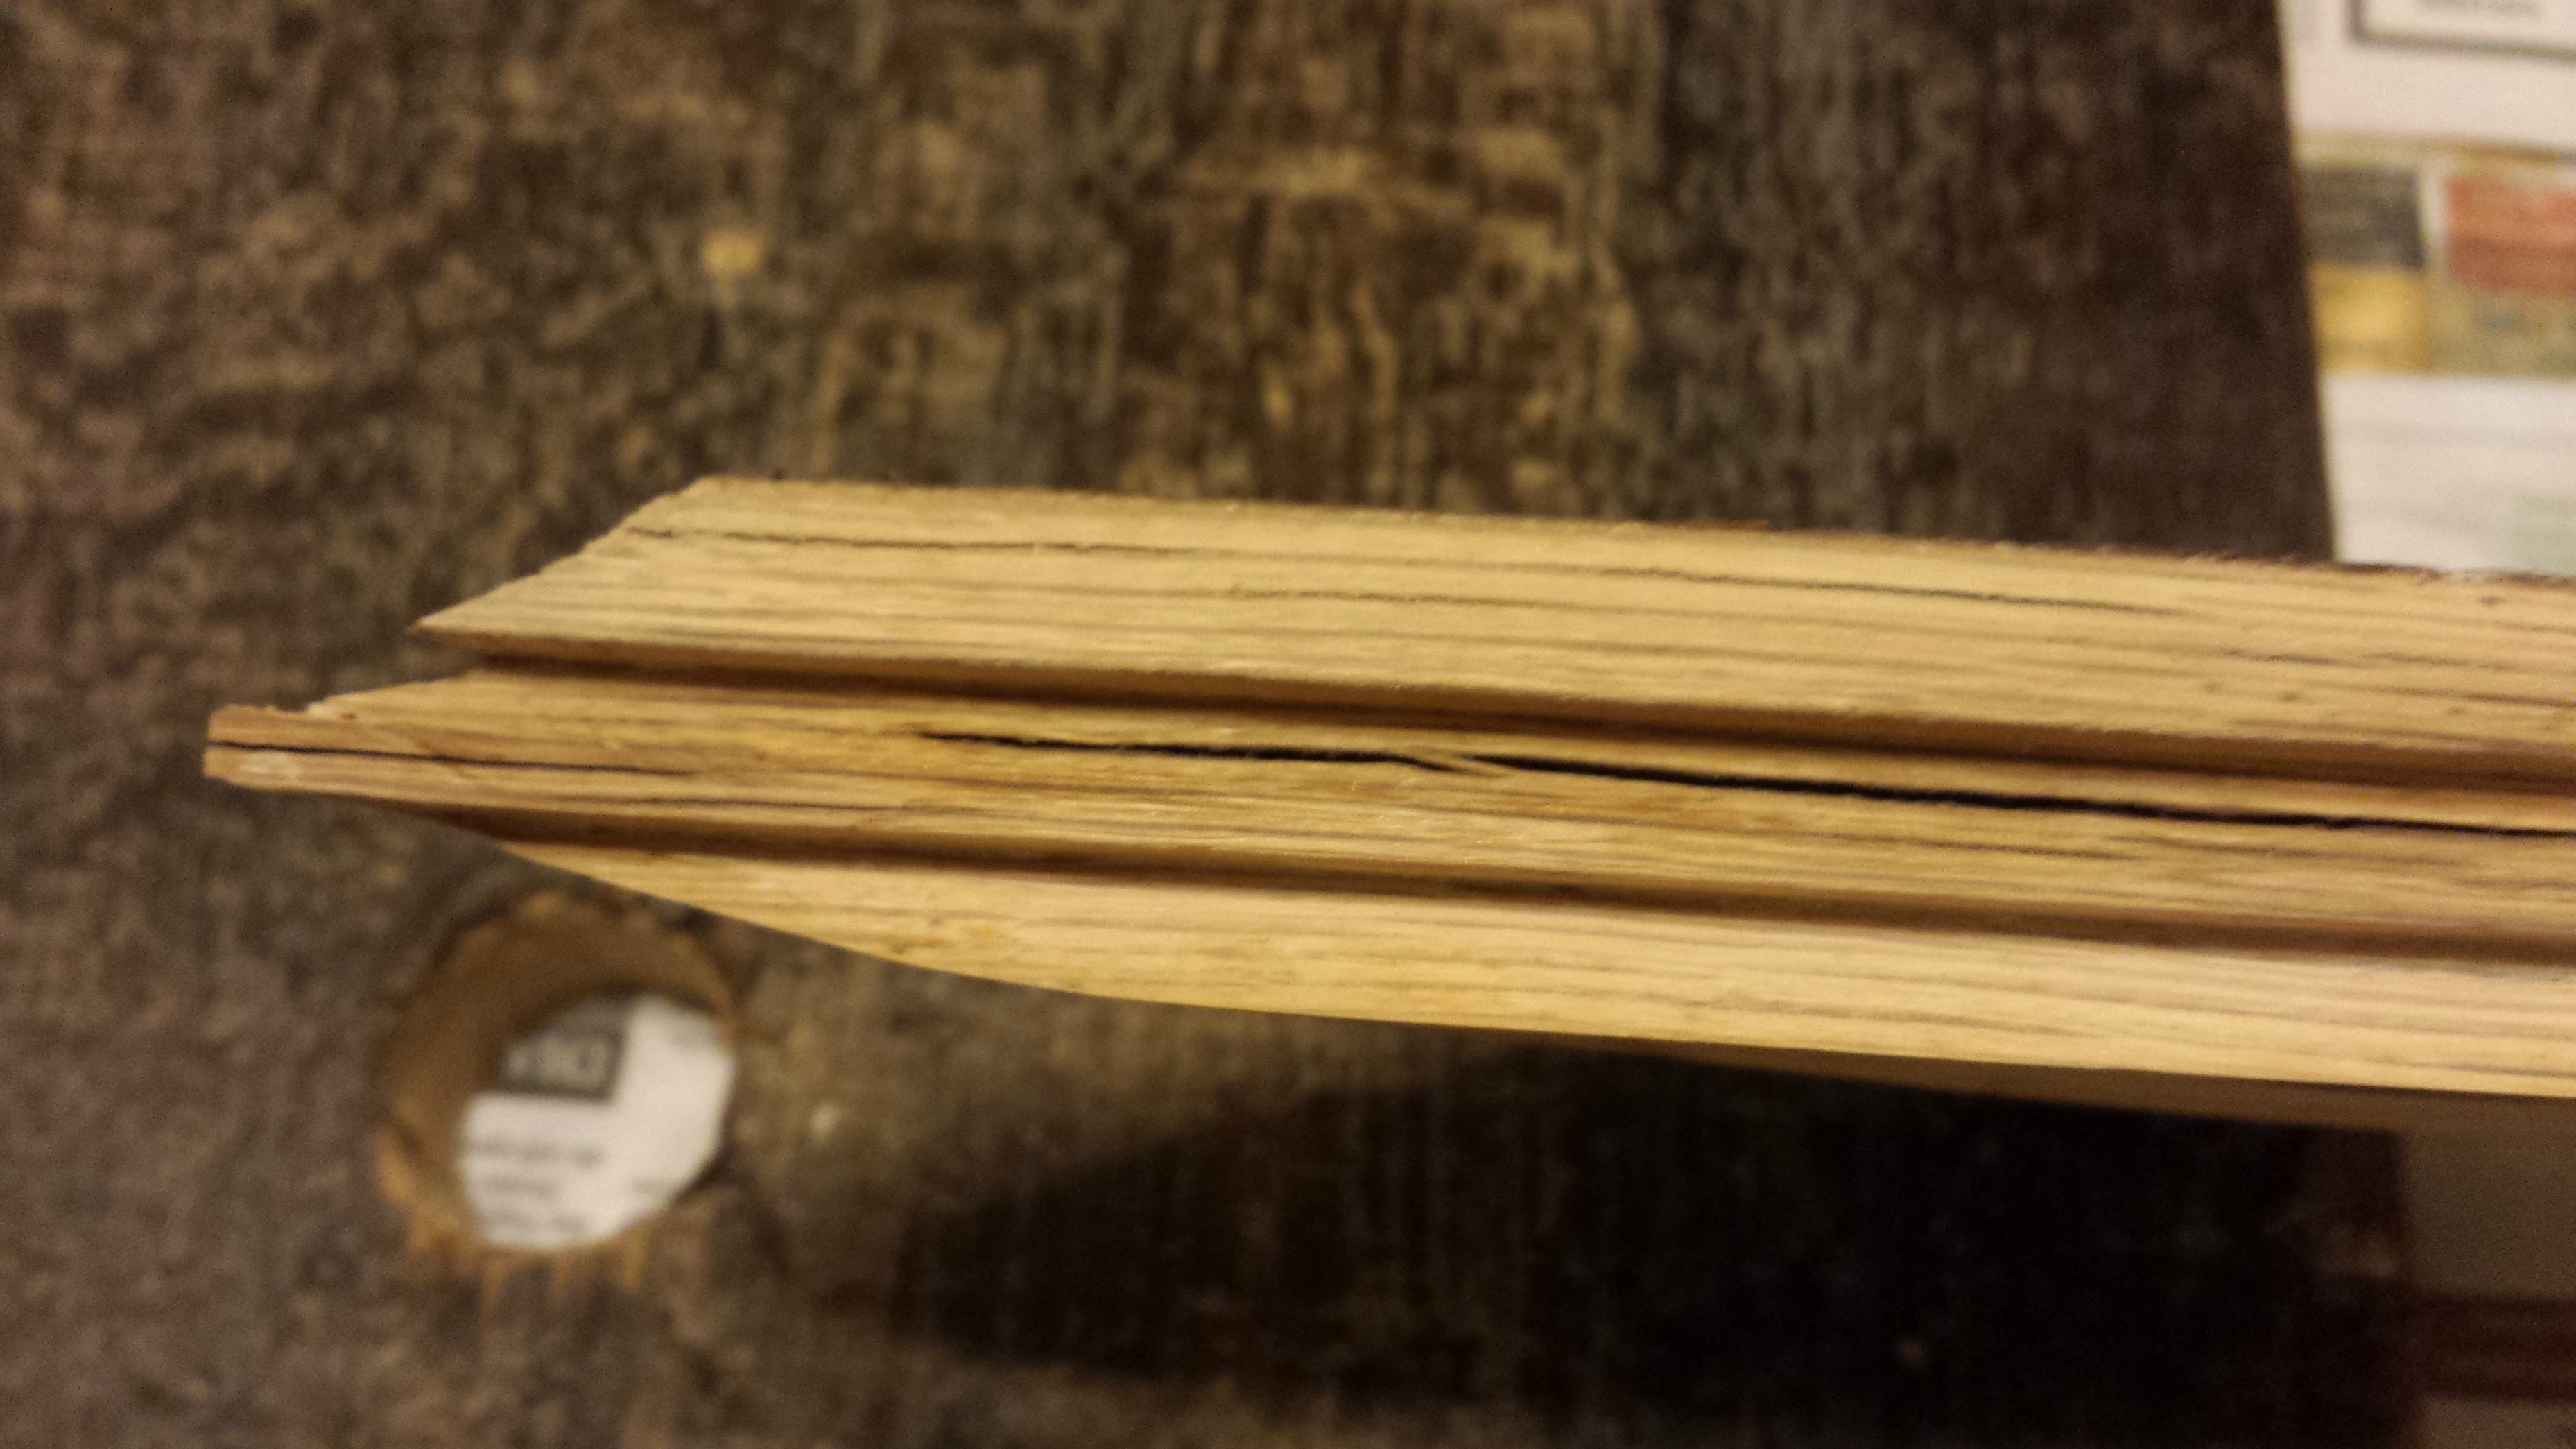
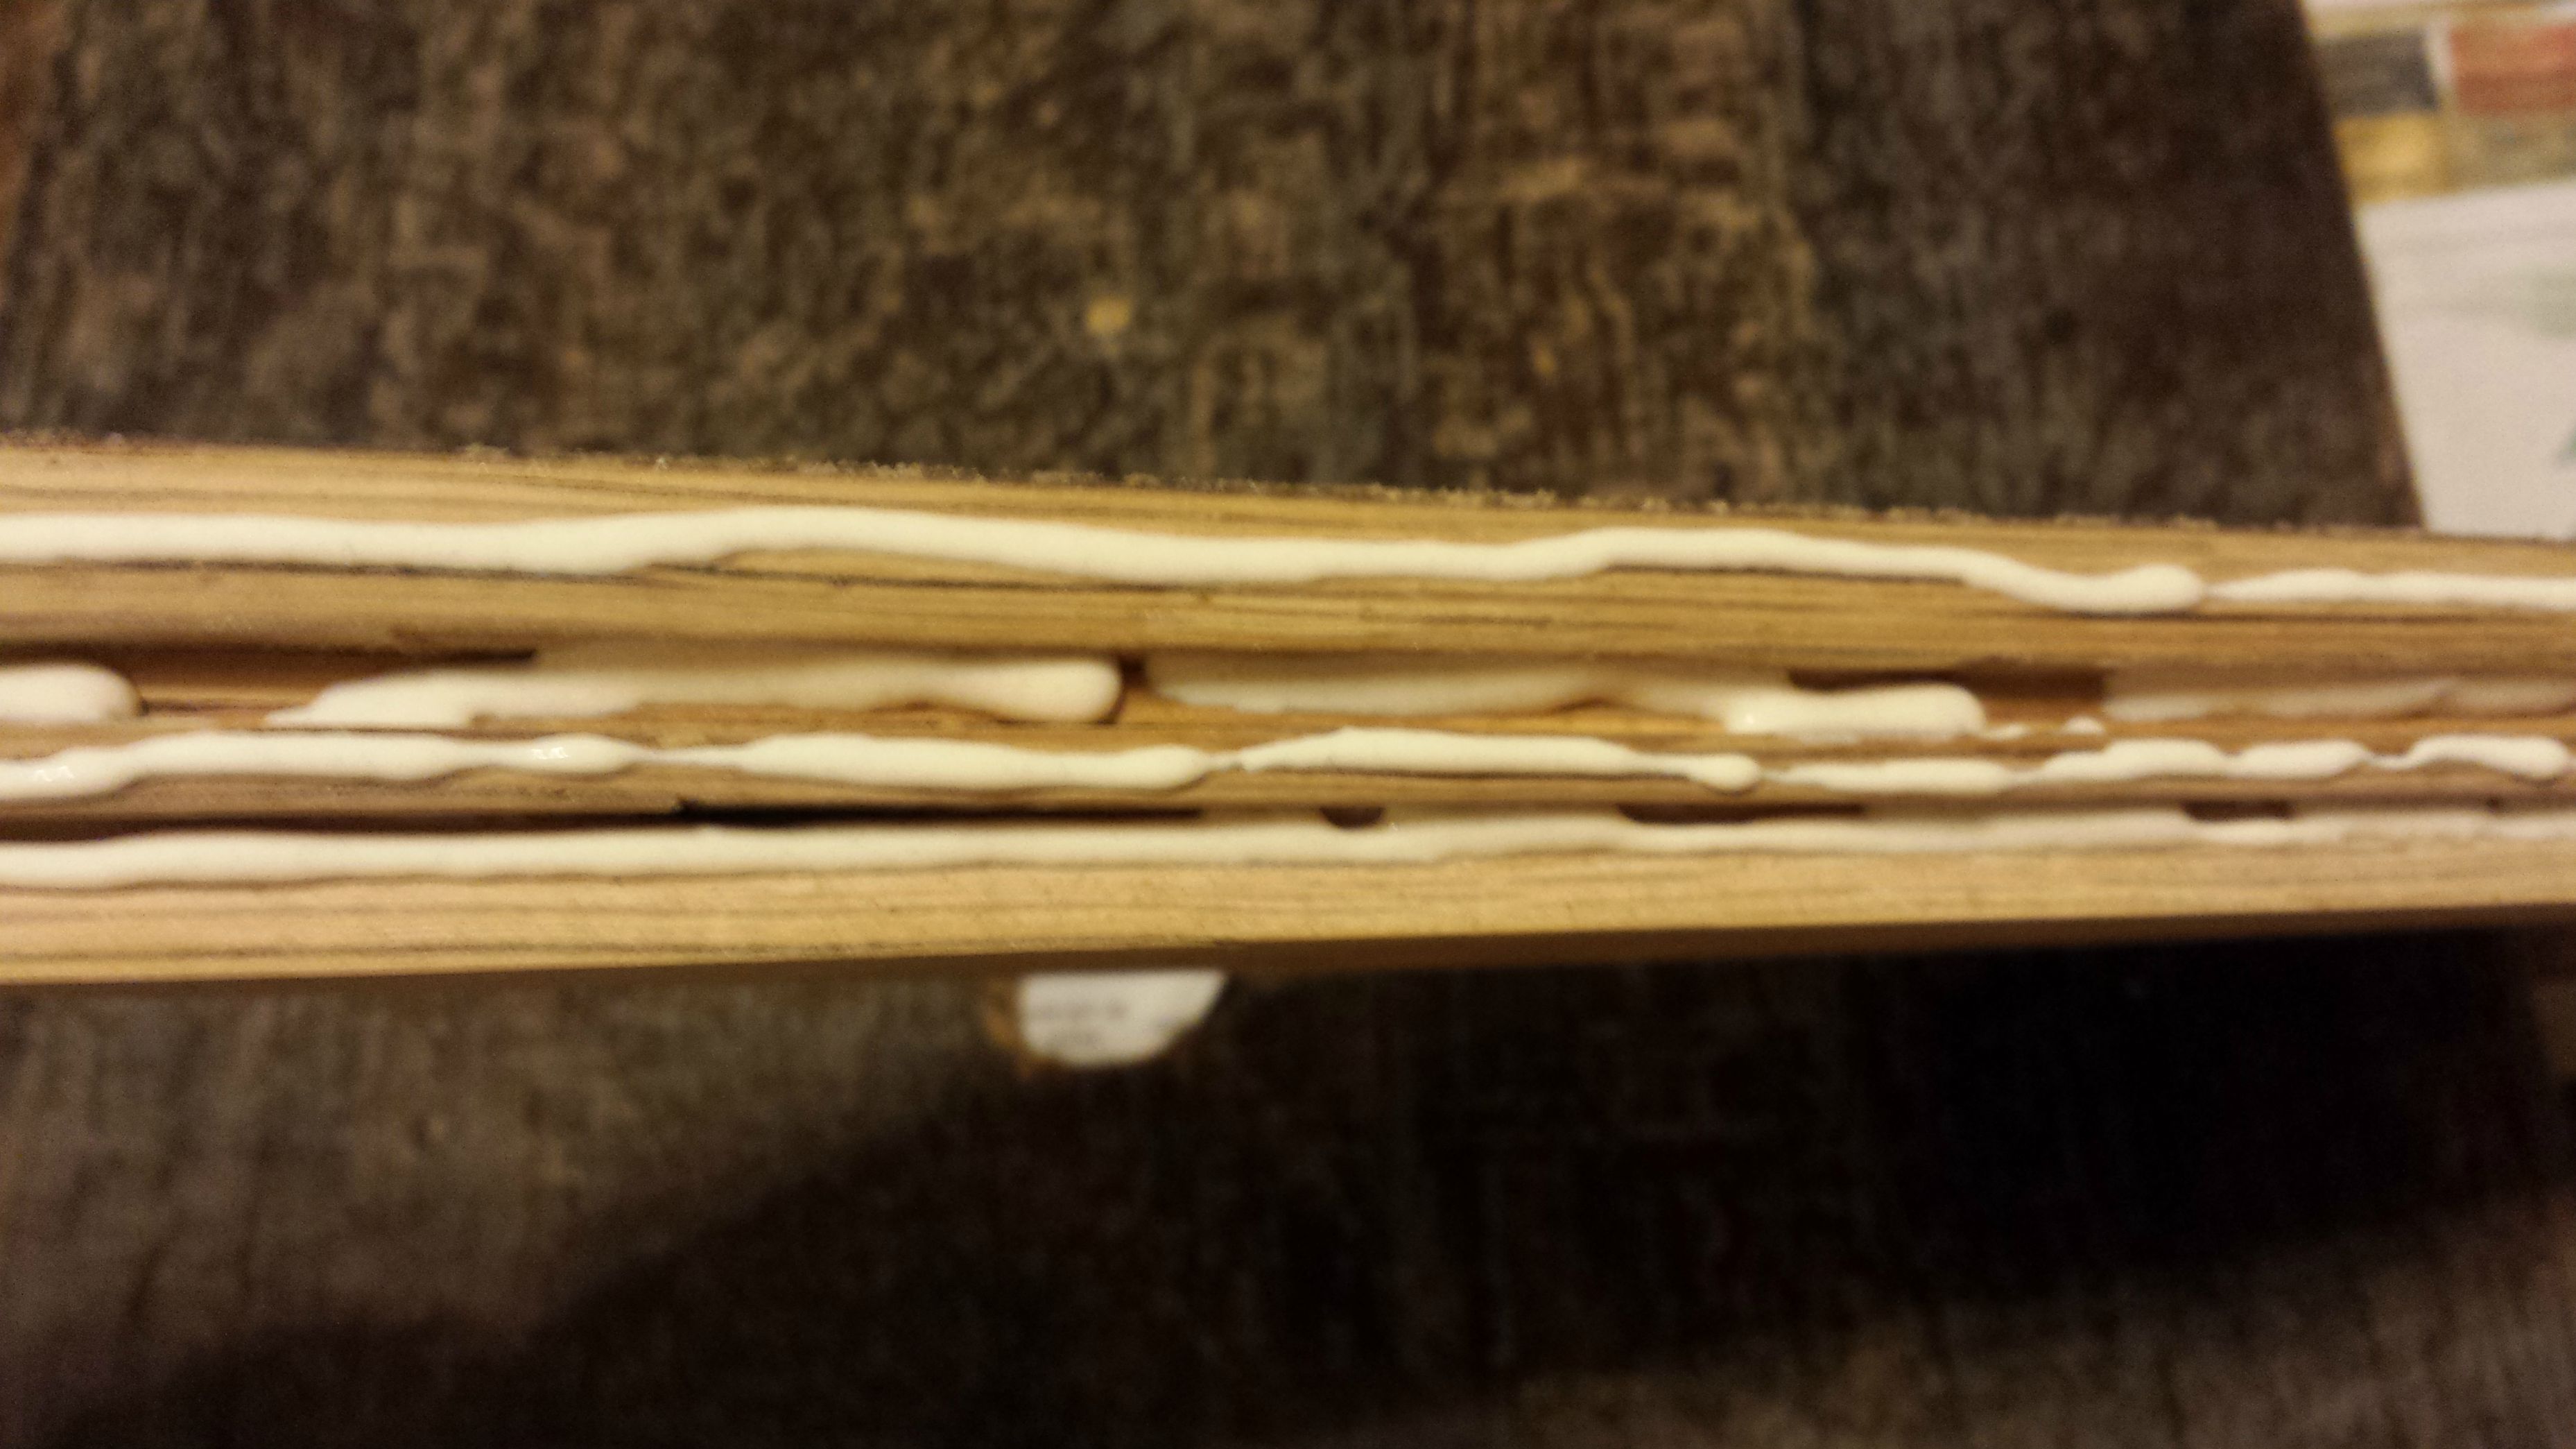
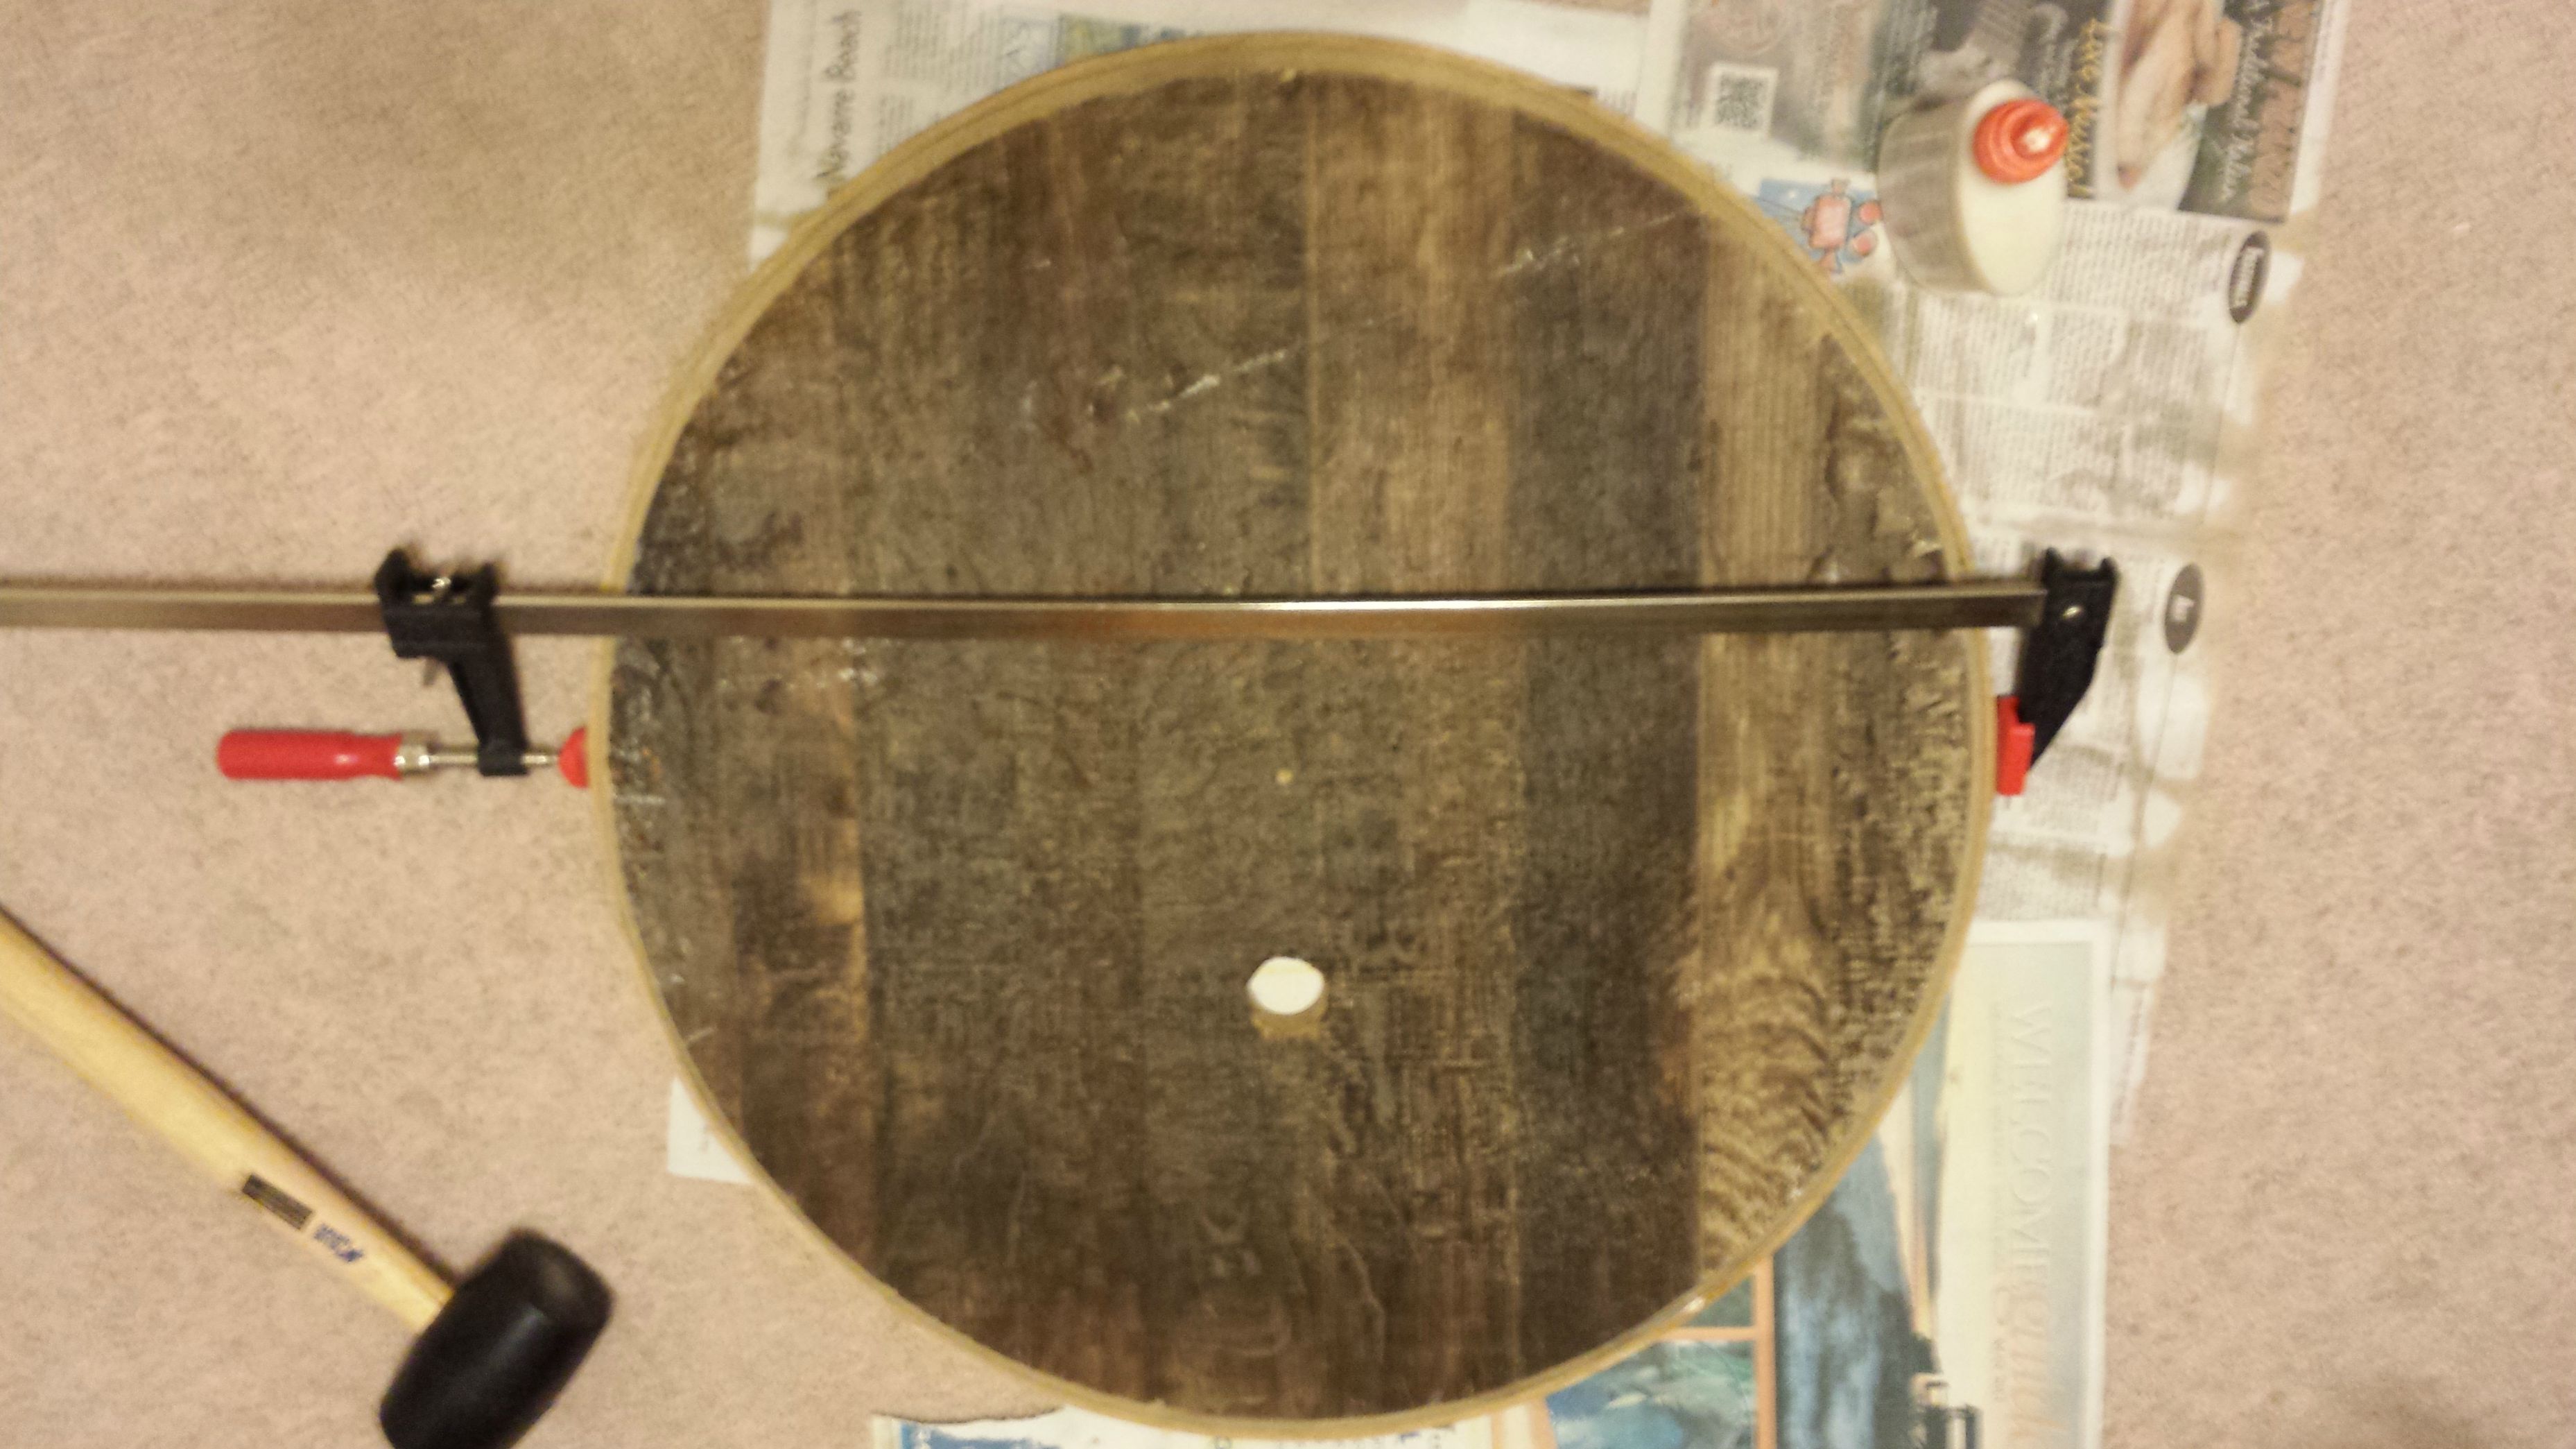
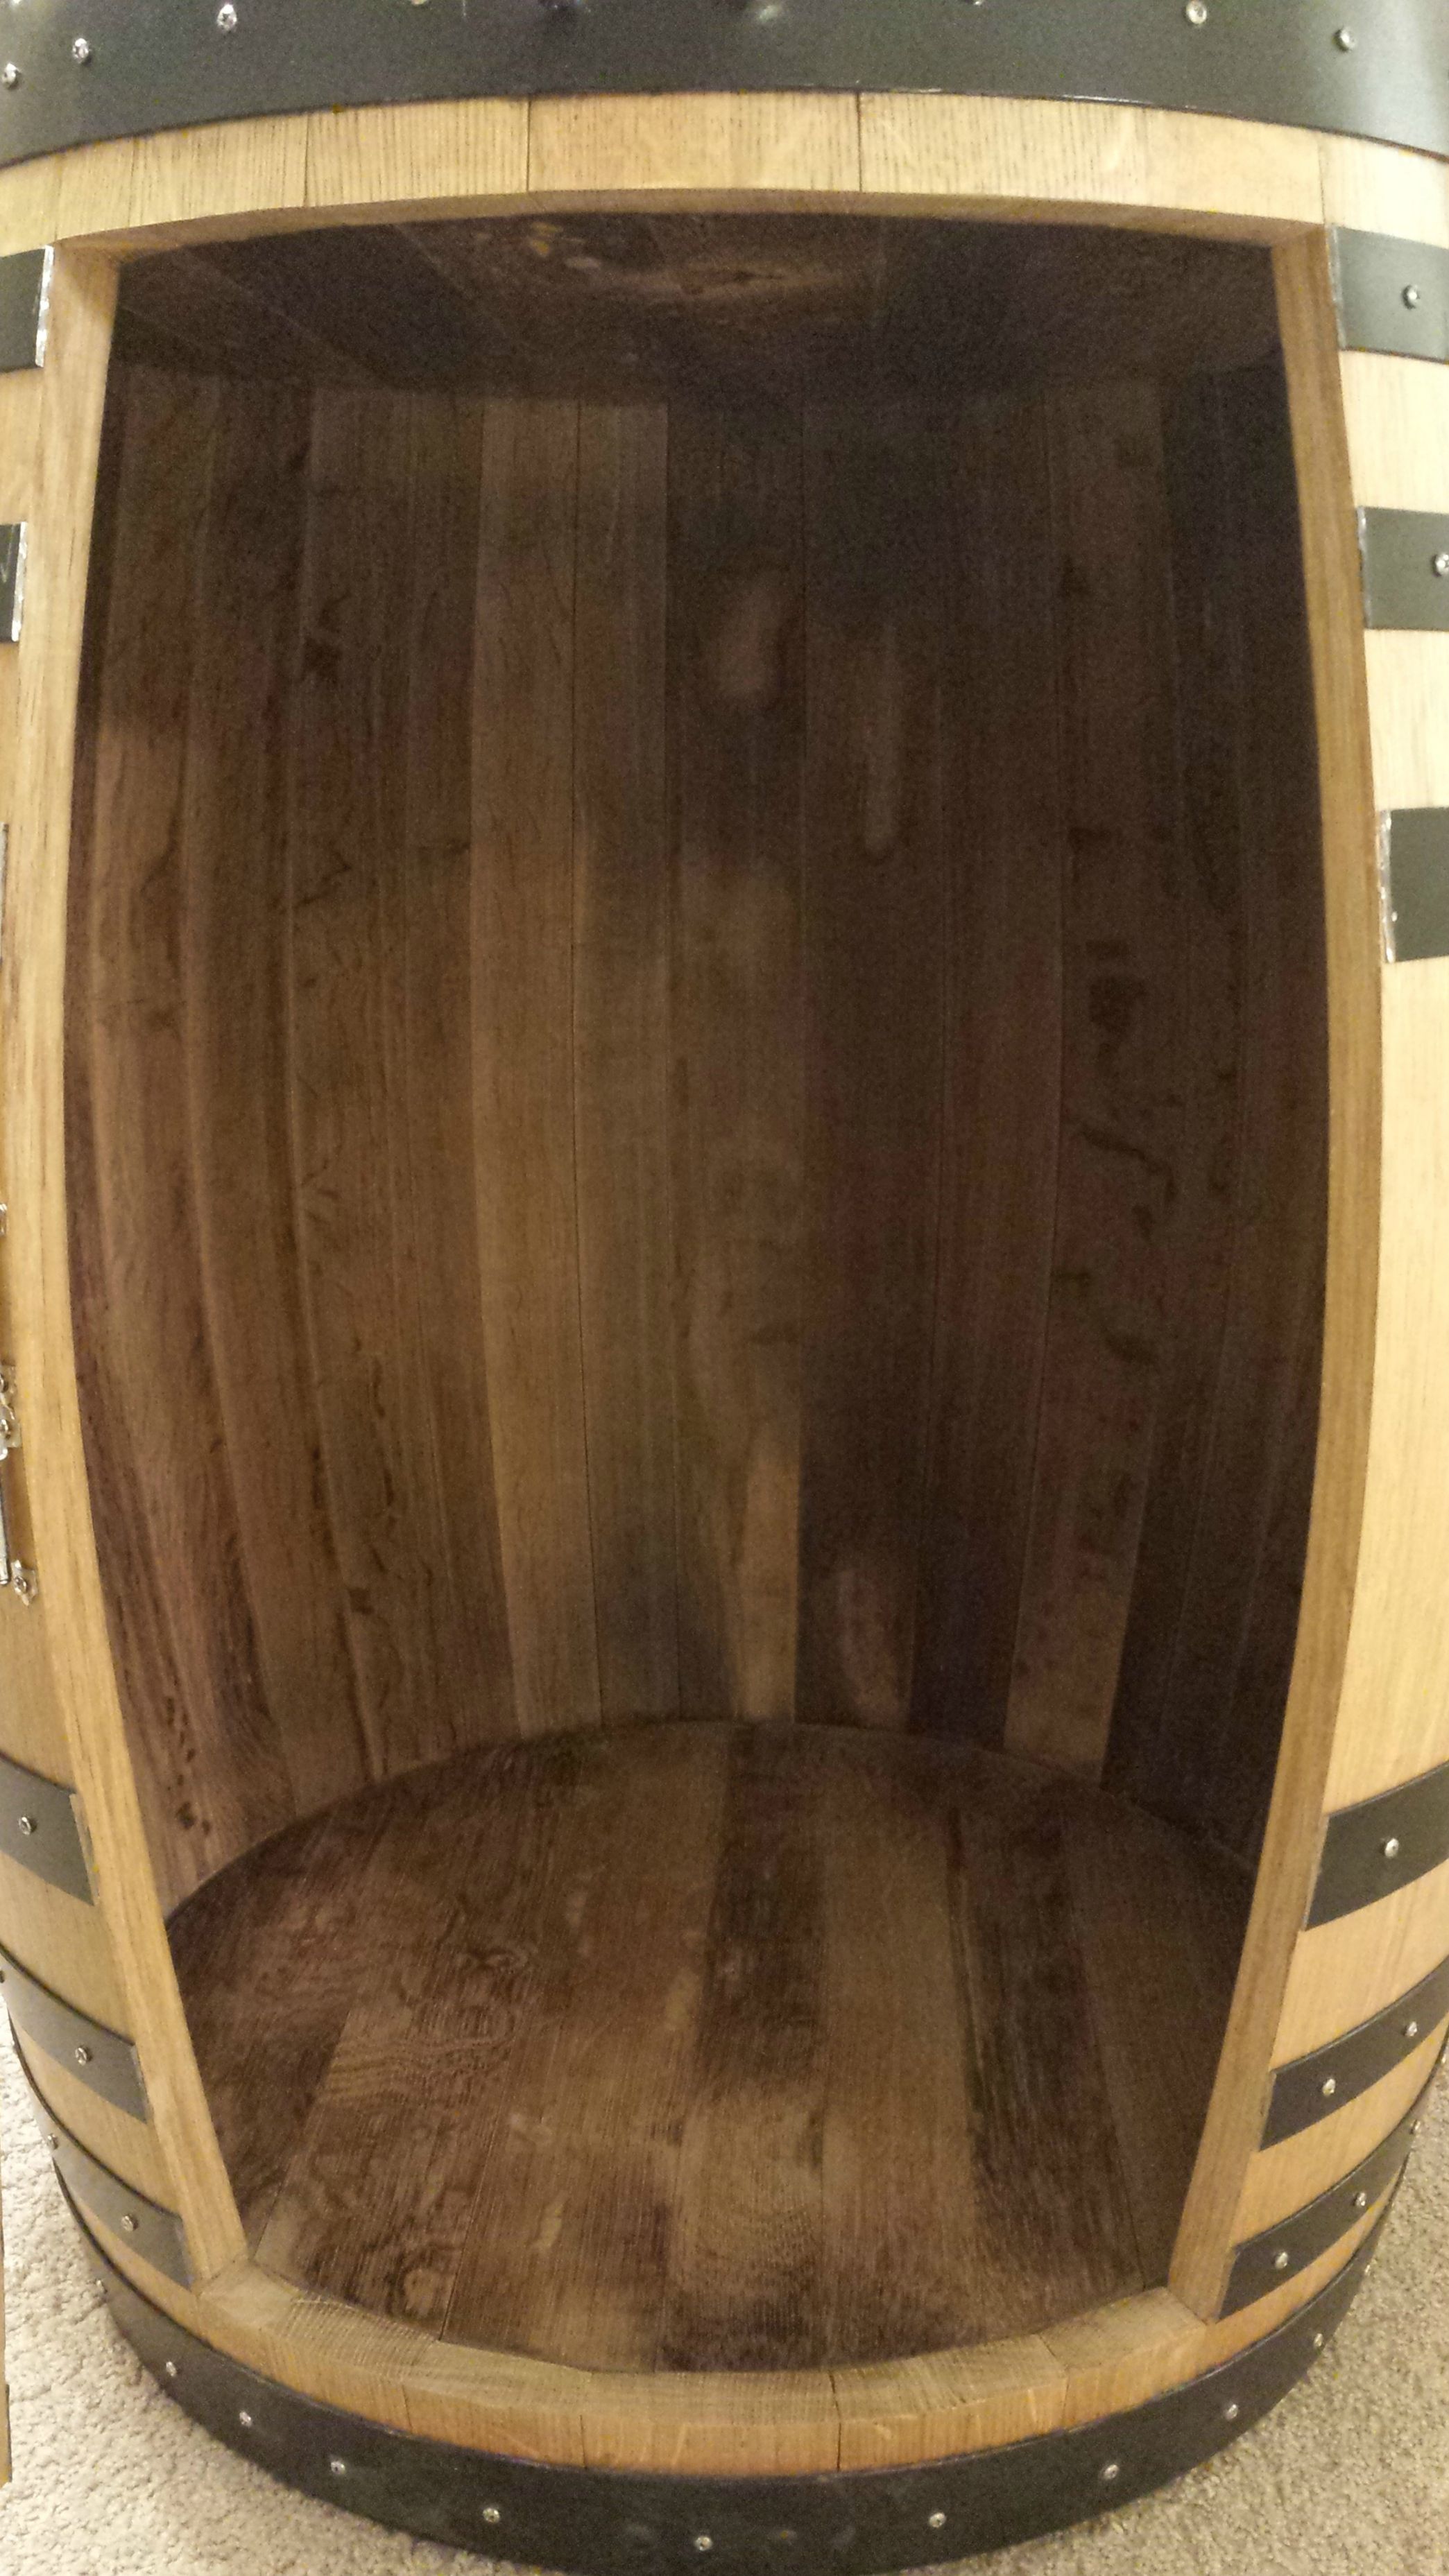
The top and bottom were held together with pretty awesome joinery. Unfortunately, the lid split in two so I had to glue it back together. These pictures also show the incredibly poor condition the interior of the barrel was in.
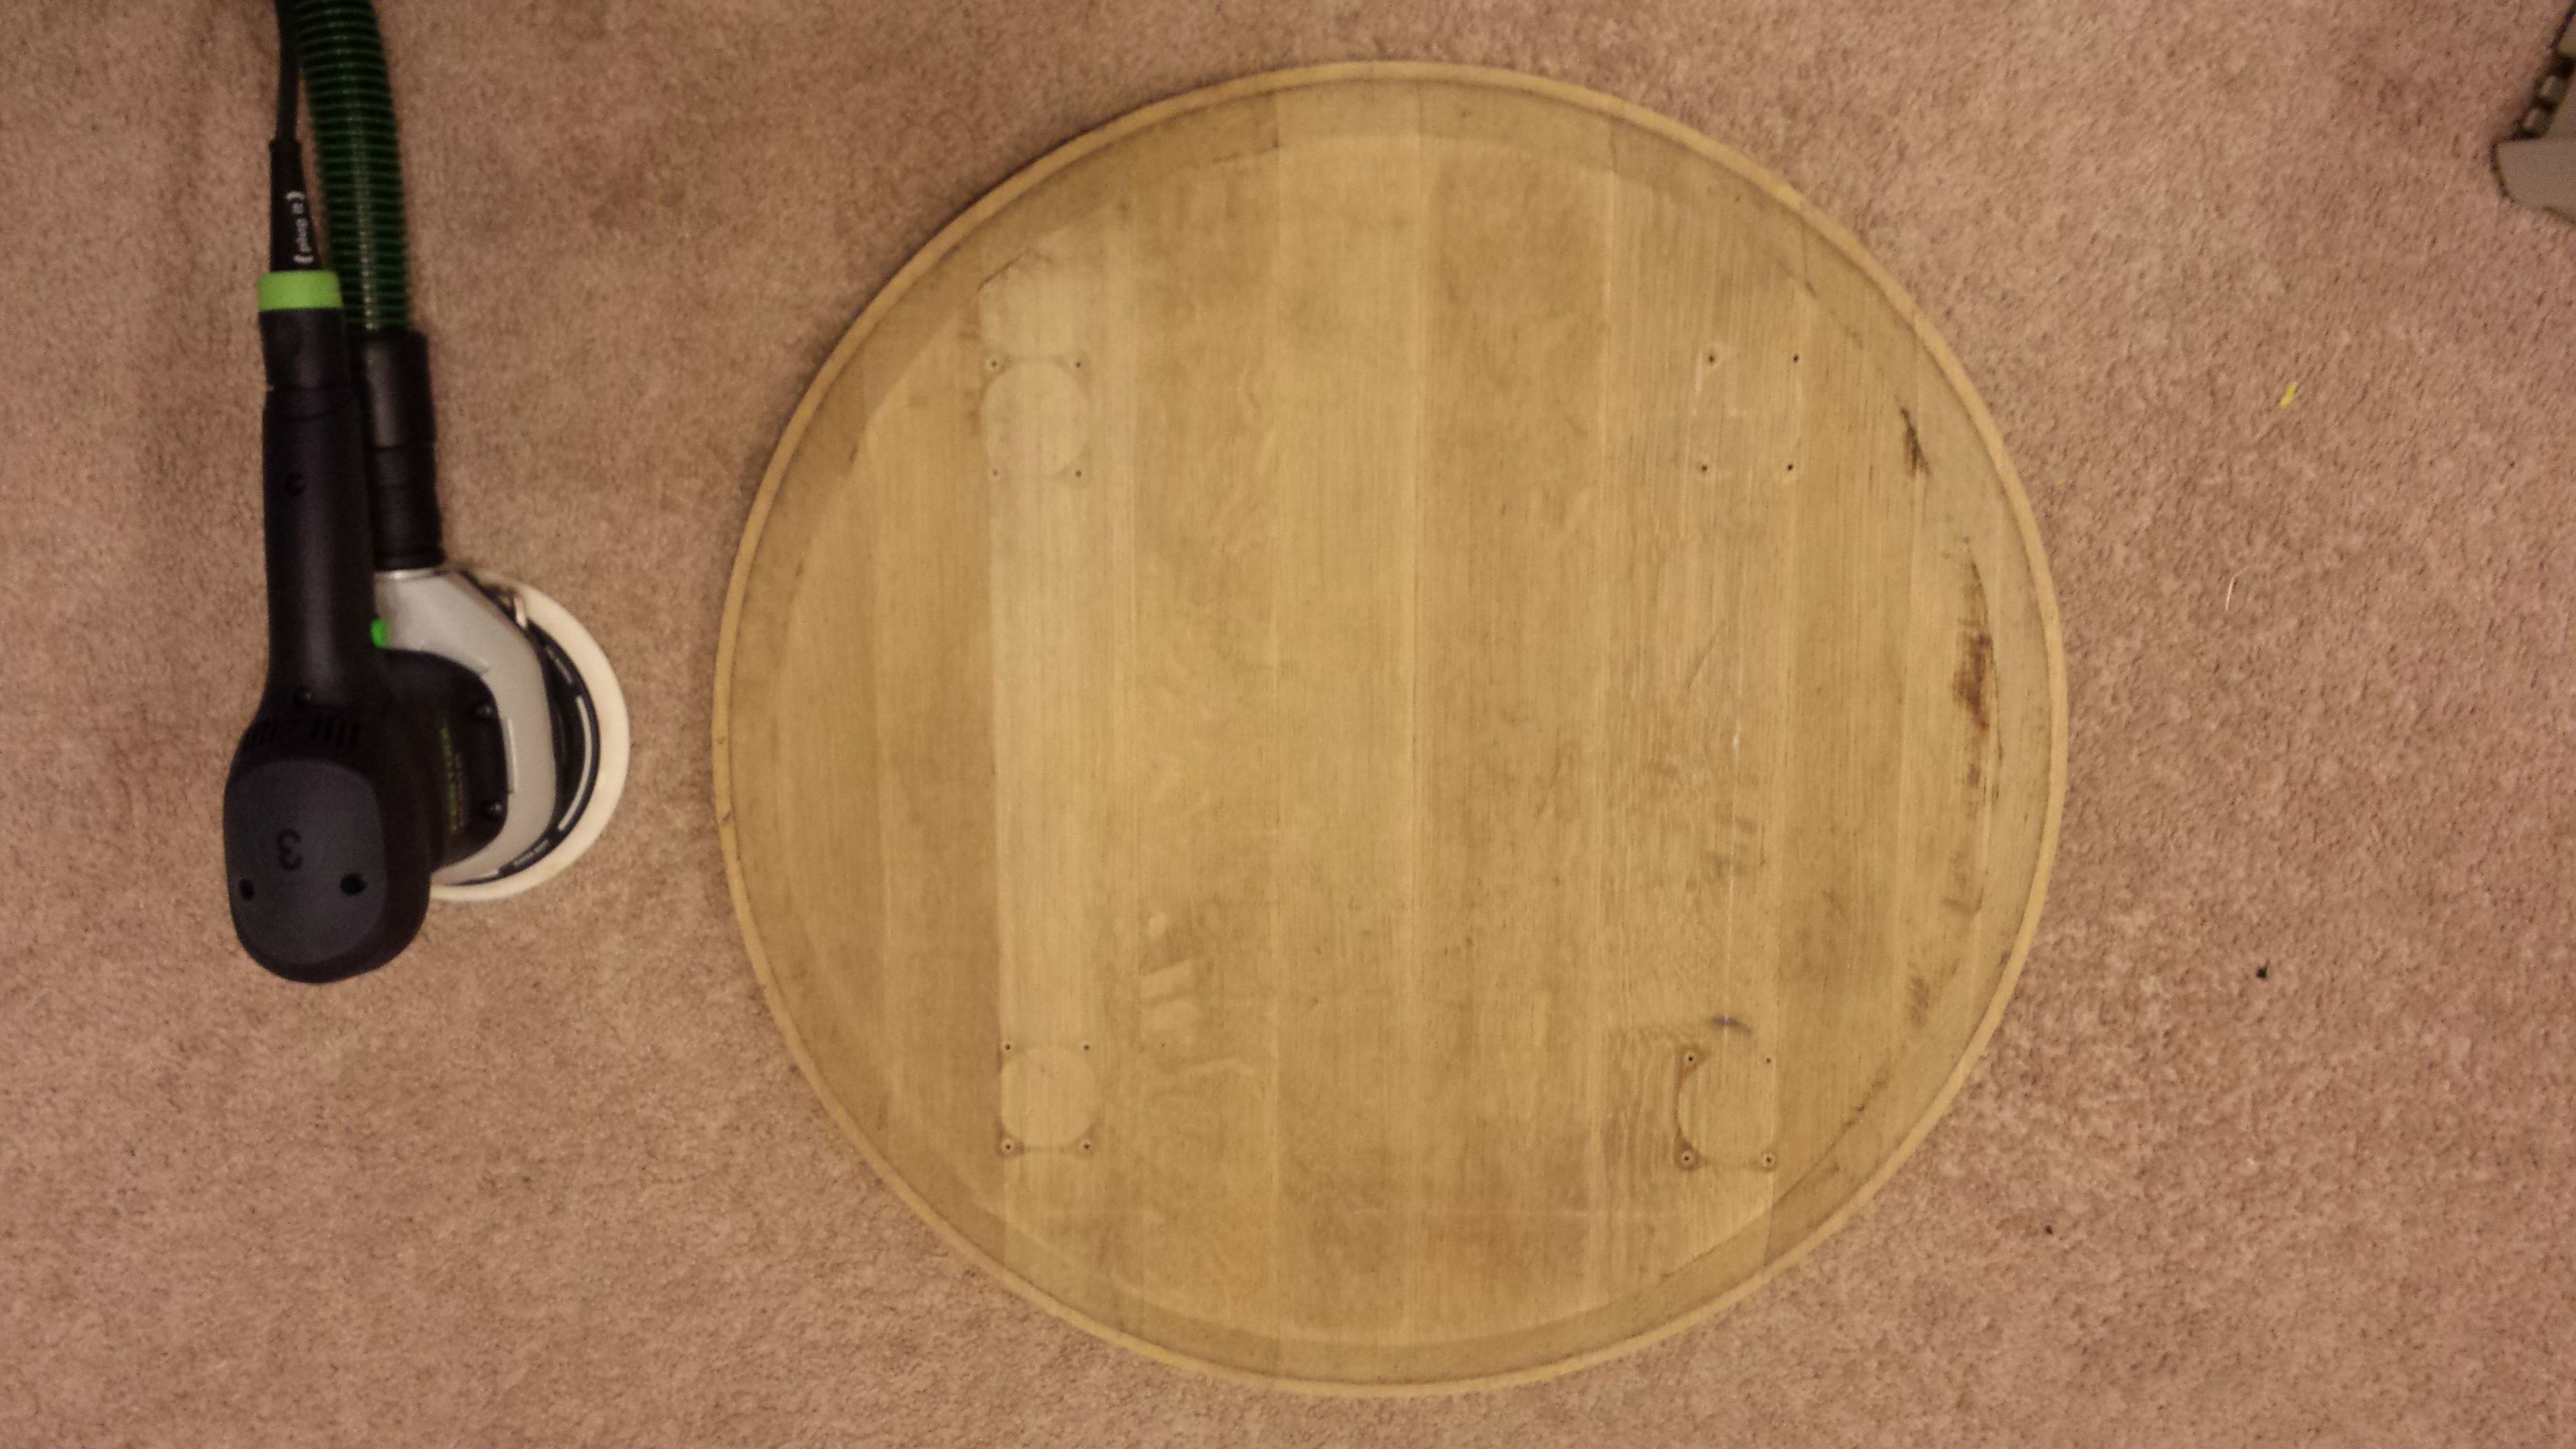
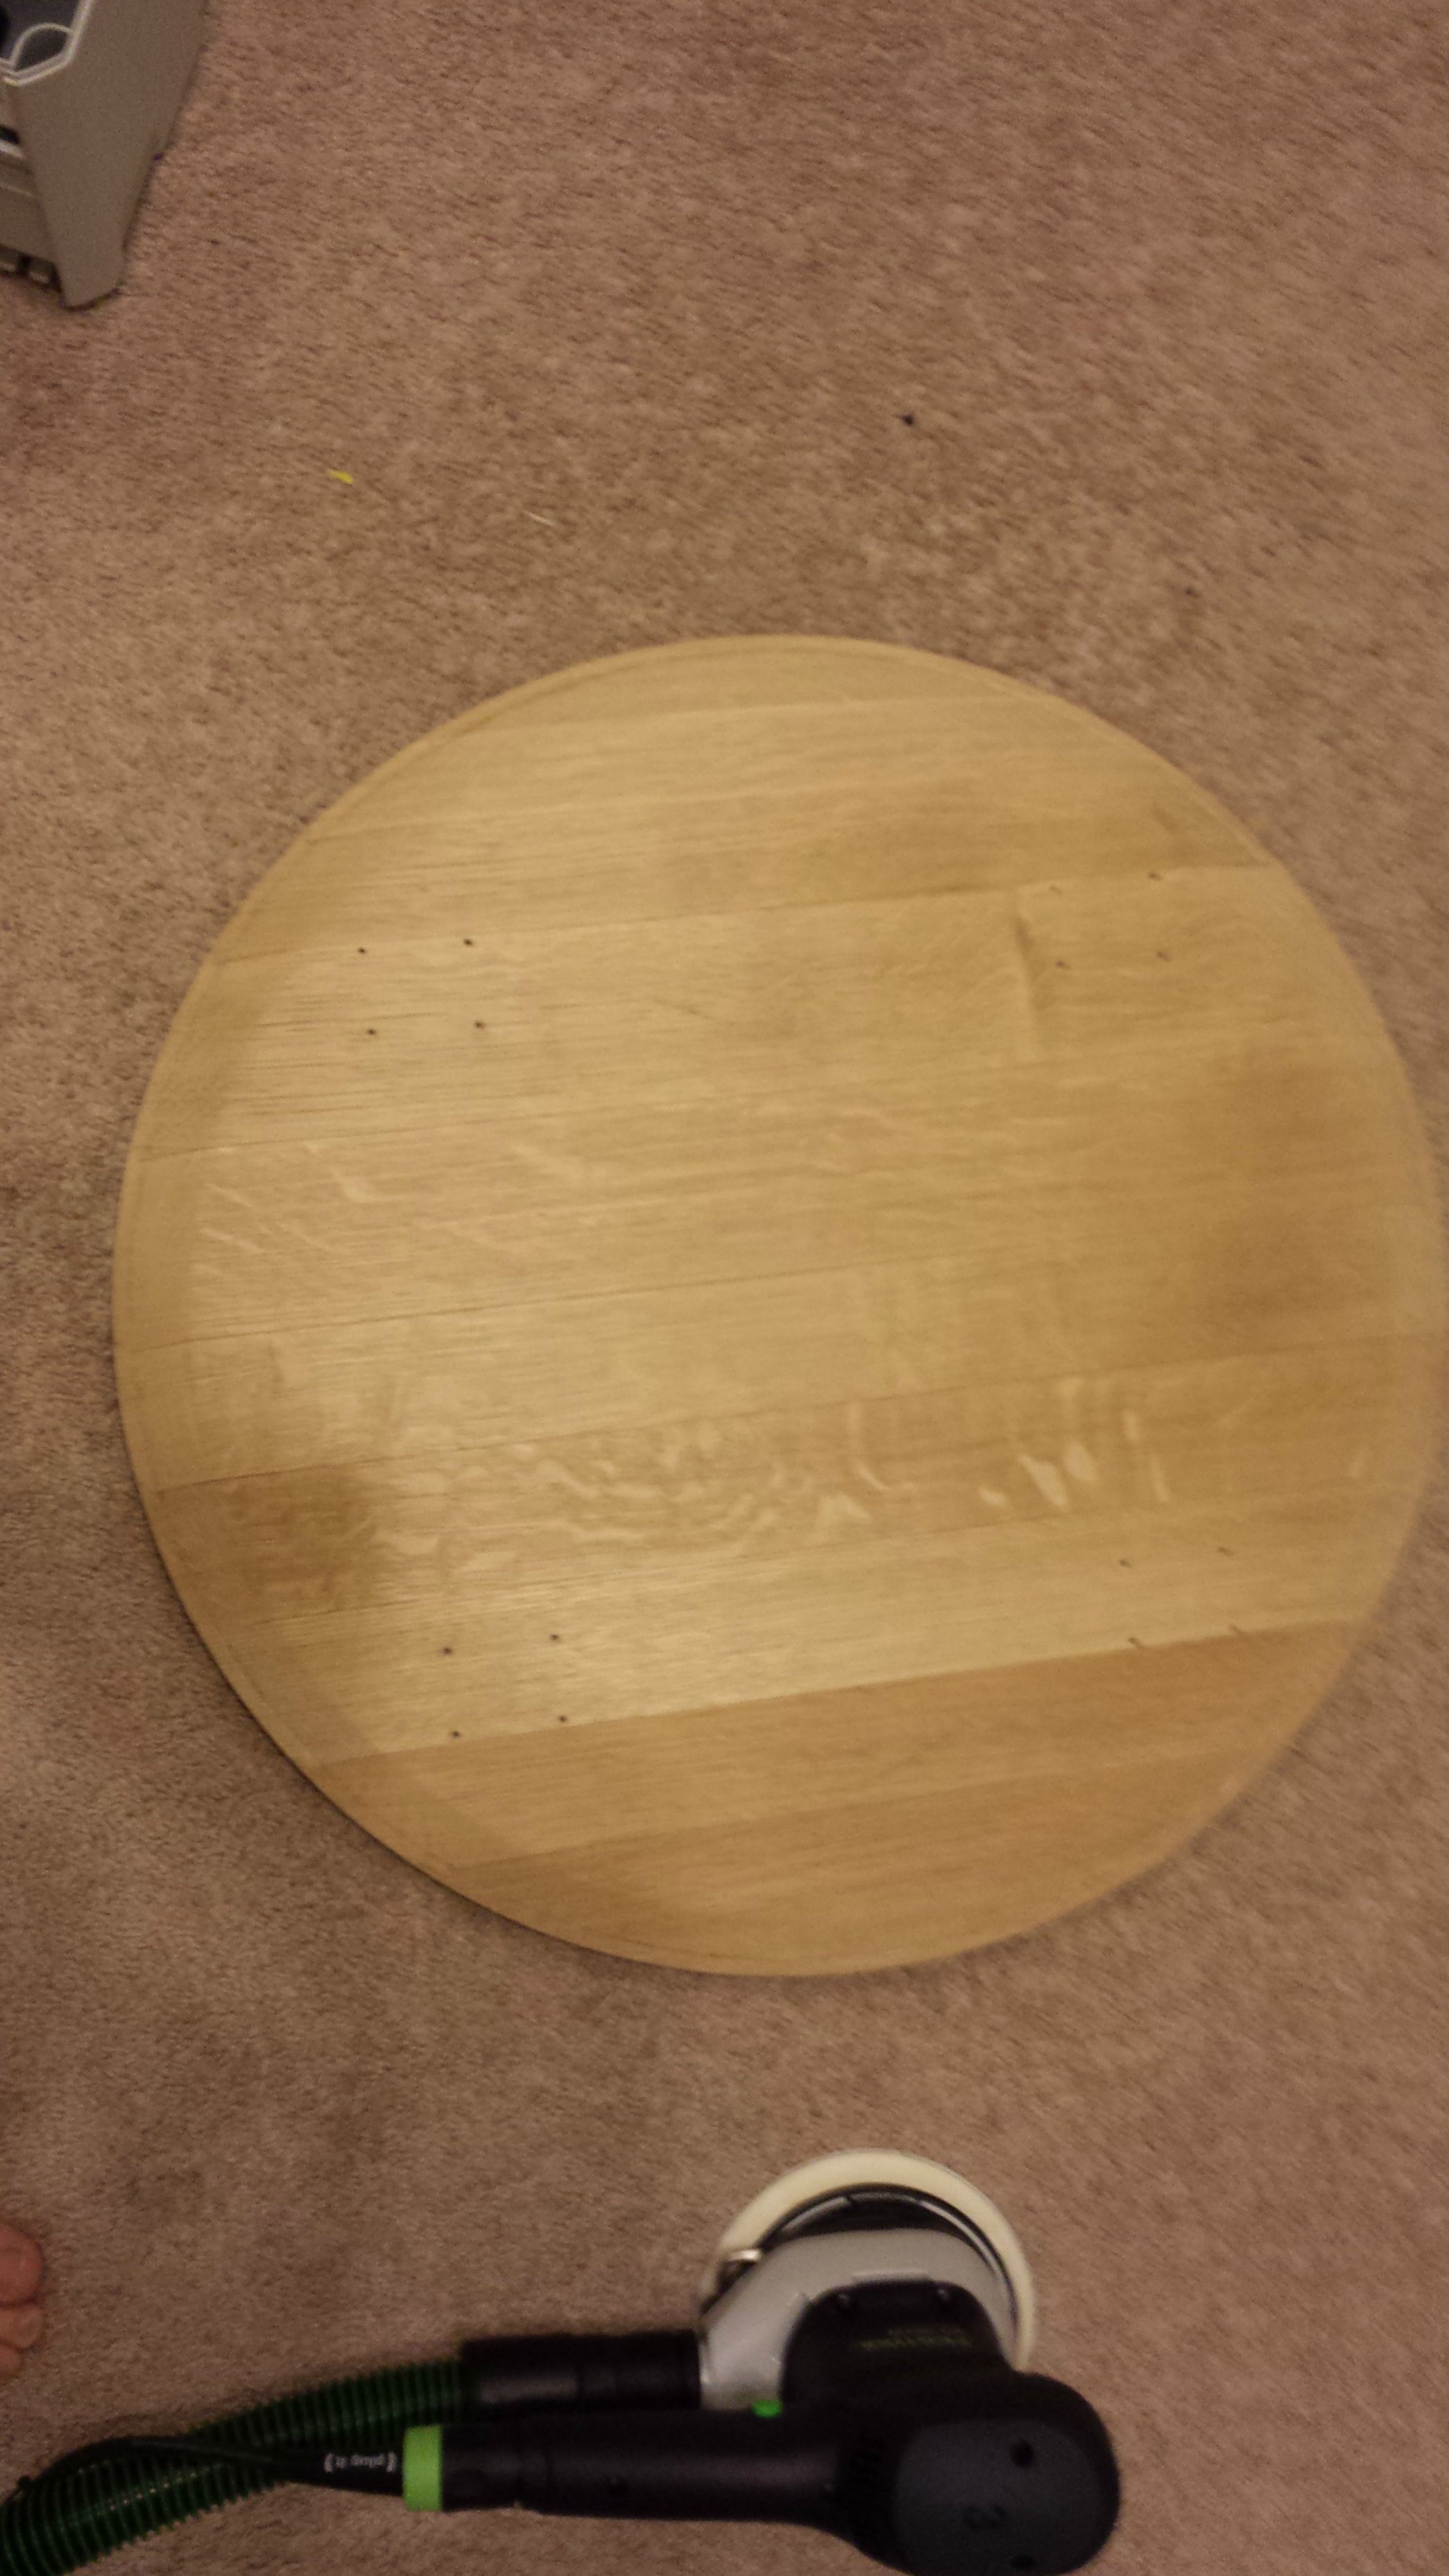
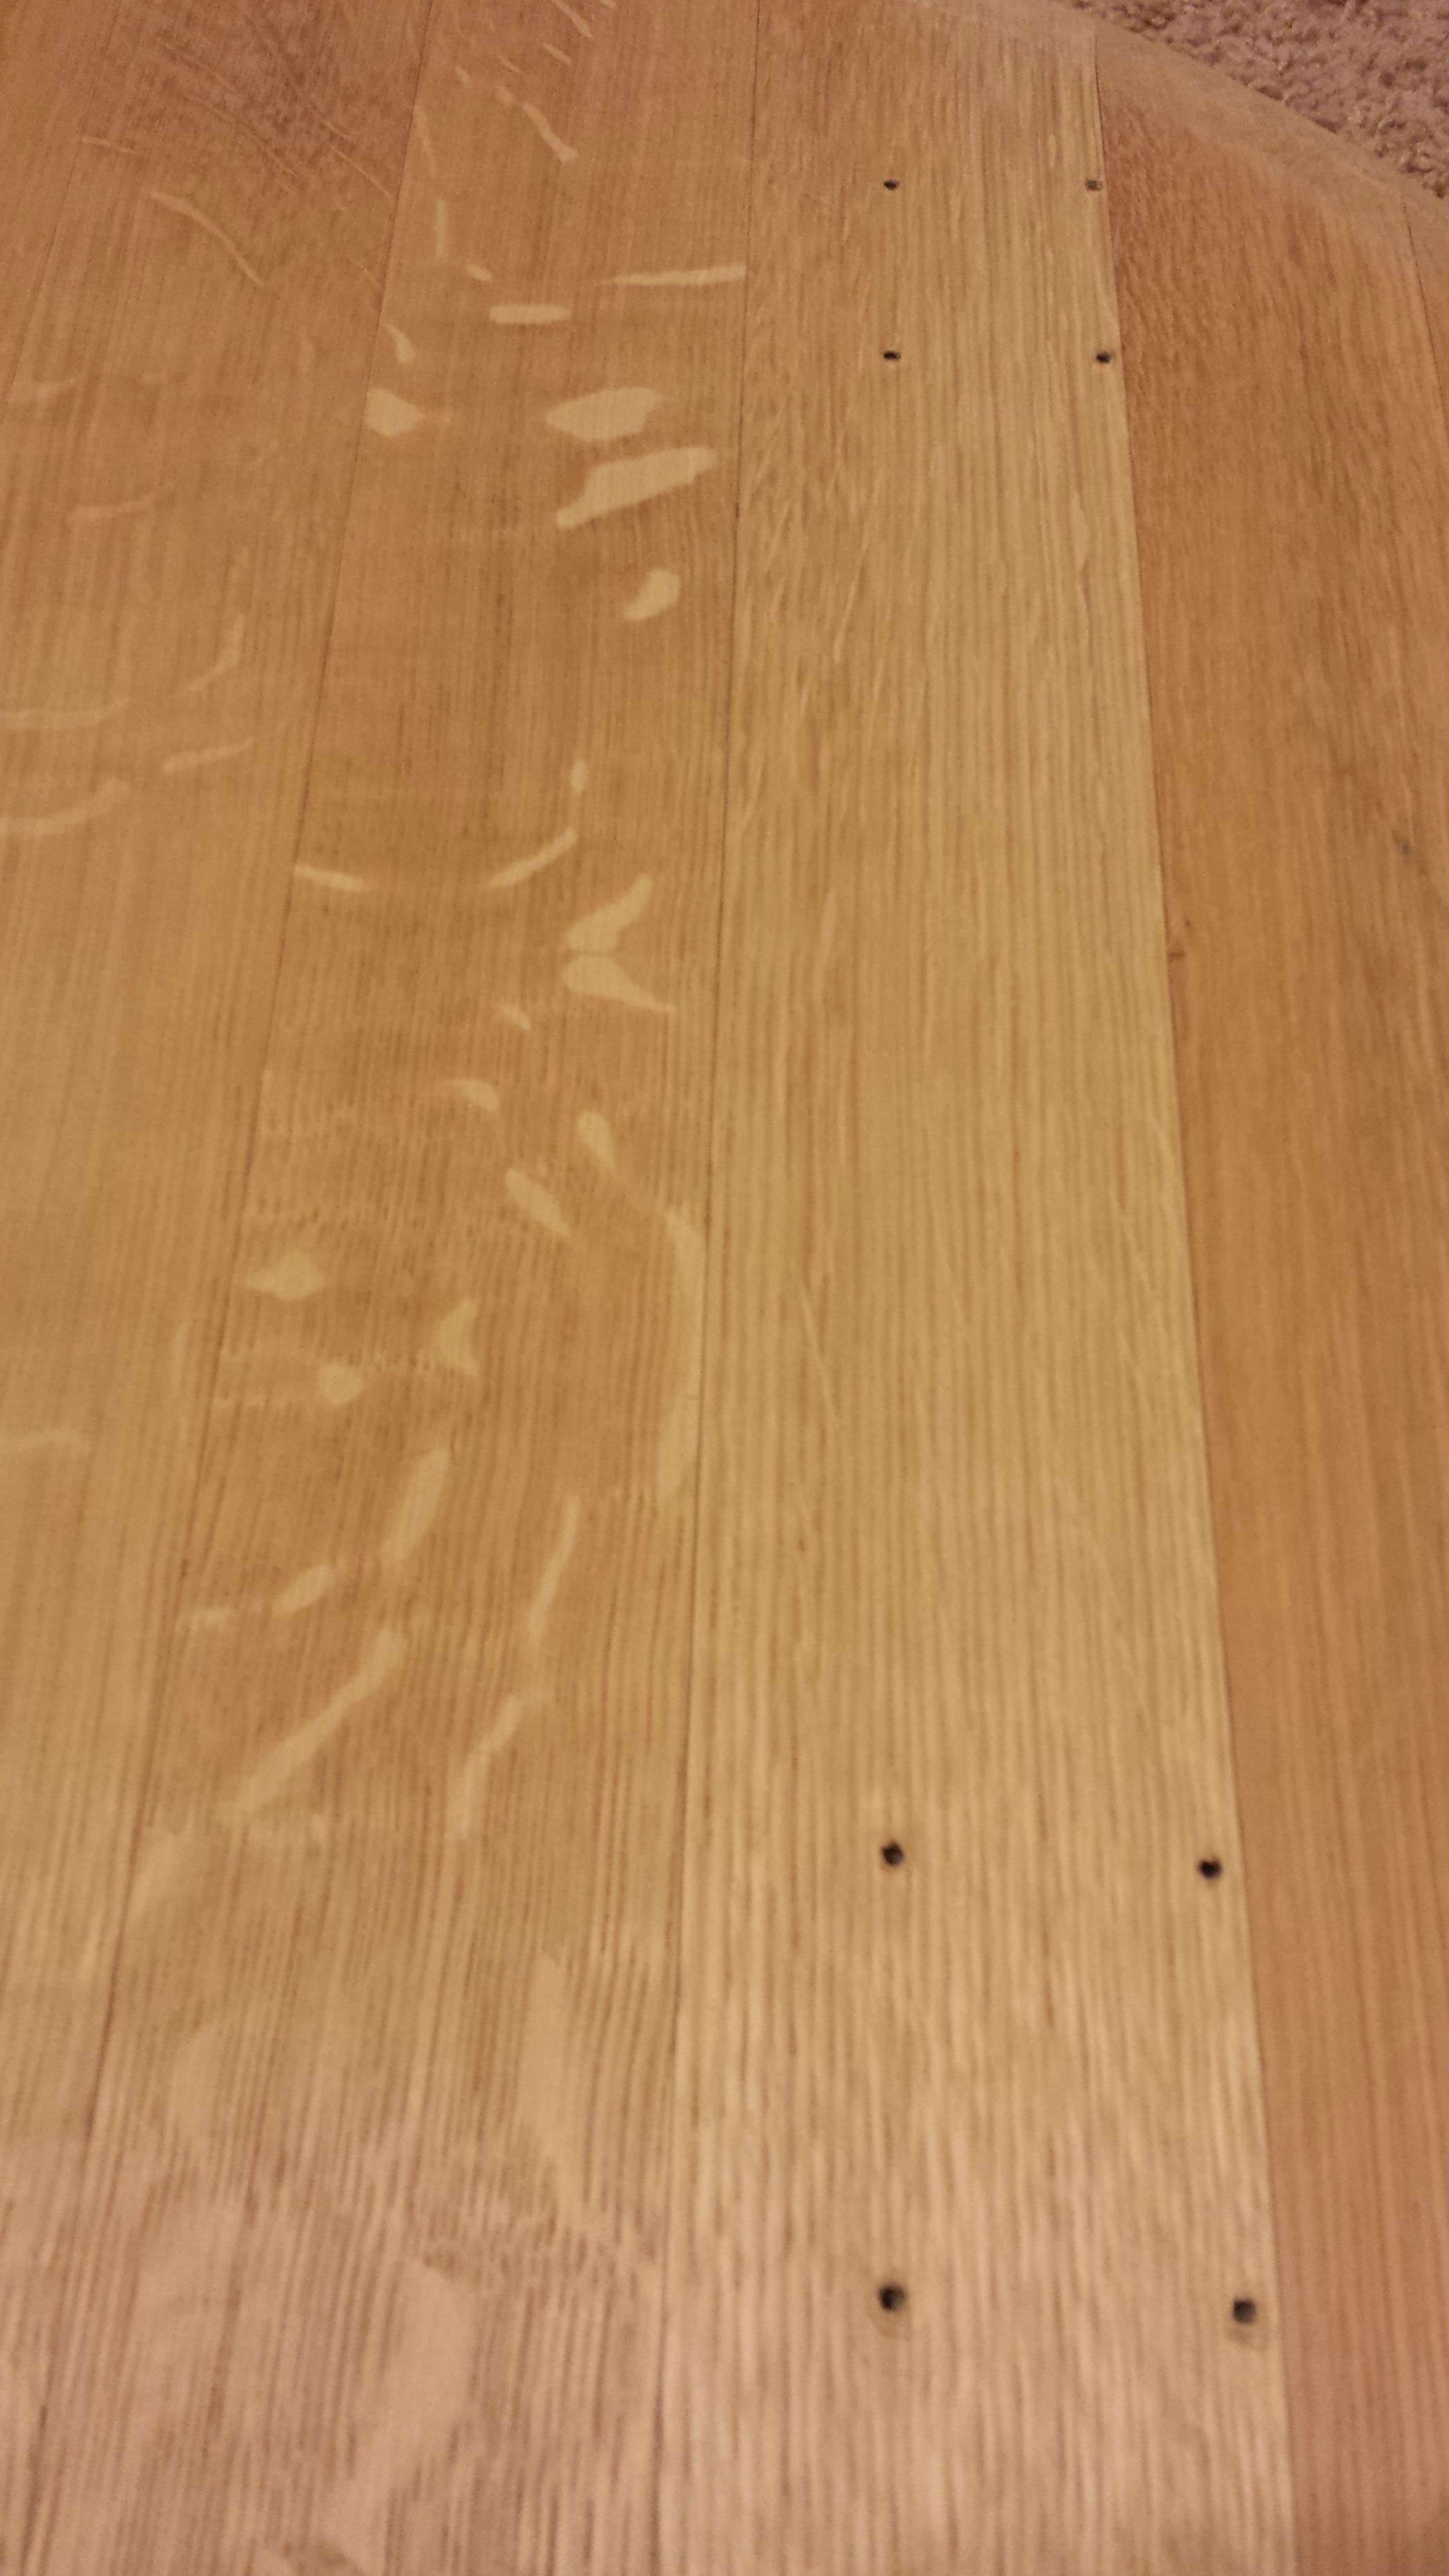
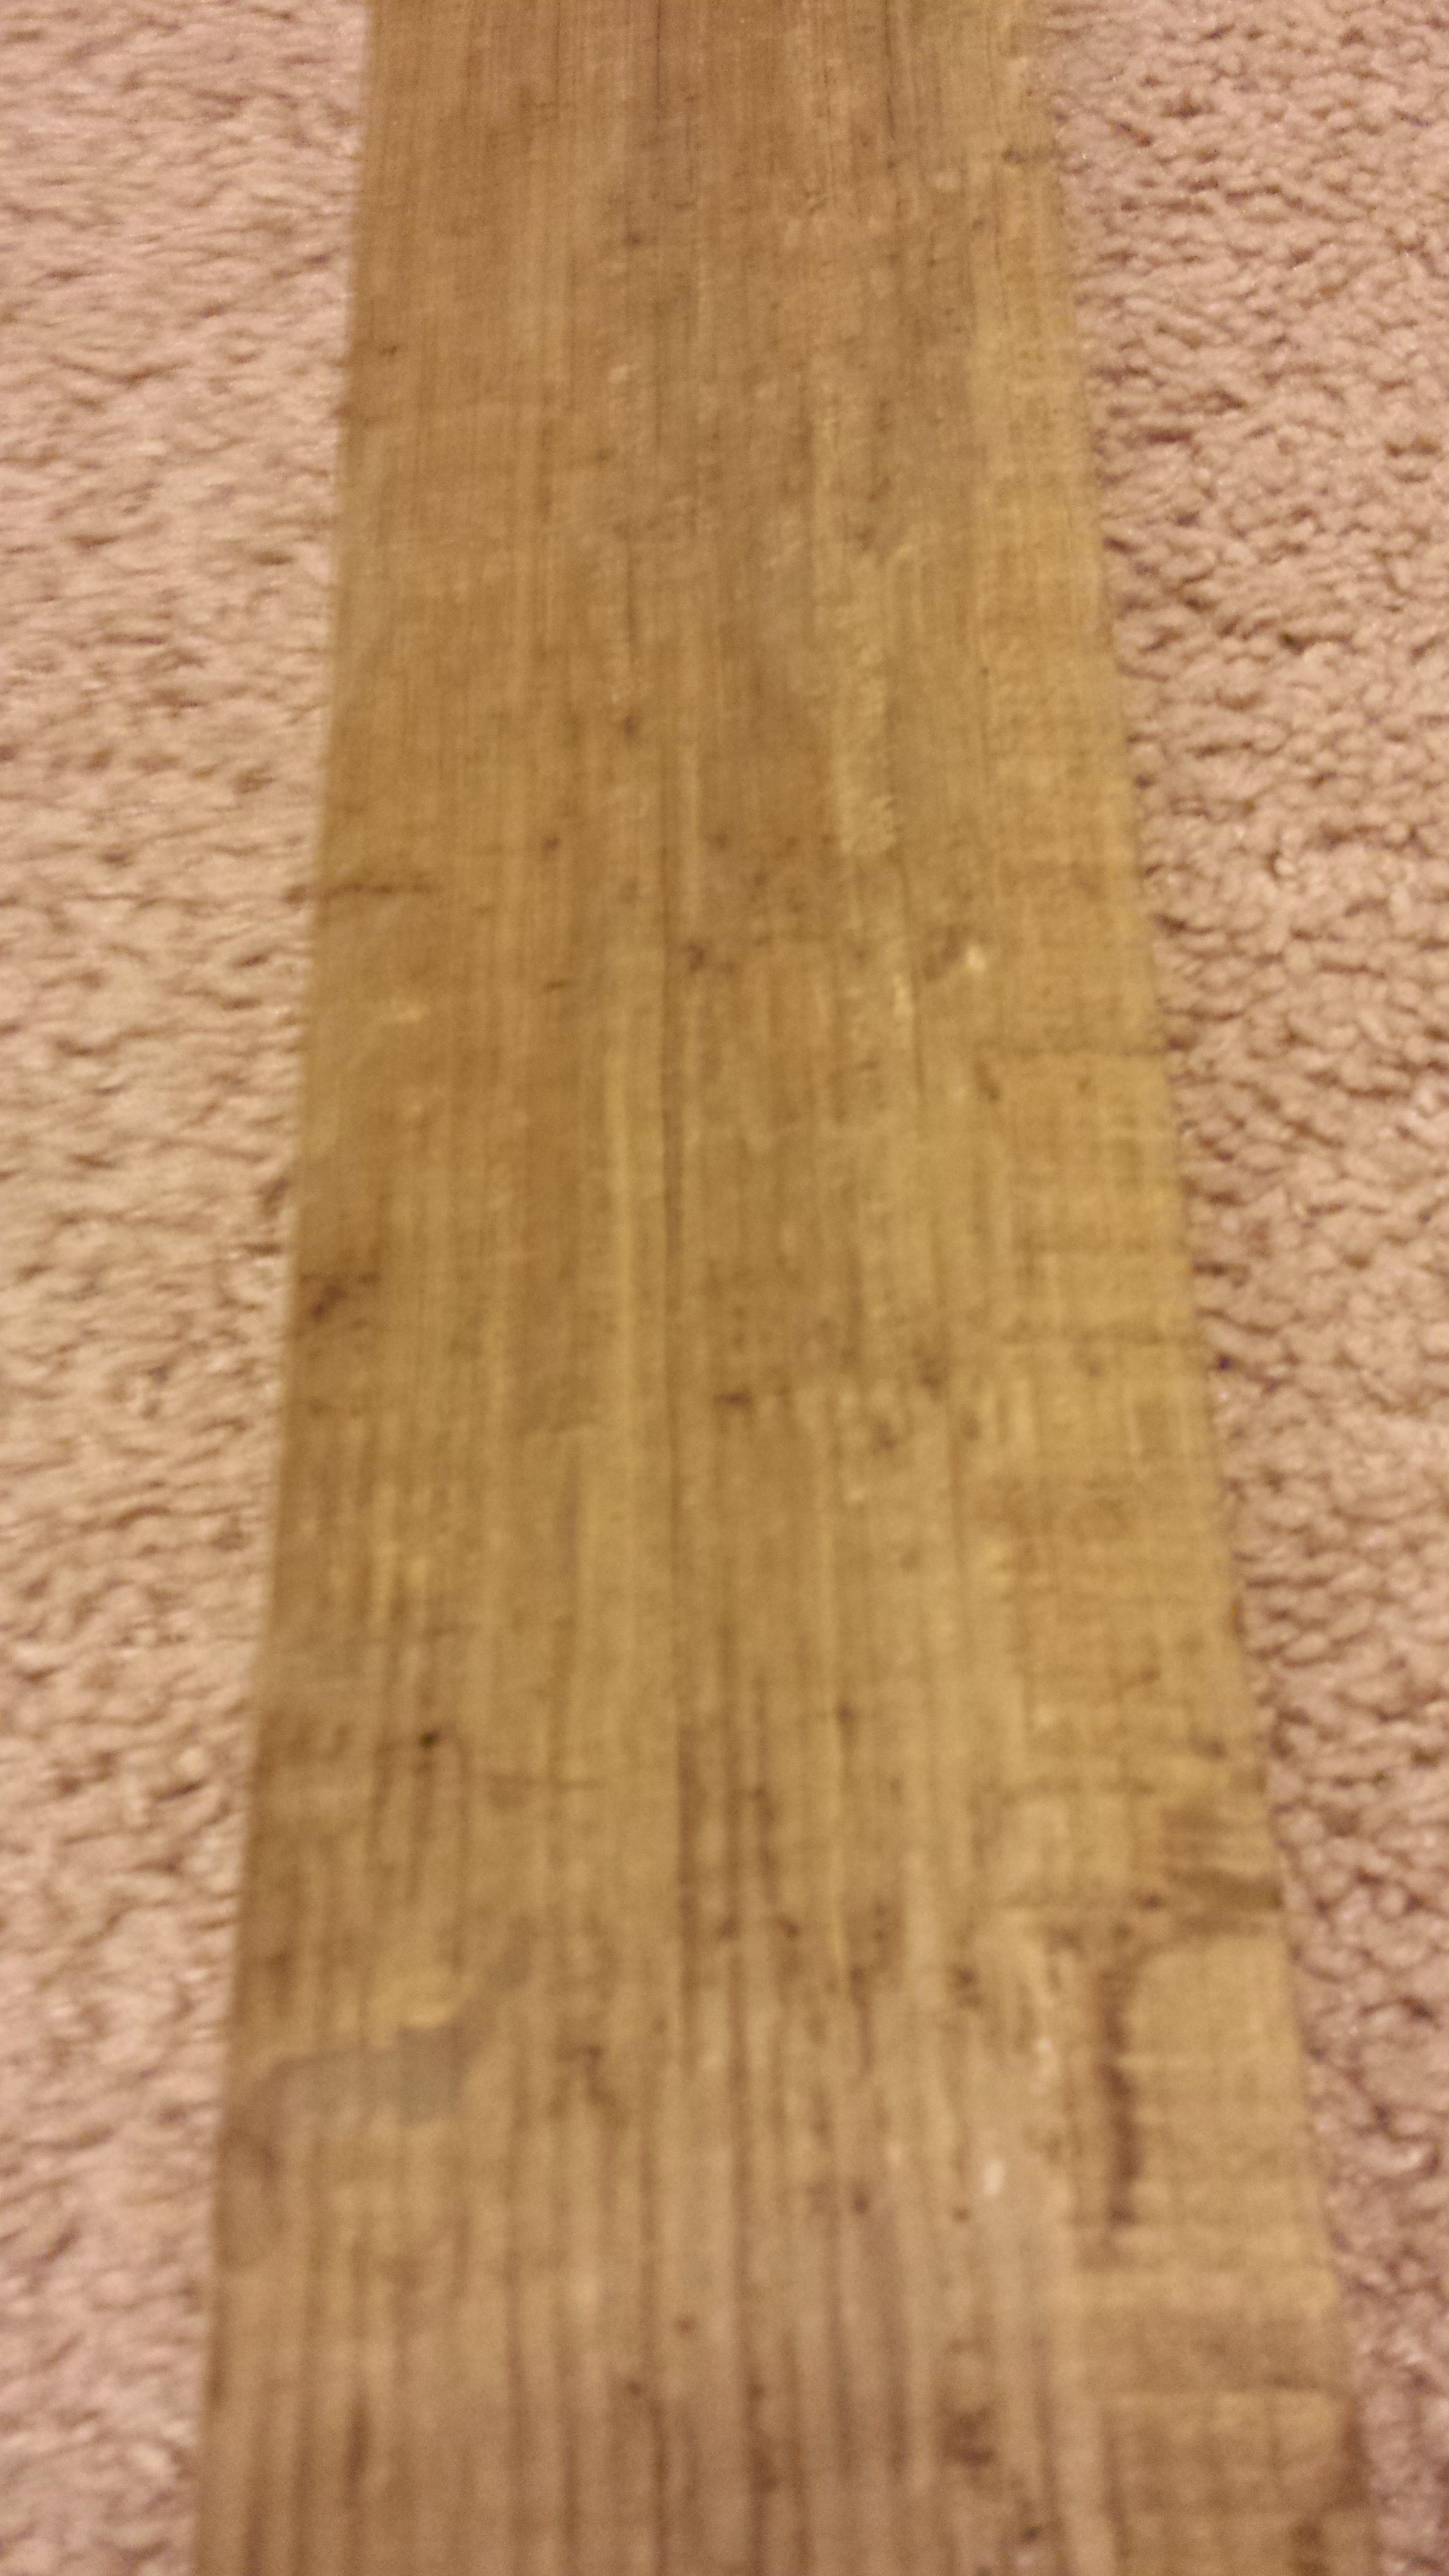
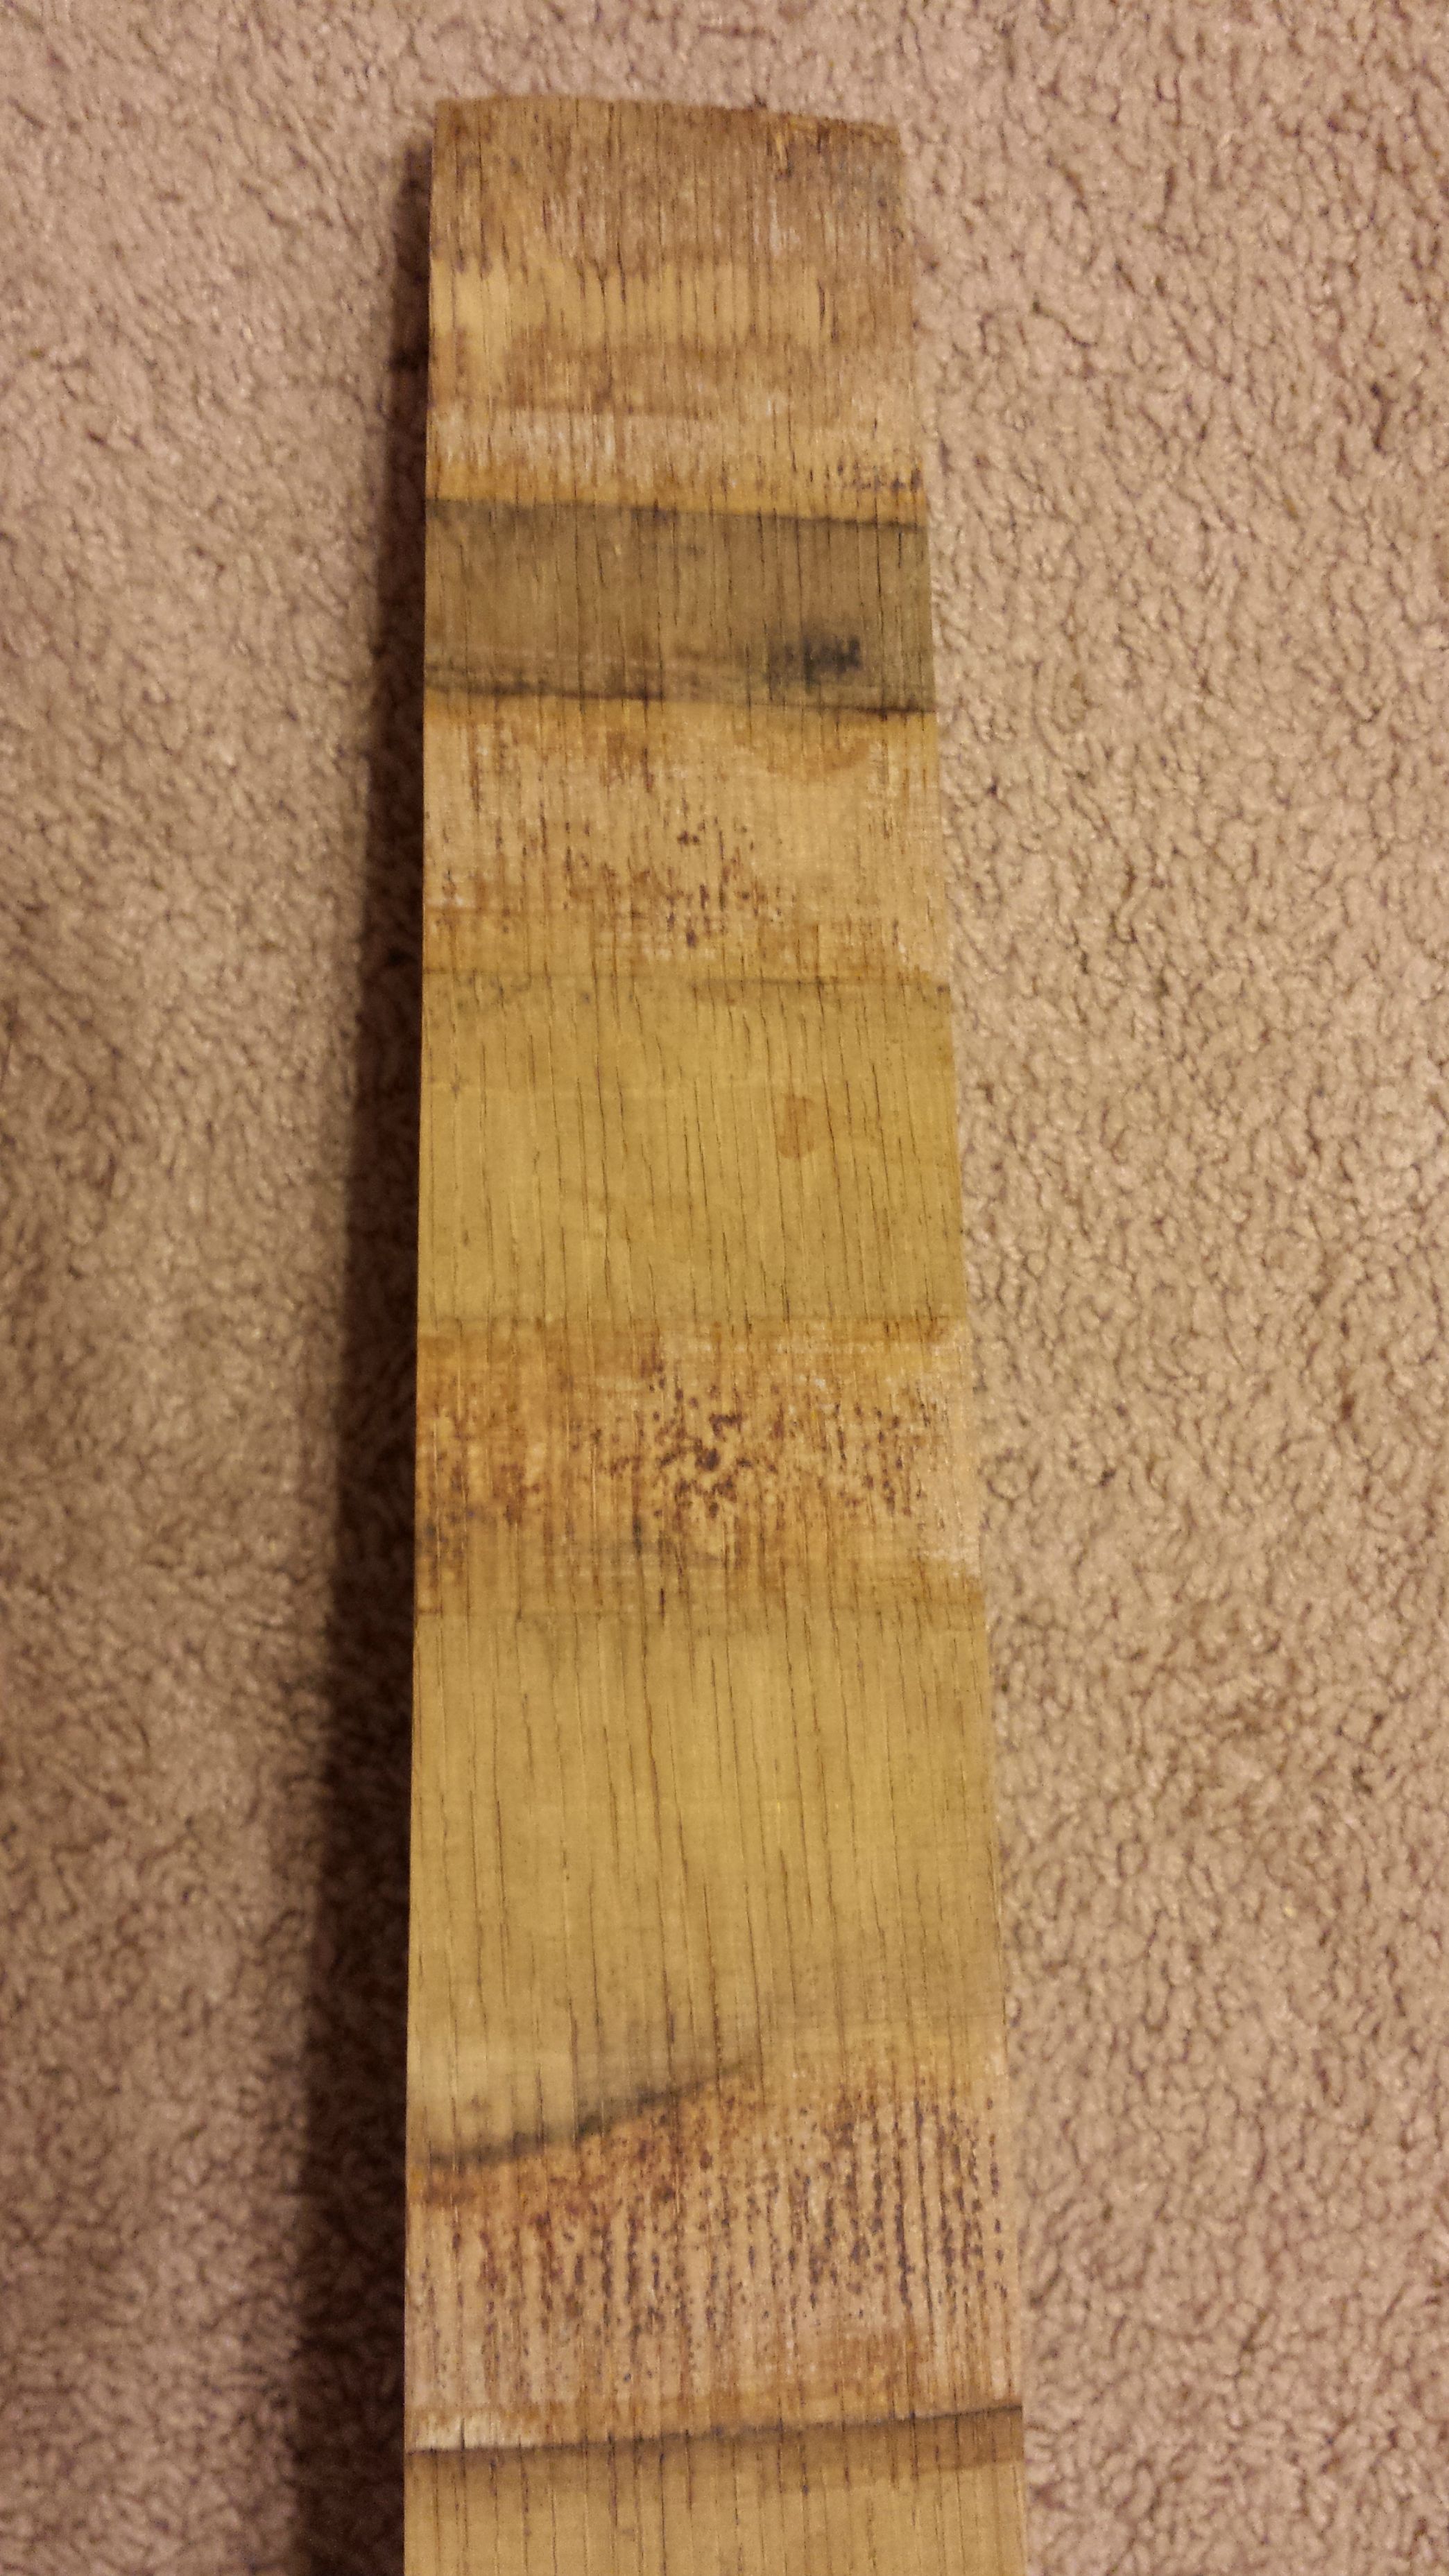
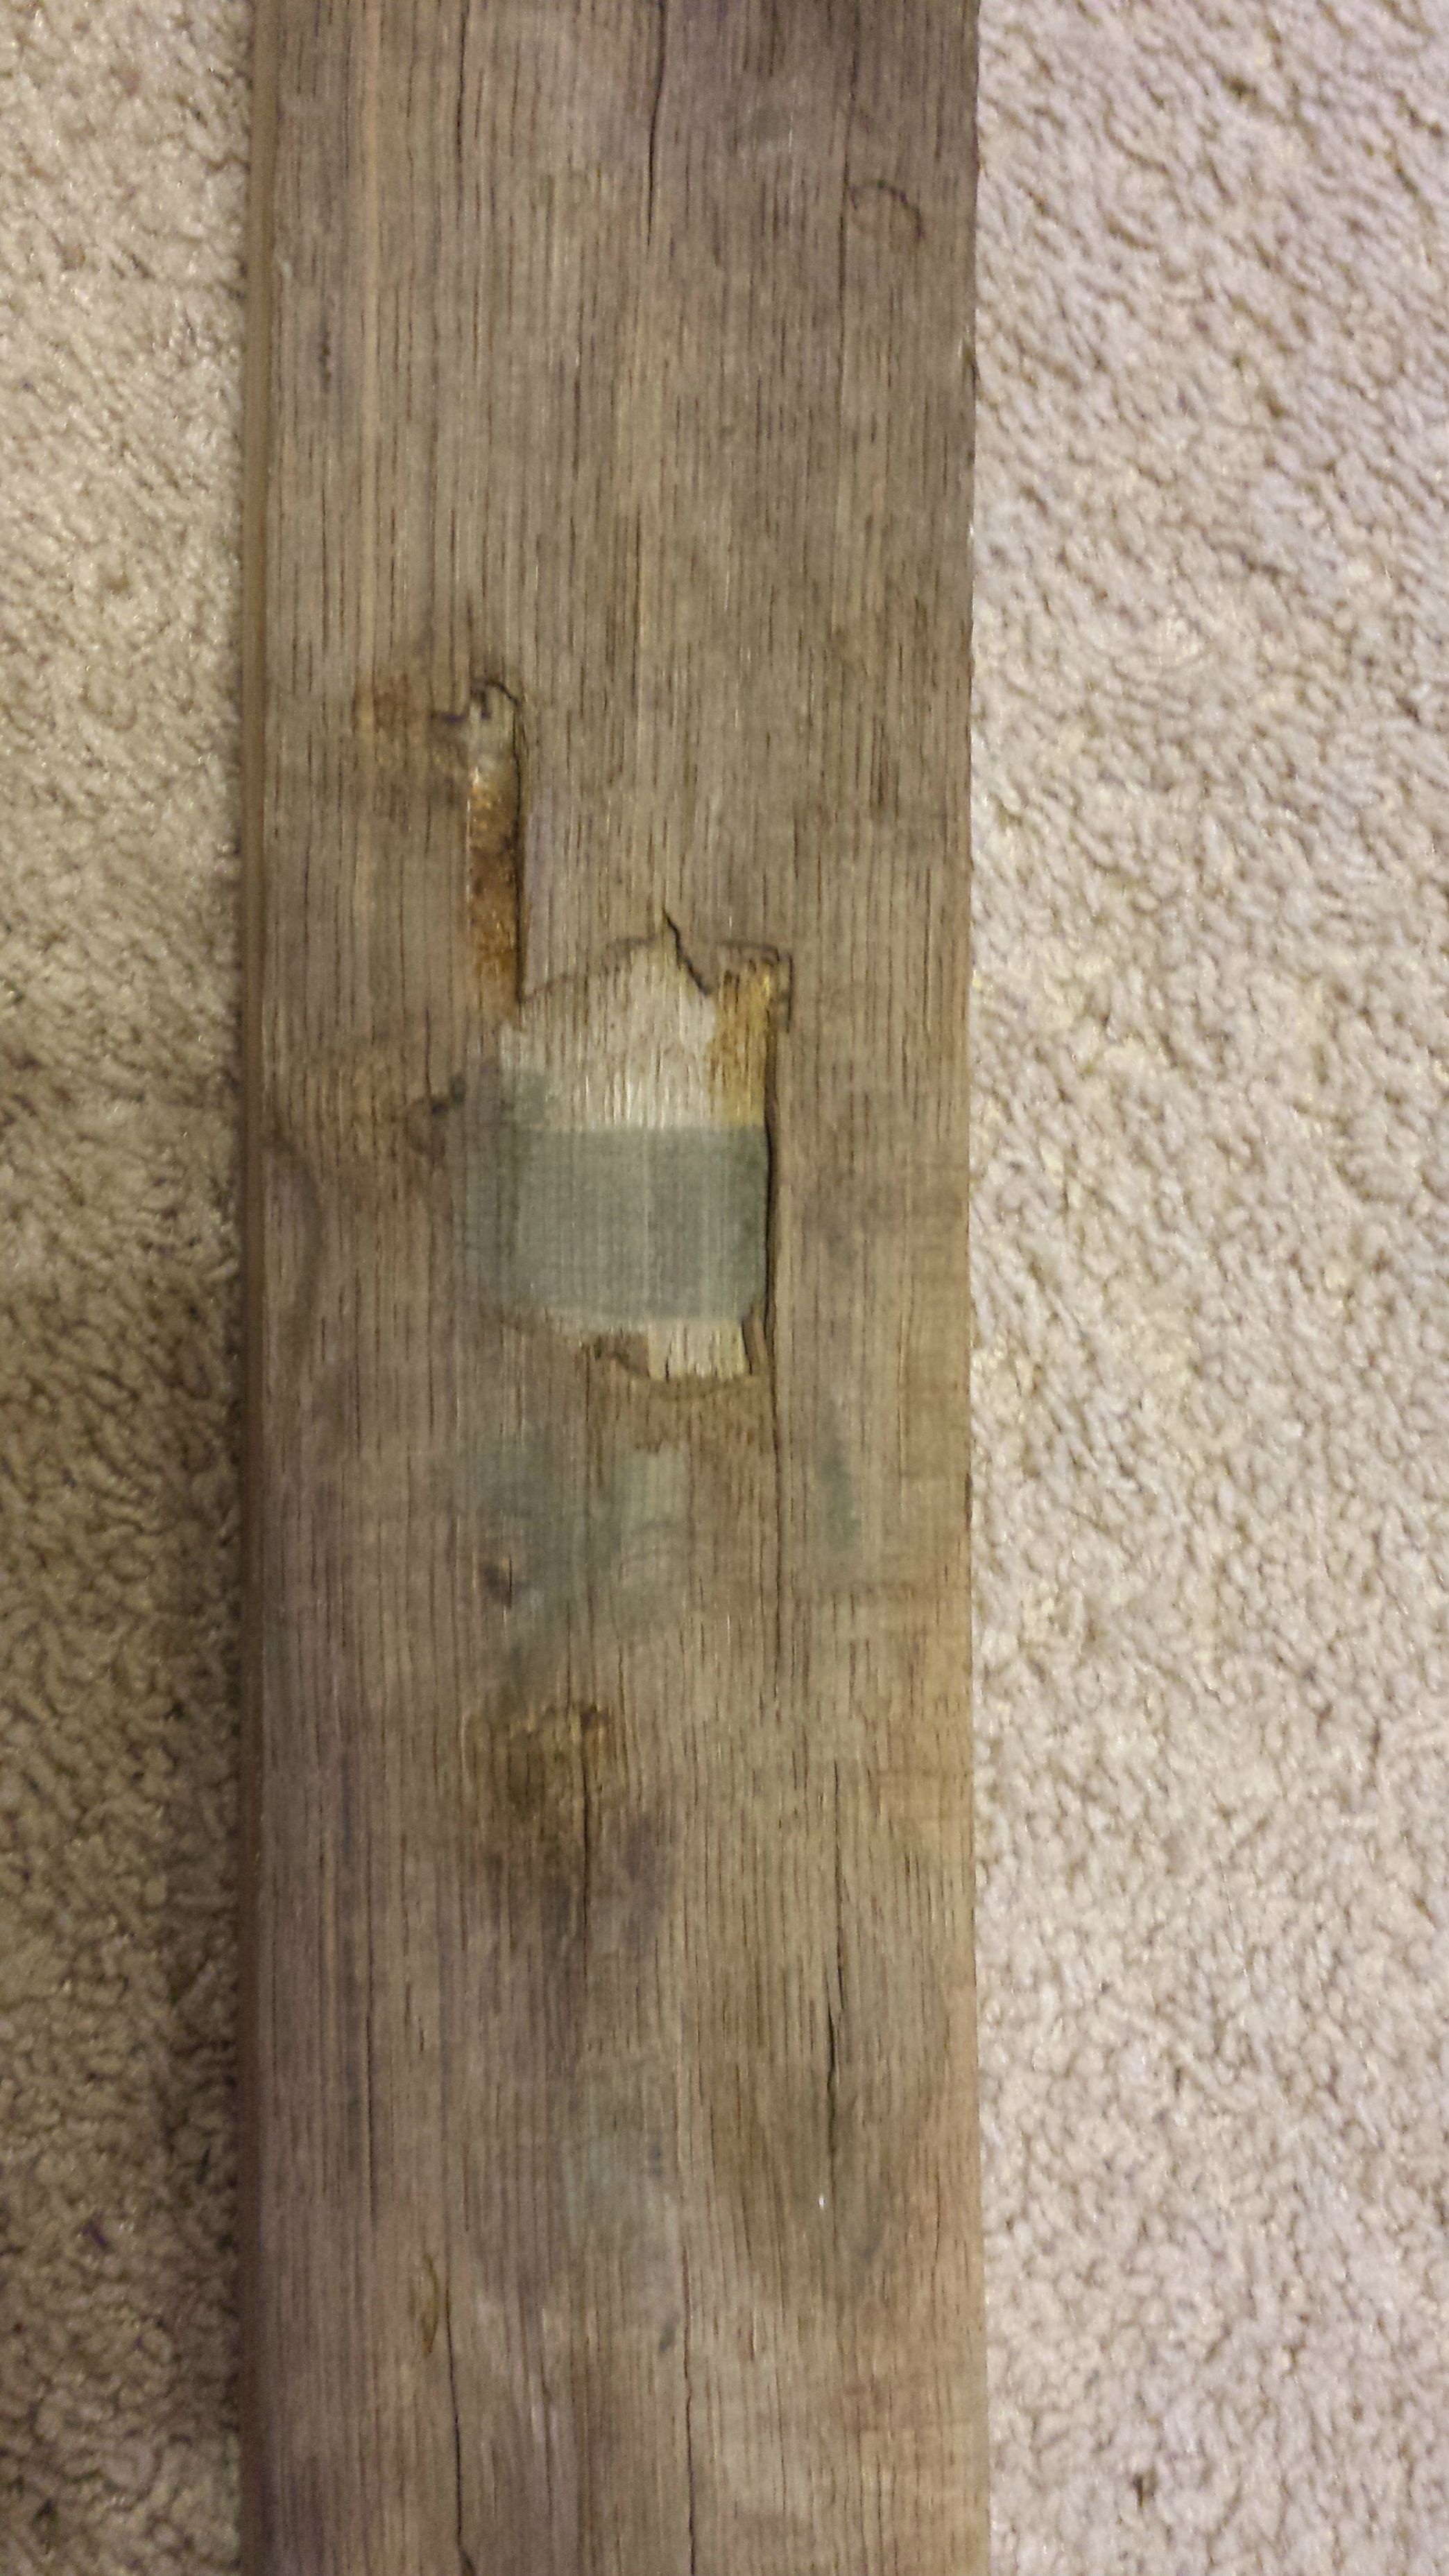
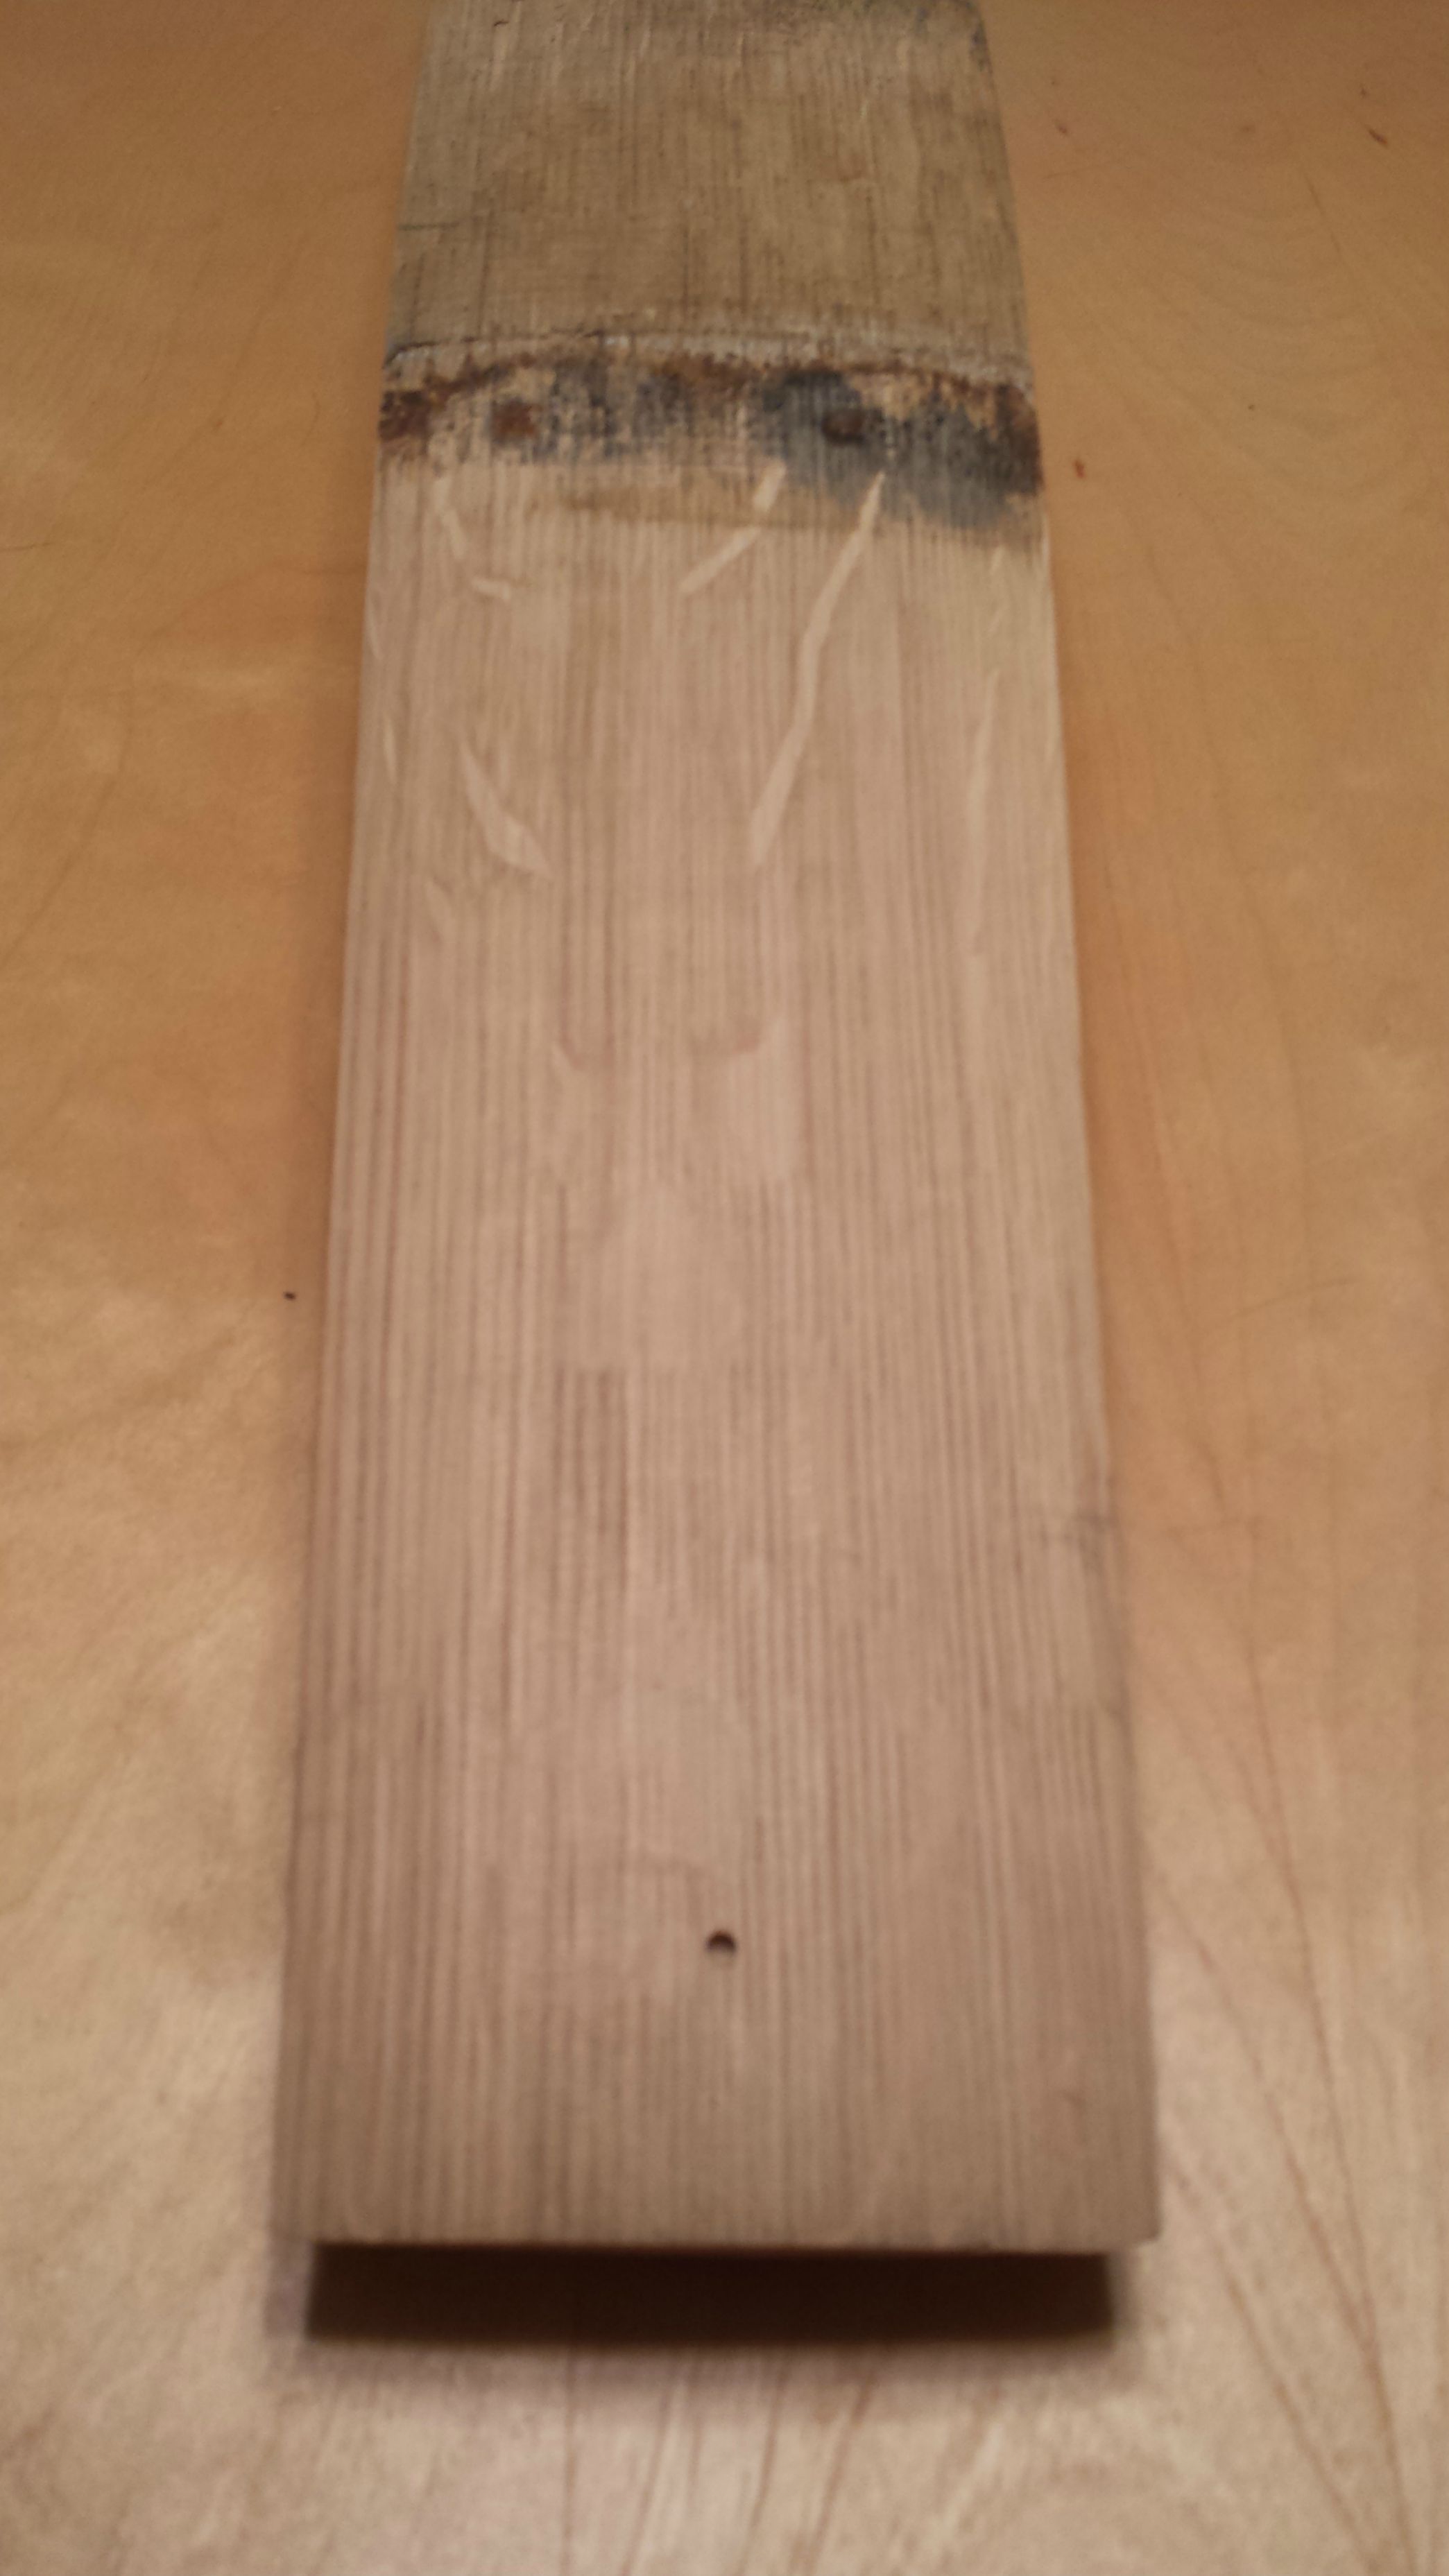
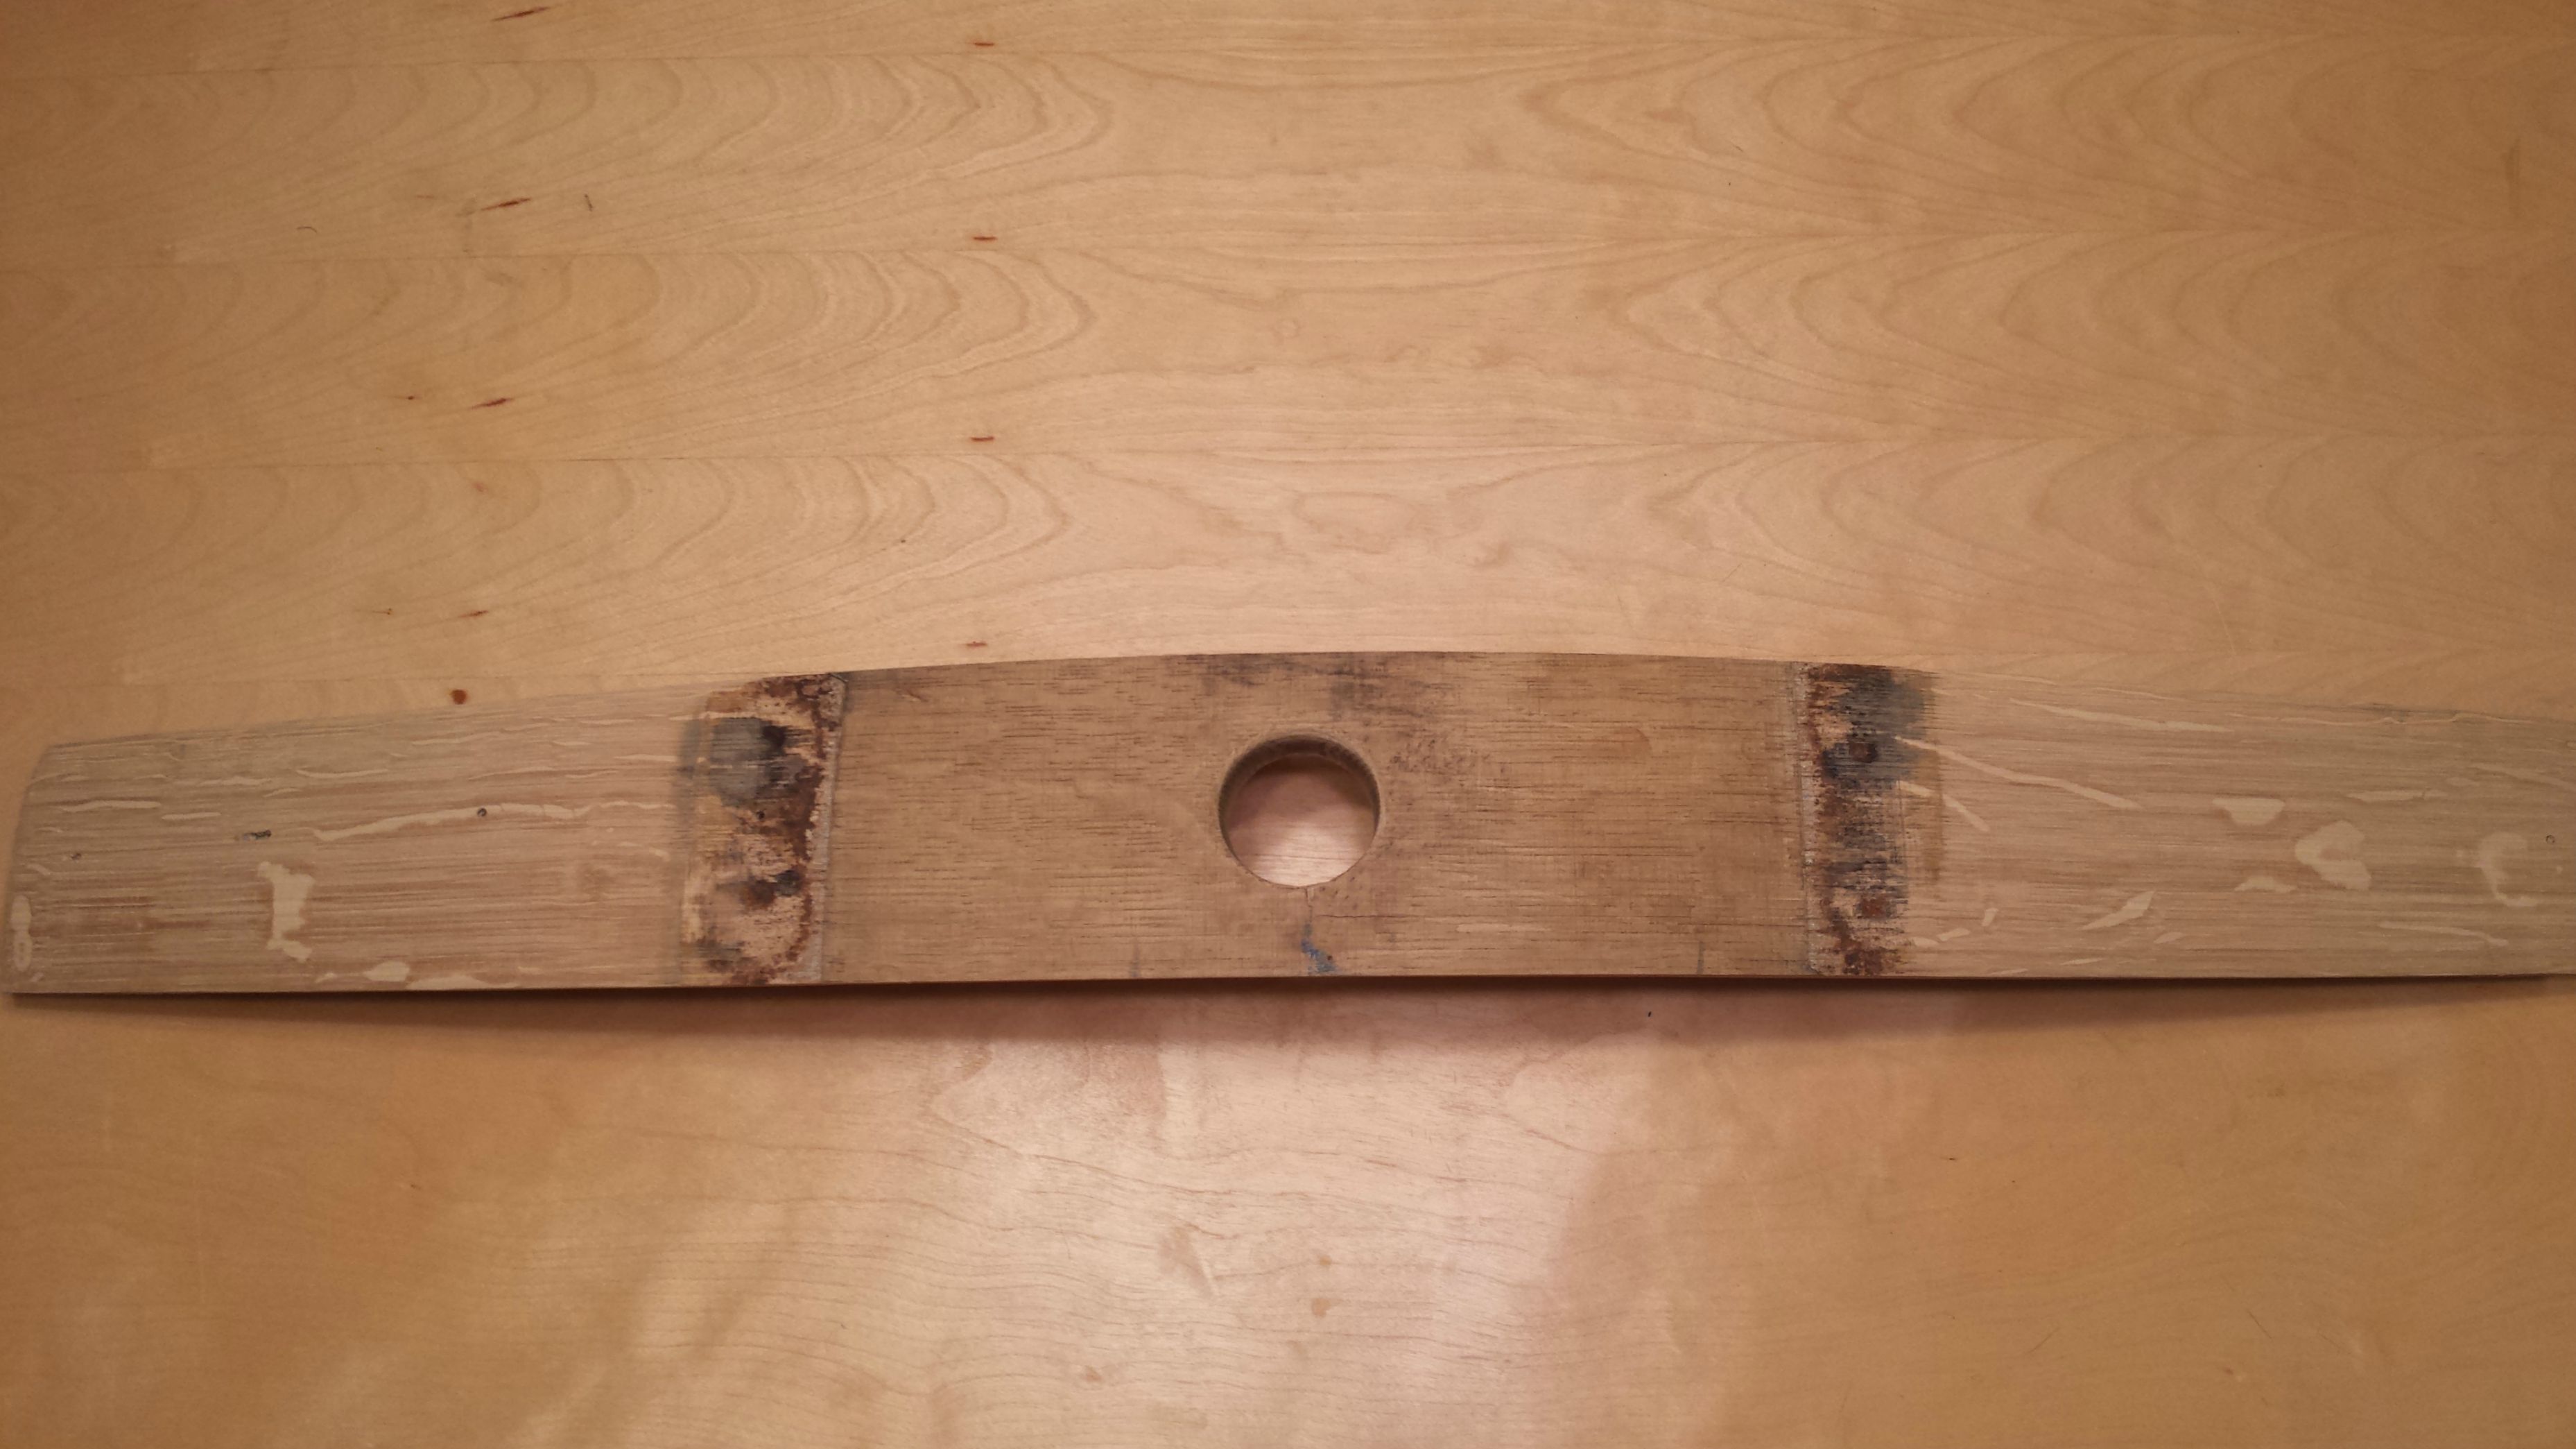
Begin the long process of sanding down the barrel. I sanded the top piece, bottom piece, the outside top and bottom of the staves through 40, 80, 120, 220, and 320 grit. I sanded the inside of the staves through 120 grit. I thought it would be best to sand the outside middle of the staves once they were reassembled into the barrel so that they more smoothly fit together.
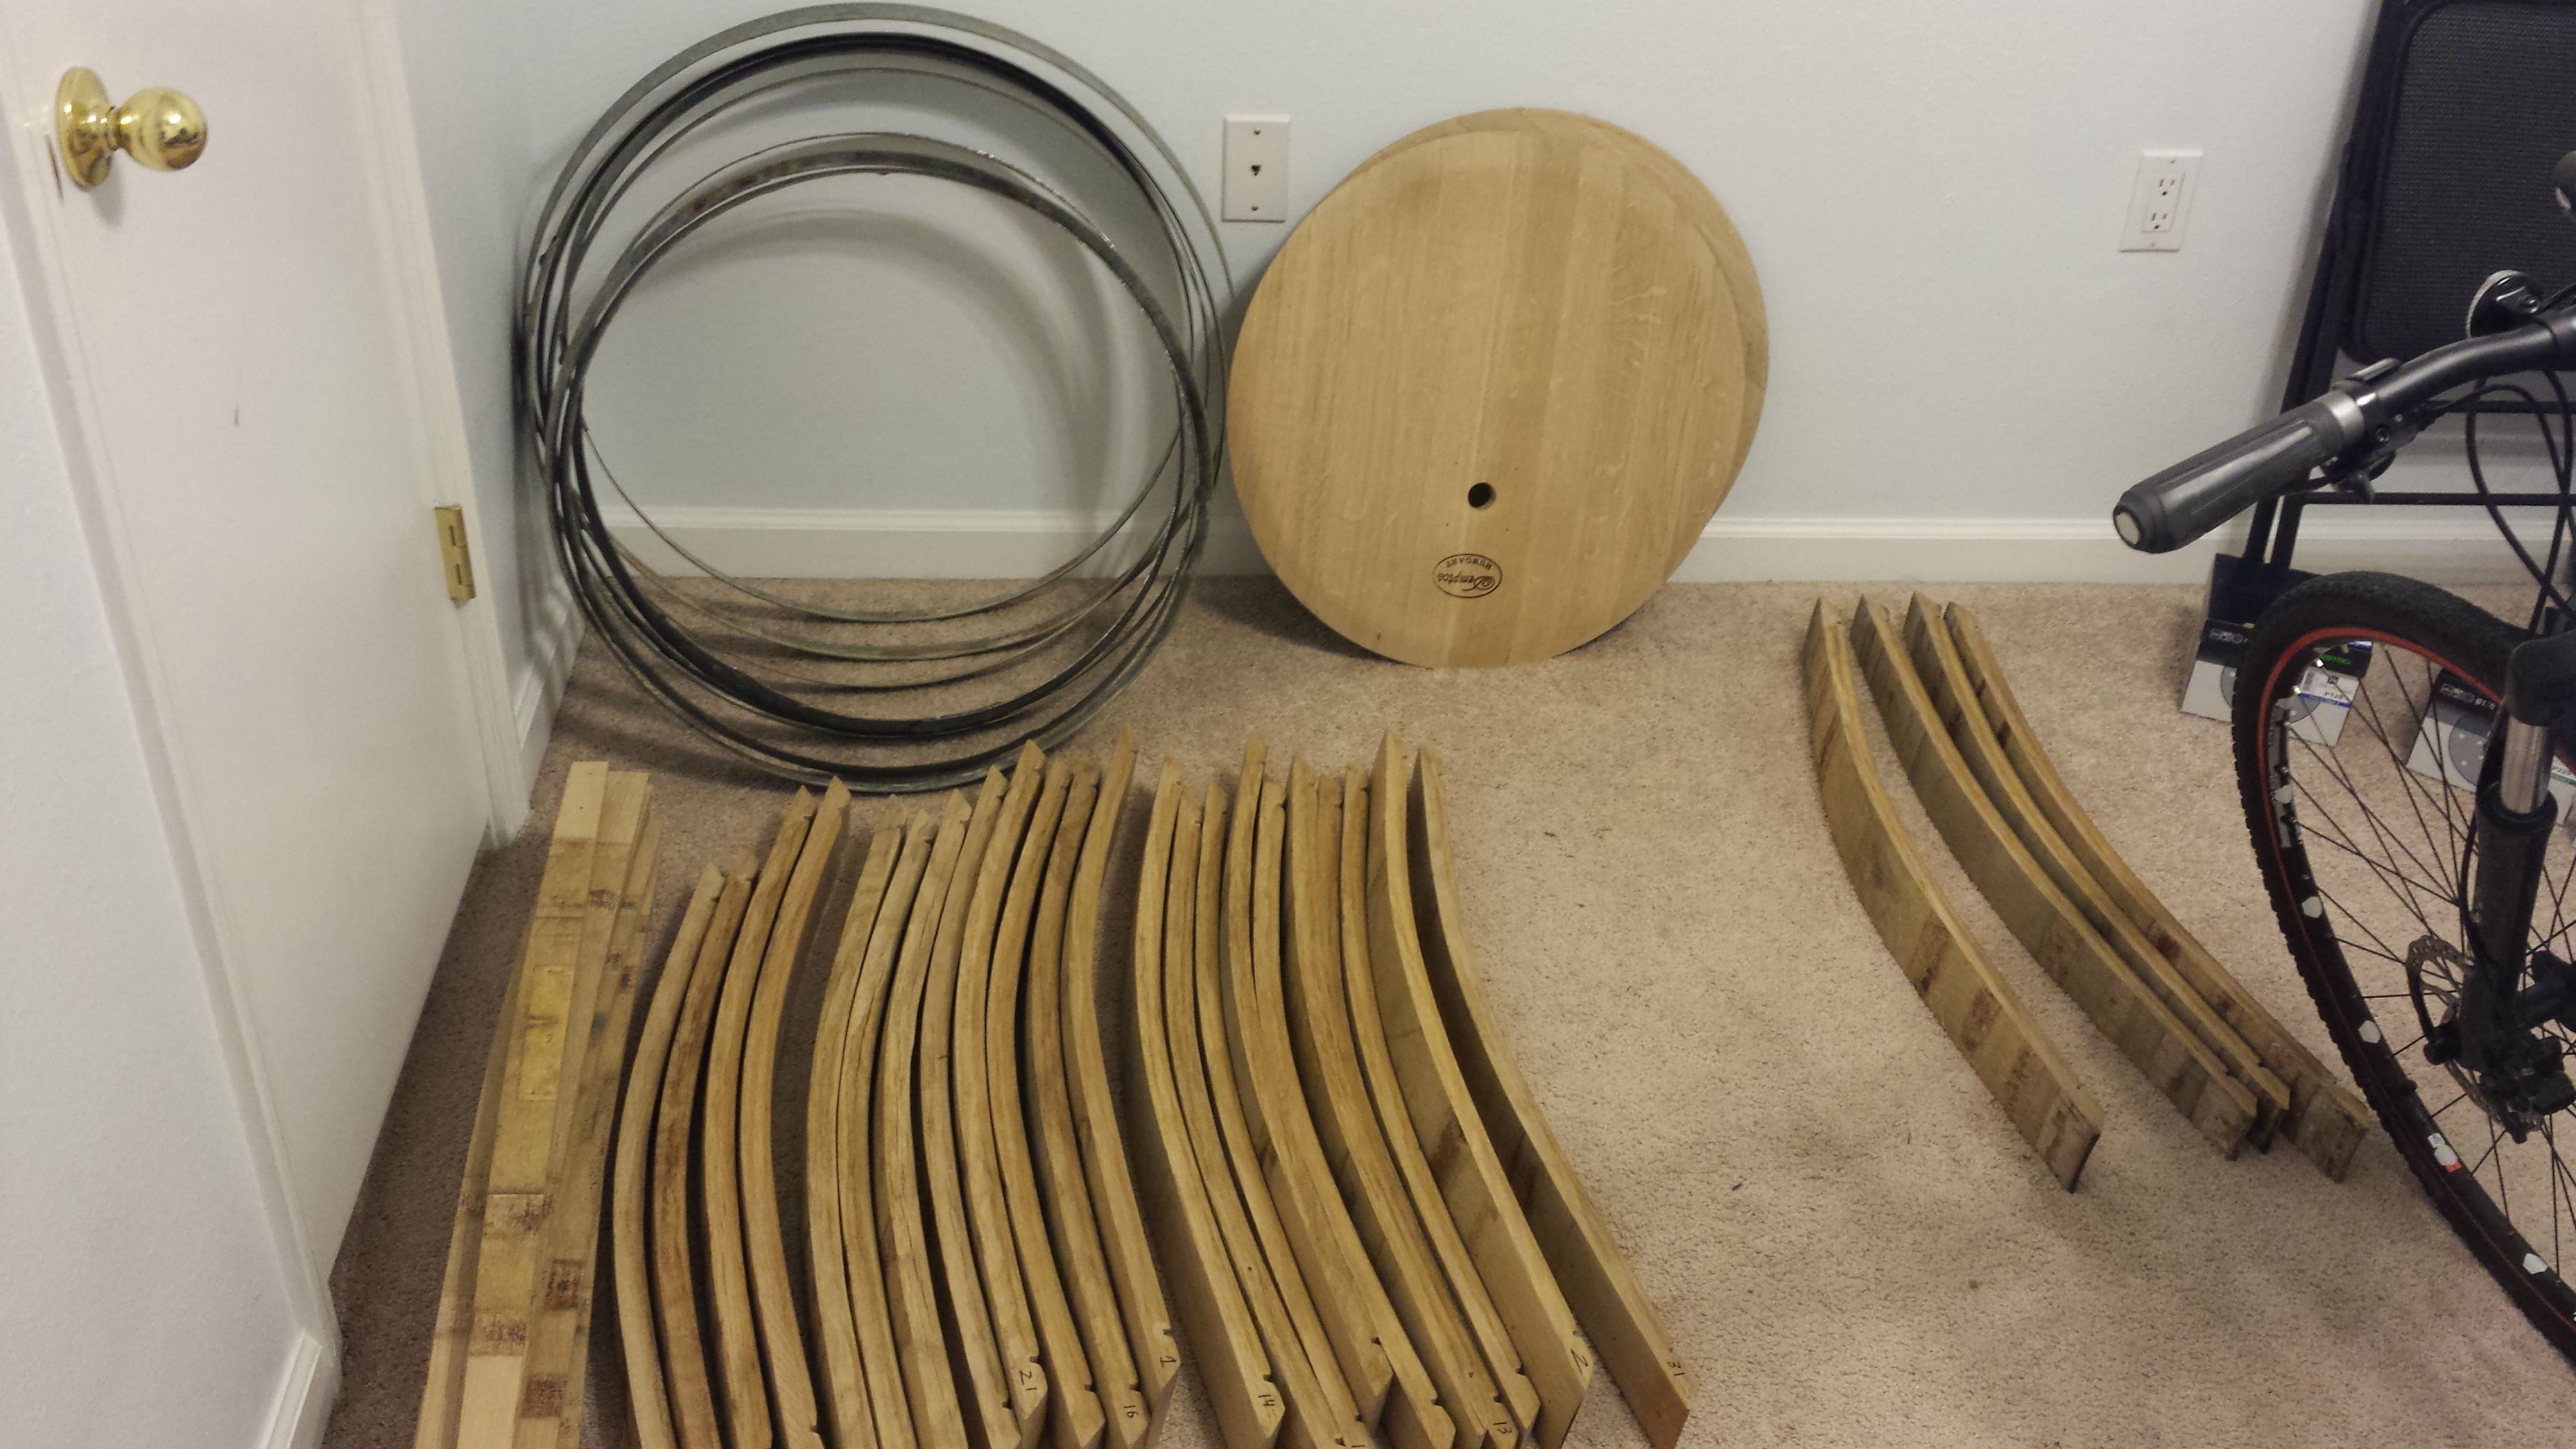
Storage during the sanding process.
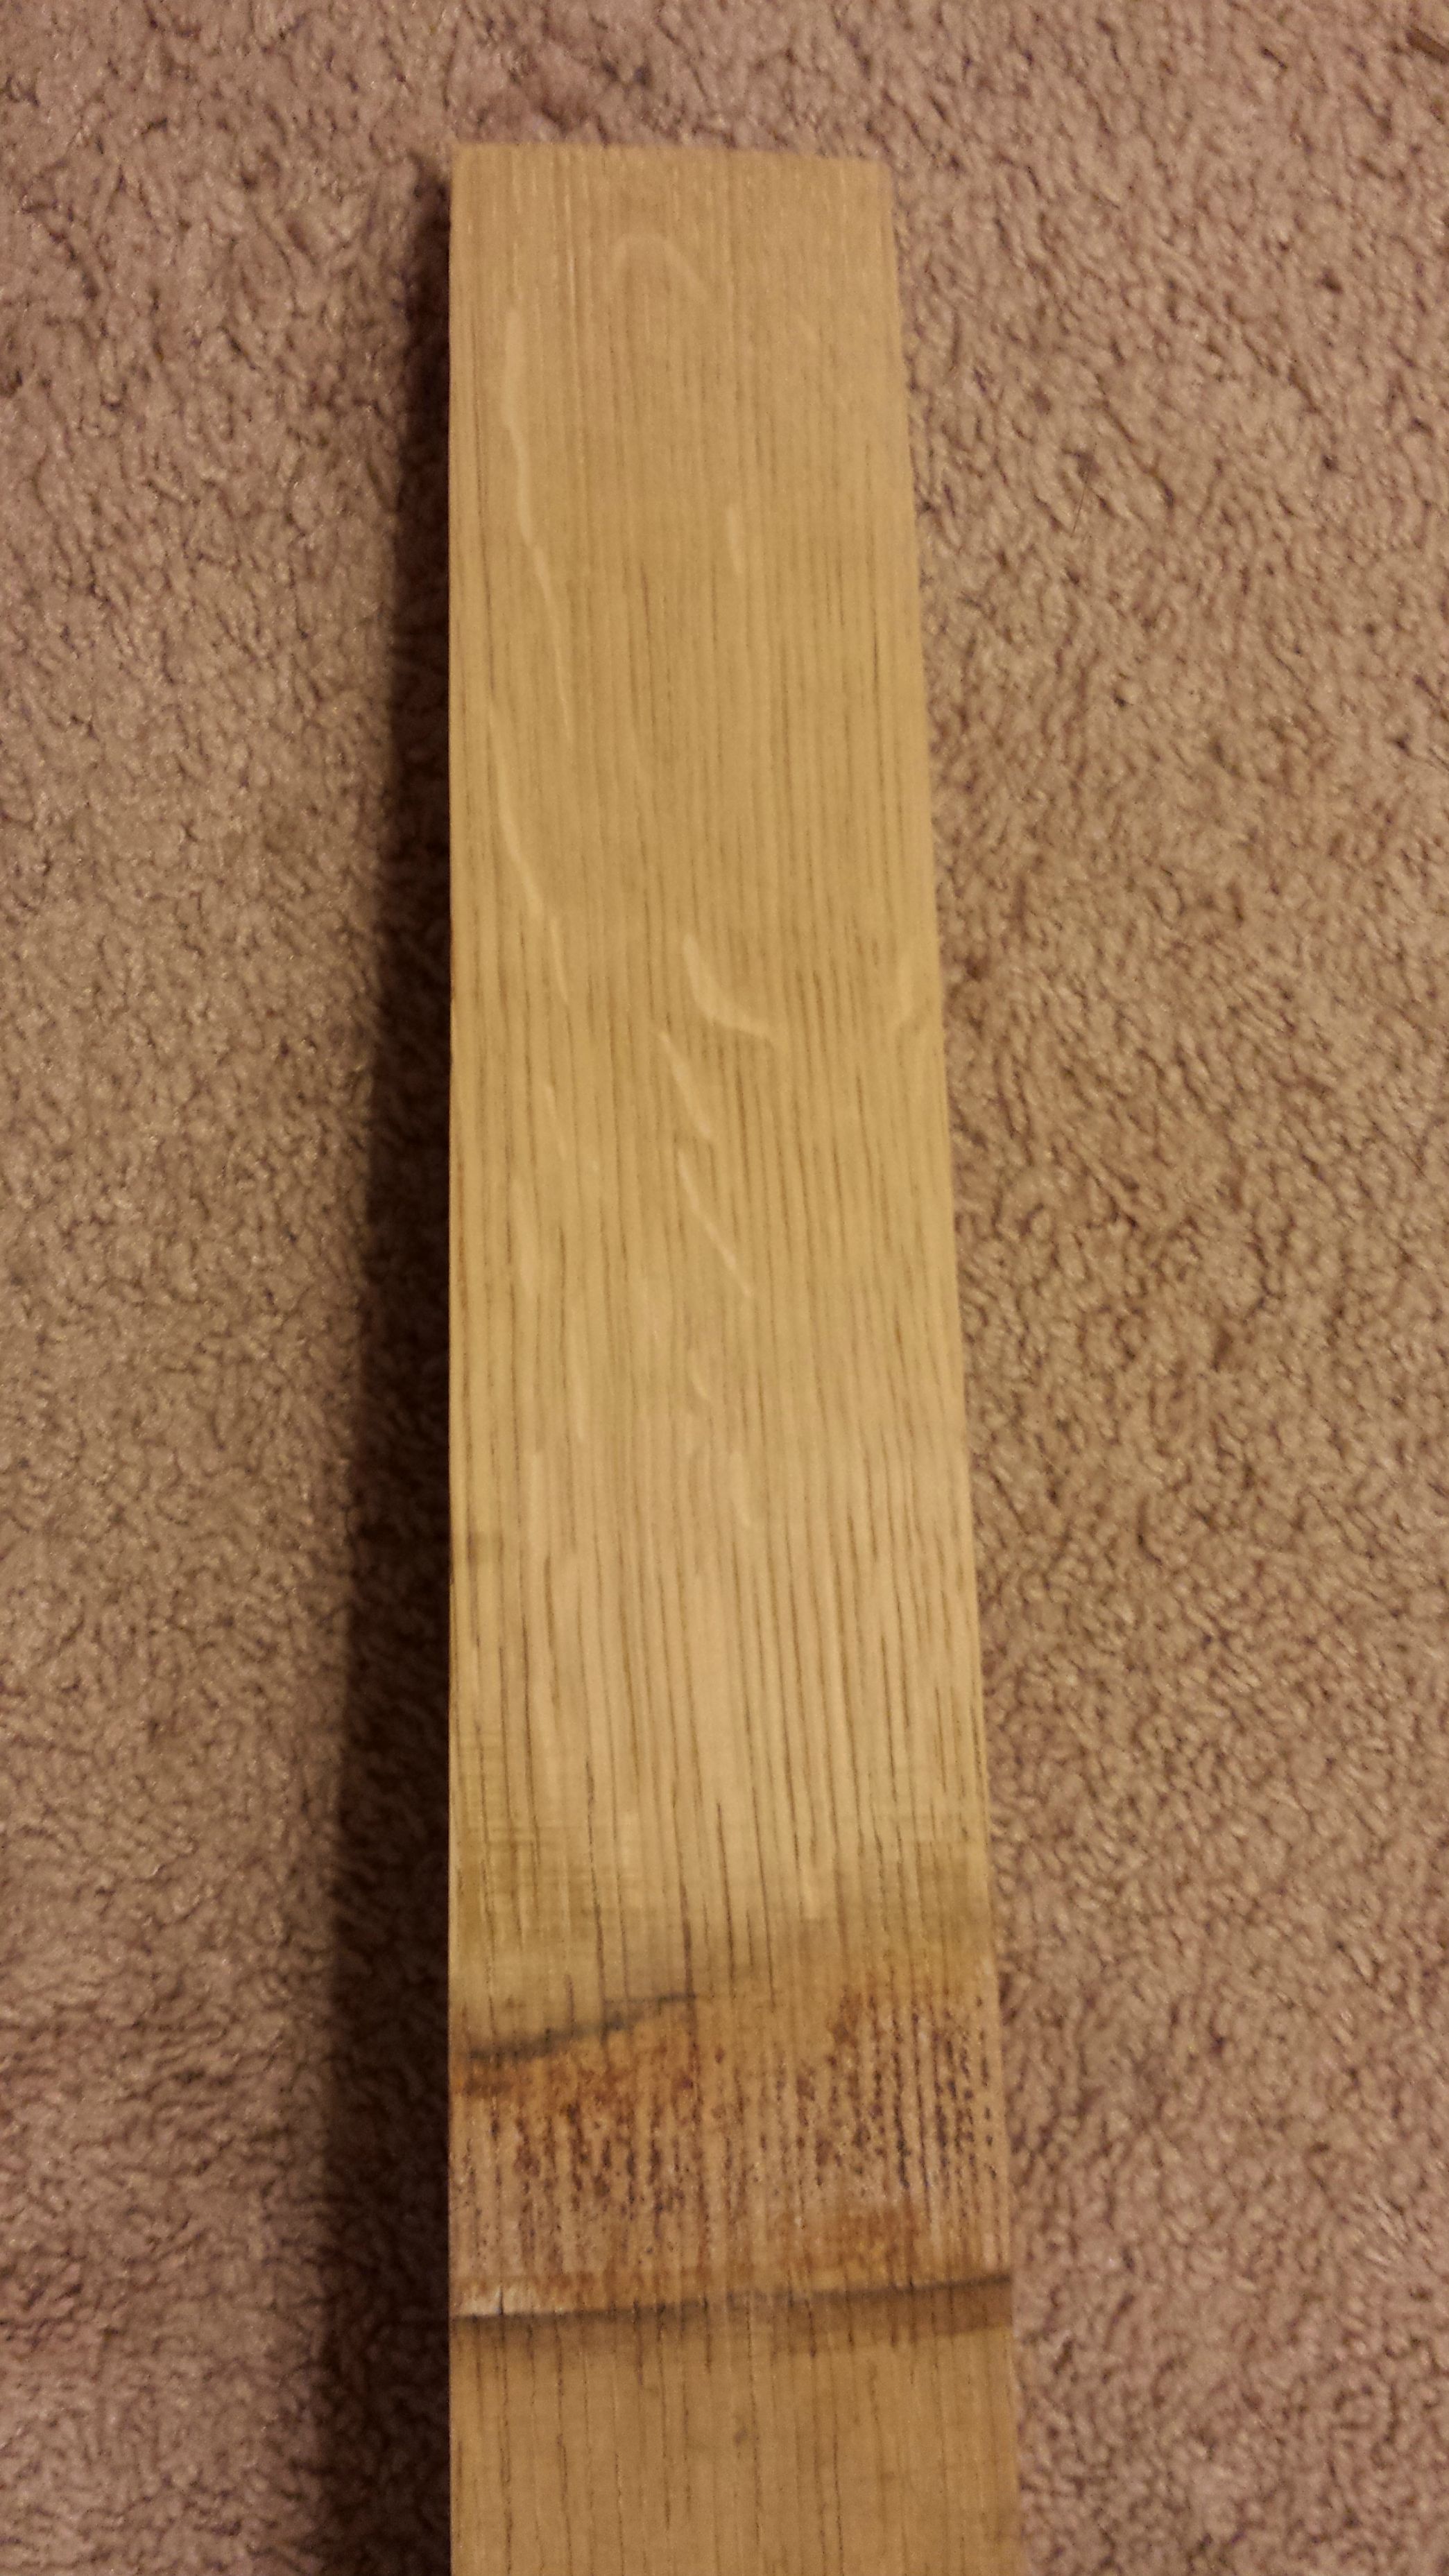
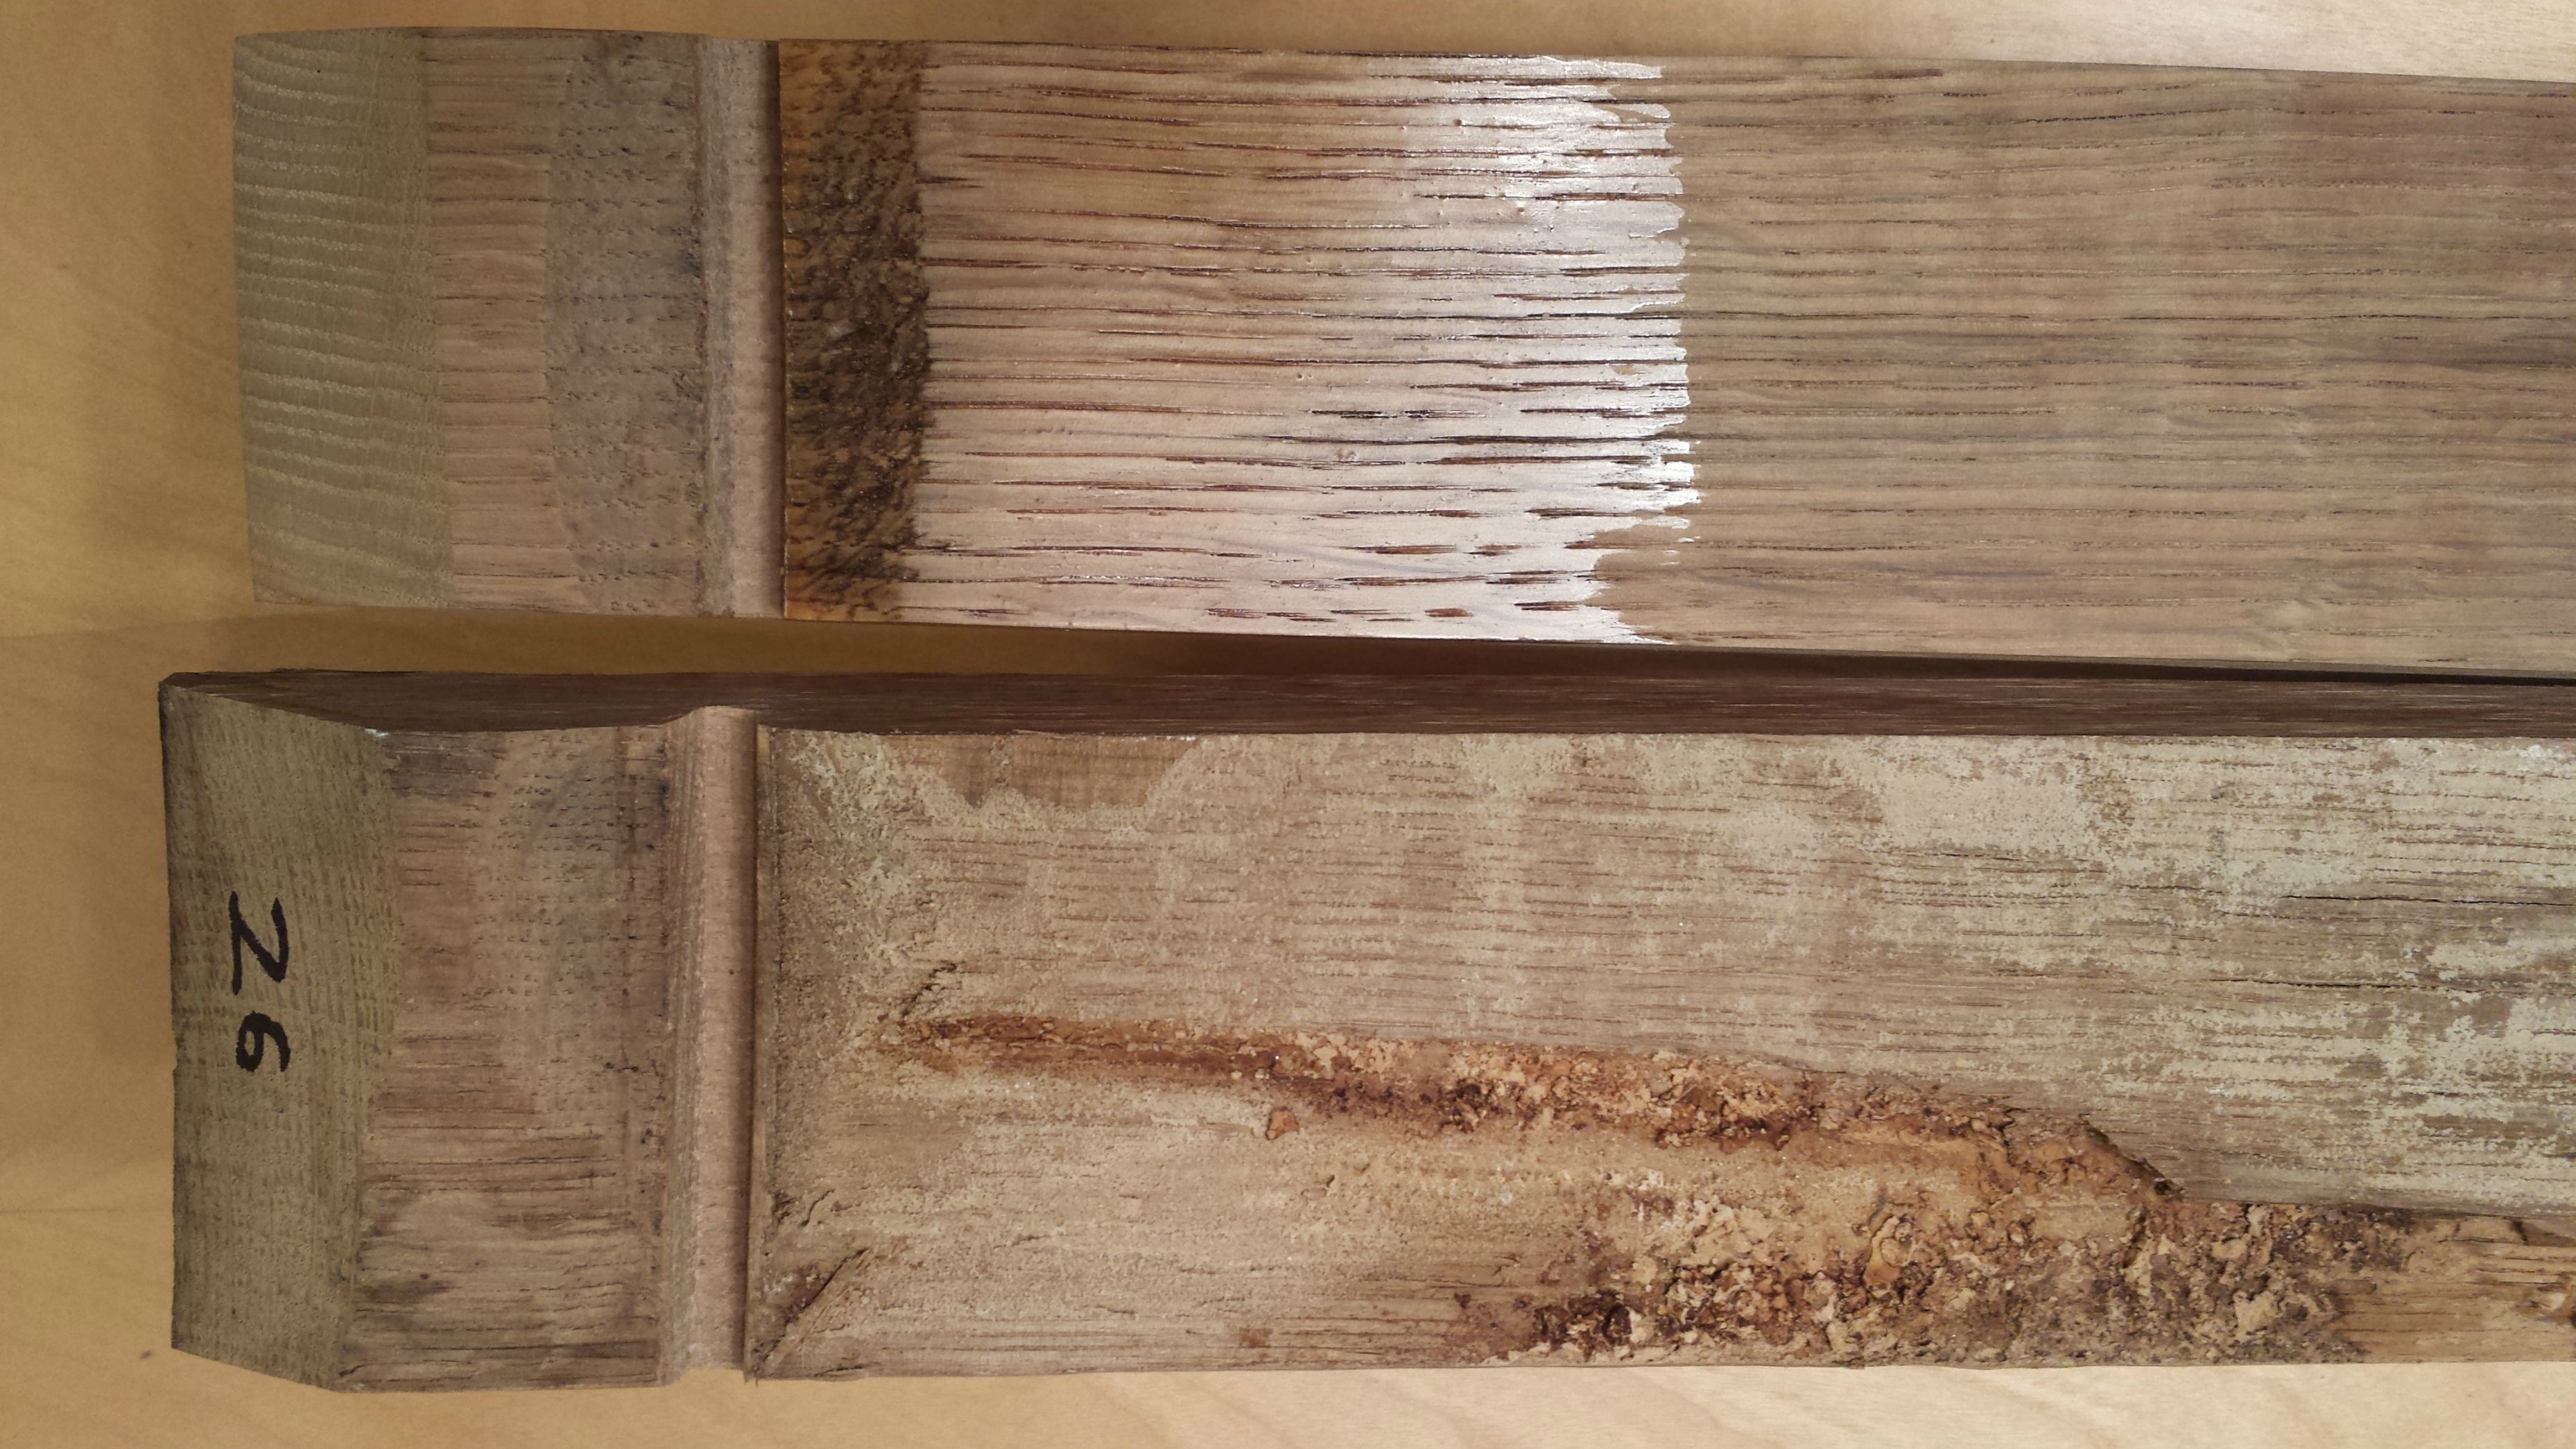
I tested out the stain I was planning on using on parts that wouldn't be seen. I ended up liking it and using it on the whole barrel.
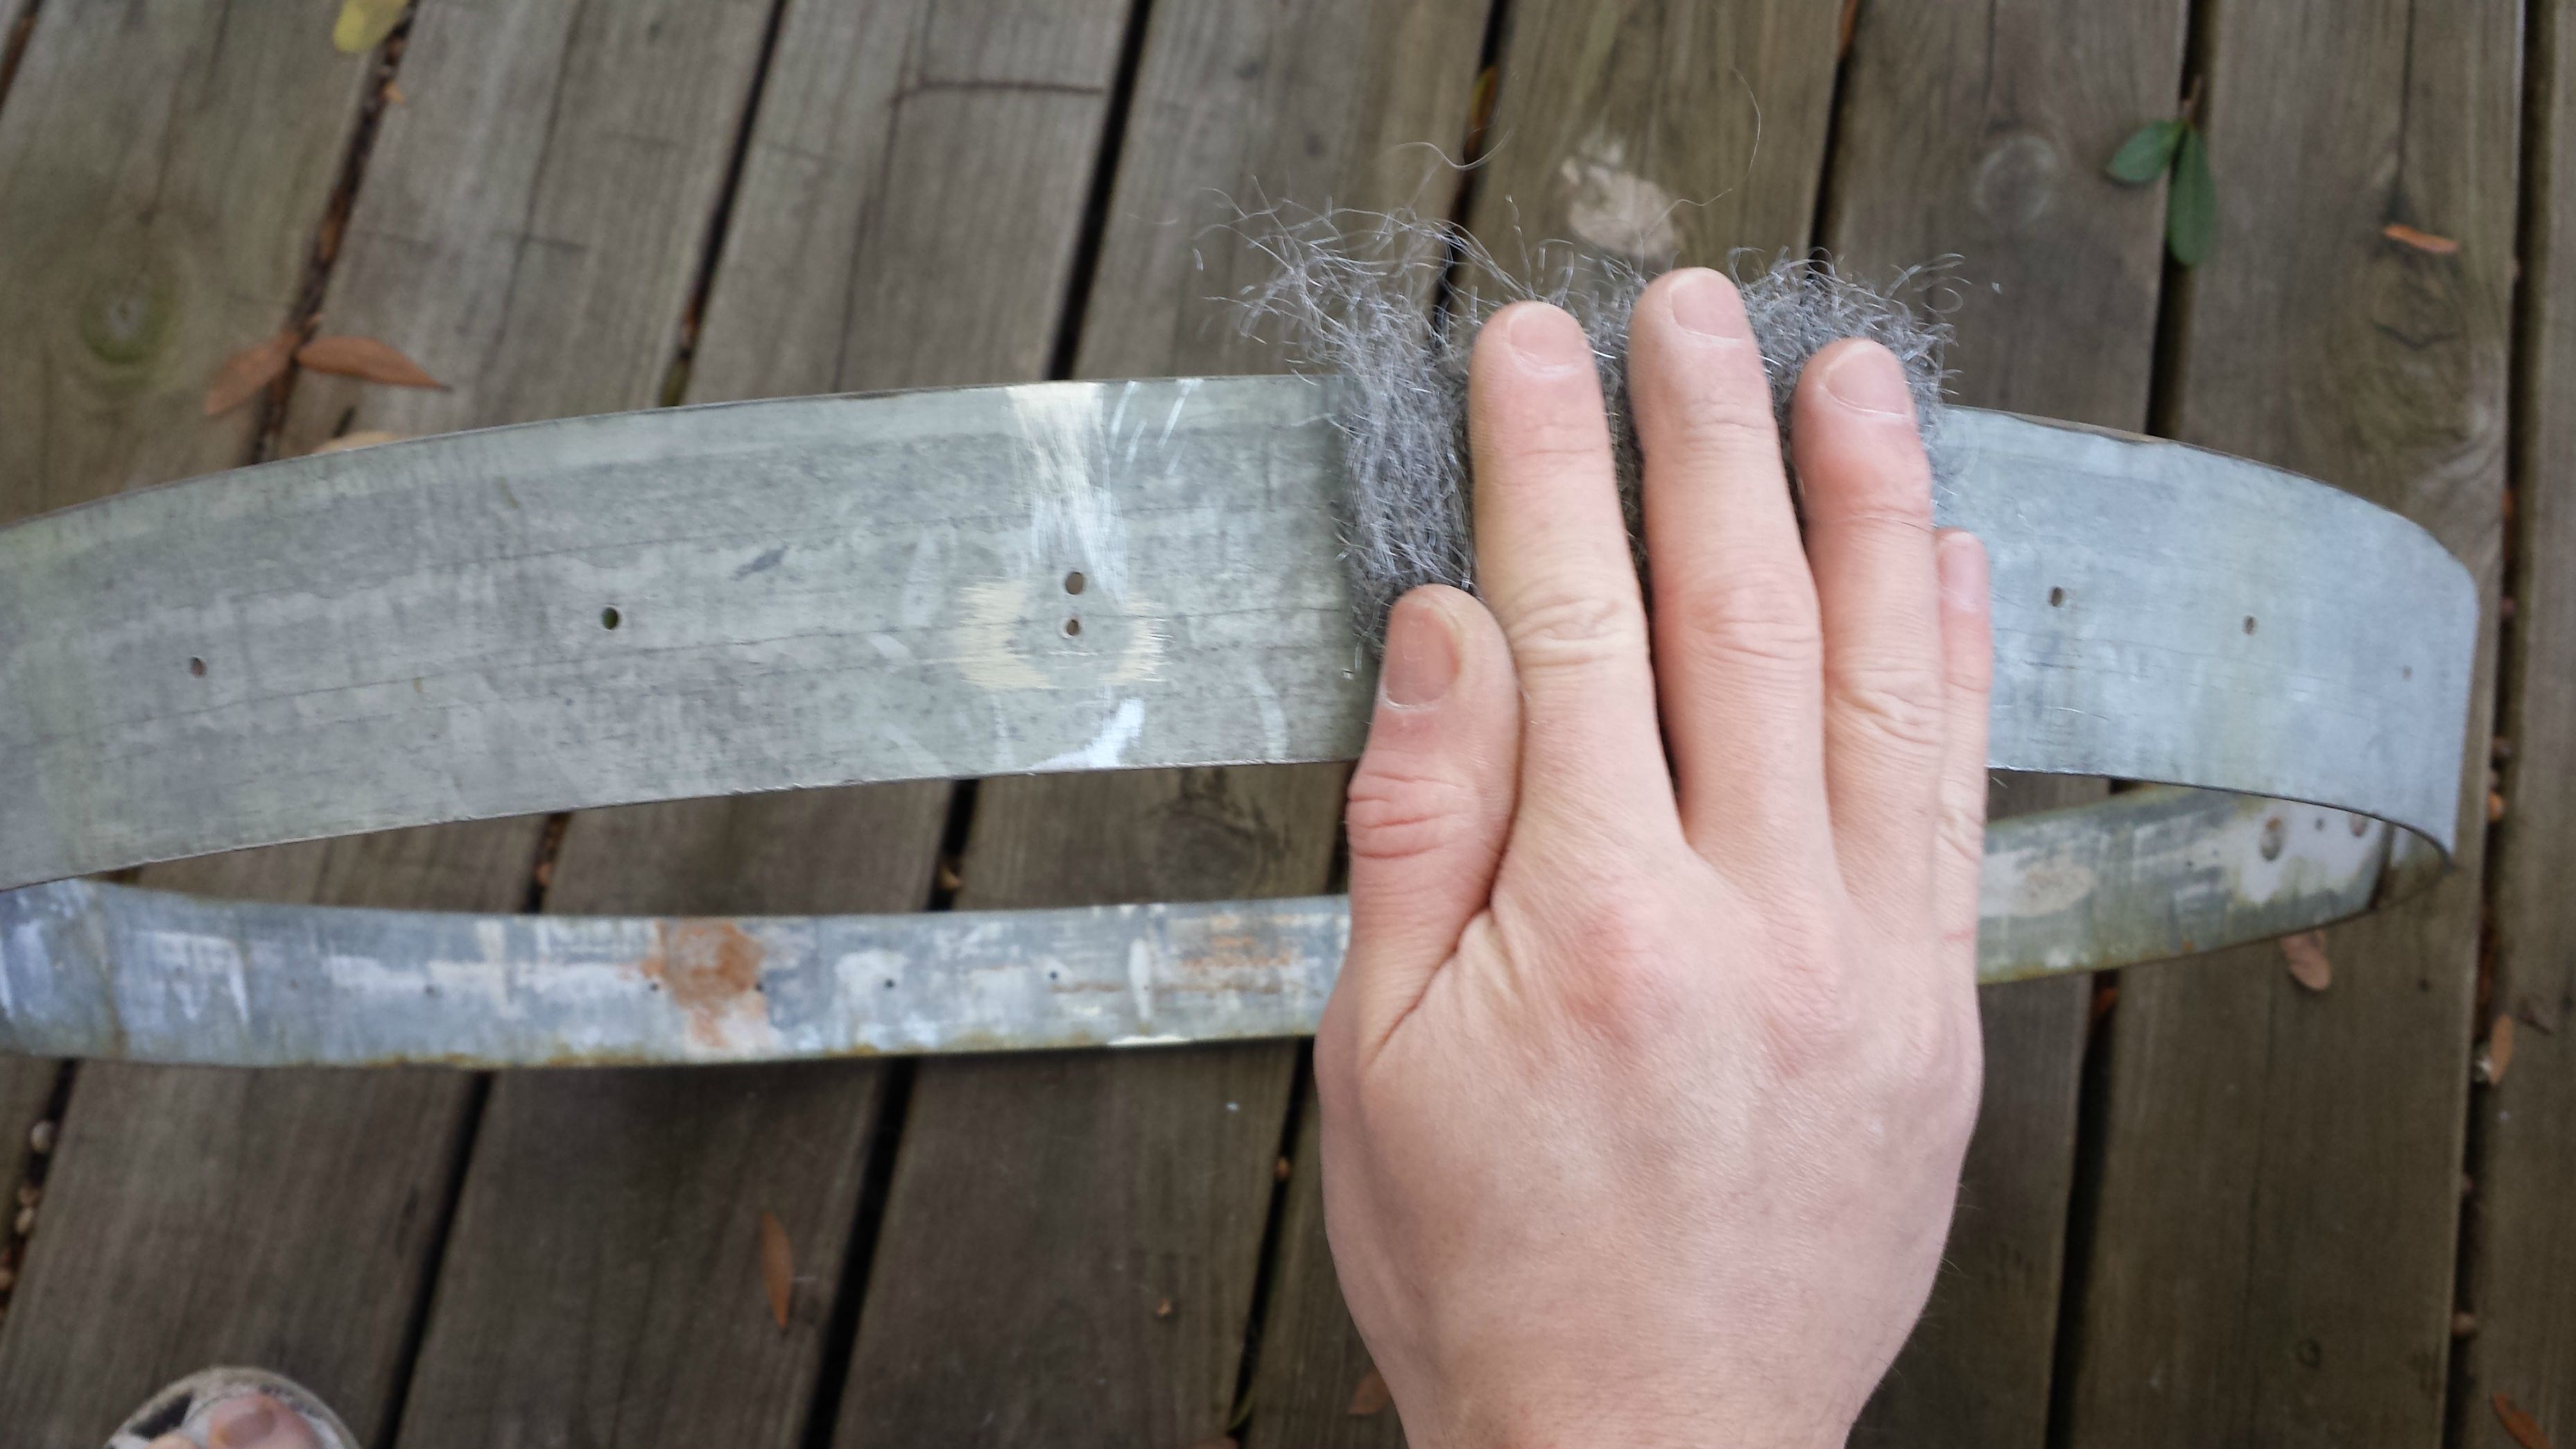
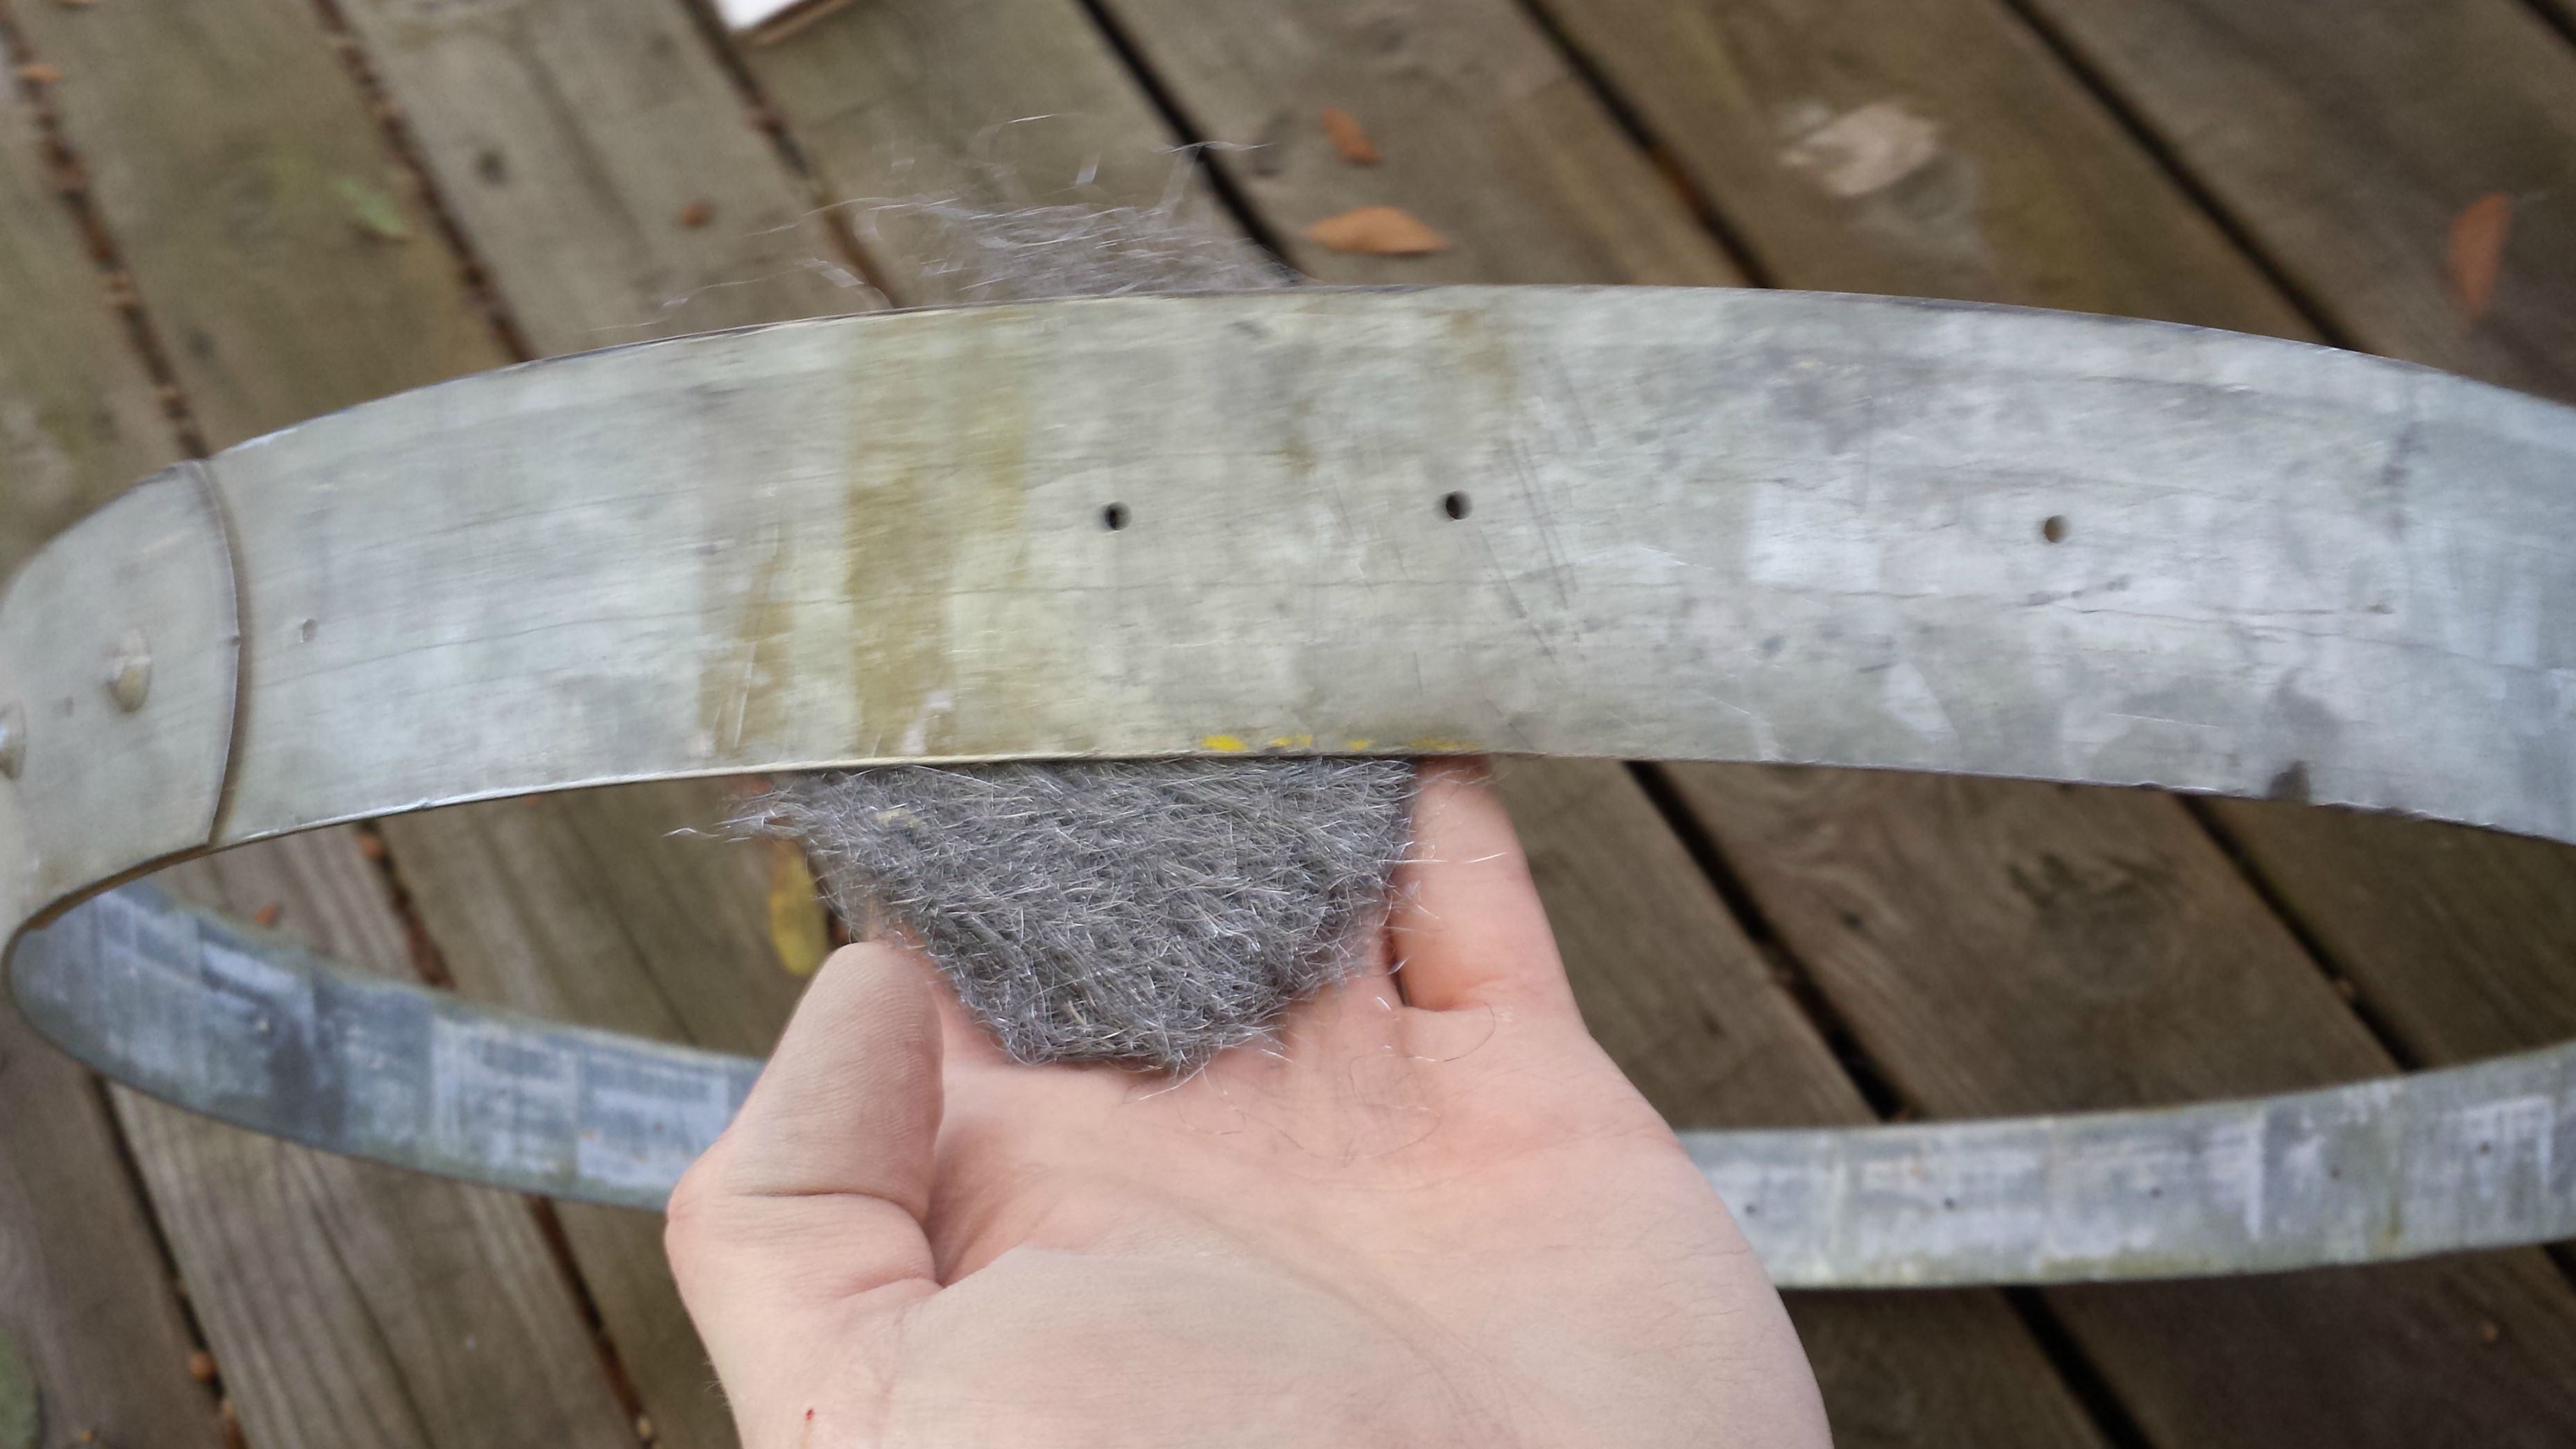
Next I wanted to sand the rings to a bright shine, but after a number of hours with very little progress I realized that wasn't going to happen.

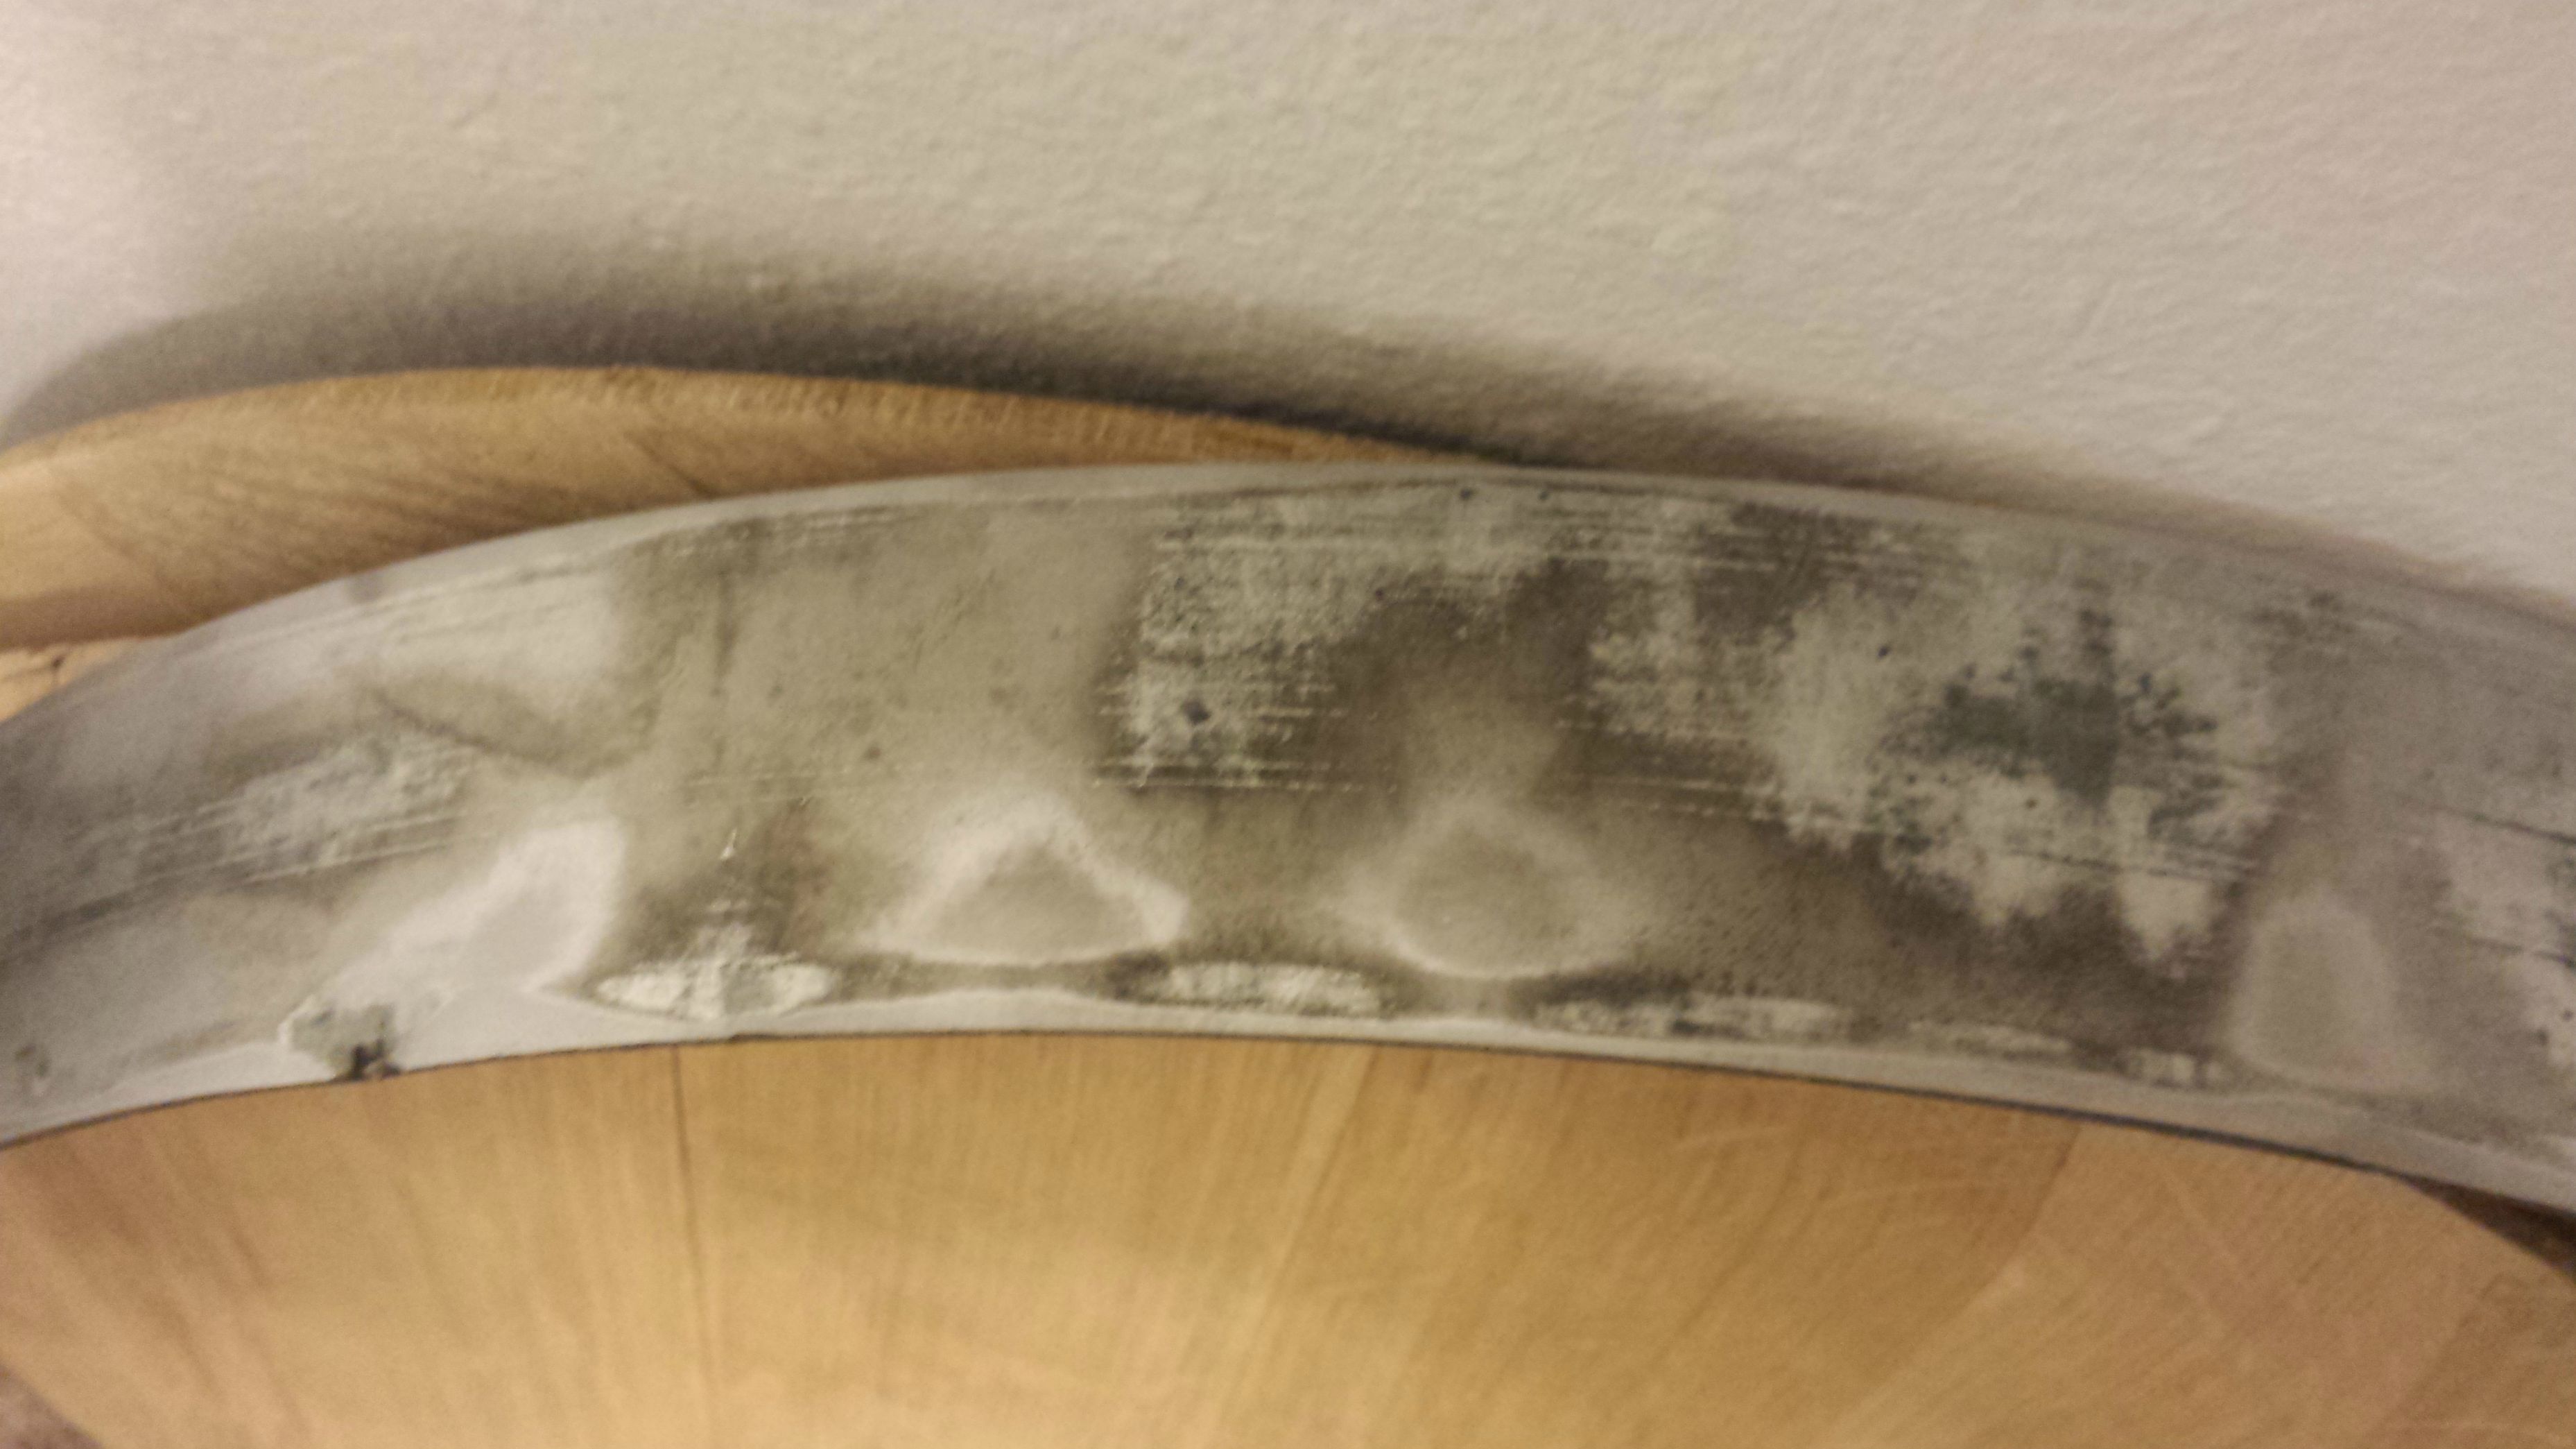
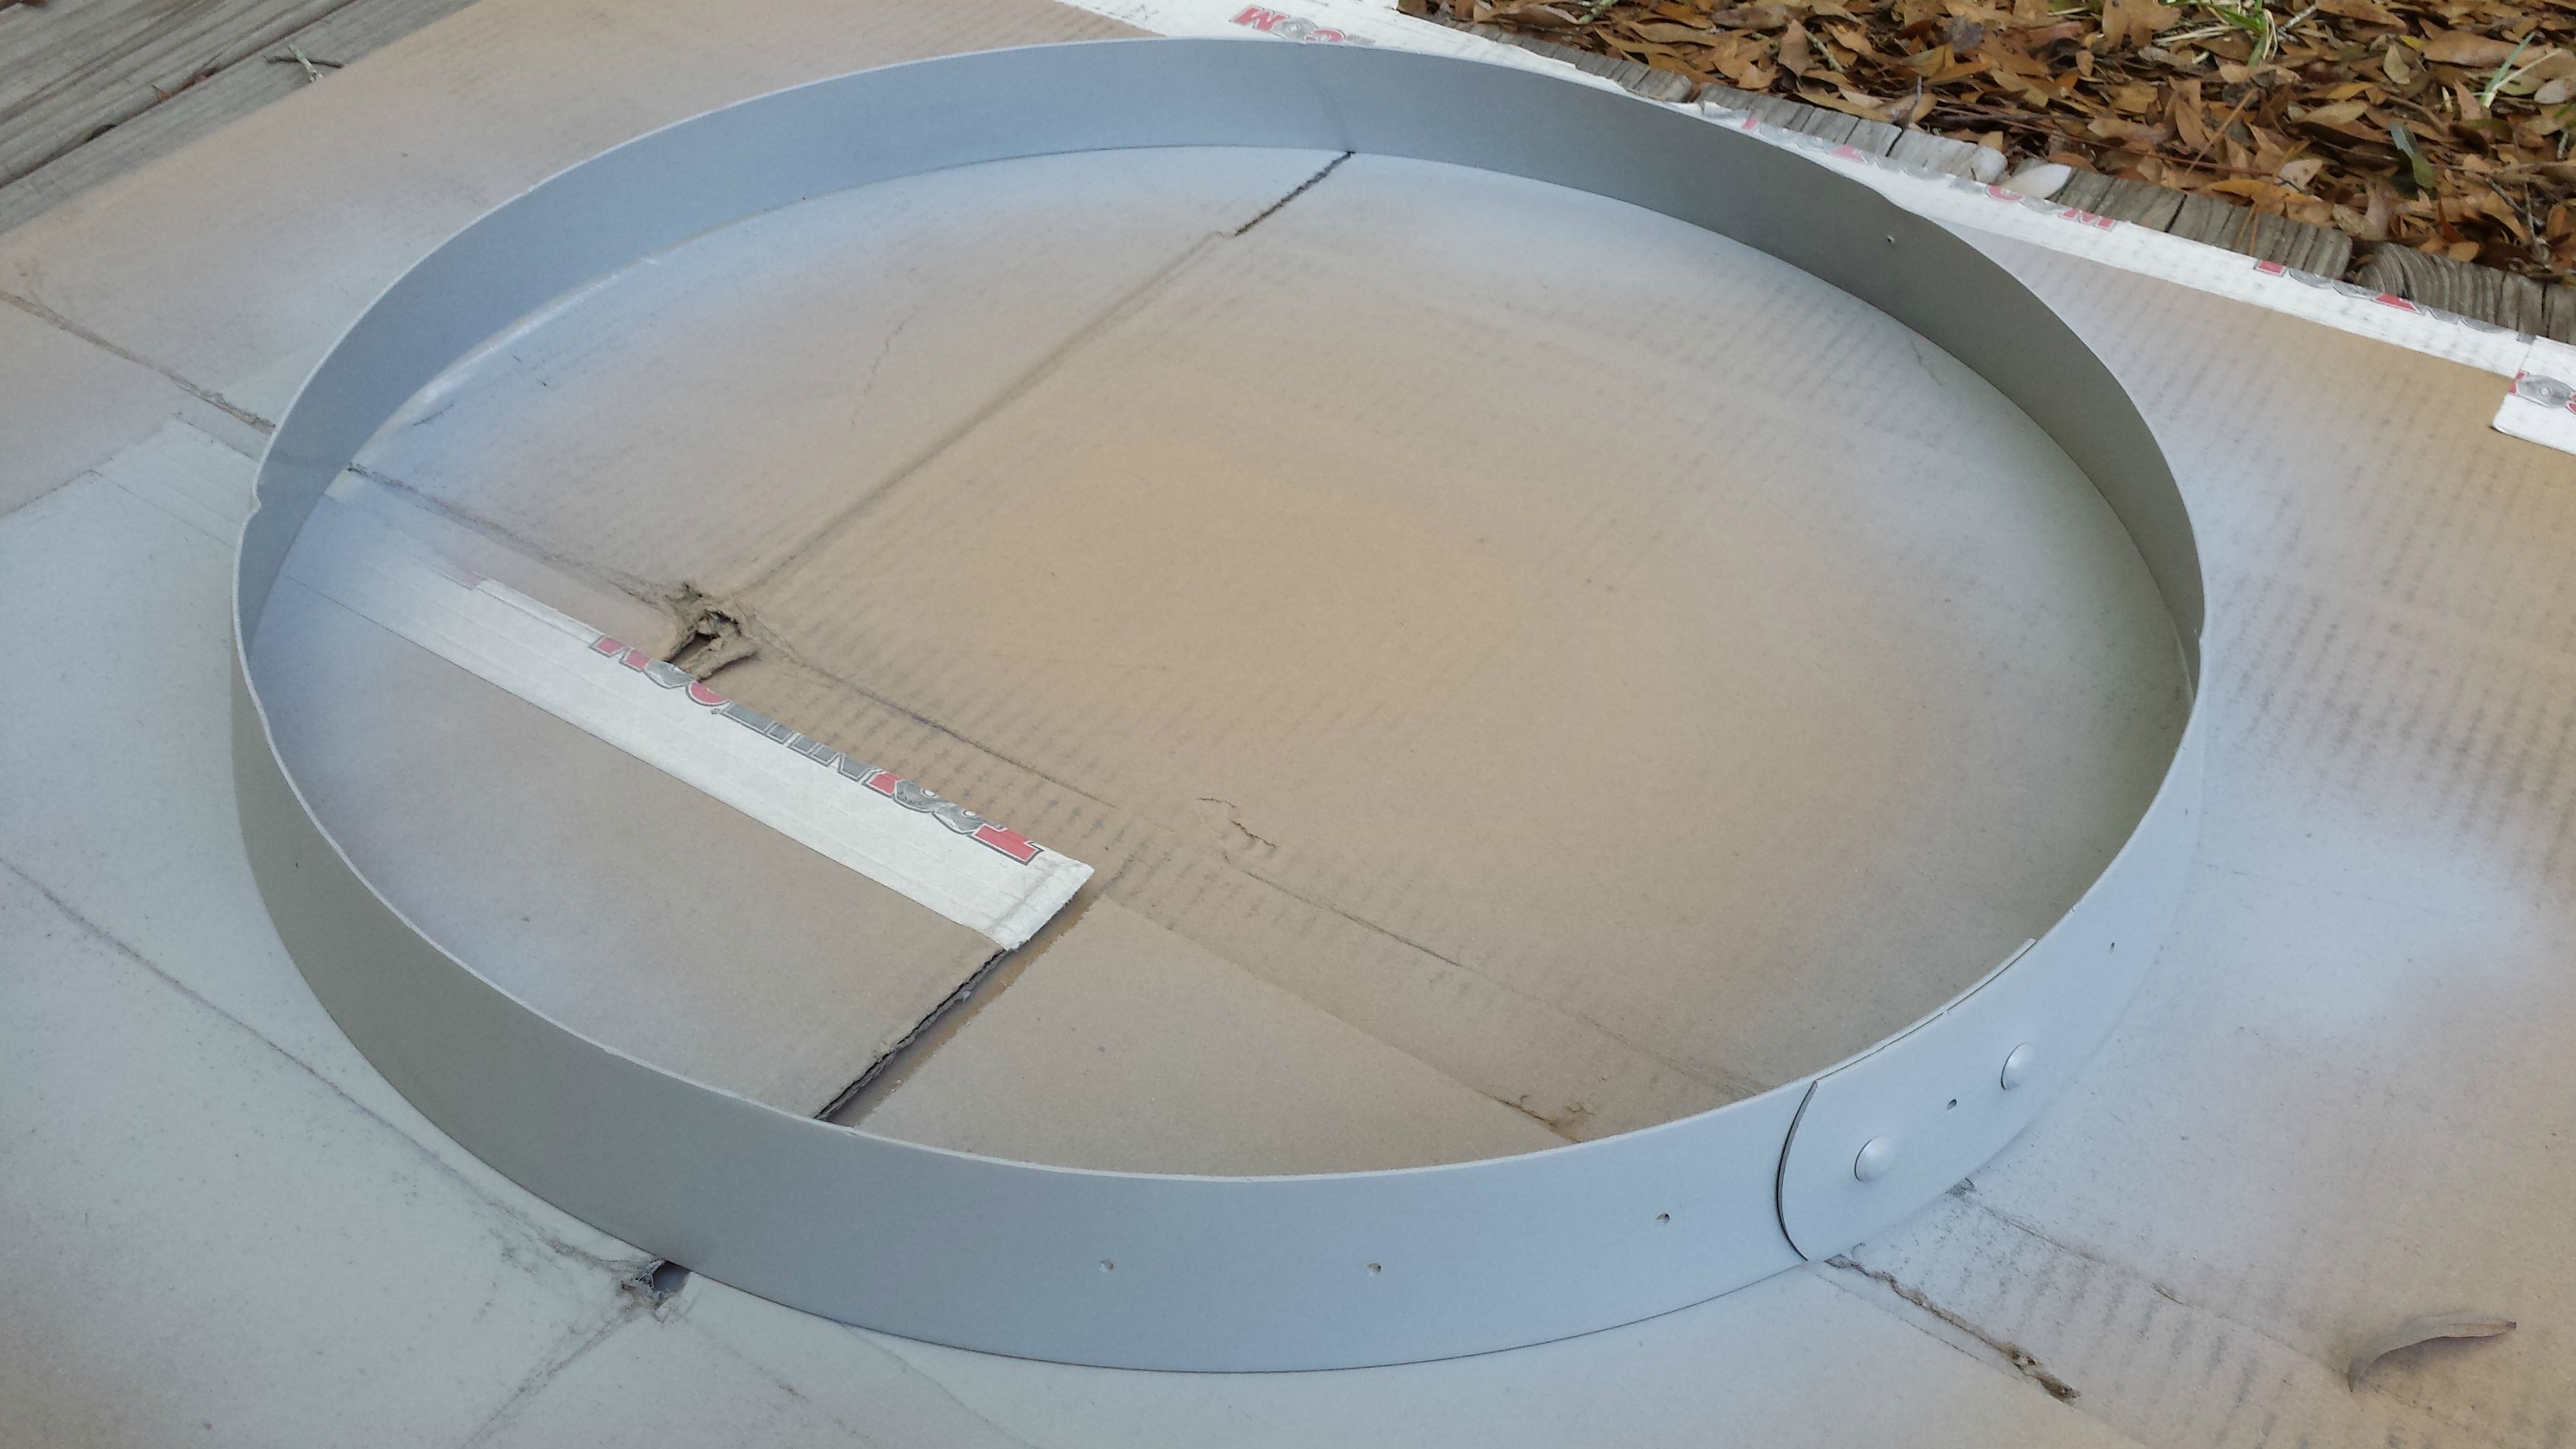
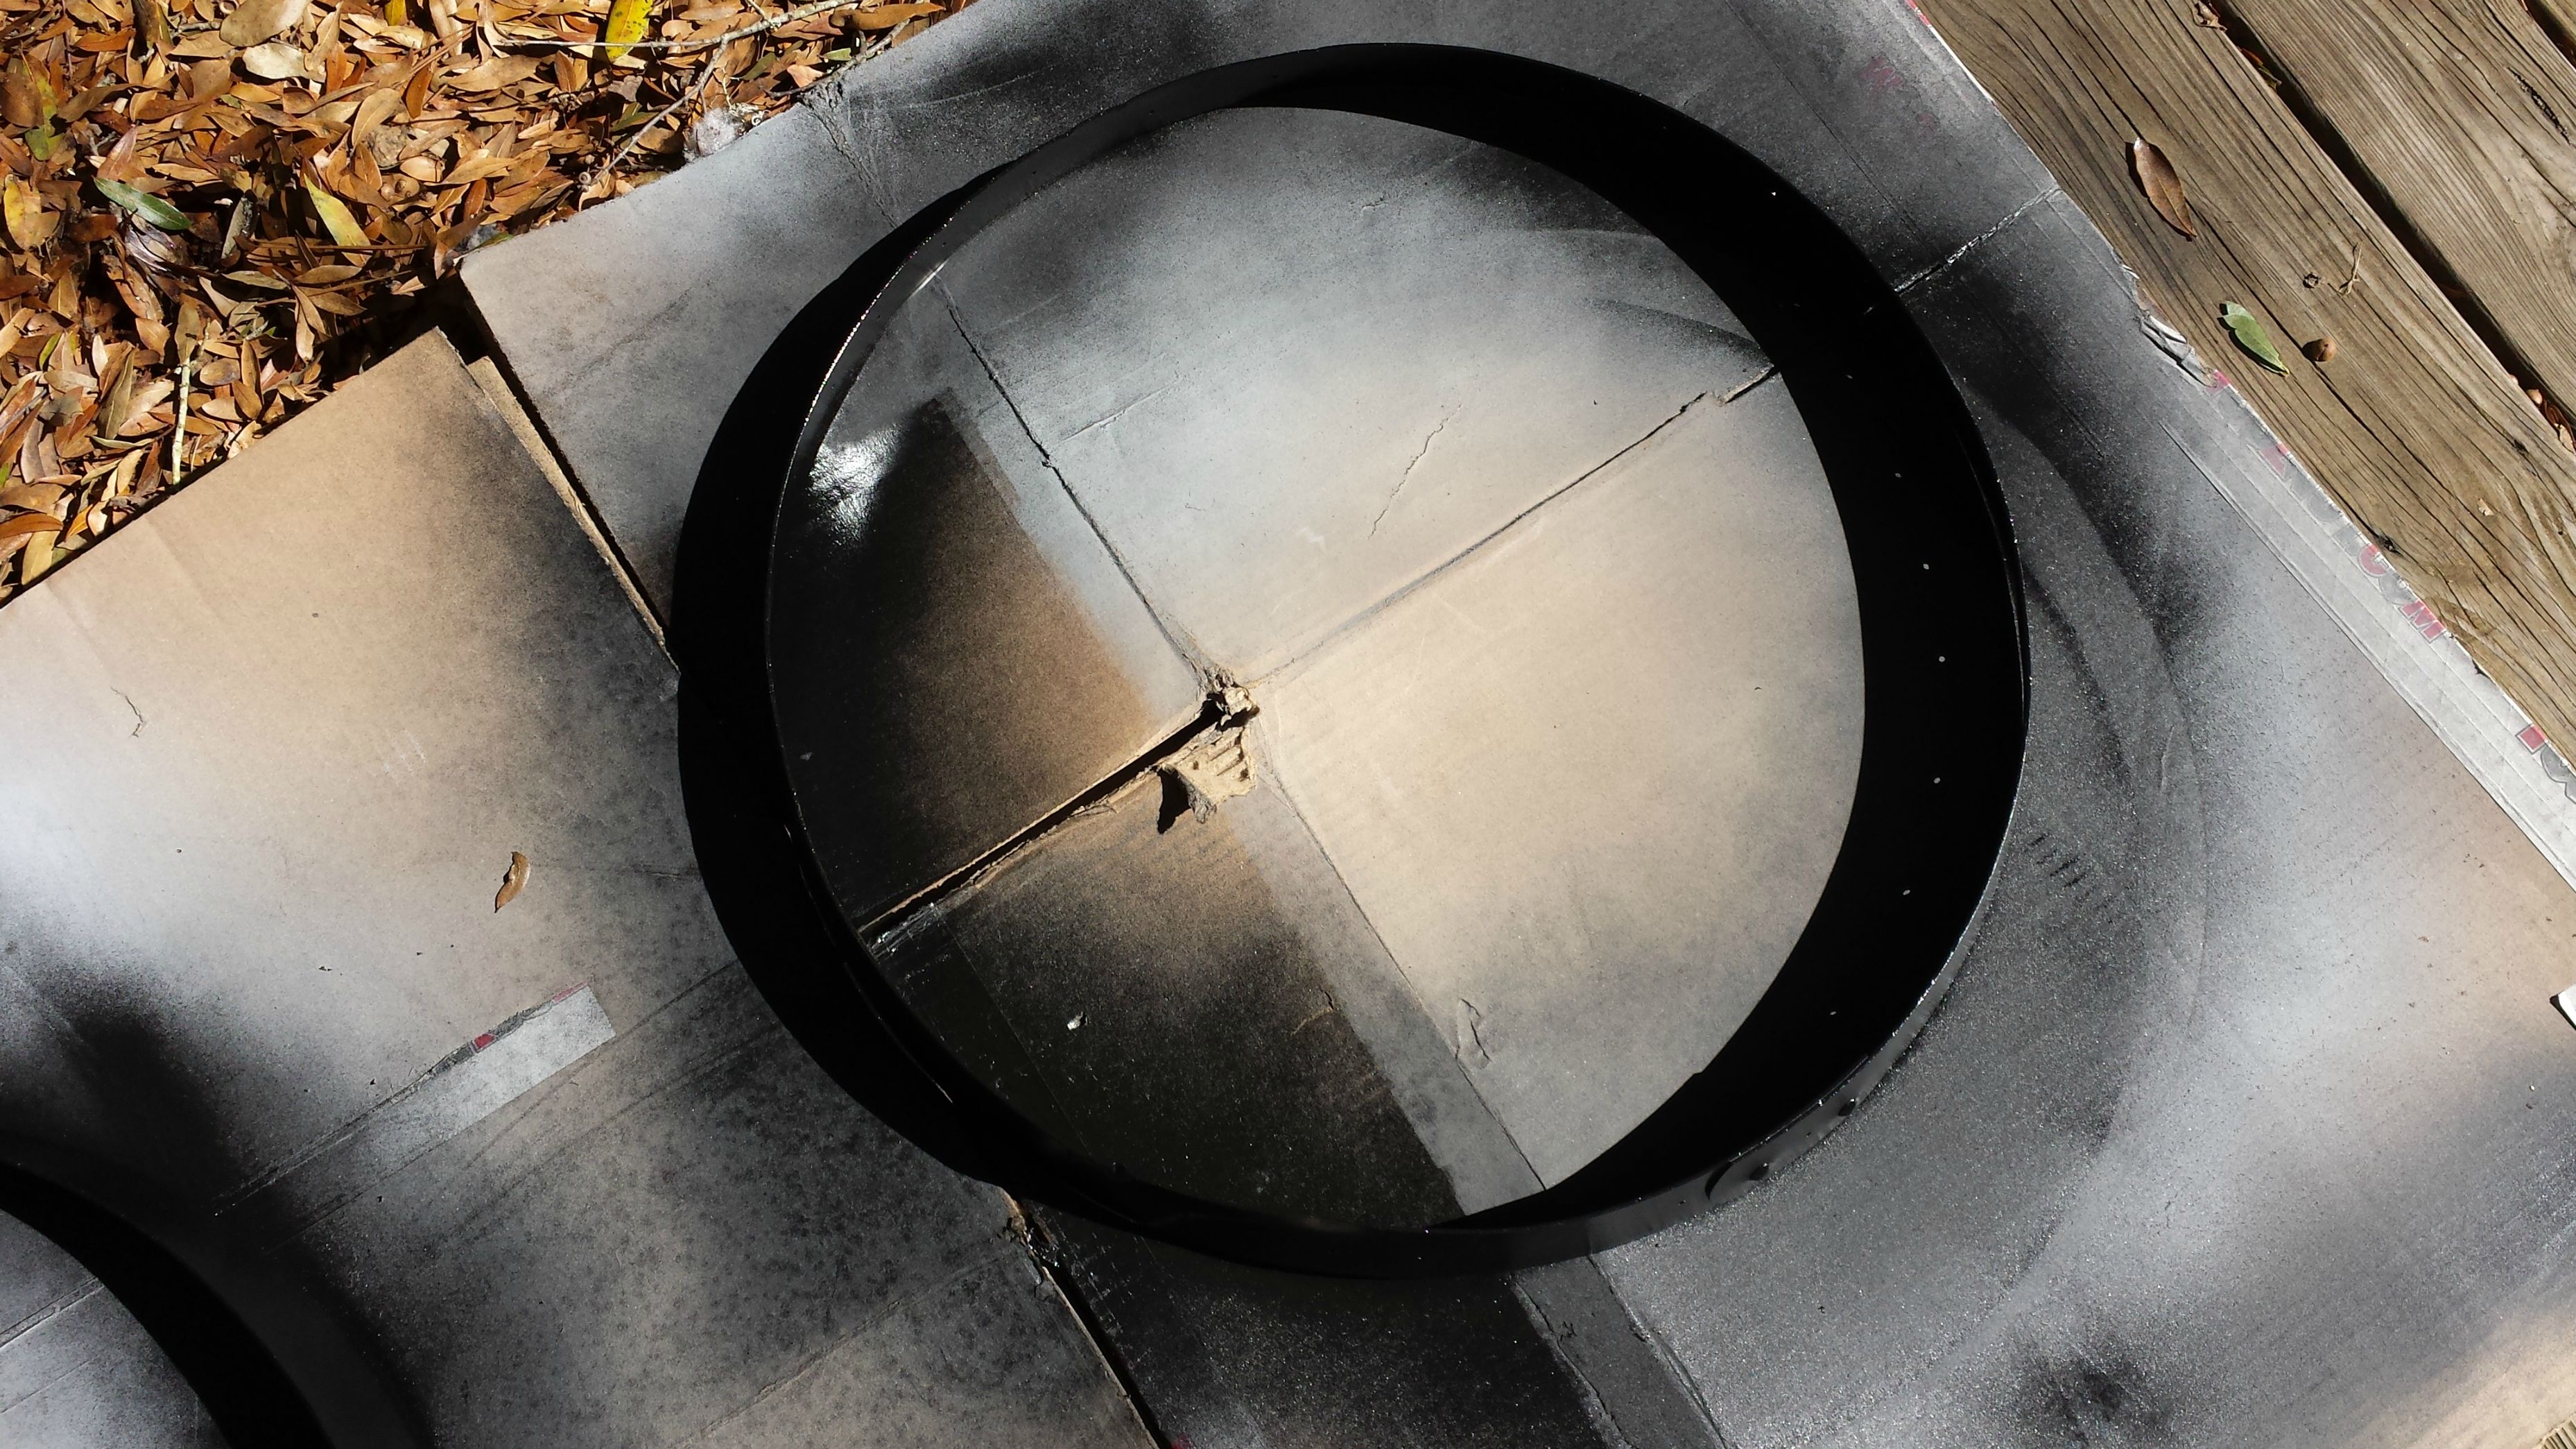
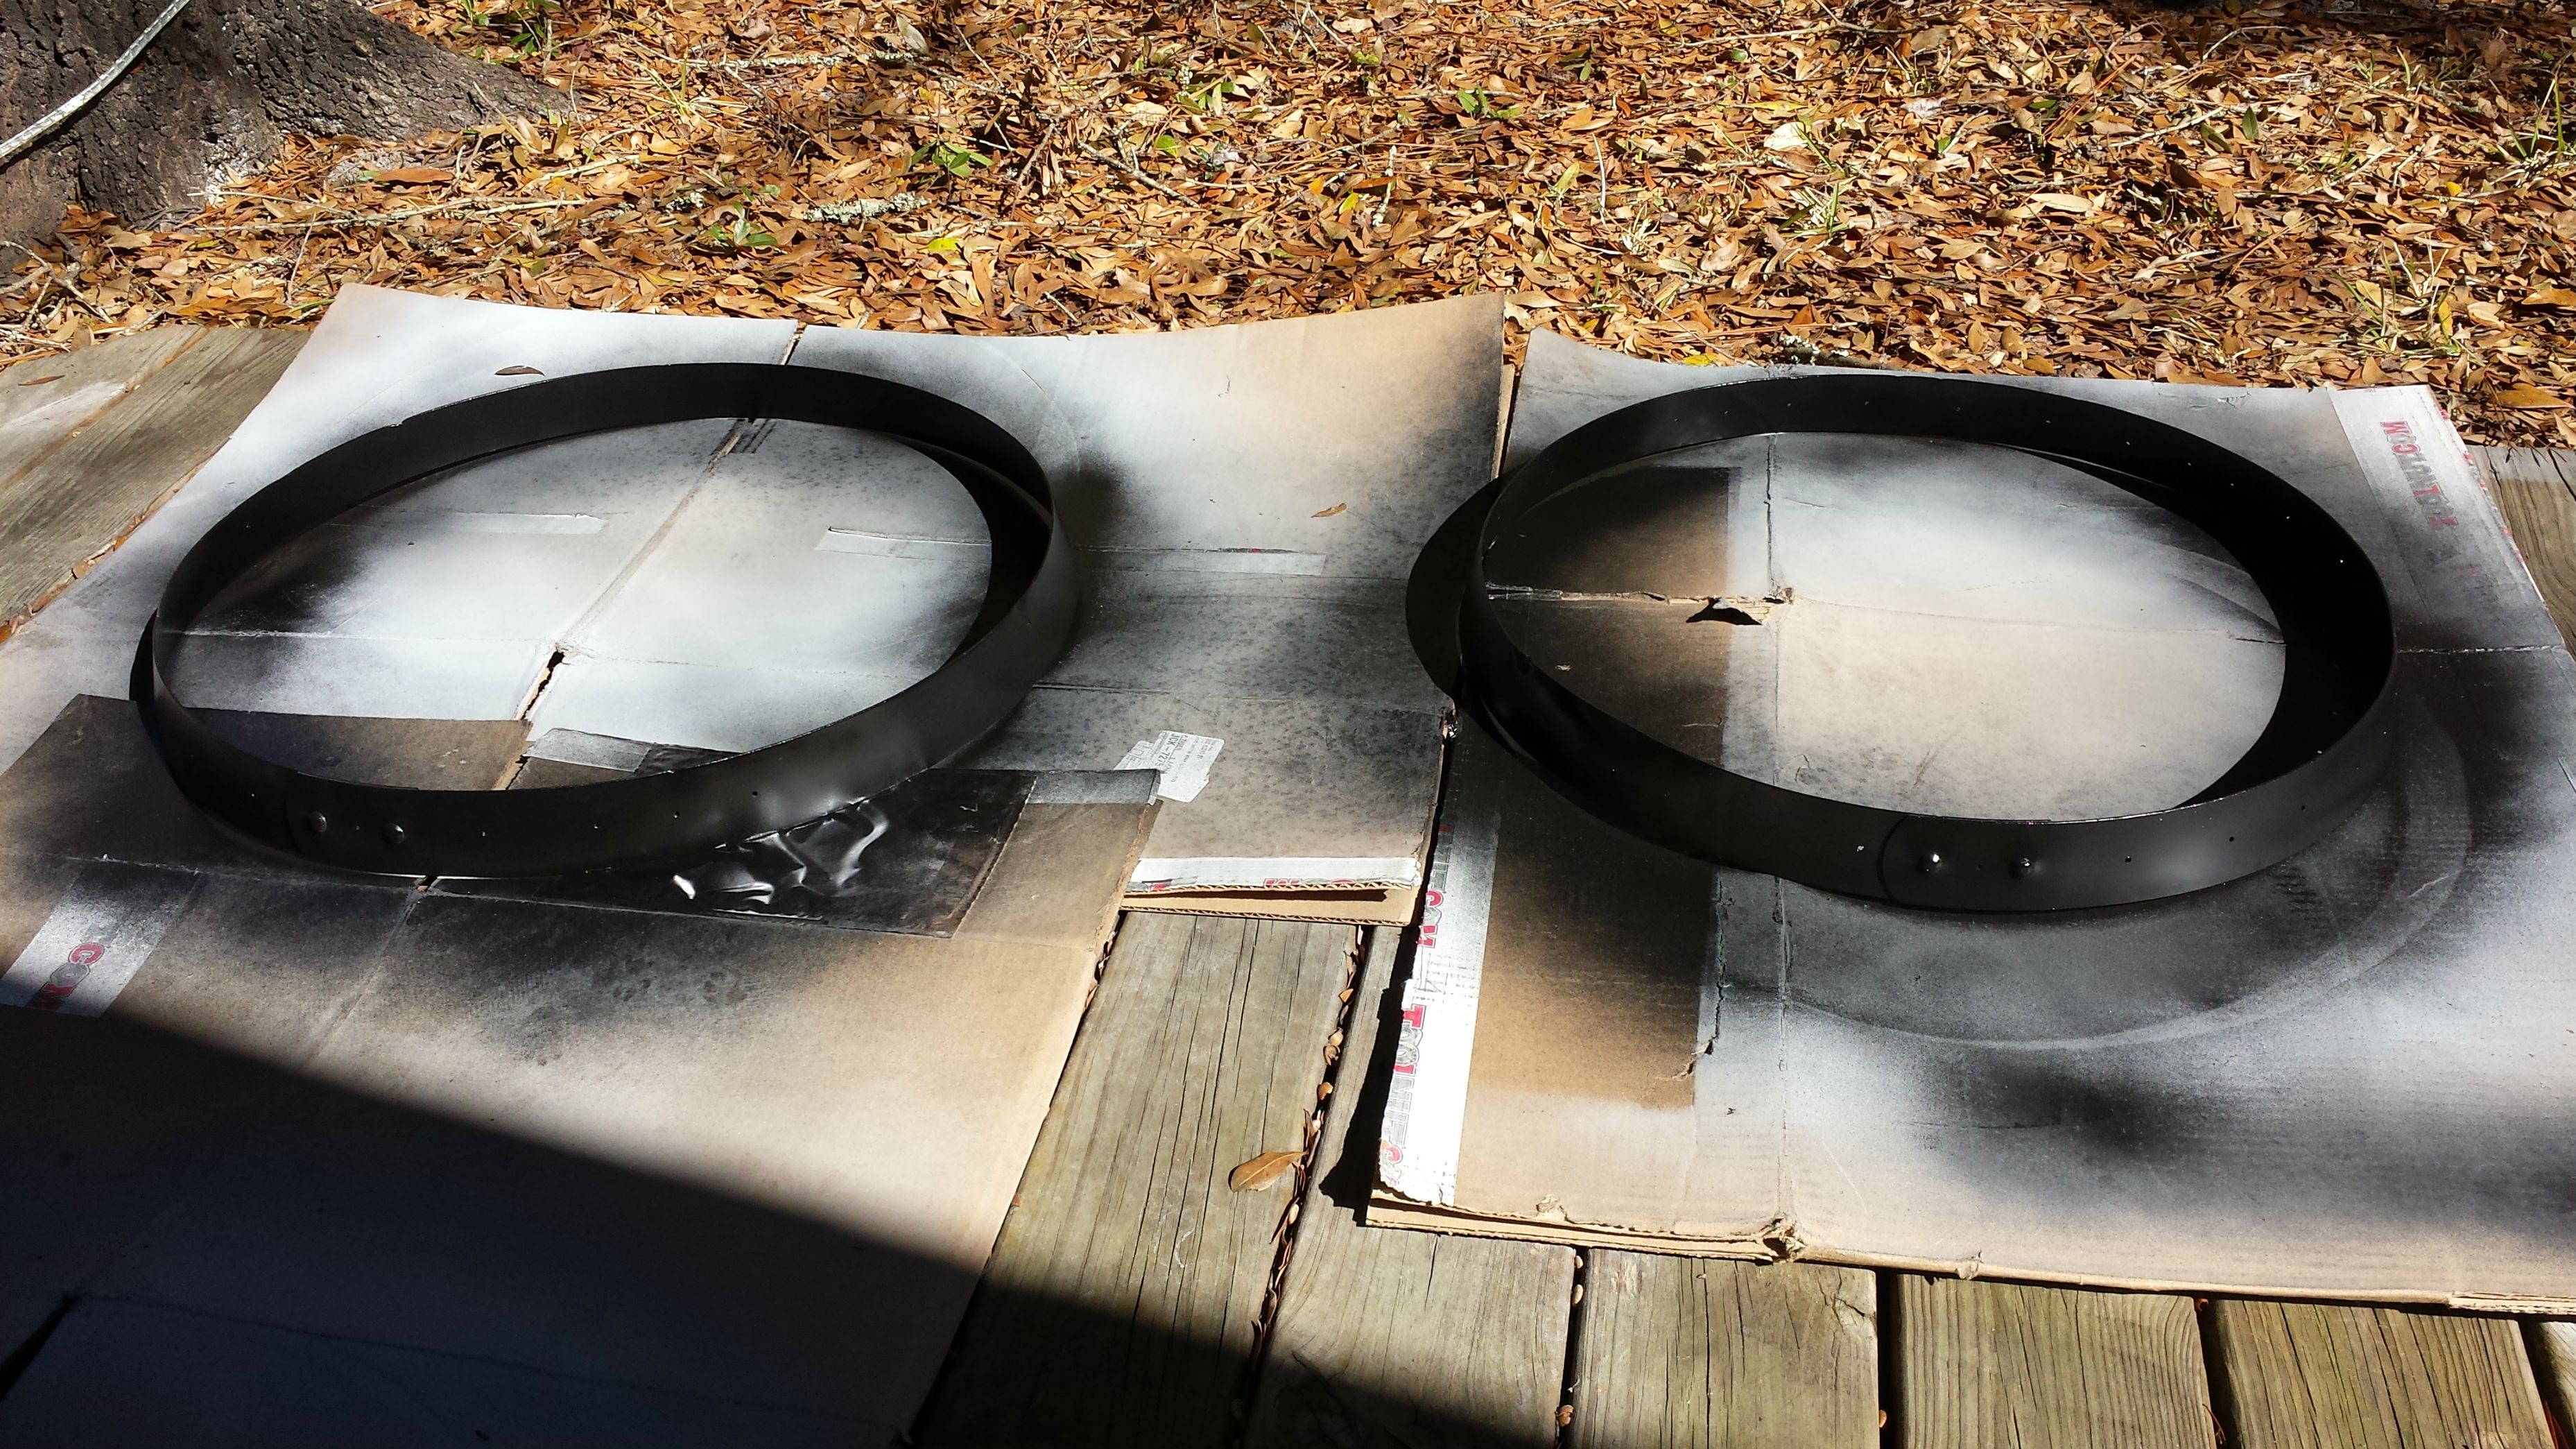
I decided to spray paint all the rings with two coats each of a primer and then a matte black finish. First, I sanded them with steel wool to remove most of the rust and nonuniformities.
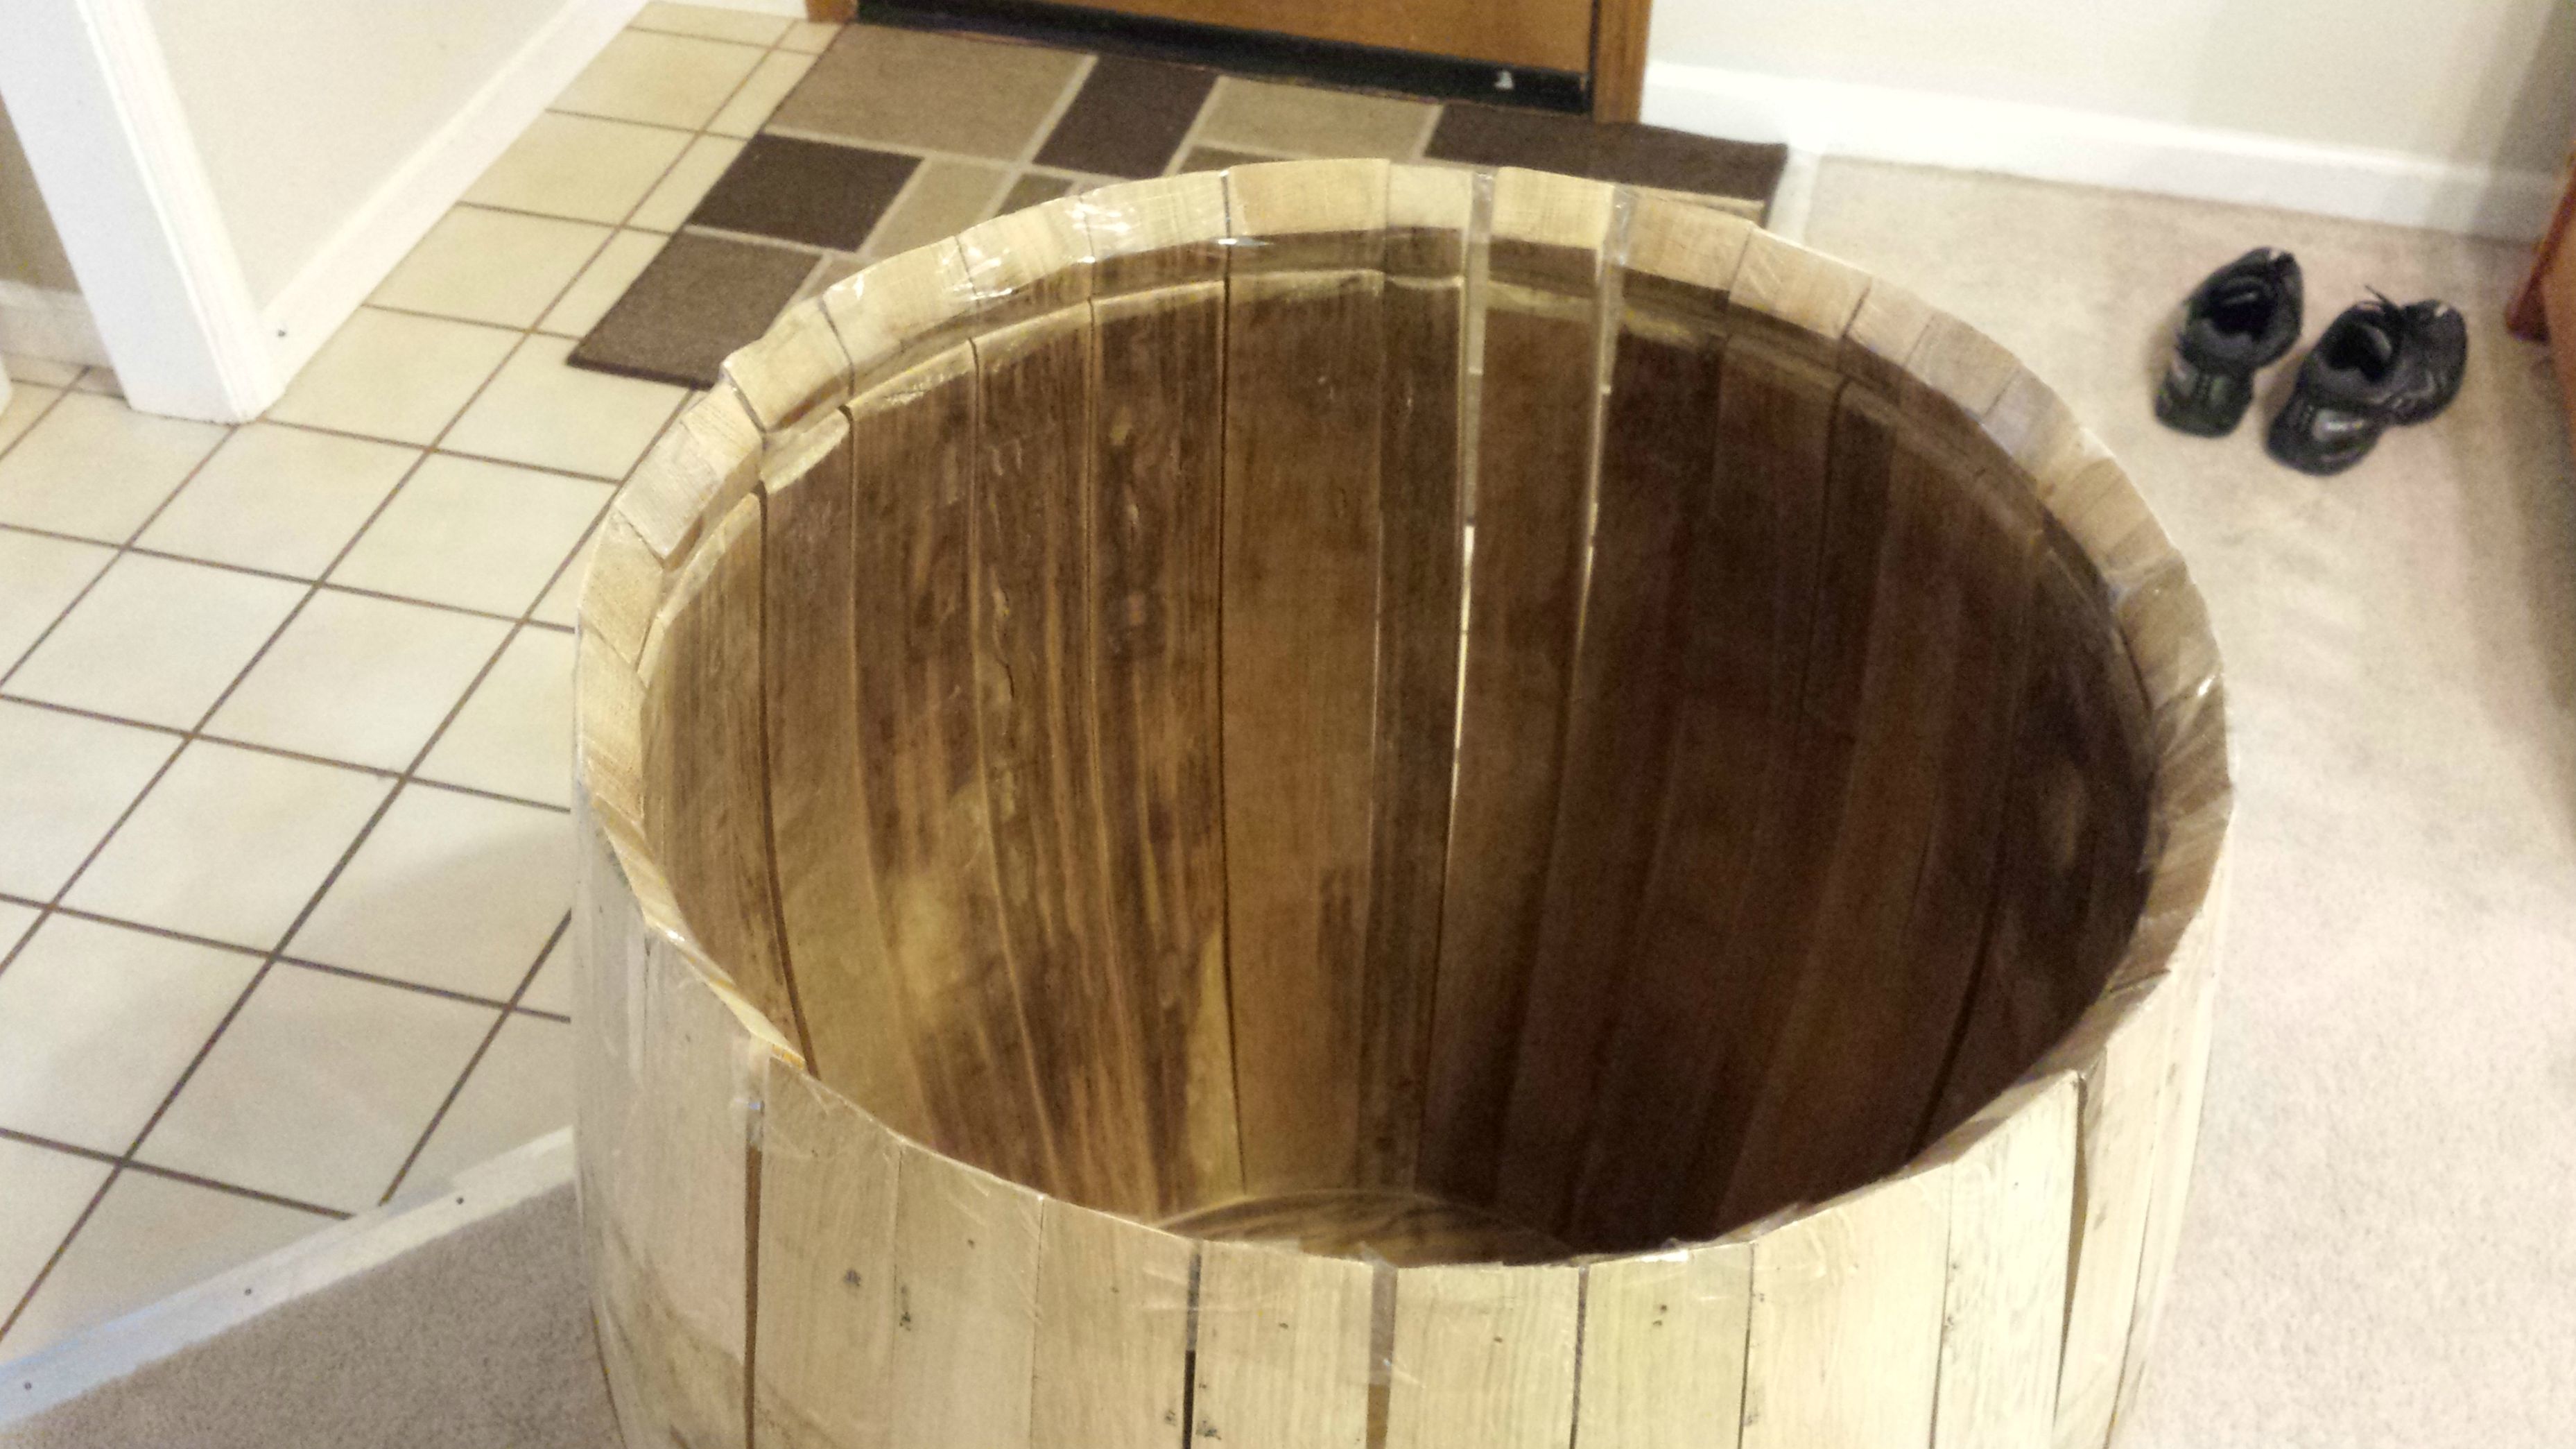
The next challenge was reassembling the barrel. I placed the staves in one ring and used packaging tape to hold them together at the top.
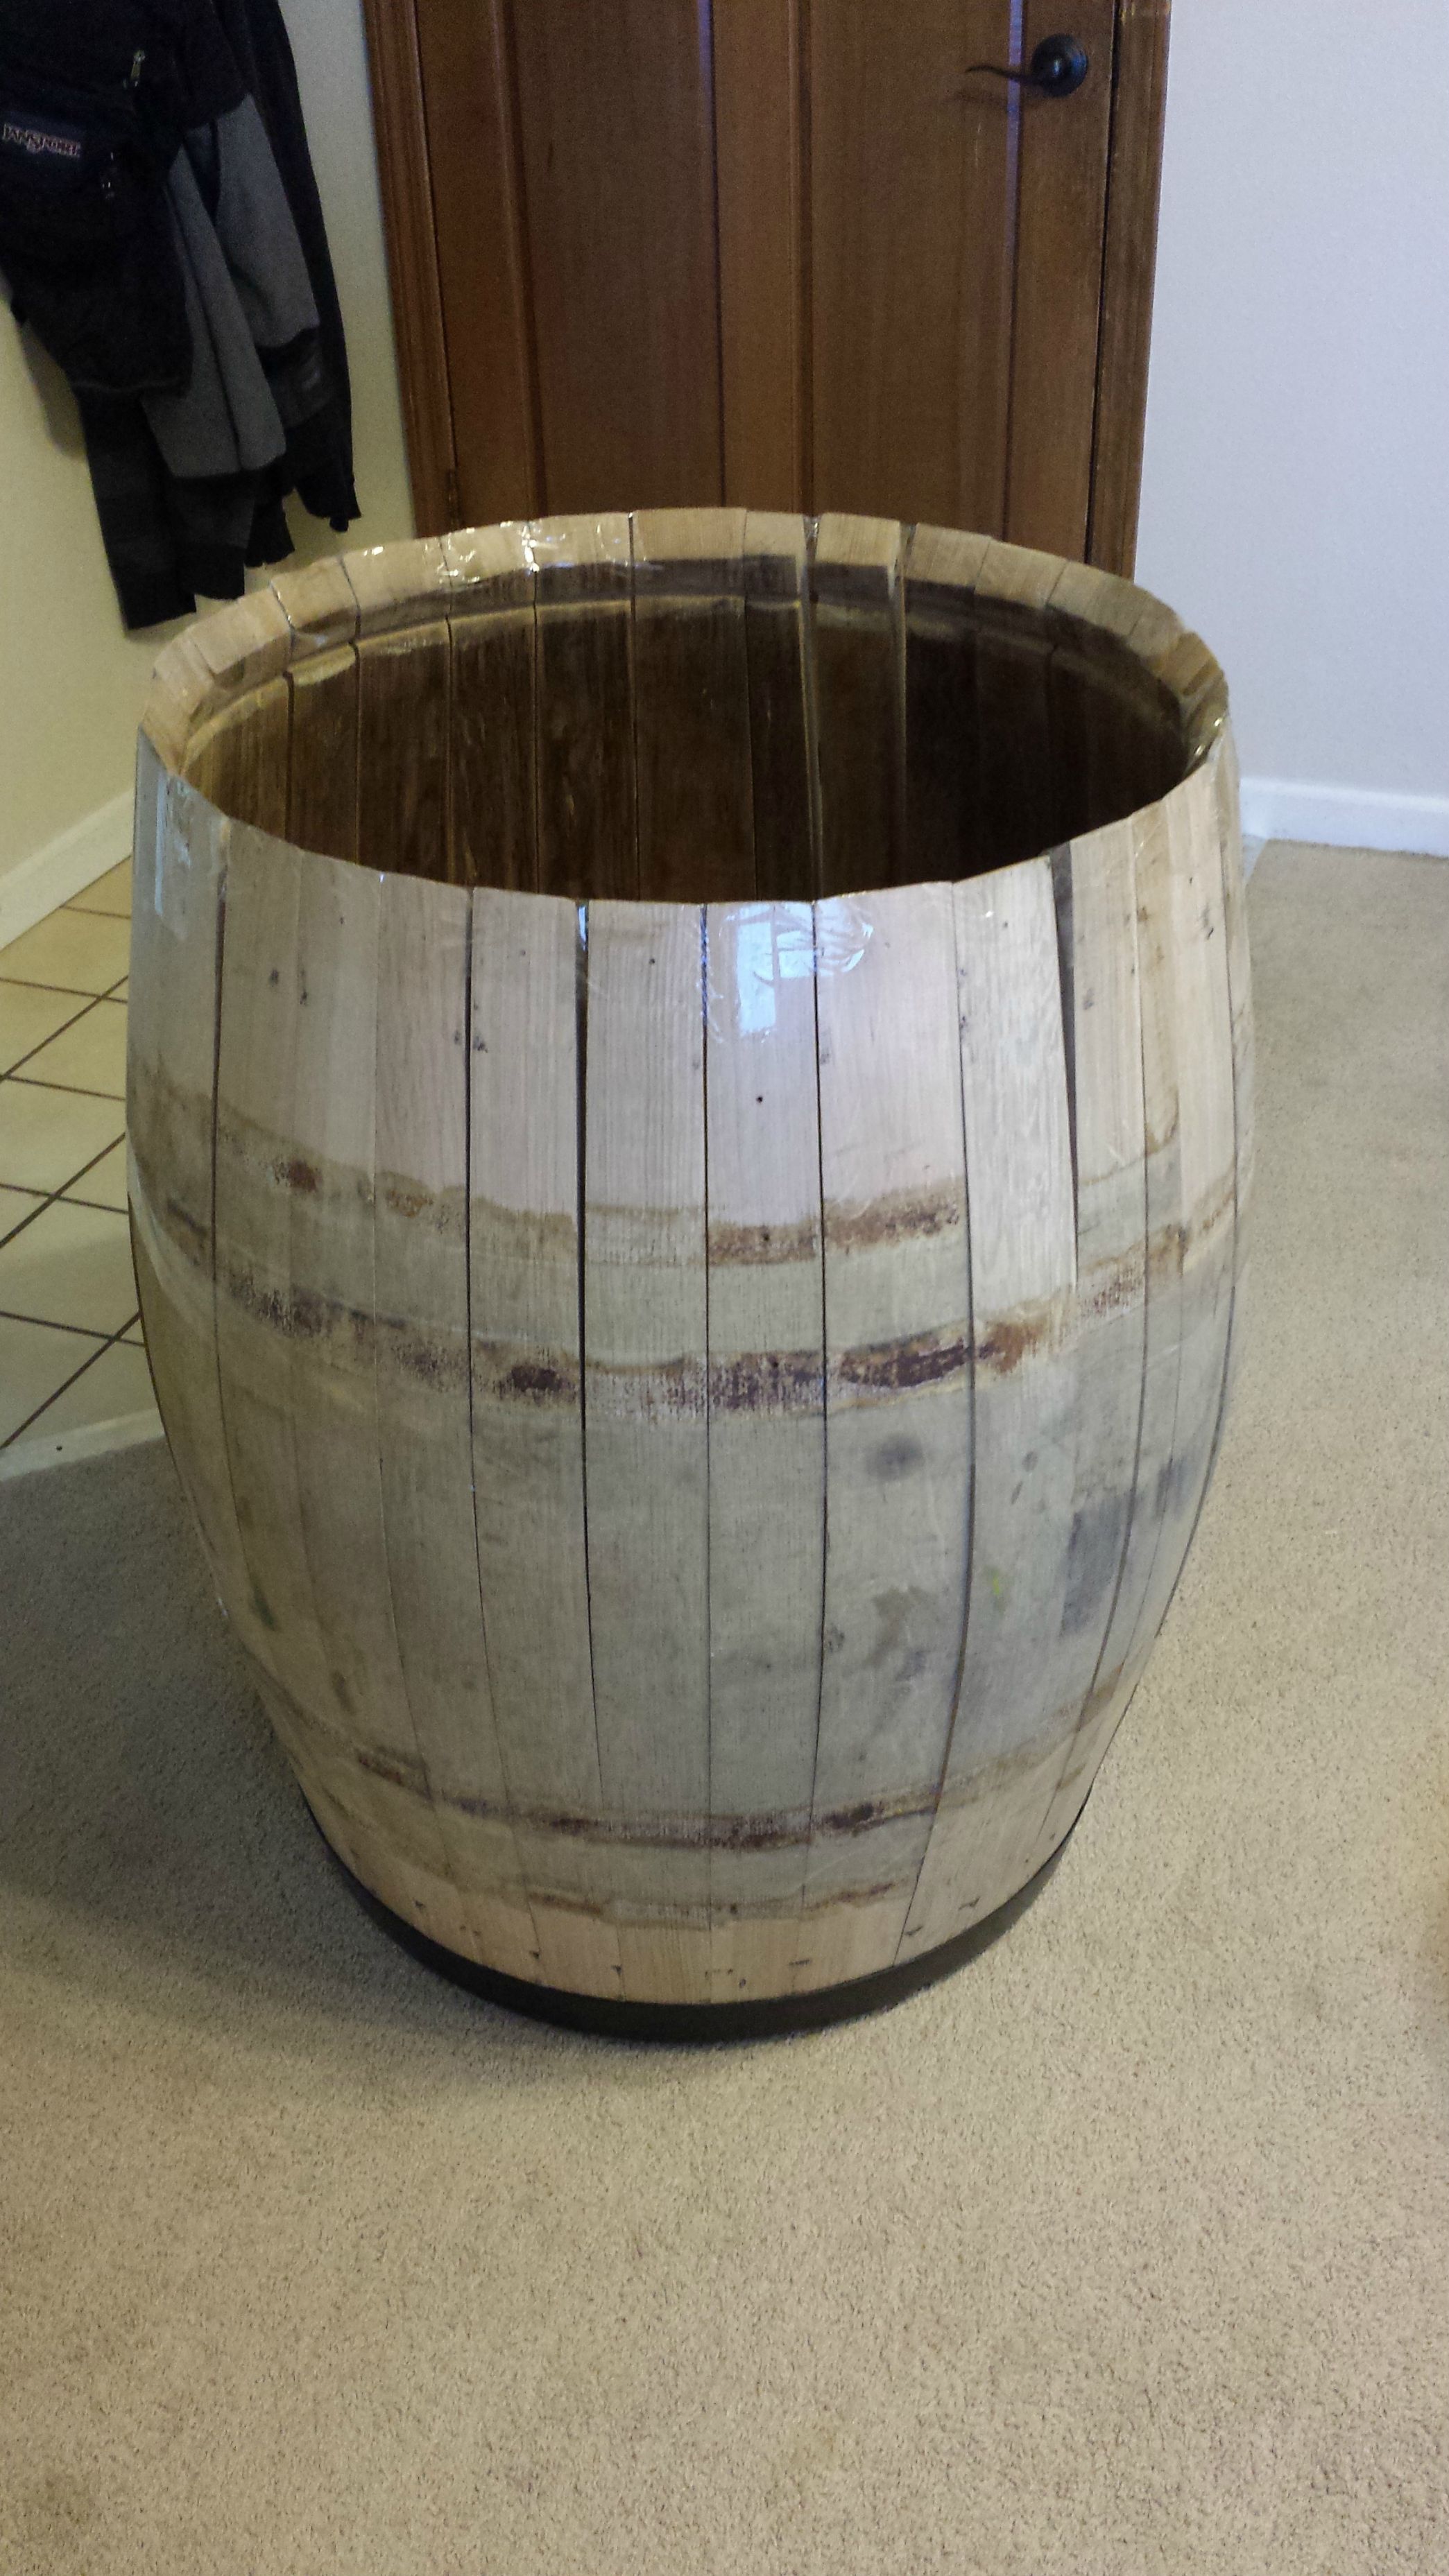
It was a small challenge getting the top and bottom pieces of the barrel into place and at the angle I wanted while fitting the ring over the staves. I screwed the top and bottom rings into all the staves.
As mentioned earlier, I had to deal with the too small screw holes and the screws that broke off. I just glued the screw heads onto the holes I couldn't fix.
I then sanded the main part of the barrel through 40, 80, 120, 220, and 320 grit.

Then I applied a couple layers of stain.
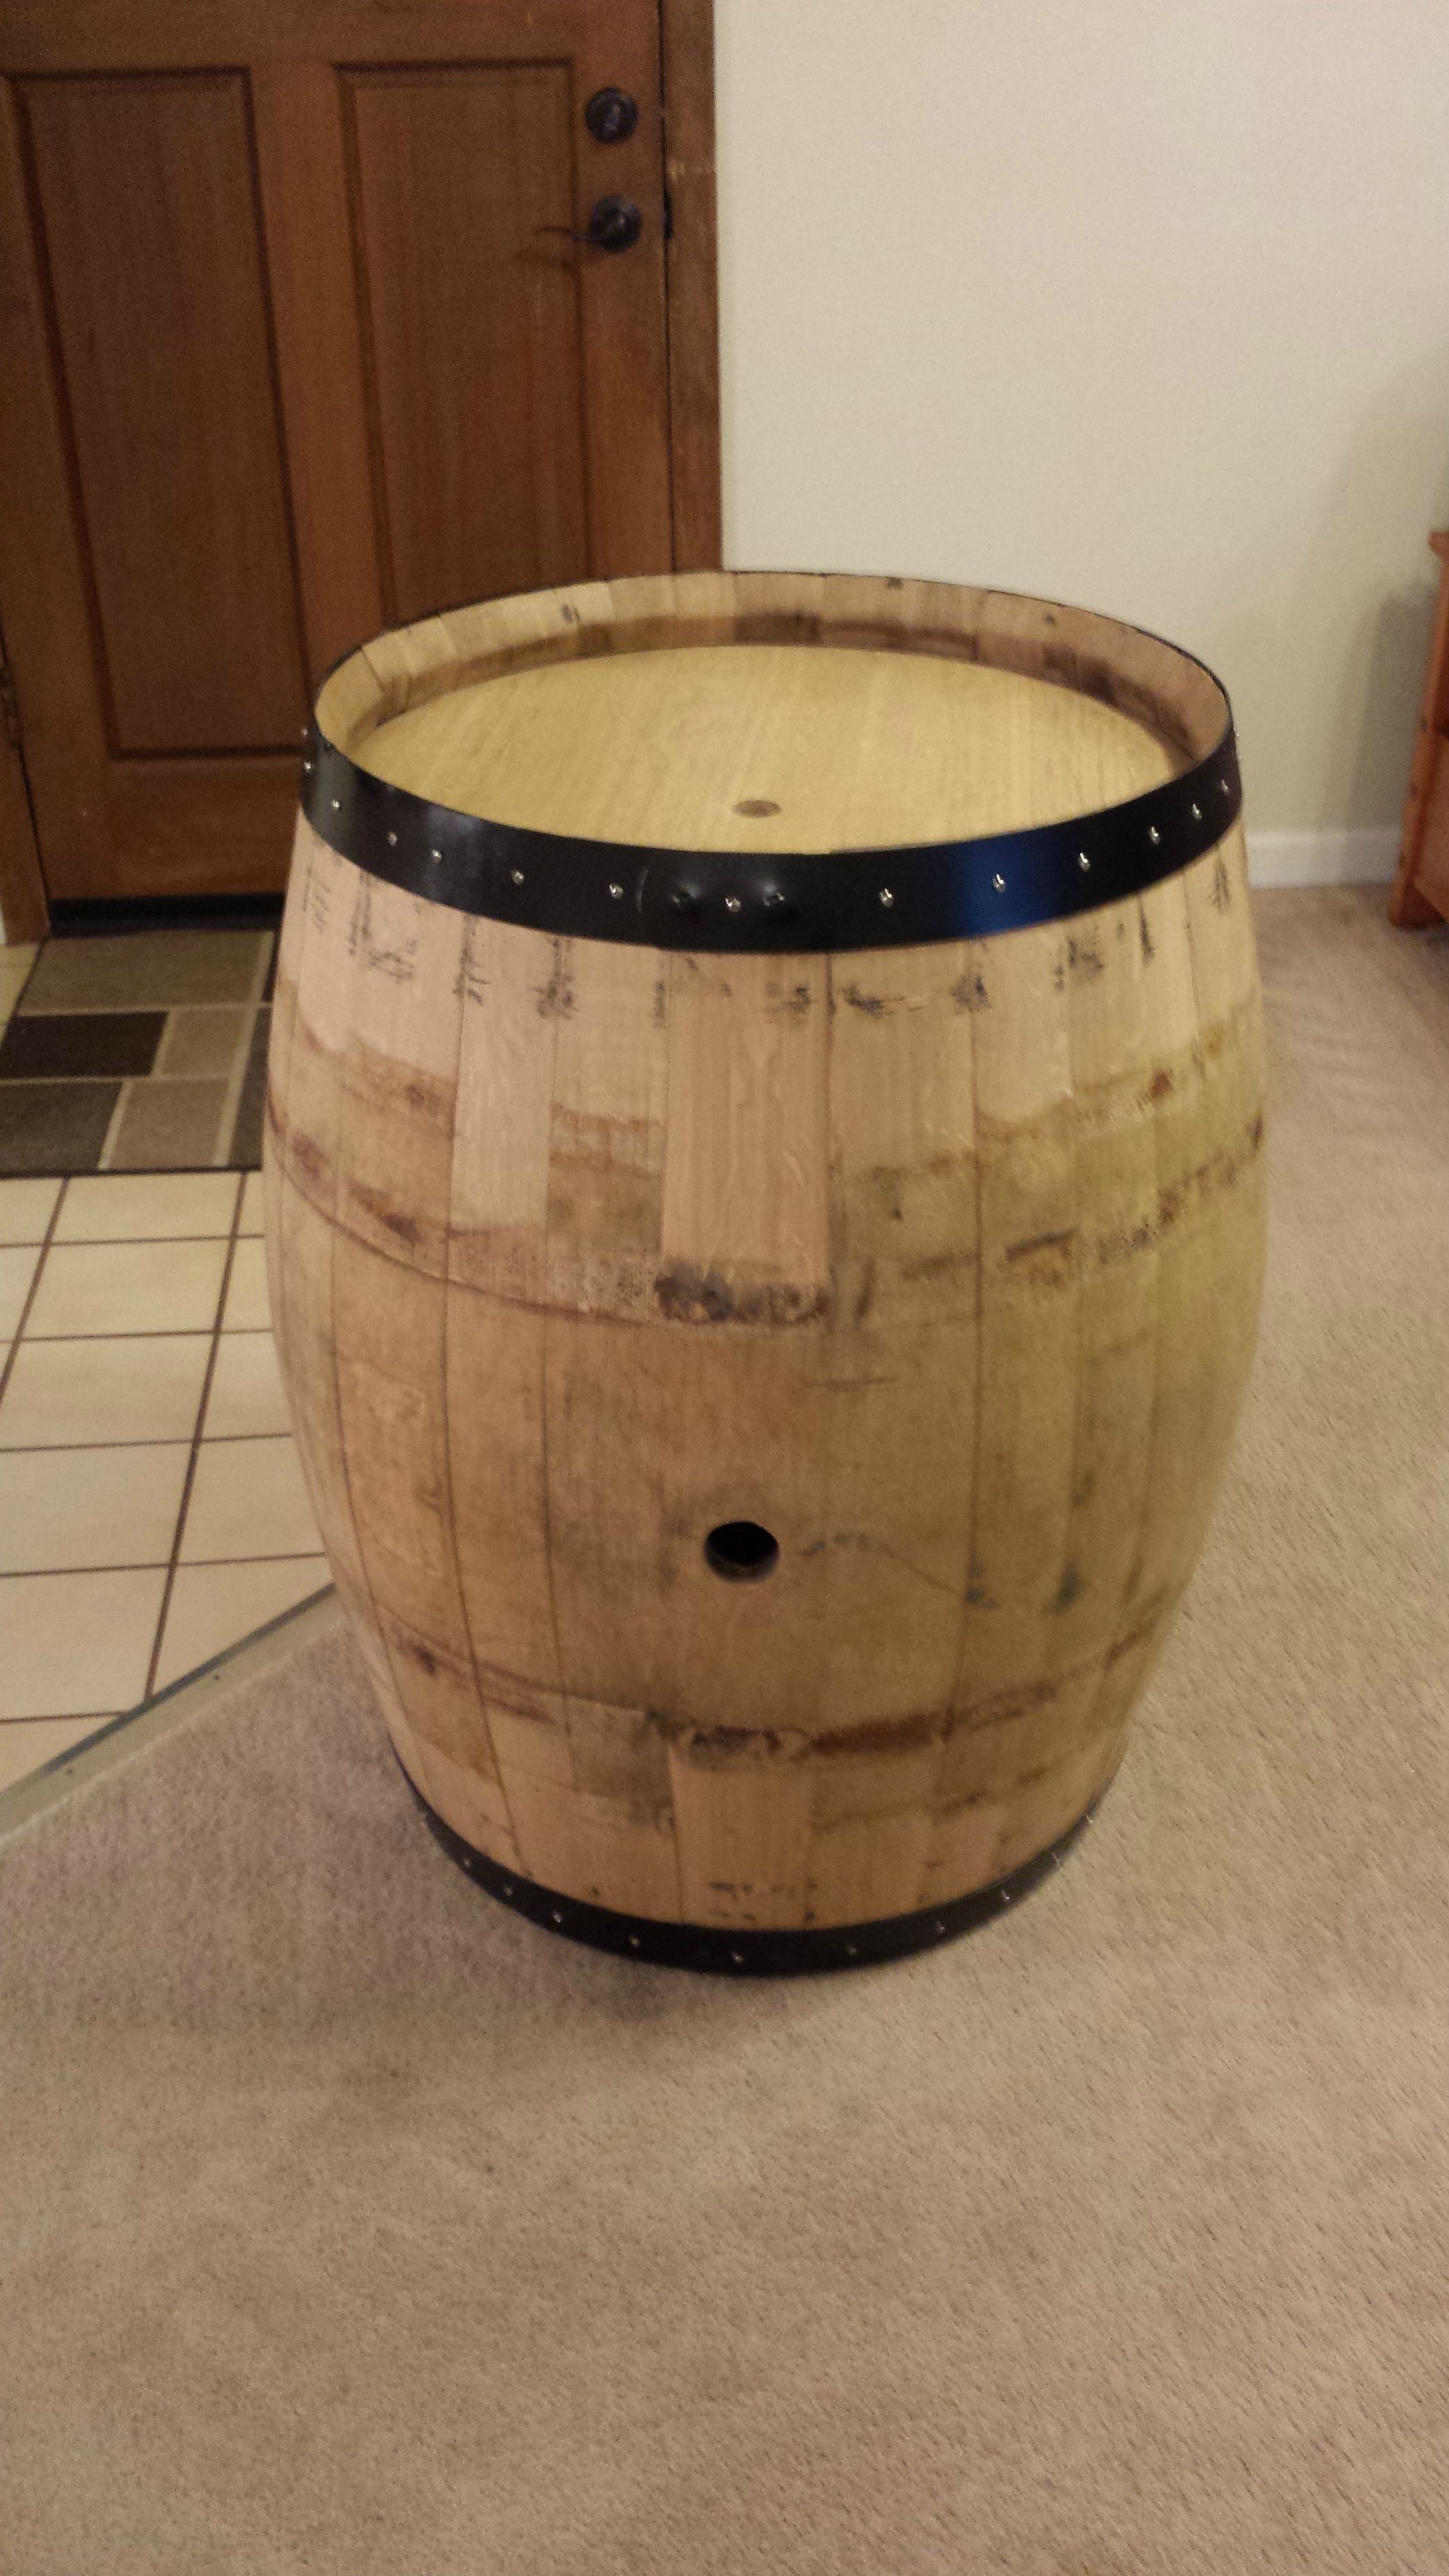
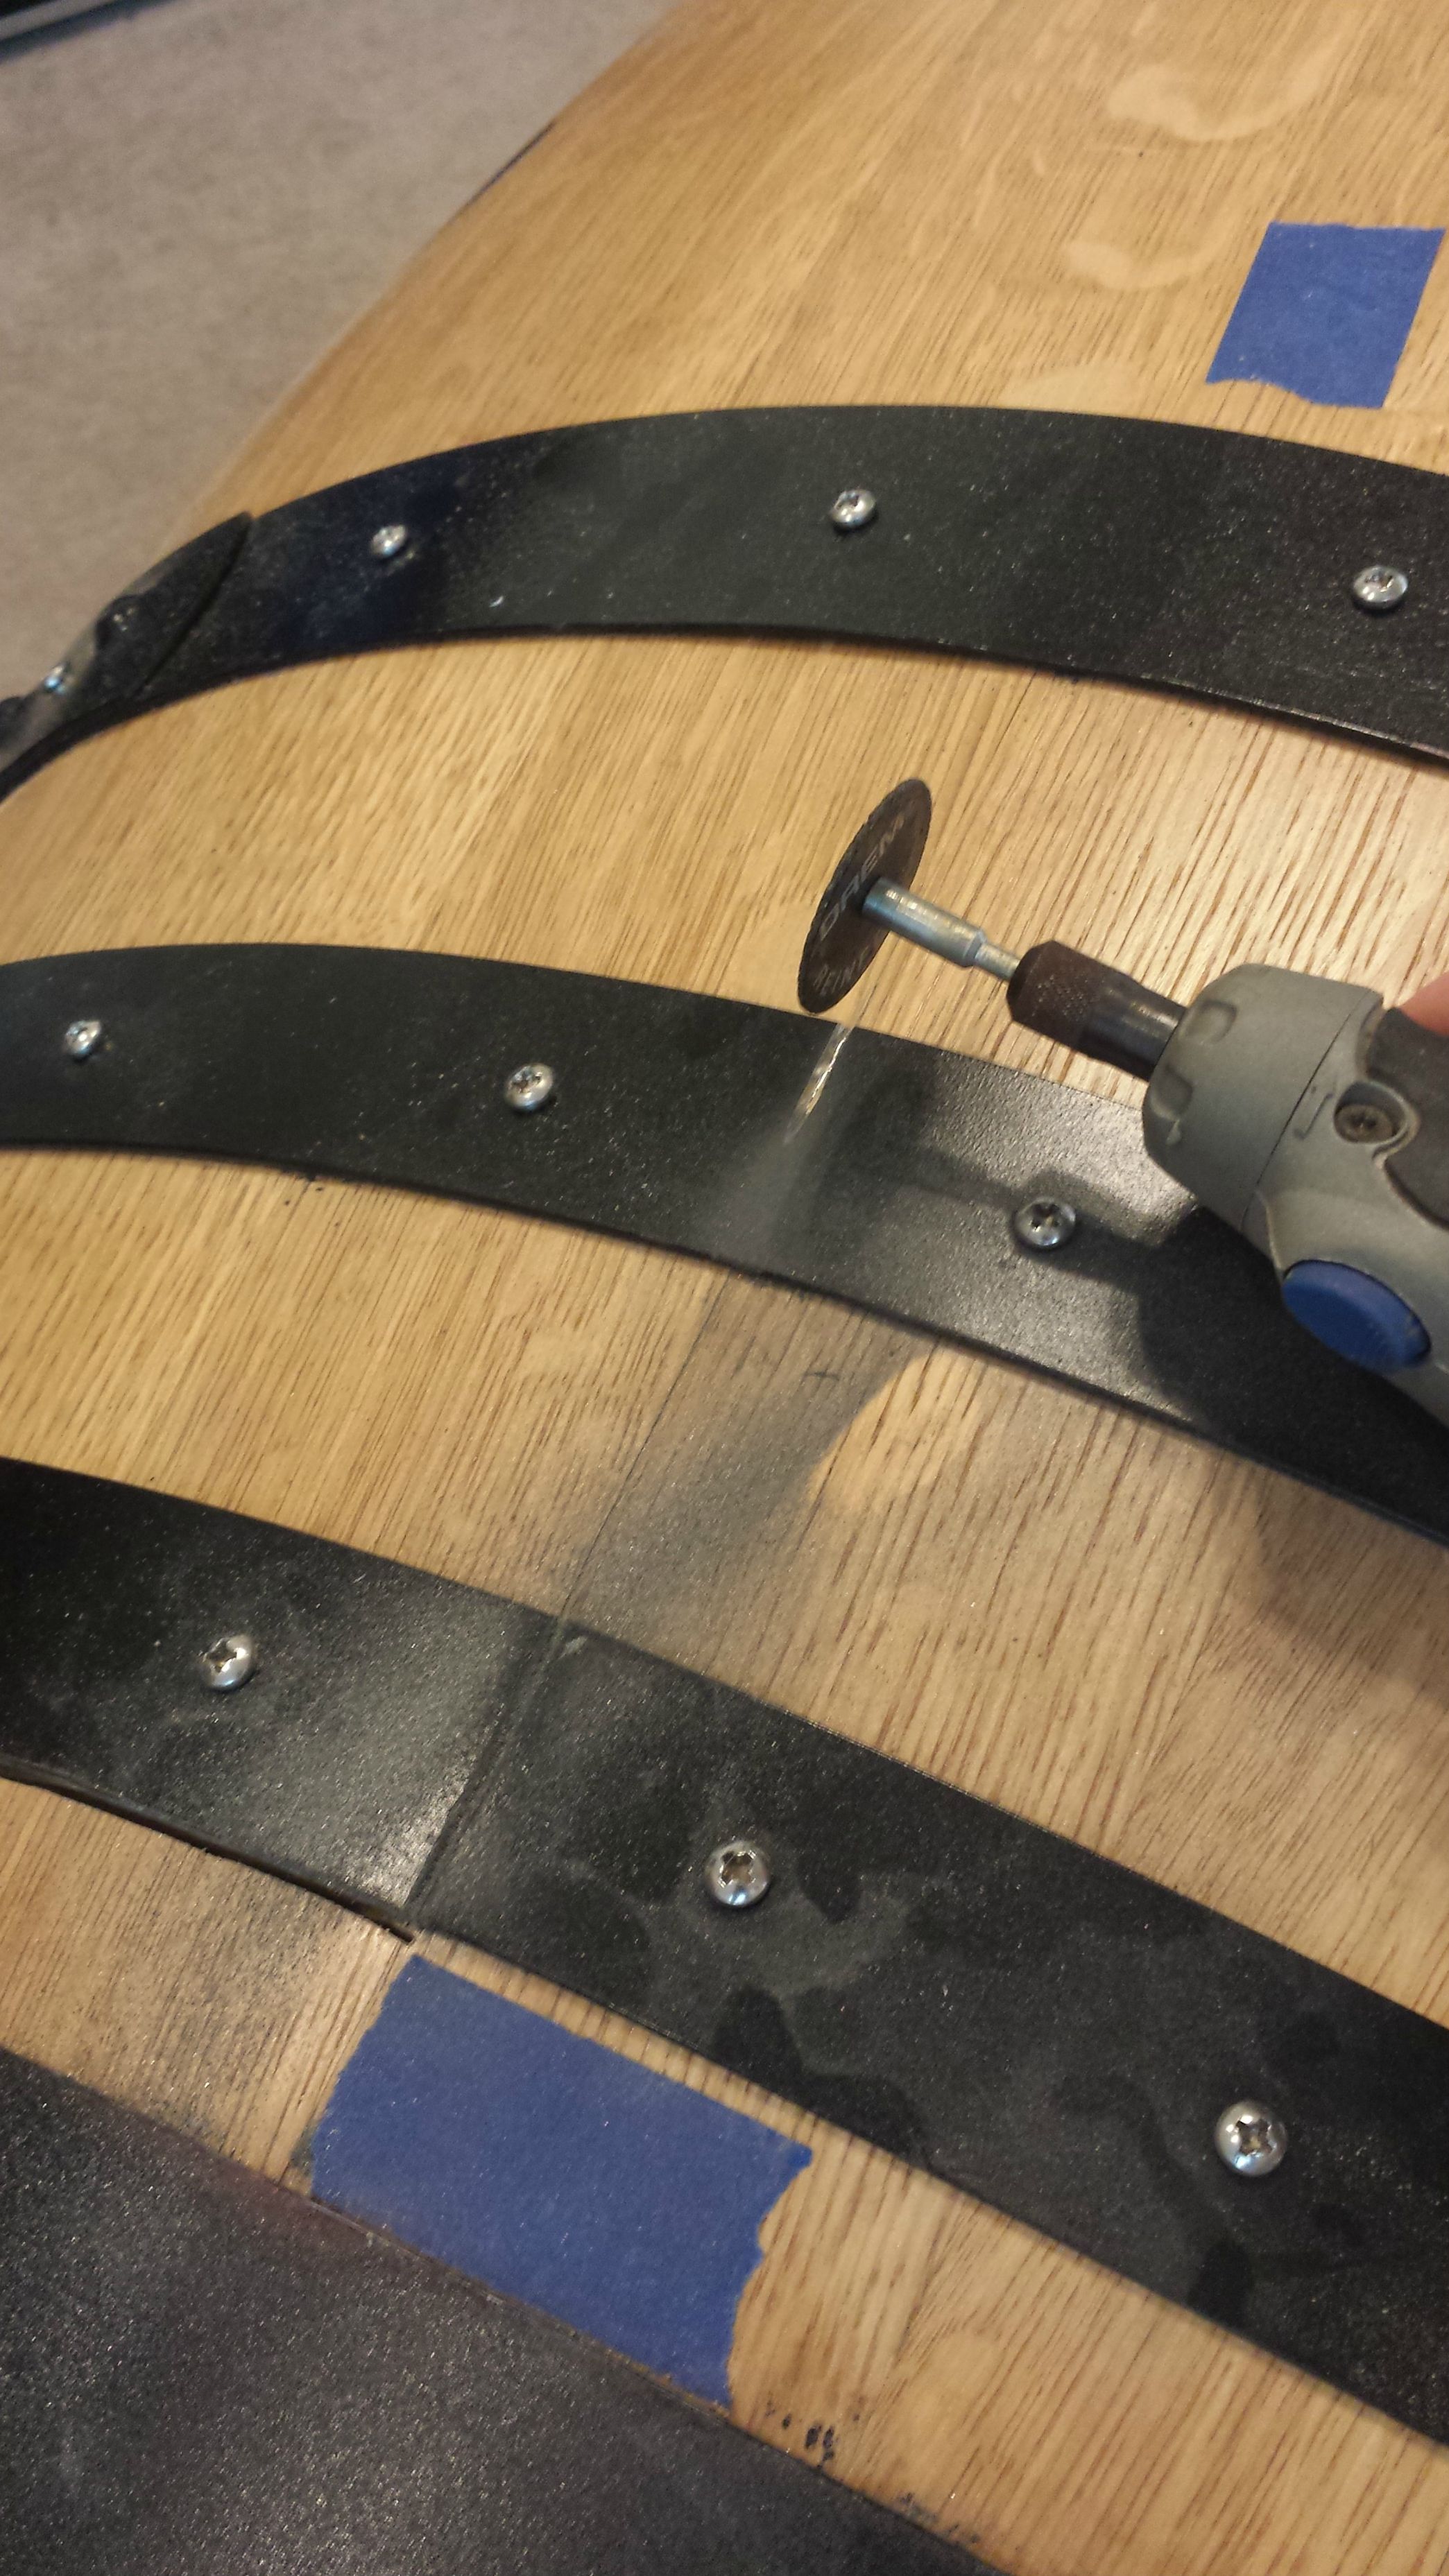
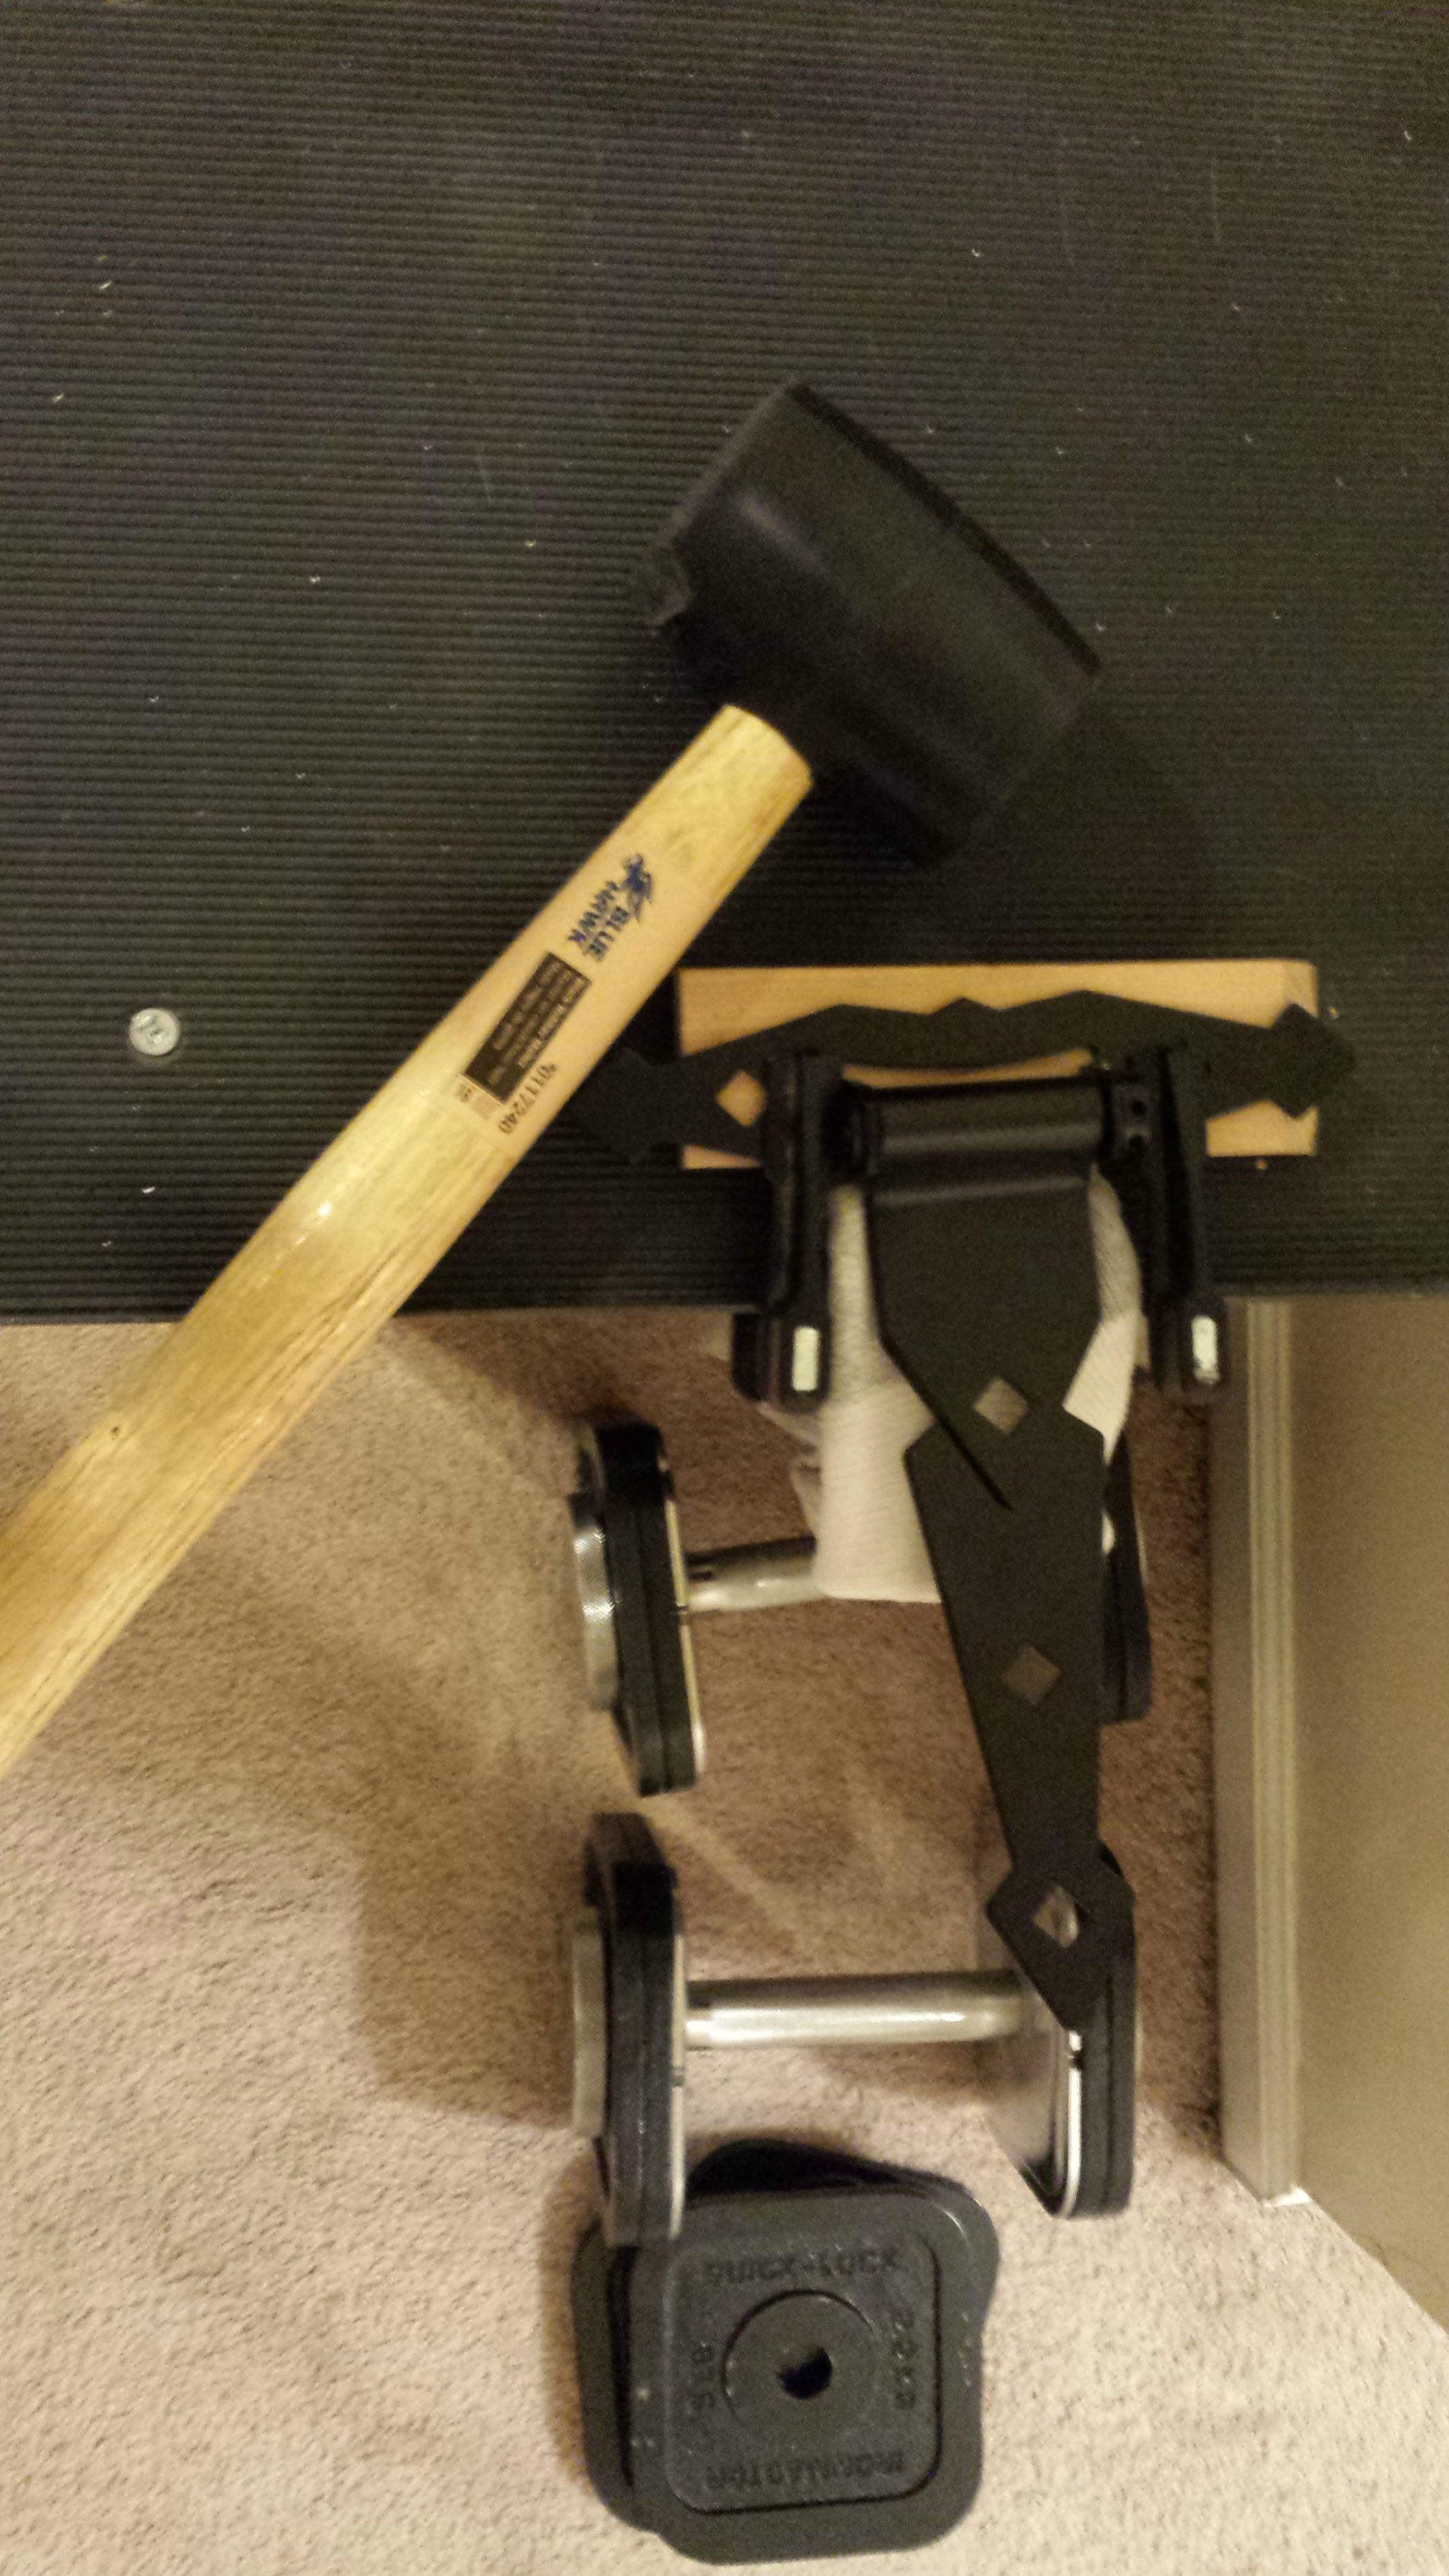
Finish the assembly by reapplying the rings and casters and driving the rest of the screws. I used a mallet and a block of wood to fit the rings tight. I had to be careful because the spray paint on the inside of the rings would rub off on the stained wood.
The next step was tough to initiate. I decided to cut the access door into the back side of the barrel. I used a saw and a hack saw blade to cut the wood. I used a Dremel cutoff wheel for the metal.
At first I used some wimpy hinges that were not up the the task at all.
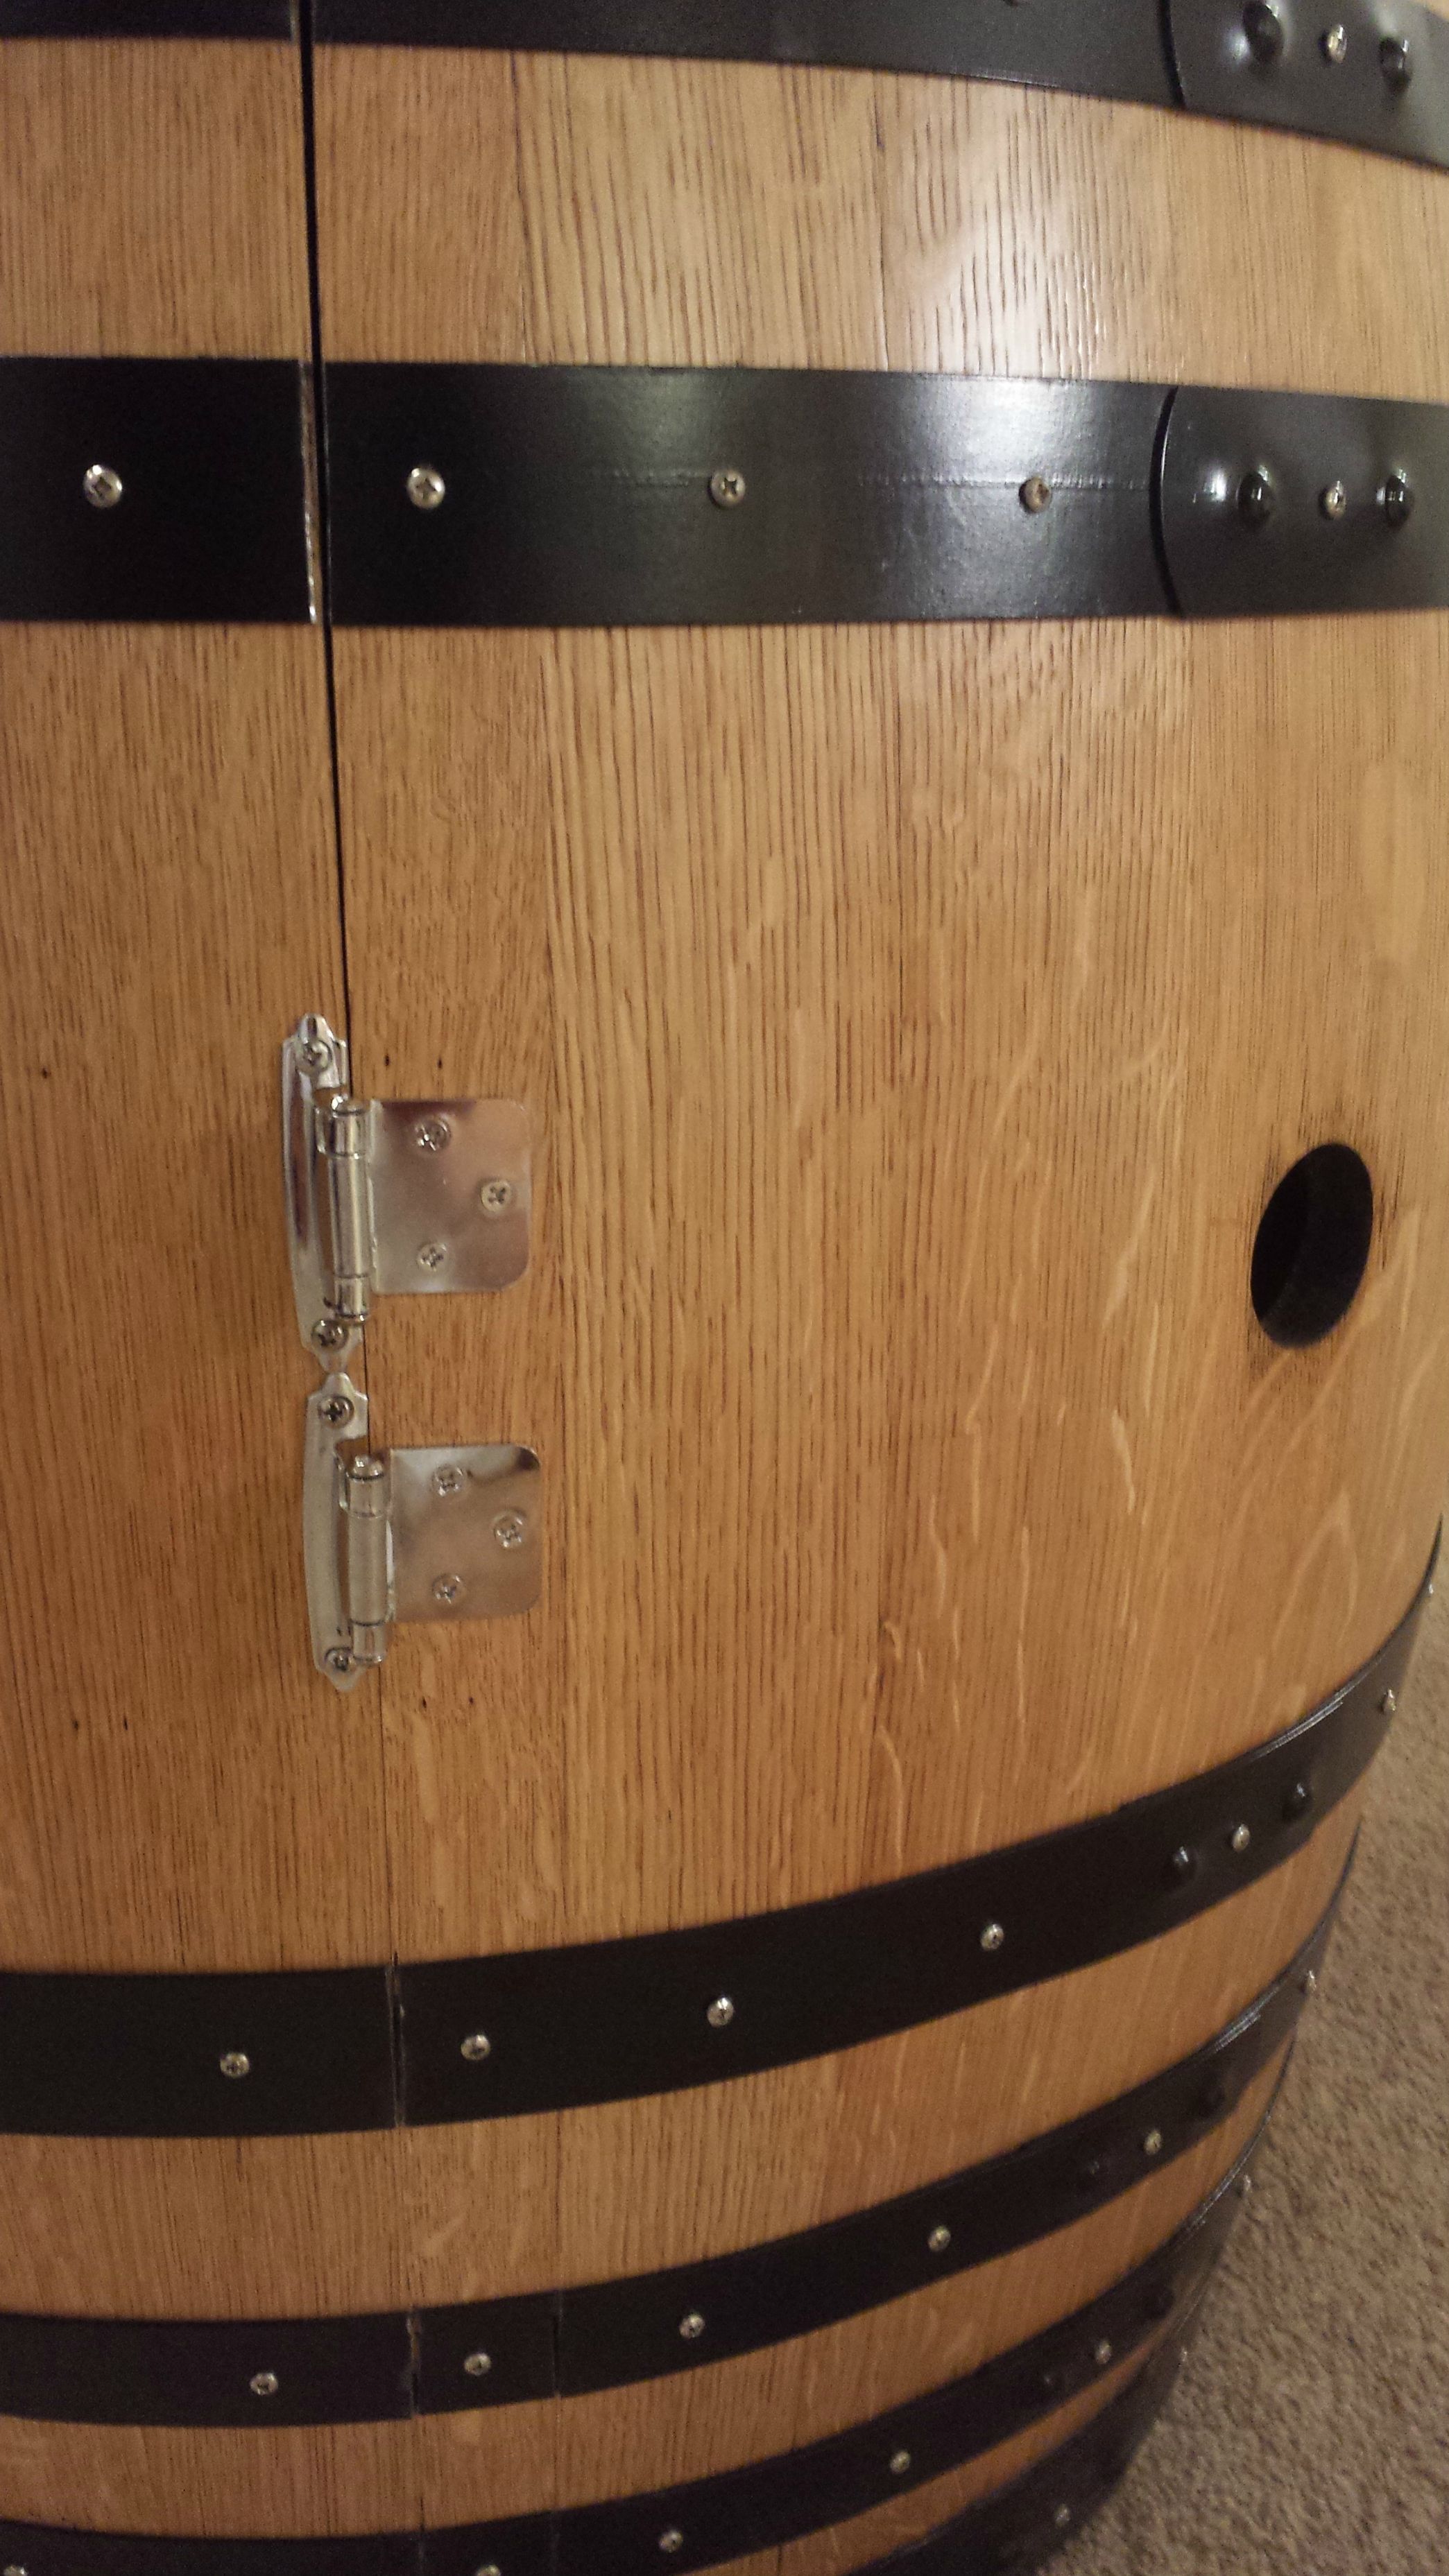
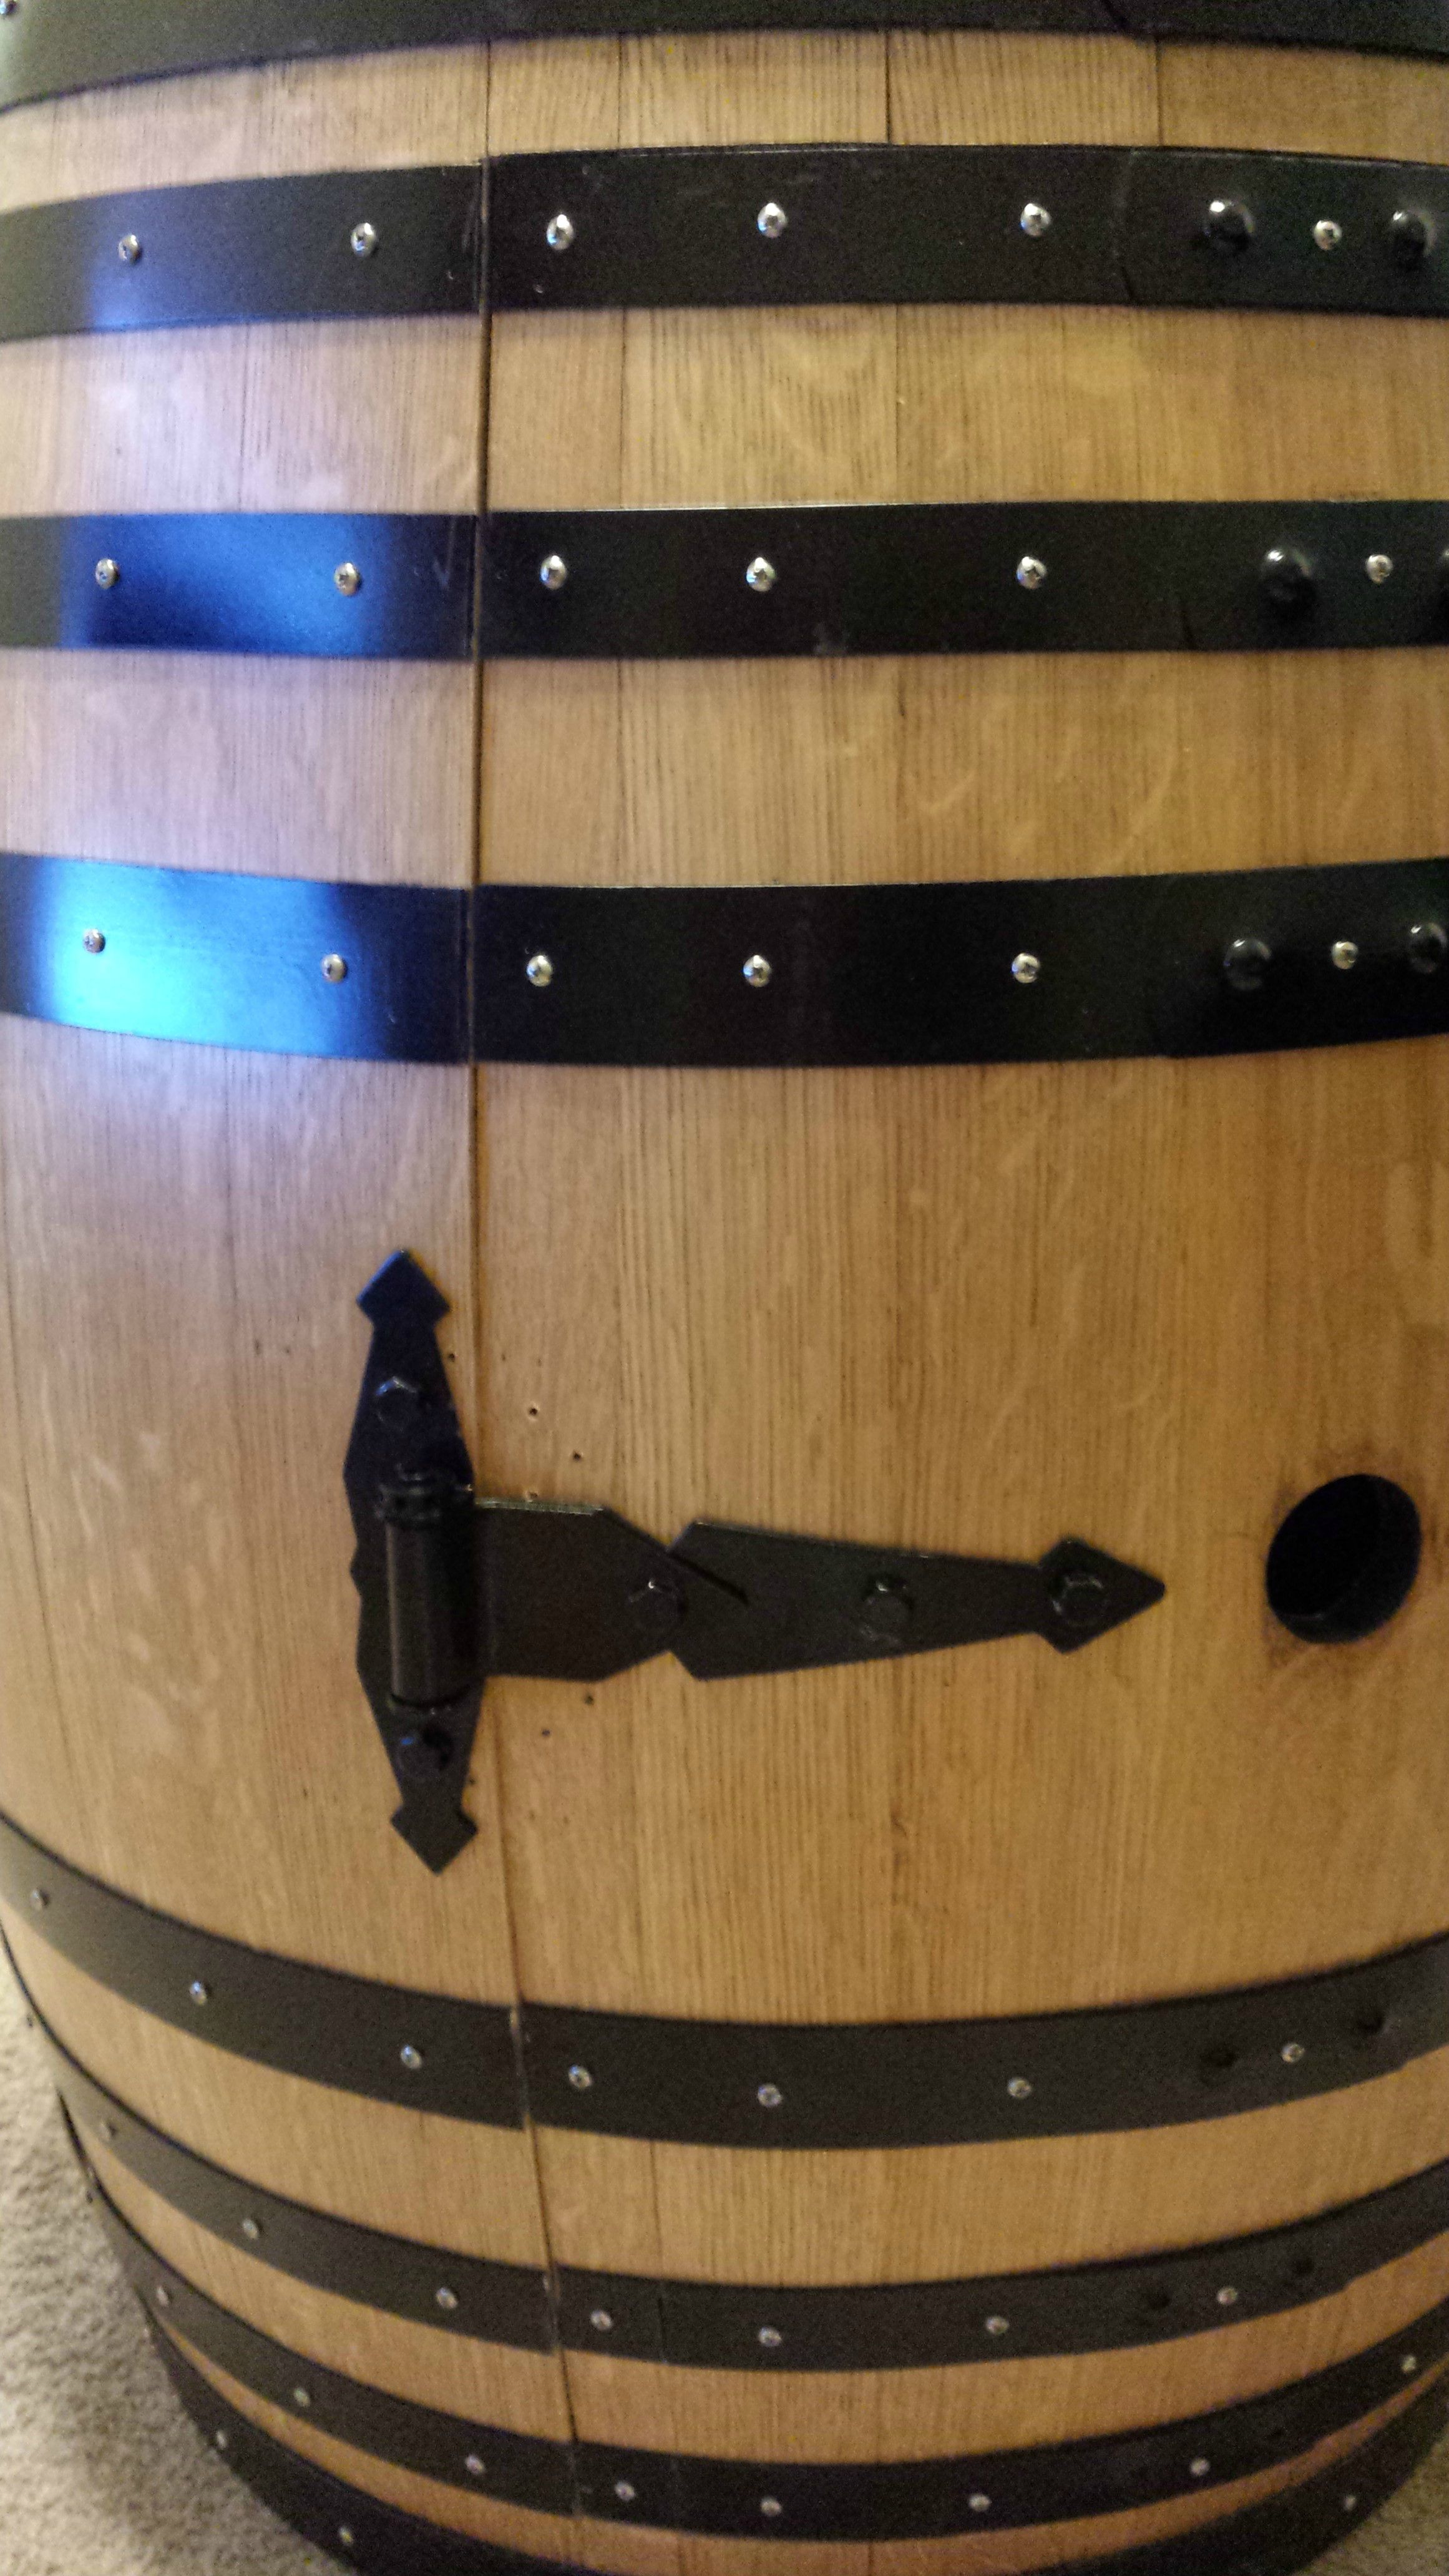
Then I bought a gate hinge that is a lot more sturdy and matches better. I had to bend it with a mallet to match the curvature of the barrel. I would like to add a matching gate latch to secure the door. For now, it's a friction fit.
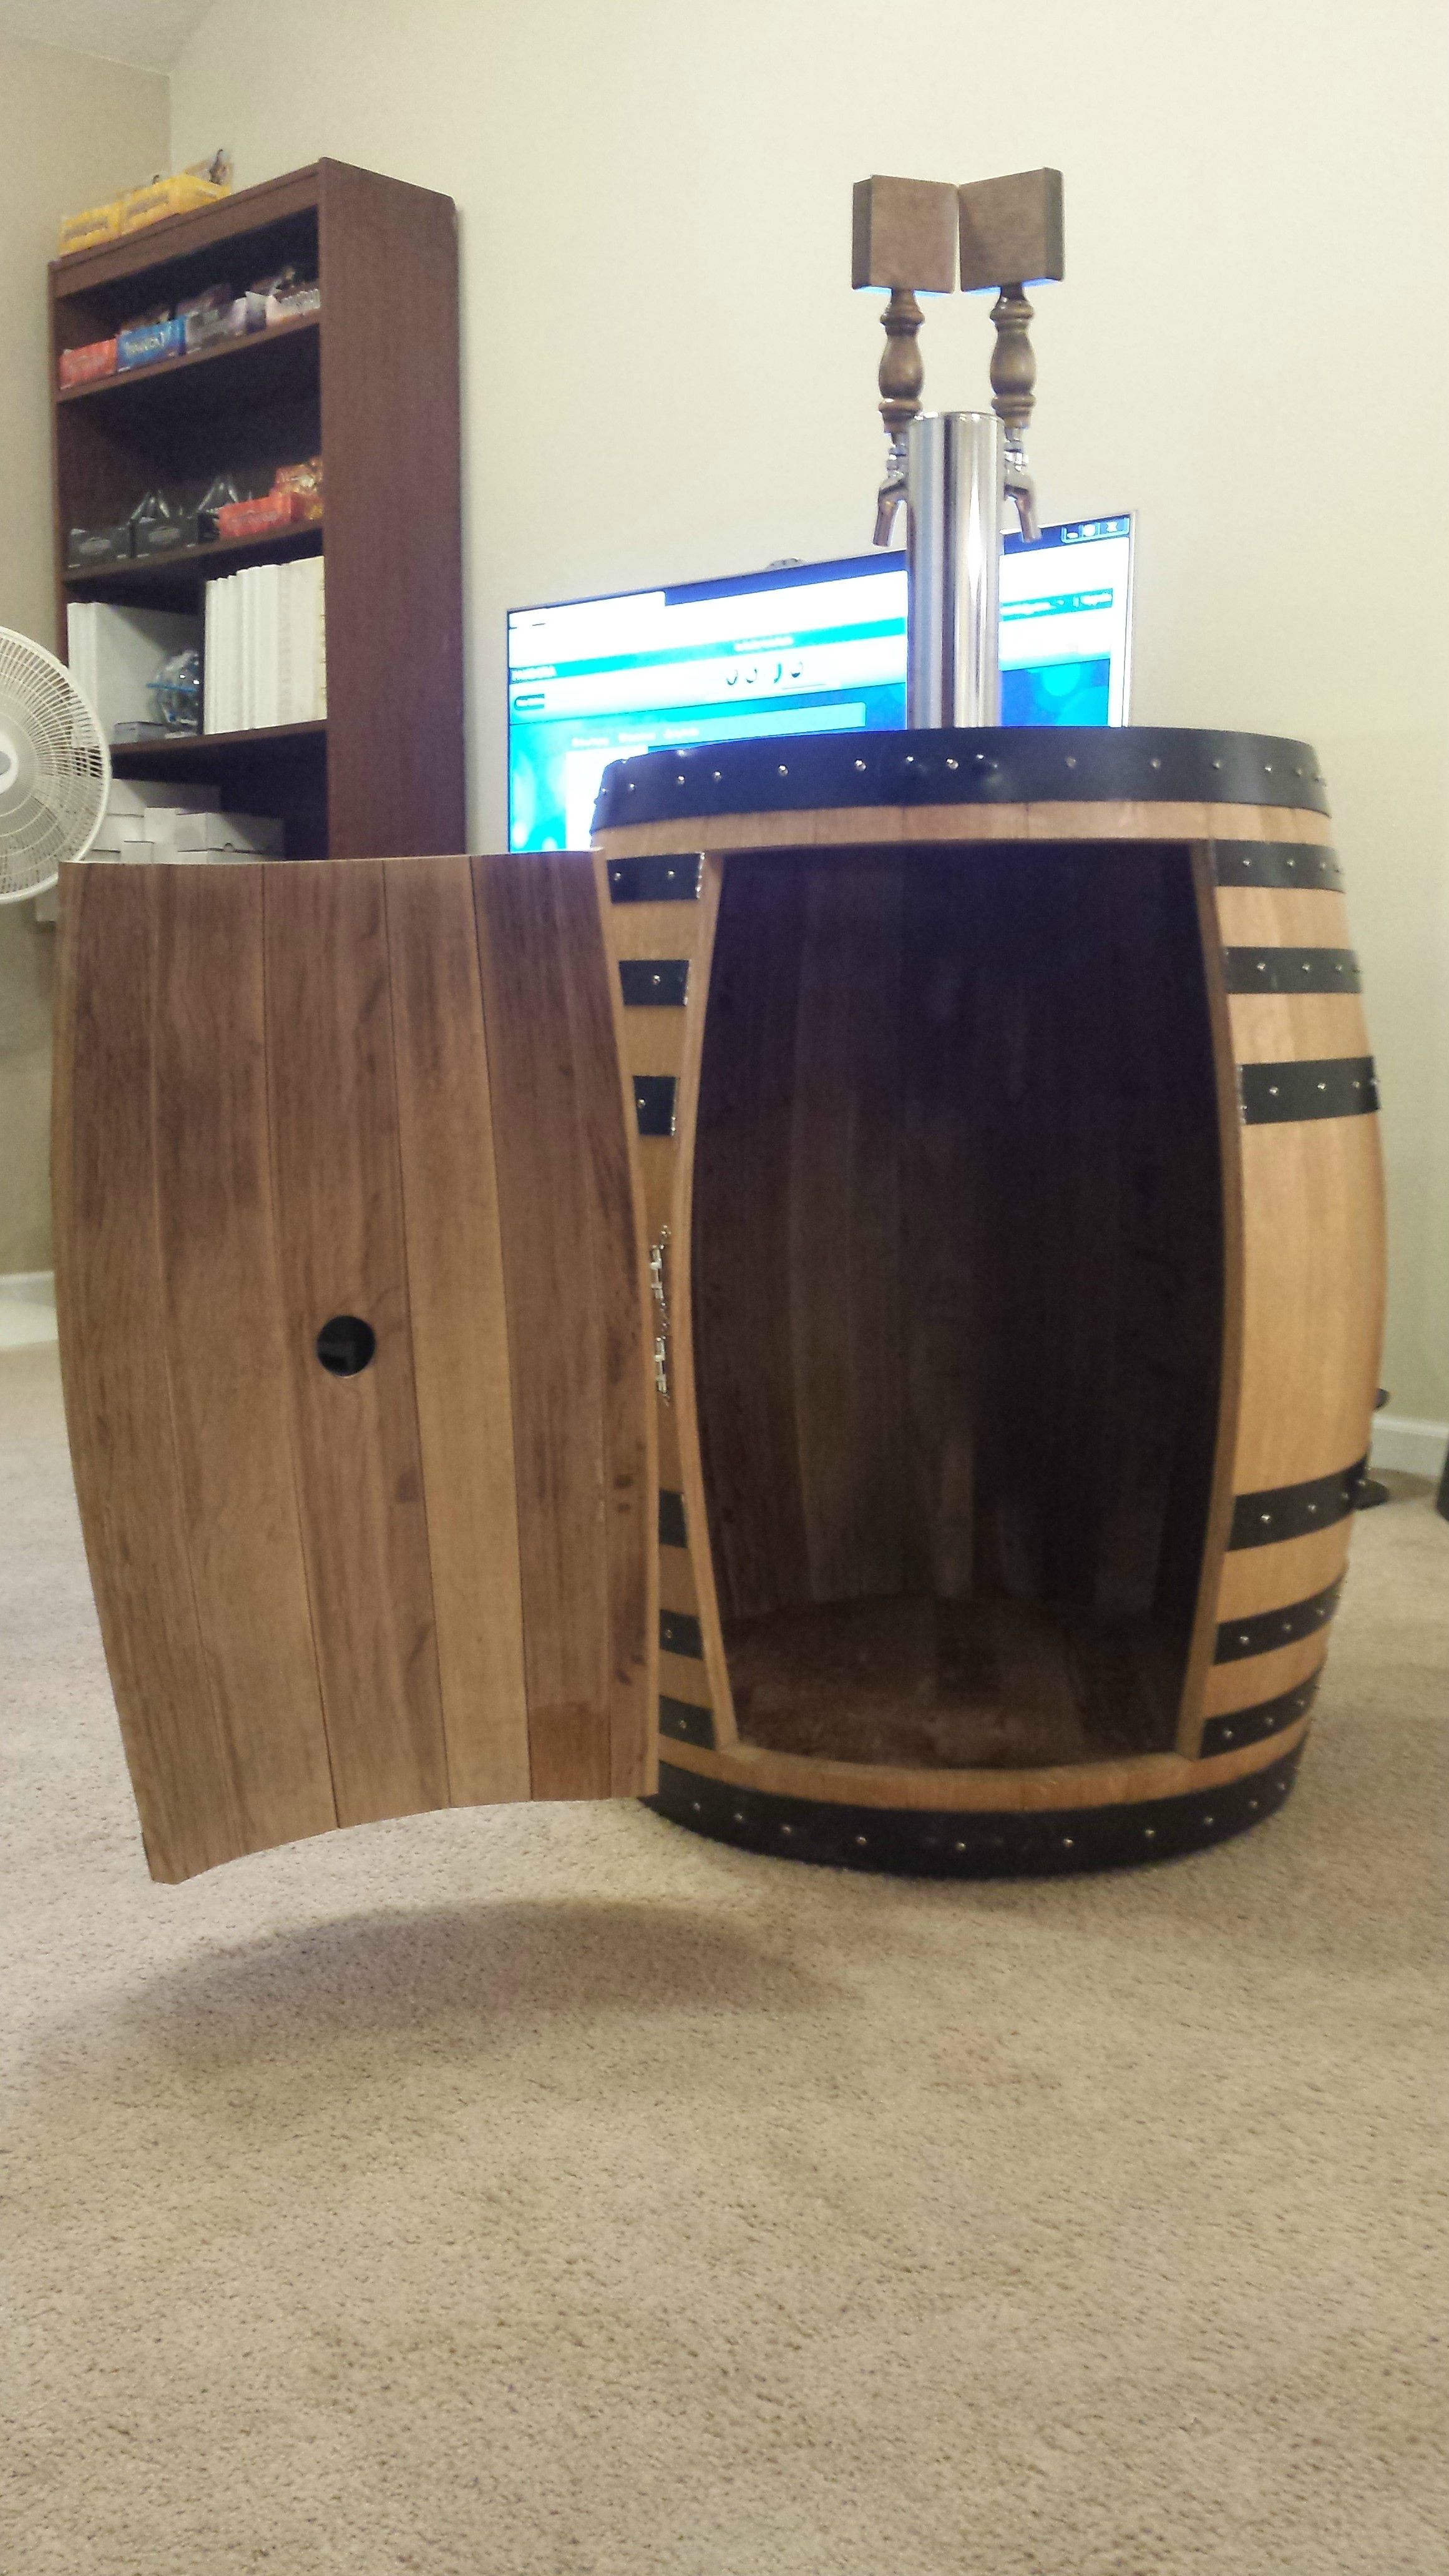
And here's the finished winerator!

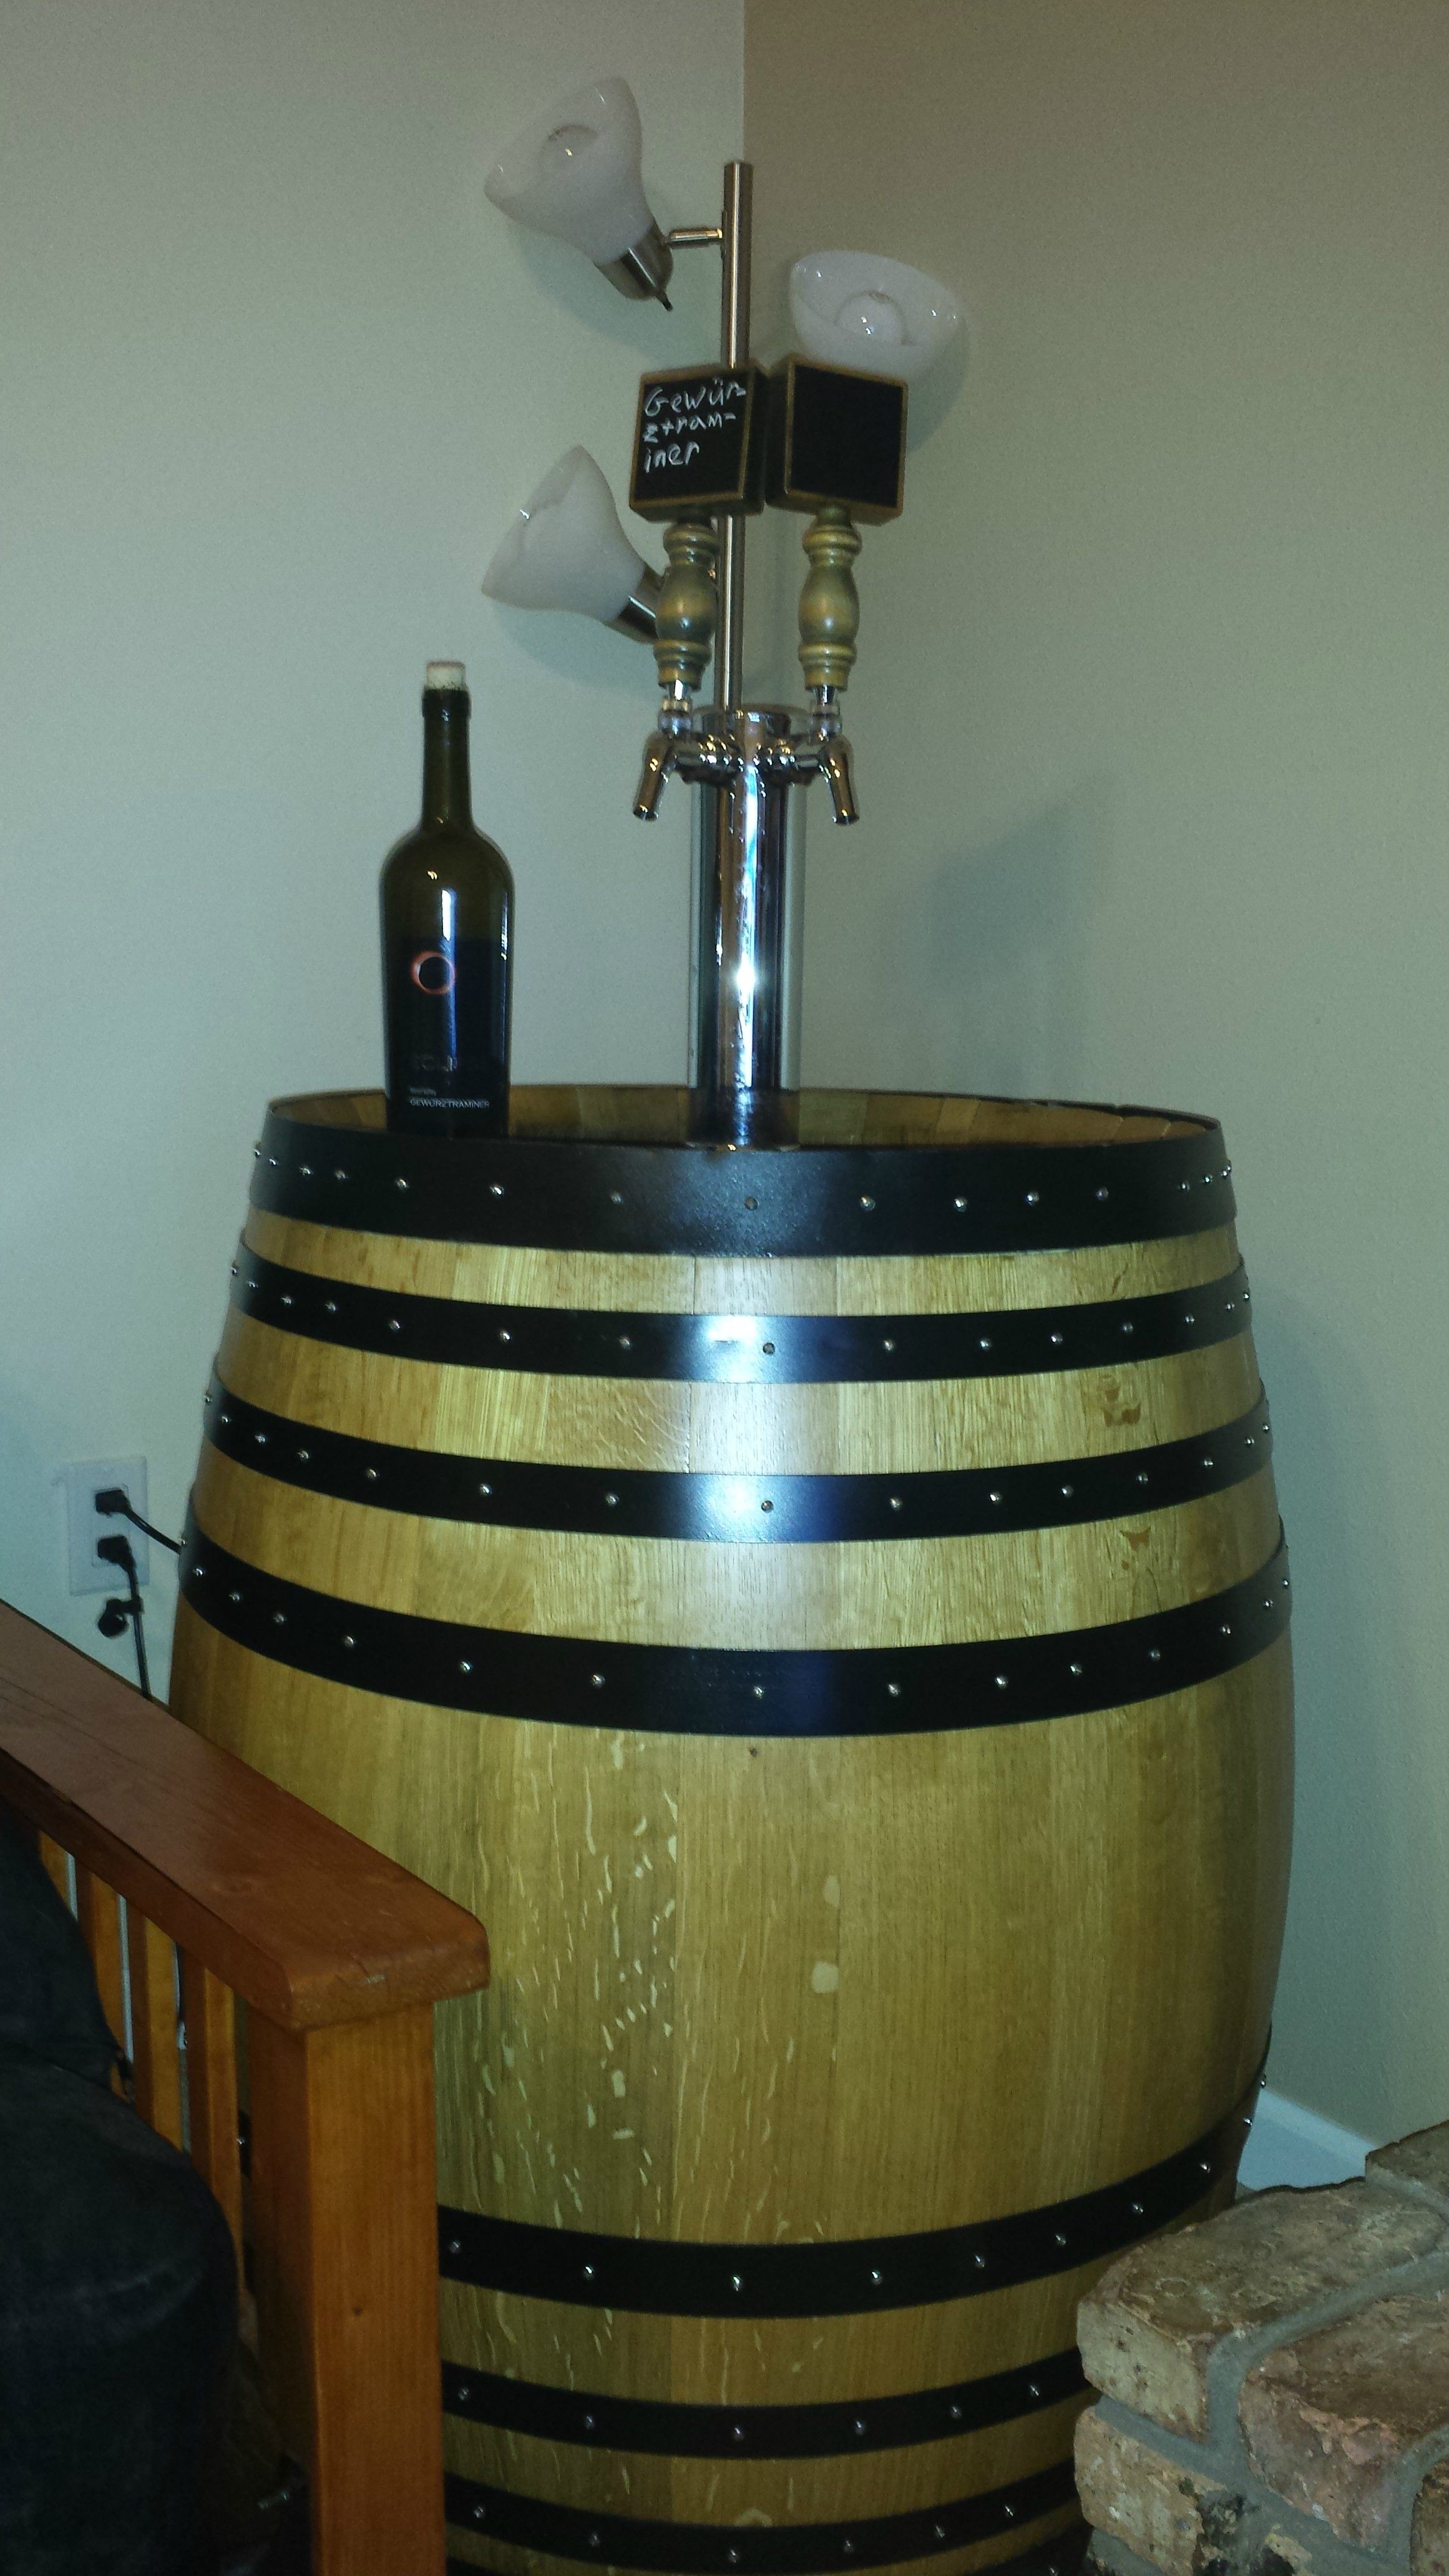
The winerator has tons of interior room fitting 4 Corny kegs and a 10lb nitrogen tank, although it only has 2 taps (for now). I'm certainly enjoying it as a beautiful piece of functional furniture. I hope you enjoyed the post and thanks for all your inspiration over the years!
This build was a fun and educational process. I certainly made mistakes along the way and if I were to do it again, I'd do it in a different order and make different choices. I really just made things up as I went, but I'm really happy with how it turned out. This is an abridged version of my build.
I purchased a used wine barrel from a winery in Nappa Valley, California. It was raining the day it arrived. The barrel was in pretty poor shape, but I knew gorgeous wood was beneath all the damage.
The first thing I did was to set up the tower and formulate a vision for what to do with it. I obviously had to fit a couple kegs in the barrel, but I didn't know if I wanted to have the top lift off to access the interior or cut a door in the side.
I started, perhaps naively, by cutting a hole and screw holes for the tower.
I decided to use an auger bit instead of the hole bit.
I then flipped the barrel over, measured out locations for the casters, and drilled screw holes for them. I also numbered the staves sequentially so I could reassemble them correctly later.
The next step was to remove all the metal rings to get to the bare oak. Each ring had two nails holding it in.
I then drilled (8 rings)*(32 staves) = (256 holes) in the metal rings for screws to hold it together. When not filled with wine, the barrel staves will begin to shrink and the barrel could fall apart otherwise. I drilled by eye trying to pick the location in the middle of the ring and stave. The screw holes did not come out in an exact grid pattern and I think it adds a nice rustic look.
I had drilled the holes to the same diameter as the screws which I found out was a bad idea because the screws would bind and break if not driven exactly perpendicular to the hole. Later on, I had to re-drill the 256 holes a bit larger to prevent more broken screws. For the screws that broke, I either worked the broken pieces out or glued a screw head over the hole to make it look like an actual screw.
Taking the barrel apart.
The top and bottom were held together with pretty awesome joinery. Unfortunately, the lid split in two so I had to glue it back together. These pictures also show the incredibly poor condition the interior of the barrel was in.
Begin the long process of sanding down the barrel. I sanded the top piece, bottom piece, the outside top and bottom of the staves through 40, 80, 120, 220, and 320 grit. I sanded the inside of the staves through 120 grit. I thought it would be best to sand the outside middle of the staves once they were reassembled into the barrel so that they more smoothly fit together.
Storage during the sanding process.
I tested out the stain I was planning on using on parts that wouldn't be seen. I ended up liking it and using it on the whole barrel.
Next I wanted to sand the rings to a bright shine, but after a number of hours with very little progress I realized that wasn't going to happen.
I decided to spray paint all the rings with two coats each of a primer and then a matte black finish. First, I sanded them with steel wool to remove most of the rust and nonuniformities.
The next challenge was reassembling the barrel. I placed the staves in one ring and used packaging tape to hold them together at the top.
It was a small challenge getting the top and bottom pieces of the barrel into place and at the angle I wanted while fitting the ring over the staves. I screwed the top and bottom rings into all the staves.
As mentioned earlier, I had to deal with the too small screw holes and the screws that broke off. I just glued the screw heads onto the holes I couldn't fix.
I then sanded the main part of the barrel through 40, 80, 120, 220, and 320 grit.
Then I applied a couple layers of stain.
Finish the assembly by reapplying the rings and casters and driving the rest of the screws. I used a mallet and a block of wood to fit the rings tight. I had to be careful because the spray paint on the inside of the rings would rub off on the stained wood.
The next step was tough to initiate. I decided to cut the access door into the back side of the barrel. I used a saw and a hack saw blade to cut the wood. I used a Dremel cutoff wheel for the metal.
At first I used some wimpy hinges that were not up the the task at all.
Then I bought a gate hinge that is a lot more sturdy and matches better. I had to bend it with a mallet to match the curvature of the barrel. I would like to add a matching gate latch to secure the door. For now, it's a friction fit.
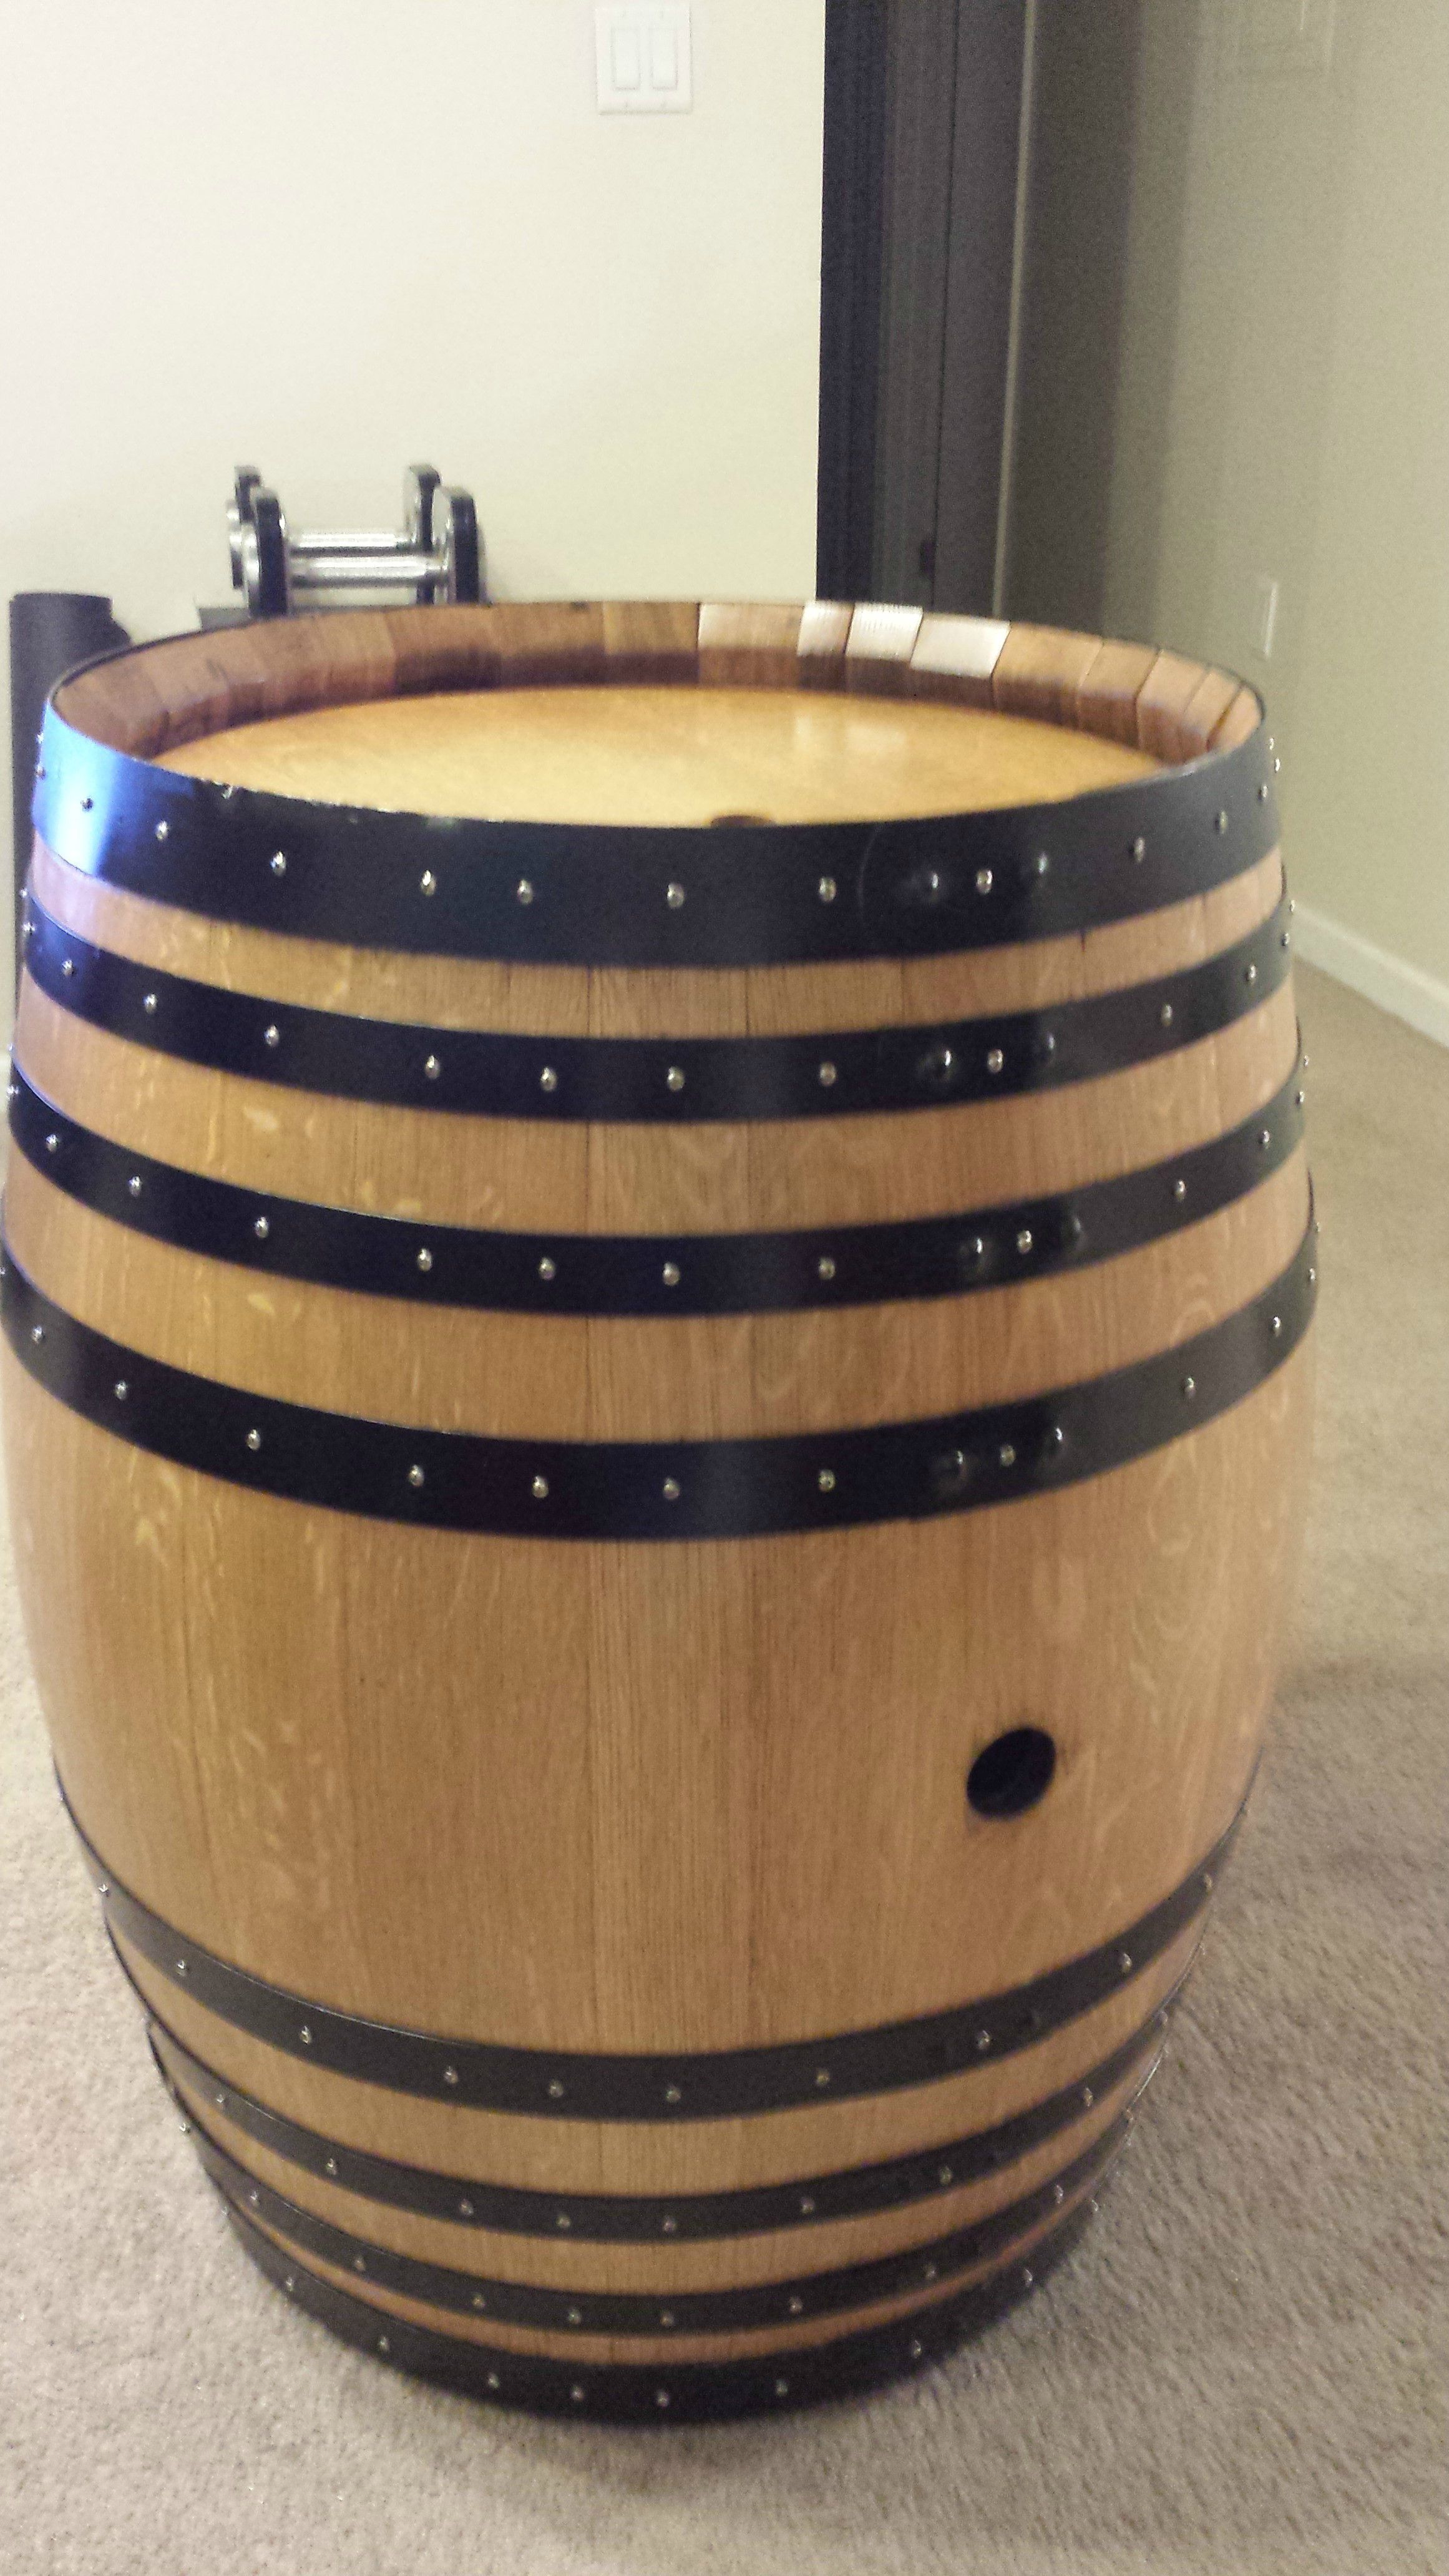
And here's the finished winerator!
The winerator has tons of interior room fitting 4 Corny kegs and a 10lb nitrogen tank, although it only has 2 taps (for now). I'm certainly enjoying it as a beautiful piece of functional furniture. I hope you enjoyed the post and thanks for all your inspiration over the years!
")
