- Joined
- Feb 17, 2010
- Messages
- 14,612
- Reaction score
- 3,600
I'm putting an end to disorganized brew days. I had been looking for a free countertop for the garage to get the brewery more organized, and finally came across a good sized countertop being pulled from a coffee shop turned yoga, so the wheels were set in motion.
I also had $20 worth of Lowe's gift cards, so I picked up about a dozen 2x4's to get me started. The plan is to have a ferm chamber, carb/condition chamber, grain milling station, easy grain access, and plenty of workspace to keep things from getting cluttered.
Here's the area that will become my brewery.
The specimen.

Framing started.

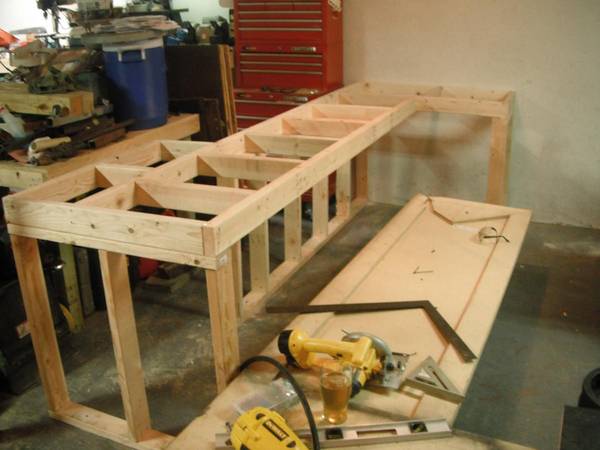
Rough framing nearly complete.
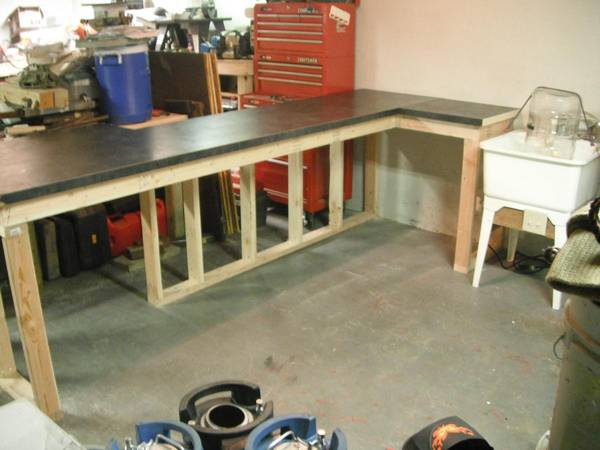
Countertop cut to size and set in place.
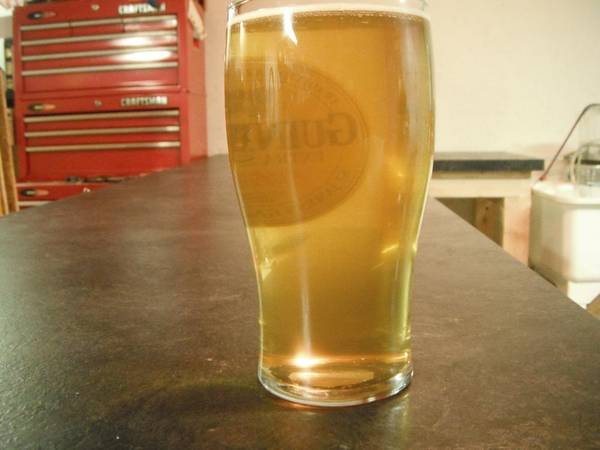
Now it was time for something cold. A tasty glass of BM's Centennial Blonde hit the spot.
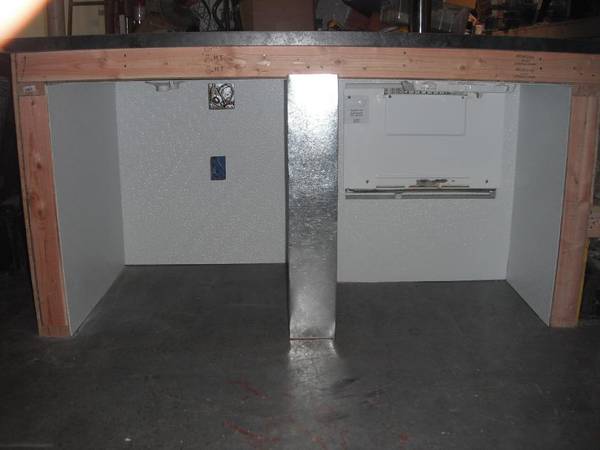
Back to work. A little more framing and some test fitting. You can see here there will be a fermentation chamber on the left (should hold 5 carboys easily) and a carb/condition chamber in the middle which will house 5 cornies and a 20lb co2 tank. There will be a single tap tower above this area for "sampling" before moving kegs to the bar. To the right will be the grain milling area.

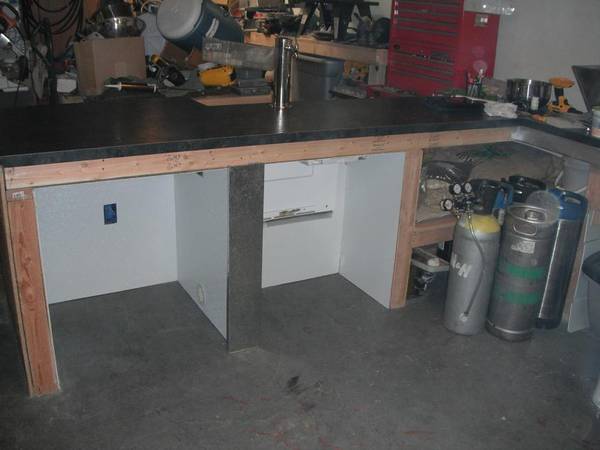
Grain mill mounted and some more test fitting of supplies. The mill will be motorized eventually. I have a motor, just need the pulleys. I bought the bins on the right for grain storage, but they're not airtight and I ended up returning them. Those stackable vittles vaults are just so fv&*ing expensive, especially when you need 10 of them.

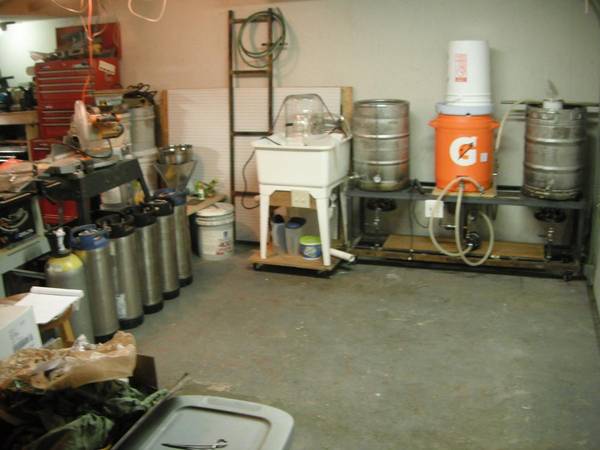
And this was the result of a couple days of playing in the garage.
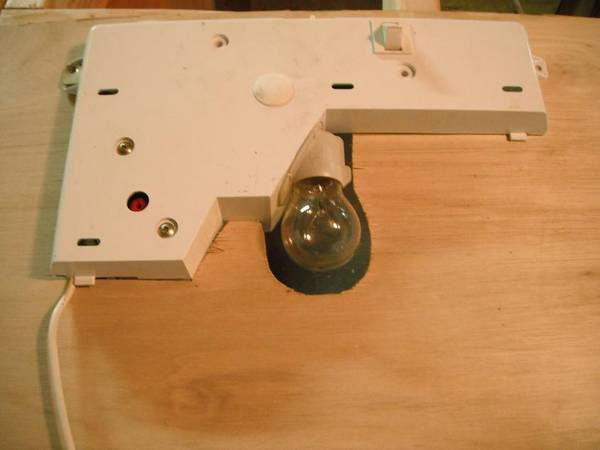
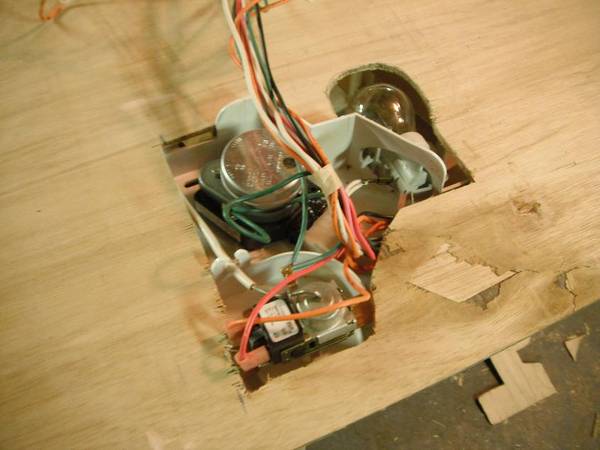
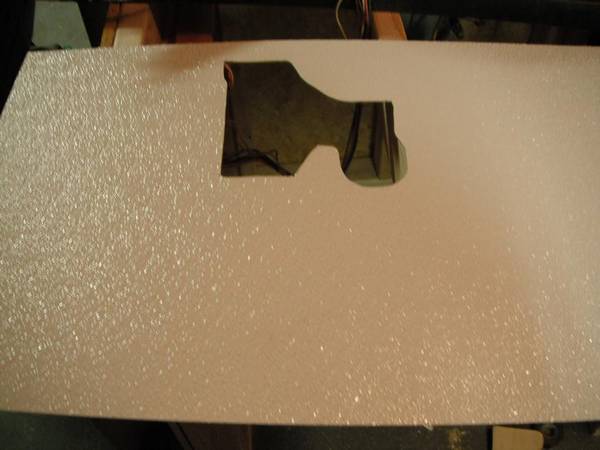
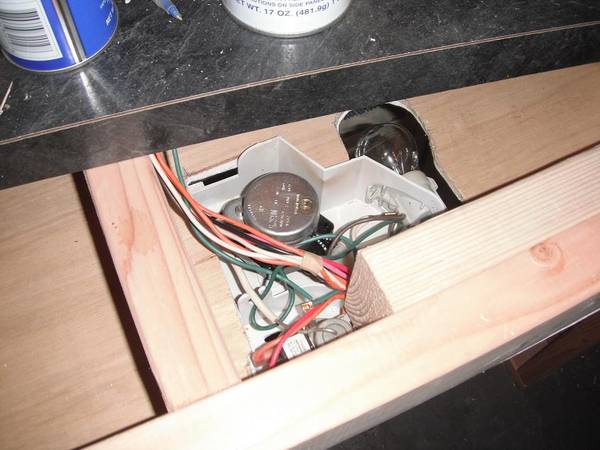
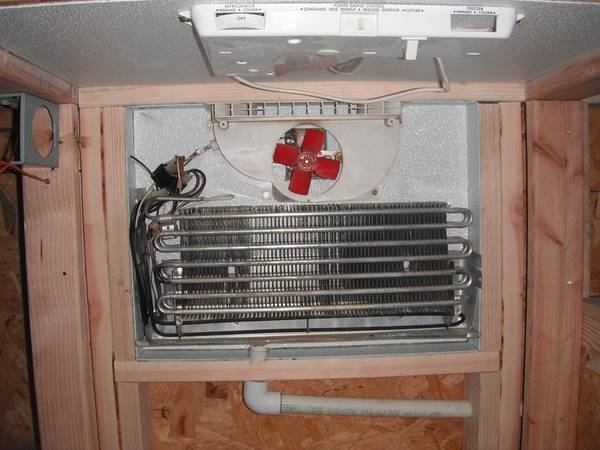
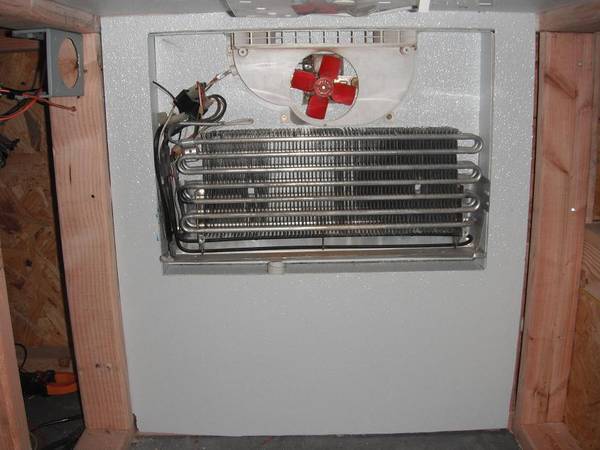
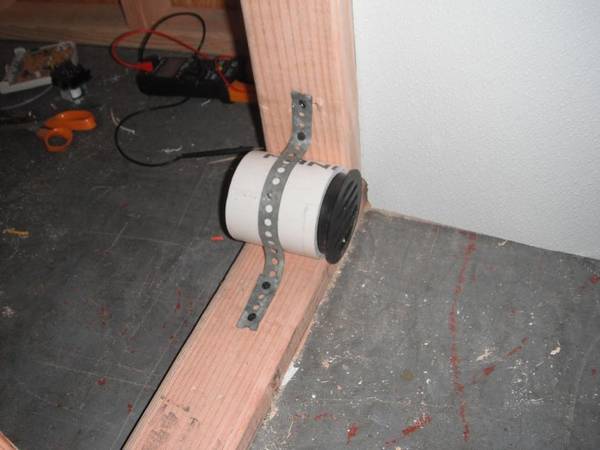
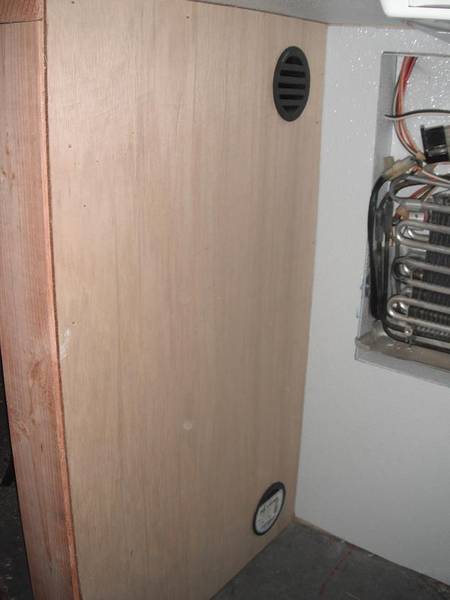
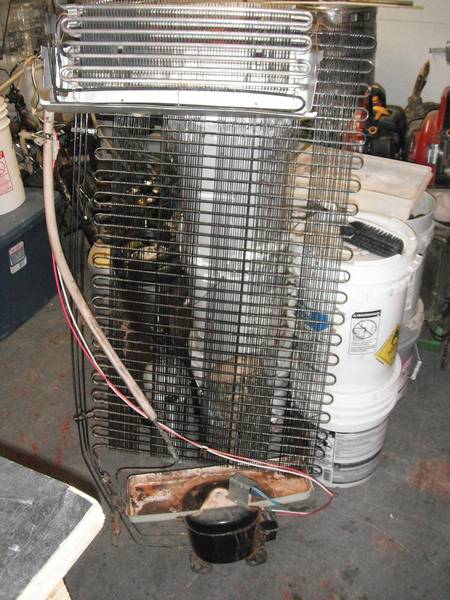
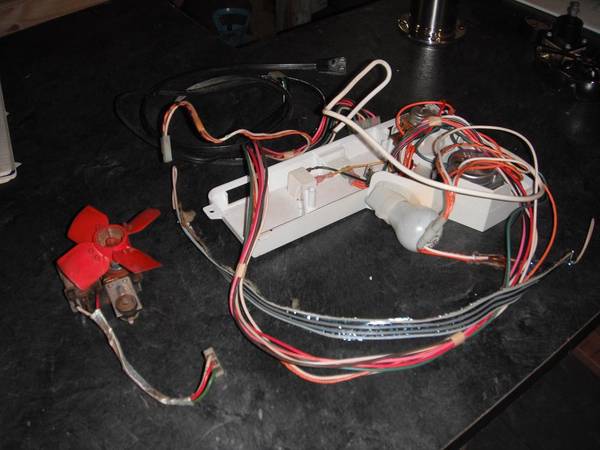
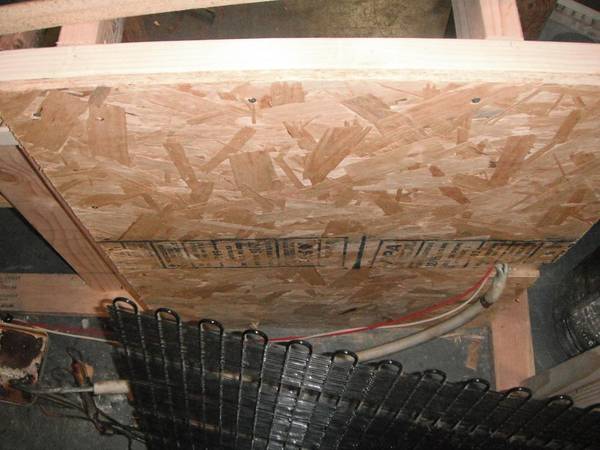
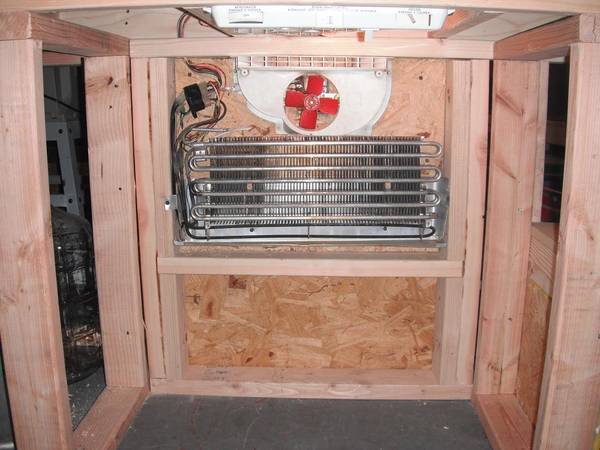
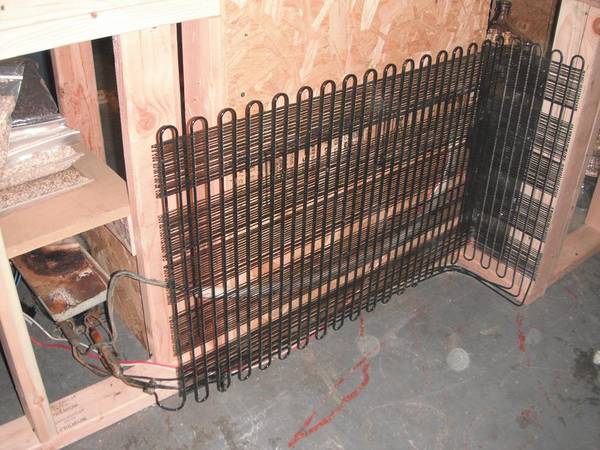
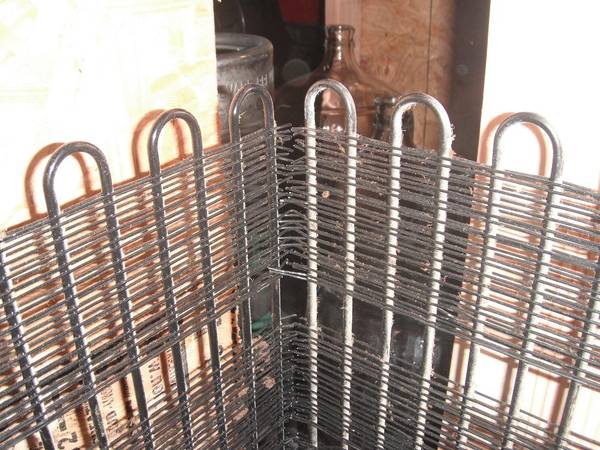
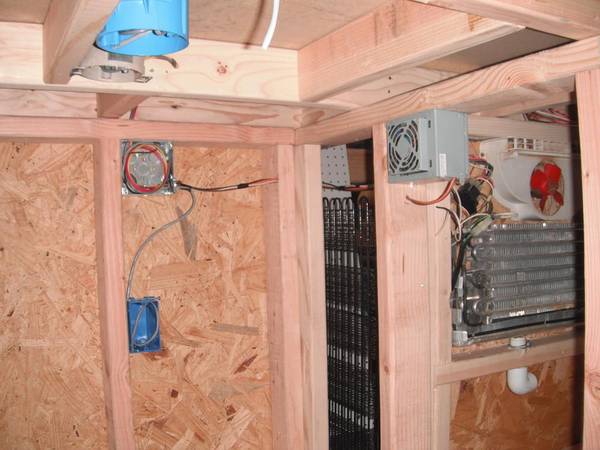
Next up is adding the cooling side of things. I used the refrigeration system from a basic 14 cu ft refrigerator. For those who don't know, you can remove the entire cooling system from a fridge without cutting any refrigerant lines, as you can see below. You then have a frost free cooling system that can be made to work with whatever chamber you build, and don't need to worry about brazing lines or recharging the system properly.
I also had $20 worth of Lowe's gift cards, so I picked up about a dozen 2x4's to get me started. The plan is to have a ferm chamber, carb/condition chamber, grain milling station, easy grain access, and plenty of workspace to keep things from getting cluttered.
Here's the area that will become my brewery.
The specimen.
Framing started.
Rough framing nearly complete.
Countertop cut to size and set in place.
Now it was time for something cold. A tasty glass of BM's Centennial Blonde hit the spot.
Back to work. A little more framing and some test fitting. You can see here there will be a fermentation chamber on the left (should hold 5 carboys easily) and a carb/condition chamber in the middle which will house 5 cornies and a 20lb co2 tank. There will be a single tap tower above this area for "sampling" before moving kegs to the bar. To the right will be the grain milling area.
Grain mill mounted and some more test fitting of supplies. The mill will be motorized eventually. I have a motor, just need the pulleys. I bought the bins on the right for grain storage, but they're not airtight and I ended up returning them. Those stackable vittles vaults are just so fv&*ing expensive, especially when you need 10 of them.
And this was the result of a couple days of playing in the garage.
Next up is adding the cooling side of things. I used the refrigeration system from a basic 14 cu ft refrigerator. For those who don't know, you can remove the entire cooling system from a fridge without cutting any refrigerant lines, as you can see below. You then have a frost free cooling system that can be made to work with whatever chamber you build, and don't need to worry about brazing lines or recharging the system properly.


")