Coffee_Creek E-HERMS Build

Homebrew Talk - Beer, Wine, Mead, & Cider Brewing Discussion Forum

Help Support Homebrew Talk - Beer, Wine, Mead, & Cider Brewing Discussion Forum:

This site may earn a commission from merchant affiliate links, including eBay, Amazon, and others.
Joined
Sep 30, 2011
Messages
113
Reaction score
13
Just starting my E-HERMS build this weekend.
I plan to have three Keggles, HLT, MLT, BK and three pumps. I want to run two 5500 watt elements at the same time along with two pumps. For now I'm looking at buying a chiller from Sabco, it's very pricey but it does what I want to do. We'll see how the funds go.
I plan for this to take a few months because of a upcoming move. My wife and I moved from Alabama to Washington state 10 years ago due to work and now it looks like we're getting to move closer to home, Richmond KY. So, I hope to get the kettles finished before the move and build the stand after.
This weekend I started on the kegs by cutting the tops out using an idea posted by PassedPawn. This is by far the easiest and cheapest way. I can't say thank you enough to PassedPawn for sharing this idea.
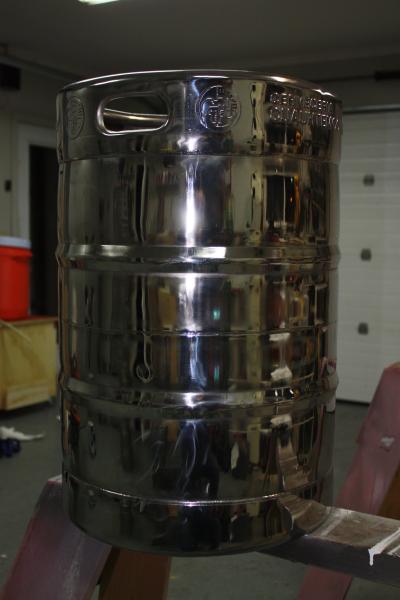
I also started polishing them for a chrome shine. Man, this is a LOT of HARD and VERY messy work.
Also purchased my 50 amp spa breaker box from Home Depot for $52.00, it was $98.00 at Lowes.

I will post as often as I can to keep this undated.

I'm really going to need a LOT of help from you guy's. I've read up on Kal's, Tiber_Brew's, Caynonbrewer and a few others, also have a diagram from P-J who I can't thank enough. I know I'll need much more help as the build progresses.

Here's a few photo's of the start....

IMG_1028.jpg


IMG_1029.jpg


IMG_1030.jpg


IMG_1031.jpg


IMG_1032.jpg
 
Subscribed! Planning on building a rig myself, wondering if I'm going to go electric or propane.
 
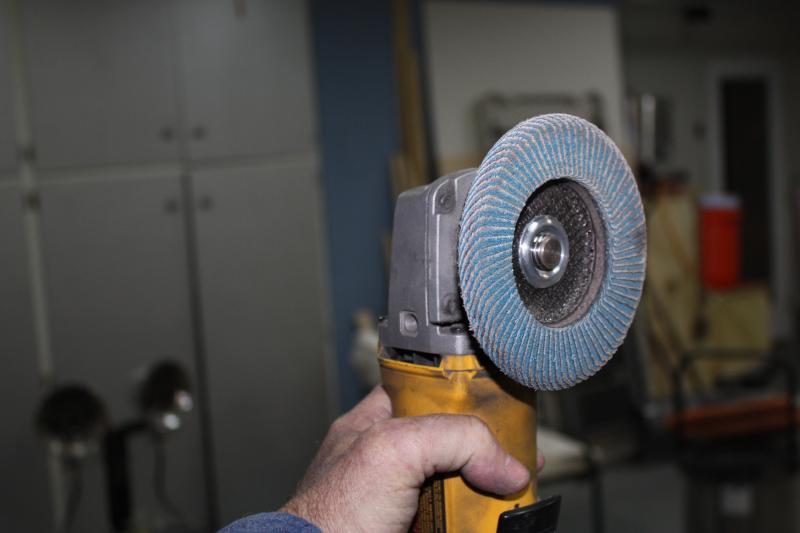
After cutting the tops out of the kegs I removed the sharp edges using the 4.5 inch grinder and a die grinder.

Completed polishing one keg and started on another one using Gator Grit pads purchased from Lowe's. I hope this is the last time I need to polish kegs.

IMG_1033.jpg


IMG_1034.jpg


IMG_1036.jpg


IMG_1037.jpg
 
NICE CUT.. really cool gauge

Thank you, I used an idea posted by PassedPawn. It makes cutting the tops out very easy and does a "factory" looking job. I've been working with metals for years but never would have thought of this. My friends, who also work with metals, that have seen the finished cuts asked if I sent them to machine shop.

Thanks again PassedPawn for sharing this.

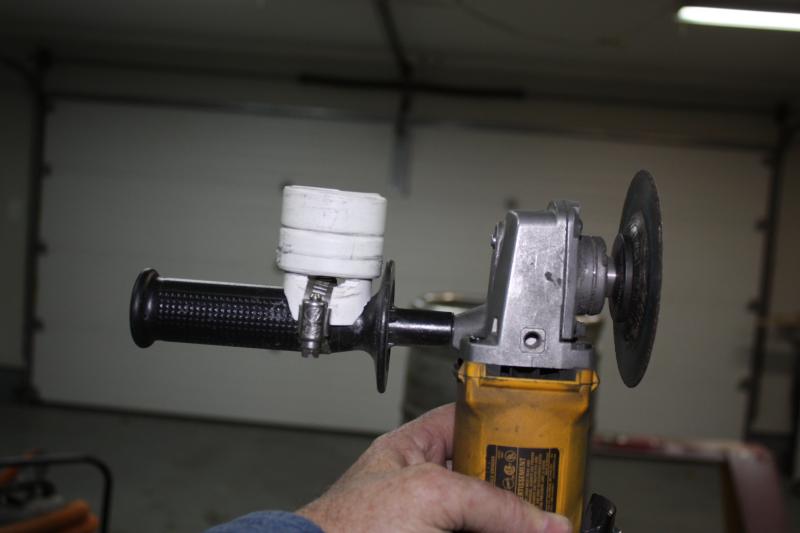
what is the white thing attached to the grinder handle?
 
what is the white thing attached to the grinder handle?

It's a one inch PVC coupler that's too small for the stem hole in the top of the keg so I wrapped it with white electrical tape to build it up for a snug fit. I think PassedPawn used a 1.25 inch.
 
Kegs look great - how long did you spend on each one? I'm getting ready to bite that bullet, so any suggestions learned would be put to good use.
 
did you use Pneumatic tools for all the polishing like the one you're holding, or did you use gator pads on your 4 1/2" grinder?

I've got a compressor, and I'm wondering if it'd be worth going that way, or staying electric with the 4 1/2", anda 7" angle grinder for polishing...
 
nhwrecker said:
Kegs look great - how long did you spend on each one? I'm getting ready to bite that bullet, so any suggestions learned would be put to good use.

I completed one keg and about half way done with the second, I plan to do all three. I'm using my 4.5 electric with the Gator pads. Mistakes I made on the first keg............
1st mistake, reading a post by someone that stated he "quickly polished up his kegs in about three hours each". After scuffing and polishing for hours and hours on one keg I read a lot of OTHER post where it was taking them as long as it was me. I think about 8-10 hours per keg. Also cost more than I thought it would. I spent about 70 bucks for 2packs of polishing pads, 1 rubber back pad, 2 packs meduim scuff pads, 2 packs fine scuff pads, one stick of #2 compound and 1 stick of #5 compound and went back for a few more. I expect to about 120 bucks by the time I'm finished polishing three kegs. Most people only do two and put a blanket on the mash tun.I just want all three to match.
2nd mistake, Started with the medium scuff pad then switched to fine scuff pad. Going back over it with the fine it's easy to miss some places because it' hard to tell where you've scuffed with fine verses medium. When you start buffing any place you missed with the fine scuffing will be time consumming to polish. My next keg I started with fine scuffing which removes 99% then went back with medium and marked the area with a sharpie then went over again with fine scuffing. THIS SAVED ME A LOT OF TIME SCUFFING
3rd mistake, did not polish enough with #2 compound before starting to polish with #5 finish compound. The second keg I polished with the #2 compound until I saw "the WOW" then switched to the #5 finishing compound and quickly got another WOW shine. Switching from #2 to #5 to soon will result in much longer polishing time.
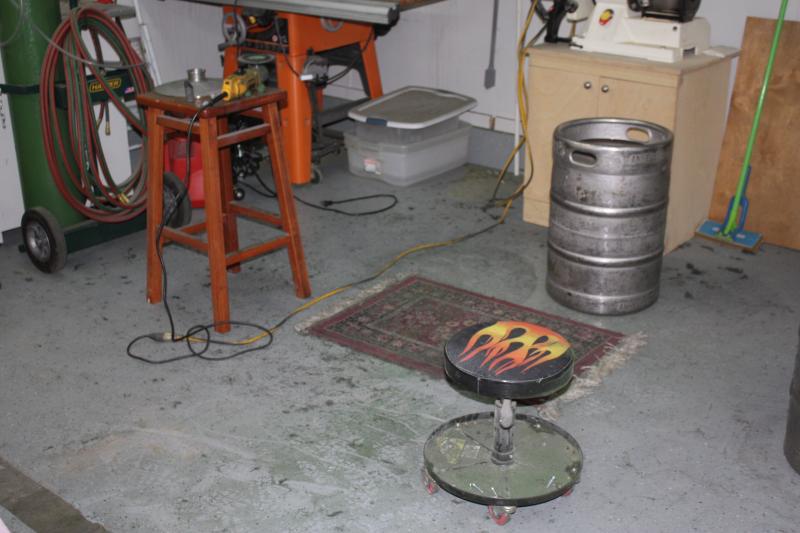
4th mistake, polishing them inside my shop. I think the polishing pads have demons that make you think all is well because when you first start you'll think this is not messy at all but, bythe time you're finished you will regret it because your shop will be destroyed!!!!! along with your hair, shirt, pants, shoes, nose hairs, fingernails, underware ans socks. I lloked down after stepping into the shower and the black crud from the bottom of my feet turned the shower black, and I wore heavy shoes and socks.
Hope this helps!!!
 
Those kegs look awesome...but Man! That's a ton of work. I didn't realize until you explained the process. I might just live with the filth.
 
blksabbath said:
Those kegs look awesome...but Man! That's a ton of work. I didn't realize until you explained the process. I might just live with the filth.

Thanks, yes it is. Not hard work, just a lot of time and messy.
 
Looking good! Is your heart set in running 2 5500w elements at the same time? If not, and you ran only one element at a time, then you could go 30amps instead of 50a, saving you a huge chunk of change. 50amp components add up fast, wire, main contactor, plugs, etc. My control panel is 30amp max, and I just got done building a 50a for a buddy, and the total bill was significantly greater on the 50amp build. And it turns out he really only runs one element at a time unless hes doing back-to-back batches or he wants to get a couple minute head start on the boil. Just something to think about.
 
Looking good! Is your heart set in running 2 5500w elements at the same time? If not, and you ran only one element at a time, then you could go 30amps instead of 50a, saving you a huge chunk of change. 50amp components add up fast, wire, main contactor, plugs, etc. My control panel is 30amp max, and I just got done building a 50a for a buddy, and the total bill was significantly greater on the 50amp build. And it turns out he really only runs one element at a time unless hes doing back-to-back batches or he wants to get a couple minute head start on the boil. Just something to think about.

Yep, heart is set on running two 5500's at once. I know the cost goes up a lot but I'll be doing a lot of back to back batches.

PM'd you on the contacts. Thanks!!
 
Looking good! Is your heart set in running 2 5500w elements at the same time? If not, and you ran only one element at a time, then you could go 30amps instead of 50a, saving you a huge chunk of change. 50amp components add up fast, wire, main contactor, plugs, etc. My control panel is 30amp max, and I just got done building a 50a for a buddy, and the total bill was significantly greater on the 50amp build. And it turns out he really only runs one element at a time unless hes doing back-to-back batches or he wants to get a couple minute head start on the boil. Just something to think about.
IMHO, you may want to consider a 60 amp service to run two 5500W elements at once (45.8 amp draw total) instead of 50 amp.

Kal
 
kal said:
IMHO, you may want to consider a 60 amp service to run two 5500W elements at once (45.8 amp draw total) instead of 50 amp.

Kal

Thanks Kal, I purchased a 50 amp spa GFCI at HD. I almost bought the 60 amp when I was there because it was only $25 more. I'll return the 50 amp and get the 60 amp.
 
Kal,
Any suggestions on which wire to use to wire the 60 amp Spa GFCI and where I can order it?

I used #6 wire from Lowes to wire 50 amp service to a sub-panel in my garage and I believe that my electrical guide at the time showed that #6 gauge wire is also used for 60 amp as well, but you will want to confirm this with the electrical codes for your area first. P.S. I just found my Complete Guide To Home Wiring by Black & Decker and it does show that the capacity for #6 gauge wire is 60 amps / 240 volts. Good luck.
 
Coffee_Creek said:
Build is moving alone. Just received a lot of parts and will post photo's this weekend.

We moved to Kentucky at last. Remoldeled the garage into a brew house and will be returning to building the brew rig soon. Pictures soon to follow.
 
Finished in the garage by blowing insulation in walls and ceiling, wired with 200 amp electrical panel, finished walls and ceiling and painted, painted floor with epoxy, installed stainless sink and faucet, install 40 gallon water heater, wired in 60 amp spa GFCI.
Ready to get back to work on the kegs. More parts to order soon then weld them out.

photo-1.jpg


photo-2.jpg


photo-3.jpg


photo-4.jpg


photo-5.jpg
 

Latest posts

Back
Top