OP
OP
Anthony_Lopez
Well-Known Member
I've actually been considering building a temp controlled stir plate, however the price of building it makes it somewhat inefficient.

is it just me or not but, 10/32 or 5/16???
is it just me or not but, 10/32 or 5/16???
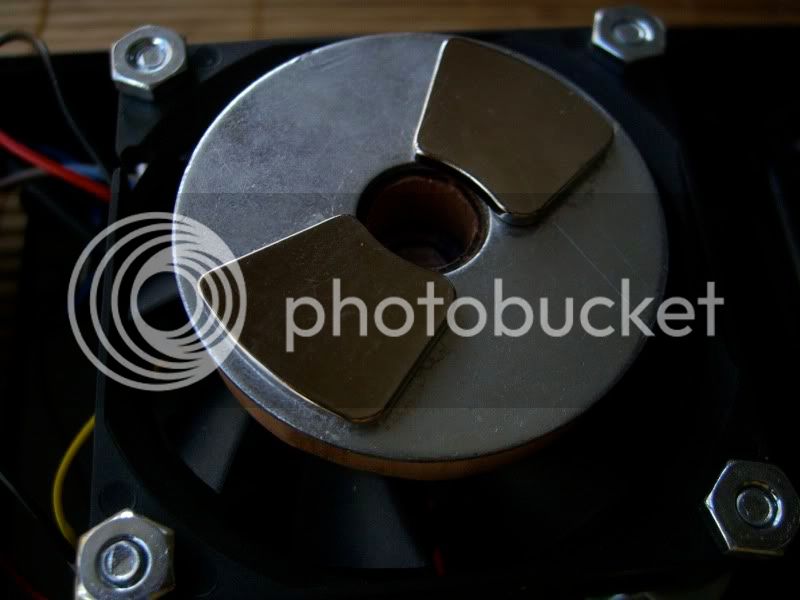
He's Dan Jeska from Michigan. His stir plate design is unique and appears to be superior in that it uses an LM317 voltage regulator along with a pot for better speed control. He also uses rare earth button magents instead of the salvaged hard drive magnets. The price is very good at only $42 including shipping and a stir bar. Lifetime warranty too.
http://www.stirstarters.com/
And he makes a fine product! I highly recommend.
is it just me or not but, 10/32 or 5/16???
10/32 or 10-32 refers to bolt size and the number of threads per inch of bolt.
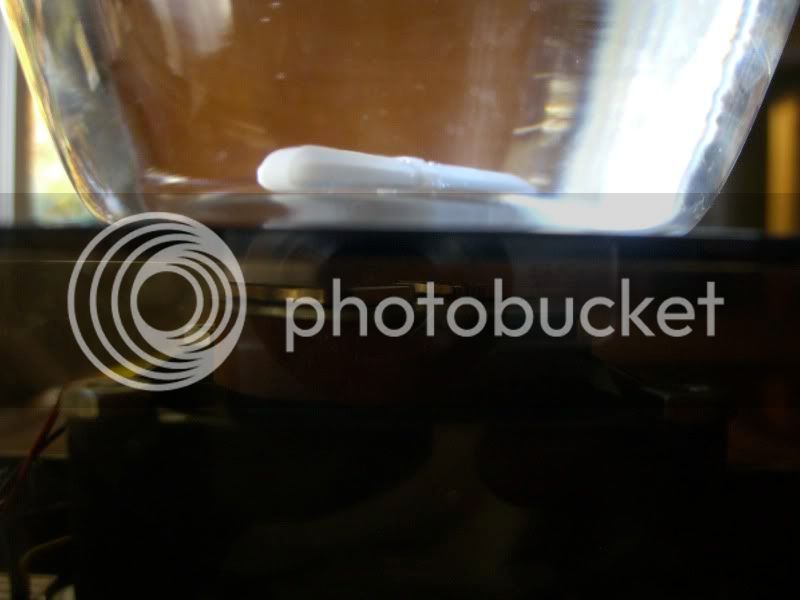
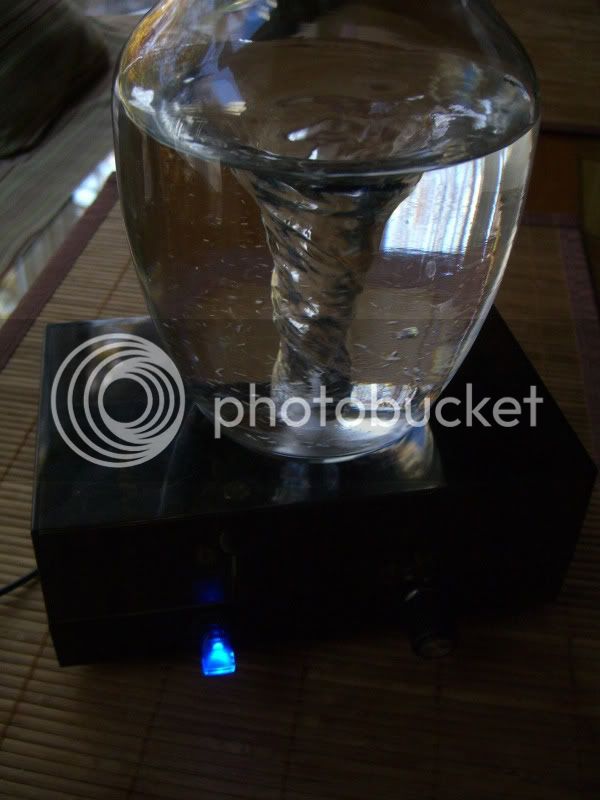
I just used mine for the first time last week, made two starters, I am able to get a vortex about 1/2 way down my growler for a 1 liter starter with a 2" stirbar.
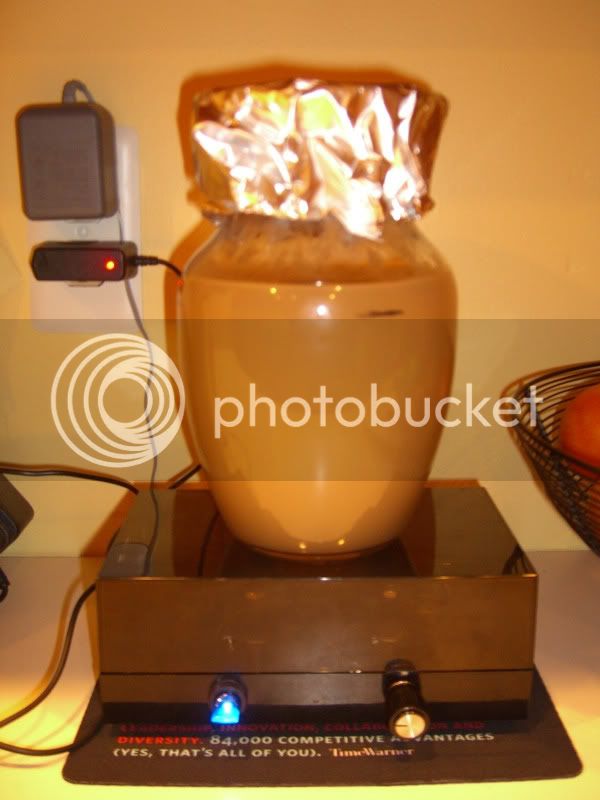
I am using a 6v cell phone charger, but a buddy of mine has a bunch of old cordless phone chargers one is 9v and another is 10.5v.
I was wondering if using one of these would give my fan a little more power to pull the vortex down a bit further?
Also, if wattage is listed on the charger does that make a difference?
I think the 10.5v charger states 14 watts, and the 9v might be like 2 watts, I'm not certain, my cell phone charger that I am using now is .5 watt.
Can higher wattages burn out my fan if the charger is 12v or under?
This poster's question about the wattage was answered but I'm still unsure of his question about voltage.
I actually have a 6.5 volt and a 9 volt wall wort. All things being equal, which one will be better for the stir plate application?
I'll have to look for old PCs when I make the next dump run...
")

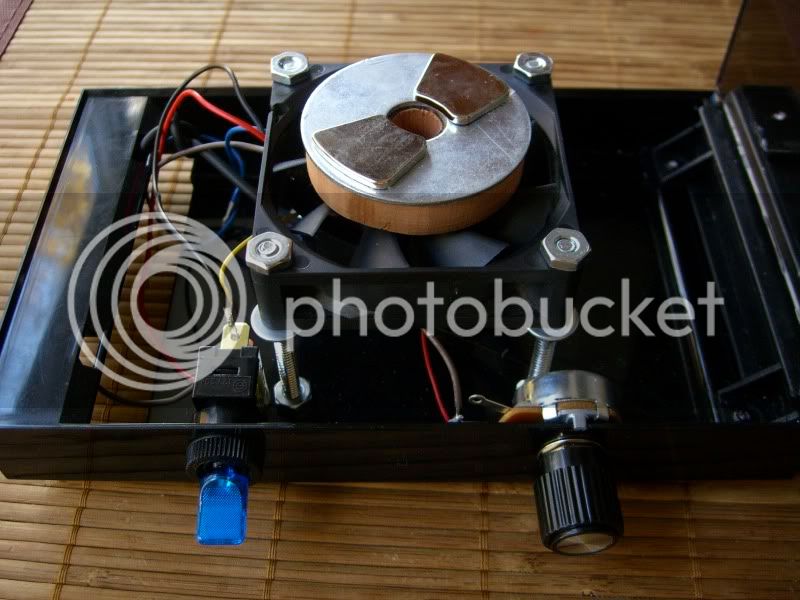
I finished my two - one enclosure didn't have a lid so I installed it upside down in the box. I glued a 1" strip either side of the fan and used double sided velcro tape to stick it to the box. The height of the plywood and tape are working well.
The other one is conventionally mounted - facing the lid. Both work well.
In future I wouldn't bother with a switch or pot - they both worked fine connected directly to the power supply.
I loved this project :rockin:
BTW - does anyone use their stir plates inside a fridge / fermentation chamber ? I plan on installing a plug inside my ferm. chamber to run the stir plate at a set temp.
Also - can the starter get too much air from being spun too fast ?
Thanks for the thread, guys, I learned a bunch.
Just finished mine, entirely using parts I had around the garage, except the project box I put it in. So total cost was about $6. I went with a PWM circuit using a 555 timer, an N-channel MOSFET and a handful of resistors, capacitors and diodes I had laying around. I found a 10K linear-taper pot and an illuminated switch I'd intended to use in a Volkswagen I haven't owned in ten years, and a rinky-dink 12V fan from an ancient computer.
I plug it straight into the 12V rail of a power supply I built out of an old PC power supply. It actually pulls a small whirlpool on the 5V rail thanks to the PWMing, but it's not real happy about it.
Just another time I can drag SWMBO into the garage and say, "SEE?! This is why I desolder all the parts from old VCRs and printers!" so that she can shake her head and walk away muttering... but hey, I do the same when she shows me the latest scrapbooking gadget...
Anyway, point is, I learned a ton from this and the similar threads, not only about design options but usage, too, so thanks.
Nope. I don't have as scope to verify, and I know it'll never go 0% to 100%, but it shouldn't do any worse than 5% to 95%.Don't you have a problem getting the full range of duty cycle from a 555? I recall having to choose from 0-50 or 50-100.
$ 1 5.0E-6 10.20027730826997 50 5.0 50
165 496 336 528 336 2 12.0
c 560 496 560 544 0 1.0E-5 7.9999999999940785
g 560 544 560 592 0
d 224 448 224 368 1 0.805904783
d 320 368 320 448 1 0.805904783
174 224 368 320 368 0 10000.0 0.5396000000000001 Resistance
w 272 352 272 192 0
w 272 192 672 192 0
w 672 192 672 400 0
w 672 400 624 400 0
w 624 368 624 304 0
w 624 304 560 304 0
w 560 272 560 304 0
w 496 464 496 432 0
w 496 432 352 432 0
w 352 432 352 448 0
w 352 448 320 448 0
w 320 448 224 448 0
c 320 448 320 528 0 1.0E-6 7.834532325997717
w 320 544 320 528 0
w 560 304 400 304 0
w 400 304 400 480 0
w 320 544 400 544 0
w 400 544 560 544 0
w 496 368 496 288 0
w 496 288 704 288 0
w 560 272 608 272 0
w 608 272 608 160 0
w 608 160 704 160 0
f 704 288 784 288 0 1.5
r 784 272 784 208 0 100.0
w 784 208 784 160 0
w 784 160 704 160 0
g 784 304 784 384 0
R 560 272 560 224 0 0 40.0 12.0 0.0 0.0 0.5
r 704 288 704 160 0 10000.0
o 29 64 0 43 20.0 1.6 0 -1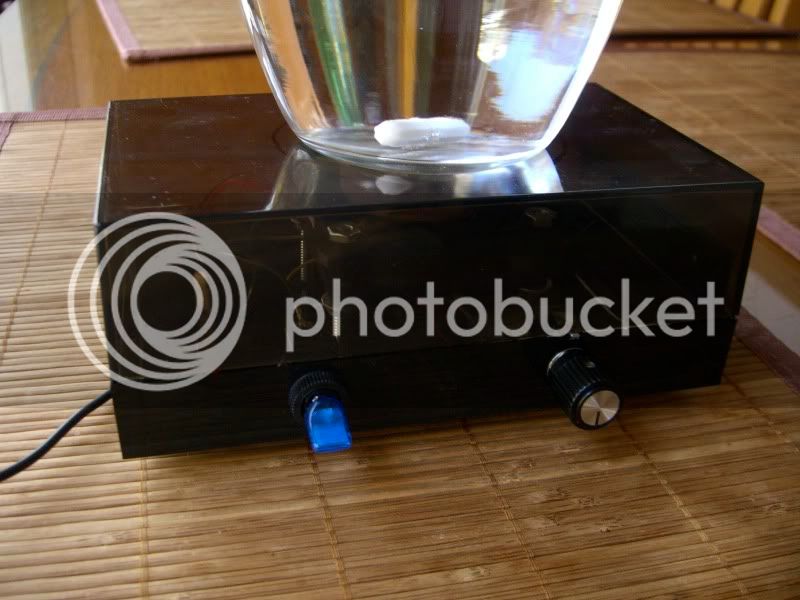
... I read 10/32 as the diameter for the bolts, which I took to mean 5/8", which based on the above replies and, well, looking at my fan, I assume is incorrect. Do you know what the diameter of the bolts should be?
Thank you.
Let me preface this by letting you know my electrical/mechanical knowledge is pretty much non-existent. I read through the entire thread (quickly) so I my have missed my answers.
First, when I cut open my power supply (old cell phone charger) It had four insulated wires: red, green, black, and yellow. How should I be using these?
Also, I think I may have run into an issue alluded to earlier. I read 10/32 as the diameter for the bolts, which I took to mean 5/8", which based on the above replies and, well, looking at my fan, I assume is incorrect. Do you know what the diameter of the bolts should be?
Thank you.
Yeah, I'm sorry, I worded that poorly, I did just cut off the connector. So unless it doesn't work, I should use the red and black wires and ignore the green and yellow ones?
By the way, thank you for the write up of this info.

Yeah, but when it comes to gadgets - especially ones you make yourself - what you "need" and what you "want" tend to butt heads!You don't really need a vortex. As long as everything is spinning your ok. It's mainly to keep yeast in suspension. I had to raise my magnet with a spacer to get it to work properly.
Thanks again for the outstanding tutorial, Anthony - although would love to know how you got a 12v AC adapter to work, since when I used 12v in there, it flung the stirbar before it got up to speed on the lowest setting!
Enter your email address to join:


