user 103238
Well-Known Member
- Joined
- Jan 8, 2012
- Messages
- 569
- Reaction score
- 62
Nope, wrong again - had my first stuck sparge!! Ended up having to transfer the end of the mash into my cooler and lauter from there.
Might need to trim up the end of my dip tube, and next time adjust the grain to be a little more coarse.
Might need to trim up the end of my dip tube, and next time adjust the grain to be a little more coarse.
kscarrington said:Found my grain might have been milled a touch too fine for my false bottom, it's being a bit finicky but should still work.


")


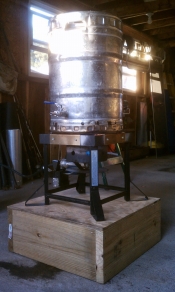
![IMG_3751[1].jpg](https://cdn.homebrewtalk.com/data/attach/126/126729-IMG-3751-1-.jpg "IMG_3751[1].jpg")