Upside Down Keggles?

Homebrew Talk - Beer, Wine, Mead, & Cider Brewing Discussion Forum

Help Support Homebrew Talk - Beer, Wine, Mead, & Cider Brewing Discussion Forum:

This site may earn a commission from merchant affiliate links, including eBay, Amazon, and others.
Make sure to close the valve on the other end when you're moving hoses, it holds a small vacuum and prevents liquid from flowing out freely. I also keep a quart sized pitcher with a handle on my brew table for the actual disconnect to catch the few ounces that will leak. Anything with a handle really, just hold it under neath when you open the camlock.

Good deal. I'll give that a try.
 
Hoping to finish my panel in the next few days. Qq,

Planning on using hammered paint on the enclosure. I have one of the oversized pre-tapped heatsinks that ebrewsupply sells. Any problem painting the heat sink with the same paint?

By the way, Ryan at ebrew is awesome. Really helpful, quick responses and goes out of his way to help.
 
Although it probably would still work fine, the paint would act as a small insulator and reduce the heat dissipation
 
Hoping to finish my panel in the next few days. Qq,


Planning on using hammered paint on the enclosure. I have one of the oversized pre-tapped heatsinks that ebrewsupply sells. Any problem painting the heat sink with the same paint?


By the way, Ryan at ebrew is awesome. Really helpful, quick responses and goes out of his way to help.


I decided to go with ebrew's bcs-462 panel. I happen to live about 20min from their shop. I went by last week and played with the BCS Panel! Ryan is very knowledgeable and has been a great resource. I am actually going to Ebrew's open house and I will order the panel today.

About painting the heatsink, I personally wouldn't..
 
So the receptacles I got for the 30amp elements are 3 pole and do not have a ground. Is this going to be a problem?

Got the Leviton L12-30s... I suppose I could also just use one of the 3 poles as ground, right?
 
So the receptacles I got for the 30amp elements are 3 pole and do not have a ground. Is this going to be a problem?

Got the Leviton L12-30s... I suppose I could also just use one of the 3 poles as ground, right?

L12-30 is really meant for 480V. I guess as long as you keep your rig to yourself and use the matching plugs, you'll be straight. I mean 240v uses L1/L2/G so it's also a 3 wire.
 
L12-30 is really meant for 480V. I guess as long as you keep your rig to yourself and use the matching plugs, you'll be straight. I mean 240v uses L1/L2/G so it's also a 3 wire.
Thanks... Yeah I found that out now unfortunately...

Also, I have a marinco 50 amp flanged inlet but the hubbel plug that I got doesn't fit. Are these supposed to be standards based at this point? If not, what should I be using instead for the plug side to use the inlet that I have?
 
Thanks... Yeah I found that out now unfortunately...


Also, I have a marinco 50 amp flanged inlet but the hubbel plug that I got doesn't fit. Are these supposed to be standards based at this point? If not, what should I be using instead for the plug side to use the inlet that I have?


They should fit as long as they are the same L number. I have had issues though in the past at power plants. If you can, match manufactures.
 
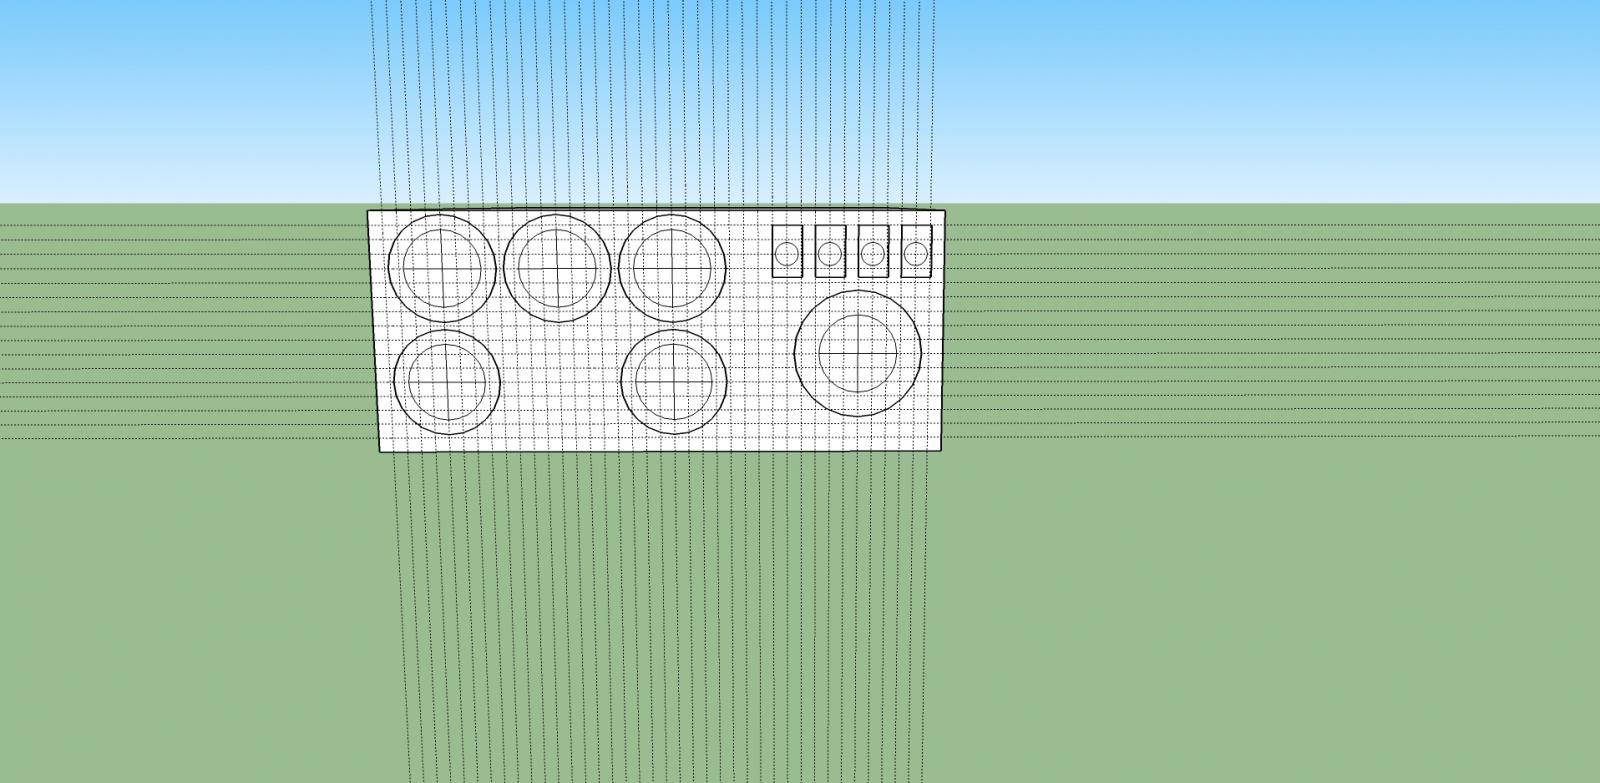
Alright here's the bottom design for my control panel. 3x slots for pumps, 2x for elements, 4x for temperature probes. Bottom of panel is 200mm, spacing is 20mm at the largest, and 10mm over by the probes.

ControlPanelBottom.jpg
 
Ahh damn. Come to find out that the spec sheet for the case size included the door. So I don't really have 200mm, but closer to 170 to work with... It's going to be tight...
 
I think I remember telling you early to get a box bigger than you think you'll need; yes, this is an, "I told you so" post! ;)

:mug:

LOL. I did get a bigger one too. :) Just larger in the WxH and not as much in the depth apparantly.

Fun fact, I had originally bought the one that was 10" instead of 8", but they were out of that one and swapped it with the 8" box.
 
Looking good... Nice progress! I actually am in the midst of building a new system, and I find myself in the same boat as you with the panel, even though I bought (what I thought was) a huge one. And yet, now I am not so sure as I start mocking things up!

And this is my fourth panel build!

:)
 
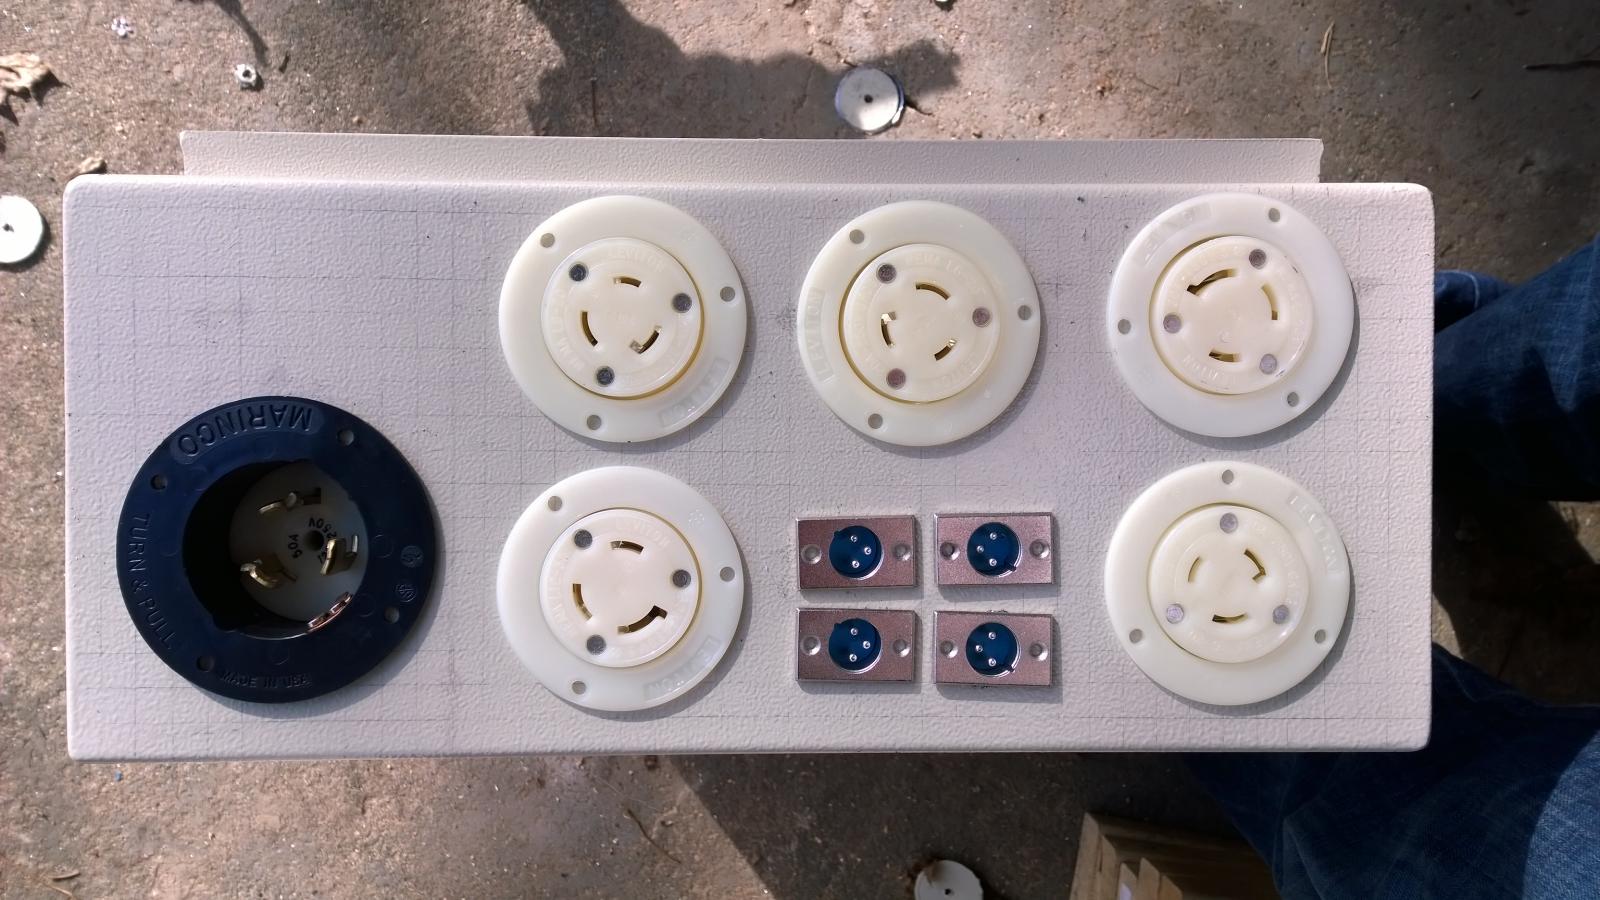
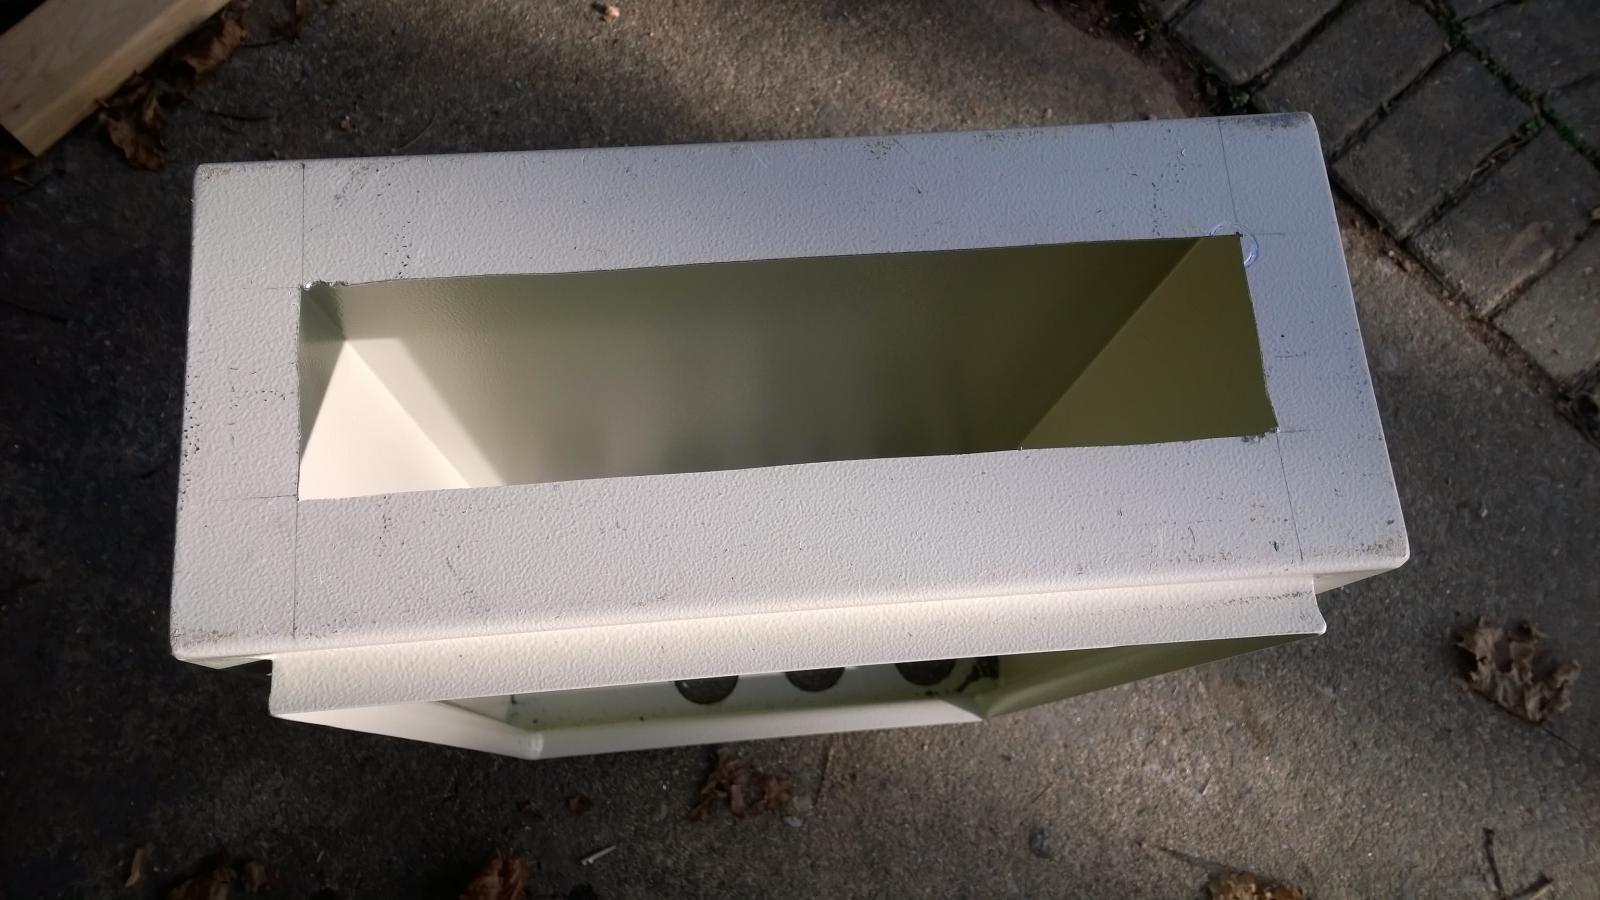
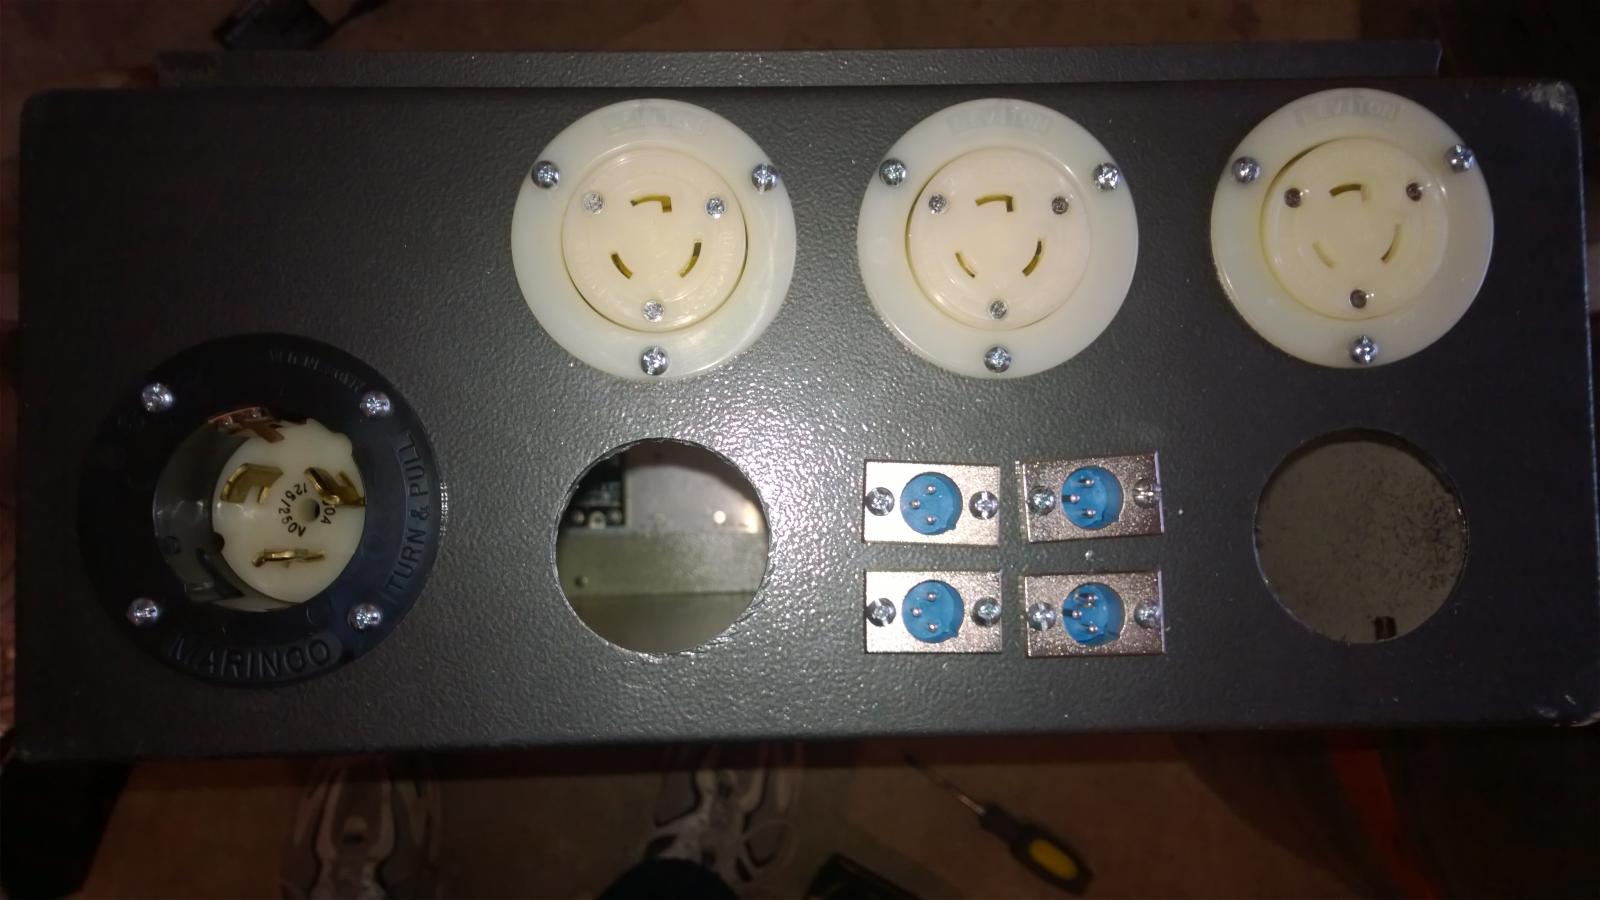
Didn't have much time this week so things are progressing slowly. Got holes cut today. Had to change the orientation on the bottom because of where the gronding peg on the bottom... Measure many times, cut once. :)

WP_20141227_13_46_53_Pro.jpg


WP_20141227_14_40_41_Pro.jpg
 
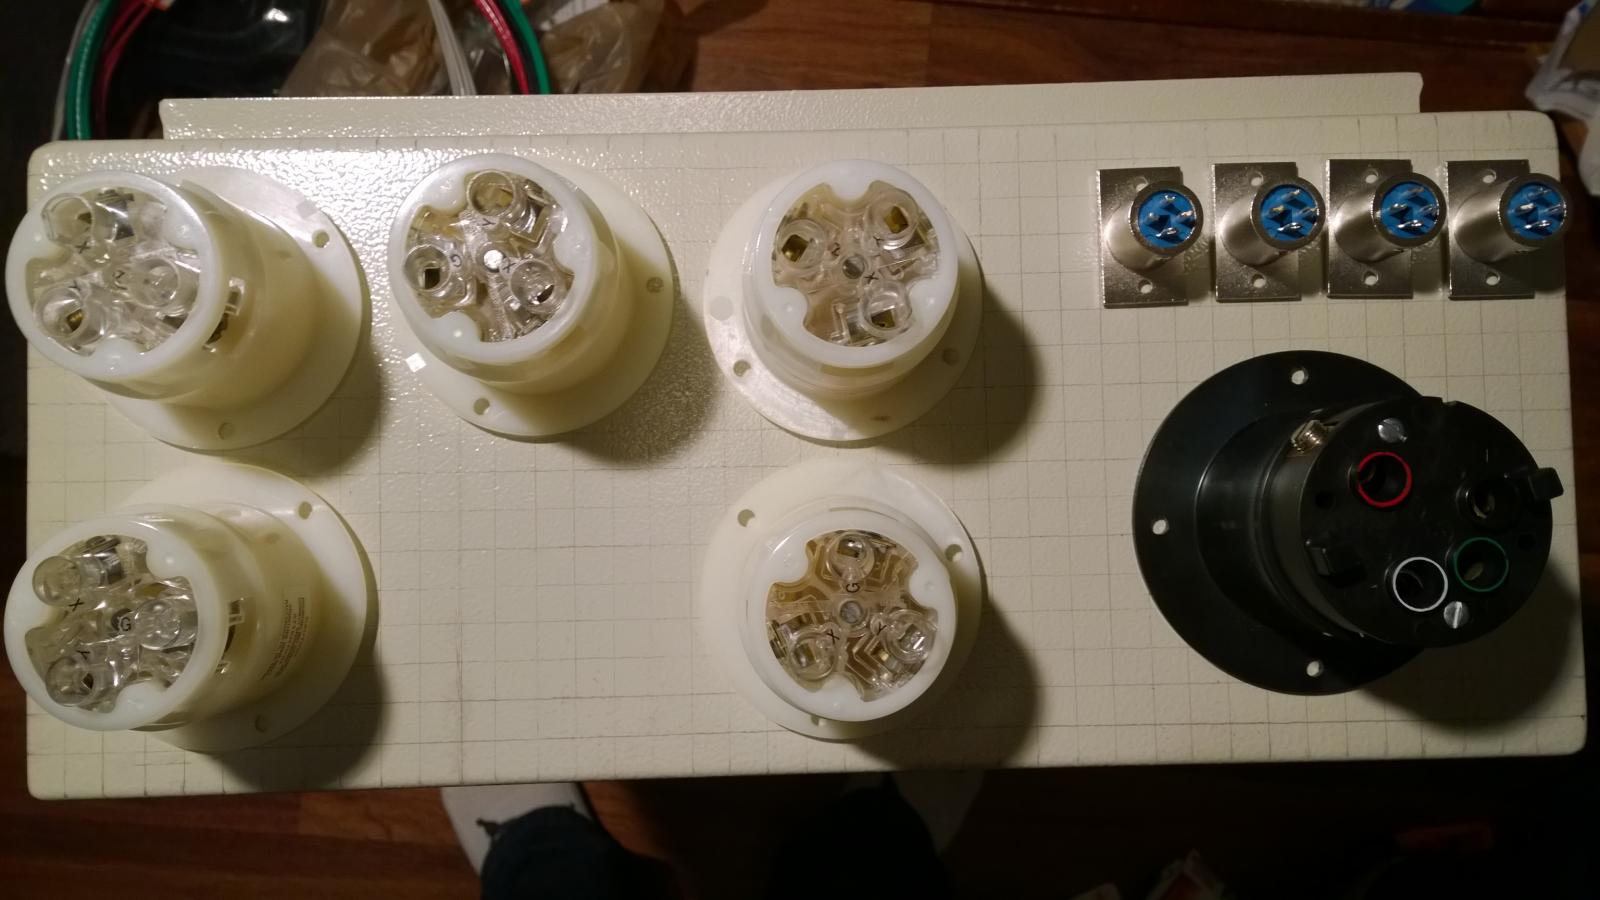
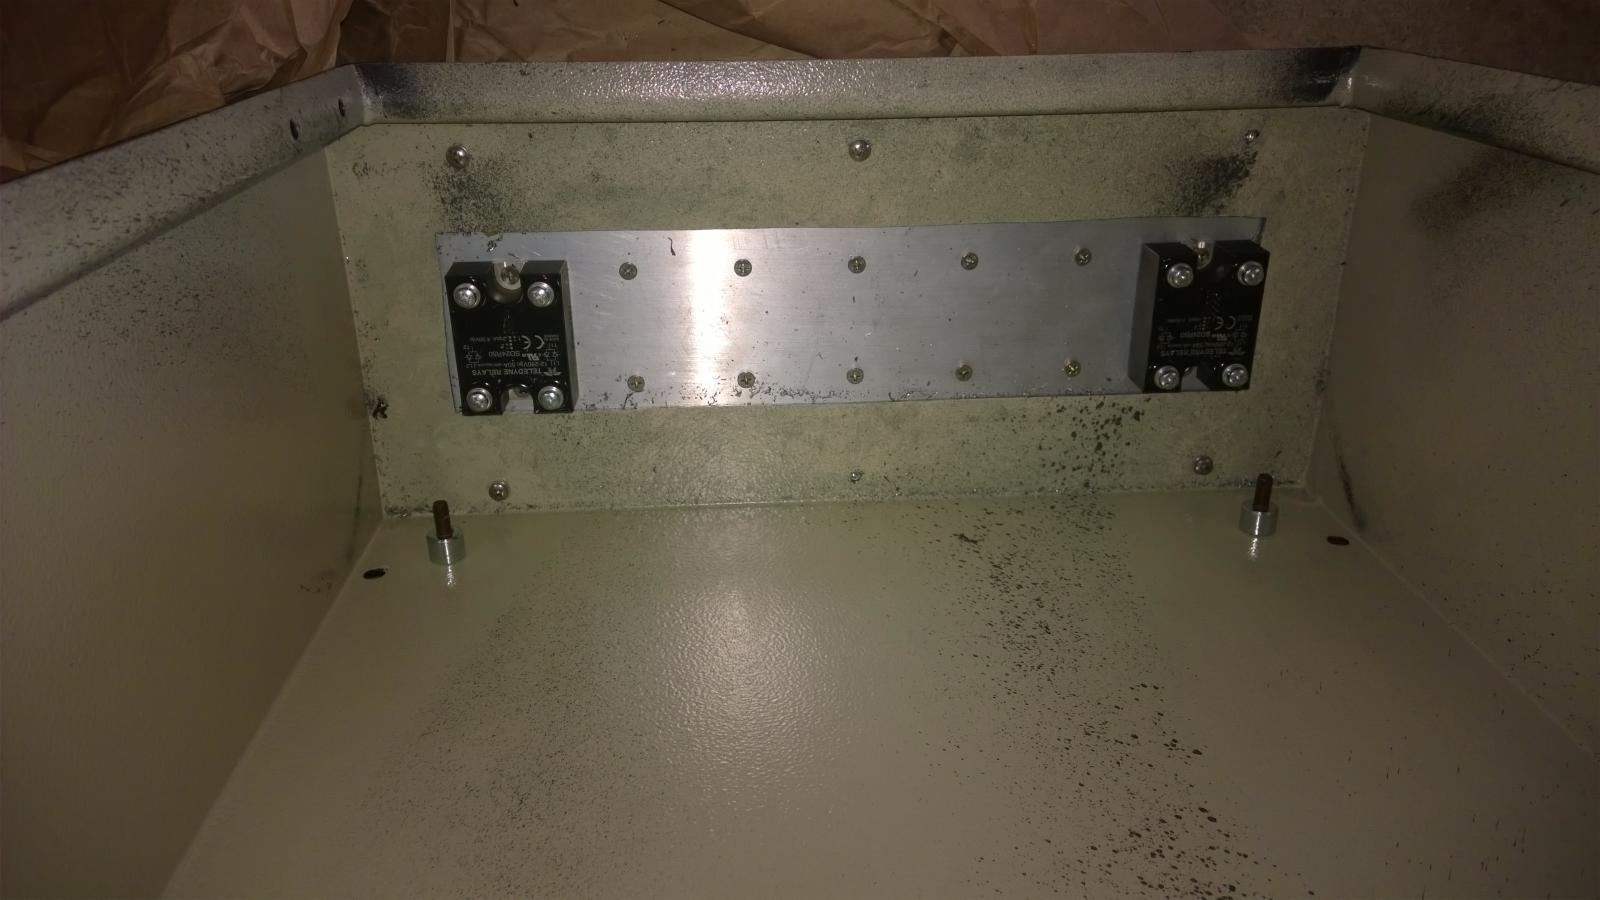
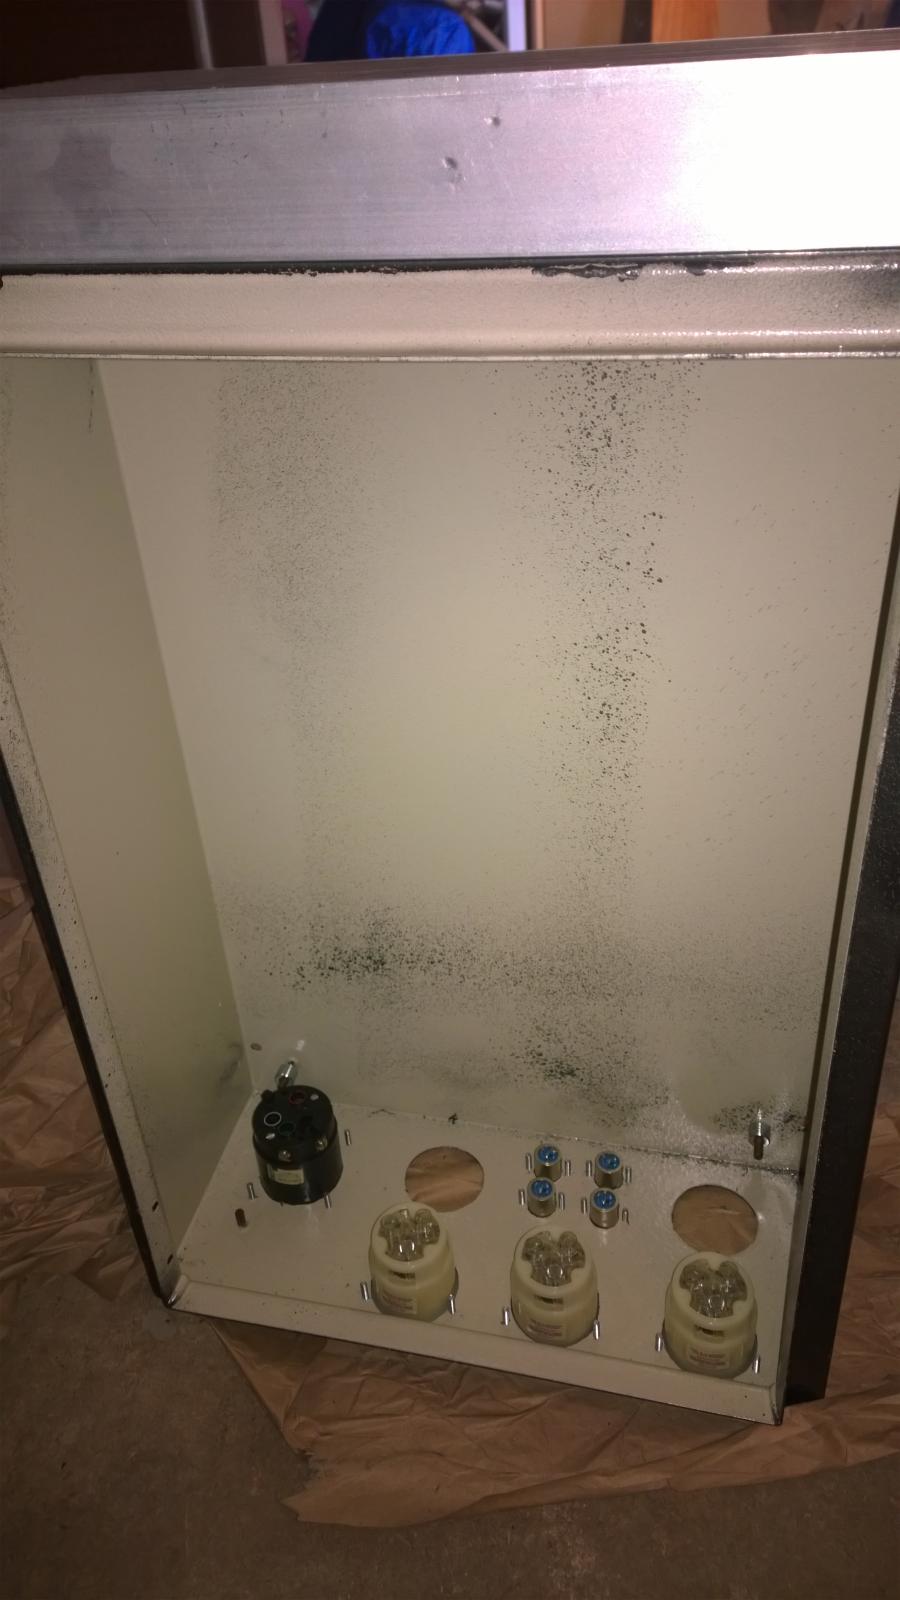
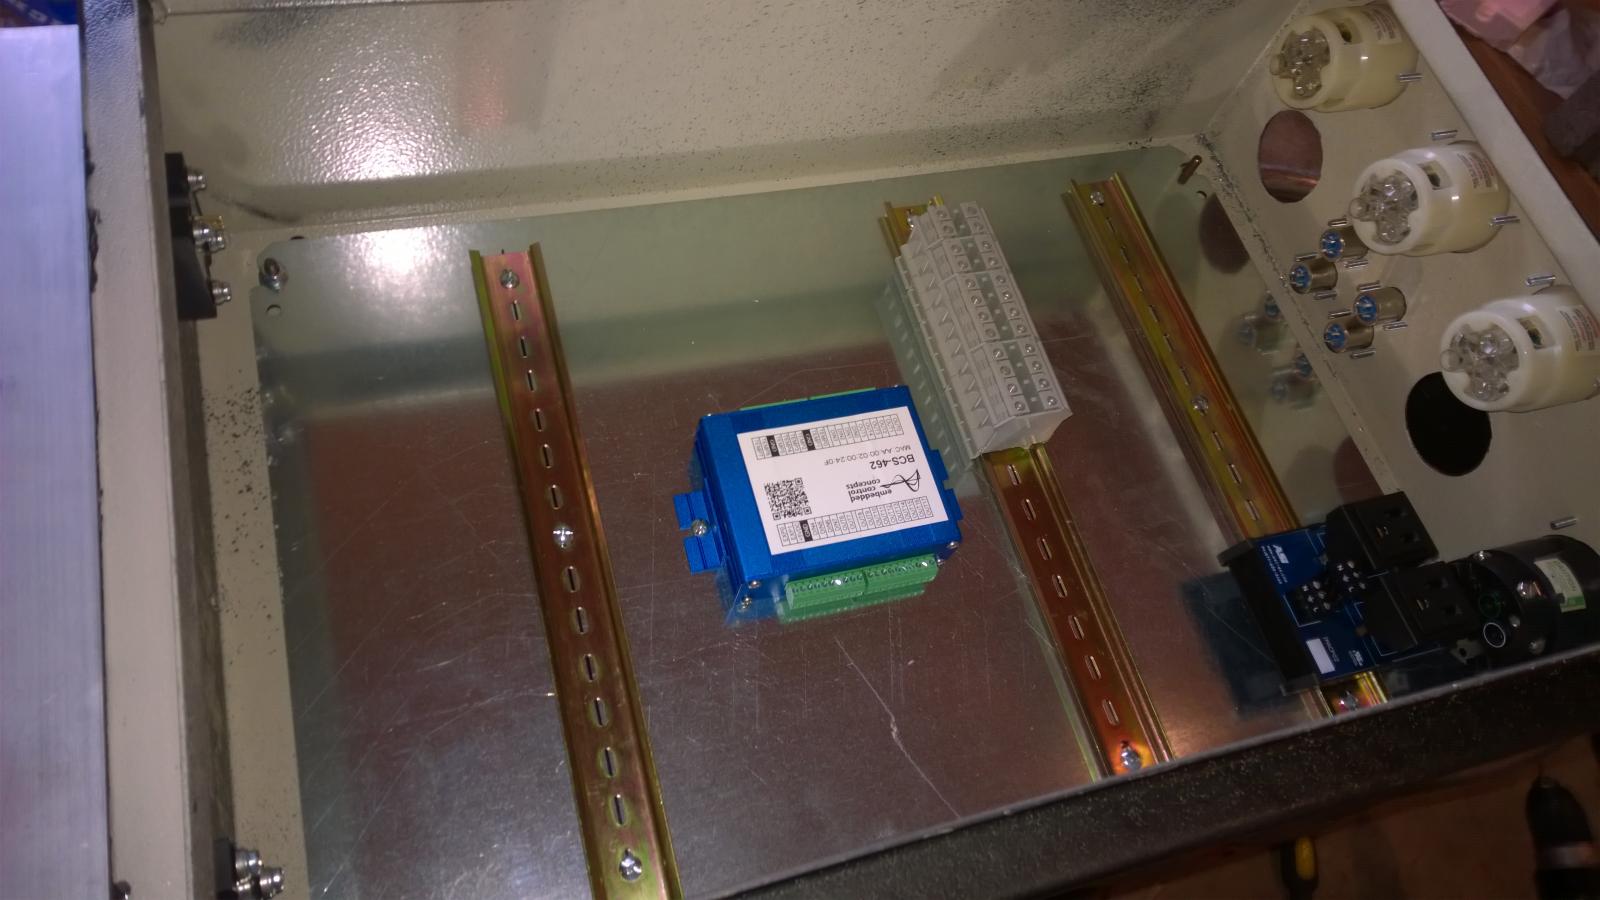
Got the dry fitting done for the din rails, mounted the din rails, mounted the heat sink on the top of the case, and mounted the receptacles on the bottom.

Getting the big heat sink on the top was a pain -- hard to find where to drill the holes for the screw holes in the top of the case and hard to mark it as the fins / heat sink are huge. Ended up using a small drill bit and getting the first two drilled in / mounted and then drilling marker holes for the rest. Got 4 of the 6 screws in this way, the other two aren't lined up right but it's secure enough.

Also, need to buy new 30 amp receptacles... the plugs that I have are the right kind while the receptacles are the wrong ones -- as I noted above. So those two slots are still open.

WP_20141228_12_26_45_Pro.jpg


WP_20141228_14_12_45_Pro.jpg


WP_20141228_14_12_52_Pro.jpg


WP_20141228_14_13_14_Pro.jpg


WP_20141228_14_15_38_Pro.jpg
 
Looks very nice! Thanks for the pics! I am at a stand still with mine. Once I start making some progress I will post up some pics.
 
Hey all,

Sorry for the (very) long delay... Life / work / travel got crazy...

Good news is my panel is nearly complete -- just need to solder in the temp probes and connect to the BCS. Plumbing is good to go, just need to hook up the exhaust vent and clean up the brew room a bit.

WP_20150423_07_38_56_Pro.jpg


WP_20150423_07_39_09_Pro.jpg


WP_20150423_07_39_31_Pro.jpg


WP_20150423_07_39_36_Pro.jpg


WP_20150423_07_39_44_Pro.jpg


WP_20150423_07_39_54_Pro.jpg


WP_20150423_07_40_02_Pro


WP_20150423_07_40_09_Pro.jpg


WP_20150423_07_40_19_Pro.jpg


WP_20150423_07_40_28_Pro.jpg


WP_20150423_07_40_35_Pro.jpg
 
Looking very nice! Finally finished up my eherms. Need to post some pics. First brew was 2weeks ago. Already brewed 4 various sized batches on it. Loving it!
 
Looking very nice! Finally finished up my eherms. Need to post some pics. First brew was 2weeks ago. Already brewed 4 various sized batches on it. Loving it!

Nice!

Did you use a BCS? If so, any idea which of the 3 pins on the XLR for temperature probes you need to use to wire into the BCS? I believe you only need two of them but I'm not sure which ones the quick disconnects use.

Also, did you just use CAT5/6 cabling soldered onto the XLR connector?

Thanks!
Ryan
 
The bcs just needs two. I ohmed out the temp probe end and then used the matching ones on the cable to the box. I used xlr at the panel end as well. It worked out pretty well. You should see 10k ohms of resistance at room temp if I remember right.
 
I am using a BCS-462. However, I had the folks over at Electric Brewing Supply put it together so I could focus on other parts of the brewery. But looking inside the panel as sandyeggoxj posted above you only need 2 wires. My panel has xlr at the panel and I have M12 quick disconnects at the kettle. At 70* my readout was 11k ohms. I really like the M12 QD at the kettle.

View attachment ImageUploadedByHome Brew1430366635.735213.jpg
View attachment ImageUploadedByHome Brew1430366678.802621.jpg
 
On a side note put this together the other day for about $12-$15. It is really only useful when brewing 10gallon batches, because of the volume of wort. Haven't brewed a 10 gallon batch since I made it but plan using it this weekend. However, I did use it to tie off my hop bag on the last 5 gallon batch. Worked great to keep most hop particle out of the final wort!! Didn't even have to whirlpool!

View attachment ImageUploadedByHome Brew1430366852.461702.jpg
View attachment ImageUploadedByHome Brew1430366876.181539.jpg
View attachment ImageUploadedByHome Brew1430366907.585951.jpg
View attachment ImageUploadedByHome Brew1430366890.850541.jpg
 
Well, it took 9 months or so, but Big Head Brewing -finally- got its first brew day in. :) Brewed the "Virgin Blonde" based off of BM's Centennial Blonde. Everything went pretty well. The automated setup with the control panel made it almost two easy... only time I really needed to pay attention was when I was moving liquid between pots.

More or less built out the BCS programming as I was doing the brew -- would you recommend a process for each phase or a single process multiple steps?

Lessons learned --

1. Remember to take my OG rating
2. Finished volume was too low.. I think I need to account for some loss in the CFC and add more to the pre-boil volume during sparging.

Pictures below.

2015_06_13_09_46_46_ProShot.jpg


2015_06_13_11_31_07_ProShot.jpg


WP_20150613_001.jpg


2015_06_13_11_30_33_ProShot.jpg


2015_06_13_11_13_53_ProShot.jpg


2015_06_13_11_47_45_ProShot.jpg


2015_06_13_12_23_58_ProShot.jpg


2015_06_13_12_24_10_ProShot.jpg


2015_06_13_13_11_16_ProShot.jpg


2015_06_13_14_17_39_ProShot.jpg


2015_06_13_14_36_03_ProShot.jpg
 

Latest posts

Back
Top