First DIY Project - Immersion Chiller

Homebrew Talk - Beer, Wine, Mead, & Cider Brewing Discussion Forum

Help Support Homebrew Talk - Beer, Wine, Mead, & Cider Brewing Discussion Forum:

This site may earn a commission from merchant affiliate links, including eBay, Amazon, and others.

Ramathorn937

Member
Joined
Jun 4, 2015
Messages
22
Reaction score
8
Location
Fairfield
Hey guys and gals!

In anticipation of my first ever brew day coming up next Saturday, an important piece of equipment I was missing was an immersion chiller.

For around $35 bucks and 30 minutes, I made my own.

Shopping List:

1 - 20ft coil of 3/8" OD copper coil. - $14.41
1 - 6ft 3/8" ID Vinyl Tubing - $2.34
1 - 3/4" x 1/2" Adapter Fitting (female garden hose) - $9.99
1 - Standard faucet garden hose adapter - $6.77
2 - 2 pack #4 Hose Clamps - $1.48

Total before tax - $34.99


I wasn't too worried about how it looked, only that it is functional, so it's not the prettiest around, but I'm almost certain it'll do the job.

1BMwiIv.jpg


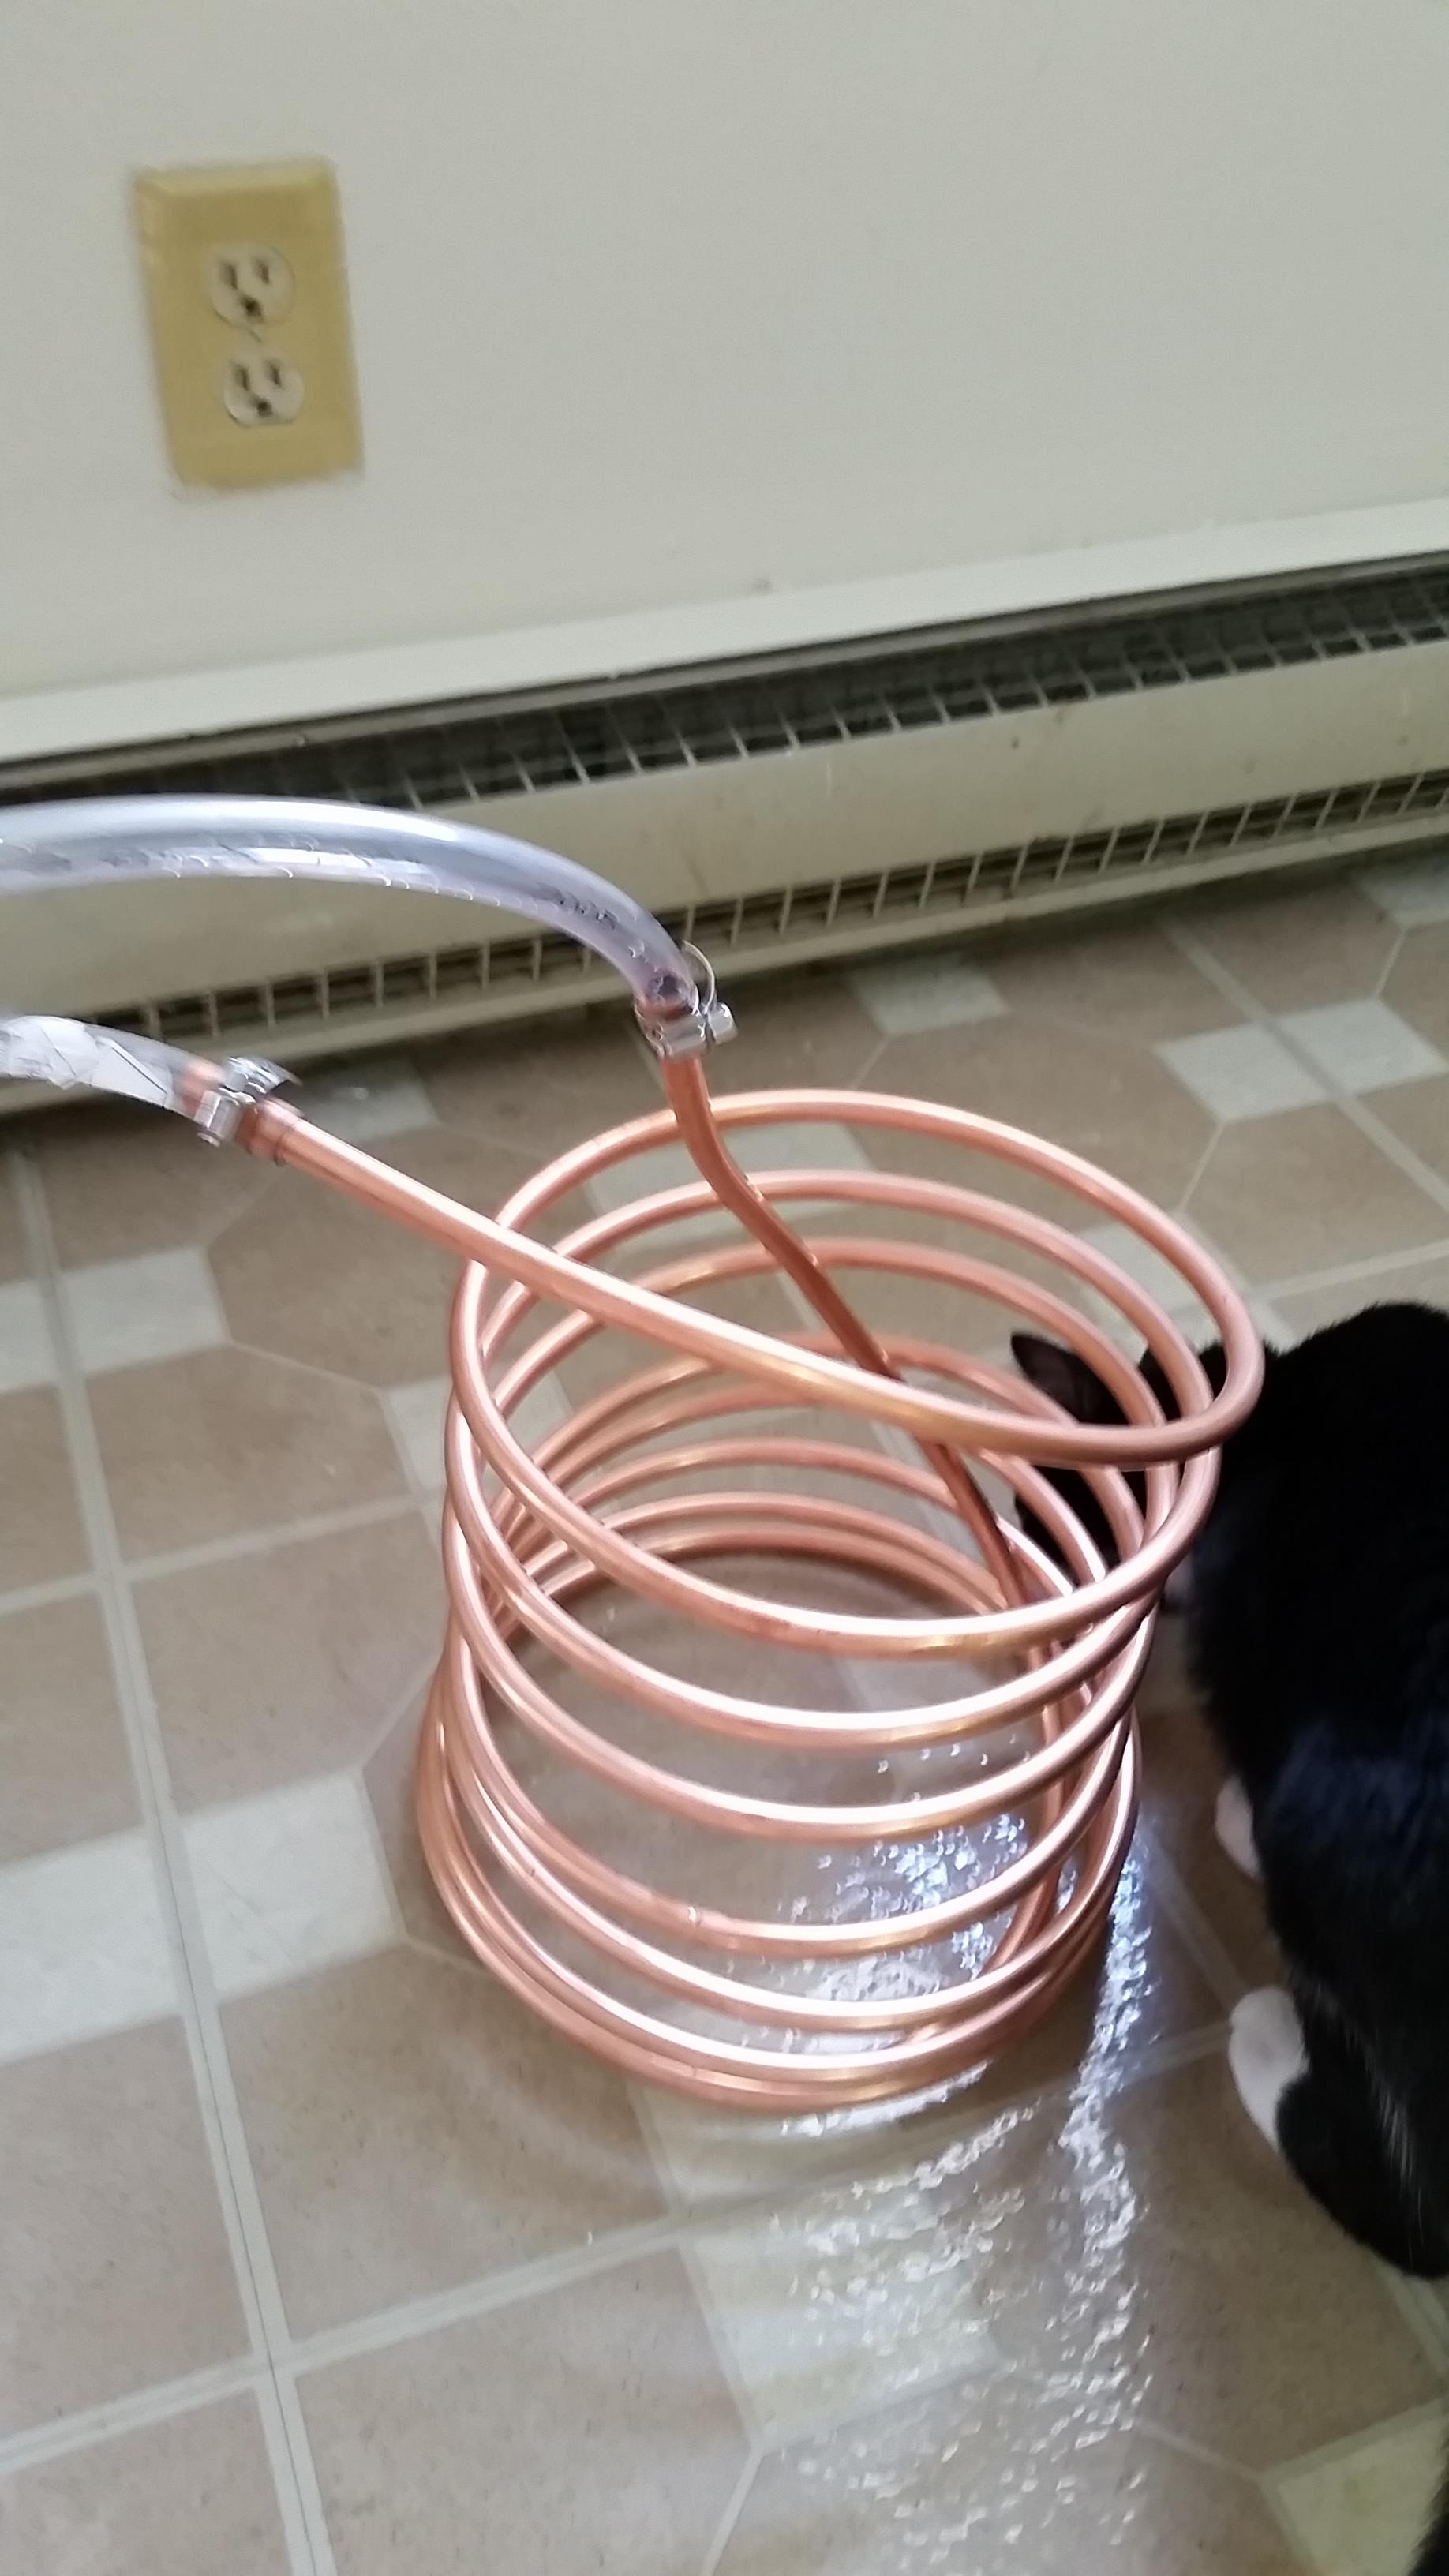
The copper already came in a coil, I just stretched it out like a spring and straightened it up a little, and fed one end through the center for my input.

l1ZUqia.jpg


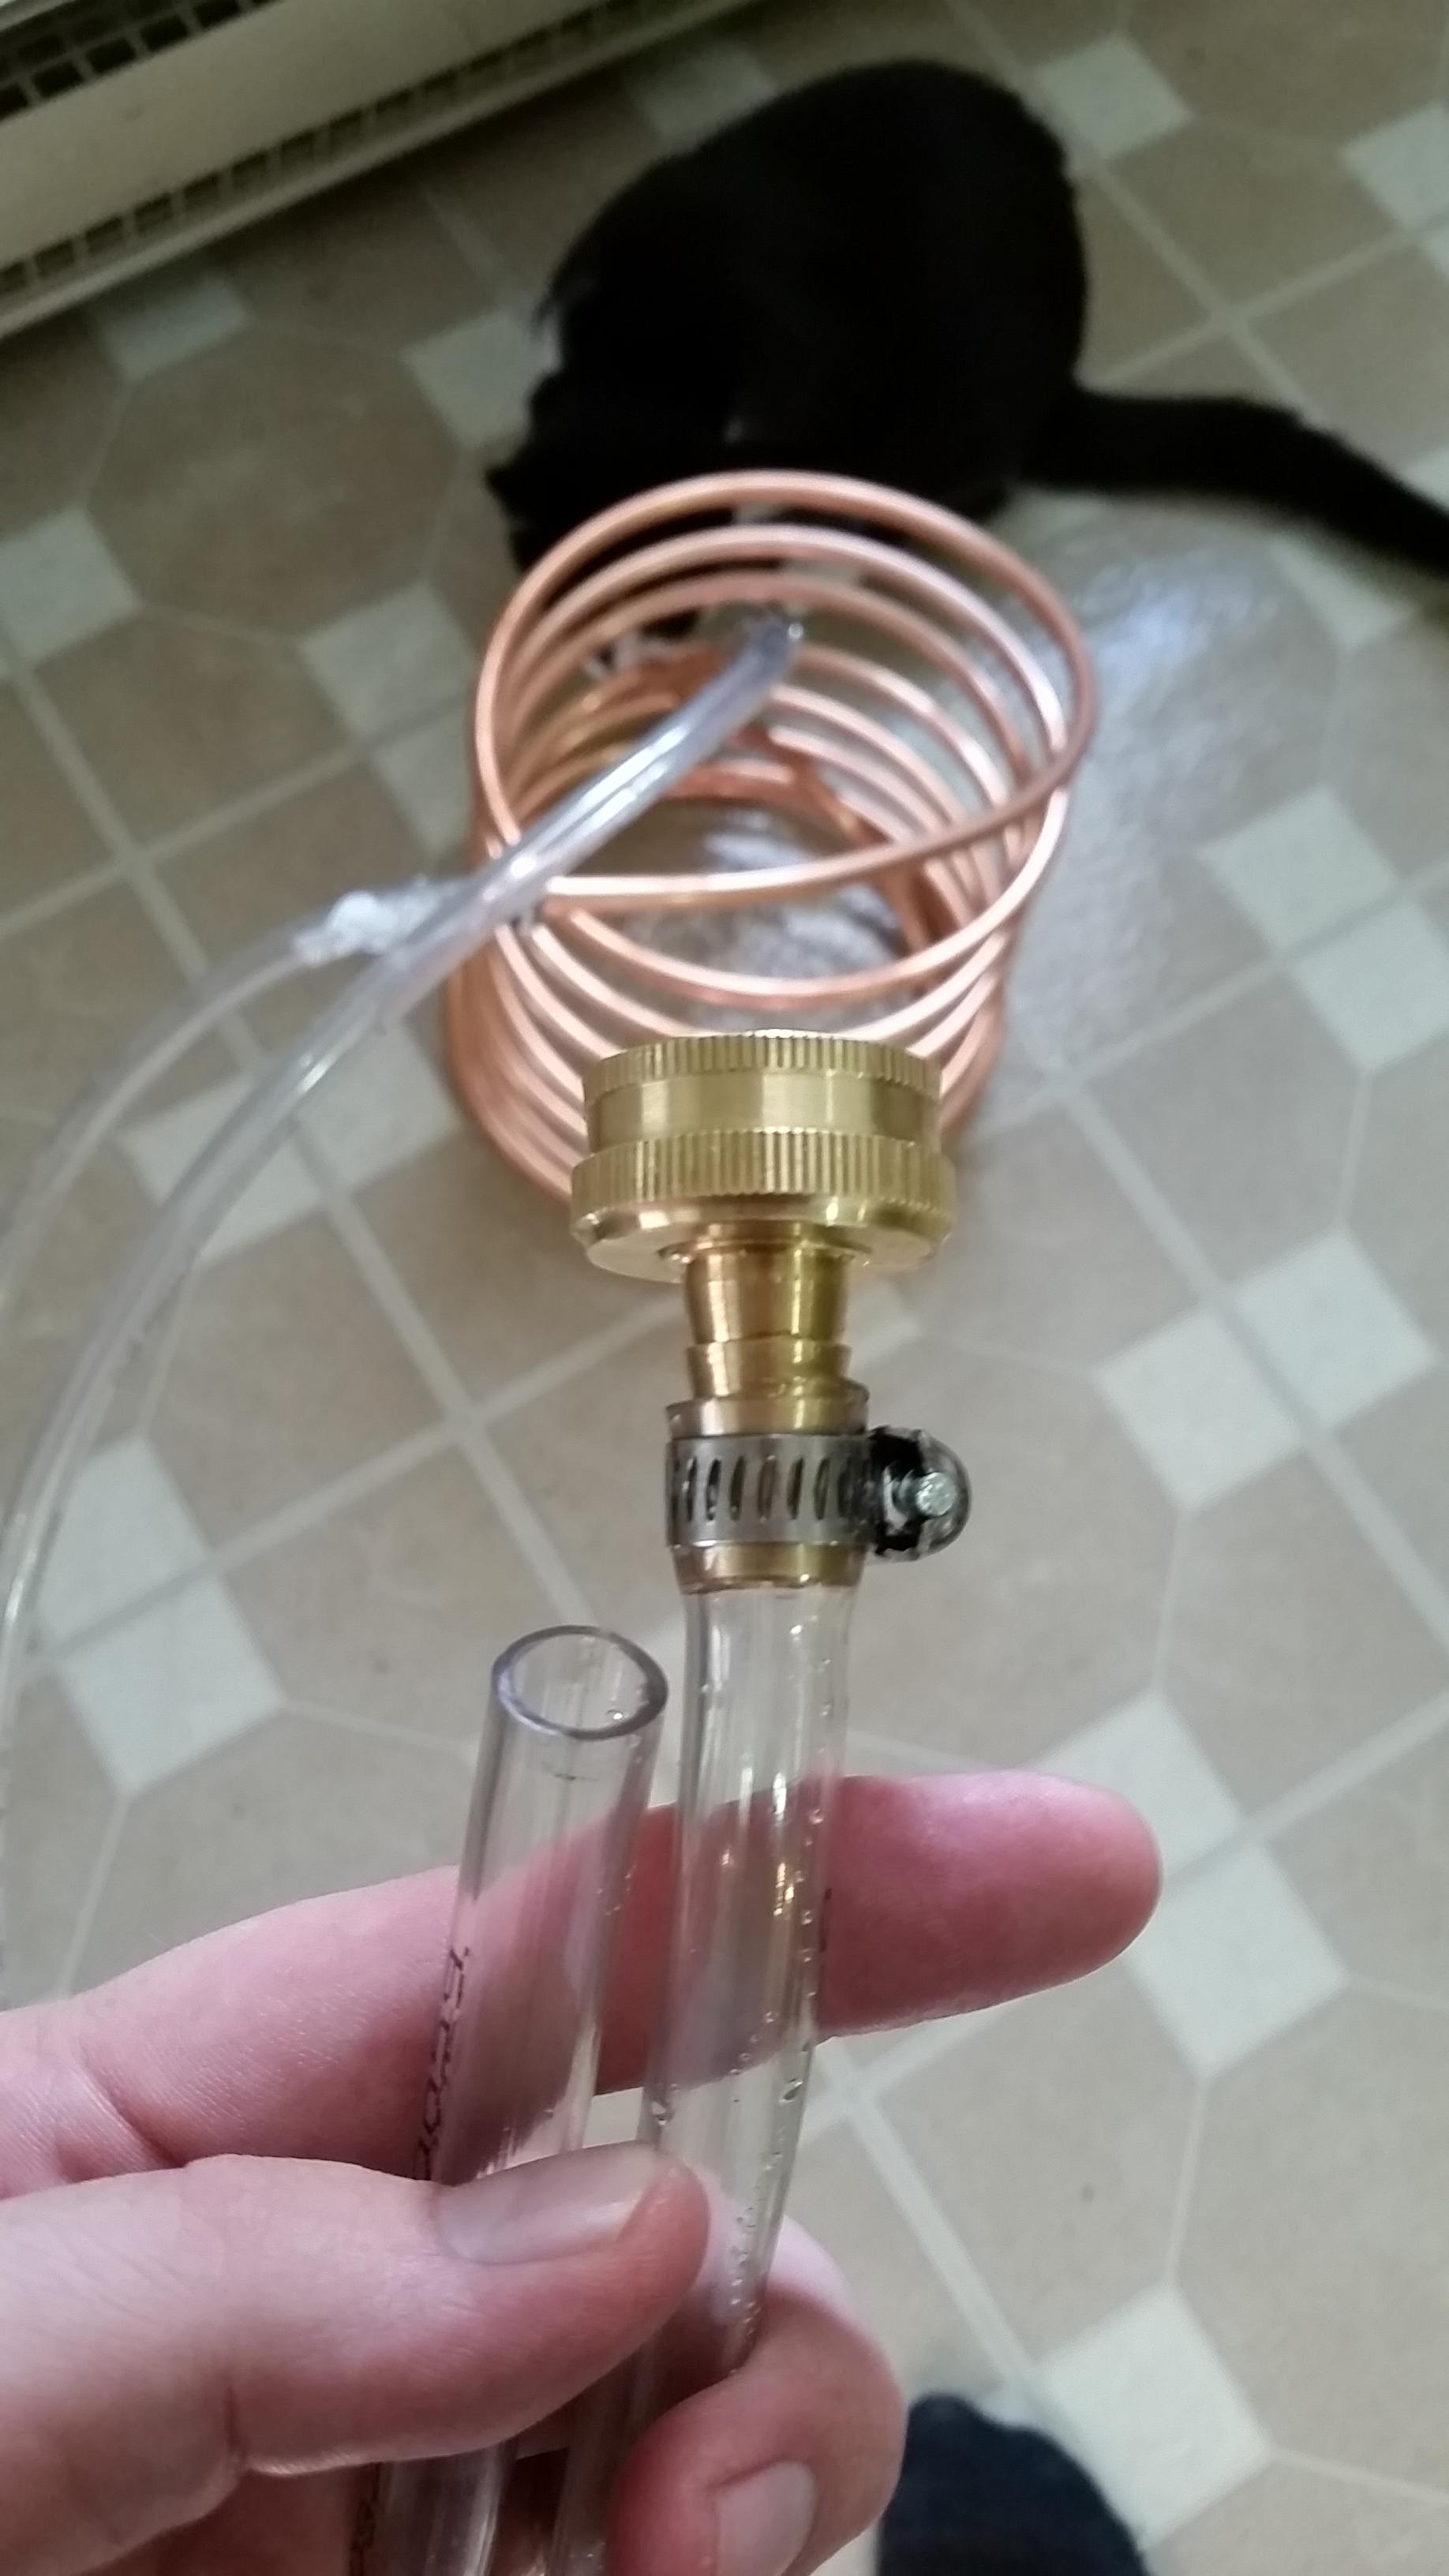
The hose adapter I used was 1/2", the vinyl tubing ID is only 3/8"... it was a pretty tight fit, but I don't think I have to worry about it ever coming loose.

Here is a link to the imgur album I made that has pictures of the packages for each component in case you're looking to do something similar.

:mug:
Cheers!
 
Nicely done!

Where'd you find the copper? It's twice that much everywhere I've looked.
 
I bought a 50' length of 1/2" copper tubing for $29.00 when HD was clearing out their old stock a year or so ago, and a 50' roll of 3/8" as well. Finding 3/8" fittings is next to impossible, so I had to buy two Shark Bite fittings and two hose adapters for $20.47 today to connect it up. I have a 43 foot 3/8" that I wrapped around a 5 gallon bucket for a form making a coil with a 12" O.D., approx. 7" tall. I chose 7" tall due to that being the height of my wort at 5 gallons. My 1/2" IC is a ribcage design that only works in a 30 qt pot, as it is too tall and narrow for any other size pot to be effective. I just decided after the initial wort temp drop has dropped as far as tap water will give me, I will pack my 30qt pot and IC with ice cubes putting a much lower temperature water into the fermenter cooling coil.I doubt I will be building a recirc pump setup any time soon, if getting the result I want will work with what I already have.

OH, Question: why do some people say the cold water goes in the top, and others say cold into the bottom? I would think since bubbles rise to the top, the supply water should enter at the bottom
 
You are correct about the supply going in at the bottom so the bubbles would work their way up and out. The other way, they would be building up and trying to back up against the flow of your water.

So what is the standard practice of "pre-cleaning" this thing before dunking it into your wort for the last 15 minutes of the boil? My buddy is giving me his old one, which I fear has been sitting in his garage for a year unused. I might need some method of pre-precleaning it, before I use it for a brew-day.

If it was me I'd just use a soapy washcloth to knock off any obvious crud. I wouldn't want to use anything with more grit like brass wool or a Scotchbrite pad because you don't want to create scratches for the nasties to take up residence in.

The chiller will be in boiling wort for 15 minutes so it will be sanitized by the heat.
 
I've read that a salt and vinegar solution, or a half a lime and salt, or even ketchup by itself all work well to clean up old copper. I'll be testing these on part of the chiller that does not go into the brew first, and then decide how to clean up the rest. One day, if I can get my hands on a new length of copper for a decent price, I might salvage the fittings and get a few bucks for the copper scrap.
 
Dang! That copper tubing is twice as much at my local store (at least according to the website.) Guess they must vary the price depending on competition in the area.
 
I made one just like this... Works great... Had to make one more bc during the HOT days of summer (102 today) the water coming from the tap is 84. So I've used one inside the wort and the other goes into a cooler of ice water to chill the water down. So water goes from the faucet into one chiller (the one in the cooler of ice water) that cold water then flows into the wort chiller that is in the wort
 
Thanks for posting this. I used this as a guide for my new DIY chiller. Used the copper tubing, vinyl tubing, and hose clamps. Added a submersible pump that I throw in a bucket of ice water and it worked like a charm. [emoji106]🏻
 
Wow this looks very promising! So how well is the 3/8" work vs 1/2"?
 
You found some good prices. I just bought everything to make one and I came in around $55. Still a little cheaper than most pre made chillers
 
Back
Top