It's been nearly a year since i first drew up the plans for my new detached garage and brewery. After several design revisions and a good bit of dragging of the feet, construction started this spring. I hired a contractor for a lot of the work, but have been doing as much of it as I can along side him, or on my own. I was especially particular about detail things like plumbing and electrical. After a few months of working evenings and weekends, writing checks, countless runs to the hardware store, lumber yard, rental shop, plumbing supply store, hardware store, electrical supply.. did I say hardware store.. the building and brew space are, well, not done yet. They hare however done enough to introduce to you. The first post will be the building process. Stay tuned for the fun part in subsequent posts.
As many others have said, I've learned so much and gotten so many great ideas from the members of this forum. I hope you enjoy seeing what I have been putting together. Heres to many years of happy brewing. Cheers from Seattle to wherever you are.

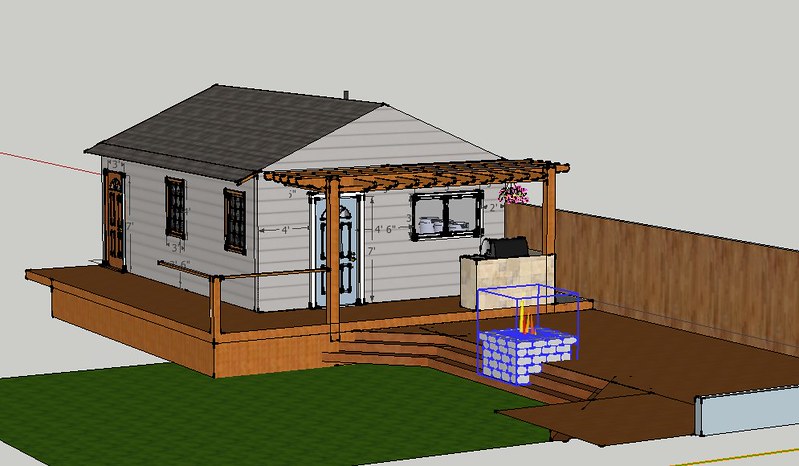
About the building. It is 19'x26'. 9ft walls with a ridge pole open ceiling design. I'm building it on top of an old slab that we tested for structural integrity, which once hosted a carport - torn down long before we bought the place. This space was just begging for a brewery.
Want to skip the conversation and just see the updates in pictures? See Thread Updates: Update 1 Update 2 Update 3 Update 4 Update 5 Update 6 Update 7 (first real brew day) Update 8 Update 9 Update 10 Update 11 Update 12 Update 13 - Officially done. (enough)
Click here to see a timelapse of the build
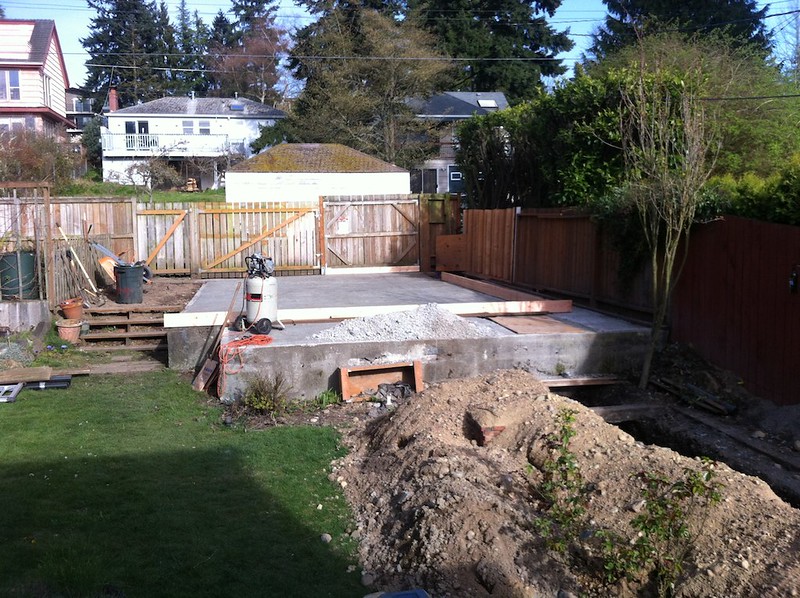
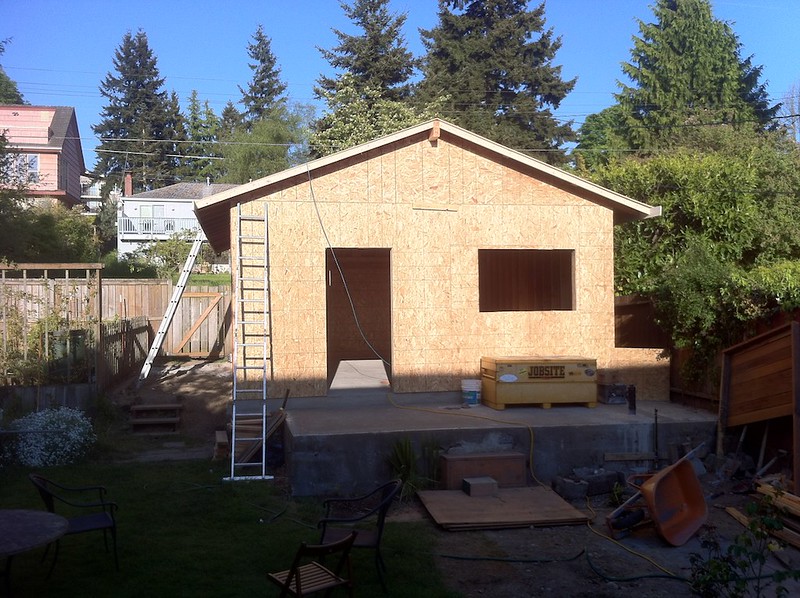
I did not get a proper before picture showing the space as it existed, but this is close. The existing slab is solid, though not level or square to the property lines.
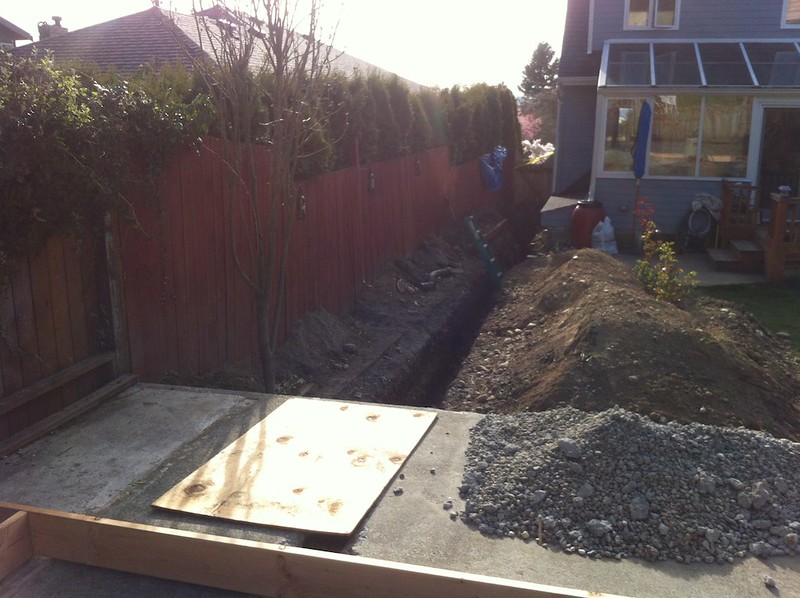
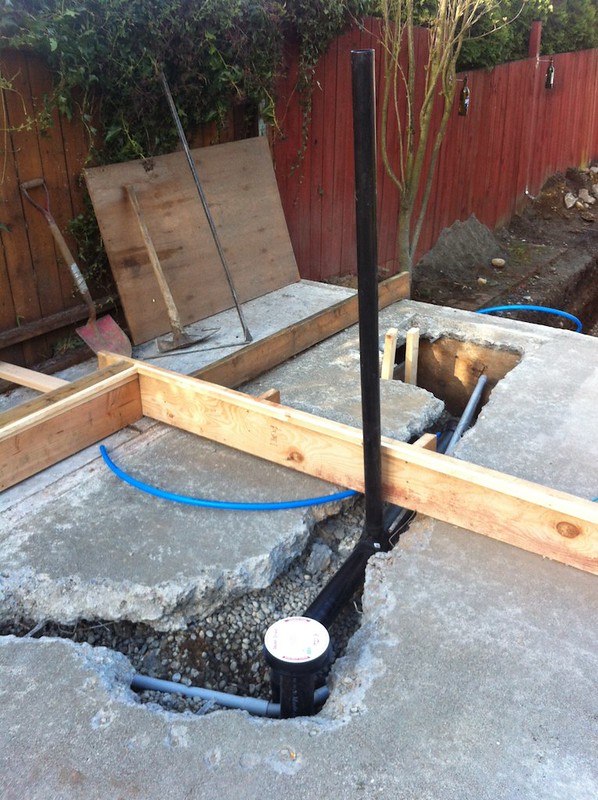
The trench to the house to supply water, sewer, natural gas, electrical, and low voltage (data) wiring.
We chipped and removed sections of the existing slab to run utilities into the building, and to create one of my favorite features, the floor drain.
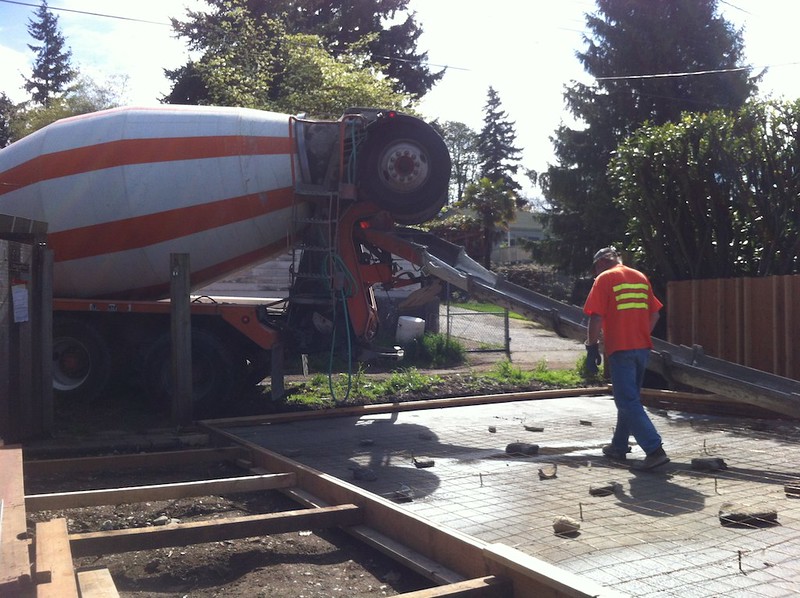
After several weeks of work, it's finally slab pouring day. A little drama as we ordered about 1/2 yard too little concrete. Thankfully we live close by to the supplier and were able to get some more very quickly.
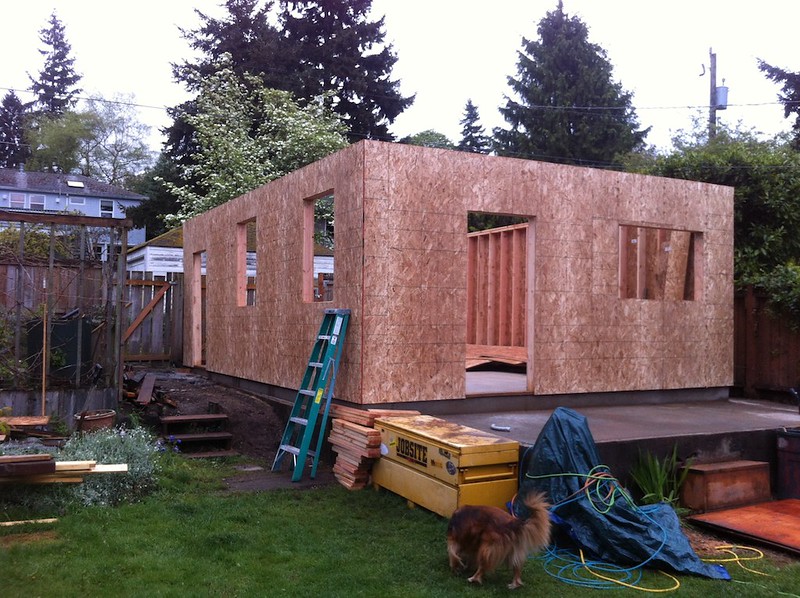
Once the slab is cured, the walls go up quickly.
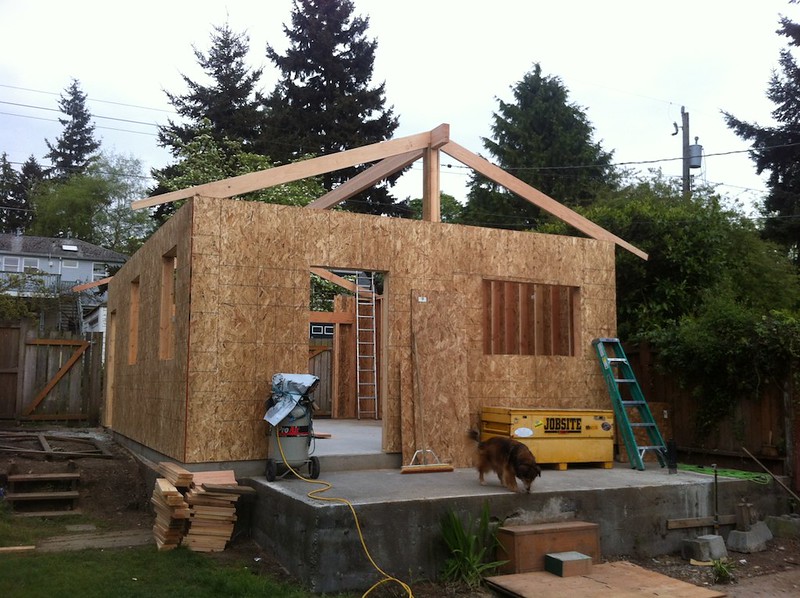
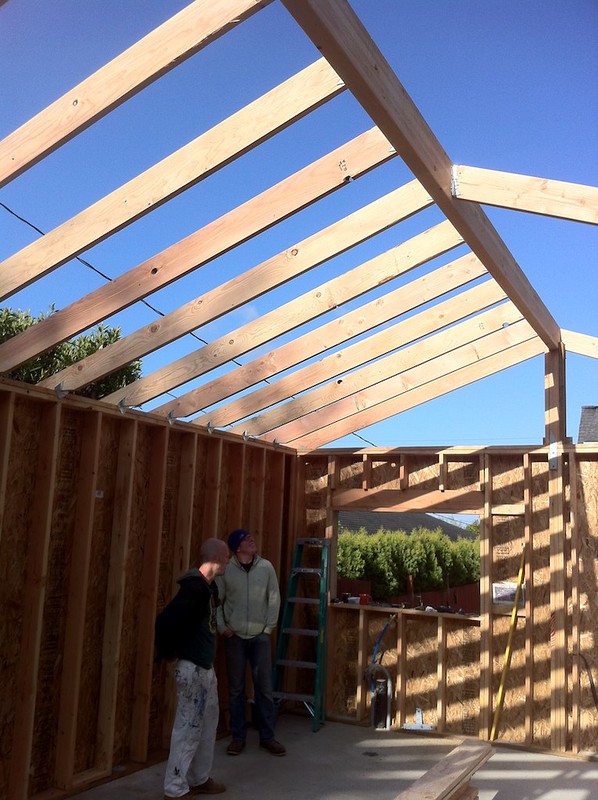
A quick change to my drawings to lower the roof line, and up went the beam. The building sits up above our yard, and my original design was just too tall. The nice thing about being 'the architect' (hah!) is making a change on the fly is easy.
A benefit of doing a lot of the work myself, and hiring a contractor who is a friend of a friend. I called on my friends for cheap(er) labor. Is it beer time yet?
Taking shape:
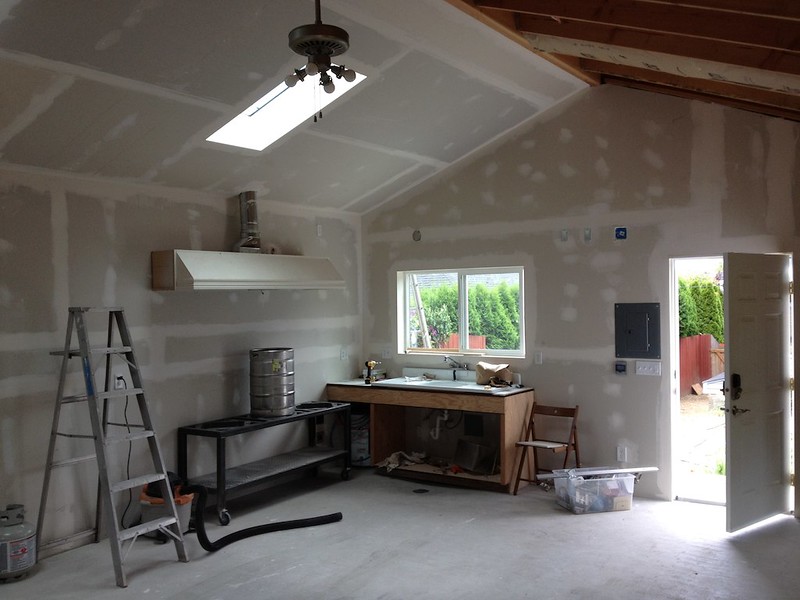
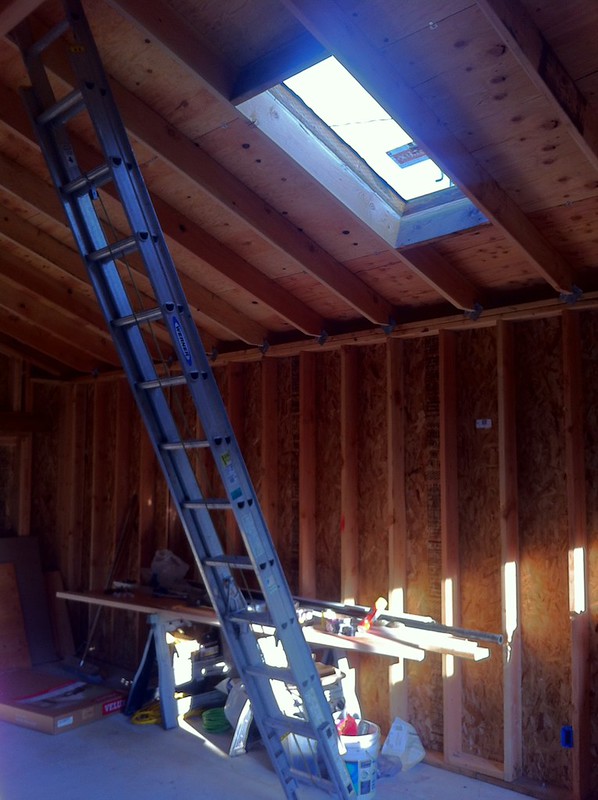
Skylights on the South facing roof. Important for our gray Seattle days.
The contractor went home for a few days and let me handle the electrical work. So many decisions. Never too many outlets! It was tedious, but I really enjoyed this part of the project.
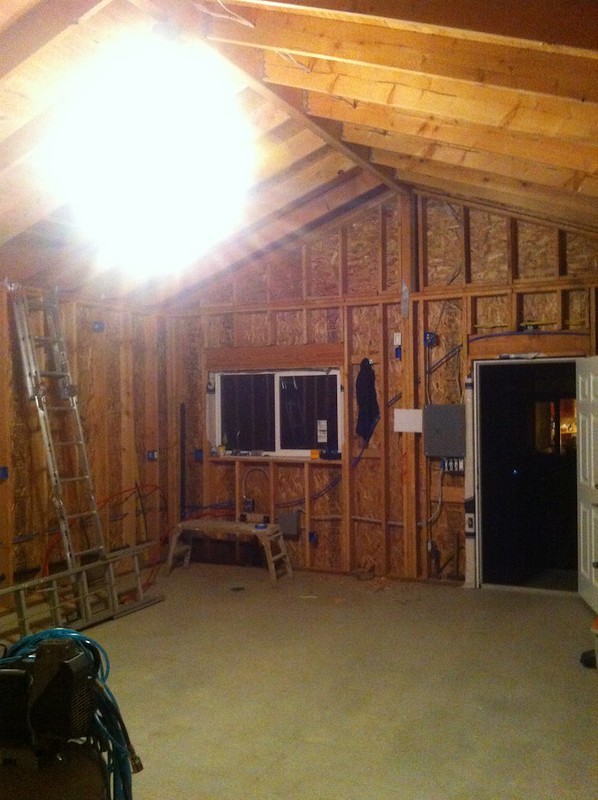
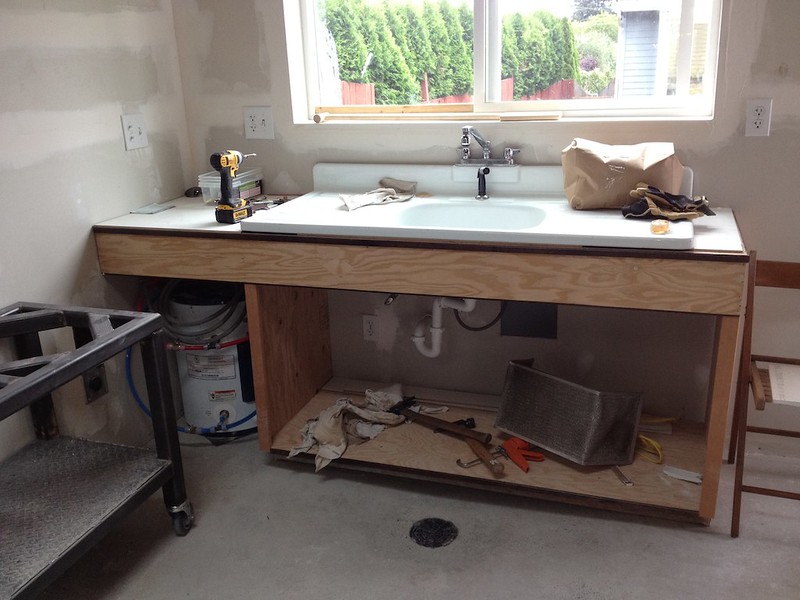
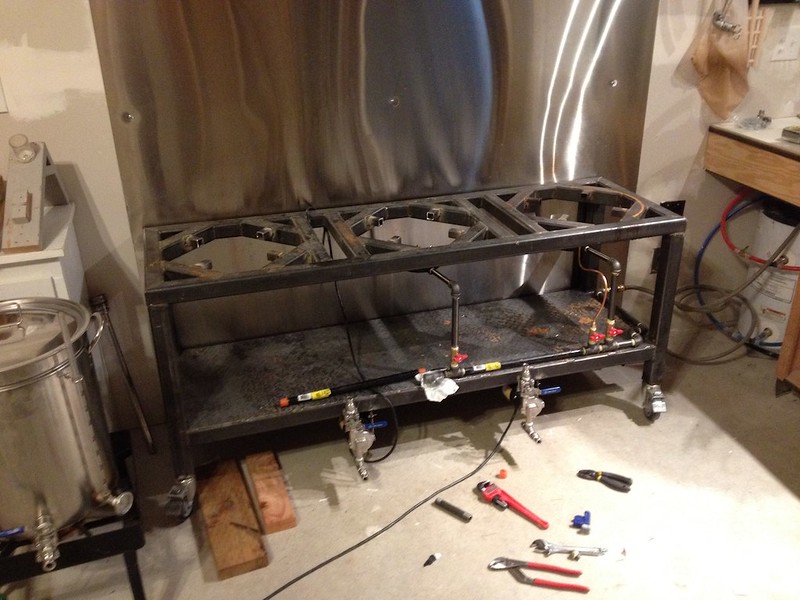
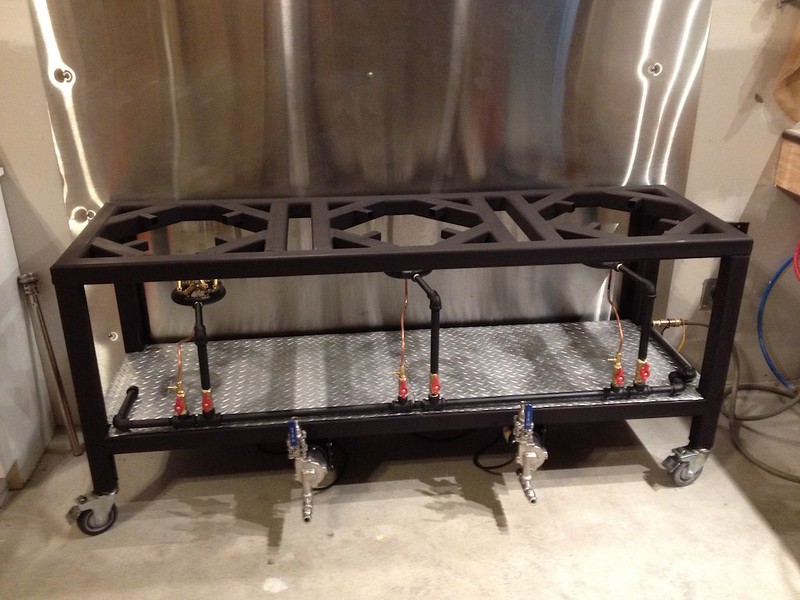
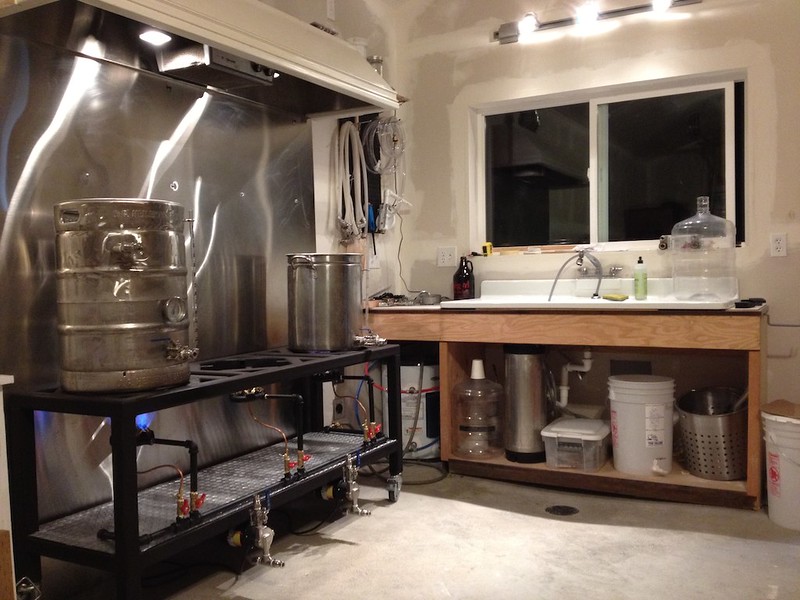
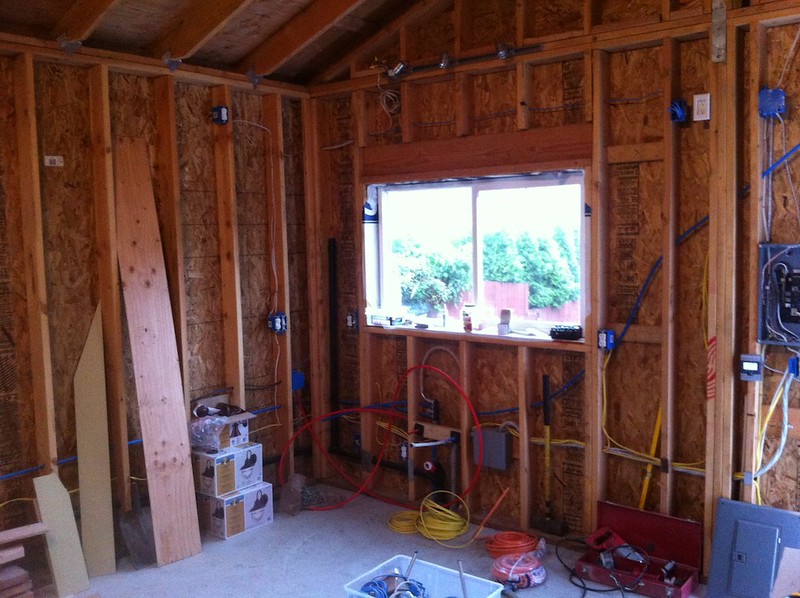
The brewing area is starting to take shape. Plumbing, gas, and electrical. I don't do electric brewing, but I put in 60a worth of 220 in case I change my mind.
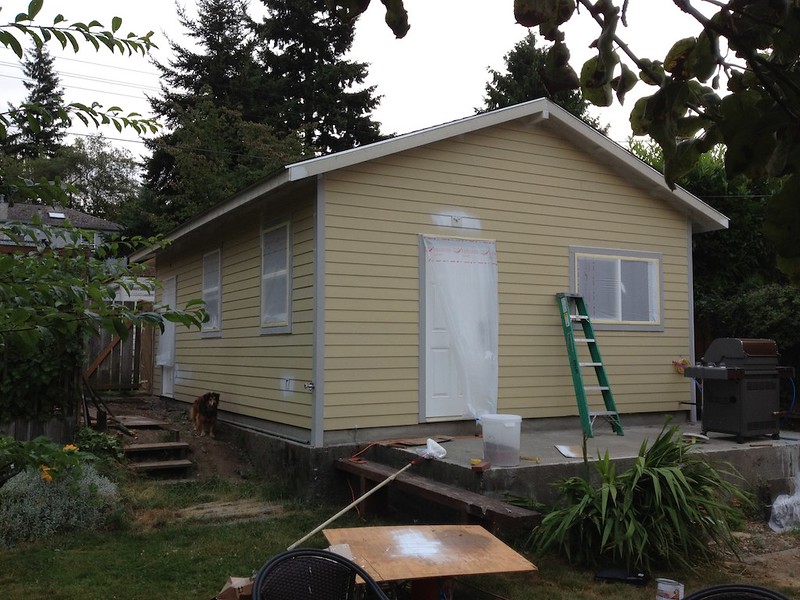
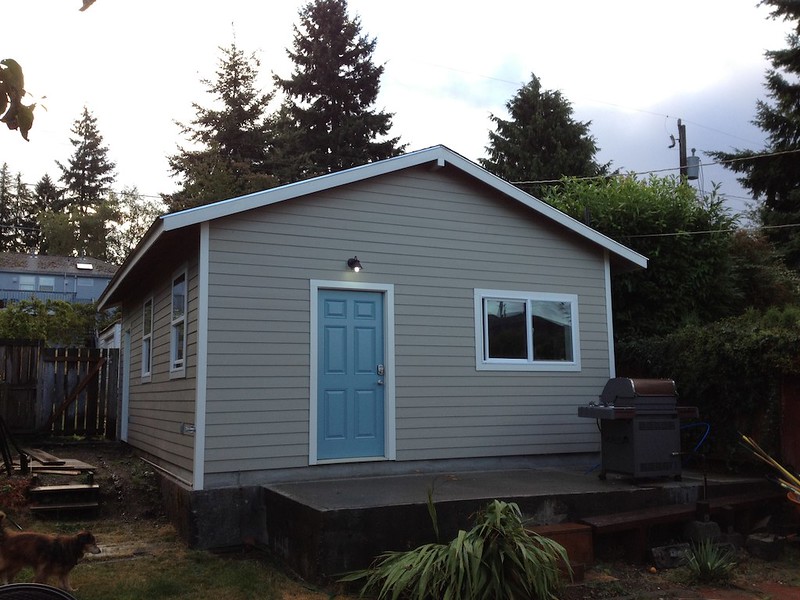
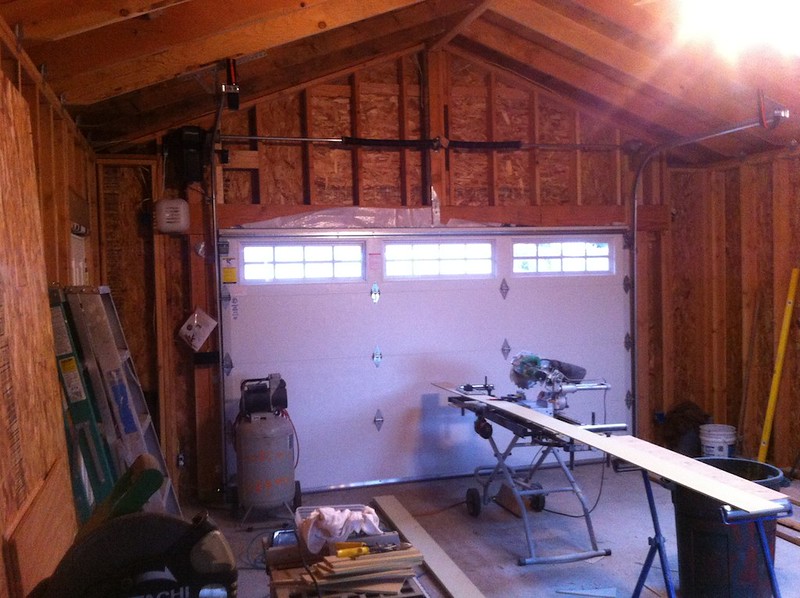
It's a garage, honest.
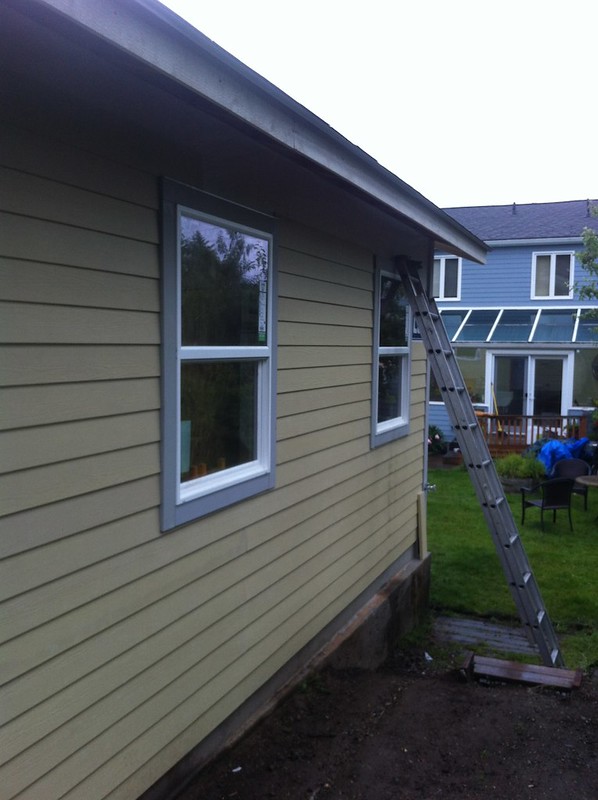
Hardy plank siding, going on
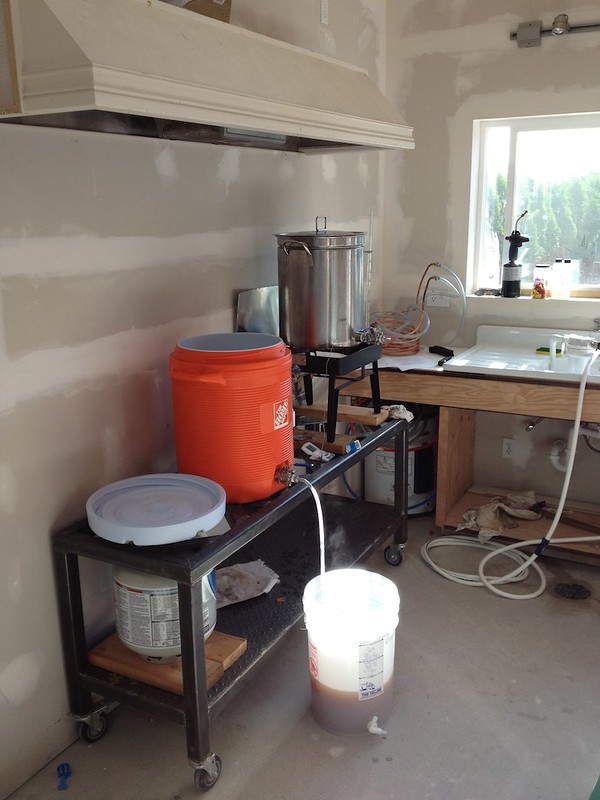
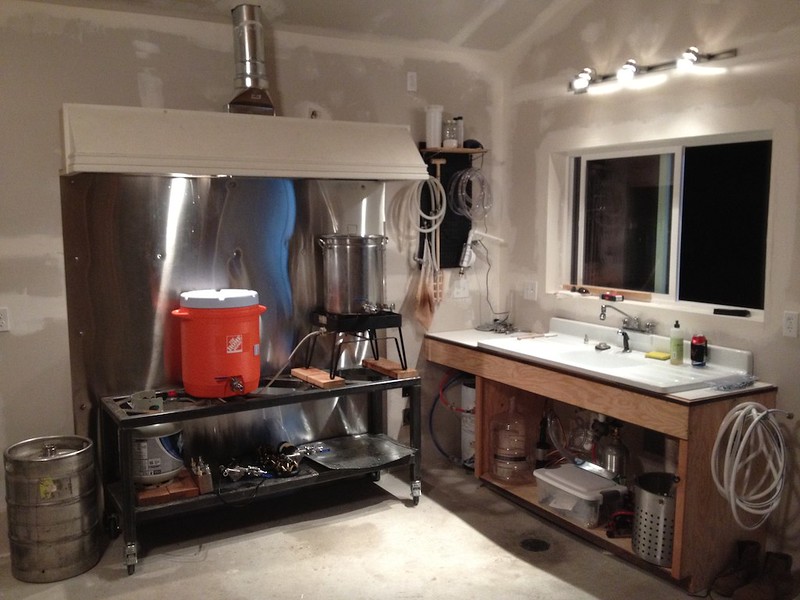
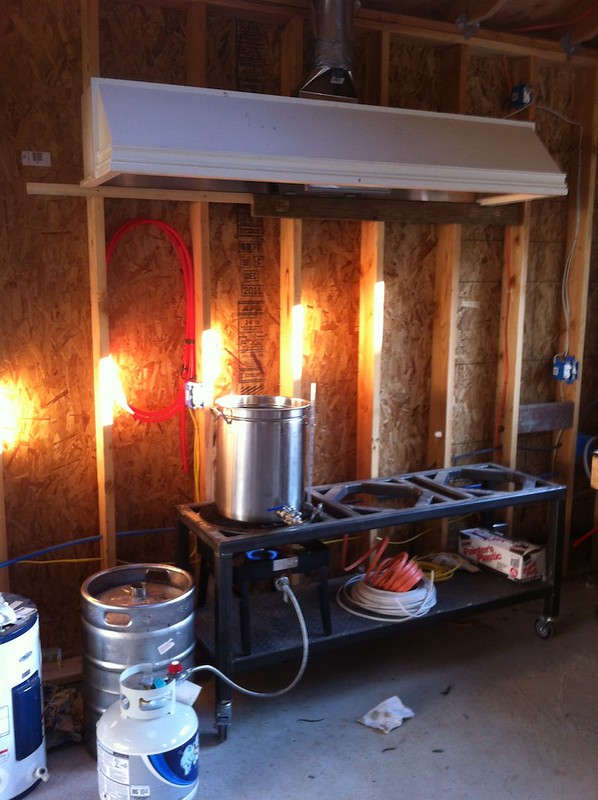
I found an custom made exhaust hood that was torn out of a high end home in the area at a local re-used building supply store. It is the *perfect* size for my brew area. The 400cfm fan keeps up pretty well. I couldn't believe my luck.
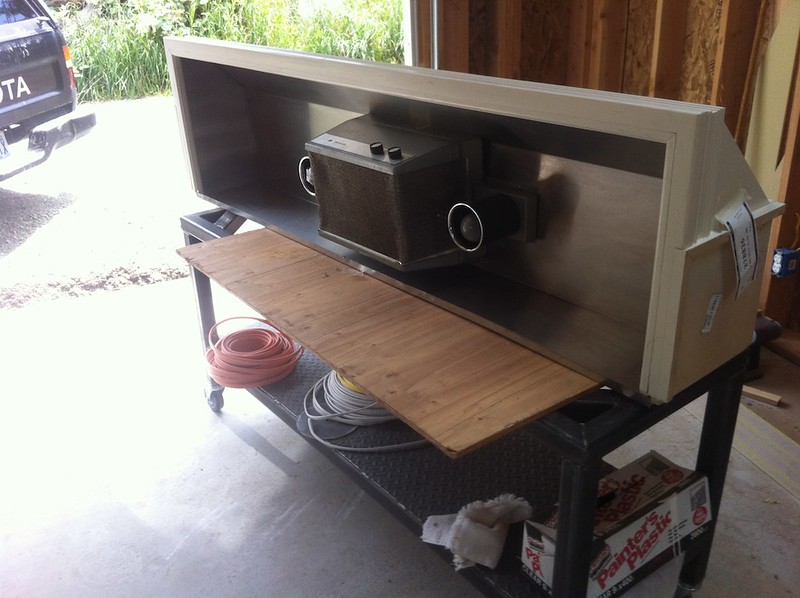
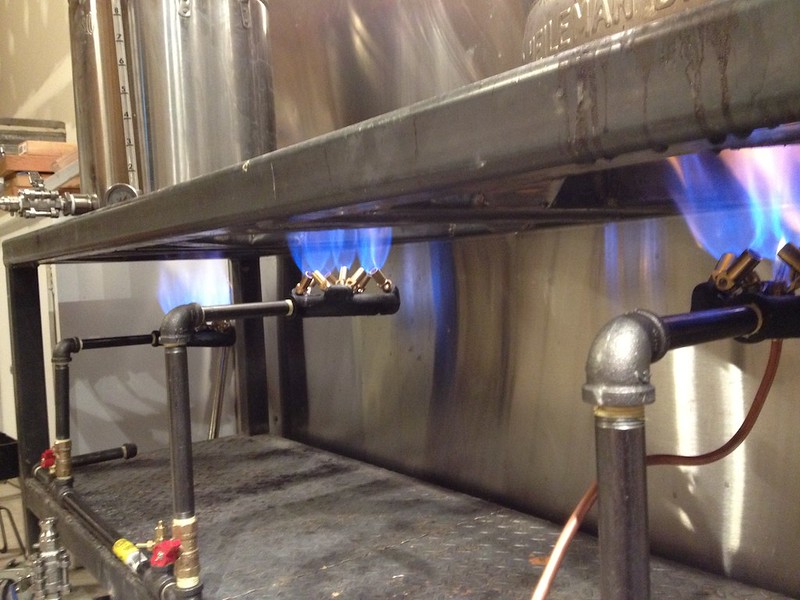
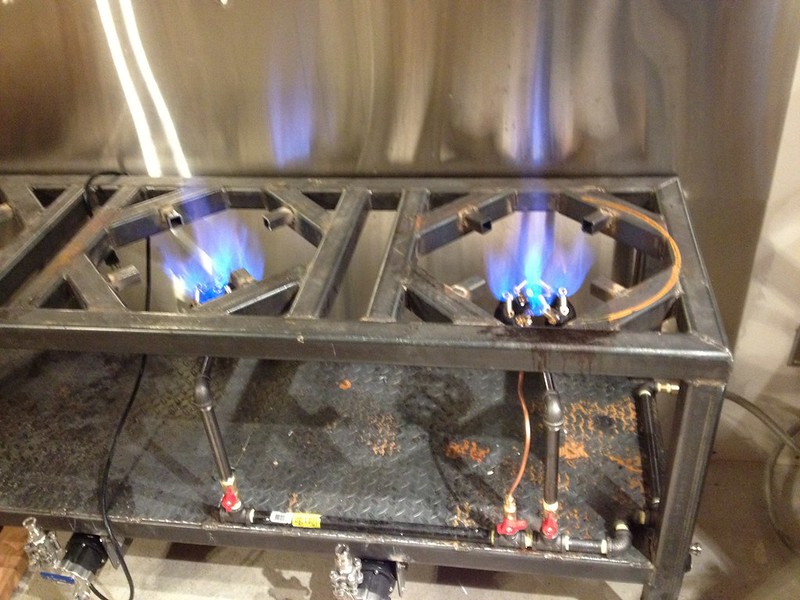
Fitting the hood before drywall to determine the best height, and do a boil test. This is about the point where I wanted to stop building and start doing the fun work!
As many others have said, I've learned so much and gotten so many great ideas from the members of this forum. I hope you enjoy seeing what I have been putting together. Heres to many years of happy brewing. Cheers from Seattle to wherever you are.
About the building. It is 19'x26'. 9ft walls with a ridge pole open ceiling design. I'm building it on top of an old slab that we tested for structural integrity, which once hosted a carport - torn down long before we bought the place. This space was just begging for a brewery.
Want to skip the conversation and just see the updates in pictures? See Thread Updates: Update 1 Update 2 Update 3 Update 4 Update 5 Update 6 Update 7 (first real brew day) Update 8 Update 9 Update 10 Update 11 Update 12 Update 13 - Officially done. (enough)
Click here to see a timelapse of the build
I did not get a proper before picture showing the space as it existed, but this is close. The existing slab is solid, though not level or square to the property lines.
The trench to the house to supply water, sewer, natural gas, electrical, and low voltage (data) wiring.
We chipped and removed sections of the existing slab to run utilities into the building, and to create one of my favorite features, the floor drain.
After several weeks of work, it's finally slab pouring day. A little drama as we ordered about 1/2 yard too little concrete. Thankfully we live close by to the supplier and were able to get some more very quickly.
Once the slab is cured, the walls go up quickly.
A quick change to my drawings to lower the roof line, and up went the beam. The building sits up above our yard, and my original design was just too tall. The nice thing about being 'the architect' (hah!) is making a change on the fly is easy.
A benefit of doing a lot of the work myself, and hiring a contractor who is a friend of a friend. I called on my friends for cheap(er) labor. Is it beer time yet?
Taking shape:
Skylights on the South facing roof. Important for our gray Seattle days.
The contractor went home for a few days and let me handle the electrical work. So many decisions. Never too many outlets! It was tedious, but I really enjoyed this part of the project.
The brewing area is starting to take shape. Plumbing, gas, and electrical. I don't do electric brewing, but I put in 60a worth of 220 in case I change my mind.
It's a garage, honest.
Hardy plank siding, going on
I found an custom made exhaust hood that was torn out of a high end home in the area at a local re-used building supply store. It is the *perfect* size for my brew area. The 400cfm fan keeps up pretty well. I couldn't believe my luck.
Fitting the hood before drywall to determine the best height, and do a boil test. This is about the point where I wanted to stop building and start doing the fun work!