
OP
OP
Stephonovich
Well-Known Member
Just came across this while searching for my own keezer ideas. Any pics of the finished product?
I'm sorry it's been so long. Life moves on, also, I'm incredibly lazy sometimes.
Long story short, it runs, but no flow sensors yet. I wrote code that was mostly working, but needed some tweaking to get it to function correctly. Then I re-formatted my computer, and thought I had uploaded the source code to the cloud. Nope. Cue dismay. In the interim, I threw together some stuff to just activate the displays, and show you what's in there, basic info, etc.
Also, I'm 99% sure I fried my OLED by accidentally wiring 5v to the 3.3v pin. That's going to be a royal pain to get out of its bespoke epoxied frame.
With that, enjoy!
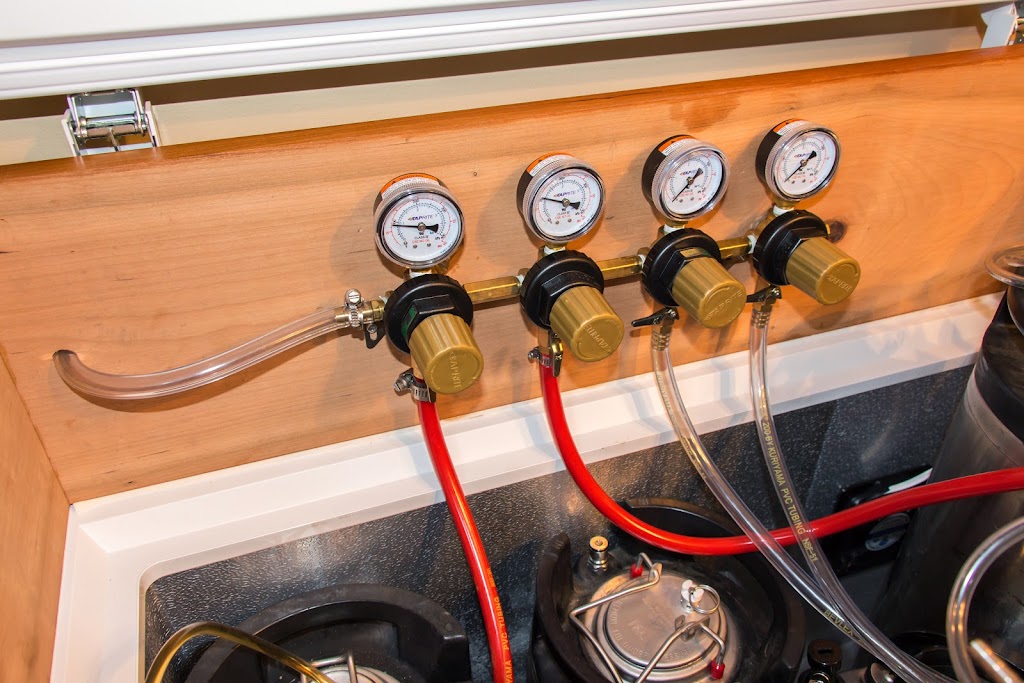
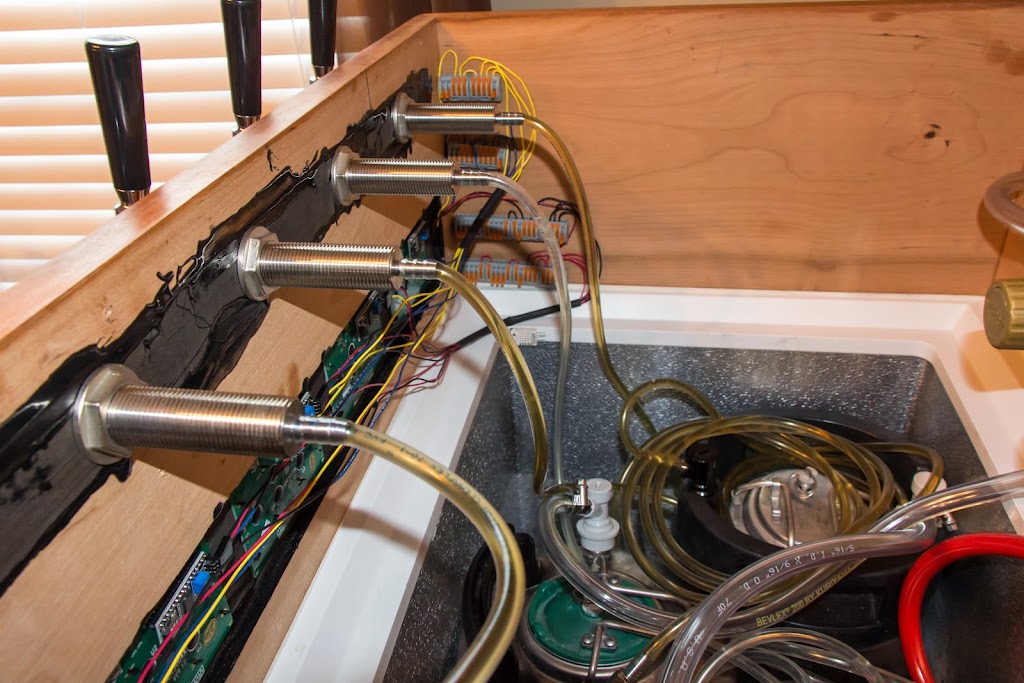
Here is the four port regulator mounted to the back. If you recall, I plan on getting a beergas rig for the stout. Also, ran out of red line, so I had to go to LHBS, and clear is what they had. I've actually swapped the red out now so it's all clear, because it bothered me. If you look to the gas in line, you'll note a bit of chunk-out from the drill. I used a 5/16" spade bit, which isn't known for being gentle on wood. I had a sacrificial block behind it to try to prevent it, but I guess I didn't clamp it tightly enough. It's on the inside anyway, so oh well.
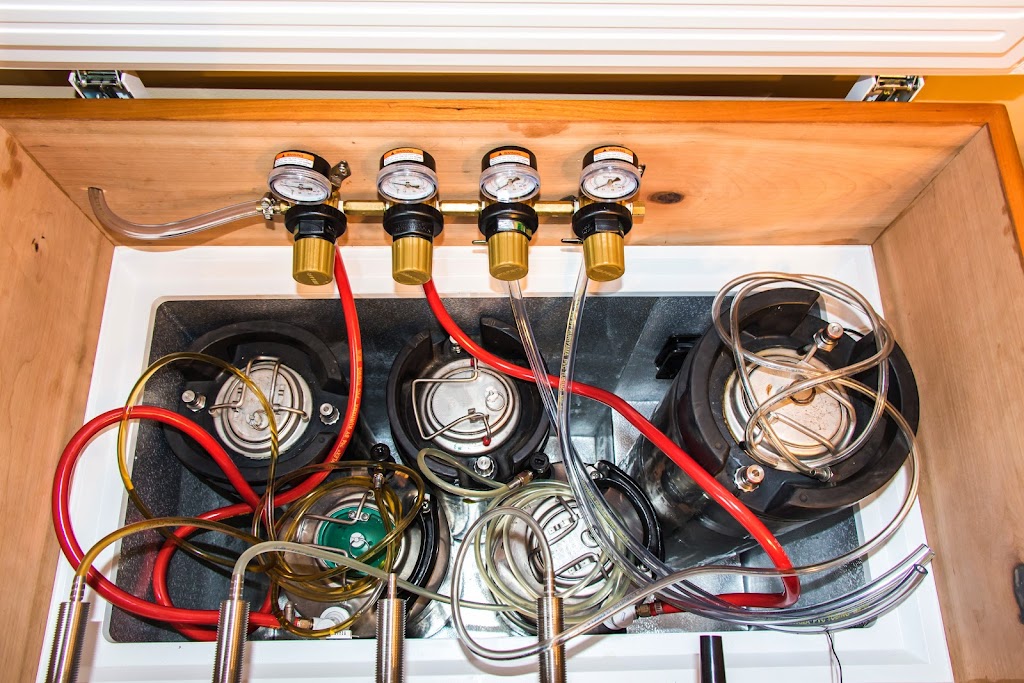
Overhead view of all the kegs in there. Lessons learned: 1. 4" shanks are probably unnecessary, even if I had insulation. 2. The knobs on the regulator protrude more than you'd think. Put these together, and I have to use the compressor hump to jockey kegs around to get them in and out. Yes, it's a pain. Alternately, if I moved the whole unit away from the wall, I could just mount the entire collar on hinges.
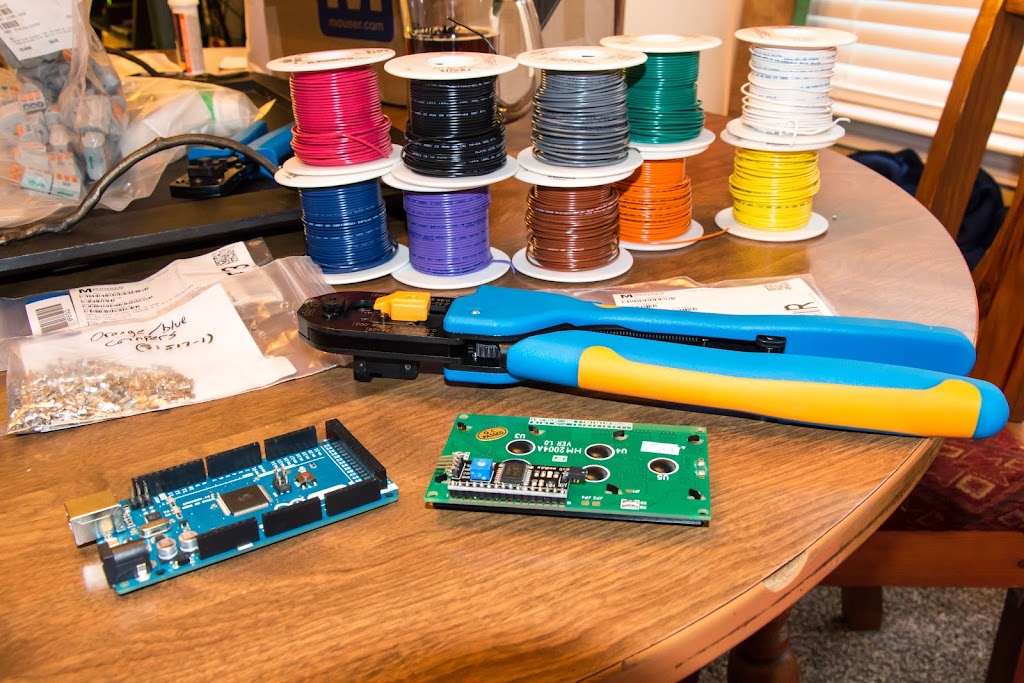
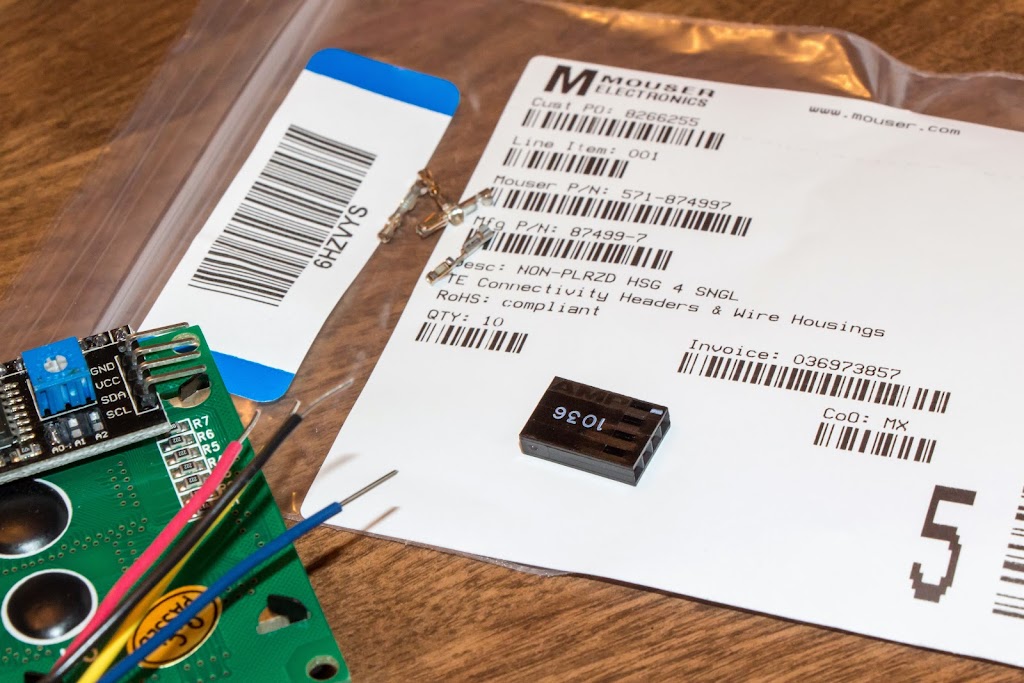
When doing custom wiring, I highly recommend you get decent hookup wire. Mine is 22AWG Alpha. I chose solid, which is good in some aspects, not in others. It's flexible-ish, and will hold its shape quite nicely, but can be difficult to work with. As to the crimpers, connectors, etc. - there're literally tens of thousands of combinations and choices, and Digikey, Mouser, et. al. aren't always as helpful as you'd hope in finding compatible ones. Also, the special crimpers for these little bastards are about $800. I borrowed mine from work; best of luck if you can't get them. Maybe find a makerspace nearby, or another method of crimping. All you're doing is transmitting logic values; doesn't take much.
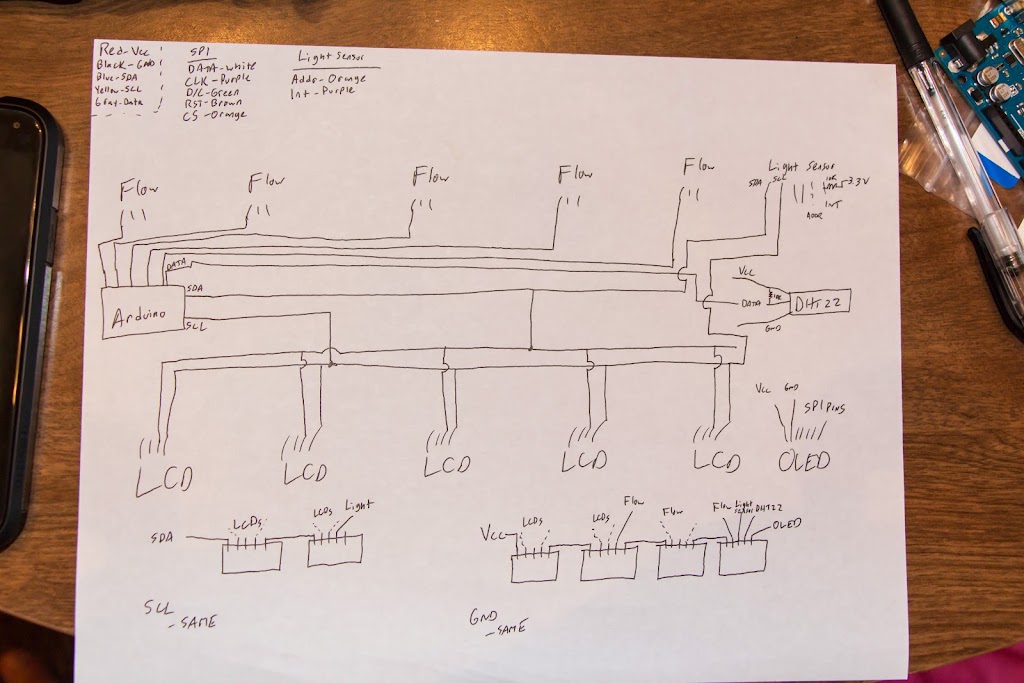
This is my awful schematic I drew to help me keep track of everything. Looks messy, worked well.
A close-up of bare wires, the terminals, and the headers. Note, those wires are in fact stripped too far. Figured that out after the second one.
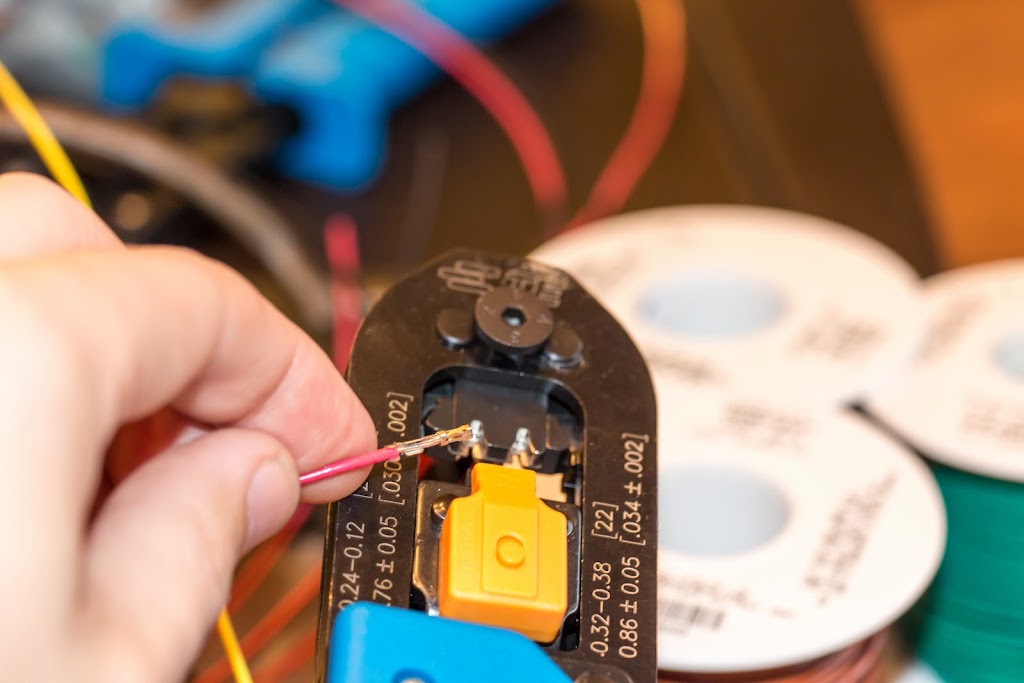
This is basically how you crimp them. I mean... probably an unnecessary picture. Of note, I switched to a different connector and crimper combination after a few of these, as I found them to be easier. Not shown, but equally as expensive.
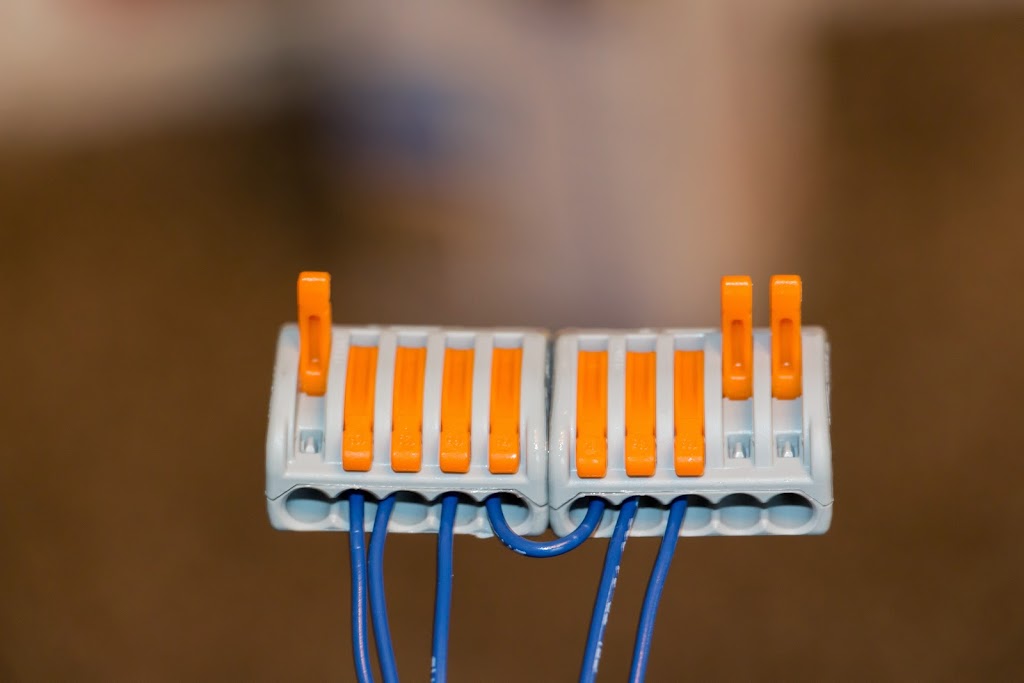
These little things are great! They're called Wago blocks. Newark is the only place that I can find selling them reasonably. Adafruit has them at a steep markup. Anyway, you just crimp, pull the lever up (takes a lot more force than you'd think), push the wire in, and snap the lever down. All connections are just bridged together, making them perfect for making power rails, or bussed signals like SDA and SCL on Arduino. They also glue together pretty easily to make bigger blocks. I think Wago makes a 3, 5, and 7 port model.
A shot of the wiring. I ran the power wires and SDA/SCL wires through their own (unshrunk) heatshrink as a way of keeping them separated.
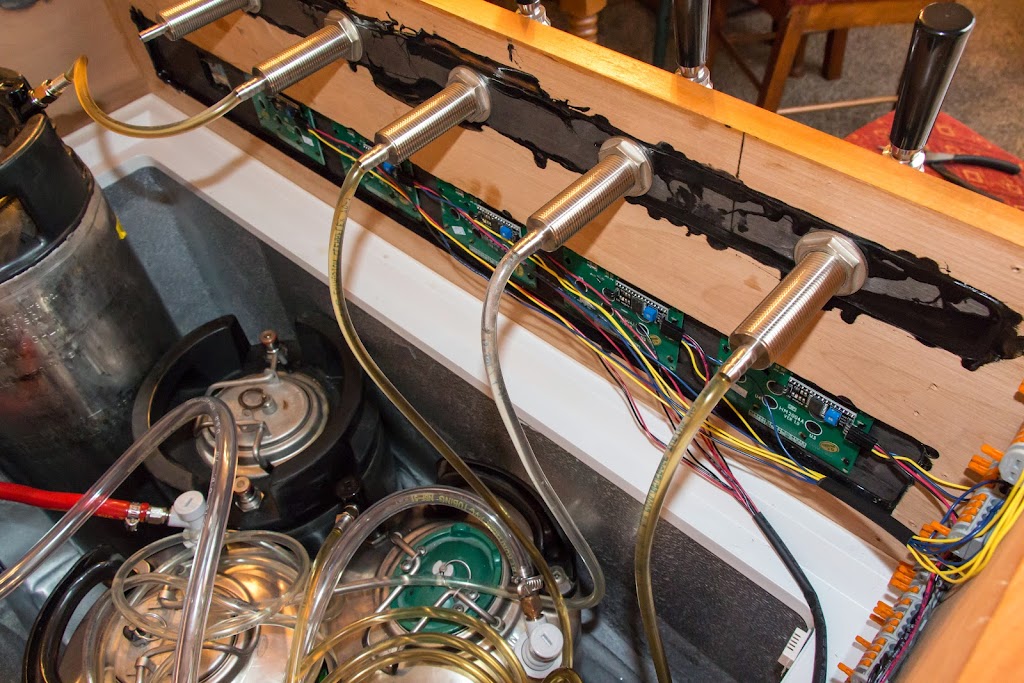
And, another shot of the wiring. I mounted the Arduino to the right of the Wago blocks.
All pretty! As I said, the flow sensors don't work, so I opted for name, O.G., ABV%, and a brief description. AFAIK you can get these to scroll if you wanted a longer description or title, but in the interest of time, I just kept mine limited to the 20 characters it can display at once.
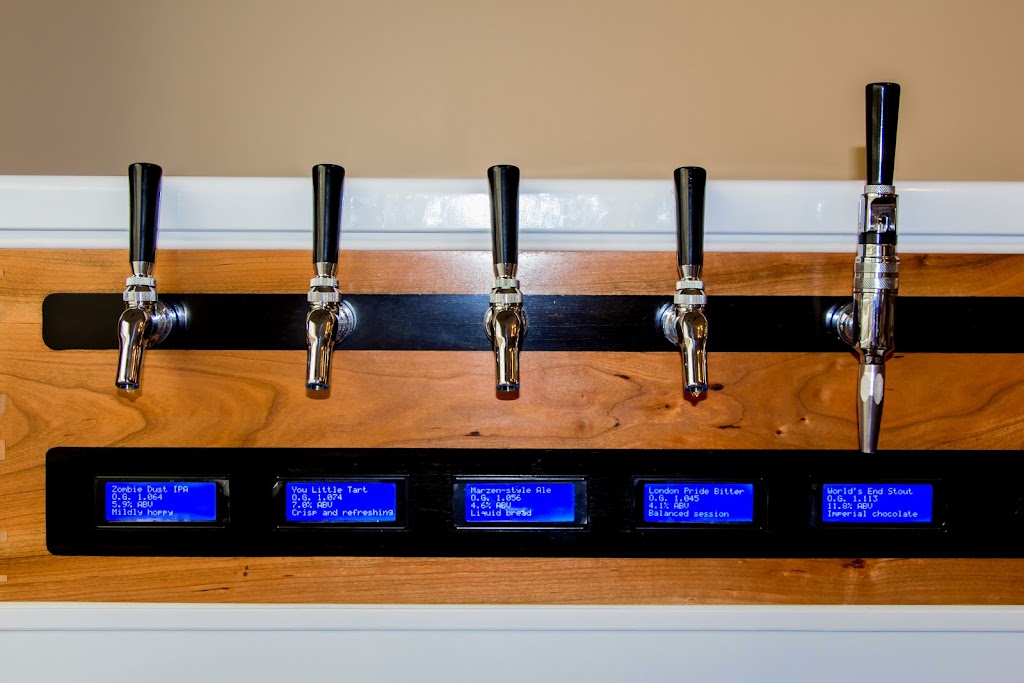
Oh, the beers on tap are: Three Floyds Zombie Dust clone, Cider, BM's OktoberFAST, Fuller's London Pride clone, and my Imperial Chocolate Jalapeno Milk stout.
I promise when/if I get the flow sensors going, I'll post that, and the full source code.
