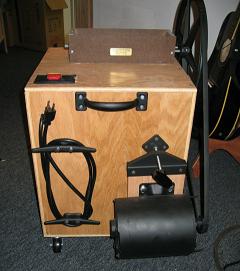
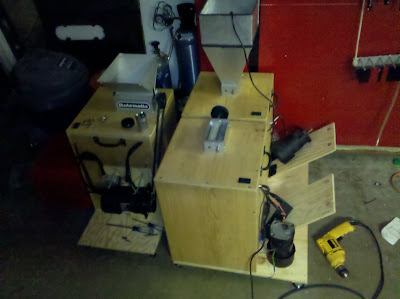
Got my grinding station completed this week and took some pics to post up here.
Have to thank a whole bunch of posters here for leads on parts, ideas I borrowed, and details I incorporated - especially the whole CCW rotation thing for the gear motor. This wee beastie works great and it's going to be a pleasure to use.
I rarely build anything without a plan, so after taking a lot of measurements of the mill, motor and coupler, the next thing was to do a detailed drawing of the whole works so I could figure out how everything would fit together. One of the constraints I added was to avoid having to buy any materials, as my wee shop was loaded with scraps from many projects and I wanted to use them up.

The design I came up with made extensive use of my router table, as it has a lot of double-stopped dados and rabbets to hold the MDF panels between the various frame members, that can't practically be done without a table-mounted router.
The base uses a 3/4" thick piece of MDF, the top a 3/4" thick piece of plywood, the frame is 1x3 pine, the side panels are 1/4" MDF, the riser for the mill and the "garage" for the start capacitor are hard maple, all left-overs from various projects. The framing pieces are attached to each other and to the base and top with pocket screws for easy assembly; this was a virtually glue-free build. The casters were salvaged from a cheap tv cart that one of my sons brought home from college years ago that I had turned into kindling - and they're mounted to a pair of machined 2x4 pine carriers attached to the underside of the base.
On the electrical side, the wiring was from an old PC power supply that had died years ago, the power cord was an old extension cord, the electrical box and the DPDT/center off toggle switch I had on hand. The extension for the grain hopper was fabricated from a 1'x2' sheet of aluminum that I had bought for a project but never used.
So aside from the mill, motor and coupler, the only parts I had to buy were the two hinges, the door knob, the magnetic catch for the door, and the face plate for the switch. And a package of plastic "report covers" (see below). Even the primer and finish paint were left-overs, and as my two beer fridges and keezer are all "Appliance White", my mill is bright white as well.


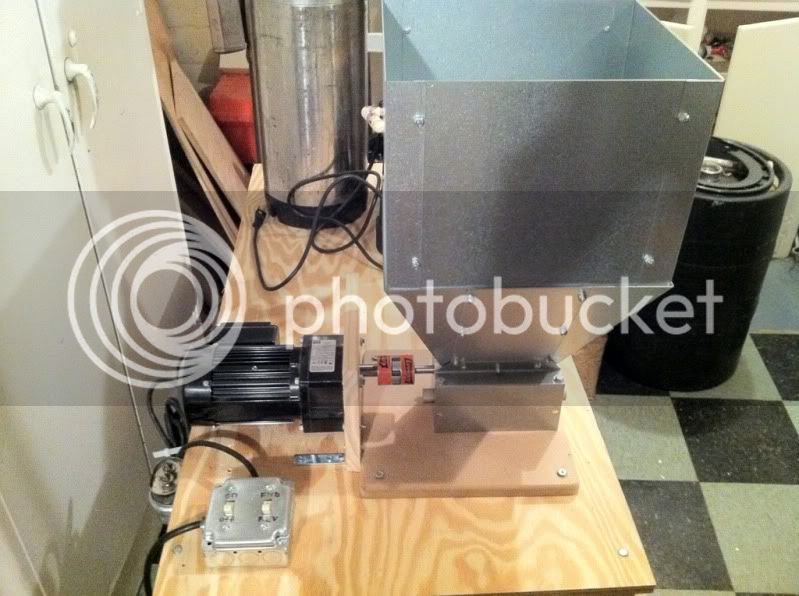
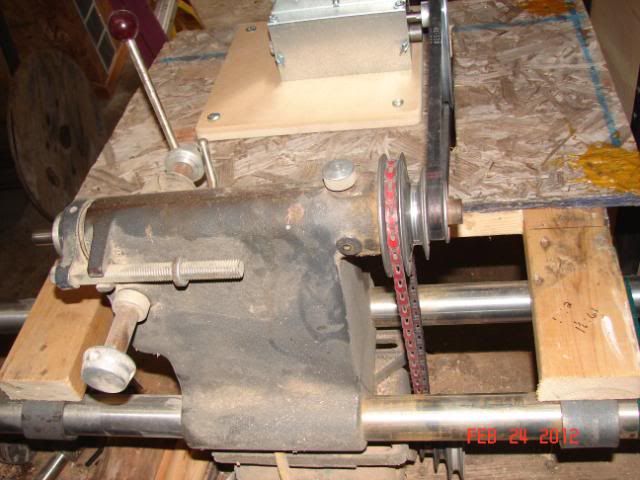
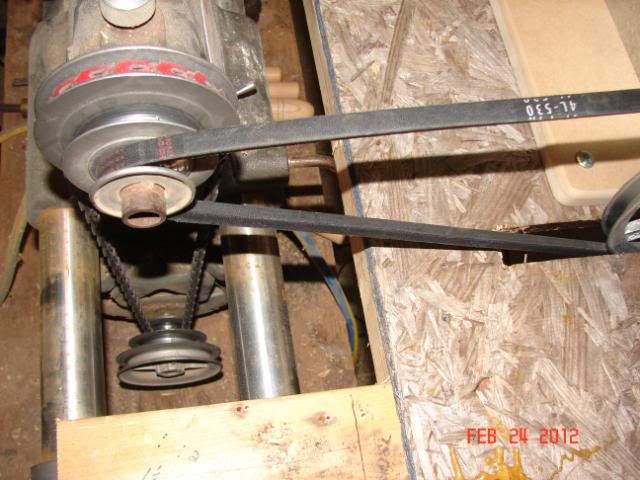
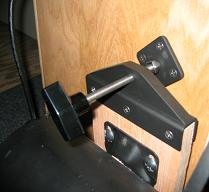
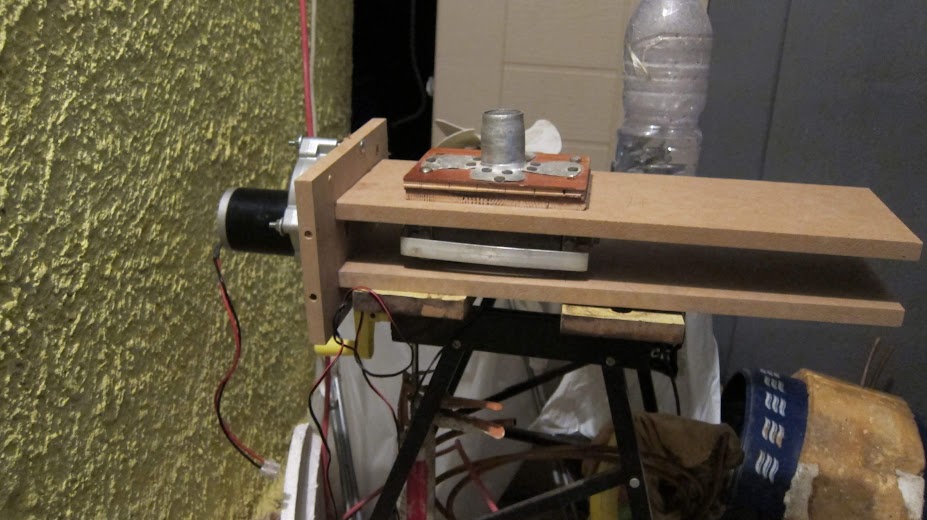
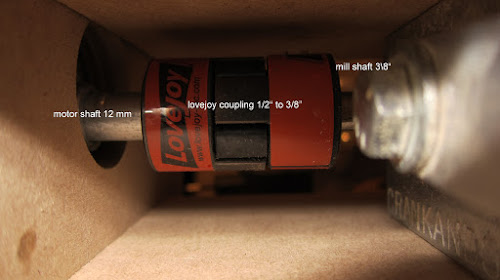
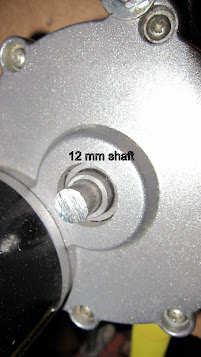
The tricky part of this design was coming up with a secure mount for the motor while making sure its drive shaft would line up on all three planes with the mill's drive shaft. This basically came down to a lot of caliper measurements from end to end, using that data to build models of the mill, motor, and coupling in my drawing program, then positioning the models in the drawing. That provided all of the alignment and elevation details needed to go the rest of the way.
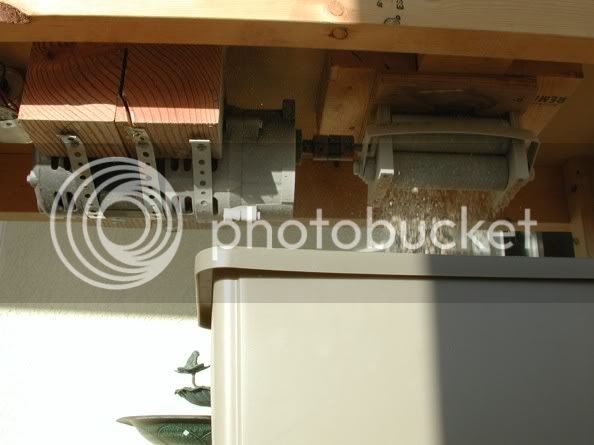
Instead of using the four through-bolts at the gear box face to mount the gear motor to an angle plate, I went a different way: there are a pair of unthreaded tooling holes on the underside of the motor that I tapped for 10-24 screws driven up through the top and through a spacer to provide the right elevation for the motor. I also ran a 10-32 screw up through the table into the bottom most standoff for the fan shroud at the rear. This provided a rigid mount that is more than strong enough to resist torque-induced movement, and made for a really clean looking build.

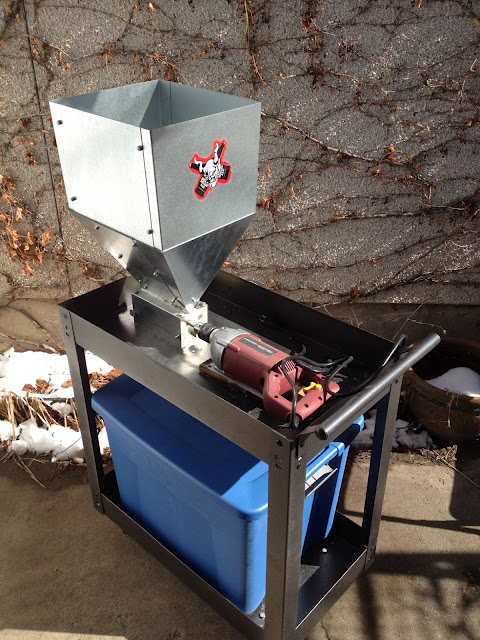
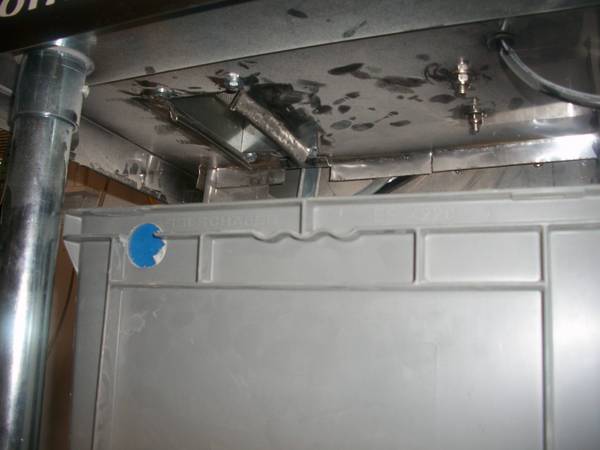
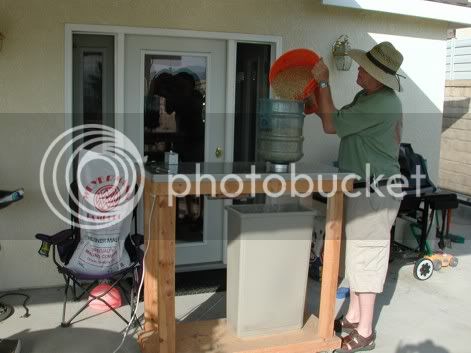
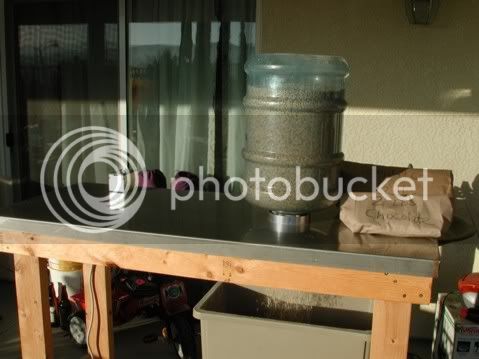
The height of the interior opening was defined around a standard food grade five gallon plastic bucket. I plan on installing a small canvas "chute" around the opening under the mill that will drop a couple of inches into the bucket just to cut down on random bits of grist missing the bucket. Probably gilding the lily, but that's SOP in my shop.

The electrical bits. The starter capacitor is housed in its own little garage, sandwiched in between some foam padding.

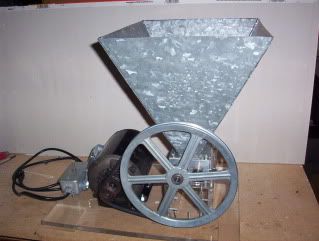
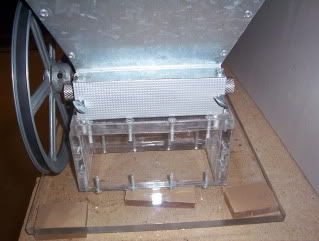
The grain bin extension nestles into the mouth of the stock hopper, and is held together with aluminum pop rivets. I used my bench vise and a veneer roller to make the corner bends. The corner joints are doubled-lapped for extra strength.

That exposed metal edge clearly needed to be covered with something, so I picked up a package of clear "report covers" that come with plastic binding bars and cut them to fit around the rim. Much safer - and it stiffens up the sheet metal as well.

I've used the mill with an 18 volt drill it's always worked great, especially if I took the time to condition the grain. But I always thought it would be neat to build a station around it to contain the dust and not have to stand there holding the drill all the time. With all of the ideas I found here that idea became a reality.
So thanks to all you Great Unnamed who went before me, I definitely appreciate all of the great information provided that made this a pretty easy build
Cheers!
Have to thank a whole bunch of posters here for leads on parts, ideas I borrowed, and details I incorporated - especially the whole CCW rotation thing for the gear motor. This wee beastie works great and it's going to be a pleasure to use.
I rarely build anything without a plan, so after taking a lot of measurements of the mill, motor and coupler, the next thing was to do a detailed drawing of the whole works so I could figure out how everything would fit together. One of the constraints I added was to avoid having to buy any materials, as my wee shop was loaded with scraps from many projects and I wanted to use them up.
The design I came up with made extensive use of my router table, as it has a lot of double-stopped dados and rabbets to hold the MDF panels between the various frame members, that can't practically be done without a table-mounted router.
The base uses a 3/4" thick piece of MDF, the top a 3/4" thick piece of plywood, the frame is 1x3 pine, the side panels are 1/4" MDF, the riser for the mill and the "garage" for the start capacitor are hard maple, all left-overs from various projects. The framing pieces are attached to each other and to the base and top with pocket screws for easy assembly; this was a virtually glue-free build. The casters were salvaged from a cheap tv cart that one of my sons brought home from college years ago that I had turned into kindling - and they're mounted to a pair of machined 2x4 pine carriers attached to the underside of the base.
On the electrical side, the wiring was from an old PC power supply that had died years ago, the power cord was an old extension cord, the electrical box and the DPDT/center off toggle switch I had on hand. The extension for the grain hopper was fabricated from a 1'x2' sheet of aluminum that I had bought for a project but never used.
So aside from the mill, motor and coupler, the only parts I had to buy were the two hinges, the door knob, the magnetic catch for the door, and the face plate for the switch. And a package of plastic "report covers" (see below). Even the primer and finish paint were left-overs, and as my two beer fridges and keezer are all "Appliance White", my mill is bright white as well.
The tricky part of this design was coming up with a secure mount for the motor while making sure its drive shaft would line up on all three planes with the mill's drive shaft. This basically came down to a lot of caliper measurements from end to end, using that data to build models of the mill, motor, and coupling in my drawing program, then positioning the models in the drawing. That provided all of the alignment and elevation details needed to go the rest of the way.
Instead of using the four through-bolts at the gear box face to mount the gear motor to an angle plate, I went a different way: there are a pair of unthreaded tooling holes on the underside of the motor that I tapped for 10-24 screws driven up through the top and through a spacer to provide the right elevation for the motor. I also ran a 10-32 screw up through the table into the bottom most standoff for the fan shroud at the rear. This provided a rigid mount that is more than strong enough to resist torque-induced movement, and made for a really clean looking build.
The height of the interior opening was defined around a standard food grade five gallon plastic bucket. I plan on installing a small canvas "chute" around the opening under the mill that will drop a couple of inches into the bucket just to cut down on random bits of grist missing the bucket. Probably gilding the lily, but that's SOP in my shop.
The electrical bits. The starter capacitor is housed in its own little garage, sandwiched in between some foam padding.
The grain bin extension nestles into the mouth of the stock hopper, and is held together with aluminum pop rivets. I used my bench vise and a veneer roller to make the corner bends. The corner joints are doubled-lapped for extra strength.
That exposed metal edge clearly needed to be covered with something, so I picked up a package of clear "report covers" that come with plastic binding bars and cut them to fit around the rim. Much safer - and it stiffens up the sheet metal as well.
I've used the mill with an 18 volt drill it's always worked great, especially if I took the time to condition the grain. But I always thought it would be neat to build a station around it to contain the dust and not have to stand there holding the drill all the time. With all of the ideas I found here that idea became a reality.
So thanks to all you Great Unnamed who went before me, I definitely appreciate all of the great information provided that made this a pretty easy build
Cheers!


")