OP
OP
Another "duh" just came to mind. I have a rig that takes my garden hose down to a male quick disconnect, the same that I have on all vessels that I connect to the hoses to rinse out the pump, lines, and CFC. This is the most obvious and simple way to get water into the the pump head, just fill with hose water until it dumps into a bucket, reconnect to your vessels and let it rip.
Another thing I want to add to my setup is a couple of "U" hooks to the stand so that I can have them hold my hoses up when I don't have them connected to anything. Since the female disconnects I use are non sealing, I can't just dangle them on the floor or I'll drain the pump head.
Another thing I want to add to my setup is a couple of "U" hooks to the stand so that I can have them hold my hoses up when I don't have them connected to anything. Since the female disconnects I use are non sealing, I can't just dangle them on the floor or I'll drain the pump head.
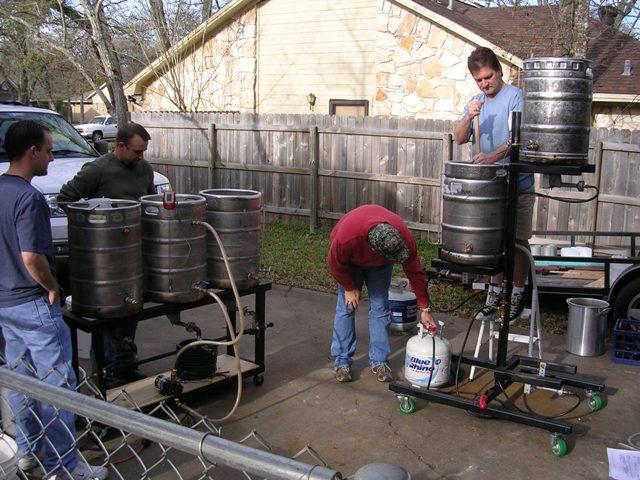
") I am being forced to stop all the lifting I have to do when brewing and so shortly I will construct a framework like yours (single level). I know you enjoyed your first use of this system and it is so easy to work with too.
I am being forced to stop all the lifting I have to do when brewing and so shortly I will construct a framework like yours (single level). I know you enjoyed your first use of this system and it is so easy to work with too.