BlackBearForge
Well-Known Member
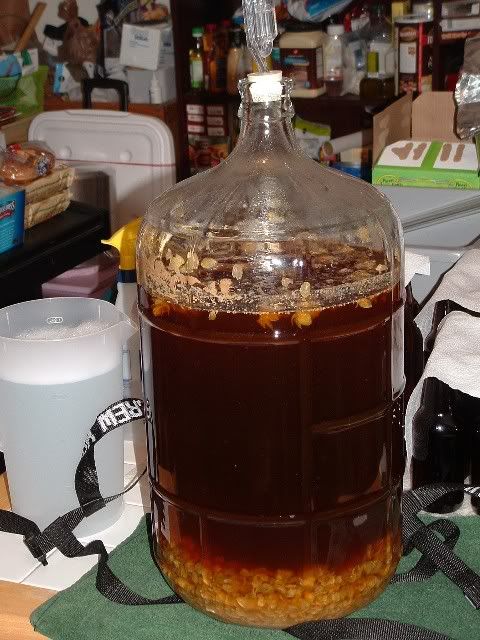
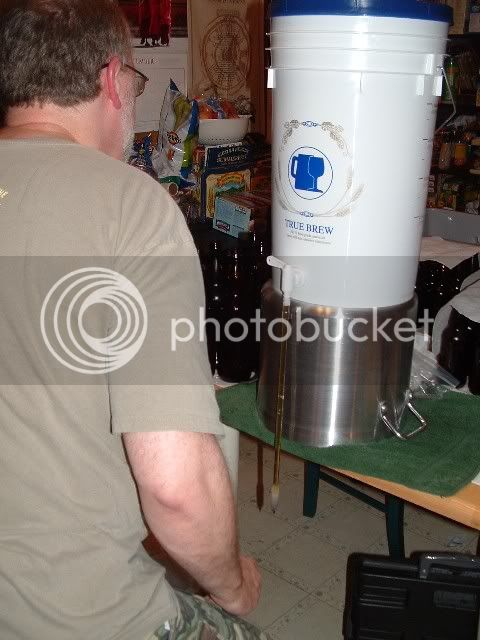
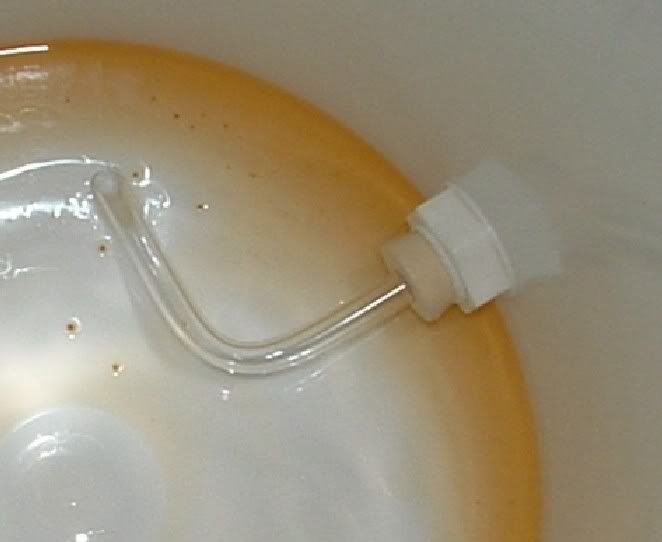
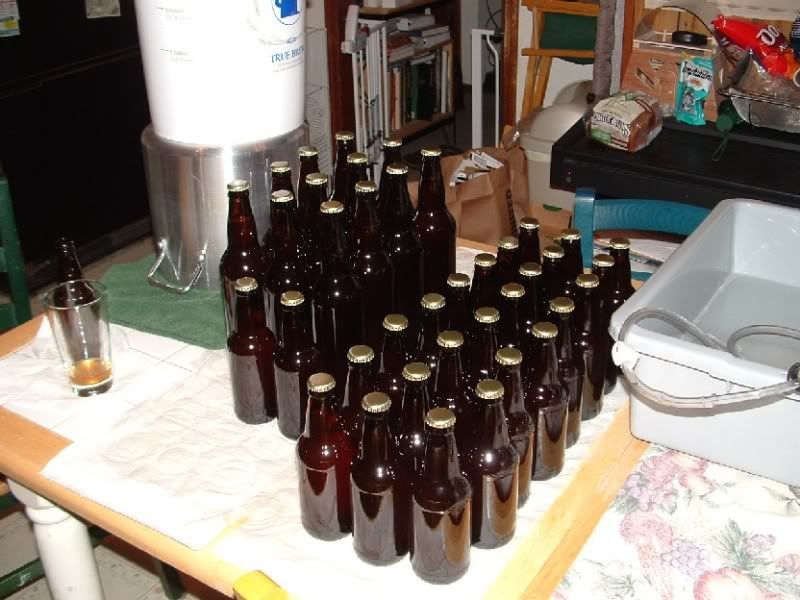
Halfway there for the first batch (the dip tube worked great and wand on the spigot worked beautifully!):


What size stopper fits inside of the buckets spigot?
What size stopper fits inside of the buckets spigot?
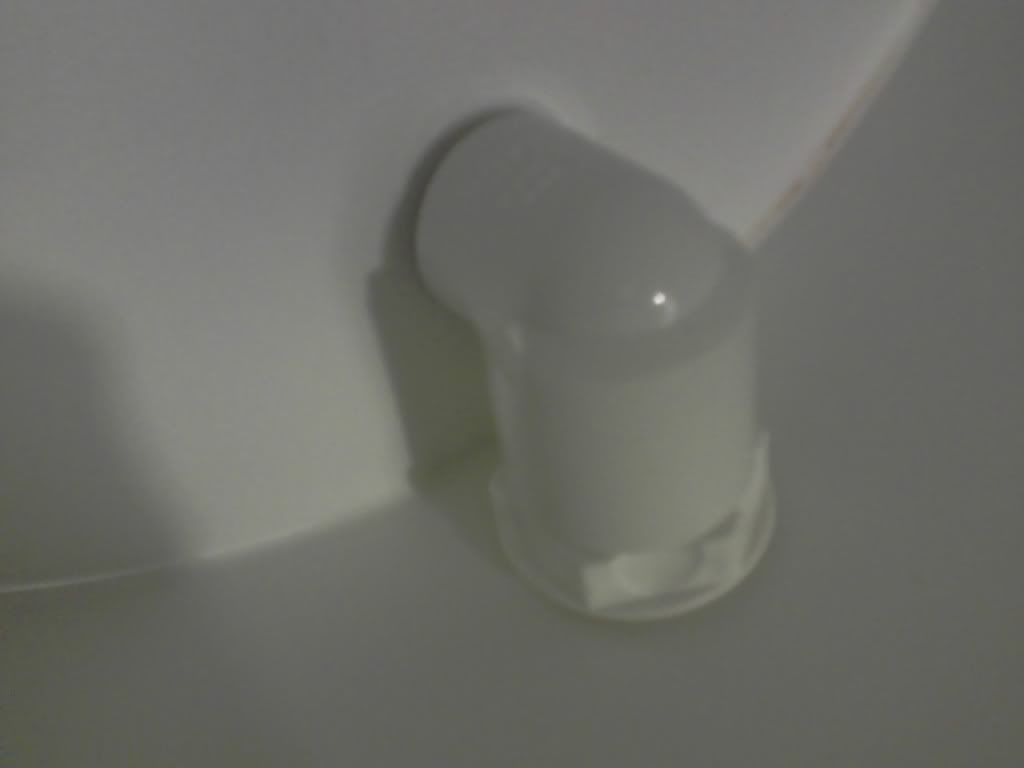
I found a PCV fitting that matched the threads on the valve inside the bucket, then cut the bottom at an angle so I can get it close to flush with the bottom of the bucket. The nice part is it threads on snug to the inside nut at the same time it hits the bottom of the bucket. Someday I'll figure out how to do pics...
I like your dip tube design, it may even work better than mine which I have complained as being too touchy since the copper one in the picture went into my garbage disposal and I replace it with plastic one. I always thought they had to bend downward from the wall of the spigot in a 45 or whatever angle, But yours looks like it is working nicely. I'll have to try it.
You mind adding your pic to the bottling bucket thread so other's can benefit from your wisdome?

Enter your email address to join:
