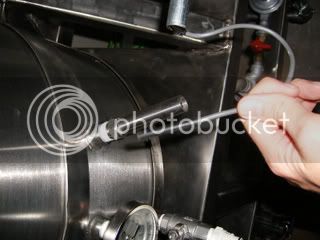
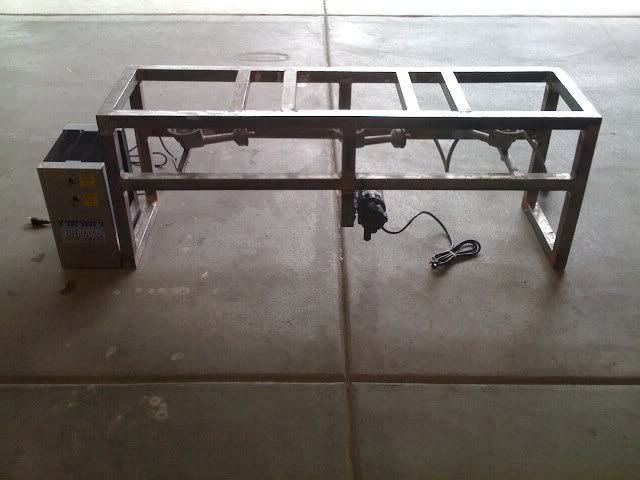
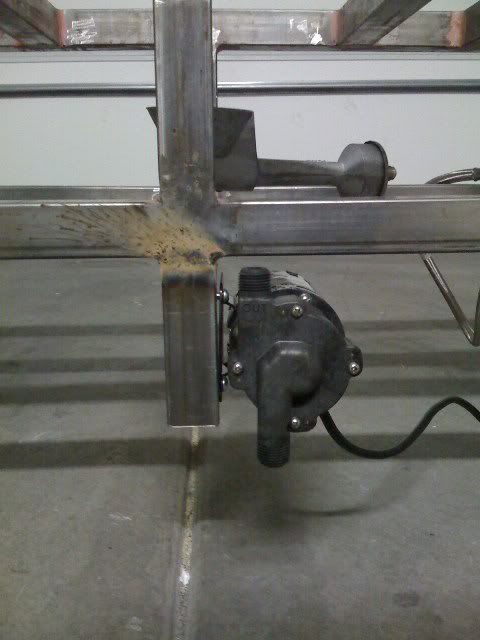
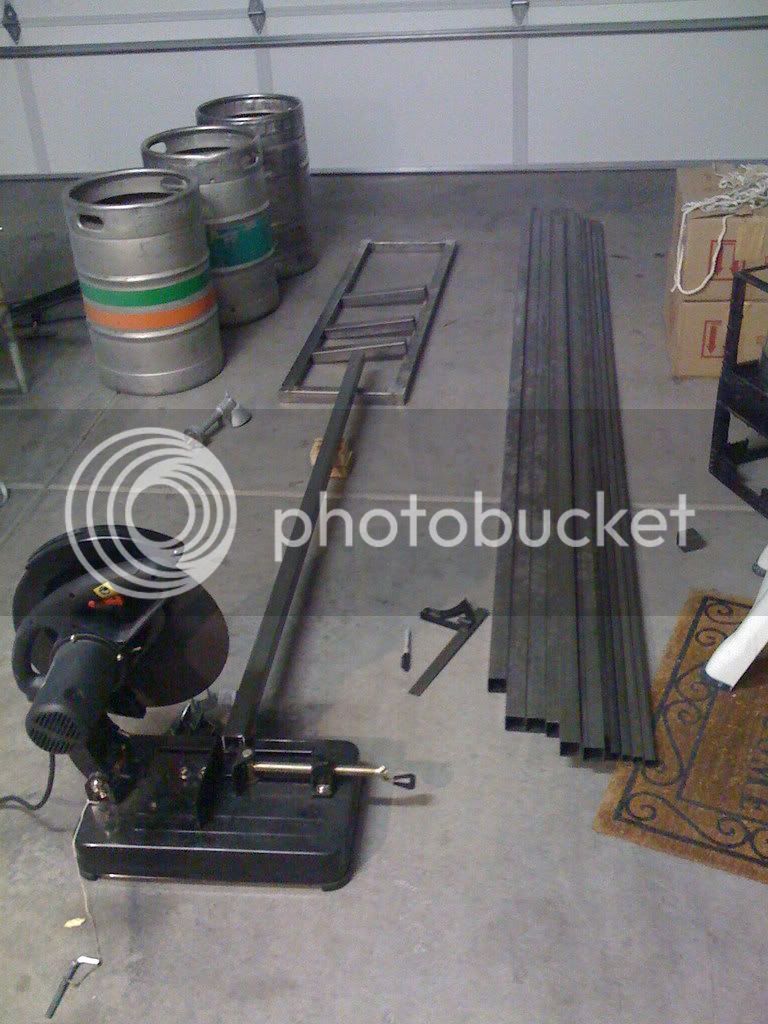
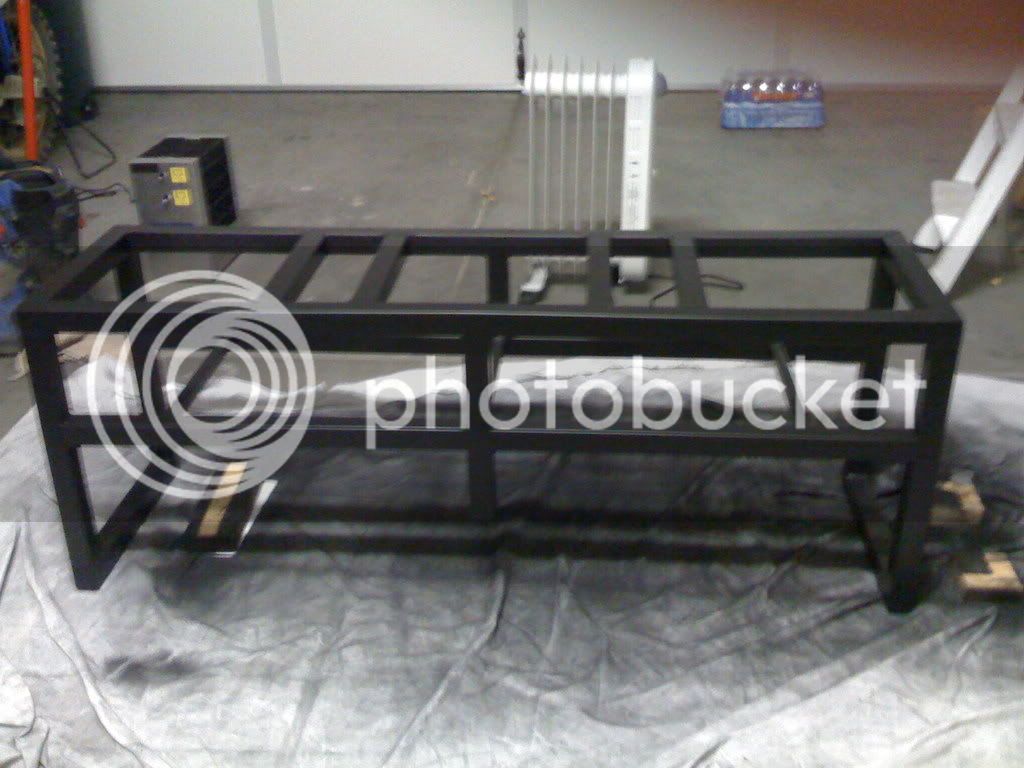
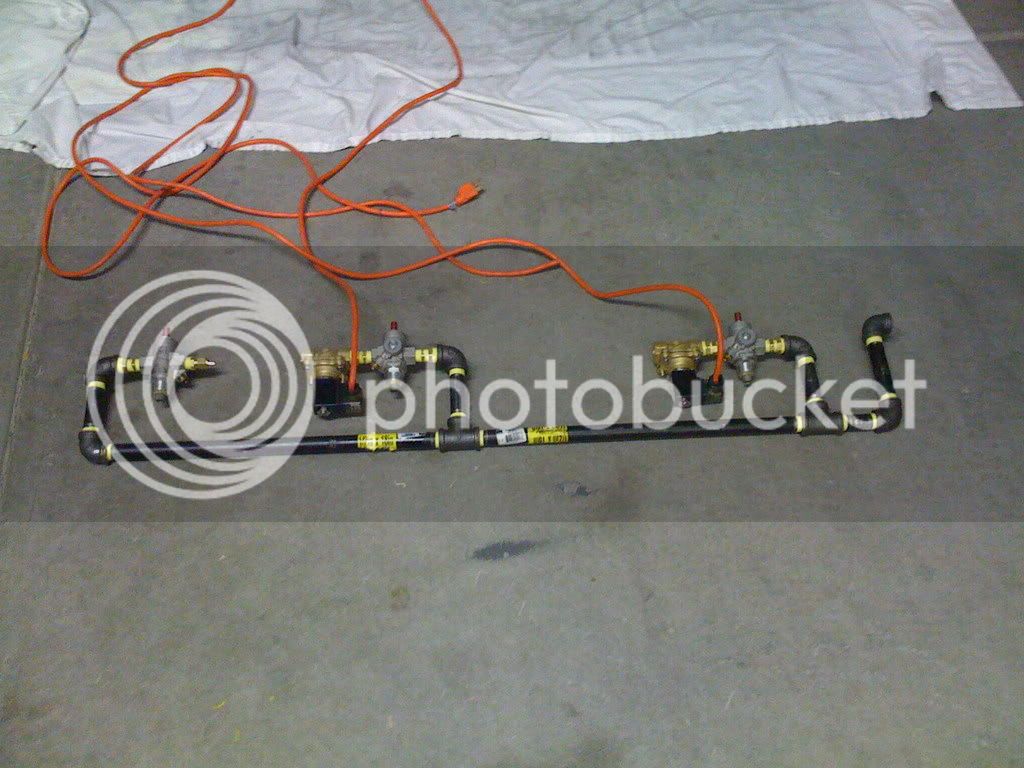
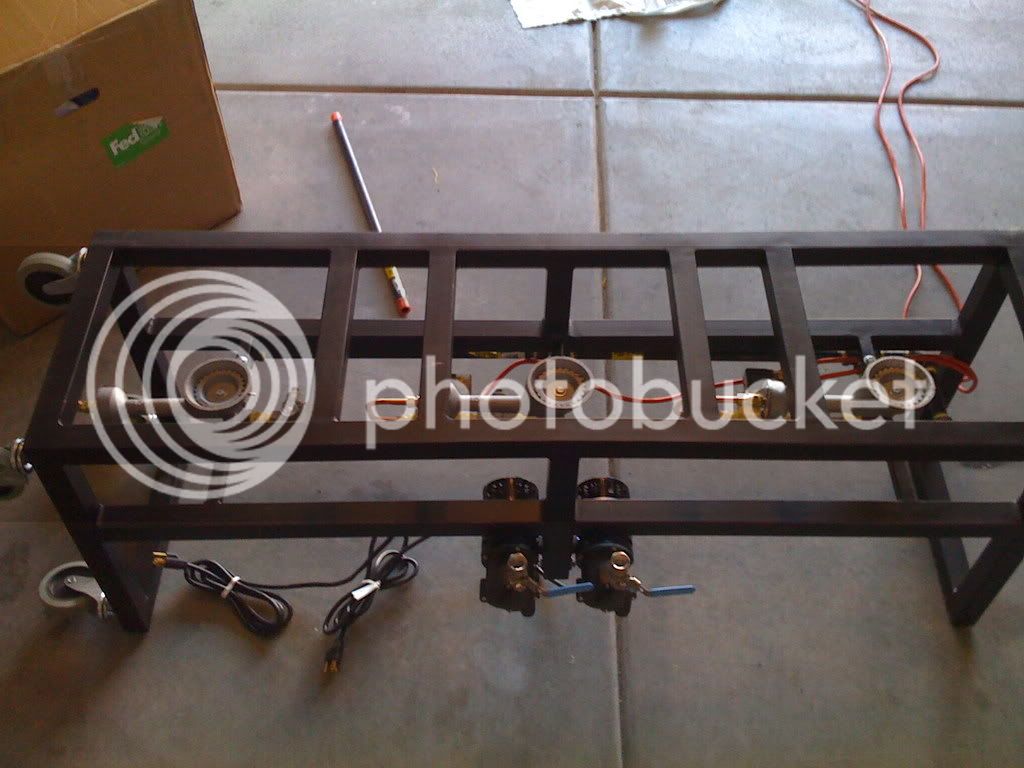
I have framed up my single tier out of 1.5" square tubing. I want to phase into a full blown control panel setup with all the bells and whistles. But, I want to make sure I plumb the gas right the first time.
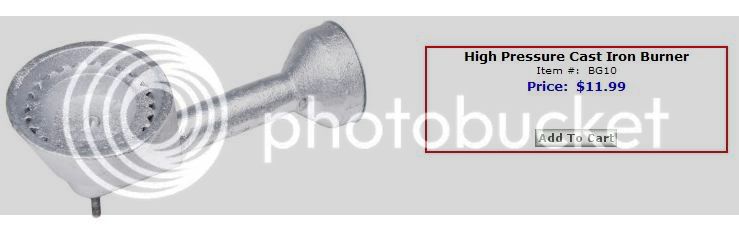
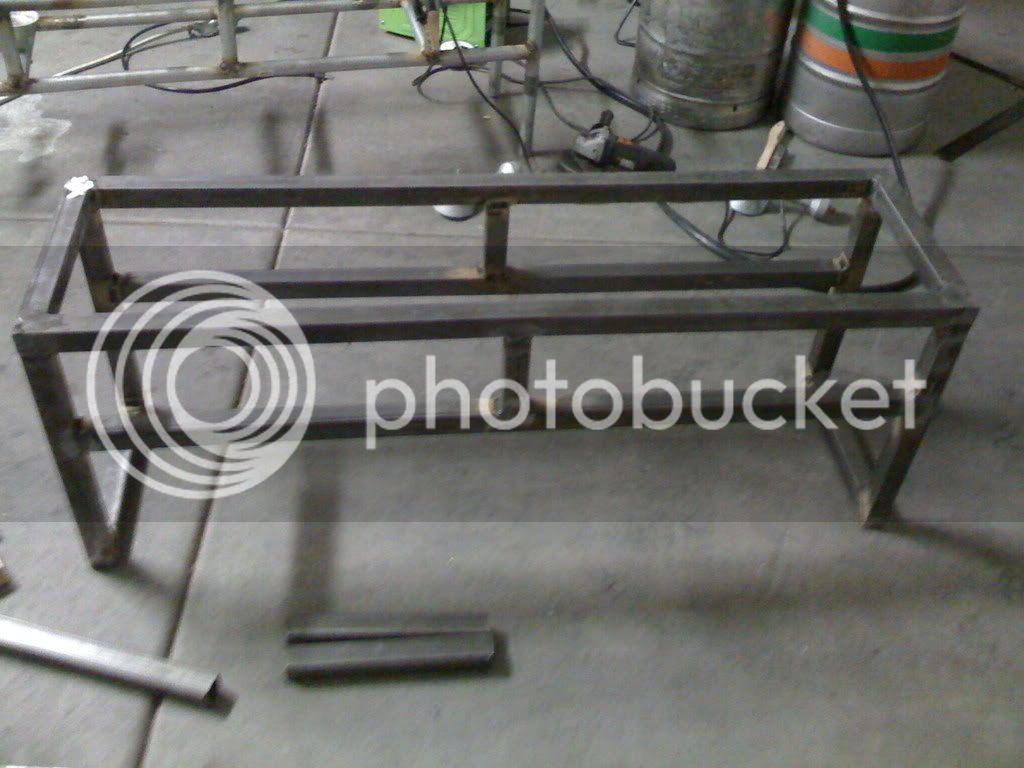
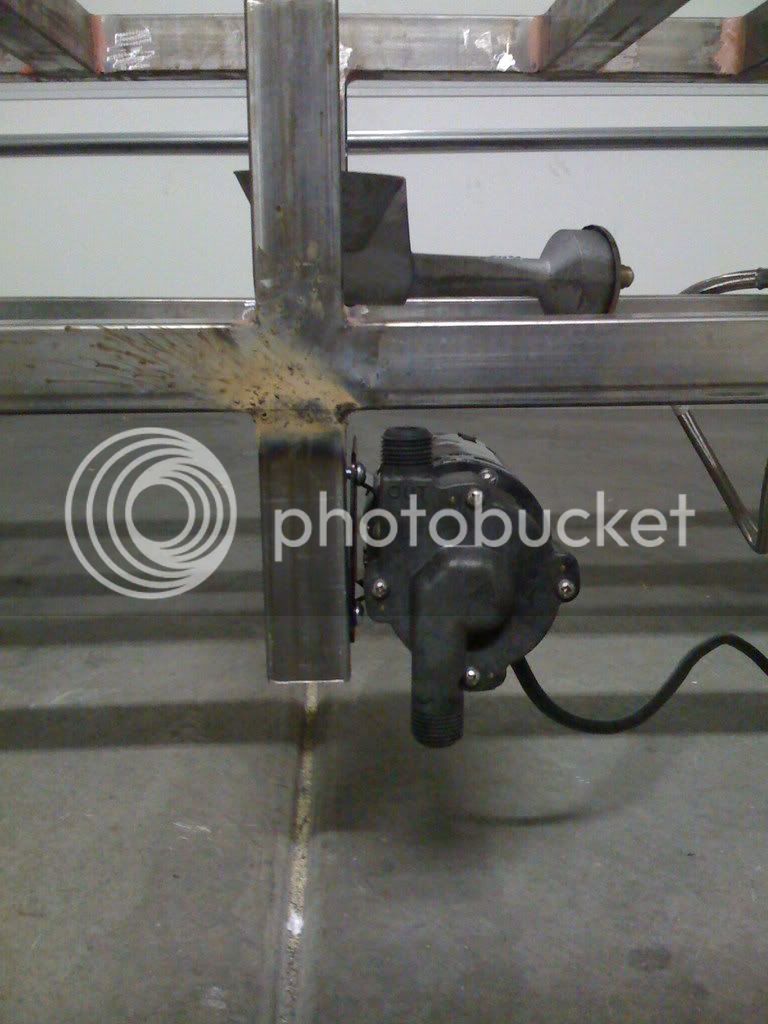
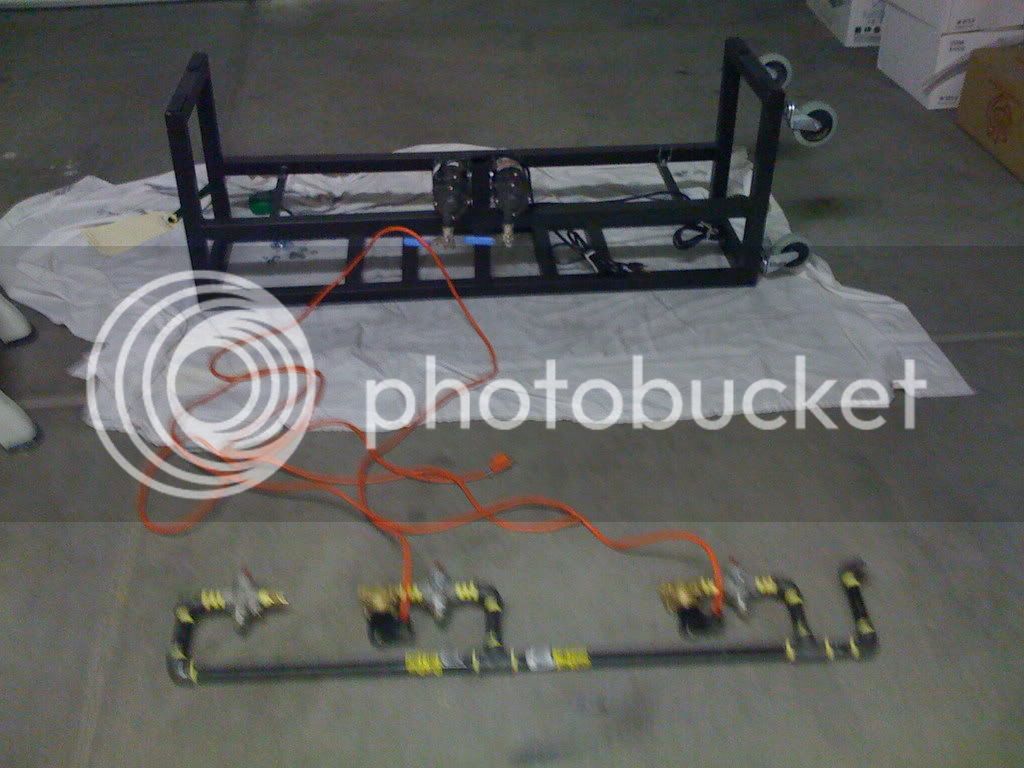
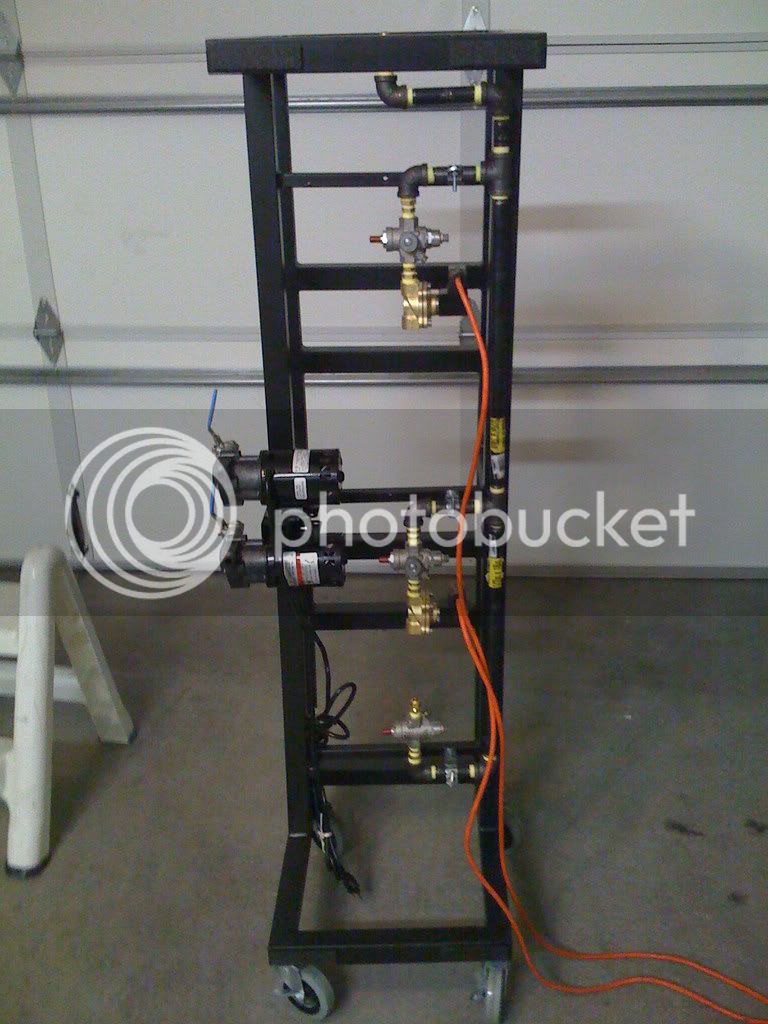
I have (3) 55,000 BTU burners and have yet to weld into place the cross bars to support the kegs and burner brackets. I want to eventually have a control panel on the right side of the stand with all three gas burner controls underneath it.
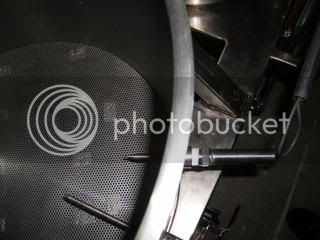
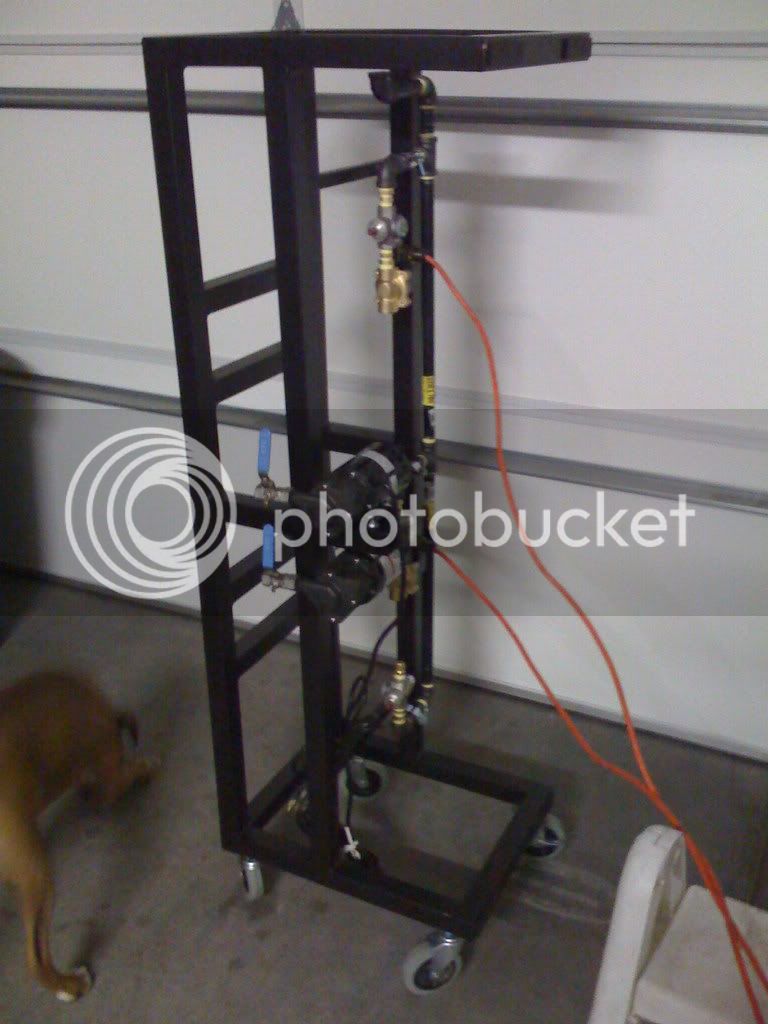
I would like to add an auto starting feature to the burner (thermostat + ignitor?), but don't know where to start. How do I incorporate a temperature control that would start/stop each burner once set to a specefic temp?

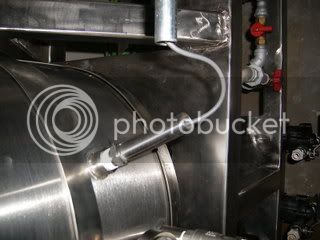
You can see my previous attempt in the background. I tried to save money and make a stand out of fence tubing from Lowe's. I intended to paint over the galvanized steel to prevent the fumes from burning the galvanized steel (welders cough). It was a lost cause so I abandoned ship. It was good practice tube notching, but a waste of money.
I have (3) 55,000 BTU burners and have yet to weld into place the cross bars to support the kegs and burner brackets. I want to eventually have a control panel on the right side of the stand with all three gas burner controls underneath it.
I would like to add an auto starting feature to the burner (thermostat + ignitor?), but don't know where to start. How do I incorporate a temperature control that would start/stop each burner once set to a specefic temp?
You can see my previous attempt in the background. I tried to save money and make a stand out of fence tubing from Lowe's. I intended to paint over the galvanized steel to prevent the fumes from burning the galvanized steel (welders cough). It was a lost cause so I abandoned ship. It was good practice tube notching, but a waste of money.