DIY Hop Oast Build

Homebrew Talk - Beer, Wine, Mead, & Cider Brewing Discussion Forum

Help Support Homebrew Talk - Beer, Wine, Mead, & Cider Brewing Discussion Forum:

This site may earn a commission from merchant affiliate links, including eBay, Amazon, and others.

thaymond

Well-Known Member
Joined
Jan 20, 2014
Messages
1,248
Reaction score
276
Location
Joliet
'Tis the season for drying hops, and last year I used the front door screen and some window screens. Keep in mind that last year, end of summer temperatures were hot and sticky. This year, they are not and have been enjoying the windows open this year. Using this as my reasoning to build yet another piece of brewing equipment, I took a trip with my son to Menards and nabbed the equipment.

I picked up two 1/2" sanded 4'x4' plywood panels, an 8' 2x6 plank, 1 1/4" Brad nails, and some aluminum reinforced door screen. Total bill of $49. I also had some leftover 1x1 shanks. About 10 feet of that.

1407732219056.jpg

I measured out 6" sections by 24" for the oast walls. I left two 24"x24" squares for lids. I cut the 2x6 into equal sections of 22.5" so that it measures out to an even 24" when put together. The shanks were cut to twenty-four 5" lengths. After cutting both panels and all the wood, I began assembly. I screwed the base together using the 2x6 and 3 inch screws.

1407732236905.jpg
1407732267489.jpg
 
Then I began fitting the oast walls together with the 5"shanks. I used the Brad nailer to affix the walls together. I made 6 oast sections, but one will house the box fan.

1407732427779.jpg
1407732566210.jpg

I cut 2 foot square sections using the door screen and stapled it to the bottom of the oast section.

1407732599438.jpg
 
I used some leftover scrap wood to build guides on the sides and back to limit the movement of individual sections. Affixed using the Brad nailer.

1407732854201.jpg

I affixed one board to the base using brads, and drilled 9 holes on the plywood and one in the back base. This will allow air into the oast and will be circulated by the fan.

1407732973899.jpg

The box fan fit snugly.

1407733011521.jpg

I stacked it all up and tucked it away to be used come harvest.

1407733084809.jpg
 
Tomorrow I'll drill a hole in the lid, and attach casters to the base. Now it's time to enjoy a homebrew and relax. 1407733320236.jpg
 
Thanks. I'm going without a heat source So I can try and capture as much of the good stuff as I can. I am growing high alphas, and would like to bitter with them as well as do some late additions and dry hopping.
 
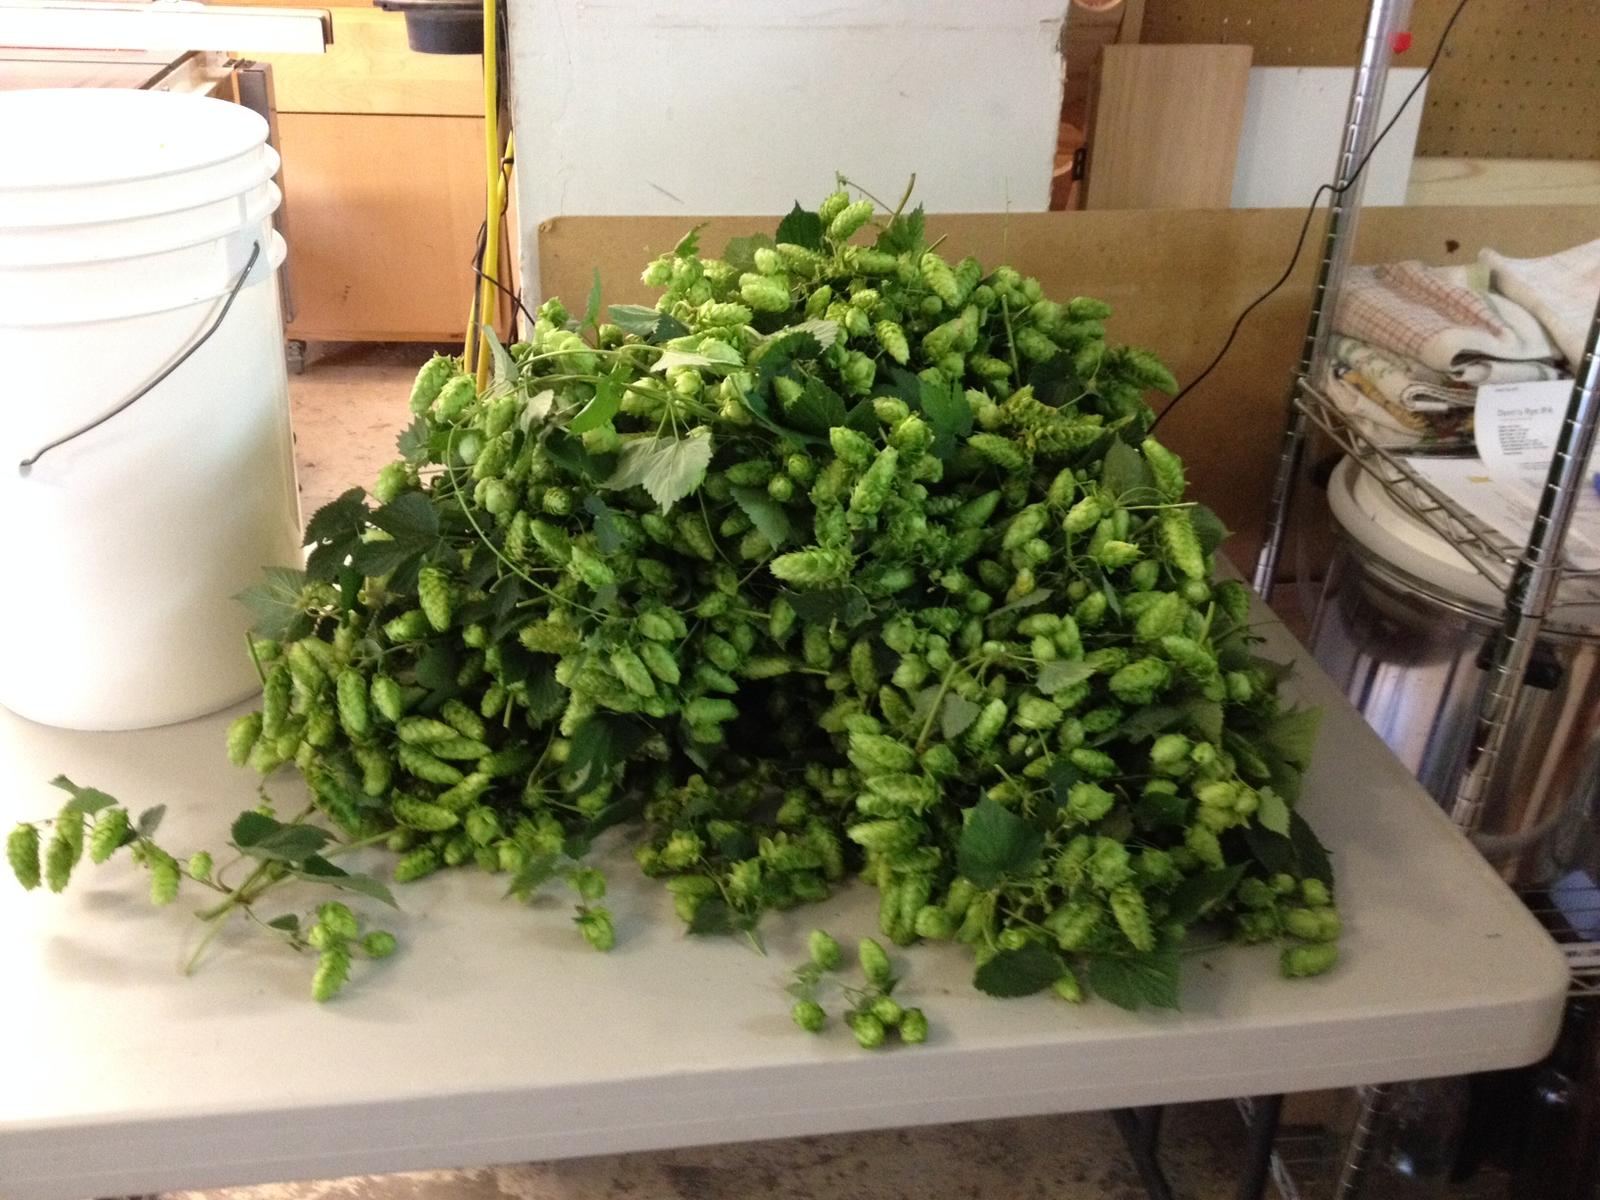
When I was drying my Chinook and Cascade. I'll pick my other varieties in the next week or two.

1408808244494.jpg
1408808186077.jpg

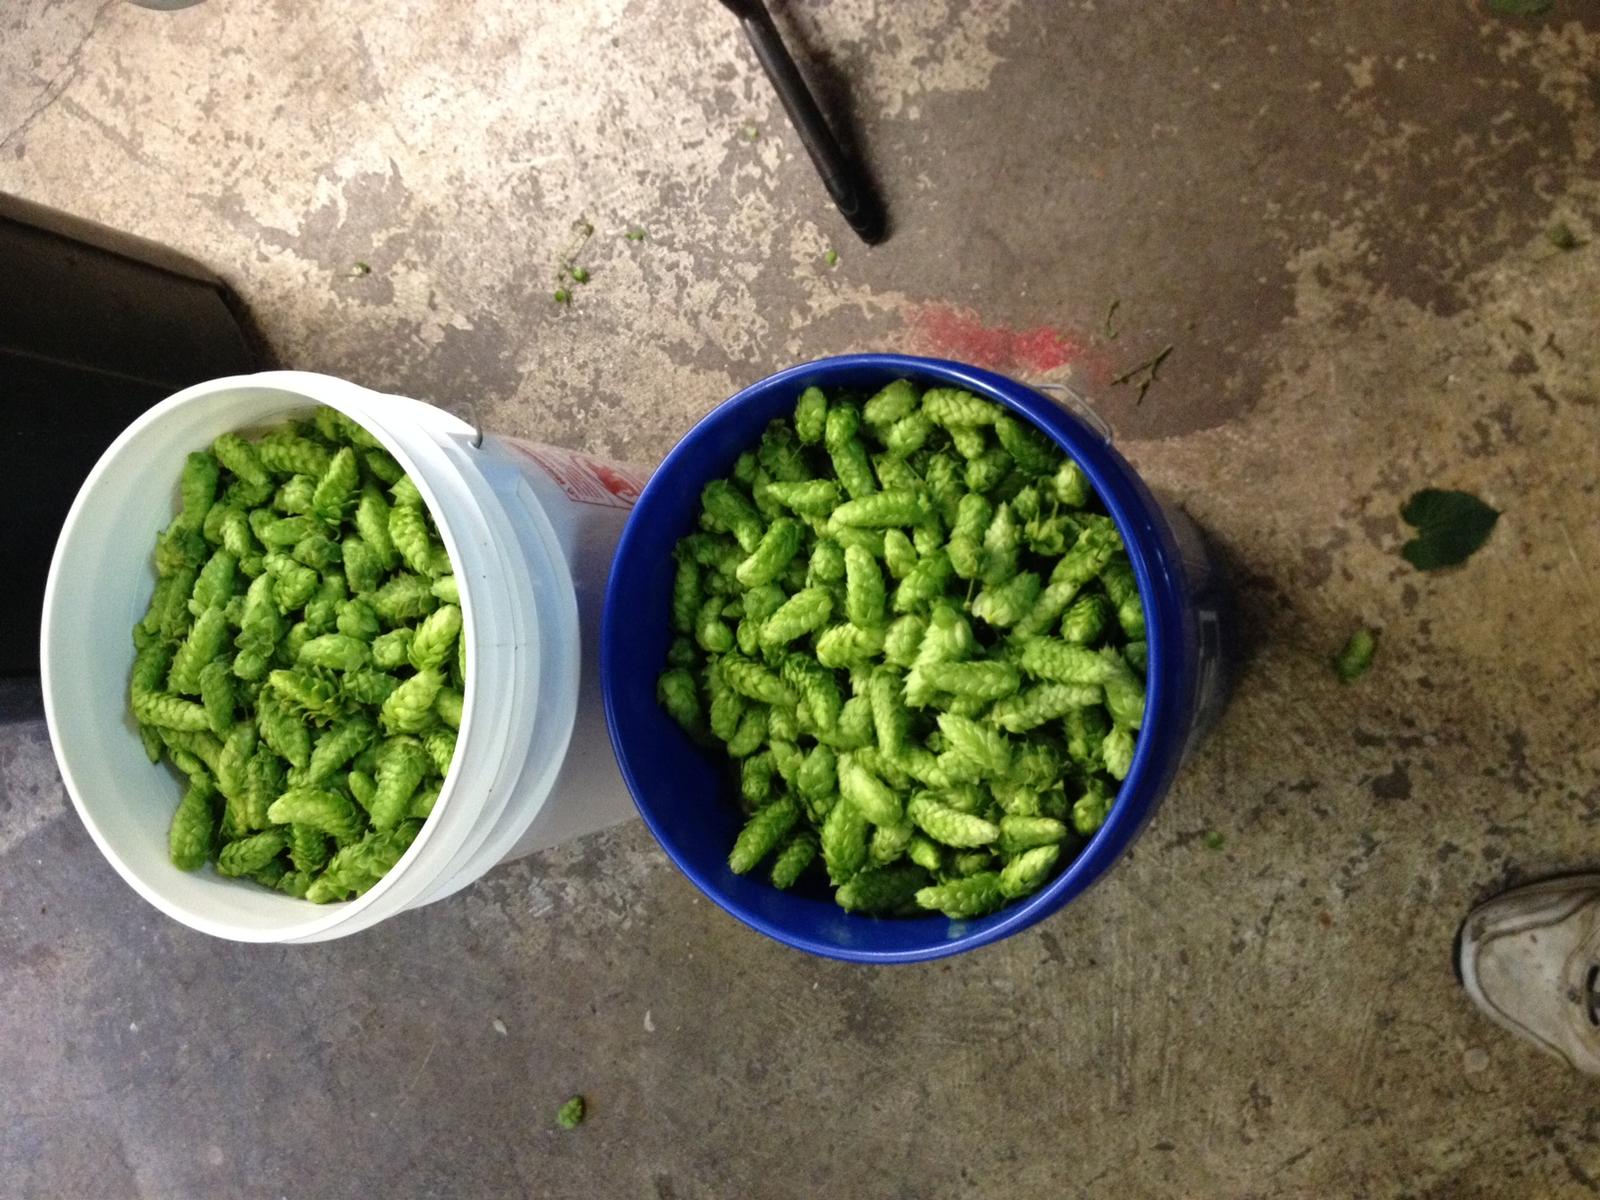
Dried Over 7 lbs of hops down to just under a pound and a half.
 
Nice and quick build. Couple of quick questions though, are you pulling the air through the Oast or pushing it? I need to get one built ASAP as I have 6.5 lbs of Cascades drying on a screen door with at least 4 times that much within a week of picking time. I need more drying capacity! Plus I do wood working projects and the current method ties up my shop for a couple of weeks (no sawdust)
 
You definitely want to use a down-draft system if you have the option, it's much less likely to bounce the cones around when they get close to dry.

I finally got around to revising my totally rudimentary system into something that works stunningly well. I put almost six pounds of Centennial in there late Saturday afternoon (could easily handle twice that) and they're nearly done already, with the fans at their lowest speed the whole way. I'm sure it could scale vertically by at least a factor of two before air resistance might matter.

I stuck a post about it here. Some serendipity involved, the house screens were big enough to use a pair of 20" box fans...

Cheers!
 
I am currently set up to push air up. I have settings on the fan on low, and it worked great. I rotated the boxes so that each section had about 8 hrs of contact time closest to the fan.

I could just as easily set it up to push air down through the oast and dry that way as well. I may try that for my Zeus and Nugget harvest this is weekend.
 
Thanks to both. Going to get some panels and screen tomorrow for a quick build. Checked the Centennials and Willamettes and they're ready for harvest.
 
Thanks to both. Going to get some panels and screen tomorrow for a quick build. Checked the Centennials and Willamettes and they're ready for harvest.

I recommend a Brad nailer. It made the project fly by once all the panels were cut.
 
Got a late start after getting materials and grilling Dinner. Here's mine.

Parts cut
Lou's Oast 1.JPG

Corners nailed
Lou's Oast 2.JPG

Top drilled out
Lou's Oast 3.JPG

Trying a filter on top to keep the saw dust out so I can use my shop while they are drying.
Lou's Oast 4.JPG
Lou's Oast 5.JPG

Filling her up tonight.
 
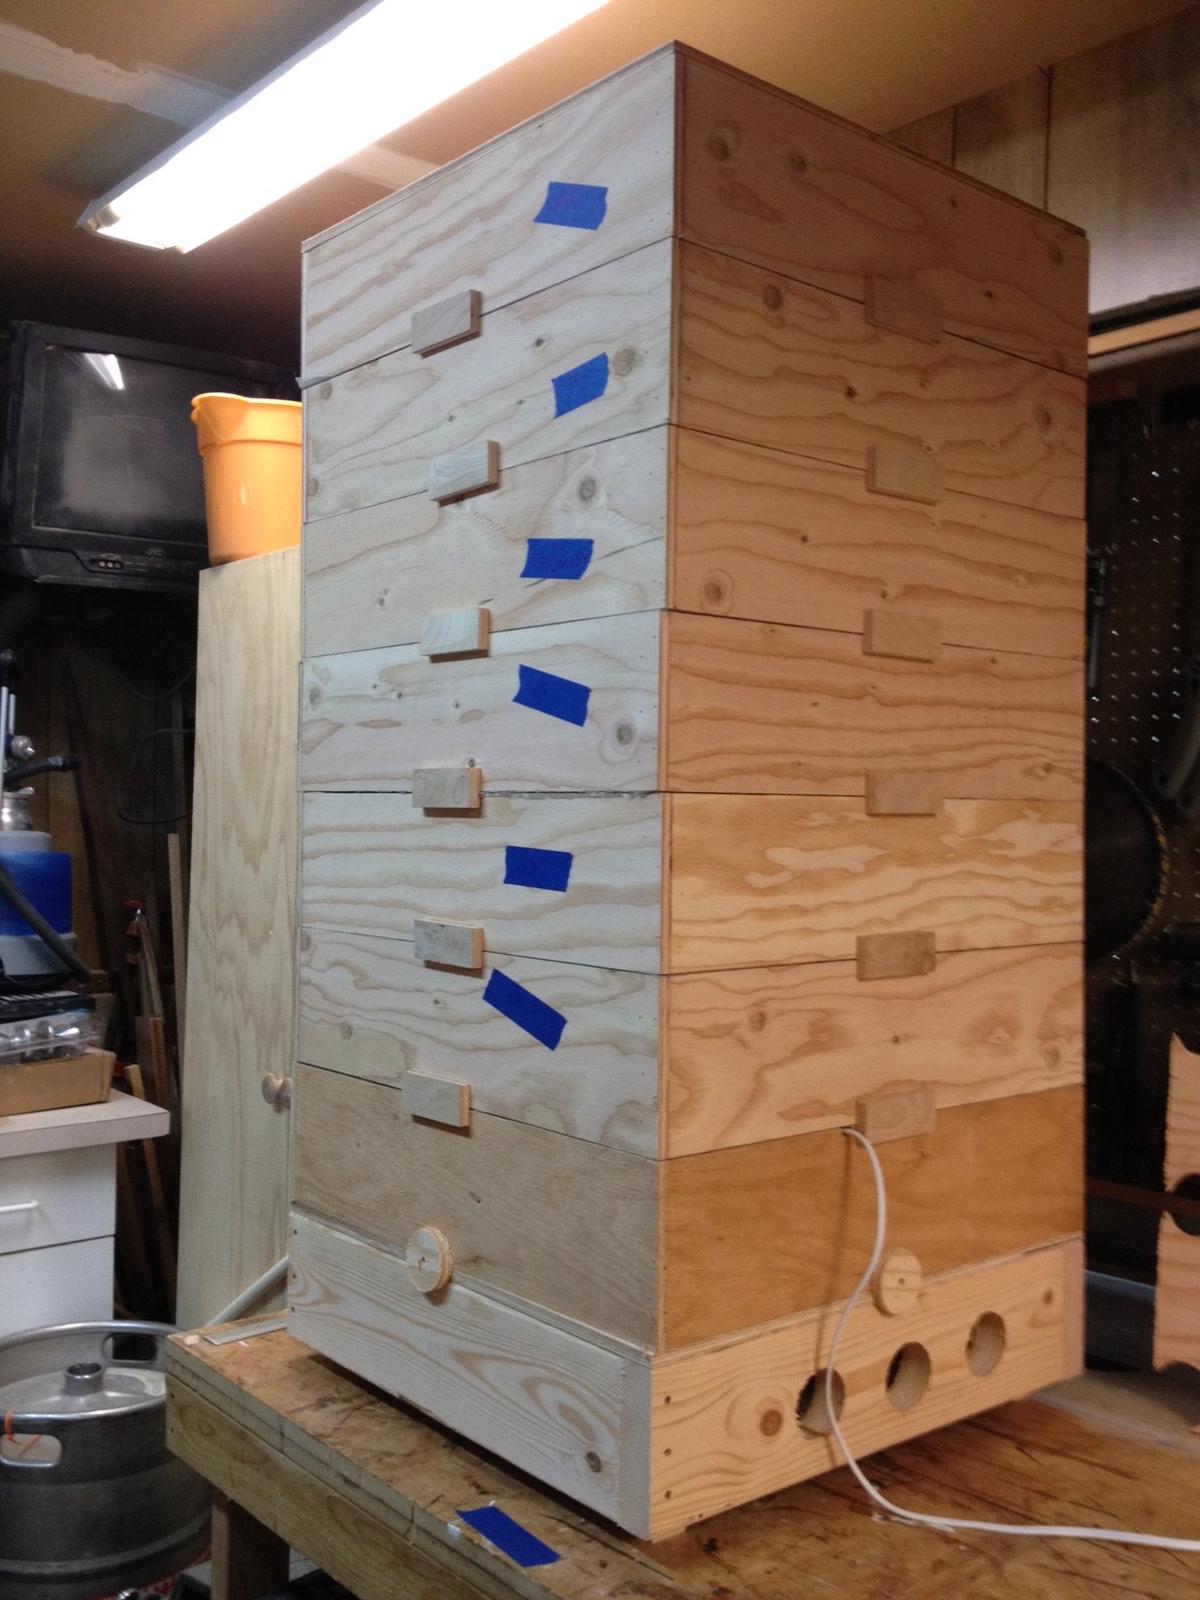
Thanks thaymond! Your's was the inpiration. Here it is filled and I added an additional tray just for the fan last night. I also cut a bigger hole in the bottom, moves air really well now.

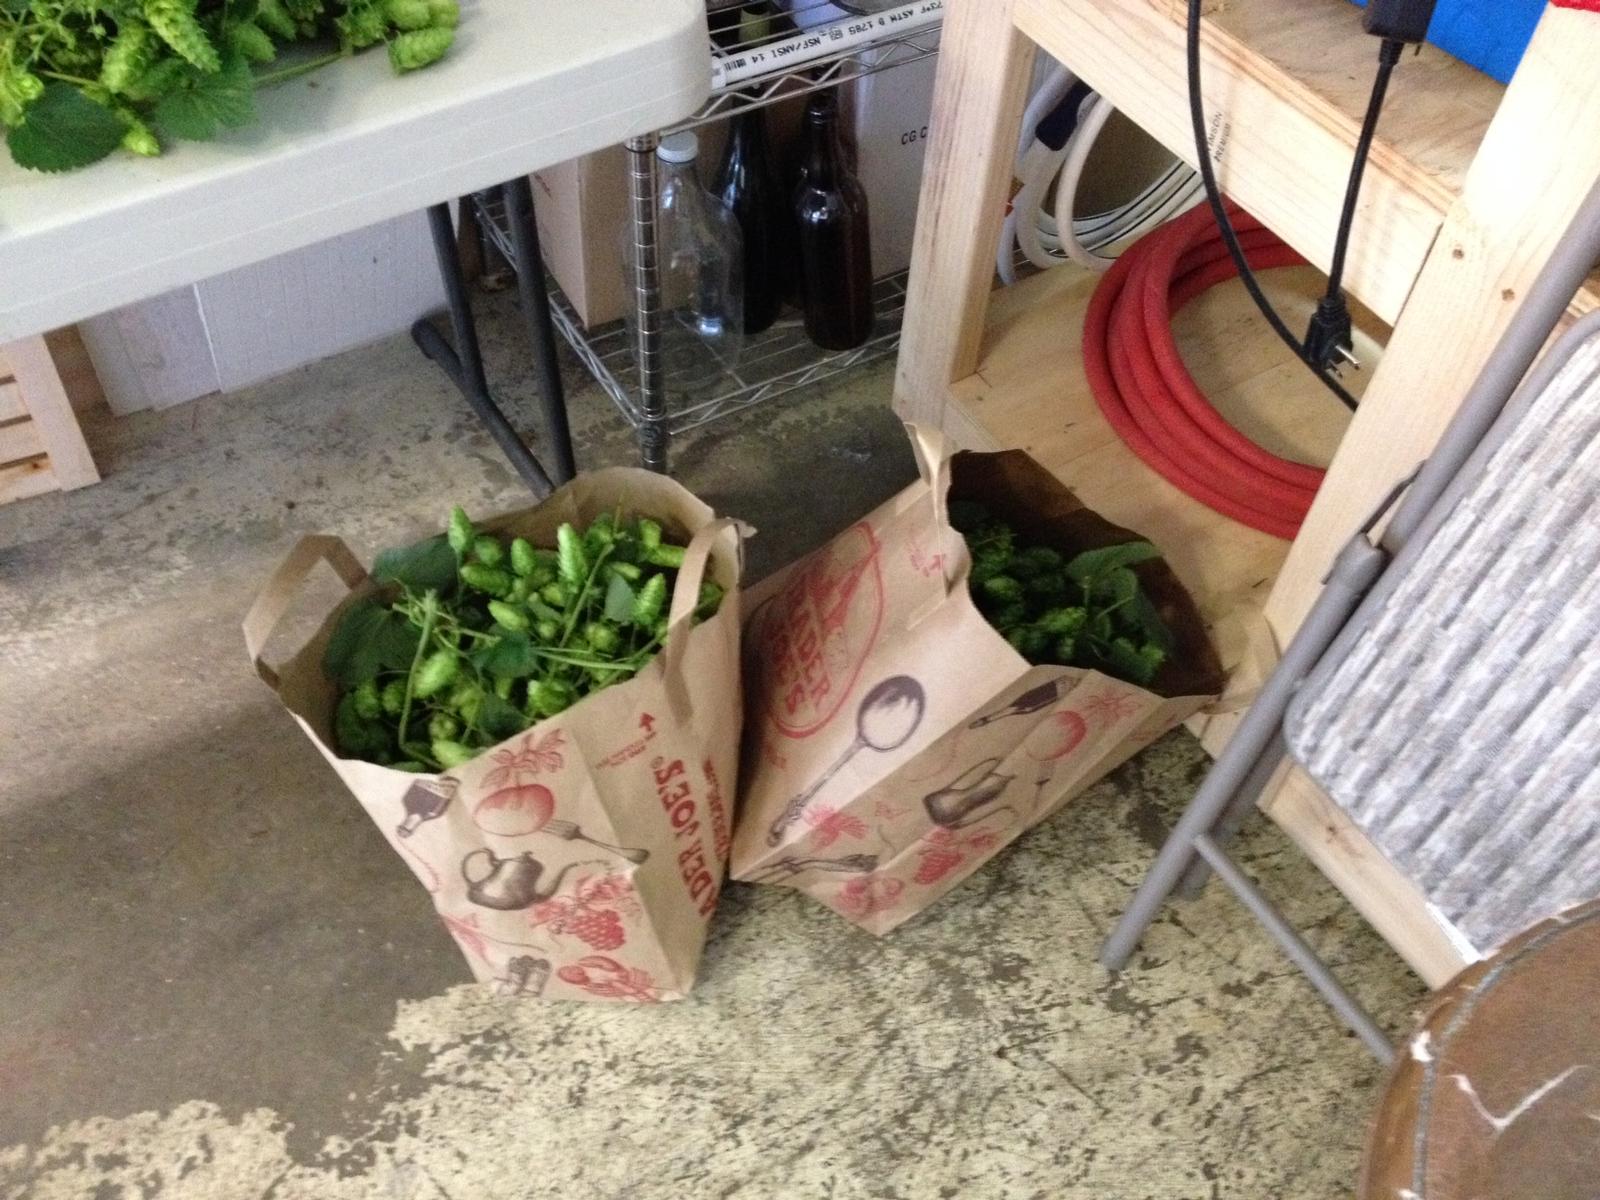
Last nights haul of Cascades (6.5 lbs fresh) and the final project.

Cascades 1.jpg


Cascades 2.jpg


Cascades 3.jpg


Lou's Oast 6.jpg


Lou's Oast 7.jpg
 
Those are some good looking cascades. Mine came out small and ball-like. My Chinook came out looking good like Chinook should, Zeus smelled Fragrant and overwhelmed the garage (can't wait to brew with it) and Nugget was... Well... Nuggety. Nice work on your oast. One thing I found out that was in anticipated was the heft. It's a bit of a pain in the keiseter to move boxes around. There's a few new ideas I've had to make it better, so as I complete those (in between work, 4 masters classes, and wife and kids...) I'll keep on updating.

By the way, it slipped my mind (and fingertips apparently) to mention the website that inspired my build. It has step by step instructions as well, and I followed much of this design. Enjoy!

http://m.instructables.com/id/Hop-drying-oast/
 
I reversed the draft to pull air through the hops as opposed to pushing air through. Either way I was able to dry within 20% of the original weights of my hops. Each took roughly the same amount of time, so I can't recommend one over the other. Now I have a freezer full of hops that I have to begin brewing with. I figure I have a year to nail down recipes for these combinations of hops.
 
Pretty awesome experience: Got to put this in an article for BYO. It's in the March/April issue. Thanks, Dawson!
 
Awesome article-I read this in BYO. I have a few questions that I'm hoping you can address:
1. Why use a solid bottom with holes for each frame instead of just a completely open bottom covered with screen for each frame?
2. Why not put the fan on the top of the oast and blow down through the frames?
3. Would raising the bottom frame up off the ground slightly improve the air flow?

Thanks for the advice!

Thank you! This was a super fun way to spend a Sunday afternoon, since the Bears played like garbage last year. There's always 1000 different ways to do the same thing, and all 3 of these questions would be great examples of that. If you are building this, or a variation thereof, you can certainly try all three of these and get results. Here's my reasoning why I went the way I did.

1. The solid 2x4 bottom has holes so that air can be pulled/pushed through. I used the remaining plywood with drilled holes to support the fan and allow air flow. If you wanted to use the screen on the bottom section and cut out another drying section with screen, you certainly could! I would consider a way to prop up the box fan so that air can come in through the bottom, or just place your box fan at the top of the oast.

The 2x4 base supports the heft of the oast. I suppose you could screen all the sections as you suggest and have more drying capacity. I'm probably adding a few more sections this year to increase my drying potential. Also, I need to get locking heavy duty Casters to wheel it around. This thing is heavy!

2. I blew air up for my first half of the harvest, and pulled air down during the second half (I flipped the fan over), both with the fan at the bottom of the oast. The results were the same in the same time frame. Again, 1000 ways... I like the idea, I just went with forced air from the bottom. If you have the resources, you could use a top/bottom fan setup where your air is pulled in through the top, forced down into the cone beds, and continually pulled through by the bottom fan and forced out of the bottom of the oast. It may dry the cones faster. It could be worth a shot? Care to try it and post results?

3. Definitely! As I said above, I'll be adding casters to the bottom, which will make it easy to move and improve airflow through the bottom. If you're building the same, this would be highly recommended.

I hope that answered some questions. If you build it, post some pictures so that you can show it off! Thanks again for taking the time to read!
 
Pretty awesome experience: Got to put this in an article for BYO. It's in the March/April issue. Thanks, Dawson!


Hey congrats on getting yourself in BYO, but I have a question or two for you. What was BYO thinking when they wrote the materials list? First off, why would you need 4 ft. wide screen 25 ft. long. Second, the 2 pieces of 1ft. x 1ft. furring strips 8 inches long??? Luckily I do a lot of woodworking and understand how to build the oast, but there material list makes no sense. Just wondered if anyone else noticed.
 
Hey congrats on getting yourself in BYO, but I have a question or two for you. What was BYO thinking when they wrote the materials list? First off, why would you need 4 ft. wide screen 25 ft. long. Second, the 2 pieces of 1ft. x 1ft. furring strips 8 inches long??? Luckily I do a lot of woodworking and understand how to build the oast, but there material list makes no sense. Just wondered if anyone else noticed.

The screen gets cut to 4x4 size. That was the size of the roll I bought. The furring strips are for bracing the inside of the boxes. I bought 8' foot by 1"x1" inch strips and cut them to size.
 
Could you swap in a space-heater for the box fan in order to dehydrate at the higher ~150-ish temperature?
 
Could you swap in a space-heater for the box fan in order to dehydrate at the higher ~150-ish temperature?

I suppose you could, but a space heater in that confined of an area sounds like a fire hazard. Higher heat degrades alpha acids also. Something to consider.
 
The screen gets cut to 4x4 size. That was the size of the roll I bought. The furring strips are for bracing the inside of the boxes. I bought 8' foot by 1"x1" inch strips and cut them to size.

I understood how it should all be cut and the materials used, it was the way they listed it in the article. They could have at least wrote that it was a 25 foot roll, but not that much is needed. And the furring strips were listed completely incorrect in the article. I was just curious if anyone caught that at all.
 
Finally getting around to building this... Just wondering if there is a benefit to having the top/cover on the oast? My thought is that eliminating it should increase airflow and also free up more plywood for more trays. However I want to make sure I'm not missing something by thinking about eliminating it? Thanks!
 
Its a good point. You could cut them in 3 or 4 inch intervals to increase drying surface area. Half the size doubles drying capacity. I stack my hops deep in the boxes and turn the fan on to circulate air.
 
Finally getting around to building this... Just wondering if there is a benefit to having the top/cover on the oast? My thought is that eliminating it should increase airflow and also free up more plywood for more trays. However I want to make sure I'm not missing something by thinking about eliminating it? Thanks!

I had the lid to keep "things" out of the top tray. Since its in the garage, we have bugs and whatnot that could find their way in. I'd rather make it more difficult for critters to find their way in. You can certainly turn the lid into another tray, maybe use an old sheet to cover it if you like.
 
I had the lid to keep "things" out of the top tray. Since its in the garage, we have bugs and whatnot that could find their way in. I'd rather make it more difficult for critters to find their way in. You can certainly turn the lid into another tray, maybe use an old sheet to cover it if you like.

Thanks. So what setting have you been able to run the fan on? Using the conventional window screen method, I've always ran it on low so i don't blow the cones around, but I was wondering with the oast if you've found that you can run it faster?
 
Thanks. So what setting have you been able to run the fan on? Using the conventional window screen method, I've always ran it on low so i don't blow the cones around, but I was wondering with the oast if you've found that you can run it faster?

I ran it twice last year to try two different methods. I blew air up from the bottom on the lowest setting. This took 2 days, and I rotated the box screens so each box had about 8 hrs of contact if I remember (it may be posted above). I also ran it on high pulling air down from the top of the oast. Again, about 2 days and did the same screen rotation. Either way worked in a similar amount of time. I didn't use manufactured heat, only the temperature of my garage in early September as my heat source. In 4 days it took 19 ish pounds to about 5 pounds, holding to a 4:1 ratio.
 
Thanks for this write up. Should have mine finished by the weekend. Just in time for my first round of harvests from my first year hops.
 
Thanks for this write up. Should have mine finished by the weekend. Just in time for my first round of harvests from my first year hops.

Thank you! Be sure to add pics! It makes harvest time a little easier. Enjoy!
 
Back
Top