
Yesterday I finally got around to pouring the epoxy over my keezer top.... This was only my 3rd time working with this stuff, the first two pours were for the coffin box top and then the back splash on the coffin, as seen in the photo below. All went well with the first two pours, I was able to use a propane torch to remove all the bubbles.
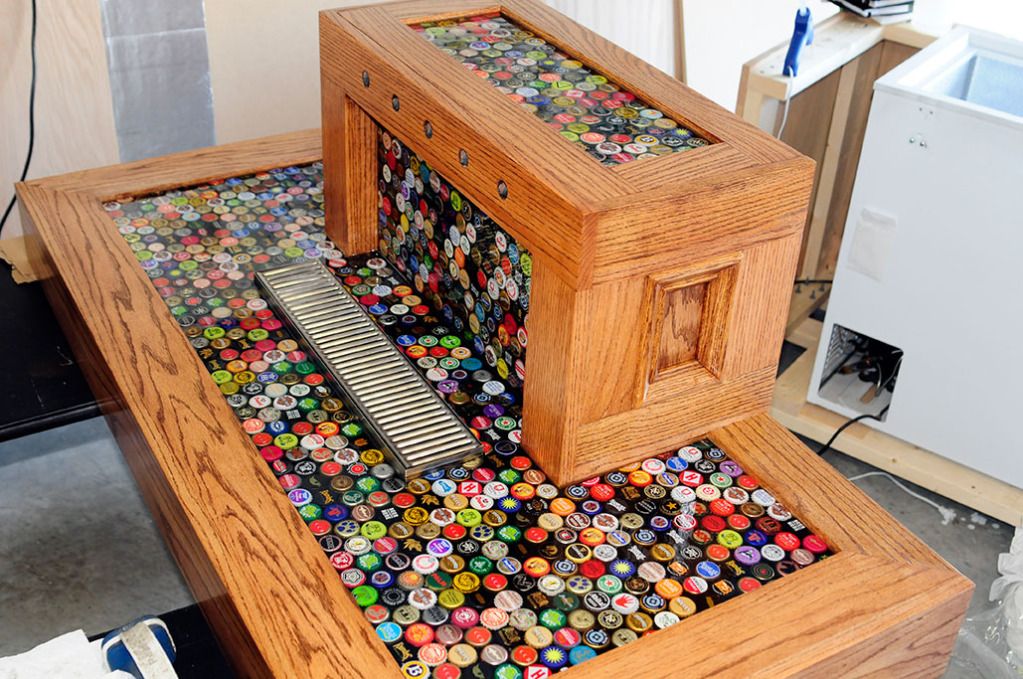
Unfortunately I didn't have the same good fortune with the larger pour yesterday. All appeared well for the first few hours, I was able to keep all the bubbles in check, however a few appeared as the stuff was really starting to cure. There was one big one that I could not get to pop with the torch, so in a moment of stupidity I tried to pop it with a toothpick, however the epoxy was so thick at this point that it just stuck to the toothpick and then never 'settled' out, so I have a bit of an indentation and then some raised roughness.
Here is a close up of the blemish:
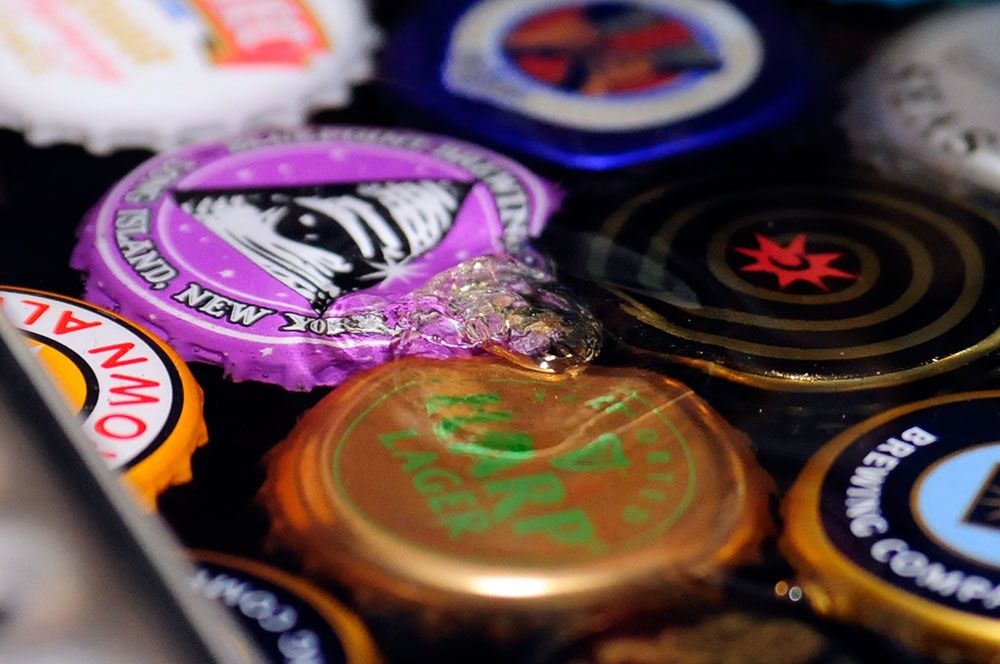
Anyone with more experience working with this stuff have any suggestions on how to fix this? I have plenty of space left to pour another thin layer of epoxy, I just need to figure out how to smooth out the blemish without it looking horrible. I might try using a sanding-stone on my Dremel? And then touch it up with some 400 grit sand paper? Does this stuff behave like polyurethane, where you can scuff it and then when you put another coat on it fills in the scuffs and is clear again? Any suggestions on how to fix this will be much appreciated!
Unfortunately I didn't have the same good fortune with the larger pour yesterday. All appeared well for the first few hours, I was able to keep all the bubbles in check, however a few appeared as the stuff was really starting to cure. There was one big one that I could not get to pop with the torch, so in a moment of stupidity I tried to pop it with a toothpick, however the epoxy was so thick at this point that it just stuck to the toothpick and then never 'settled' out, so I have a bit of an indentation and then some raised roughness.
Here is a close up of the blemish:
Anyone with more experience working with this stuff have any suggestions on how to fix this? I have plenty of space left to pour another thin layer of epoxy, I just need to figure out how to smooth out the blemish without it looking horrible. I might try using a sanding-stone on my Dremel? And then touch it up with some 400 grit sand paper? Does this stuff behave like polyurethane, where you can scuff it and then when you put another coat on it fills in the scuffs and is clear again? Any suggestions on how to fix this will be much appreciated!
