You are using an out of date browser. It may not display this or other websites correctly.
You should upgrade or use an alternative browser.
You should upgrade or use an alternative browser.
WTF is this for?
- Thread starter Blue-Frog
- Start date

Help Support Homebrew Talk:
This site may earn a commission from merchant affiliate
links, including eBay, Amazon, and others.
Blue-Frog
Well-Known Member
I got a note telling me it can be removed but they don't think I have the tool to remove it!
Gee, how am I to interpret this?
Do they know something I don't?
or do they think I cannot access an ordinary wrench ?
Gee, how am I to interpret this?
Do they know something I don't?
or do they think I cannot access an ordinary wrench ?
For those in USA, morebeer has $12 for 6x 16g threaded and unthreaded.
https://www.morebeer.com/products/co2-cartridges-16g-6-count.html
(I have a ukeg I use these for.)
I looked on amazon but everything was super sketchy. No telling which ones have oil in/on them.
https://www.morebeer.com/products/co2-cartridges-16g-6-count.html
(I have a ukeg I use these for.)
I looked on amazon but everything was super sketchy. No telling which ones have oil in/on them.
I buy them on Amazon. I don't find them sketchy at all. No oil in or on them.
Blue-Frog
Well-Known Member
One inter-twining issue is PSI range; I have been led to believe that a 1-30 psi is more accurate (precise?) than the 1-90 psi version. Does this ring true? Should I stress over not finding a 30 psi regulator?
As mentioned above, my old one is unwell and reads a few psi even when there is zero pressure... does it matter that much or can I just keep in mind that reading is a few psi low?
As mentioned above, my old one is unwell and reads a few psi even when there is zero pressure... does it matter that much or can I just keep in mind that reading is a few psi low?
0-30 probably does give somewhat better control than 0-90, but these miniregulators aren't exactly the most precise instruments in any case. I only use mine for dispensing, where being a bit off isn't that big a deal. I guess you could try to replace the gauge on your old one, but that might wind up costing more than a new regulator and might not work.


$22.00 ($623.23 / Ounce)
AMZLMPKNTW Ball Lock Sample Faucet 30cm Reinforced Silicone Hose Secondary Fermentation Homebrew Kegging joyful
无为中南商贸有限公司


![Craft A Brew - Safale S-04 Dry Yeast - Fermentis - English Ale Dry Yeast - For English and American Ales and Hard Apple Ciders - Ingredients for Home Brewing - Beer Making Supplies - [1 Pack]](https://m.media-amazon.com/images/I/41fVGNh6JfL._SL500_.jpg)
$6.95 ($17.38 / Ounce)
$7.47 ($18.68 / Ounce)
Craft A Brew - Safale S-04 Dry Yeast - Fermentis - English Ale Dry Yeast - For English and American Ales and Hard Apple Ciders - Ingredients for Home Brewing - Beer Making Supplies - [1 Pack]
Hobby Homebrew

$7.79 ($7.79 / Count)
Craft A Brew - LalBrew Voss™ - Kveik Ale Yeast - For Craft Lagers - Ingredients for Home Brewing - Beer Making Supplies - (1 Pack)
Craft a Brew


$176.97
1pc Commercial Keg Manifold 2" Tri Clamp,Ball Lock Tapping Head,Pressure Gauge/Adjustable PRV for Kegging,Fermentation Control
hanhanbaihuoxiaoshoudian

$58.16
HUIZHUGS Brewing Equipment Keg Ball Lock Faucet 30cm Reinforced Silicone Hose Secondary Fermentation Homebrew Kegging Brewing Equipment
xiangshuizhenzhanglingfengshop


$10.99 ($31.16 / Ounce)
Hornindal Kveik Yeast for Homebrewing - Mead, Cider, Wine, Beer - 10g Packet - Saccharomyces Cerevisiae - Sold by Shadowhive.com
Shadowhive


$53.24
1pc Hose Barb/MFL 1.5" Tri Clamp to Ball Lock Post Liquid Gas Homebrew Kegging Fermentation Parts Brewer Hardware SUS304(Gas MFL)
yunchengshiyanhuqucuichendianzishangwuyouxiangongsi

$20.94
$29.99
The Brew Your Own Big Book of Clone Recipes: Featuring 300 Homebrew Recipes from Your Favorite Breweries
Amazon.com


$33.99 ($17.00 / Count)
$41.99 ($21.00 / Count)
2 Pack 1 Gallon Large Fermentation Jars with 3 Airlocks and 2 SCREW Lids(100% Airtight Heavy Duty Lid w Silicone) - Wide Mouth Glass Jars w Scale Mark - Pickle Jars for Sauerkraut, Sourdough Starter
Qianfenie Direct


$28.98
Five Star - 6022b_ - Star San - 32 Ounce - High Foaming Sanitizer
Great Fermentations of Indiana


$479.00
$559.00
EdgeStar KC1000SS Craft Brew Kegerator for 1/6 Barrel and Cornelius Kegs
Amazon.com


$53.24
1pc Hose Barb/MFL 1.5" Tri Clamp to Ball Lock Post Liquid Gas Homebrew Kegging Fermentation Parts Brewer Hardware SUS304(Gas MFL)
Guangshui Weilu You Trading Co., Ltd


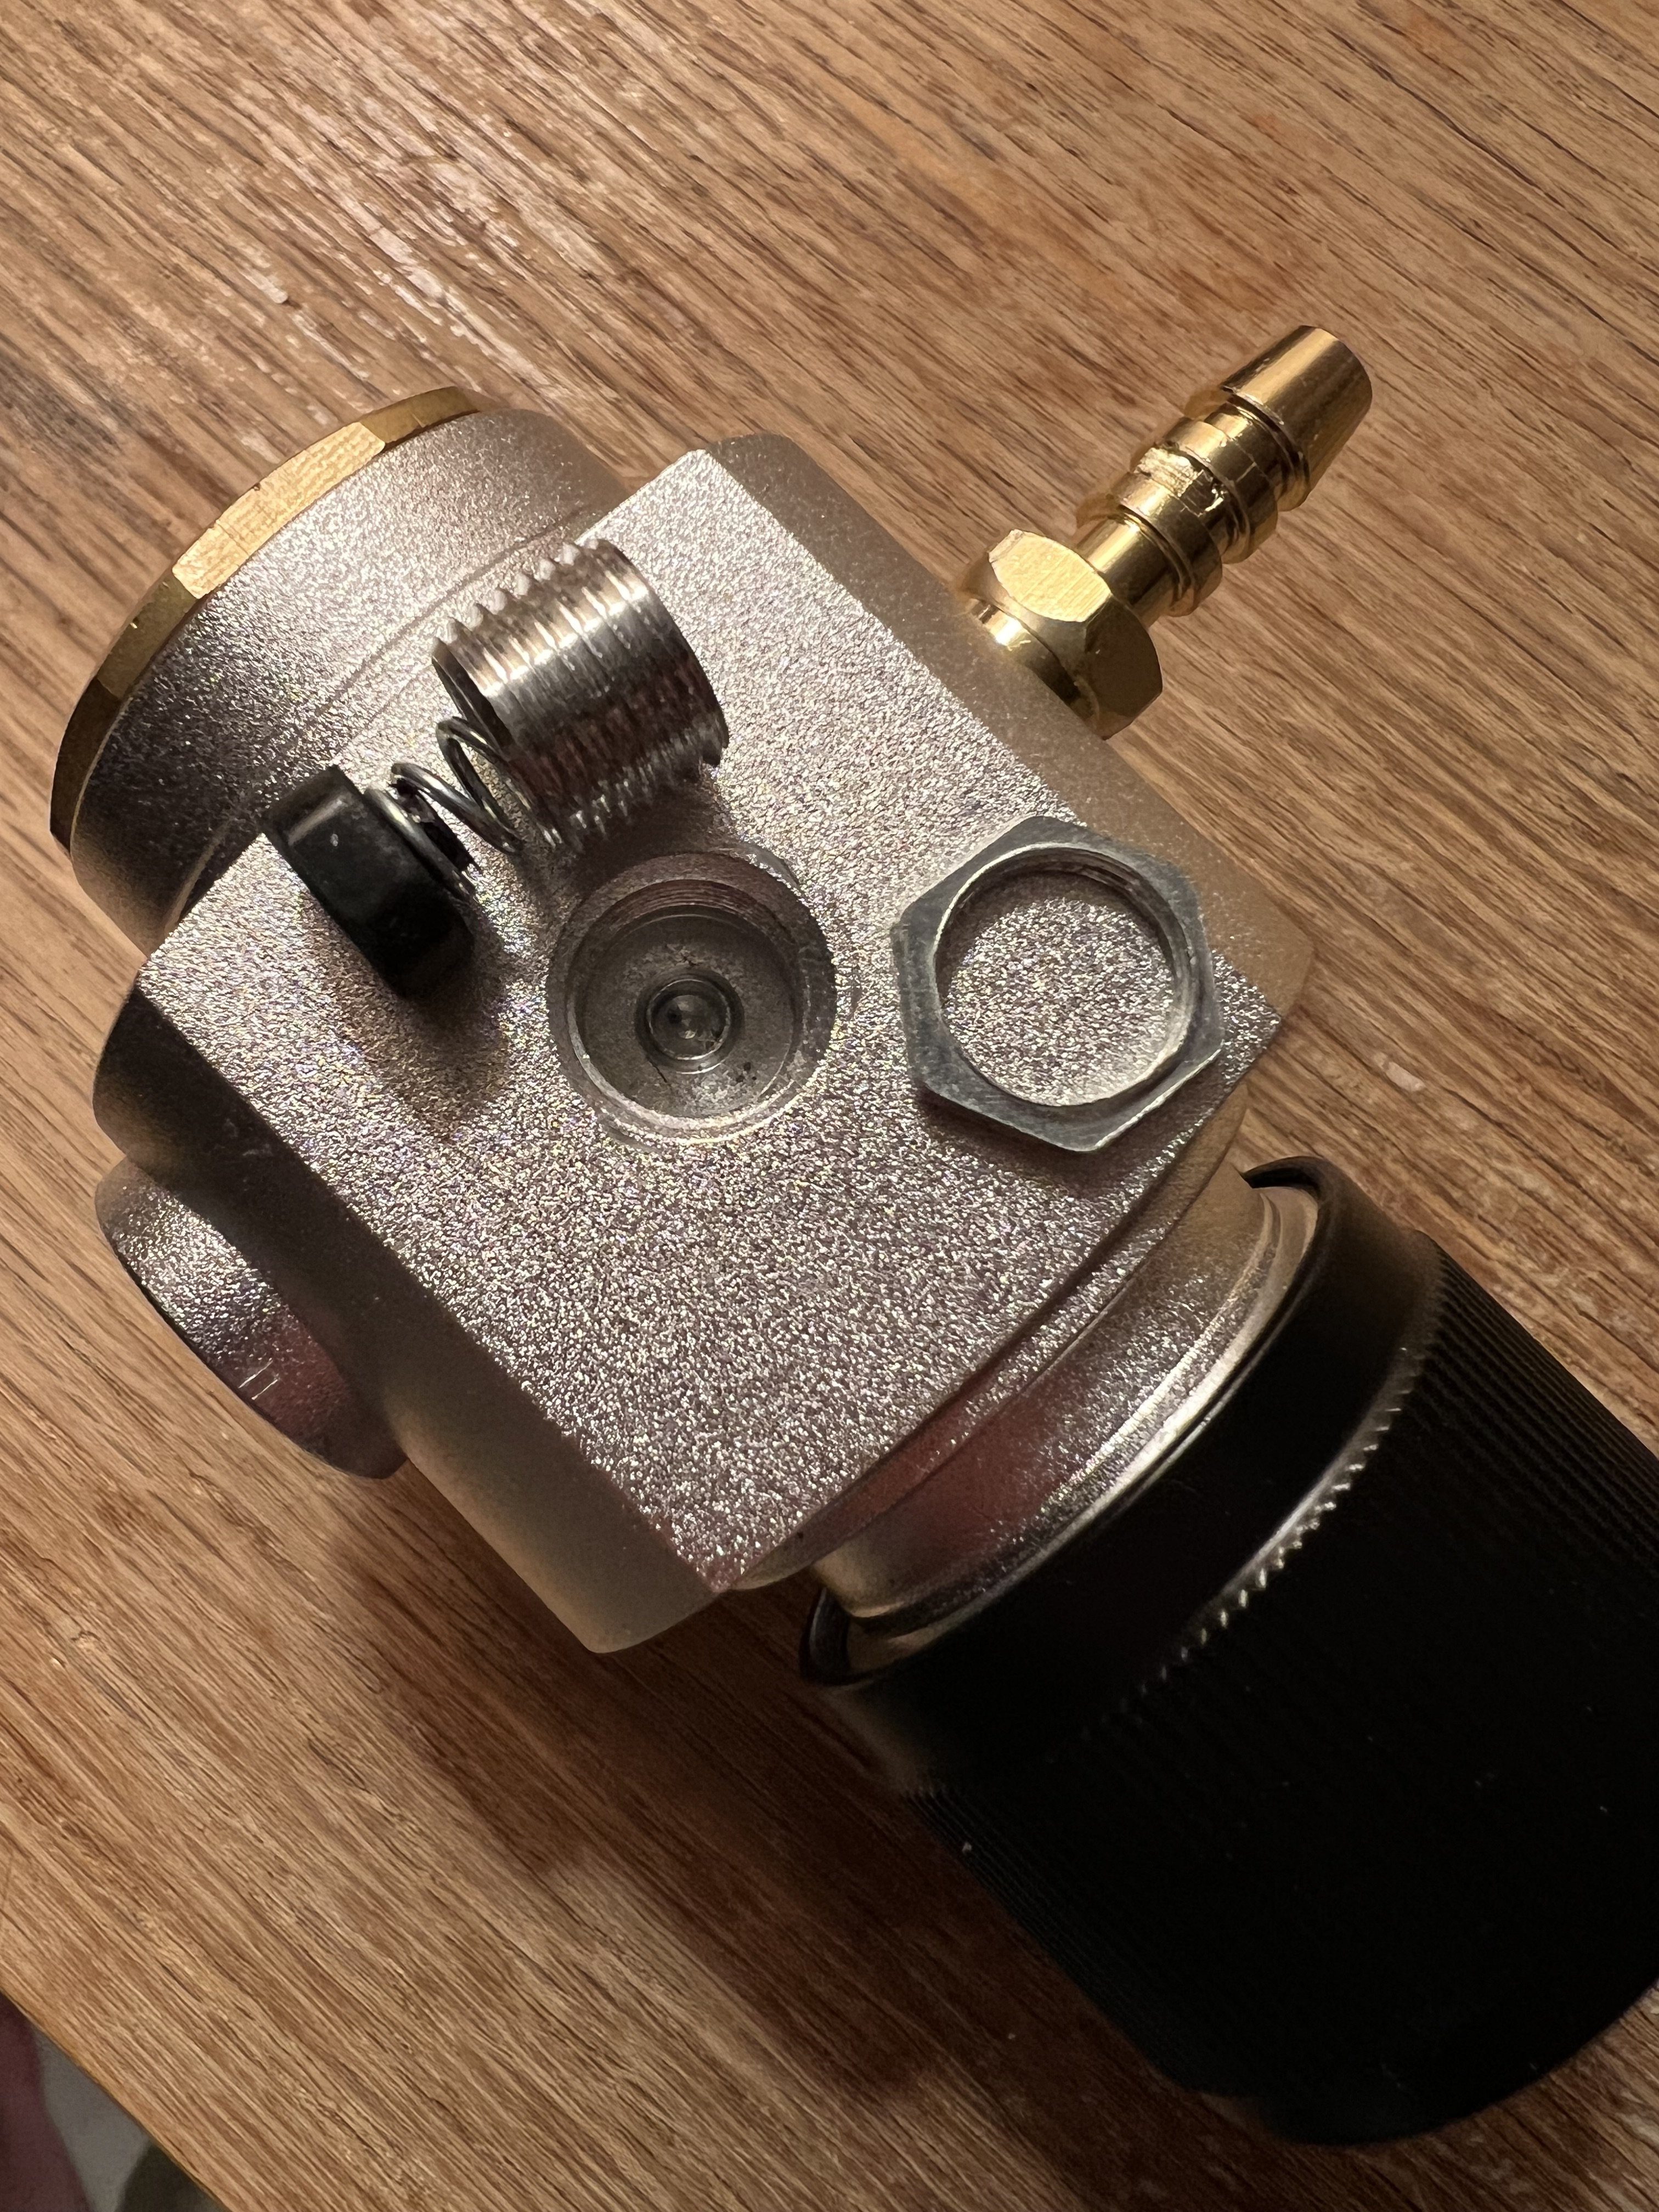
It does unscrew, rather easily in fact. I heard a slight ‘pop’ when I loosened it, suggesting some pressure was still inside the regulator. I can’t get mine to seal well on the SodaStream bottle, so I’m going to bite the bullet and get a full dual stage regulator. The cap has a central fitting, and theres a spring underneath it. Hopefully the
 pix are clear!


OK, so what's that thing on the back?

The fitting on the back is featured on an Amazon image but with no explanation given. It is threaded inside, but that’s about all I can tell. Maybe I should open that one too, for science!
Maybe I should open that one too, for science!
I like this person!

But I suspect there's an adjustment screw buried in there...
Cheers!
Ok, I’m going to say the thing on the back is definitely a prv. Theres a rubber stopper at the bottom, a spring, the outer bushing and a lock nut. What I took to be threads inside was actually the spring.
The side one does seem more like purge valve, meant to be manually loosened a bit to relieve internal pressure. Tho that seems a bit foolhardy if it connects to the bottle/high pressure side.
The side one does seem more like purge valve, meant to be manually loosened a bit to relieve internal pressure. Tho that seems a bit foolhardy if it connects to the bottle/high pressure side.
Attachments

That spring-loaded thingy on the back is a burst disk (rupture disk). Mine is marked 1.8k, so it blows at 1800psi.
Mine does not have that large button thing on the side. I use mine for pushing serving wine from keg (NO2).


Mine does not have that large button thing on the side. I use mine for pushing serving wine from keg (NO2).
Blue-Frog
Well-Known Member
Is the thing on the back of your two reulators the same thing? I ask because the1.8k one has a cover on it that reads 1.8k but the other one is just an uncovered hole... (see the pix of mine) Just to be sure, an uncovered hole is normal and/or acceptable on these regulators?
Attachments
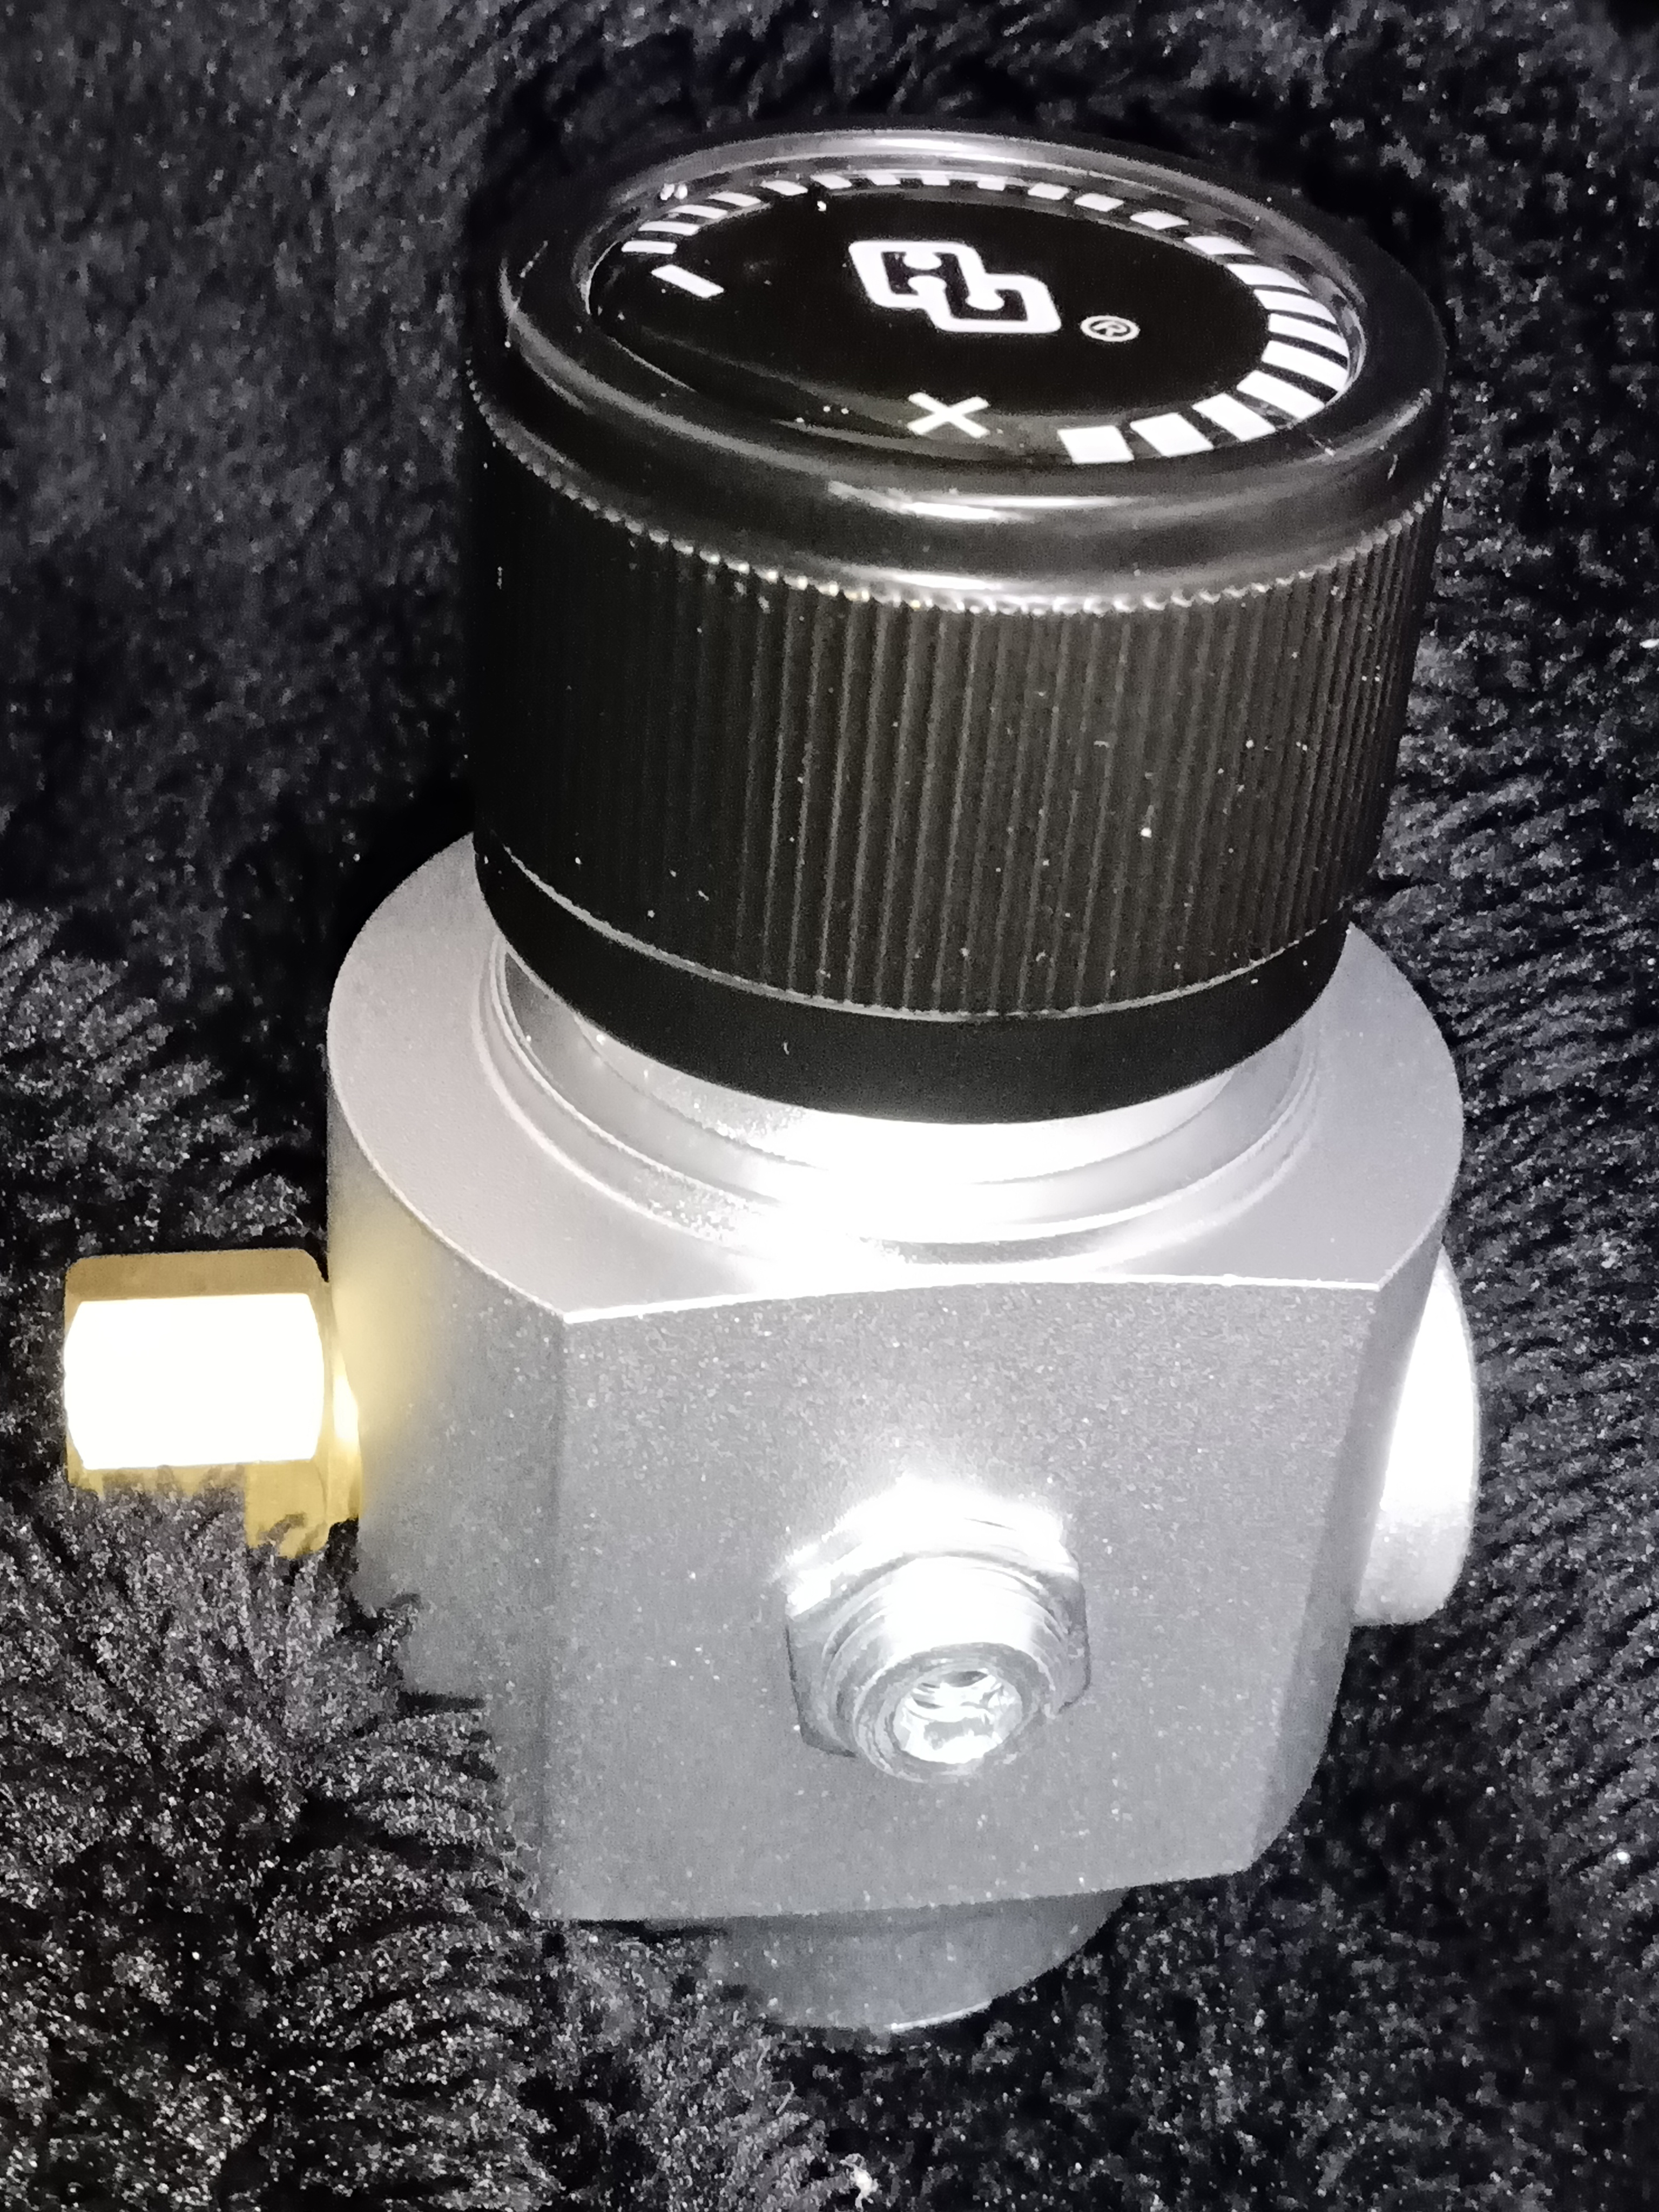
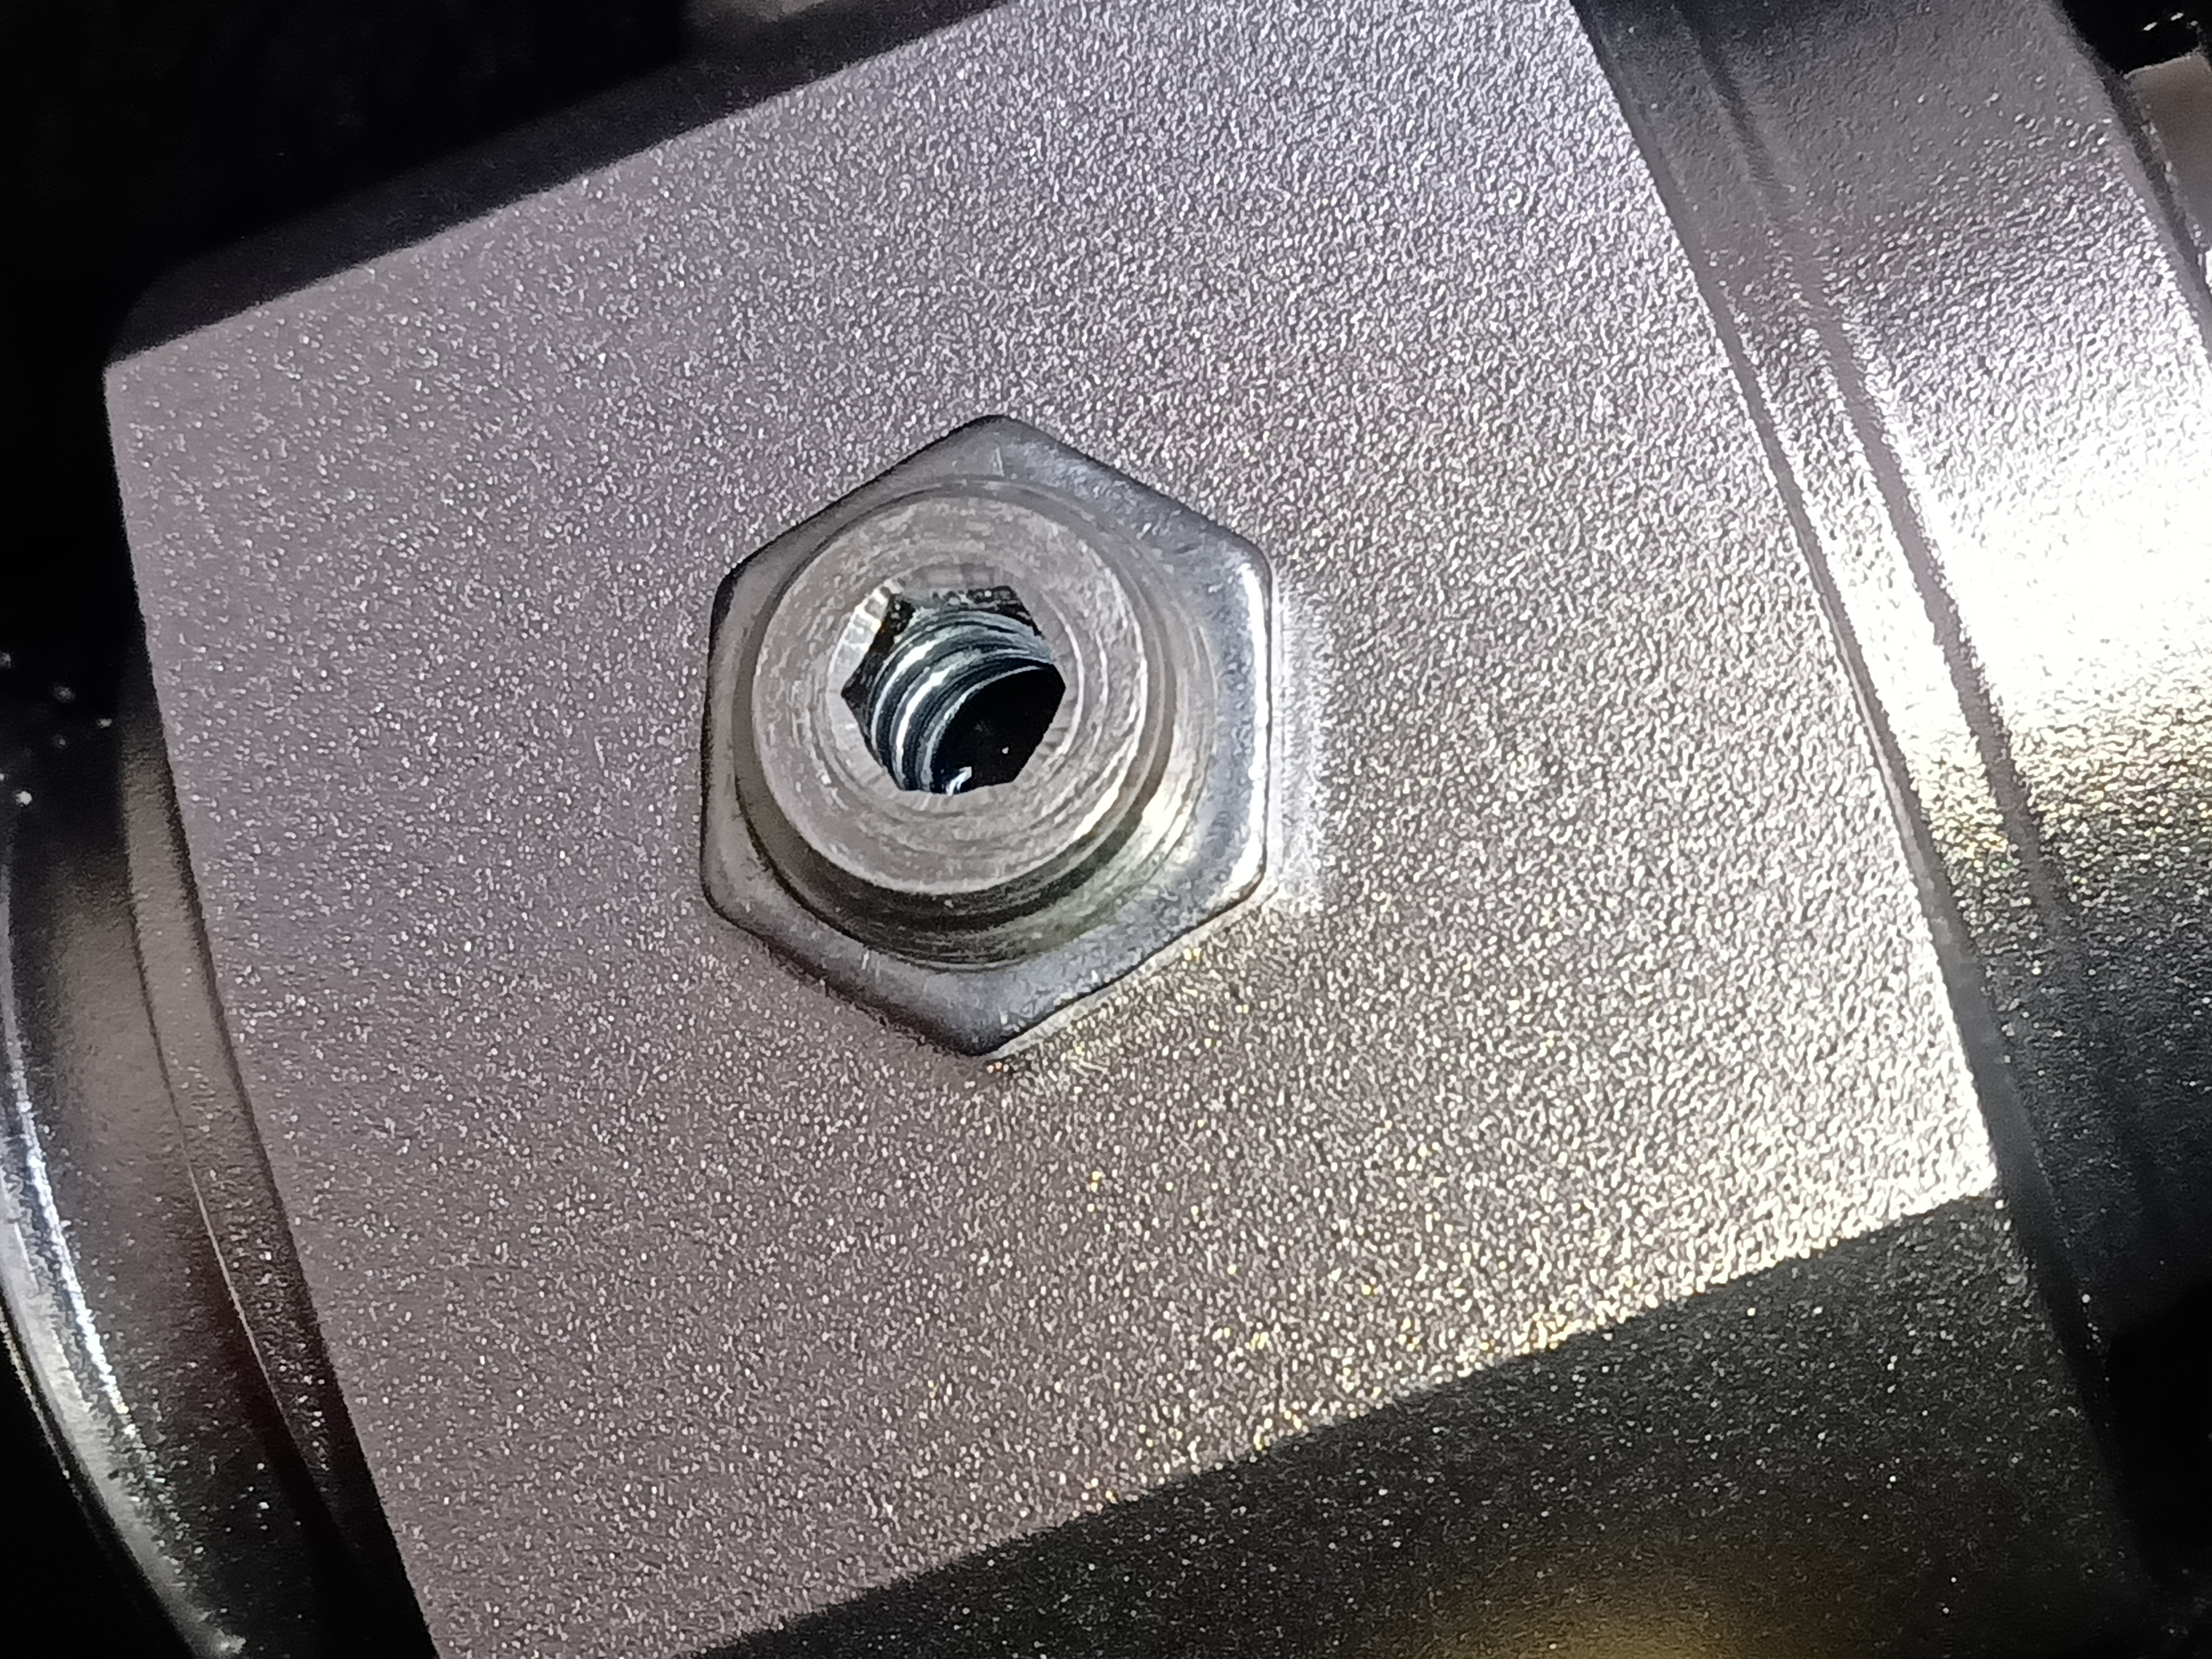
It’s not a completely open hole, theres a spring holding down a rubber plug. I think the one with the stamped number has a calibrated pressure rating, whereas the spring/stopper would release at higher and higher pressures, the more you screw the spring fitting down. If it was originally calibrated, I’ve gone and changed the setting by removing the lock nut and spring housing.Is the thing on the back of your two reulators the same thing? I ask because the1.8k one has a cover on it that reads 1.8k but the other one is just an uncovered hole... (see the pix of mine) Just to be sure, an uncovered hole is normal and/or acceptable on these regulators?
Blue-Frog
Well-Known Member
0k... So I don't have to fret over the open hole in the back (Maybe I can find a cover for it somewhere to keep out the dust?)
LETs move on to another issue:
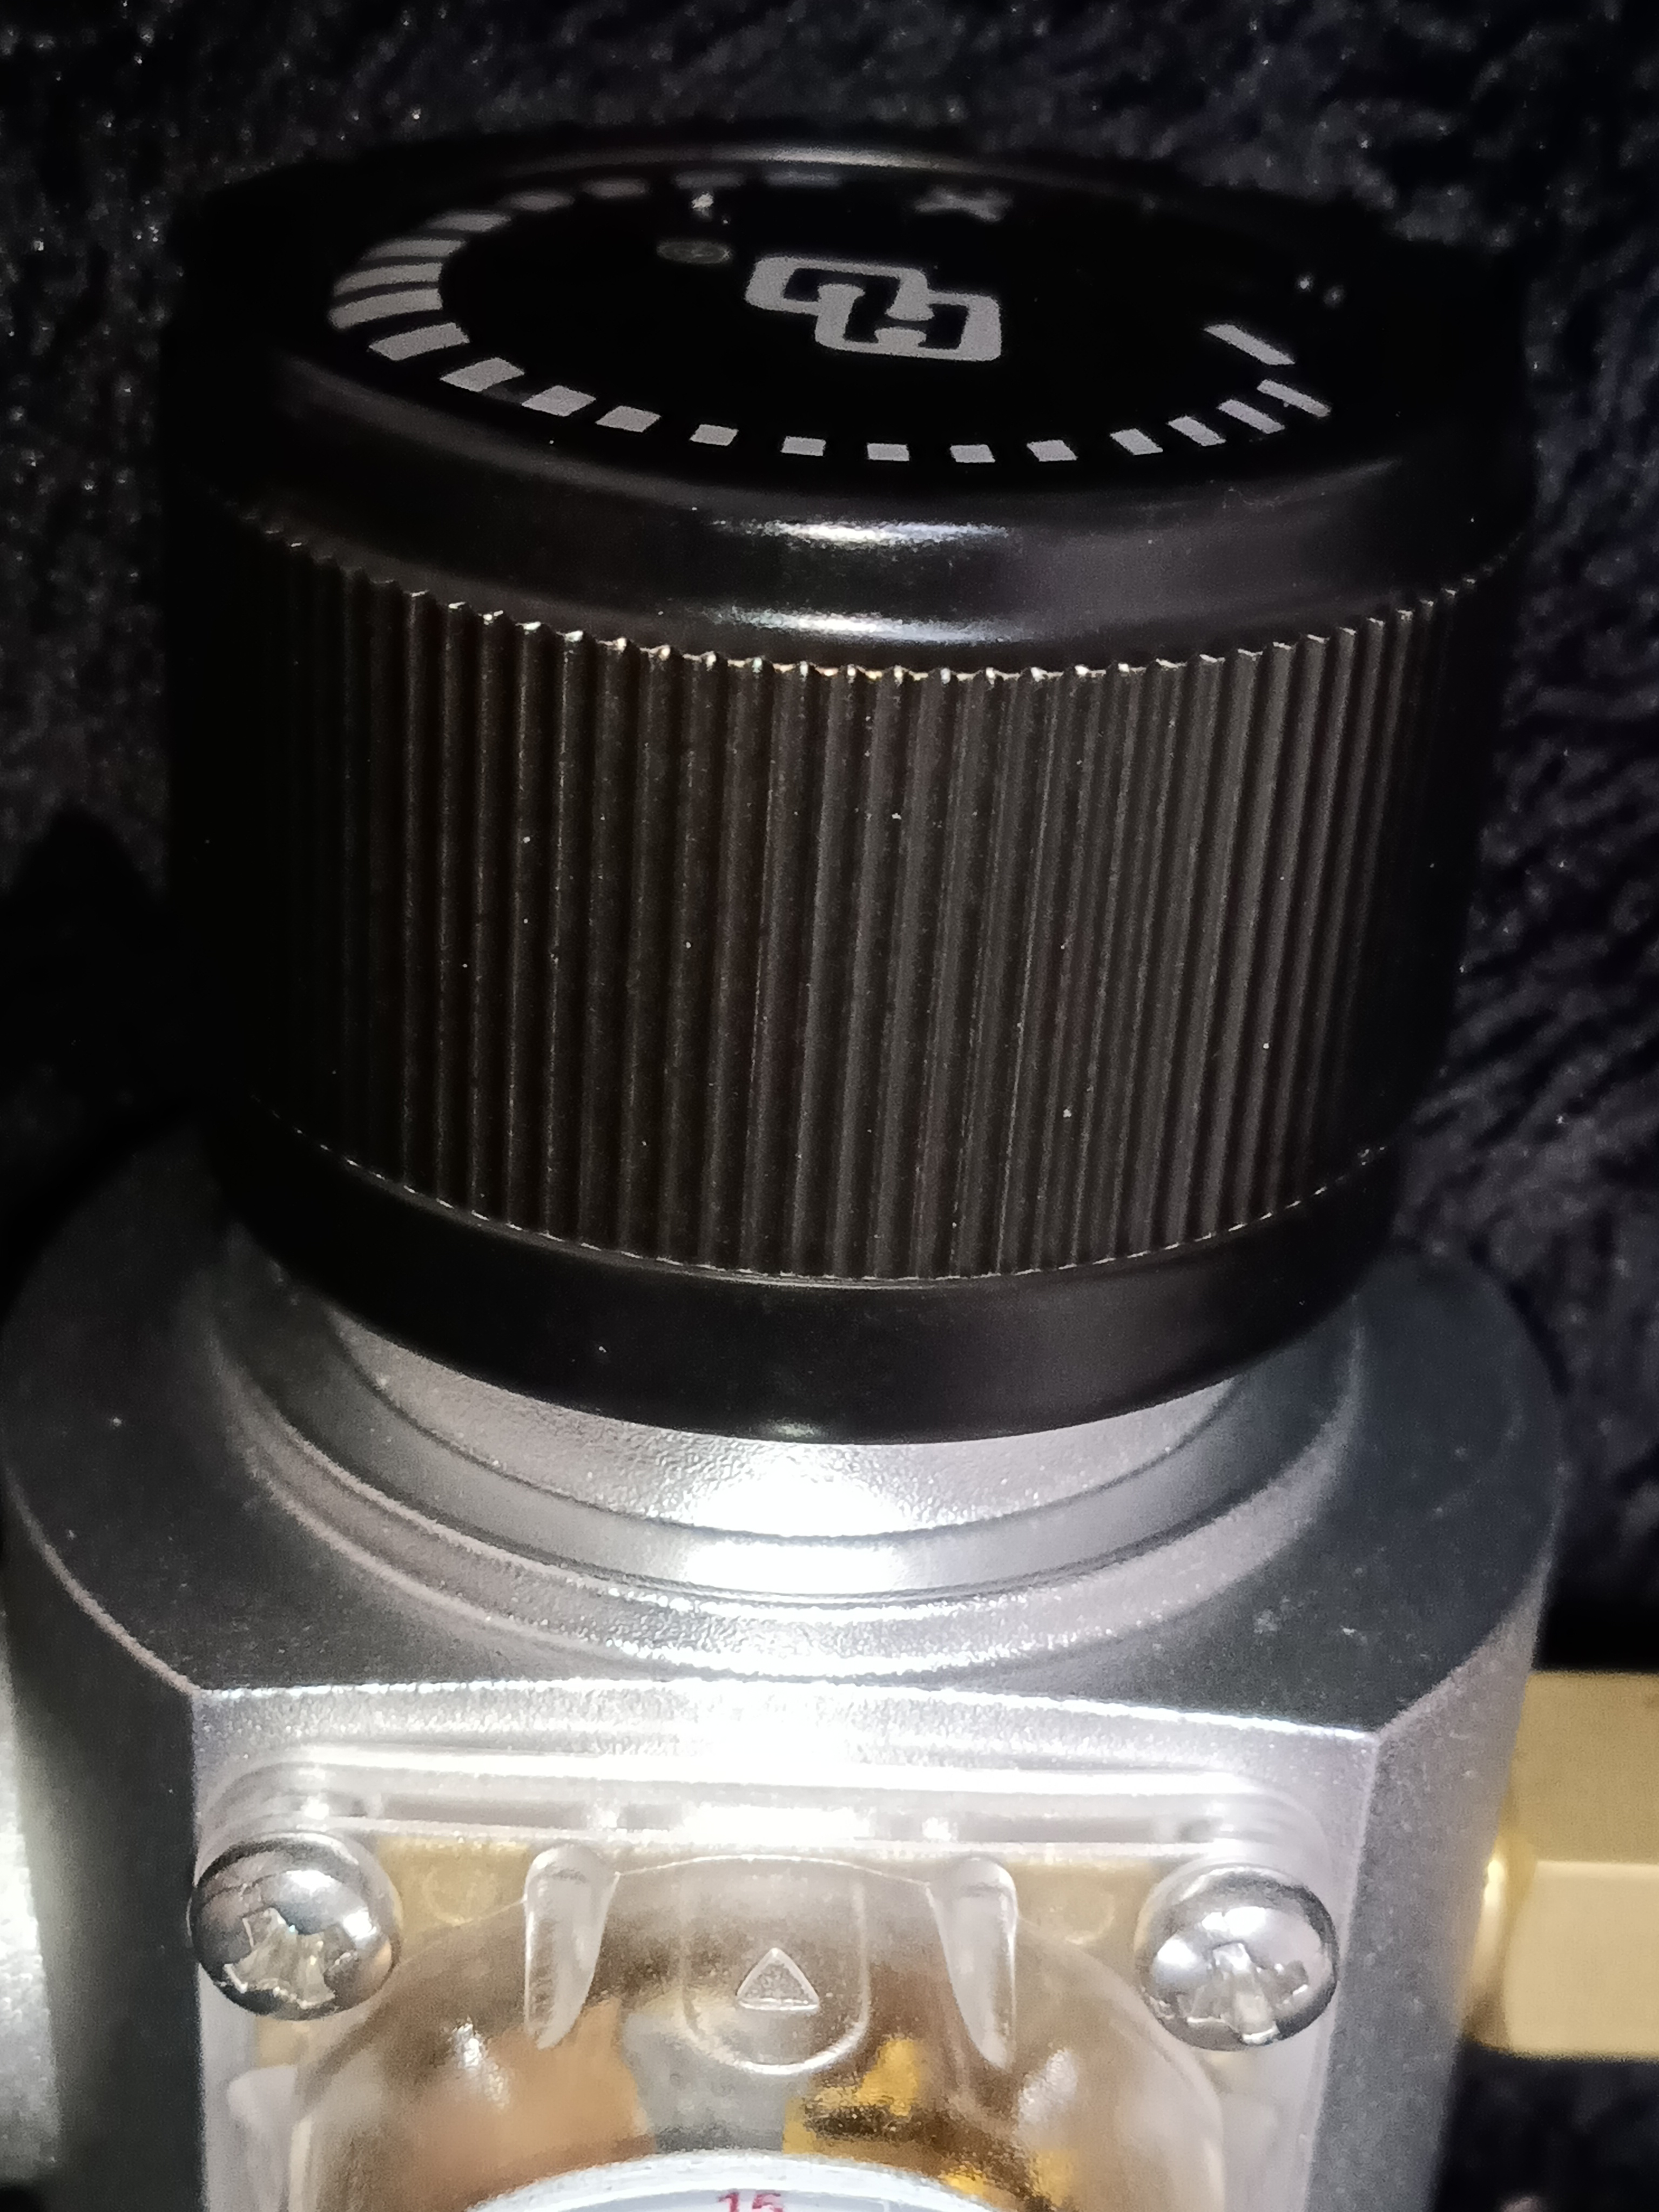
The dial setting cannot be read properly from the triangle shaped pointer and there are no alternative pointers.
What would you do? What is the best thing to do... if the dial is set off mark?
Looking at the pic one can see the triangle pointer used to let you know where to read the dial... IF the gauge face were attached on the opposing side it would read correctly, however it isn't and it doesn't. pix ending in 13 shoxs the dial all the way up and pix 31 shows it all the way down. Certainly not easy to read correctly and consistantly by using the triangle pointer. The alternative is to read it on the opposing side with no fixed pointer. Doable but not desirable.
Should I accept or demand a replacement?
LETs move on to another issue:
The dial setting cannot be read properly from the triangle shaped pointer and there are no alternative pointers.
What would you do? What is the best thing to do... if the dial is set off mark?
Looking at the pic one can see the triangle pointer used to let you know where to read the dial... IF the gauge face were attached on the opposing side it would read correctly, however it isn't and it doesn't. pix ending in 13 shoxs the dial all the way up and pix 31 shows it all the way down. Certainly not easy to read correctly and consistantly by using the triangle pointer. The alternative is to read it on the opposing side with no fixed pointer. Doable but not desirable.
Should I accept or demand a replacement?
Attachments

Last edited:
I would not pay any attention to the markings on top of the dial. That is a printed metal disc that is just held on by some double-sided tape, and has no definite relation to the valve. In fact mine fell off in shipping, and now I have lost it.0k... So I don't have to fret over the open hole in the back (Maybe I can find a cover for it somewhere to keep out the dust?)
LETs move on to another issue:
The dial setting cannot be read properly from the triangle shaped pointer and there are no alternative pointers.
What would you do? What is the best thing to do... if the dial is set off mark?
Looking at the pic one can see the triangle pointer used to let you know where to read the dial... IF the gauge face were attached on the opposing side it would read correctly, however it isn't and it doesn't. pix ending in 13 shoxs the dial all the way up and pix 31 shows it all the way down. Certainly not easy to read correctly and consistantly by using the triangle pointer. The alternative is to read it on the opposing side with no fixed pointer. Doable but not desirable.
Should I accept or demand a replacement?
The only thing to pay attention to is the PSI gauge; if you cover the output fitting with your thumb (or pinch the tubing, say) and then very slowly turn the knob in the + direction (clockwise), you will feel when gas starts to pressurize and the gauge will start reading. I can hold 5 psi with my thumb, but when you release or unpinch and gas starts flowing (you will hear the hissing) the gauge will read zero because there is no back pressure.
Turn the knob a tiny bit more and you will hear more gas flowing, and if you cover or pinch the tube, the gauge will read a higher PSI.
Be careful to only turn a small amount, as the range is very small, mine is less than 1/4 rotation to get to full pressure.
Blue-Frog
Well-Known Member
Yes. Thanks for the idea about feeling and hearing the flow. I may try that sometime. But the main thing for me when attaching the CO2 for example, is just to know when it is closed (set to zero)(which seems to be an anti-intuitive "all the way up") Its reassuring to get visual confirmation.
Similar threads
- Replies
- 1
- Views
- 327
- Replies
- 7
- Views
- 2K
- Replies
- 15
- Views
- 2K

Latest posts
-
-

-

-
 Successfull fix for the wort in the dead space in the walls of my Brewzila
- Latest: Whisky River
-

-
