• Please visit and share your knowledge at our sister communities:
  • If you have not, please join our official Homebrewing Facebook Group!

    Homebrewing Facebook Group

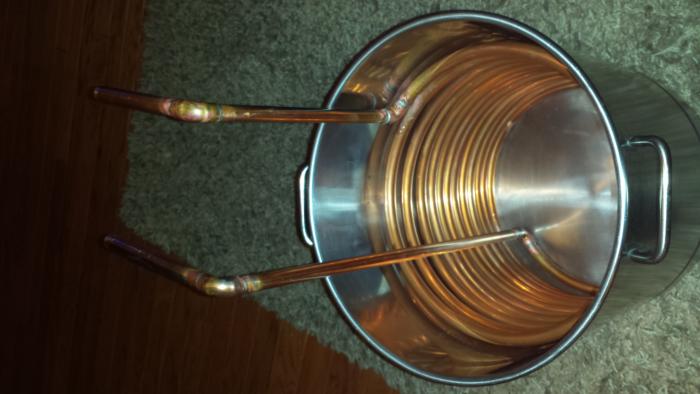
What have you built with the HD copper tubing?

Homebrew Talk

Help Support Homebrew Talk:

This site may earn a commission from merchant affiliate links, including eBay, Amazon, and others.
I bought a nylon paint stirrer from HD to use on my drill to create a cheap whirlpool chiller. See my thread here: https://www.homebrewtalk.com/f11/cheap-whirlpool-immersion-chiller-system-sucess-384060/

It works really well, just remember to keep it slow to prevent aeration.

Sure you would have a clue. You deal with it all the time. Drop one ice cube in a drink and it gets colder. Wait until it completely melts and you have efficiently gotten all the possible use from it. In contrast, drop two ice cubes in a drink and pull them out half-melted when the drink is cool enough, throw them away.

Same thing as single-pass and dual pass.

A dual pass uses more water so it cools faster. Done.

The bad part of an immersion cooler is wort circulation. Somehow, you gotta move the wort around so it touches the coils. I was thinking of a small stirrer on a slow electric drill.

fitting sizes
Normal copper pipe
1/2" is 1/2" ID, 5/8" OD
3/8" pipe is 3/8 ID, 1/2" OD

Refrigerator tubing
1/2" is 1/2" OD, just like 3/8" PIPE, so use 3/8 fittings

Schlep the whole big roll back to the store and try various fittings. I did. the 1/2" sweat fittings will be too large.

Yeah, it uses Ts at top and bottom. If you make single pass nested, make 2 coils in the same direction and connect the bottom ends with a straight slip coupling.
 
Working on building a stove top herms using 25' of the 50' 1/2 od tubing. I will be using a stc-1000 to control a motorized ball valve allowing the wort to bypass the hex coil when no extra heat is called for.
 
Ryfi. Could you explain a little more on the valve with the controller? I have access to few of those and would like to incorporate into my sytem I an designing but I don't know how to wire/control them. Can you use the stc to throlle them?? Thanks and cheers!!
 
Before I pull out what little hair I have, what is the "home remedy" for cleaning copper? As in I want to get my solder/fitting joints shiny clean w/o using an abrasive cleaner?
 
Before I pull out what little hair I have, what is the "home remedy" for cleaning copper? As in I want to get my solder/fitting joints shiny clean w/o using an abrasive cleaner?

First I brushed flux back over the soldered joints and wiped with a rag and they cleaned up real nice. Then I soak chiller in my kettle with 1 cup White Vinegar/per 5 gal water. I then heated all the way to boiling and cooled. Nice and clean.

Hope this helps,
Robert
 
revansCAAD8 said:
Finished our Dual Coil build today. This one we used the huge 1/2" ID x 60ft (5/8 OD) copper we got for $35. Can you say overkill, LOL! Also this was my first time sweating/soldering copper but no leaks so far. Thanks for the help OP & gang!

Robert
GypsyBrew

That is a thing of beauty. I'm going to attempt to make mine like that. Its not going to be anywhere as nice looking, but that's my goal. Thanks for sharing.
 
How do you guys get such nice coils? I kinked mine pretty bad, I'm pissed. Going to try and score another roll tomorrow and scrap this one.

Man, I was scared of the same thing. Couple things....
1)Our 1/2 ID (5/8 OD) x 60ft roll came coiled in a flat single layer starting from the center out (unlike our other roll). This made it easier to simply put our small 2.5keg (full) in the middle and start coiling it around it. Our second roll: 1/2 OD x 50ft is coiled different with two layers and with both cut ends on the outside of the coil$#!$#! We haven't opened it yet so, not sure that is a big deal or not but would assume it make it much harder.

2) Make sure you have a second person with you! The boss lady was a huge help as there was times I would hold the coil/keg from moving while she the pushed/pulled the copper around. Smooth it around. Like smoothing out a wrinkle in a rug. I am still sore from coiling day! LOL

3) Per another post I saw: Grab about 2-3 feet out onto the feeding line and bend it PAST the cylinder I'm wrapping it around to produce a smooth curve. Several small, intermediate bends is what will mess up the copper. Just patience and a little practice. Diagram here: Bending Copper

Hope this helps,
Robert
GypsyBrew
 
That is a thing of beauty. I'm going to attempt to make mine like that. Its not going to be anywhere as nice looking, but that's my goal. Thanks for sharing.

Thank you! This was our first chiller build and first time sweat/soldering. So last night we cleaned it and tested in water. Boiling to 70 in 17mins without our whirlpool even on, not bad! Oh and that was with 64-66 degree well water. Much better then our old punier 20ft 3/8 chiller :tank:

Robert
 
Ryfi. Could you explain a little more on the valve with the controller? I have access to few of those and would like to incorporate into my sytem I an designing but I don't know how to wire/control them. Can you use the stc to throlle them?? Thanks and cheers!!

I haven't built this system yet I am waiting on all the parts to come in. The basic working of the system is; the wort runs from the mash tun to a pump that is constantly running. It then flows through a tee. One output for recirculation the other to the motorized ball valve that leads to the herms coil. The ball valve is controlled by the stc-1000, both of which are 12v. When the mash needs heat the ball valve opens and the wort is sent through coil. When it is at the set temp the valve closes redirecting the wort through the tee in to the mash tun.
To wire it , again I haven't made this yet, you need a 12 v power supply. The + wire from the power goes to the + (1) terminal of the stc-1000. The - wire needs to be split in two one lead going to the - or common wire of the ball valve the other to the - (2) terminal of the stc. The other two wires from the valve get connected to terminal 6 and 8. Since the stc is just a switch controlled by temperature it should activate the valve open or closed based on the set temp. I know the stc-1000 has a delay for cooling for compressors on refrigerators but I think that can be worked around somehow.
As far as throttling the valves if you mean open to 1/4 or 1/2 open as far as I have designed it it is either full open of full closed but there will be a manual ball valve on the pump to control flow.

Sorry for the long response its the first time I put it all in writing.
 
Awsome!!! Thanks!! It will be quite some time before I can build mine but I am doing what I can when I can. Please keep me in mind when you test it.

The only thing I see with your design however is the tee for recerc/ heating. Keep in mind that watet will take the path of least resistance. If it is easier to flow on the recirc side, it will. Mabey anouther remote valve set to close when that one opens?? My two cents.
 
On another note, I just picked up my 60' roll of 1/2id copper coil. I am gonna build my hlt herms coil with it. I like the idea of an inner coil because I mostly do 5 gallon batches. Long ways from being finished with my all electric keggle build.... :(
 
Sar_dog great point that I did not think of. I will test as is because another valve will be easy to add even after its built. Thanks for pointing that out I will keep you up to date on how it works once its built.
 
Sure you would have a clue. You deal with it all the time. Drop one ice cube in a drink and it gets colder. Wait until it completely melts and you have efficiently gotten all the possible use from it. In contrast, drop two ice cubes in a drink and pull them out half-melted when the drink is cool enough, throw them away.

Same thing as single-pass and dual pass.

A dual pass uses more water so it cools faster. Done.

The bad part of an immersion cooler is wort circulation. Somehow, you gotta move the wort around so it touches the coils. I was thinking of a small stirrer on a slow electric drill.

fitting sizes
Normal copper pipe
1/2" is 1/2" ID, 5/8" OD
3/8" pipe is 3/8 ID, 1/2" OD

Refrigerator tubing
1/2" is 1/2" OD, just like 3/8" PIPE, so use 3/8 fittings

Schlep the whole big roll back to the store and try various fittings. I did. the 1/2" sweat fittings will be too large.

Yeah, it uses Ts at top and bottom. If you make single pass nested, make 2 coils in the same direction and connect the bottom ends with a straight slip coupling.

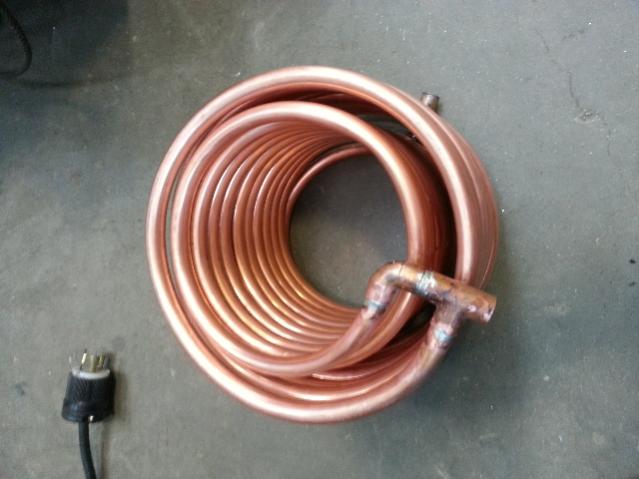
Please look at the picture below, this is how not to wind chiller coils. They are both wound clockwise the same, so both of the in/exit tubes cannot be put together with a slip coupling at my house. I had to make ugly "U" connectors including a tee on both ends. I stopped at adding the connectors as I am not sure of the type or orientation as of yet.

DSCN0835[1].jpg


DSCN0836[1].jpg


DSCN0837[1].jpg
 
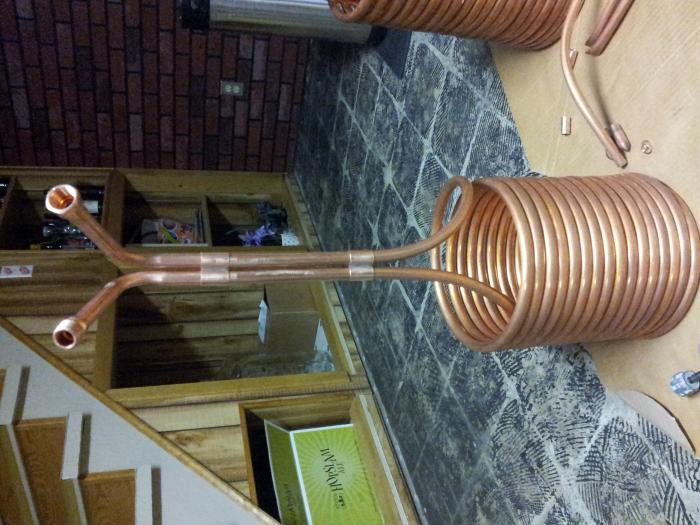
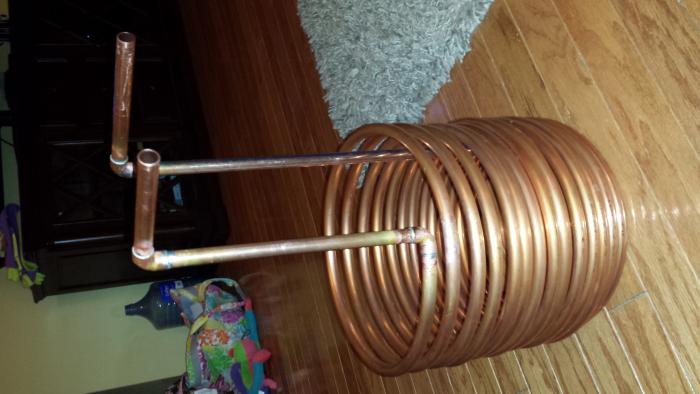
Mindenman. I did the same thing. Even after reading that others did the same thing. I told myself not to do that but I got a little too excited and just kept going. Lol. Here is what I did to correct it. I hope it helps!

ForumRunner_20131121_143140.jpg


ForumRunner_20131121_143224.jpg
 
I haven't seen anyone mention it but I plan to use the 1/2" 50' as a regular IC chiller (I may do the rib-style) and use my old 3/8" 20' as a pre-chiller in a bucket of ice water.
 
I was looking online at HD's website and they have some "solderless" copper fittings. Anyone ever used any of those? They call 'em "Sharkbite"
 
I haven't seen anyone mention it but I plan to use the 1/2" 50' as a regular IC chiller (I may do the rib-style) and use my old 3/8" 20' as a pre-chiller in a bucket of ice water.

Great minds! :D I was just thinking the other day it would be great to have two chillers and run the water through a chiller sitting in a bucket of ice water (maybe icy salt water to help keep the temp colder) and feed that into the chiller in the wort. :)
 
Yes newsman. They work amazing!!! Literaly about 30 secons to hook upbut I myself wouldt use them for beer. Only because all of the creaveses to clean. Unless you were not going to immerse them in anything.
 
Mindenman. I did the same thing. Even after reading that others did the same thing. I told myself not to do that but I got a little too excited and just kept going. Lol. Here is what I did to correct it. I hope it helps!

The difference between your coil, is yours looks store bought, damn near perfect. Mine on the other hand looks like Dr.Frankenstein cobbled it together. The "rib cage" design was intentional, and if the connections didn't look so crappy and sloppy, well, you know...
I did the same thing as you, tie the top coil ends together, tie the bottoms the same way, both with a tee connection on both ends.
 
I haven't seen anyone mention it but I plan to use the 1/2" 50' as a regular IC chiller (I may do the rib-style) and use my old 3/8" 20' as a pre-chiller in a bucket of ice water.

THIS is exactly what I'm doing. My old 3/8 chiller will now go into a bucket of ice to get the last few degrees, especially for lagers, and my new 50' 1/2 inch will be for my keggle. I have a whirlpool port on my keggle and a pump to circulate, so it should speed up chilling nicely!

ForumRunner_20131122_212333.jpg
 
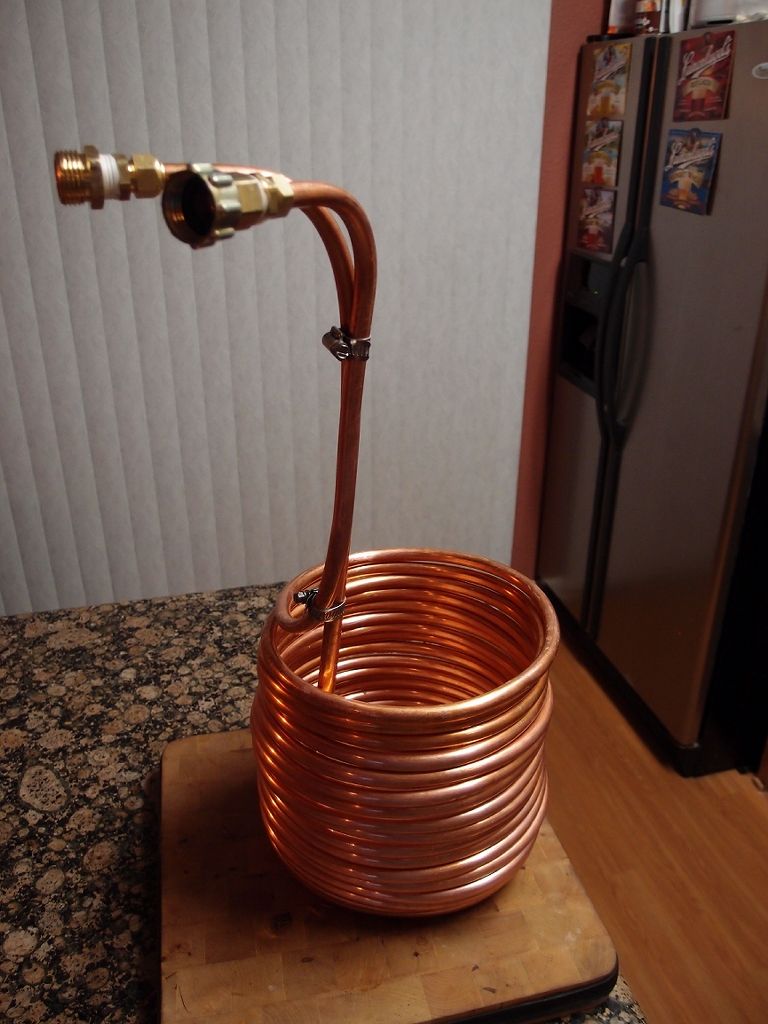
Here's mine. I got a second 50 ft length after I built this one just because it was so cheap.

50ftImmersionChiller2_zps262a1221.jpg
 
Mindenman. I did the same thing. Even after reading that others did the same thing. I told myself not to do that but I got a little too excited and just kept going. Lol. Here is what I did to correct it. I hope it helps!

161591d1385062306-what-have-you-built-hd-copper-tubing-forumrunner_20131121_143140.jpg

Sar_dog, you design with the coils in the same direction is a better design than mine, as I found out AFTER I built it. It is better to have the coils going in the same direction because you can drain it more easily. Mine drains pretty well when I hold it upside-down, however, there is always the last few splashes stuck in there. With my coils in opposite directions, when you turn it the water spirals OUT of one coil, and IN the other one. With your design, you turn the coil one way and they both empty out.
 
Back
Top