• Please visit and share your knowledge at our sister communities:
  • If you have not, please join our official Homebrewing Facebook Group!

    Homebrewing Facebook Group

What does a secondary fermenter do?

Homebrew Talk

Help Support Homebrew Talk:

This site may earn a commission from merchant affiliate links, including eBay, Amazon, and others.
That's why I have to do the comparisons. I will post results, but the test brewing won't start until this summer.

So today I did a comparison of batch #278 and batch #279. This was my "Summer Ale" that uses amber dry malt extract, Centennial and Cascades hops, and US05 yeast. Batch #278 was brewed 4/25, transferred to a carboy secondary 5/1, and bottled 5/10. Batch #279 was brewed 5/2 and bottled 5/17.
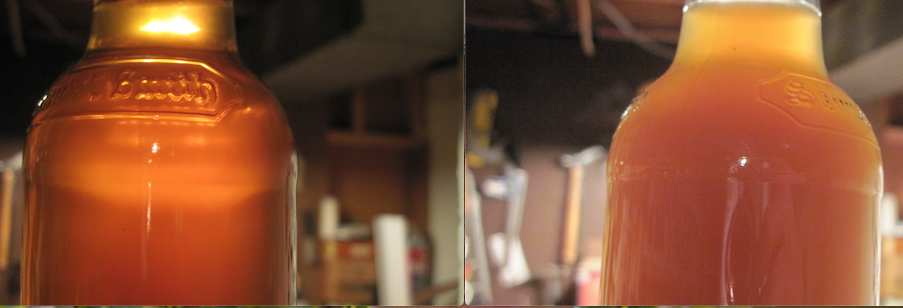
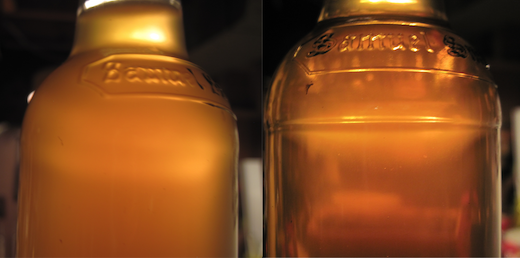
At bottling, #278, left, was clear; #279, right, was lighter and cloudy:
at bottling.png

This is a combined picture when each was 3 week in the bottle, both clear and #279 is lighter:
at 3 weeks in bottle.png

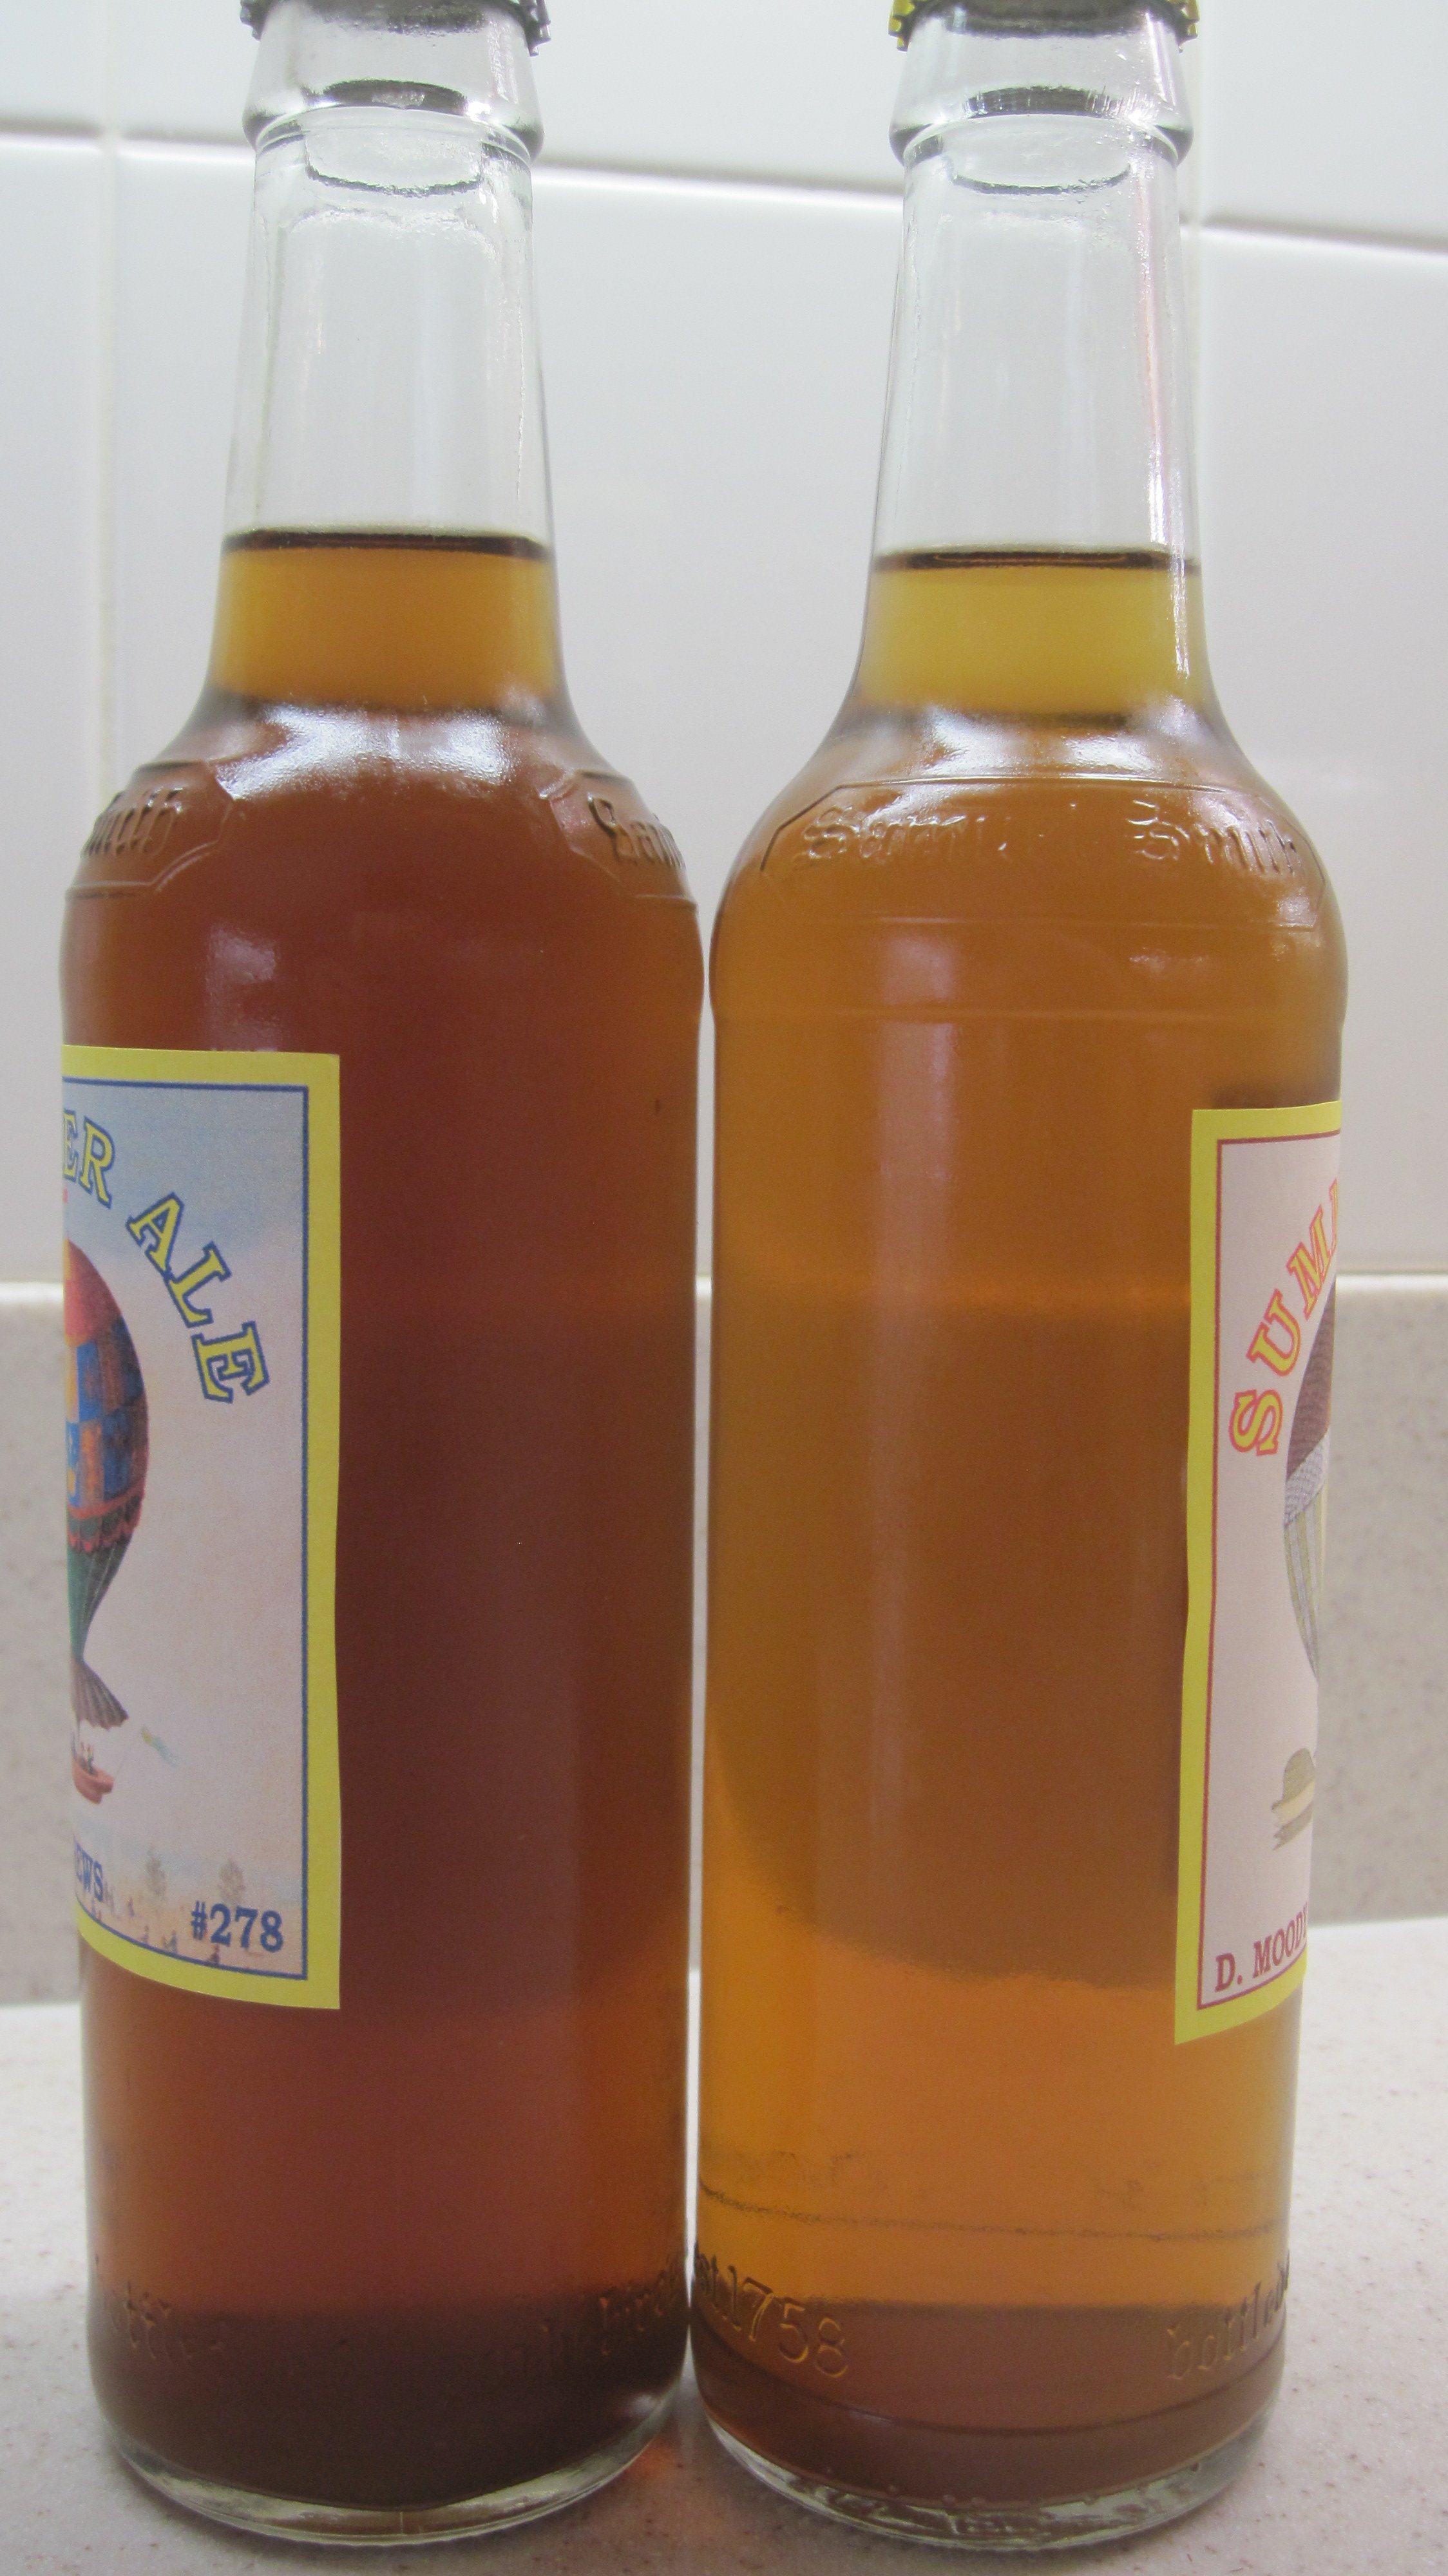
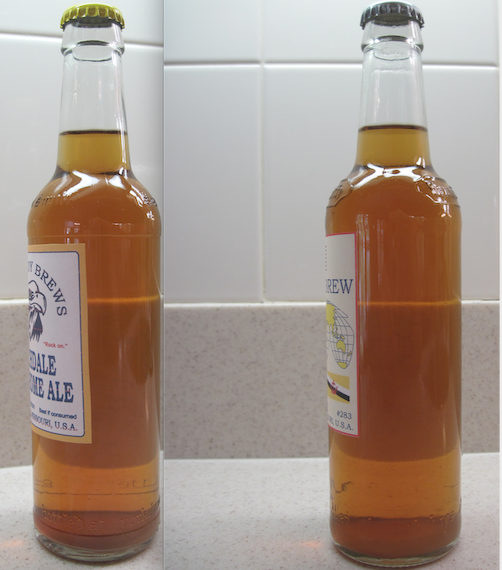
Today, 6/7, they looked like this side by side.
in bottle 6:7.jpg

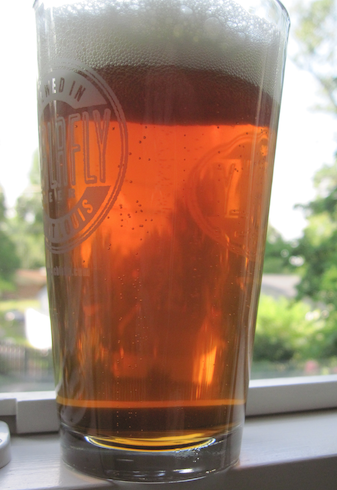
They pour clear and bright, and though #279 has slightly more sediment, it did not require any special handling.
in glass 6:7.png


So there was no difference in clarity, no real difference in sediment, and #278 was darker, a sign of oxidation. They tasted slightly different, with #279 having a sharper, more bitter taste and #278 being smoother. I and my fellow taster, who came up with the "smoother" descriptor, both preferred #278. Apparently we like a bit of oxidation.

In this comparison #278 was four weeks in the bottle and #279 was three weeks in the bottle. I will do at least one more comparison when batch #278 is at 6 weeks in the bottle. That's about the longest my ales last, but I might shoot for an 8 week test.
 
Last edited:
I and my fellow taster, who came up with the "smoother" descriptor, both preferred #278. Apparently we like a bit of oxidation.

This is more common than people think (or admit). I'm convinced it's responsible for a lot of comments like "I do X <insert name of process that adds oxygen here> and it doesn't cause any problems. My beers are great!"
 
interesting comparison batches...but incomplete information...need details on fermentation equipment/process and bottling methods...

It's possible your methods caused agitation of trub in otherwise clear beer in the fermenter.

did you cold crash before bottling? How did you transfer? spigot or siphon? How did you bottle? mix sugar in a bucket or leave in fermenter undisturbed and added sugar to bottles?

The picture we need to see is the carboy pics right before bottling. Are they both equally clear? If so, then your methods disturbed the trub cake, and the fact that one carboy has more trub from no secondary is why that beer is more cloudy after disturbing the trub.
 
If I'm reading correctly, the Summer Ale recipe for #278/#279 is here: I brewed a favorite recipe today . Read the ingredients and process steps carefully - it's not the classic "lightest extract possible, add half at the start, ..." recipe.

For an amber DME base, the color of #279 seems "lighter than expected".

I'm also curious if there were any special techniques to get either of the beers that clear.
 
interesting comparison batches...but incomplete information...need details on fermentation equipment/process and bottling methods...

It's possible your methods caused agitation of trub in otherwise clear beer in the fermenter.

did you cold crash before bottling? How did you transfer? spigot or siphon? How did you bottle? mix sugar in a bucket or leave in fermenter undisturbed and added sugar to bottles?

The picture we need to see is the carboy pics right before bottling. Are they both equally clear? If so, then your methods disturbed the trub cake, and the fact that one carboy has more trub from no secondary is why that beer is more cloudy after disturbing the trub.
I will answer your questions, but please realize that my main points were that both beers were clear, both beers had little sediment, and one was darker.

1. Primary fermenter is a white plastic bucket.
2. Secondary is a glsss carboy.
3 I do not cold crash. I do not have temperature control beyond basement ambient temperature.
4. I transfer with a siphon. I start the siphon by inhaling on one end. When siphoning from the primary, I hold the intake end in the liquid, adjusting it as the level drops. I have been doing this for decades and am very good at it.
5. I bottle by transferring to a bottling bucket with the priming sugar.
6. I can't picture the two in carboys, because the one stays in the plastic primary and isn't visible. I can tell you that at transfer to the bottling bucket even the very top of the batch that was not subjected to a secondary was cloudy. It had nothing to do with disturbing the trub. The bucket wasn't even moved as it fermented on top of .a work bench. And, to reiterate, the cloudiness at bottling was not a problem in the final product.
 
Last edited:
If I'm reading correctly, the Summer Ale recipe for #278/#279 is here: I brewed a favorite recipe today . Read the ingredients and process steps carefully - it's not the classic "lightest extract possible, add half at the start, ..." recipe.

For an amber DME base, the color of #279 seems "lighter than expected".

I'm also curious if there were any special techniques to get either of the beers that clear.

You are correct about where the recipe is posted.
#279 is lighter than I'm used to with this recipe, but, I am used to a secondary and not doing late addition of half my extract.

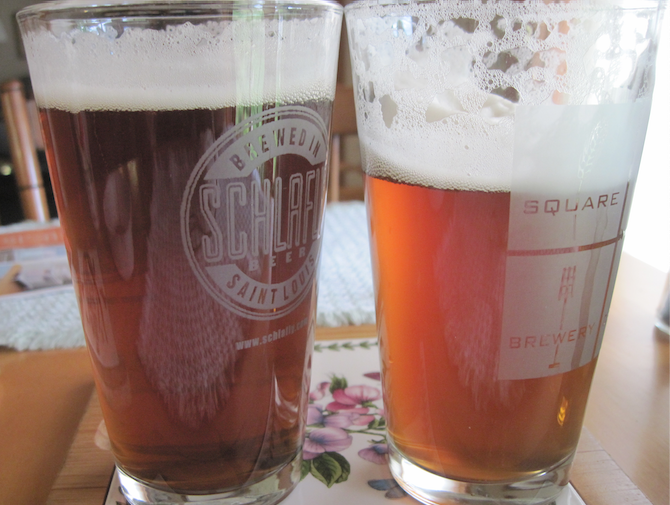
I don't do anything to clarify my beers. But the picture of those bottles is cellar temperature, about 68 F. And I am attaching a picture of the beers when first poured with a bit of chill haze. The bottles were in the refrigerator about 3 hours. I was aiming for 45-55, where I like my ales. The picture of the beer in glasses at the window was taken about 10 minutes after the pour and the chill haze is gone. So they aren't that clear if drunk at at an improper, uncivilized, taste-killing, ice cold lawn mower beer temperature.
poured 6:7.jpg
 
Last edited:
This is more common than people think (or admit). I'm convinced it's responsible for a lot of comments like "I do X <insert name of process that adds oxygen here> and it doesn't cause any problems. My beers are great!"

Back at the end of 2018 I revamped my brewing process and stopped using a secondary (and other changes to reduce cold side oxidation). I was amazed at the impact to my Pale Ale batches, a style that I brewed a LOT over the years and I thought was the best style I made. With no change in recipe, my Pale Ales changed in appearance just like @D.B.Moody's examples. Much of the color and caramel-like flavors that I thought were from the Crystal malt was actually oxidation. I could definitely see the "sharper, more bitter taste...vs...smoother" comparison.
 
The not small problem with the Fermzilla is that little nasty writing which they put on it, and which says that you should not use it past 2 (or 3, I go by memory) years from production date, which is also written.

I don't think that it goes into pieces or it explodes after 2 years and 1 day from production, but the idea of buying something of that kind with an expiry date written on it is something that sends a shiver along my spine.
Most pressurised containers have expiry dates
 
If you transfer to a bottling bucket, you’re introducing the same chance of contamination and oxidation. If you filter, you are probably introducing more of both.
 
Over the past couple of years, both here and in other forums, people have been discussing processes that they use for bottling NEIPAs that stay fresh (for them) for 45 to 60 days.

The problems of excessive oxygen ingress are pretty well known. It will take a year or two for the solutions to become more well know.
 
Also I’d start using an auto siphon rather than doing it with your mouth. You could be introducing some fermentation bugs or bacteria there.
You are right by best practice, but I'm not that guy. I've been doing this for over 27 years now and have never had an infected batch. And I'm not trying to tell people what to do. I was just responding to a poster's questioning me about what I had done.
From my point of view my comparisons of secondary vs no secondary are about whether or not I care about the effect(s) of the oxygen introduced by doing a secondary, not what is best for most brewers.
 
Last edited:
@DavidWood2115

It seems that your reason to do a secondary transfer is that your secondary fermenter is in glass and therefore substantially exempt from air permeability, while your primary fermenter is in plastic and that is somehow less ideally gas-permeable for a 4-5 week fermentation.

If that's the case, I suggest you have a look at large-mouth glass demi-jones with plastic protections.

What you say is good advice, but here's the thing:
1. The real reason I do a secondary is that it is how I learned to brew in 1994, and I am used to it.
2. 20 years ago, maybe 10 years ago, I would do that. Today I'm 78 and don't want more stuff. Frankly, I've only got a couple of years left to my brewing hobby.
3. Apparently, so far any least, I actually like the results of using a secondary. This may just be what I've come to expect and enjoy. It also may have something to do with me falling in love with English pub bitters on a trip to England, Scotland and Wales in 1988. I do not brew to produce ice cold lagers. I like cellar temperature ales. :mug:
 
Last edited:
Just trying to figure out the difference in colors...

#278, the darker one on the left side, was subjected to a transfer to a secondary fermenter. #279, the lighter one on the right side, was not transferred to a secondary. The darkness of the one is a visible result of the oxygen exposure that such a transfer creates. #279 is a week younger than #278, but the second picture in post #61 pictures each when it was 3 weeks in the bottle (5 weeks from brewing) and #278 is darker.

Recipe at I brewed a favorite recipe today
 
Last edited:
Although it's a day early, I did my 6 weeks comparison today. #278 (which was transferred to a secondary) is six weeks in the bottle and # 279 (no secondary transfer) is 5 weeks in the bottle.
#278 is darker than #279:
6:20:21.jpg


Both are clear and do not have sediment issues, so they easily pour clear:

6:20 pour.jpg


6:20:2021.jpg


They are both good. But my fellow taster and I now prefer #279, the batch that was not put into a secondary and is 5 weeks in the bottle. It has mellowed out from it earlier harsher taste and #278 seems to be past its prime. This is not much of a surprise as my beers rarely last 6 weeks after bottling. (Do the math: if you drink just two bottles a day for four weeks after the beer conditions for two weeks, you will drink 56 bottles, which is more than a 5 gallon batch produces. Since 1994, I have averaged only 10 brews a year.)
So, for me, using a secondary or not depends only on how long I intend to keep the beer. The next batches to compare are an IPA recipe, It will be interesting to see if that changes things. I'll report in July.
 
Last edited:
[QUOTE="D.B.Moody, post: 9118608, member: 294452"
but I might shoot for an 8 week test.
[/QUOTE]

Well, we did a 8 week test today with #278 in the bottle 8 weeks and #279 in the bottle 7 weeks. #278 has been put through a secondary. We we surprised that our preference returned to #278 as being "smoother" than #279. Both beers are good, and I only notice the preference when this direct comparison is made. While this is confusing, the good news is that tasting of #280 and #281 begins Wednesday. Ya gotta love this hobby. :p

7/19/21 We drank the last two bottle today. #278 10 weeks in the bottle and # 279 9 weeks in the bottle. The preference was for #278, the one that was subjected to a secondary. We still liked both beers.
 
Last edited:
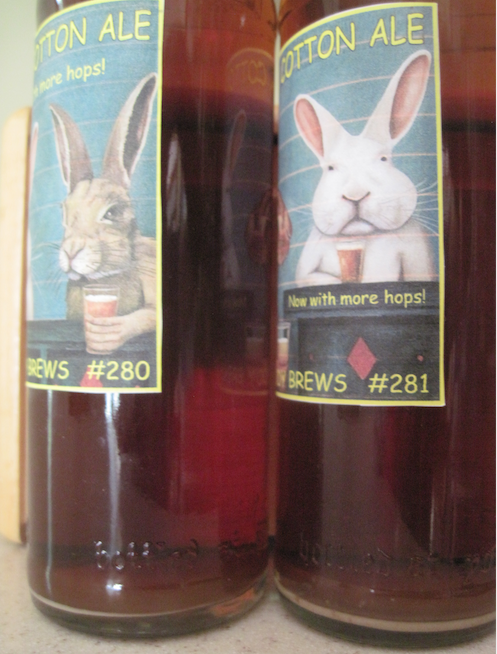
Yesterday I did a comparison of batch #280 and batch #281. This was my "Peter Cotton Ale" that uses amber dry extract, Nugget and East Kent Goldings hops, some toasted pale malt, and S33 ale yeast. (The recipe is here: I brewed a favorite recipe today) Batch #280 was brewed 5/26, transferred to a secondary 6/1, and bottled 6/9. Batch #281 was brewed 6/2 and bottled 6/16.

At bottling, #280, left, was clearer and #281, right, was cloudier.
280:281 when bottled.png


This is a combined picture when each was ten days in the bottle. Both are clear and about the same color.
280:281 10day.png


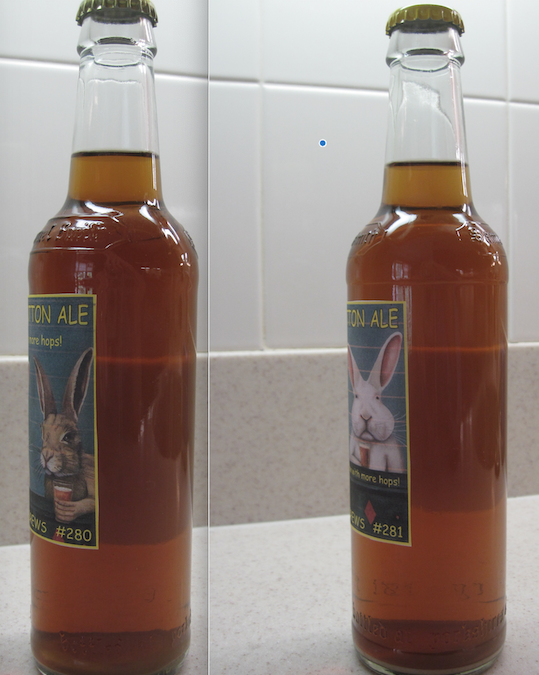
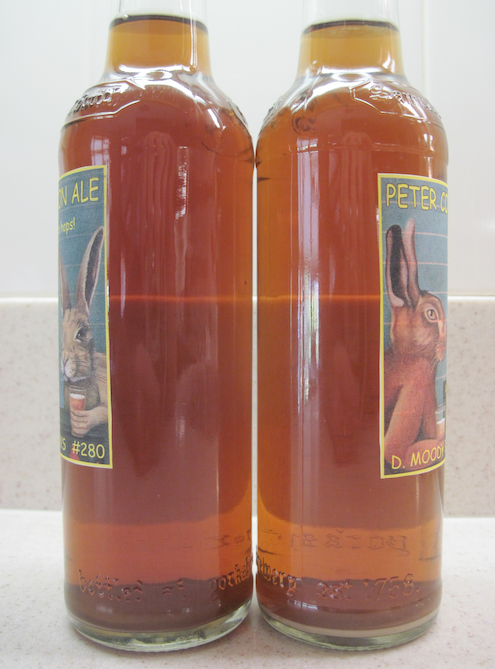
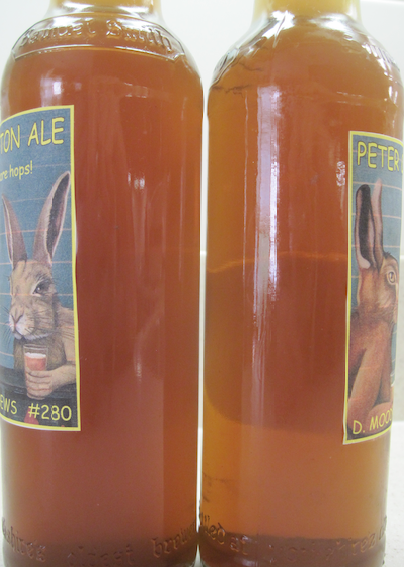
Yesterday, 7/7, they looked like this side by side:
280:281 7:7.png

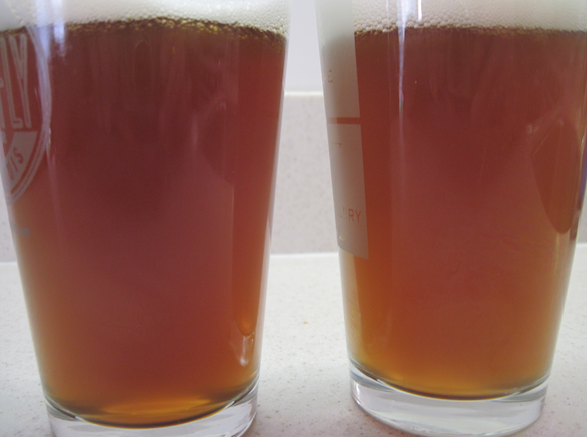
#281 is slightly lighter. This is more apparent in the glass, #281 on the right:
280:281.png


There is much more sediment in #281, which is a week younger and did not undergo a secondary. It required care not to disturb it when pouring.
280:281 sediment.png


There was no difference in clarity, a big difference in sediment, and #280 was just slightly darker. Neither I nor my fellow taster preferred one over the other: they tasted almost the same.

In this comparison #280 was four weeks in the bottle and #281 was three weeks in the bottle. I will do weekly comparisons for a while to see if differences develop and to see if the greater sediment in #281 becomes less irksome.

7/14
#280, left, five weeks in the bottle and #281, right, four weeks in the bottle:
7:14:21.png

The difference in color has lessened. #281, no secondary, has a sharper taste. No strong preference for either, but, if I had to pick, I'd go for #280's smoother taste.

7/21
#280, left, six weeks in the bottle and @281, right, five weeks in the bottle:
7:21 taste.png

There is little difference in color, but #280 is slightly darker. #281 has become easier to pour, but not as easy as @280. We had a taste preference for #280 as being smoother.

7/23
Today i conducted a blind taste taste on my fellow taster. One glass held #280 and two held #281. My taster selected which one was different and expressed a preference for #280, the batch that experienced a secondary. The color difference is more marked in the small glasses used in the test. #280, left, is darker. and #281, right, is not as clear as sediment was disturbed in doing the testing.
7:23:21.png


7/28
Today I did another comparison: #280 seven weeks in the bottle and #281 six weeks in the bottle.
I'm not bothering to post a picture as they look the same as trey did last week and in the 7/23 testing. My preference in taste is for #280, the batch that experienced the secondary. I can enjoy #281 if I just drink it alone. The sediment in #281 is still aggravating. For the eight week test, I will put them in the refrigerator for several days to see if that helps with that.

8/4
Another test today. #280 eight weeks in the bottle and #281 seven weeks in the bottle. I still like them both, but the extra time in the fridge did not keep the sediment in #281 from being a pain. I might try to save two to compare when my older son, who also home brews, is here in September. This will probably be past their "best by" dates, but worth a shot.
 
Last edited:
We did a comparison on the 18th with #280 ten weeks in the bottle and #281 nine weeks in the bottle. Our preference was for #281, the batch that was not subjected to a secondary. It still has hop character and #280, while enjoyable, is too bland in comparison. These are supposed to be IPAs after all.

8:18.png

#281, on the right, is still a pain to pour because of its greater sediment. It is possible to pour a clear glass and I'm attaching a picture (below and, confusingly, in the same glass used for the other batch in the picture above) from during the week and a half after the comparison. Switching to no secondary might entail changing the yeast in this recipe and/or lengthening the time in the fermenter before bottling, but no secondary is good for hop character.

281.png


I have set aside one of each for a September tasting.
 
Last edited:
Today we did a comparison tasting of batch #282 and #283. These are house bitters that use only 4 1/2 lbs. of malt, are lightly hopped, and Nottingham yeast. (The recipe is here: "I Brewed a Favorite Recipe [link]) #282 was brewed 7/26 and was bottled 8/10; #283 was brewed 8/2, transferred to a secondary 8/8, and bottled 8/17.

At bottling #282, left, was cloudier than #283, right.
282L&283R@btling.png


A combined picture of each at two weeks in the bottle shows both clear and the same color:
282:283 2 wks comb..png


Today, 9/7, they looked like this side by side:
282&283 9:7.png

In the glass they look the same. #283, right, does not show extra darkening from oxidation.
At the tasting #282 was 4 weeks in the bottle and #283 was three weeks in the bottle.
They poured easily. #282, which had no secondary, had a bit more sediment in the bottles, but it was not real troublesome. They tasted the same too.
282L&283R in glass 9:7.png

We thought #283 might linger on the tongue a bit longer, but that's the only difference we could detect.

Edit: link replaced text reference thanks to @BrewnWKopperKat's post..
 
Last edited:
Keep 'em coming - this is killer stuff.
Agreed, this is killer stuff.

Those that are looking for shorter indoor brew days this winter may want to take a look at the process that was used to make the beer:
  1. Dissolve 2 1/4 lbs. DME in 1/2 gal. water for late addition
  2. Dissolve 2 1/4 lbs. DME in 1 gal. for boil, begin heating
  3. Steep grains in 1/2 gal water for 30 min. at 150-160 F
  4. Strain into kettle with water and dissolved extract that has been warming and bring to boil
  5. 30 min. boil
  6. 10 min. flavor hops
  7. Pour into fermenter with late addition extract and add aroma hops
  8. Cool in sink bath before topping to 5 gal with cold water
Here's what I see:
  • No need to add DME from the bag over a steaming kettle (no sticky DME mess)
    • 1/2 the DME before "flame-on"
    • 1/2 the DME as a slurry
  • Shorter brew day by steeping grains in a side pot while heating the main wort
  • Shorter brew day with a 30 minute boil
  • Shorter brew day by using "top up" water to cool the wort
  • and there's more if one is willing to do some simple SG calculations
As an aside, before one gets all concerned about color increases during the boil, listen the to BBR podcasts (Aug 25, 2005, Nov 17, 2005). 45 min boils appear to add about "1" L to the color (confirmed to my satisfaction here [link]).

It's a delight to see all these ideas brought together into a single process that results in a good looking (and tasting) extract-based beer.
 
There are a lot of exbeeriments with good intentions that fall just short of common sense or a practical application.

My comparisons are not finished yet, but here's a definite, practical application decision I've already made: my IPA recipe will shift to no secondary transfer because the oxygen exposure hurts the hop character. The same recipe will shift yeast from S33 to Nottingham or S04 because S33 does not settle out well without the secondary. This was in post #83 above.

BTW, I have never used Starsan. I don't sanitize anything. I just wash my equipment and run the bottles through the dishwasher. I've done this since 1994 for 284 brews without a problem. Of course, my equipment is pretty basic. I understand this is not best practice, but neither is doing a secondary.
 
  1. Pour into fermenter with late addition extract and add aroma hops
  2. Cool in sink bath before topping to 5 gal with cold water
Here's what I see:
  • No need to add DME from the bag over a steaming kettle (no sticky DME mess)
    • 1/2 the DME before "flame-on"
    • 1/2 the DME as a slurry
  • Shorter brew day by steeping grains in a side pot while heating the main wort
  • Shorter brew day with a 30 minute boil
  • Shorter brew day by using "top up" water to cool the wort

Another shortener I tried and liked after that was to add the late addition and then the aroma hops at flame out to the brew kettle and cool that in the sink bath before transferring to the fermenter. A more rapid cool down through a metal kettle than a plastic fermenter, but still time for pasteurization and hop aroma steep.
 
@D.B.Moody Wow!

Incredible that you don't use sanitizer, but that is EXACTLY why forums like this exist and why we should conduct and post experiments like these.

I will most likely never stop using sanitizer, but now I know that the dishwasher could be a viable alternative in a pinch.
Minimalist, or "less stress" approaches that still get the job done well are great for homebrewers, and I feel like documenting them is essential to ease the heavy minds of new folks reading that they MUST do X, Y, and Z or their batches will be ruined or taste awful, or not have good head retention.

In my opinion, a lot of the classic homebrew literature is outdated in the sense that it acts as a metronome alternating between far too simple/out of date for the resources readily available today, and then immediately switches to a commercial yeast lab summary for yeast handling.

TLDR: Let's write a book.
 
Minimalist, or "less stress" approaches that still get the job done well are great for homebrewers, I feel like documenting them is essential to ease the heavy minds of new folks reading
Maybe start by writing a topic or two here at HomebrewTalk. People have done this in the past (stove top partial mash in 2009, water chemistry in 2010, ...).

If you're considering approaching the topic of a new brewer's 1st day, How to Brew, 4e (chapter 1, for extract) and Speed Brewing (chapters 1 & 2 for BIAB) could be a useful comparision for your writing efforts.
 
Back
Top