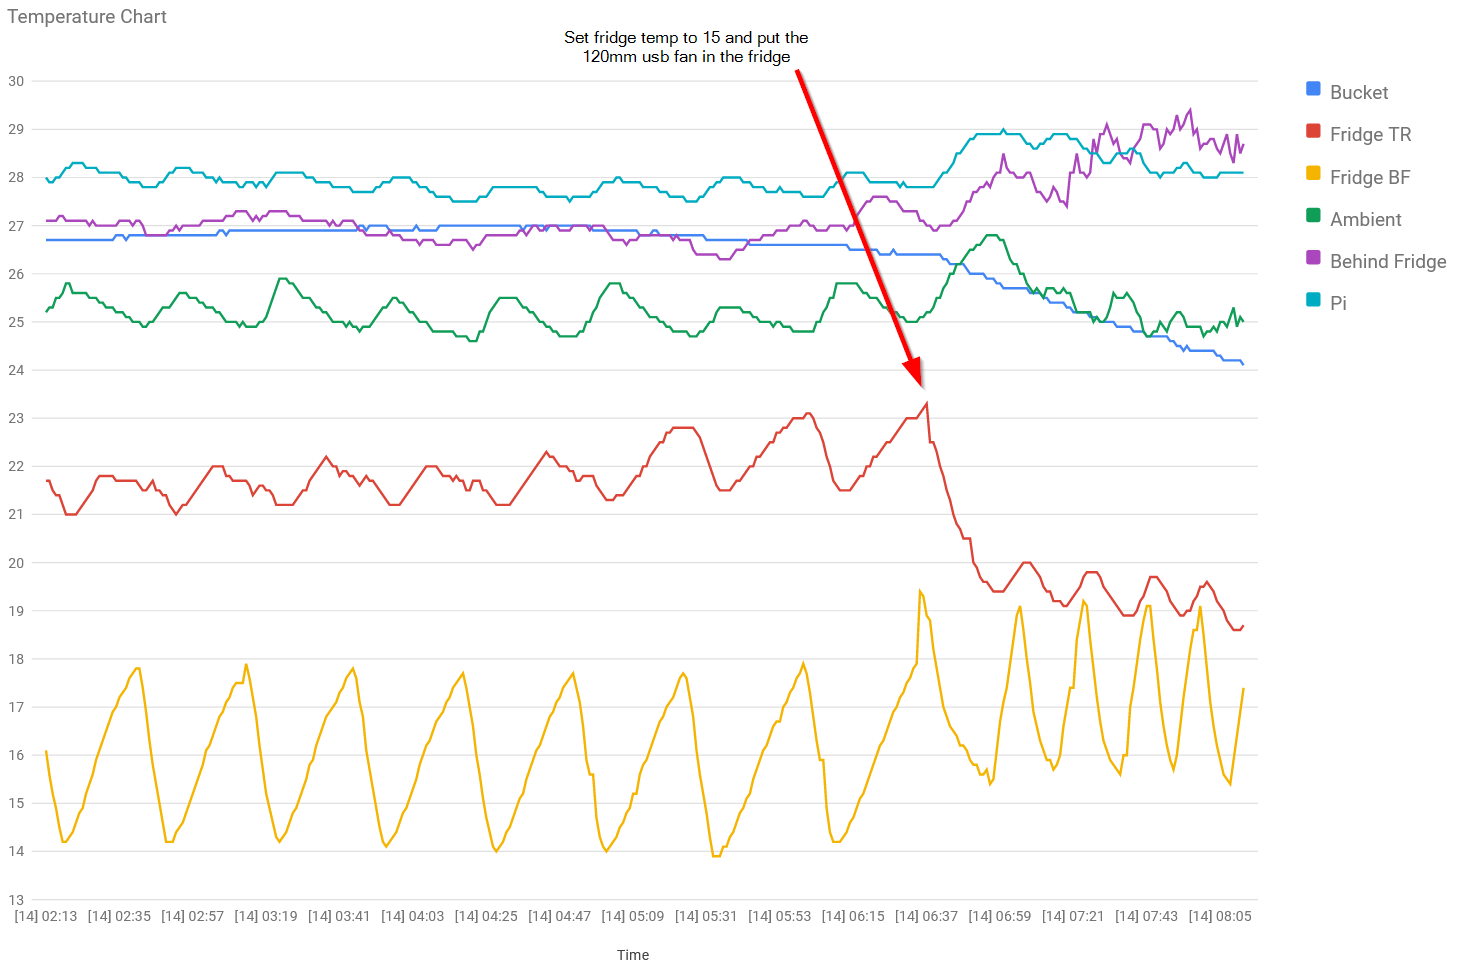
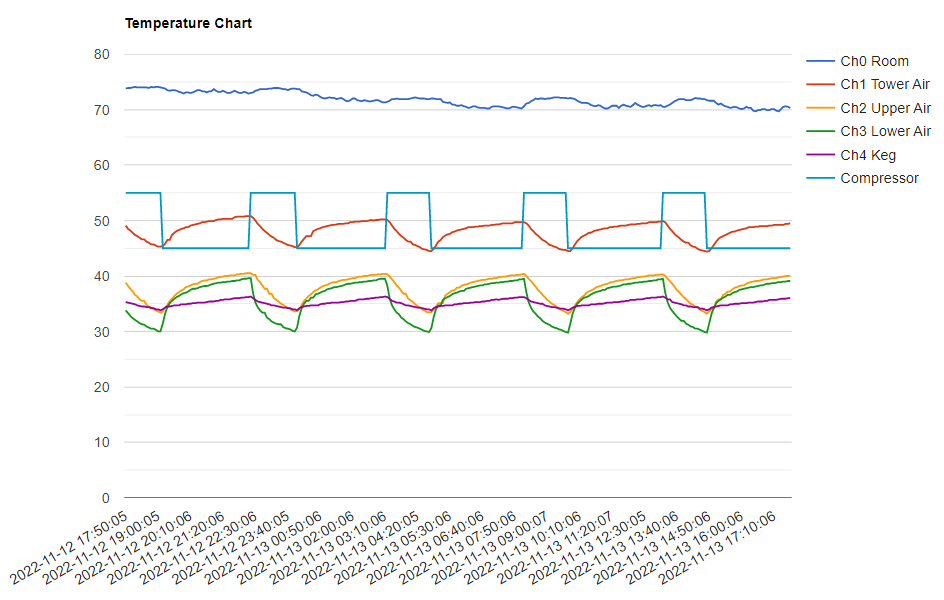
For day_tripper and anyone else interested in a new version of the original code.
Here is a modified copy of day_tripper's code. Only the web ui, and the monitor python files. Instructions below are how to set up assuming you have already followed day_tripper's instructions.
Grab code from here: It will only be there for 10 days.
https://we.tl/t-lJM0mU9gPY
1) Place the two files in the folder where you already have the Original versions, and rename from *.txt to *.py. Note, for security reasons, you should always read the code you get from strangers and understand what it is doing before you execute it....
2) Set the execution permissions as per original instructions.
3) Open the monitor_sensors.py file
a) Specify path to database (i recommend you put a db file that does not exist, and it
will create that database file and configure it as needed, allowing for side-0by-side execution of original and new.)
b) specify C or F as temperature unit
c) Specify up to 8 device files. Comments shows how to list your available sensors
d) Specify the adjustment number for those sensors (in your chosen temp unit)
5) Add a cron entry for this monitor_sensors.py
4) Open the webgui.py, and change the global variables section
a) Specify the database file above
b) Name your sensors (fup to 8 total)
c) Specify C or F for units
Note that I changed the graph to use the new Google material graph. Hover over the lines in the graph or the items in the legend, and it will do a better job of highlighting the selected line in the graph if they are really close. You can add or remove sensors as you need, just add them to both files, and they will be recorded and appear in the webgui.
Thanks and credit to day_tripper for the original code.
Enjoy.
[edit] The file share site deleted my first upload, plikely because of the security risk that py files present. renamed to txt files. If that does not work, I will try something different.


![Craft A Brew - Safale BE-256 Yeast - Fermentis - Belgian Ale Dry Yeast - For Belgian & Strong Ales - Ingredients for Home Brewing - Beer Making Supplies - [3 Pack]](https://m.media-amazon.com/images/I/51bcKEwQmWL._SL500_.jpg)


