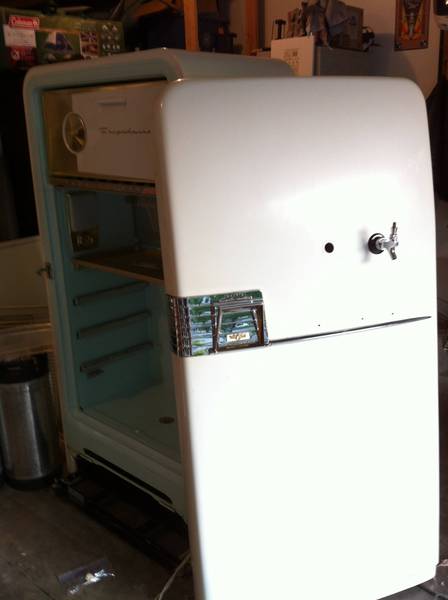
OK, I found this 1954 Frigidaire Imperial Cyclamatic (gotta love the name) on Craigslist for $100. It followed me home. As you can see from the pics, it's in great shape, with only a few missing interior items, which has had me feeling guilty for about a week for considering cutting holes in it. But I think I'm over that now, and I'm ready (?) to start making this into my first kegerator.
I've slowly found and followed several other threads on peoples' vintage builds, and have found them helpful and inspiring. So now I open it up to my fellow homebrewers for thoughts and a few questions specifically:
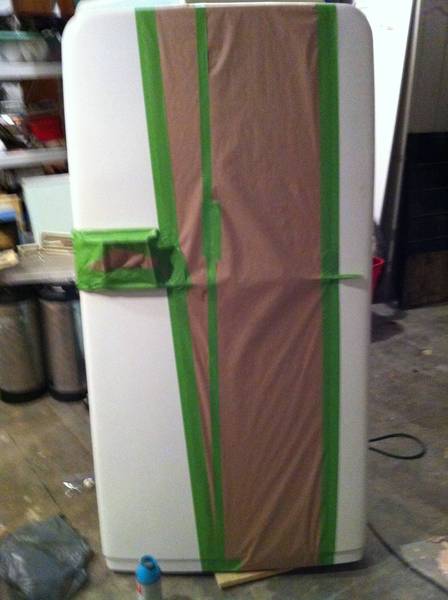
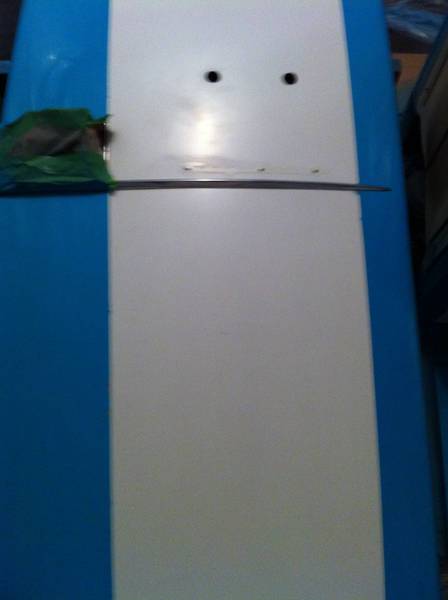
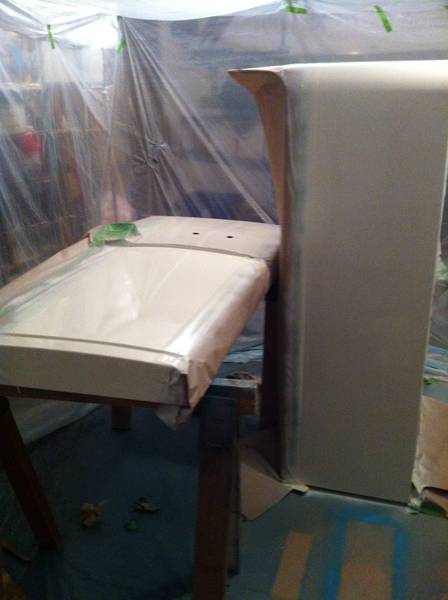
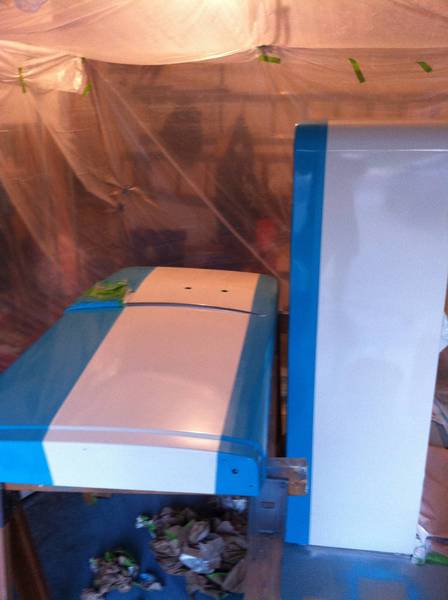
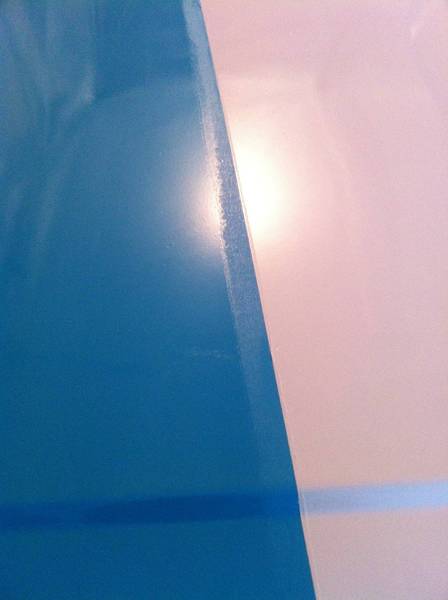
1) I'm wanting to capture the feel of the era with the paint and chrome, like the cars of the time. Repaint entirely or just the accents as shown (little insets of envisioned final looks in the first pic)? The exterior is in pretty good shape, with some discoloration but overall really nice.
2) CO2 tank inside or out? THis may wind up being a moot question, but it looks like I can fit 2 kegs and possibly the tank inside. If I go outside, what's the best way to pass the line through--a flange, shank, etc.?
3) If you've pulled all the chrome off for a total re-paint, what's the best way to get it off without damaging it (especially the lettering)?
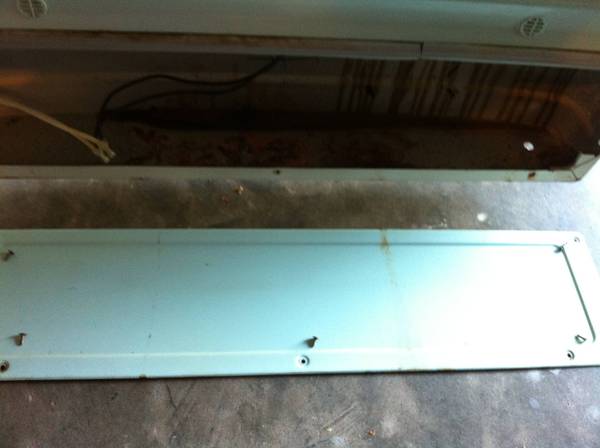
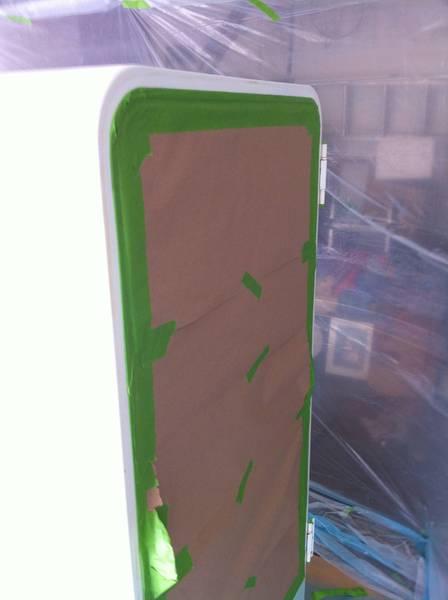
4) As you can see from the inside pics, there'a a lot of cool stuff in the door; I'd like to be able to keep as much as possible intace, but I think the location of my taps will necessitate the removal of the warmed butter compartment. I suppose taking the whole interior shell off initially would be the best way to go? Then make whatever mods are necessary before putting them back on?
5) Drip tray--drain or not? Where would I run it and still have the 'sleek' look?
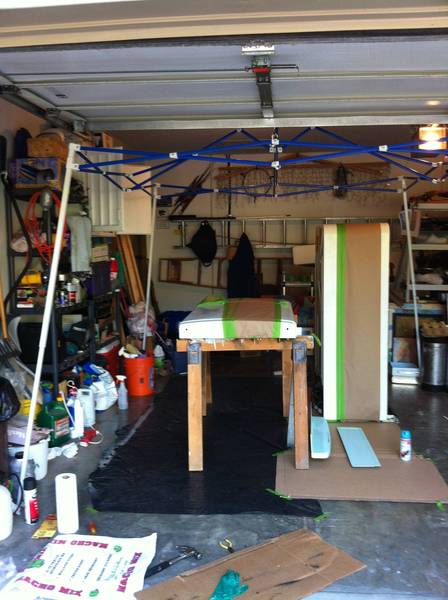
I will start posting pics of my progress once I finally get the guts to start pulling things apart. Maybe this weekend. Thanks for any input!


I've slowly found and followed several other threads on peoples' vintage builds, and have found them helpful and inspiring. So now I open it up to my fellow homebrewers for thoughts and a few questions specifically:
1) I'm wanting to capture the feel of the era with the paint and chrome, like the cars of the time. Repaint entirely or just the accents as shown (little insets of envisioned final looks in the first pic)? The exterior is in pretty good shape, with some discoloration but overall really nice.
2) CO2 tank inside or out? THis may wind up being a moot question, but it looks like I can fit 2 kegs and possibly the tank inside. If I go outside, what's the best way to pass the line through--a flange, shank, etc.?
3) If you've pulled all the chrome off for a total re-paint, what's the best way to get it off without damaging it (especially the lettering)?
4) As you can see from the inside pics, there'a a lot of cool stuff in the door; I'd like to be able to keep as much as possible intace, but I think the location of my taps will necessitate the removal of the warmed butter compartment. I suppose taking the whole interior shell off initially would be the best way to go? Then make whatever mods are necessary before putting them back on?
5) Drip tray--drain or not? Where would I run it and still have the 'sleek' look?
I will start posting pics of my progress once I finally get the guts to start pulling things apart. Maybe this weekend. Thanks for any input!
")


![Craft A Brew - Safale S-04 Dry Yeast - Fermentis - English Ale Dry Yeast - For English and American Ales and Hard Apple Ciders - Ingredients for Home Brewing - Beer Making Supplies - [1 Pack]](https://m.media-amazon.com/images/I/41fVGNh6JfL._SL500_.jpg)