OP
OP
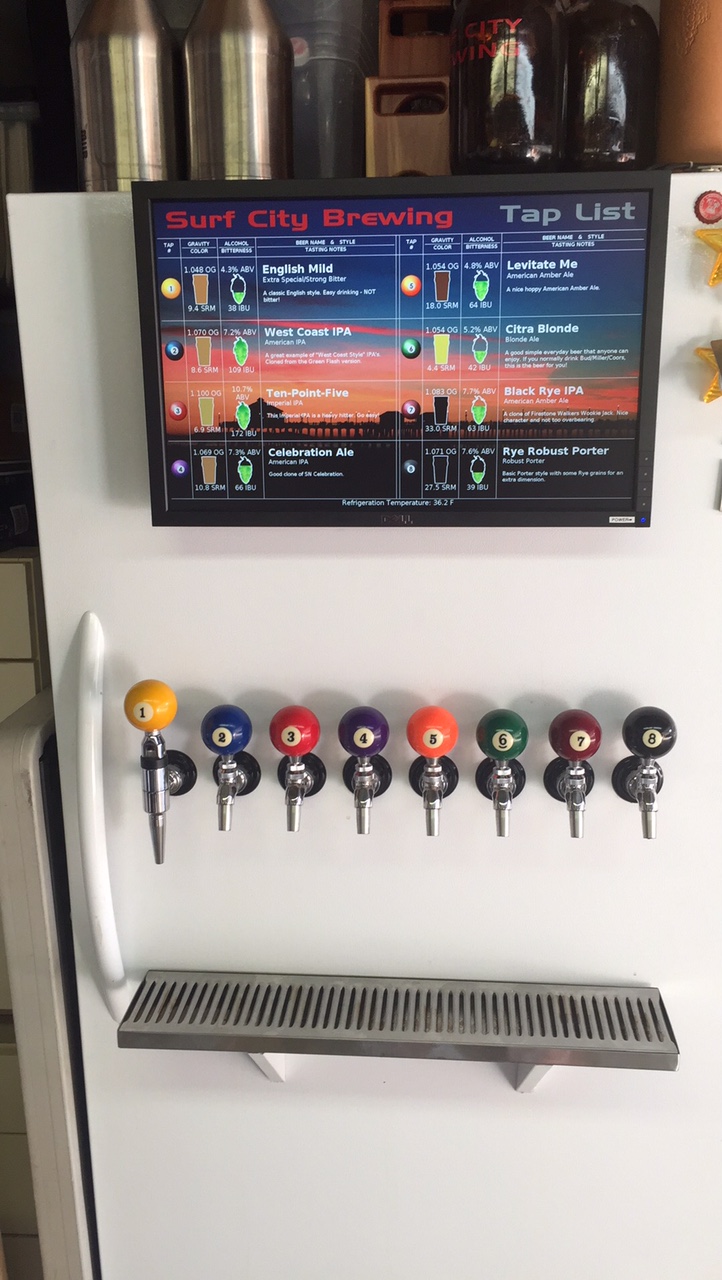
very nice and man that is cheap when you get that freezer for $200.
Looks great!
Thank you. I got mine for $200 and a friend got his for $250. If you just watch Craigslist for a couple weeks, they're out there.


![Craft A Brew - Safale BE-256 Yeast - Fermentis - Belgian Ale Dry Yeast - For Belgian & Strong Ales - Ingredients for Home Brewing - Beer Making Supplies - [3 Pack]](https://m.media-amazon.com/images/I/51bcKEwQmWL._SL500_.jpg)