Fwiw I find hoisting the basket up and out is pretty easy, even though it looks like it might be awkward. You hoist it up out of the liquid, lift it a few inches to the rim, balance it on the kettle rim with one hand and unhook it with the other. May sound dicey but it's not. Then I lift it out with both hands and set it in a plastic tub until I get to cleaning it.
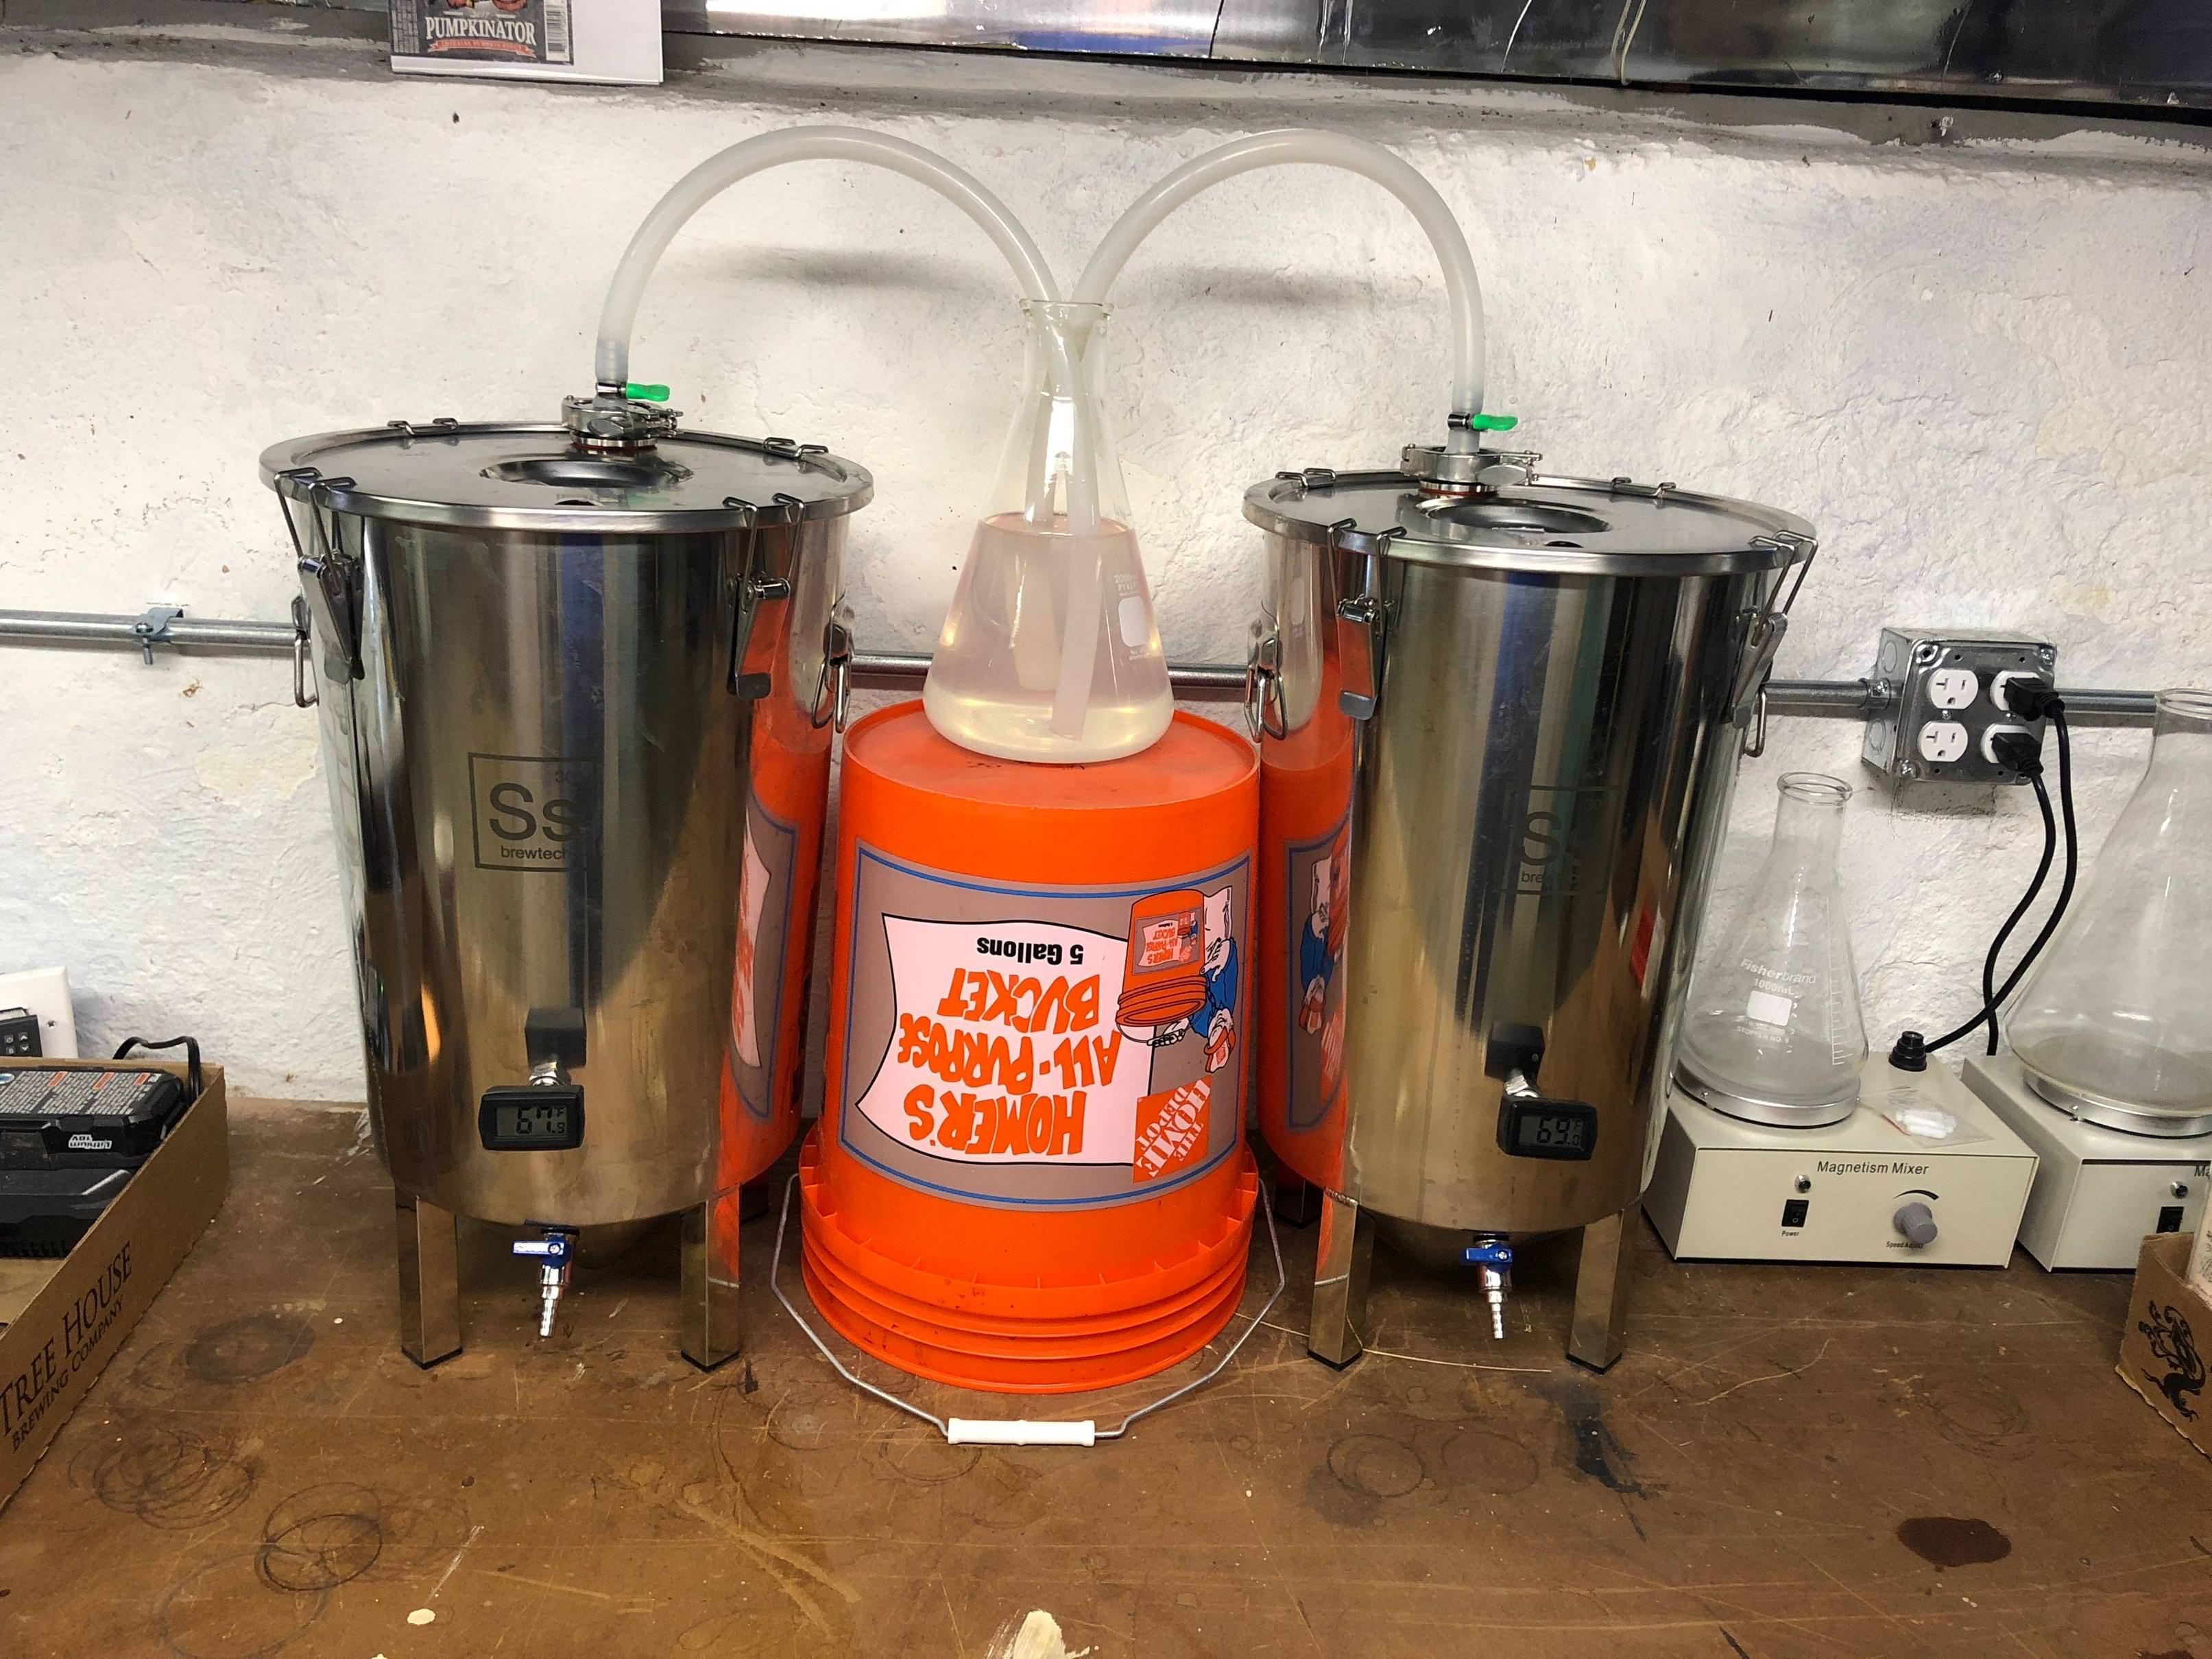
I found that I really like triclamps, first time I ever used them was on this system. They are easy to use and 100% reliable.
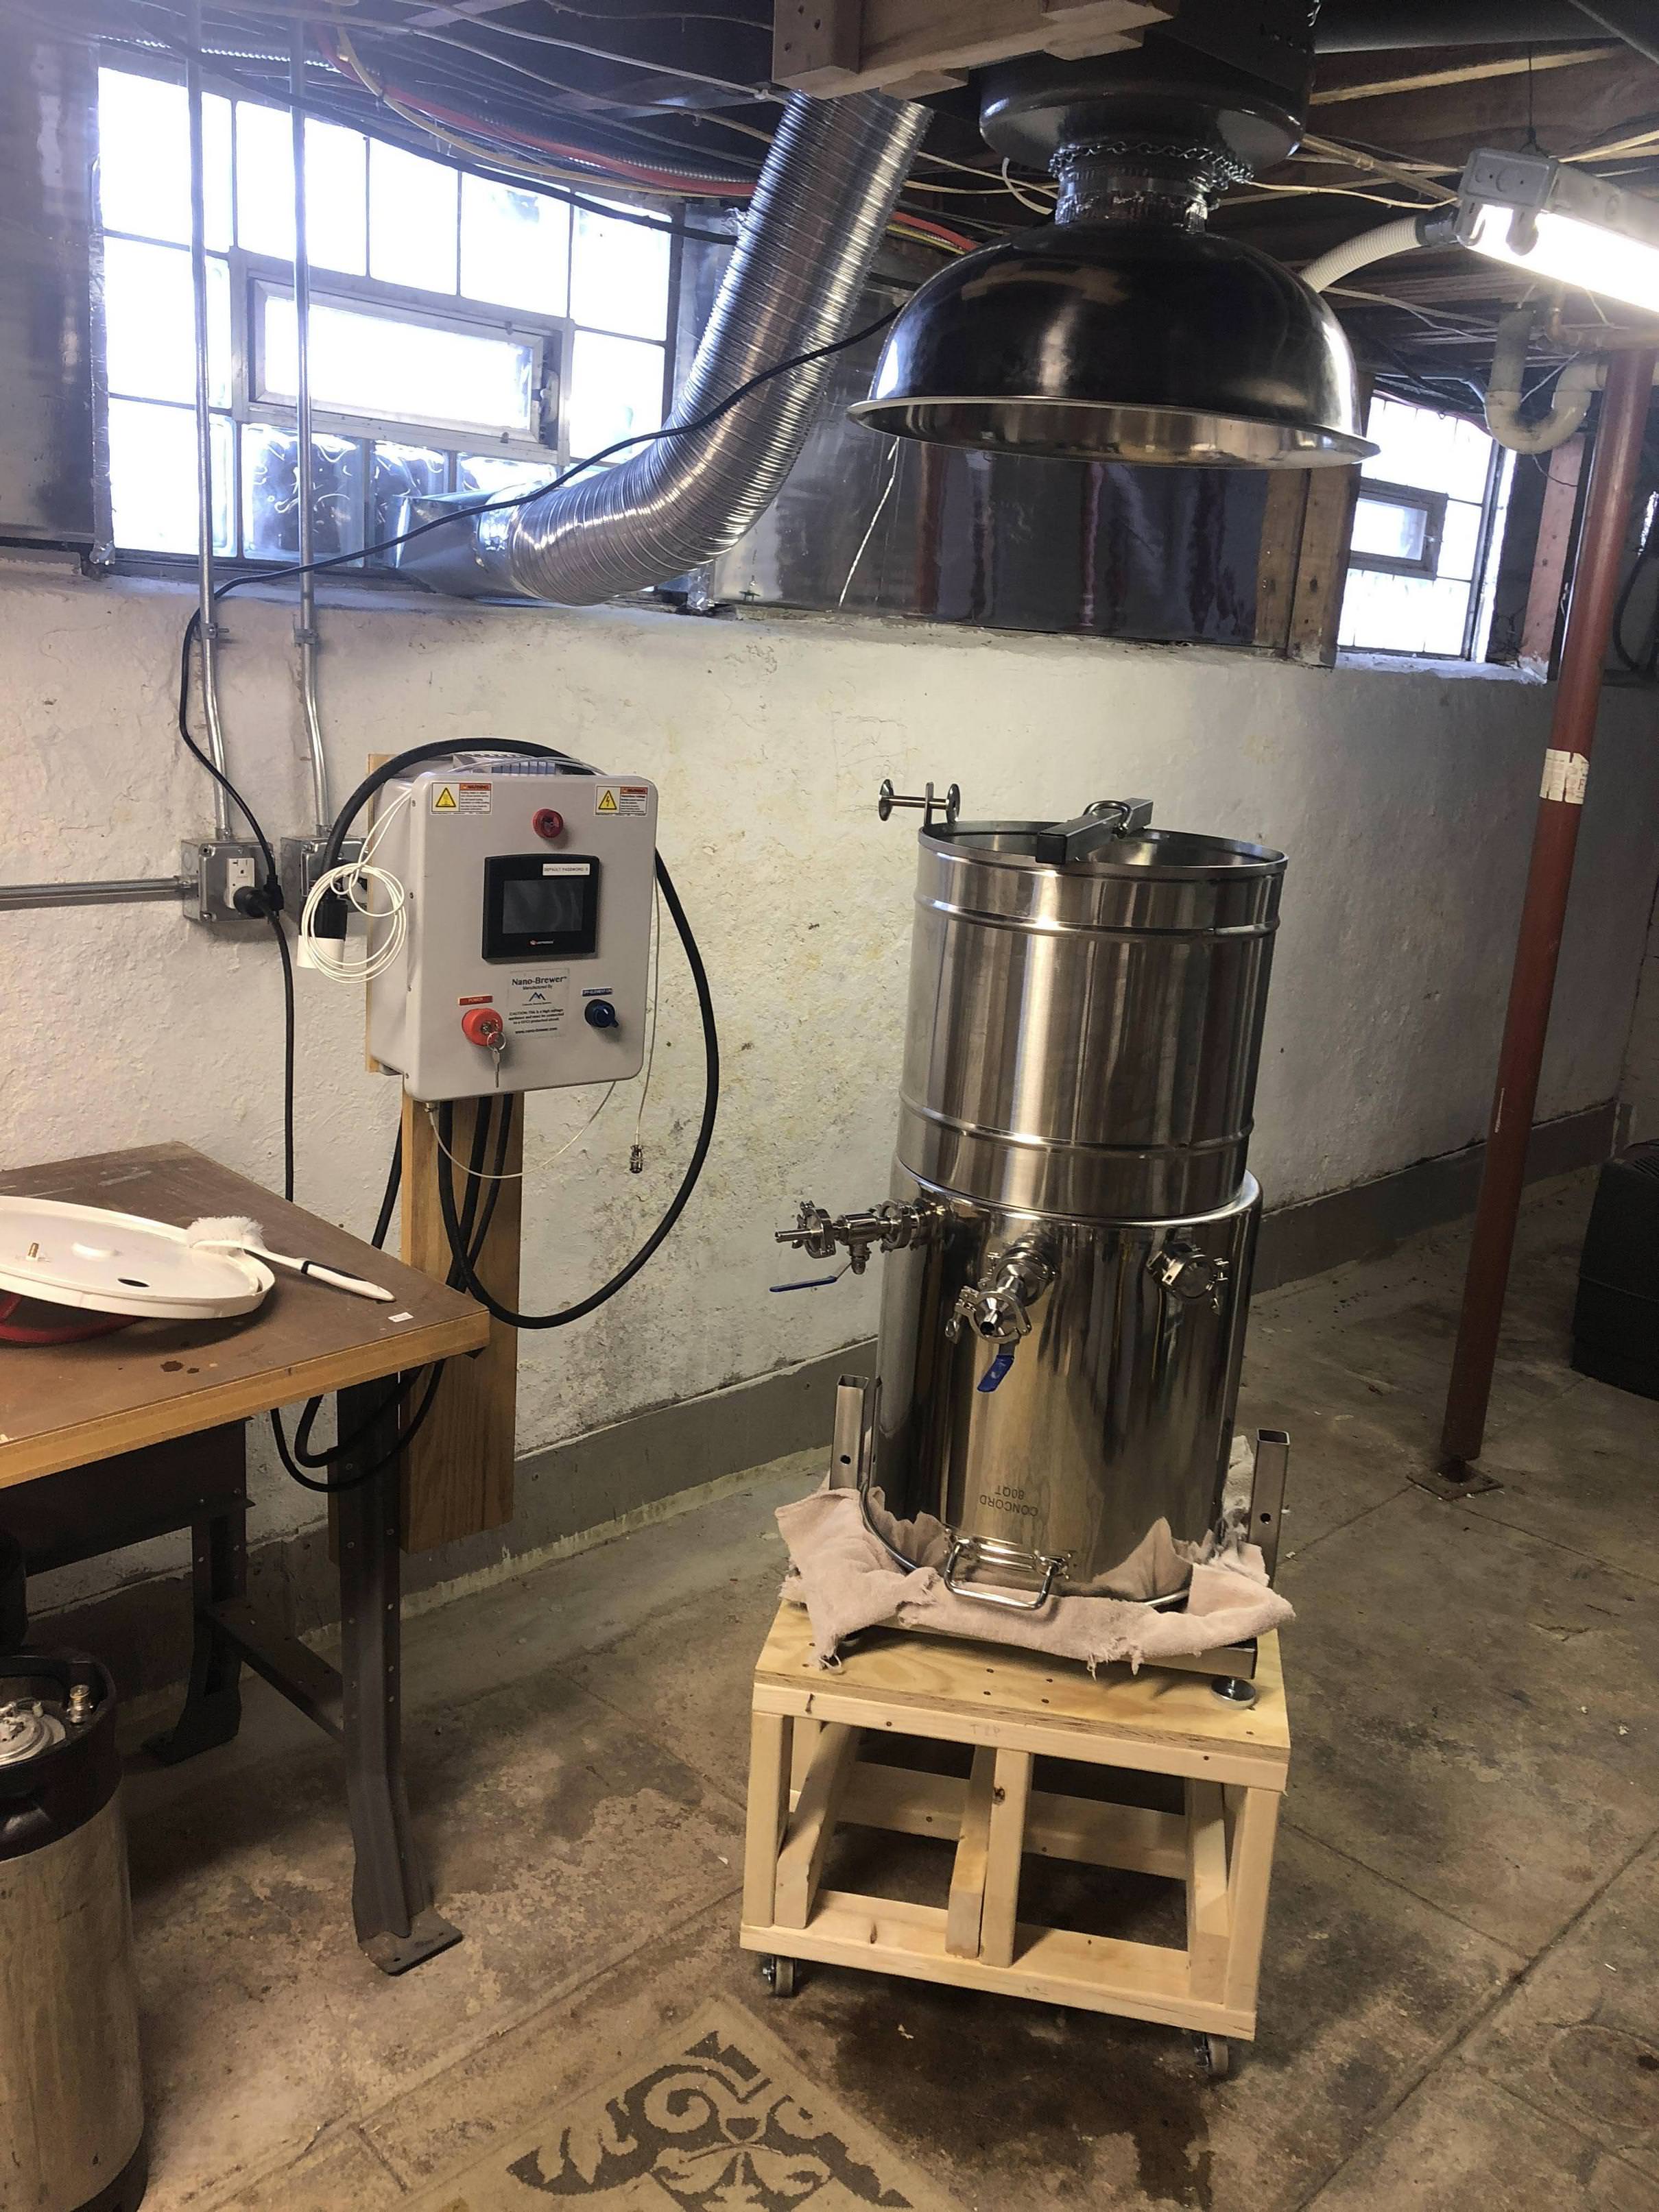
One thing I don't like and worry about every brew day is how the pump/valve assembly sticks out by a freaking mile. I worry I will bump it and that huge lever arm will assist me in breaking something. Sounds like you're using a different pump and will do your own plumbing though. I intend to replumb mine but that means some more hose, TC fittings, and developing some way to remount the pump and valve.
I found that I really like triclamps, first time I ever used them was on this system. They are easy to use and 100% reliable.
One thing I don't like and worry about every brew day is how the pump/valve assembly sticks out by a freaking mile. I worry I will bump it and that huge lever arm will assist me in breaking something. Sounds like you're using a different pump and will do your own plumbing though. I intend to replumb mine but that means some more hose, TC fittings, and developing some way to remount the pump and valve.


![Craft A Brew - Safale BE-256 Yeast - Fermentis - Belgian Ale Dry Yeast - For Belgian & Strong Ales - Ingredients for Home Brewing - Beer Making Supplies - [3 Pack]](https://m.media-amazon.com/images/I/51bcKEwQmWL._SL500_.jpg)