I am also looking at a King Cobra since my current IC is rather tall. How are people with the KC suspending it in the wort? Are you hanging it from the pulley or getting a custom bend so it can just sit on the rim of the kettle?
You are using an out of date browser. It may not display this or other websites correctly.
You should upgrade or use an alternative browser.
You should upgrade or use an alternative browser.
Unboxing the Nano from CO Brewing
- Thread starter pretzelb
- Start date

Help Support Homebrew Talk:
This site may earn a commission from merchant affiliate
links, including eBay, Amazon, and others.
Hello all,
This thread has been super helpful! I am looking to order a Nano Brewer Home system in the next month or so and have a couple questions.
I see people are replacing the sight gauge with a second whirlpool fitting - I am interested in this as I want to prevent scorching the element. Can you request this be done by Colorado Brewing or do you do this yourselves? Any additional costs?
People have talked about sparging at the end of the mash especially for big beers - I am curious what is your system/process for rinsing out the grains? My current process is batch sparging with an igloo cooler, so not really used to fly sparging.
I can guarantee it won't fit under the element, there's not 4" of room. There may be 4" of liquid above it in a 5 gallon batch, though. I'll verify that next time I brew in a day or two.
I am not convinced you need a second whirlpool. The only scorching I got on my element happened when I had a defective element with a hot spot, and one other time when I over-pumped and exposed it. For the boil, I run 100% power up to 207F, then cut power to 55% for cruise. (5 gallon batches)
More movement can't hurt but I don't want to give up my sight glass.
More movement can't hurt but I don't want to give up my sight glass.
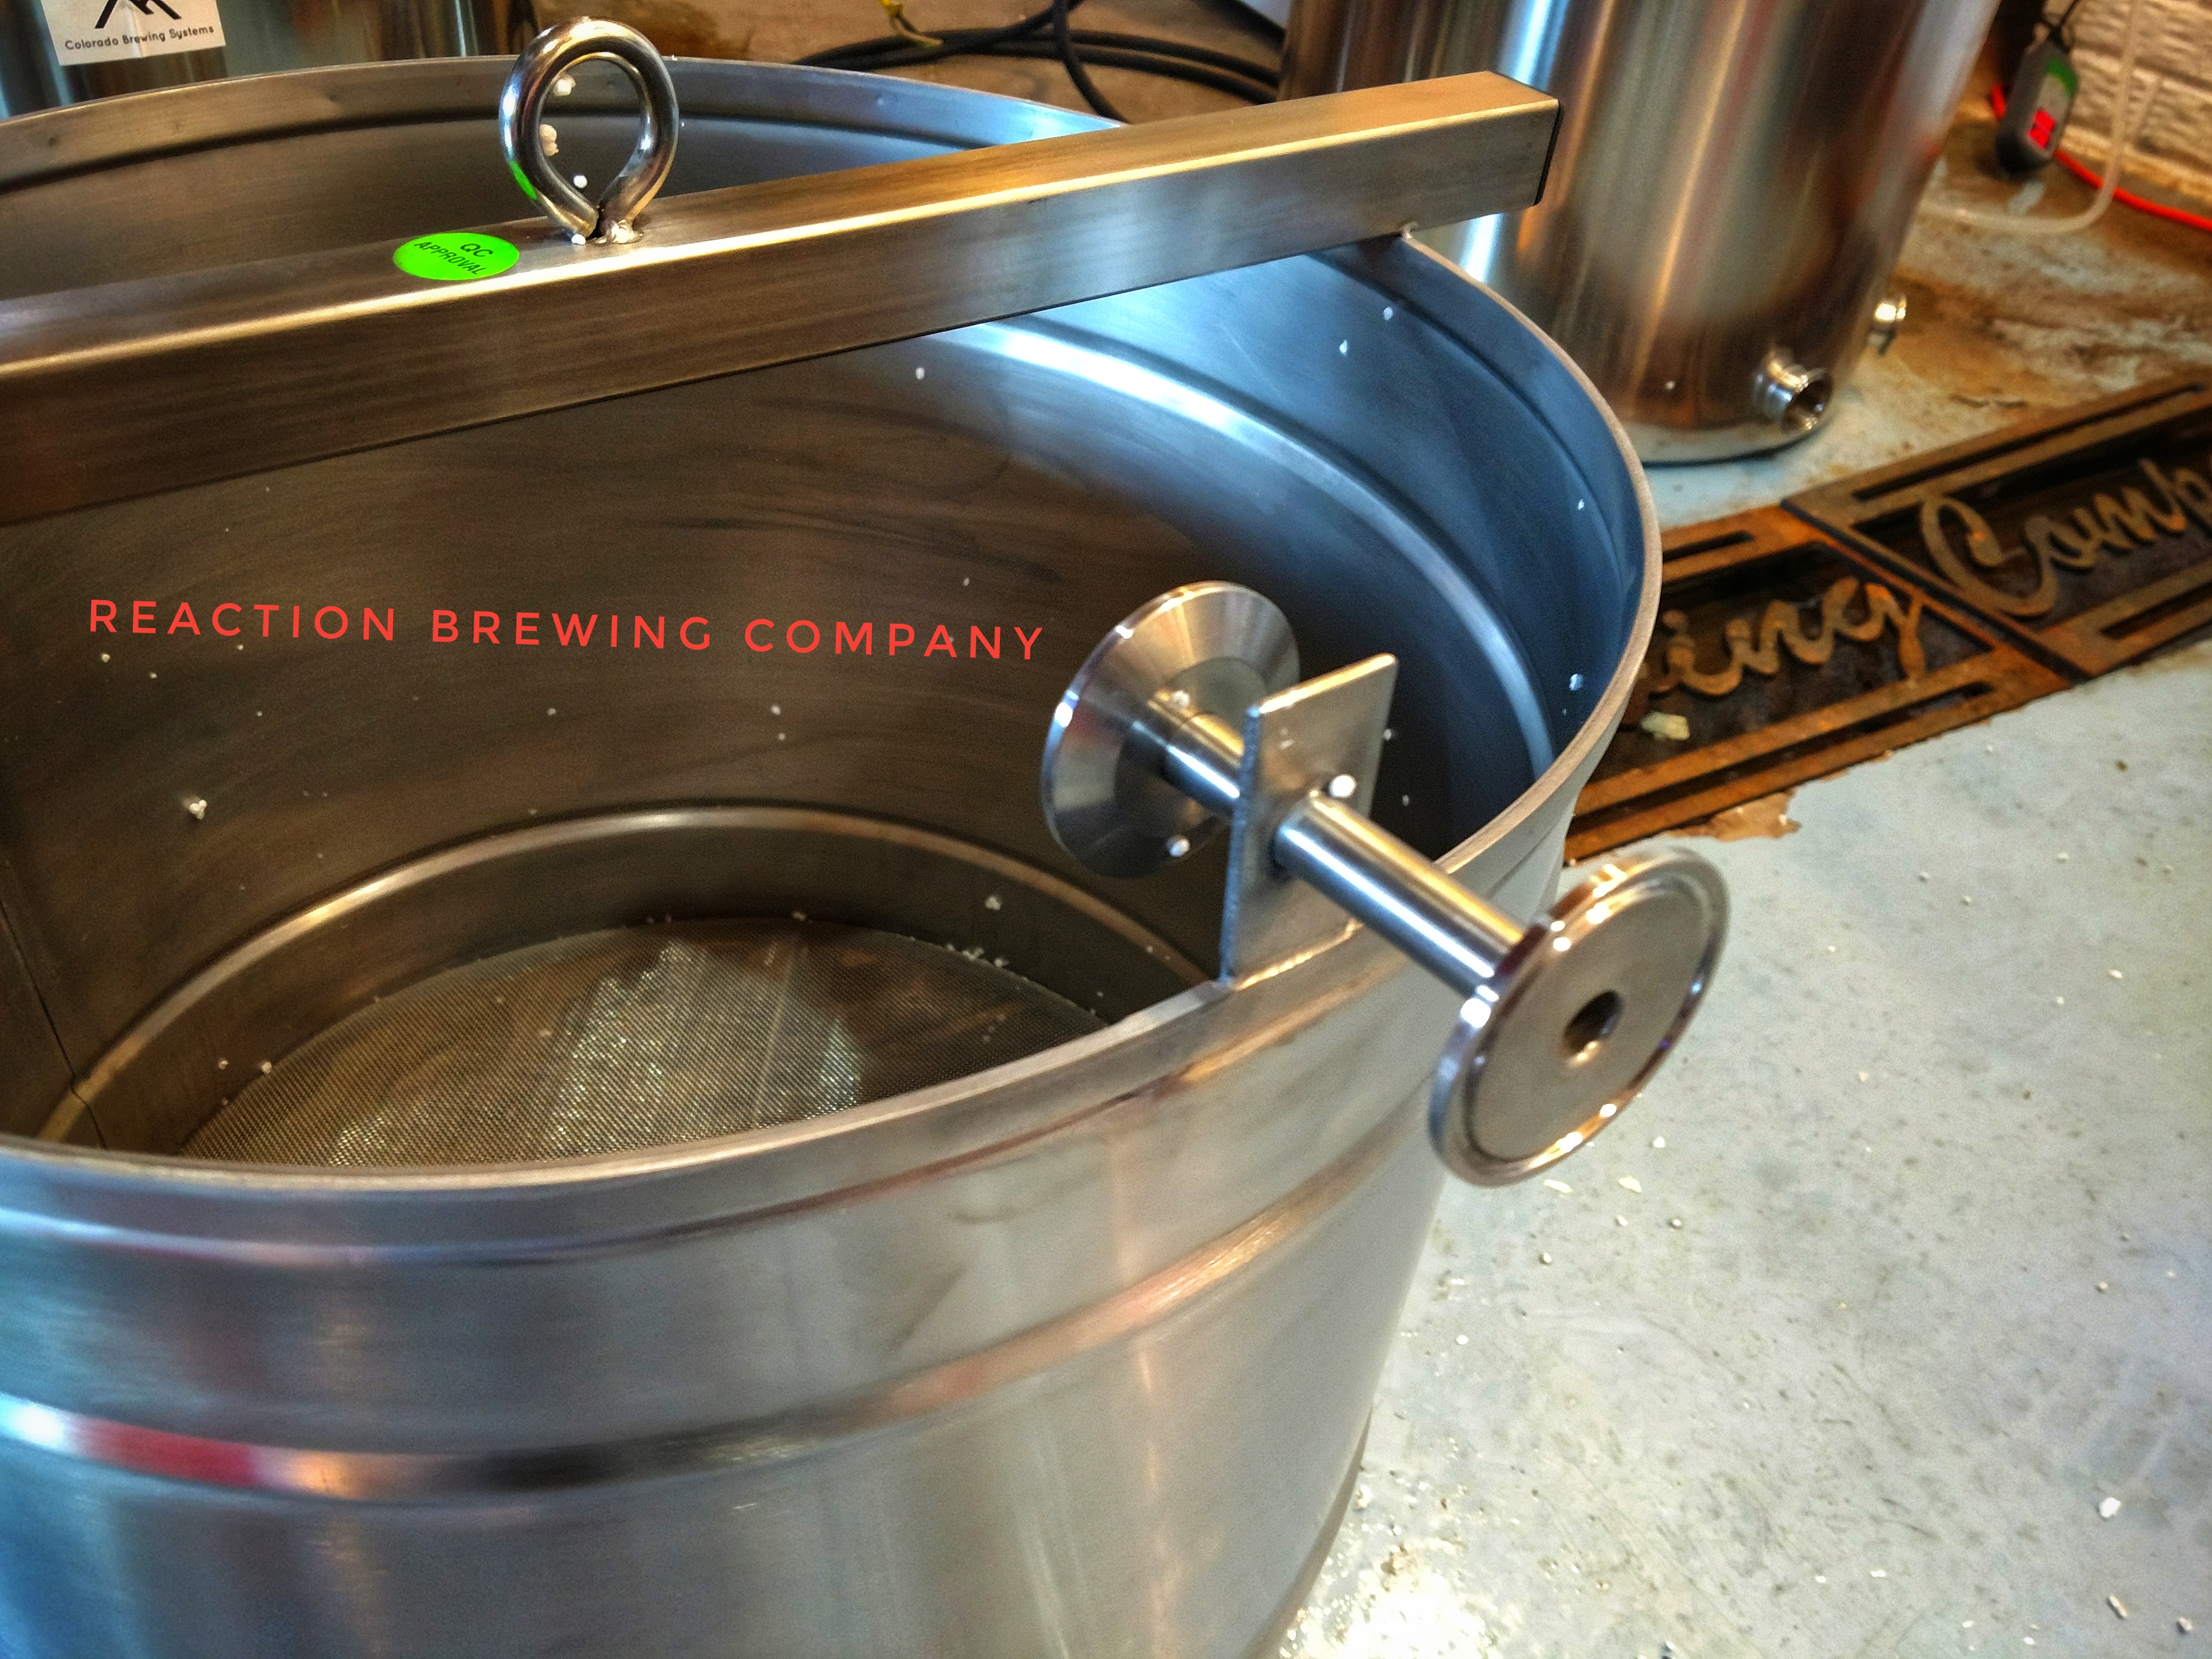
I just added a longer temp sensor through the sight glass so I could keep it and put the whirlpool in the now available temp probe hole.
View attachment IMG_4823.jpg
View attachment IMG_4823.jpg
I am not convinced you need a second whirlpool. The only scorching I got on my element happened when I had a defective element with a hot spot, and one other time when I over-pumped and exposed it. For the boil, I run 100% power up to 207F, then cut power to 55% for cruise. (5 gallon batches)
More movement can't hurt but I don't want to give up my sight glass.
is the sight glass helpful? i read it's worthless during the boil since the wort is, well, boiling so you can't get accurate volumes. i admit i never had one before on my equipment tho.


$53.24
1pc Hose Barb/MFL 1.5" Tri Clamp to Ball Lock Post Liquid Gas Homebrew Kegging Fermentation Parts Brewer Hardware SUS304(Liquid Hose Barb)
yunchengshiyanhuqucuichendianzishangwuyouxiangongsi
![Craft A Brew - Safale BE-256 Yeast - Fermentis - Belgian Ale Dry Yeast - For Belgian & Strong Ales - Ingredients for Home Brewing - Beer Making Supplies - [3 Pack]](https://m.media-amazon.com/images/I/51bcKEwQmWL._SL500_.jpg)
$53.24
1pc Hose Barb/MFL 1.5" Tri Clamp to Ball Lock Post Liquid Gas Homebrew Kegging Fermentation Parts Brewer Hardware SUS304(Liquid Hose Barb)
Guangshui Weilu You Trading Co., Ltd


$172.35
2 Inch Tri Clamp Keg Manifold With Ball Lock Posts, Pressure Gauge, PRV (0-30 PSI) – Homebrew, Fermentation, Kegging System
wuhanshijiayangzhiyimaoyiyouxiangongsi


$7.79 ($7.79 / Count)
Craft A Brew - LalBrew Voss™ - Kveik Ale Yeast - For Craft Lagers - Ingredients for Home Brewing - Beer Making Supplies - (1 Pack)
Craft a Brew


$44.99
$49.95
Craft A Brew - Mead Making Kit – Reusable Make Your Own Mead Kit – Yields 1 Gallon of Mead
Craft a Brew


$10.99 ($31.16 / Ounce)
Hornindal Kveik Yeast for Homebrewing - Mead, Cider, Wine, Beer - 10g Packet - Saccharomyces Cerevisiae - Sold by Shadowhive.com
Shadowhive


$58.16
HUIZHUGS Brewing Equipment Keg Ball Lock Faucet 30cm Reinforced Silicone Hose Secondary Fermentation Homebrew Kegging Brewing Equipment
xiangshuizhenzhanglingfengshop


$22.00 ($623.23 / Ounce)
AMZLMPKNTW Ball Lock Sample Faucet 30cm Reinforced Silicone Hose Secondary Fermentation Homebrew Kegging joyful
无为中南商贸有限公司


$33.99 ($17.00 / Count)
$41.99 ($21.00 / Count)
2 Pack 1 Gallon Large Fermentation Jars with 3 Airlocks and 2 SCREW Lids(100% Airtight Heavy Duty Lid w Silicone) - Wide Mouth Glass Jars w Scale Mark - Pickle Jars for Sauerkraut, Sourdough Starter
Qianfenie Direct


$20.94
$29.99
The Brew Your Own Big Book of Clone Recipes: Featuring 300 Homebrew Recipes from Your Favorite Breweries
Amazon.com


$479.00
$559.00
EdgeStar KC1000SS Craft Brew Kegerator for 1/6 Barrel and Cornelius Kegs
Amazon.com

$176.97
1pc Commercial Keg Manifold 2" Tri Clamp,Ball Lock Tapping Head,Pressure Gauge/Adjustable PRV for Kegging,Fermentation Control
hanhanbaihuoxiaoshoudian
I find the sight glass very useful but it takes some extra steps to make it work. If you just attach it, any marks you have made are likely off due to differences how it's leaning, and floor level if your unit doesn't stay in exactly the same place, and even the rotation of the kettle contributes.
So, I put new marks on the sight glass every time I use it. Say I am putting in 8.5 gallons. I add 5 gallons, and then use a dry erase marker to put a mark on the sight glass. Then I add 1 gallon, and do it again, and do it again, then add the last 0.5 gallon. Now I have a full volume of mash water and trustworthy tick marks at 5, 6, 7, 8 gal.
Now I can use the glass during the mash, and to check volume after the mash, and after the boil. It's not so important for the boil because my boil off rate is steady, and I am generally right on my expected post-pash volume... but I like to be sure. My post-mash volume is generally set a little under target though, so I can do about 0.5 gal pour-over sparge. It's helpful to know exactly how much volume I need to make up, so I really don't want to do without the glass.
Putting in the ticks sounds like a hassle but it just takes a few extra minutes. If you pour slowly the water doesn't bounce around too much and you can mark the glass right away.
I don't get what downsides there would be with counterflow vs immersion chiller... as i see it, counterflow chiller is not needed to clean at all.. simply just circulate boiling hot wort through it a few minutest before starting to chill.. then it is sanitized....
After cooling and wort is transfered to fermenter, simply just circulate fresh tap water through it - and if you are paranoid, hot PBW.
I changed to a counterflow chiller, because there was alot less cleaning that immersion chiller - and it is always mounted to my brew-bench.
By the way, on my system which is essentialy the same i have both sight glass and whirlpool tube, and i love it..
Also i have now tried ONE brew with my new basket, which uses 600 micron mesh at bottom... seems alot better than the old 400 micron i had.
So now i have tried them all - 400 micron mesh sided, 400 micron solid sided, 600 micron solid sided. The 600 micron is the winner... 400 micron mesh sided does have great circulation, but efficiency is not very good. 400 micron solid sided does have circulation issues.
cyclonebeer
Well-Known Member
- Joined
- Nov 1, 2008
- Messages
- 112
- Reaction score
- 20
My CFC is all copper. After a brewing session, I back-flush pump, plumbing, and CFC with hot water to get the sticky stuff out. I don't worry about the CFC until a day or so before the next brew day. I throw the CFC in the oven at 350 deg for half hour or so. Nothing is going to live through that. After it cools I give it about a 10 min soak in a 5 gallon bucket of starsan. Rinse and flush and it looks brand spanking new. I just don't see a reason why I would ever want to go back to an immersion chiller. If a bus ever runs over my chiller, I'd buy another CFC in a heartbeat.
To clean my IC I simply rinse it under the tap. I'm unwilling to spend more effort to clean a chiller. YMMV. 
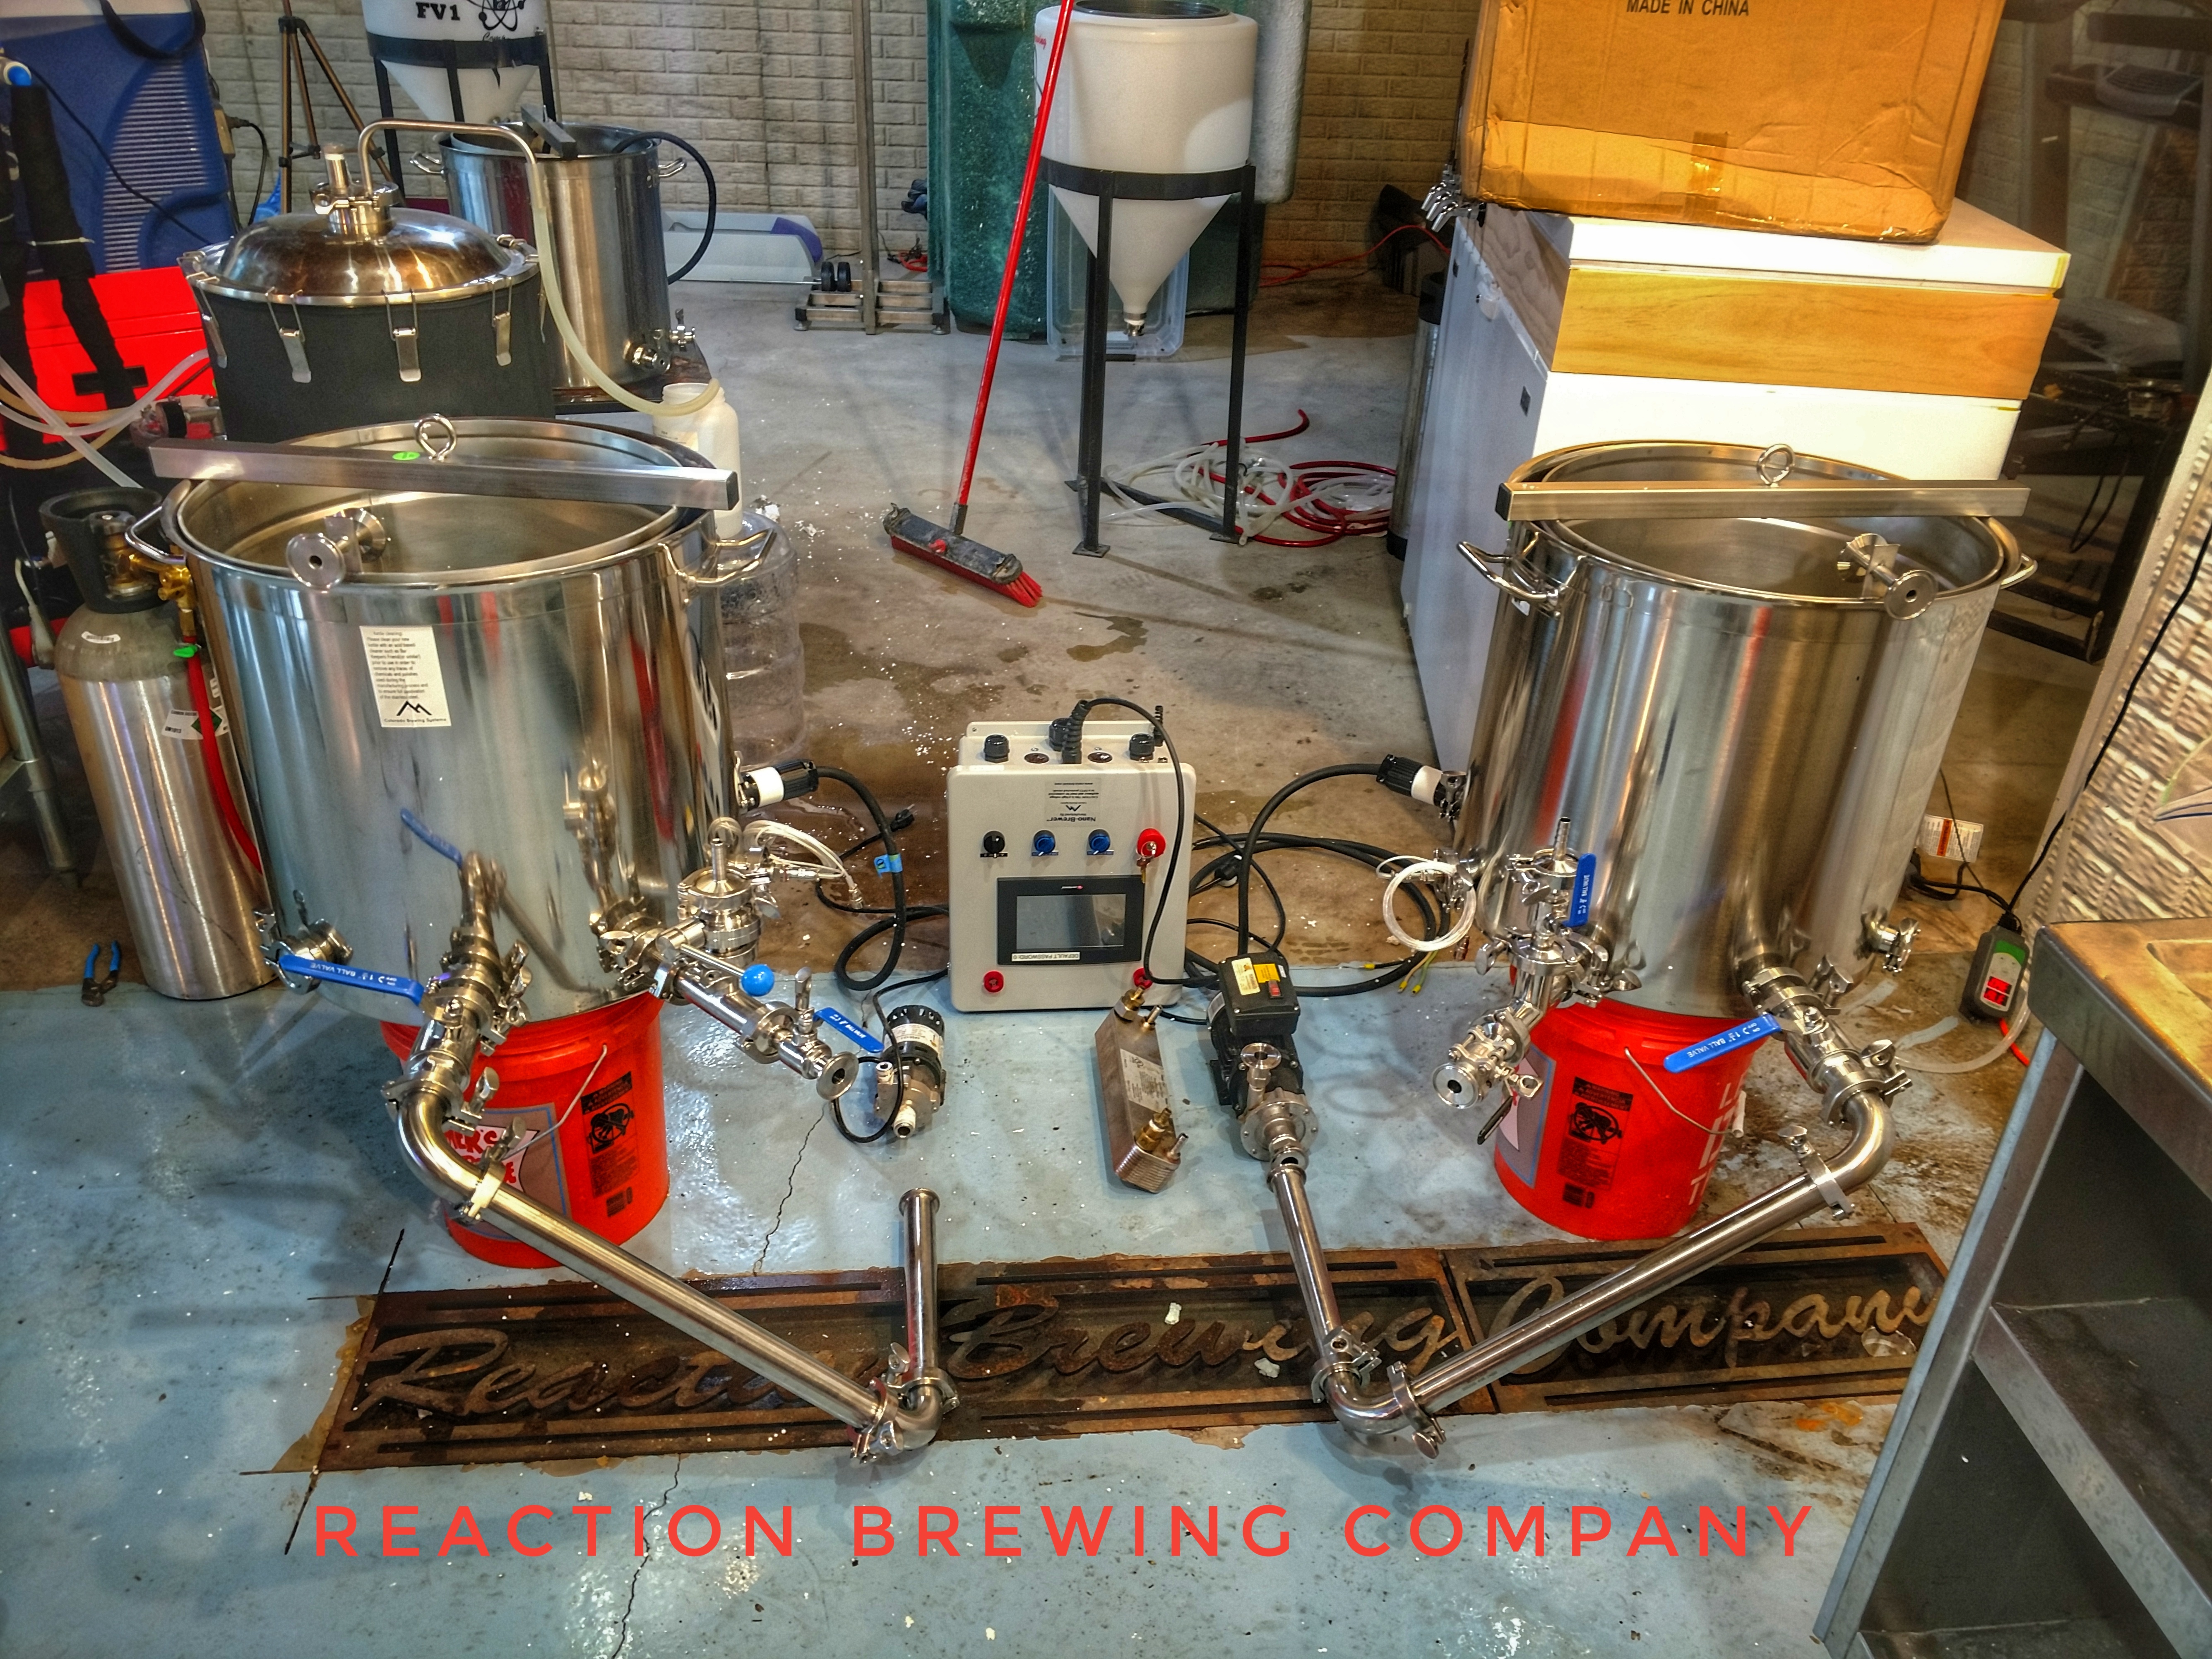
First brew on my 20 gallon Nano Brewer Home is complete. Yay!!!
I was very surprised with how easy brewing is on this system. A couple notes from my brew day.
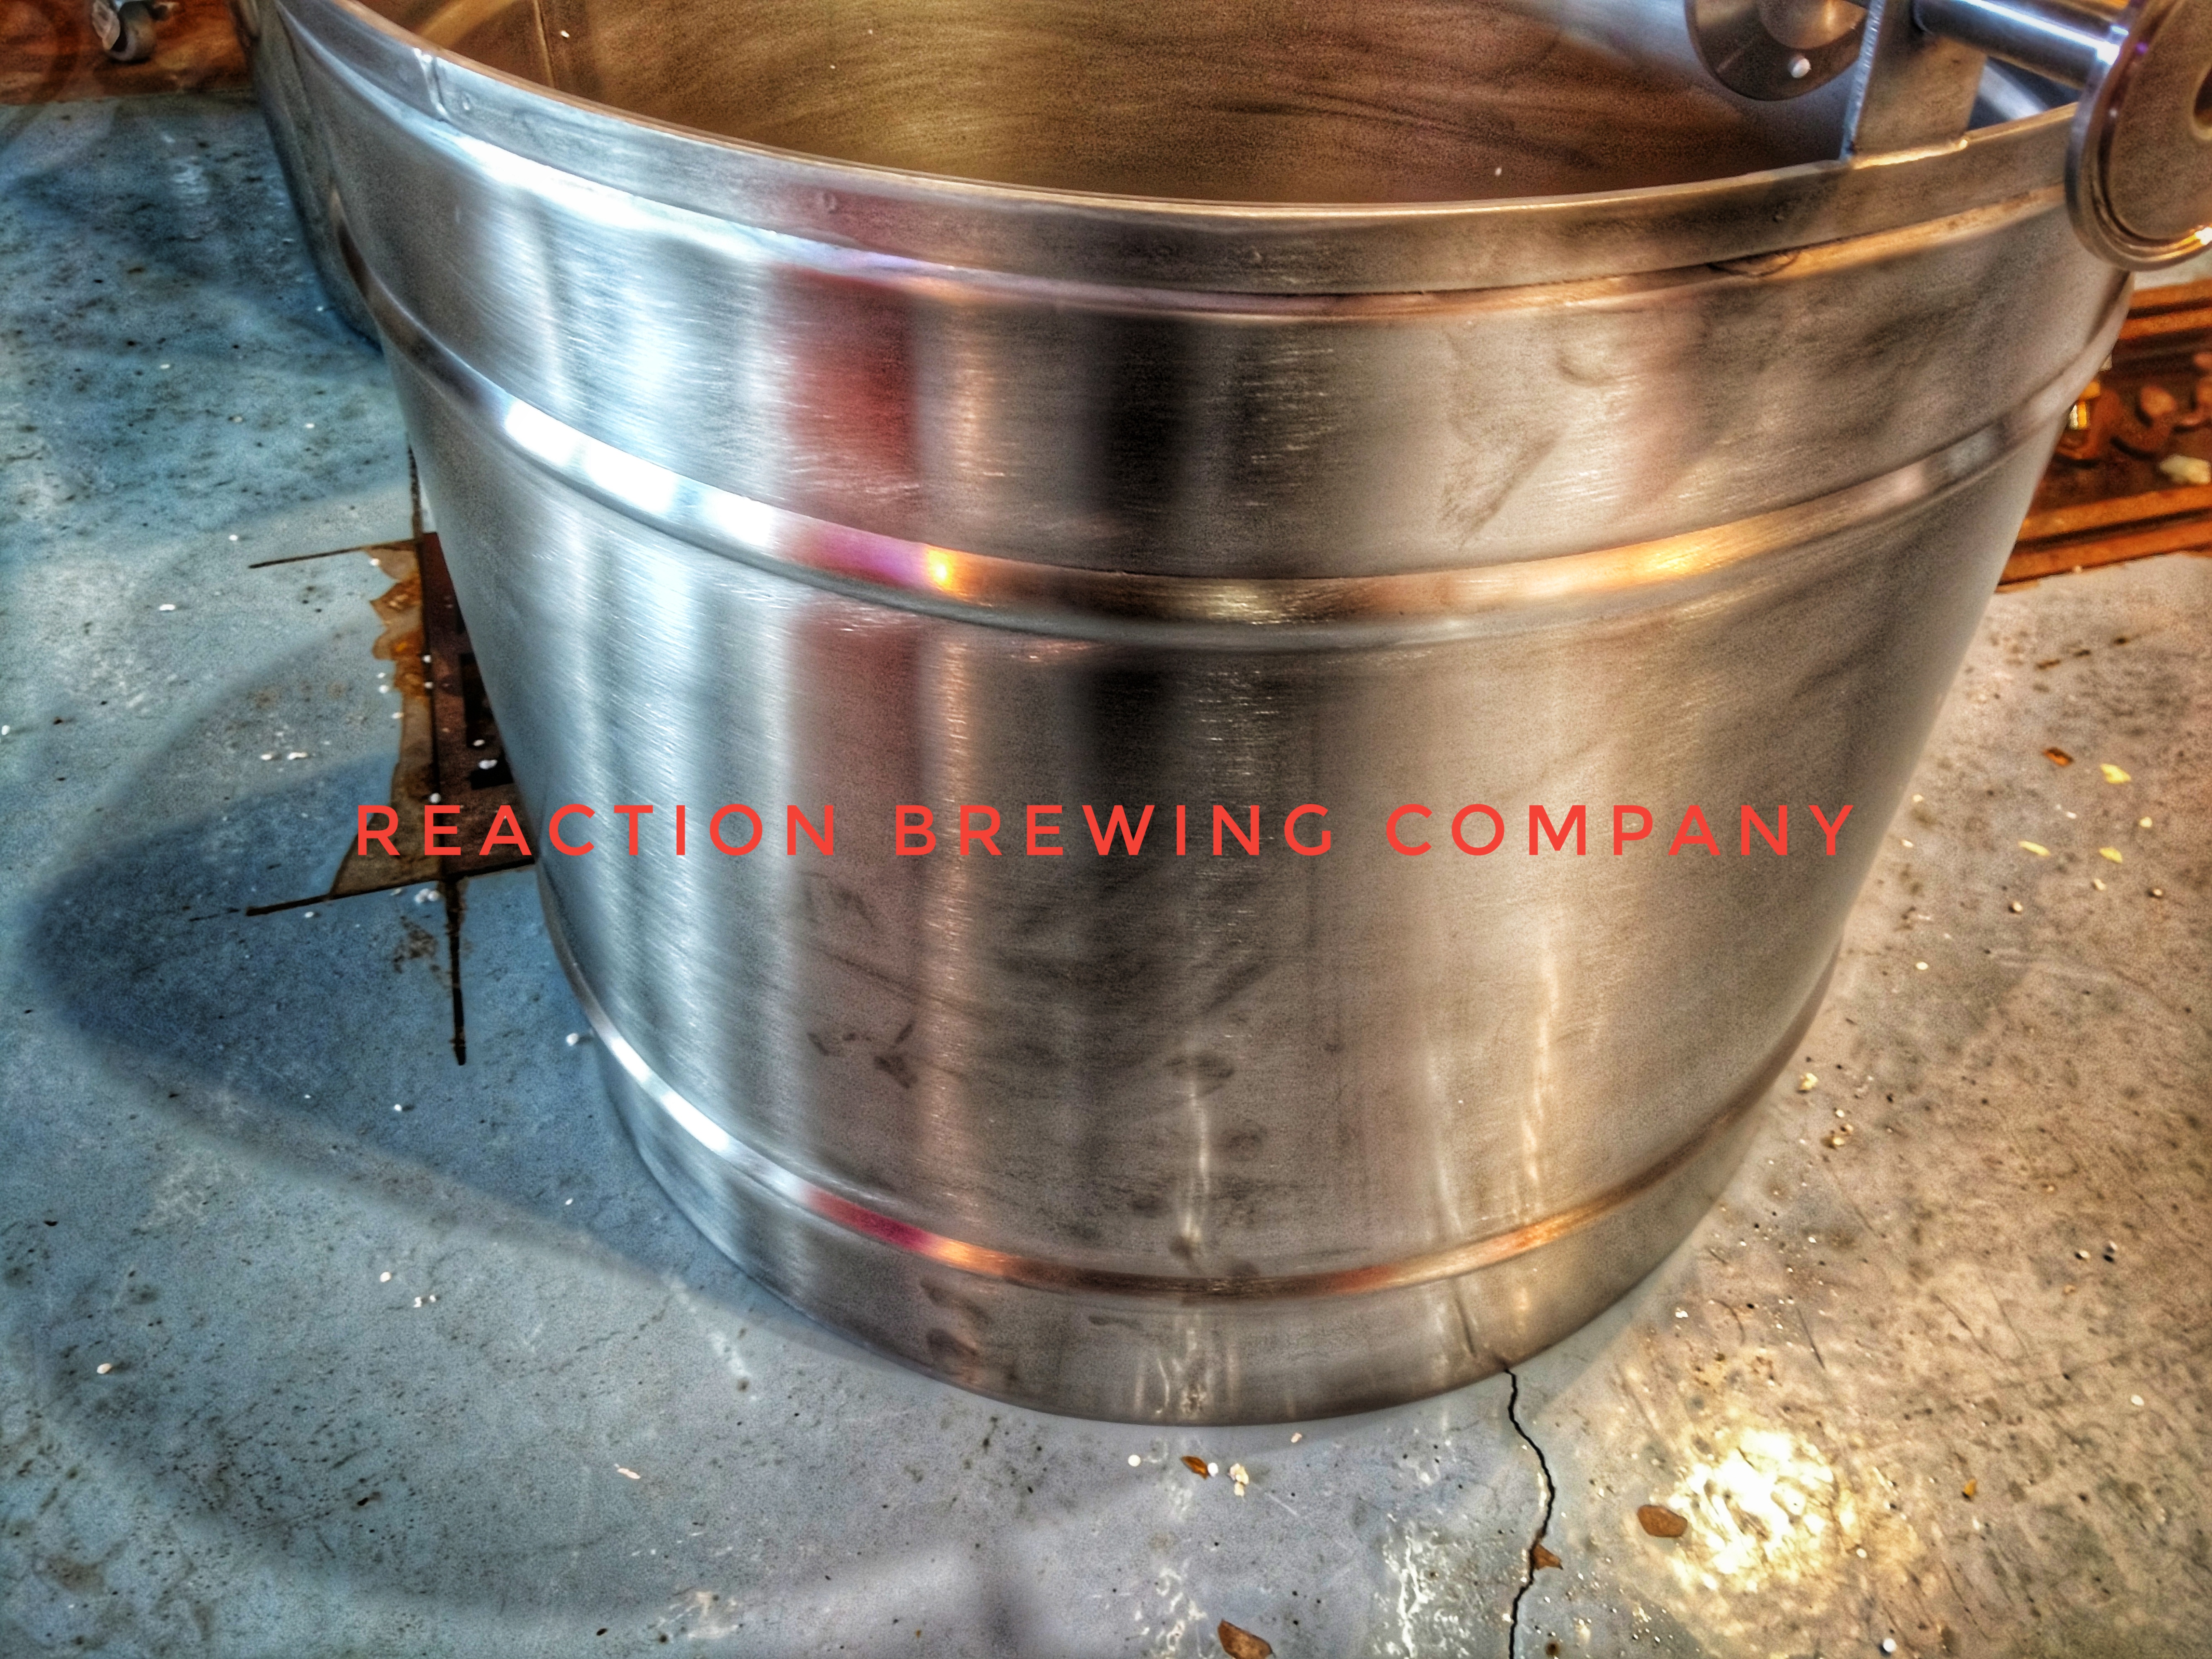
1. The first snag I ran into was getting the basket full of grain off the pulley. The frame was set so the sides sit on the ground at the same level as the feet, so the bottom of the basket is about an inch below the rim when raised. Luckily, my wife was nearby to put the lid on as I lifted the basket and the I set it on the lid and disconnected the pulley. How high do others have the frame off the ground?
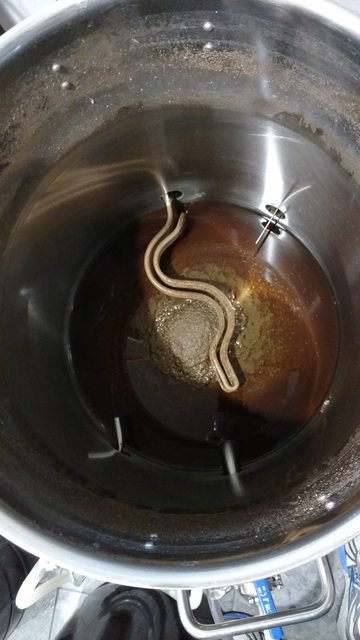
2. The whirlpool worked great even with an IC. The problem I had was trying to get all the hop material out of the kettle. I just kept adding some rinse water and trying to get it to drain out the pickup. My guess is that I need a hop basket.
3. My efficiency ended up being about 48%. My guess is the crush. This was the first time using my new Monster Mill and I set it to .045 inches (I took a feeler gauge and put both the .022 and .023 together and used that to size the gap). Not sure what my LHBS mill is set to, but my grain today did not look as crushed as theirs.
I was very surprised with how easy brewing is on this system. A couple notes from my brew day.
1. The first snag I ran into was getting the basket full of grain off the pulley. The frame was set so the sides sit on the ground at the same level as the feet, so the bottom of the basket is about an inch below the rim when raised. Luckily, my wife was nearby to put the lid on as I lifted the basket and the I set it on the lid and disconnected the pulley. How high do others have the frame off the ground?
2. The whirlpool worked great even with an IC. The problem I had was trying to get all the hop material out of the kettle. I just kept adding some rinse water and trying to get it to drain out the pickup. My guess is that I need a hop basket.
3. My efficiency ended up being about 48%. My guess is the crush. This was the first time using my new Monster Mill and I set it to .045 inches (I took a feeler gauge and put both the .022 and .023 together and used that to size the gap). Not sure what my LHBS mill is set to, but my grain today did not look as crushed as theirs.
02RedWS6TA
Well-Known Member
First brew on my 20 gallon Nano Brewer Home is complete. Yay!!!
I was very surprised with how easy brewing is on this system. A couple notes from my brew day.
1. The first snag I ran into was getting the basket full of grain off the pulley. The frame was set so the sides sit on the ground at the same level as the feet, so the bottom of the basket is about an inch below the rim when raised. Luckily, my wife was nearby to put the lid on as I lifted the basket and the I set it on the lid and disconnected the pulley. How high do others have the frame off the ground?
2. The whirlpool worked great even with an IC. The problem I had was trying to get all the hop material out of the kettle. I just kept adding some rinse water and trying to get it to drain out the pickup. My guess is that I need a hop basket.
3. My efficiency ended up being about 48%. My guess is the crush. This was the first time using my new Monster Mill and I set it to .045 inches (I took a feeler gauge and put both the .022 and .023 together and used that to size the gap). Not sure what my LHBS mill is set to, but my grain today did not look as crushed as theirs.
Bring your crush down and it'll go up, .038-.042 area depending on the batch. Try a cheap shop vac for the hop material. I don't understand your first question so I'm no help there.
02RedWS6TA
Well-Known Member
New system came yesterday. Got it mocked up to start building the stand.
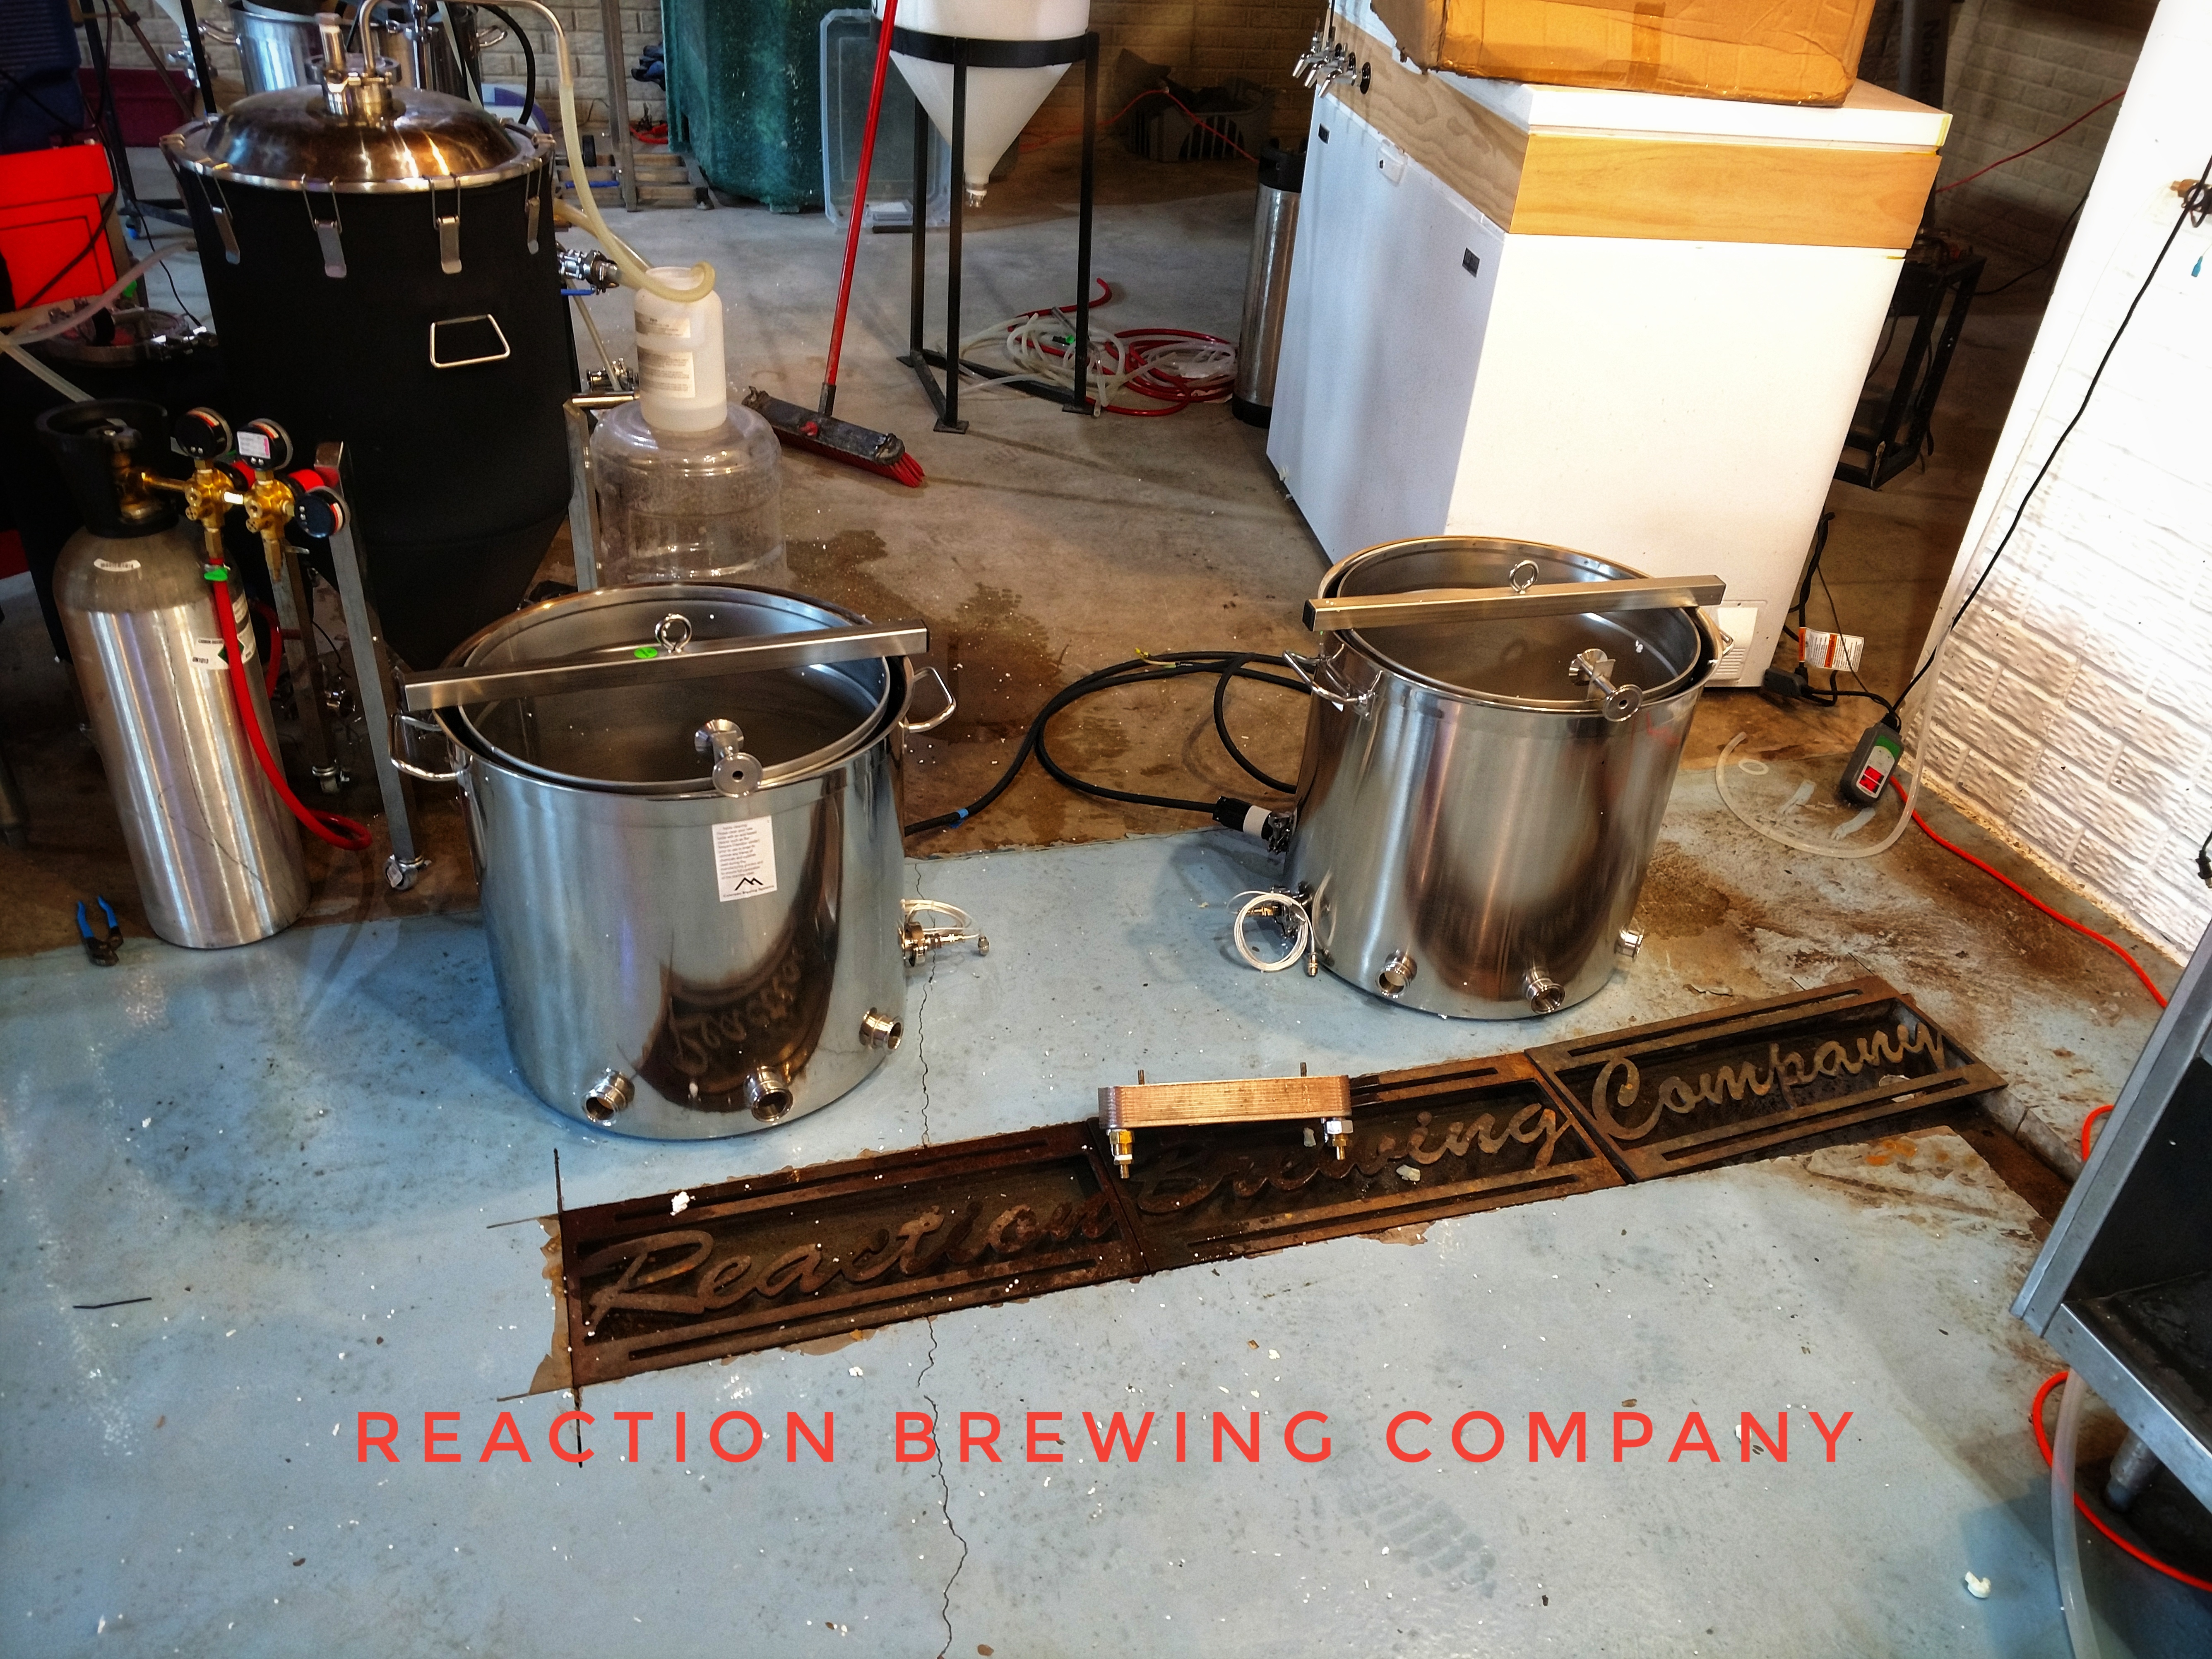
Unboxing
https://youtu.be/ibIVArBUIZE
Unboxing
https://youtu.be/ibIVArBUIZE
To disconnect the basket, I rest it on the rim of the kettle. I steady it with one hand and unhook the carabiner with the other hand, then carry it away.
To dump the hops, I just tip the kettle into my yard waste bin, which is nearby.
To dump the hops, I just tip the kettle into my yard waste bin, which is nearby.
pretzelb
Well-Known Member
Regarding CFC vs IC, I went IC because there is practically no cleanup and I avoid all worries about clogging. I started with a nice plate chiller that worked very well but I was always worried about how clean it was inside and trying to prevent clogging.
- Joined
- Feb 29, 2016
- Messages
- 502
- Reaction score
- 316
Regarding CFC vs IC, I went IC because there is practically no cleanup and I avoid all worries about clogging. I started with a nice plate chiller that worked very well but I was always worried about how clean it was inside and trying to prevent clogging.
I am low/ no cleanup. My CFC seems to fit the bill. Started with a plate chiller. Not good for lots of hops. The CFC handles it like a champ.
I'm waiting for a custom built stainless counterflow chiller, with 1/2" ID inner tube, welded tri-clover connectors for wort - and total coil length of ~32-33 feet. It will probably be alot better than my stainless 12 feet CFC, which is same type as morebeer and a few others is selling.
I don't understand your first question so I'm no help there.
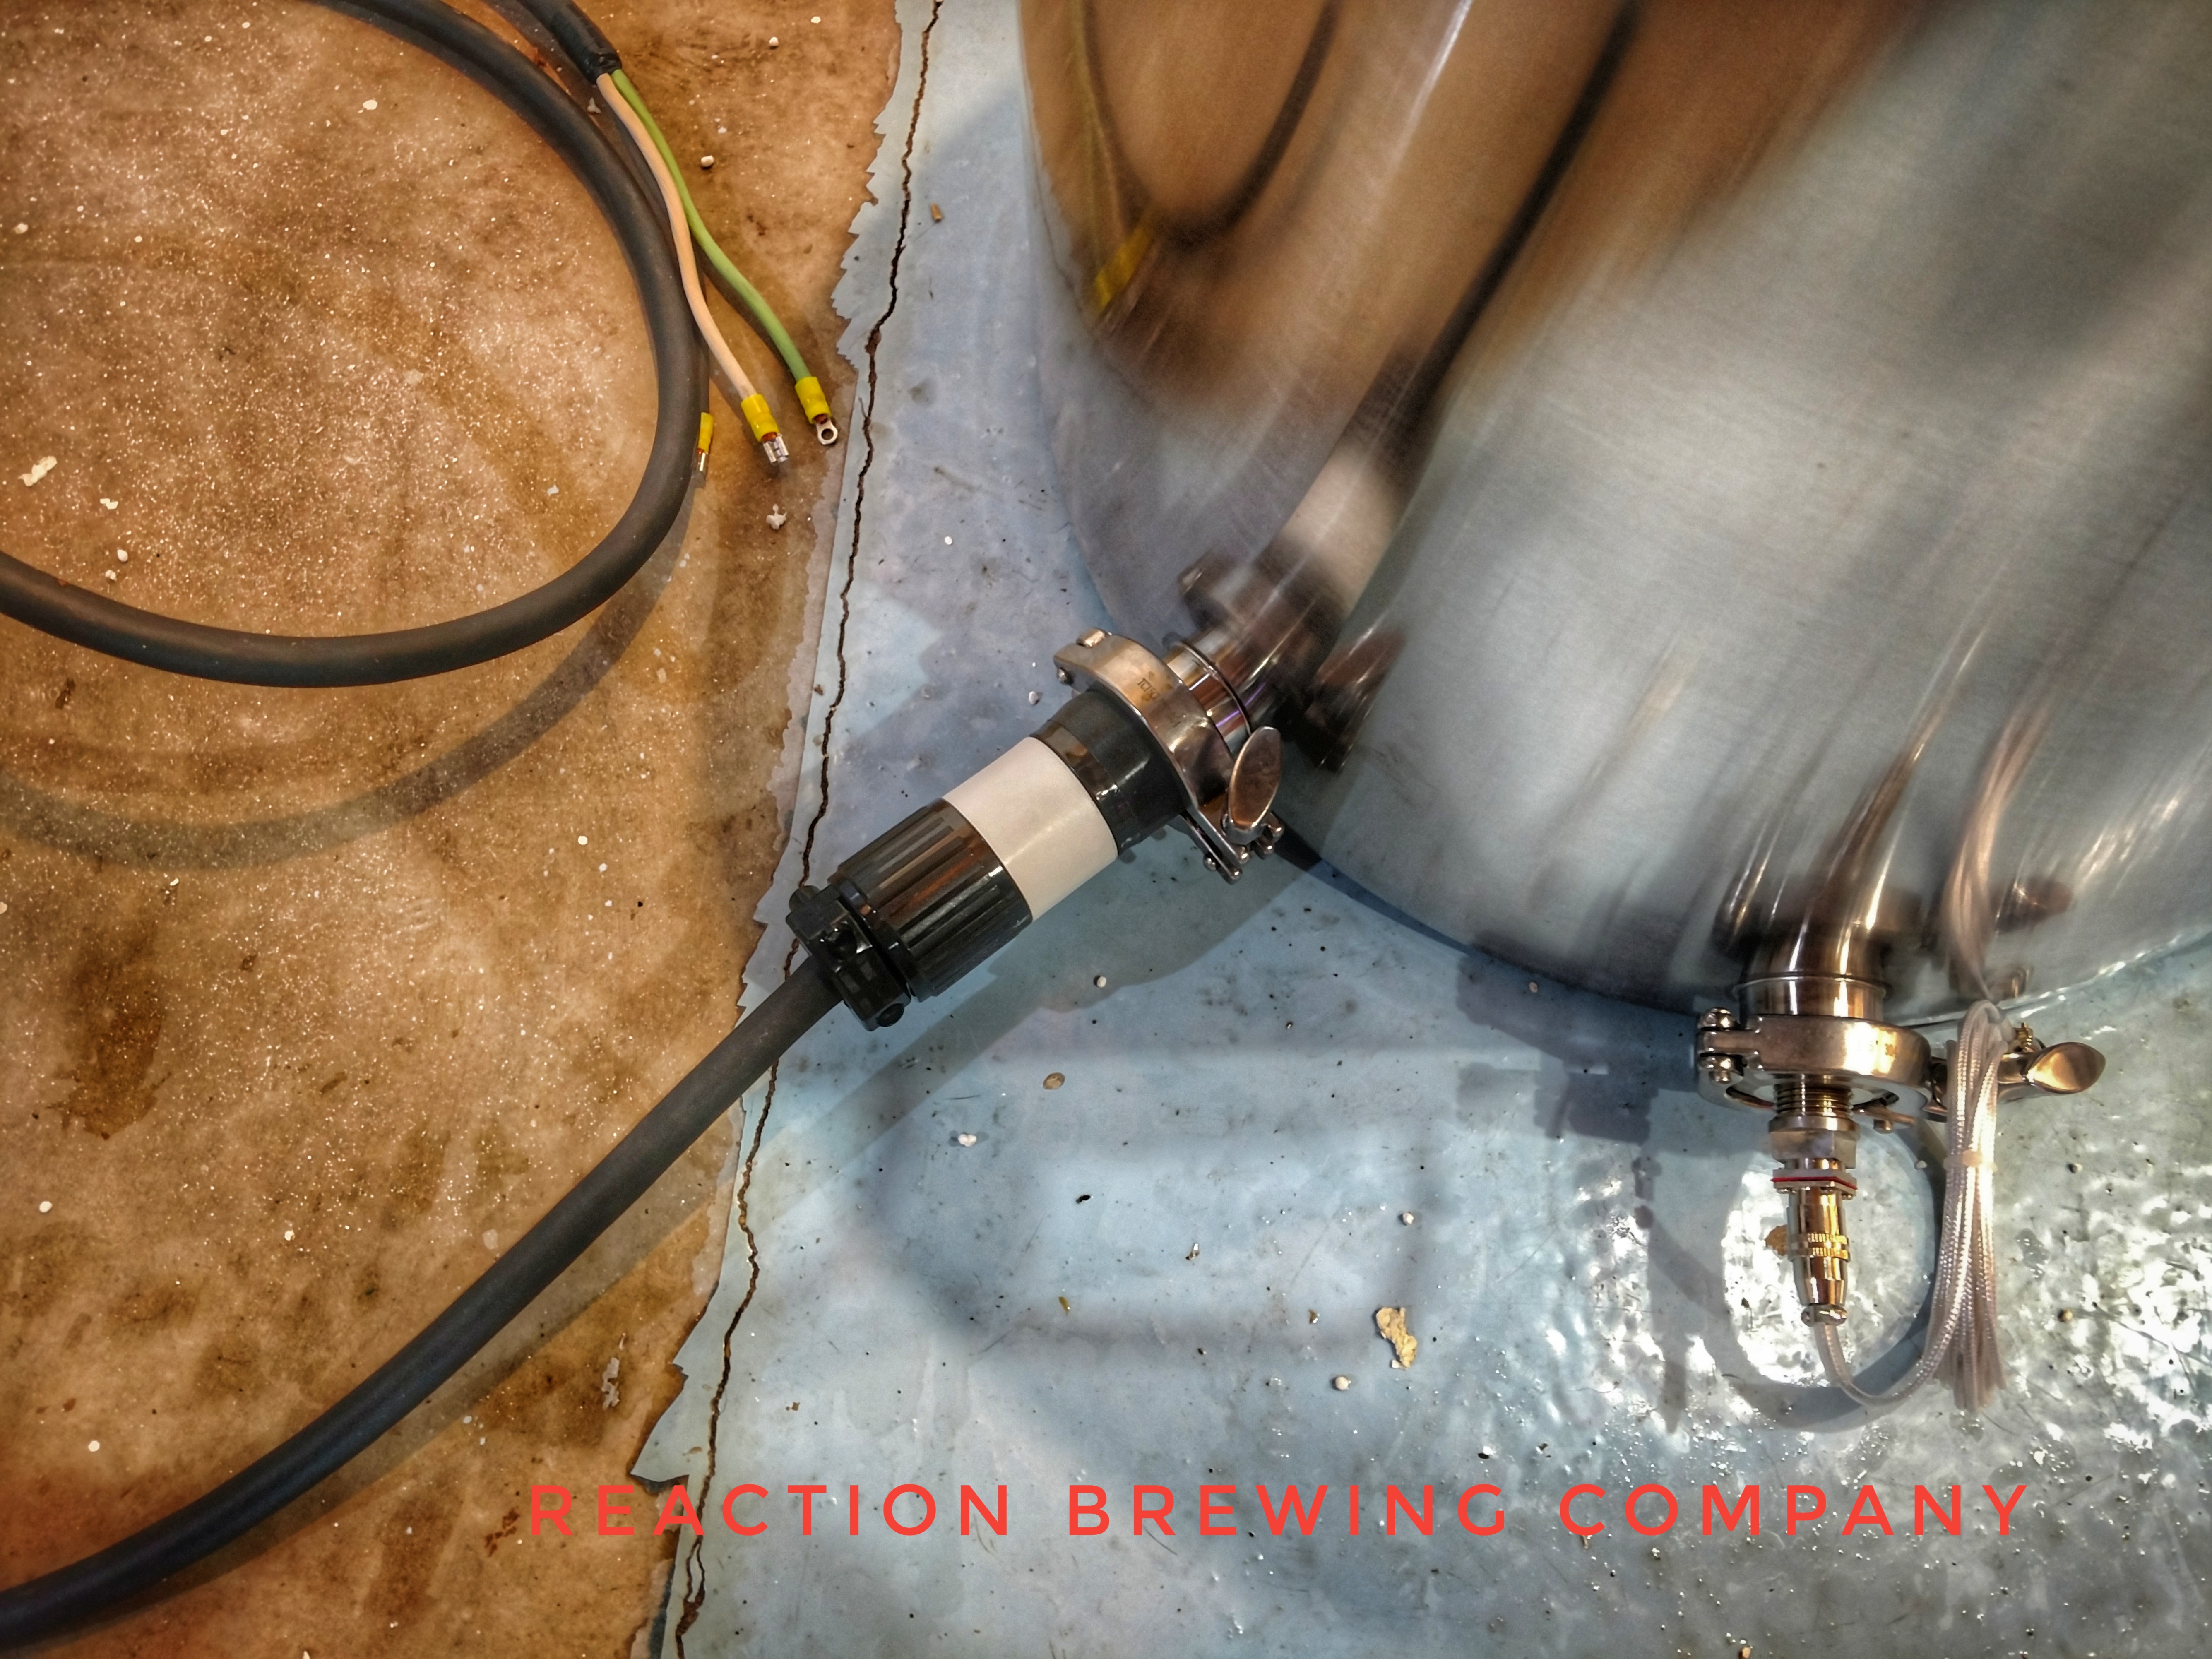
Maybe a picture will help.
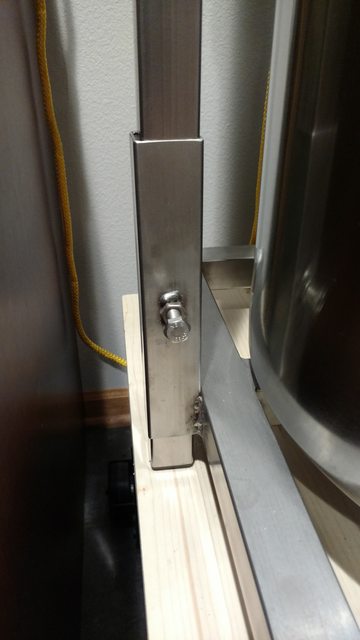
There are no holes in the vertical frame, so I assume that the frame is supposed to be held up by that bolt pressing against the frame on either side? I don't know if I trust those two bolts to hold up the weight of the frame, the control panel, the basket full of wet grain, and me pulling on it. As you can see in the picture the vertical frame is currently resting on the wood and the bolts are just providing support.
jabba11
www.CeeGeeBrewing.com
I am also looking at a King Cobra since my current IC is rather tall. How are people with the KC suspending it in the wort? Are you hanging it from the pulley or getting a custom bend so it can just sit on the rim of the kettle?
I hang my hydra from an eye bolt that I attached to it and use the pulley set up to suspend it. its not always completely submerged but it does the job especially while the counterflow is running and pushing the wort around it etc. I suspect the cobra would work similarly
jabba11
www.CeeGeeBrewing.com
I don't get what downsides there would be with counterflow vs immersion chiller... as i see it, counterflow chiller is not needed to clean at all.. simply just circulate boiling hot wort through it a few minutest before starting to chill.. then it is sanitized....
After cooling and wort is transfered to fermenter, simply just circulate fresh tap water through it - and if you are paranoid, hot PBW.
I changed to a counterflow chiller, because there was alot less cleaning that immersion chiller - and it is always mounted to my brew-bench.
By the way, on my system which is essentialy the same i have both sight glass and whirlpool tube, and i love it..
Also i have now tried ONE brew with my new basket, which uses 600 micron mesh at bottom... seems alot better than the old 400 micron i had.
So now i have tried them all - 400 micron mesh sided, 400 micron solid sided, 600 micron solid sided. The 600 micron is the winner... 400 micron mesh sided does have great circulation, but efficiency is not very good. 400 micron solid sided does have circulation issues.
Ive considered a CFC becaseu it can be permanently mounted. I do like that idea. I had my IC before though and it works just fins. Cleaning it involves rinsing it after I pump to the fermenter whiles its hanging in the kettle so cleaning it is not an issue at all. I don't make many high gravity beers. Most of mine are 6% or less. That said I have never had a stuck mash in my 400 micron hard sided malt pipe. I have simply found ways to over come it with a few minor mods. I also haven't had a scorch at all since going to a ULD ripple and running the whirlpool during mash and boil. Why do youthink the 600 which is a tighter mesh has less circulation issues. I know its experience for you but IM curious why that would be. truth be told I cant figure out exactly what or what combination of things have allowed me to dial mine in. I just know its working and am done fiddling with that part of it
")
What is everyone using to chill their 20 gallon Nano Home? I have a Jaded Wasp immersion chiller that worked well in a smaller kettle but it's taking forever to get 6ish gallons to a reasonable temperature using ground water (I usually give up around 80F and let the ferm chamber finish it off). In a 5 gallon batch only 3/4 of the chiller is submerged and the element gets in the way. I tried using a counterflow chiller on one batch but didn't like it due to cleaning/sanitation concerns and added complexity. I'm curious how everyone else is getting their wort to pitching temp.
I had the same problem.. now i use plate chiller and SS filter... no more issues or worries about clogging, and cools as fast as i pump... usually about 70 in summer... low 50s in winter... 10 gal batches
Hanging the IC is a good idea. I bent thick copper wire to make crude "feet" for mine, which lets it stand level and straddle the element.
Speaking of chillers and garden hoses, this summer I found a good quality and good priced metal quick disconnect system. I am super happy with these and have them on every hose and hose accessory now, including my chiller.
https://www.amazon.com/gp/product/B00M0UJOJQ/?tag=skimlinks_replacement-20
Speaking of chillers and garden hoses, this summer I found a good quality and good priced metal quick disconnect system. I am super happy with these and have them on every hose and hose accessory now, including my chiller.
https://www.amazon.com/gp/product/B00M0UJOJQ/?tag=skimlinks_replacement-20
Last edited by a moderator:
cyclonebeer
Well-Known Member
- Joined
- Nov 1, 2008
- Messages
- 112
- Reaction score
- 20
Why do you think the 600 which is a tighter mesh has less circulation issues. I know its experience for you but IM curious why that would be. truth be told I cant figure out exactly what or what combination of things have allowed me to dial mine in. I just know its working and am done fiddling with that part of it [/QUOTE]
I think you have the mesh size backwards. Doesn't 400 mesh have a 400 micron gap between wires, and 600 mesh has a 600 micron gap between wires? Isn't 400 micron mesh tighter than 600?
[/QUOTE]I think you have the mesh size backwards. Doesn't 400 mesh have a 400 micron gap between wires, and 600 mesh has a 600 micron gap between wires? Isn't 400 micron mesh tighter than 600?
jabba11
www.CeeGeeBrewing.com
Why do you think the 600 which is a tighter mesh has less circulation issues. I know its experience for you but IM curious why that would be. truth be told I cant figure out exactly what or what combination of things have allowed me to dial mine in. I just know its working and am done fiddling with that part of it
I think you have the mesh size backwards. Doesn't 400 mesh have a 400 micron gap between wires, and 600 mesh has a 600 micron gap between wires? Isn't 400 micron mesh tighter than 600?[/Q
LOL that's correct.. not sure why I thought that..
cyclonebeer
Well-Known Member
- Joined
- Nov 1, 2008
- Messages
- 112
- Reaction score
- 20
cyclonebeer
Well-Known Member
- Joined
- Nov 1, 2008
- Messages
- 112
- Reaction score
- 20
Sorry, I'm hopeless when it comes to uploading photos. Anyway, that's my chiller setup. My CFC had a mounting plate on it but when I first started setting up my rig, I wasn't sure where I might want to mount it, so I made a temporary mounting stand out of PVC. I'm keeping it as is.
Ive considered a CFC becaseu it can be permanently mounted. I do like that idea. I had my IC before though and it works just fins. Cleaning it involves rinsing it after I pump to the fermenter whiles its hanging in the kettle so cleaning it is not an issue at all. I don't make many high gravity beers. Most of mine are 6% or less. That said I have never had a stuck mash in my 400 micron hard sided malt pipe. I have simply found ways to over come it with a few minor mods. I also haven't had a scorch at all since going to a ULD ripple and running the whirlpool during mash and boil. Why do youthink the 600 which is a tighter mesh has less circulation issues. I know its experience for you but IM curious why that would be. truth be told I cant figure out exactly what or what combination of things have allowed me to dial mine in. I just know its working and am done fiddling with that part of it
Yeah, as said above 600micron is larger than 400. 600 does still give clean wort, but with alot better flow. Sparging could take 1h in worst case for me before, now flow is very good then also. And i only have one brew with it, but it was never close to stuck. I can also say that i usually go for almost a full kettle, and most often OG of 1.06 - 1.075. With the 600 micron i wouldn't think a >1.100 imperial stout would be any trouble at all. I can take pictures of my system later.
//Robert
jabba11
www.CeeGeeBrewing.com
Yeah, as said above 600micron is larger than 400. 600 does still give clean wort, but with alot better flow. Sparging could take 1h in worst case for me before, now flow is very good then also. And i only have one brew with it, but it was never close to stuck. I can also say that i usually go for almost a full kettle, and most often OG of 1.06 - 1.075. With the 600 micron i wouldn't think a >1.100 imperial stout would be any trouble at all. I can take pictures of my system later.
//Robert
Ya I think for some reason I thought 600 micron was more like 600 squares per inch or something like that. I'm getting old, things get jumbled in my head LOL
02RedWS6TA
Well-Known Member
Ordered 2 of these for the new setup, going to ditch my hop spider in the first brew and see how it goes. I'm going to probably lose a half gallon of beer in the piping but I'll be able to plan for it.
https://www.brewershardware.com/1_5...Strainer-with-5_5-OD-Body-TC15STRAINER40.html
Also ordered one of these to chill my second kettle:
https://www.dudadiesel.com/choose_item.php?id=HX3640 if it works well and doesn't clog I'll probably order a second one and sell my smaller chiller.
https://www.brewershardware.com/1_5...Strainer-with-5_5-OD-Body-TC15STRAINER40.html
Also ordered one of these to chill my second kettle:
https://www.dudadiesel.com/choose_item.php?id=HX3640 if it works well and doesn't clog I'll probably order a second one and sell my smaller chiller.
Similar threads
- Replies
- 11
- Views
- 765
