• Please visit and share your knowledge at our sister communities:
  • If you have not, please join our official Homebrewing Facebook Group!

    Homebrewing Facebook Group

True TDD-2 Kegerator remodel/touchup

Homebrew Talk

Help Support Homebrew Talk:

This site may earn a commission from merchant affiliate links, including eBay, Amazon, and others.
I noticed that you said you were going to build a bar around it. I had the same thing done and I kepy having freeze up problems inside, so I had to adjust the cut-out and (knock on wood) gent had any problems since. Just a bit of advice in case u run into a similar problem after u build the bar around it.

Thanks for the heads-up t_d_harvey. I was planning to keep open the two vent areas on the lower front and rear corners by putting in a cover vent in the front and doing nothing in the back (that will be open). Do you think I'm okay there?
 
Hey Philip do you have any troubles with your beer coming off your taps and NOT going into the spill tray? I have the exact same spill tray you have but when my beer comes down from the taps it splashes everywhere rather than going down the tray. I'm considering changing out my spill tray but haven't researched any replacements yet.

It's definitely something you're probably going to have to consider as you move away from the factory perlick taps. If you come up with something let me know and I will do the same.
 
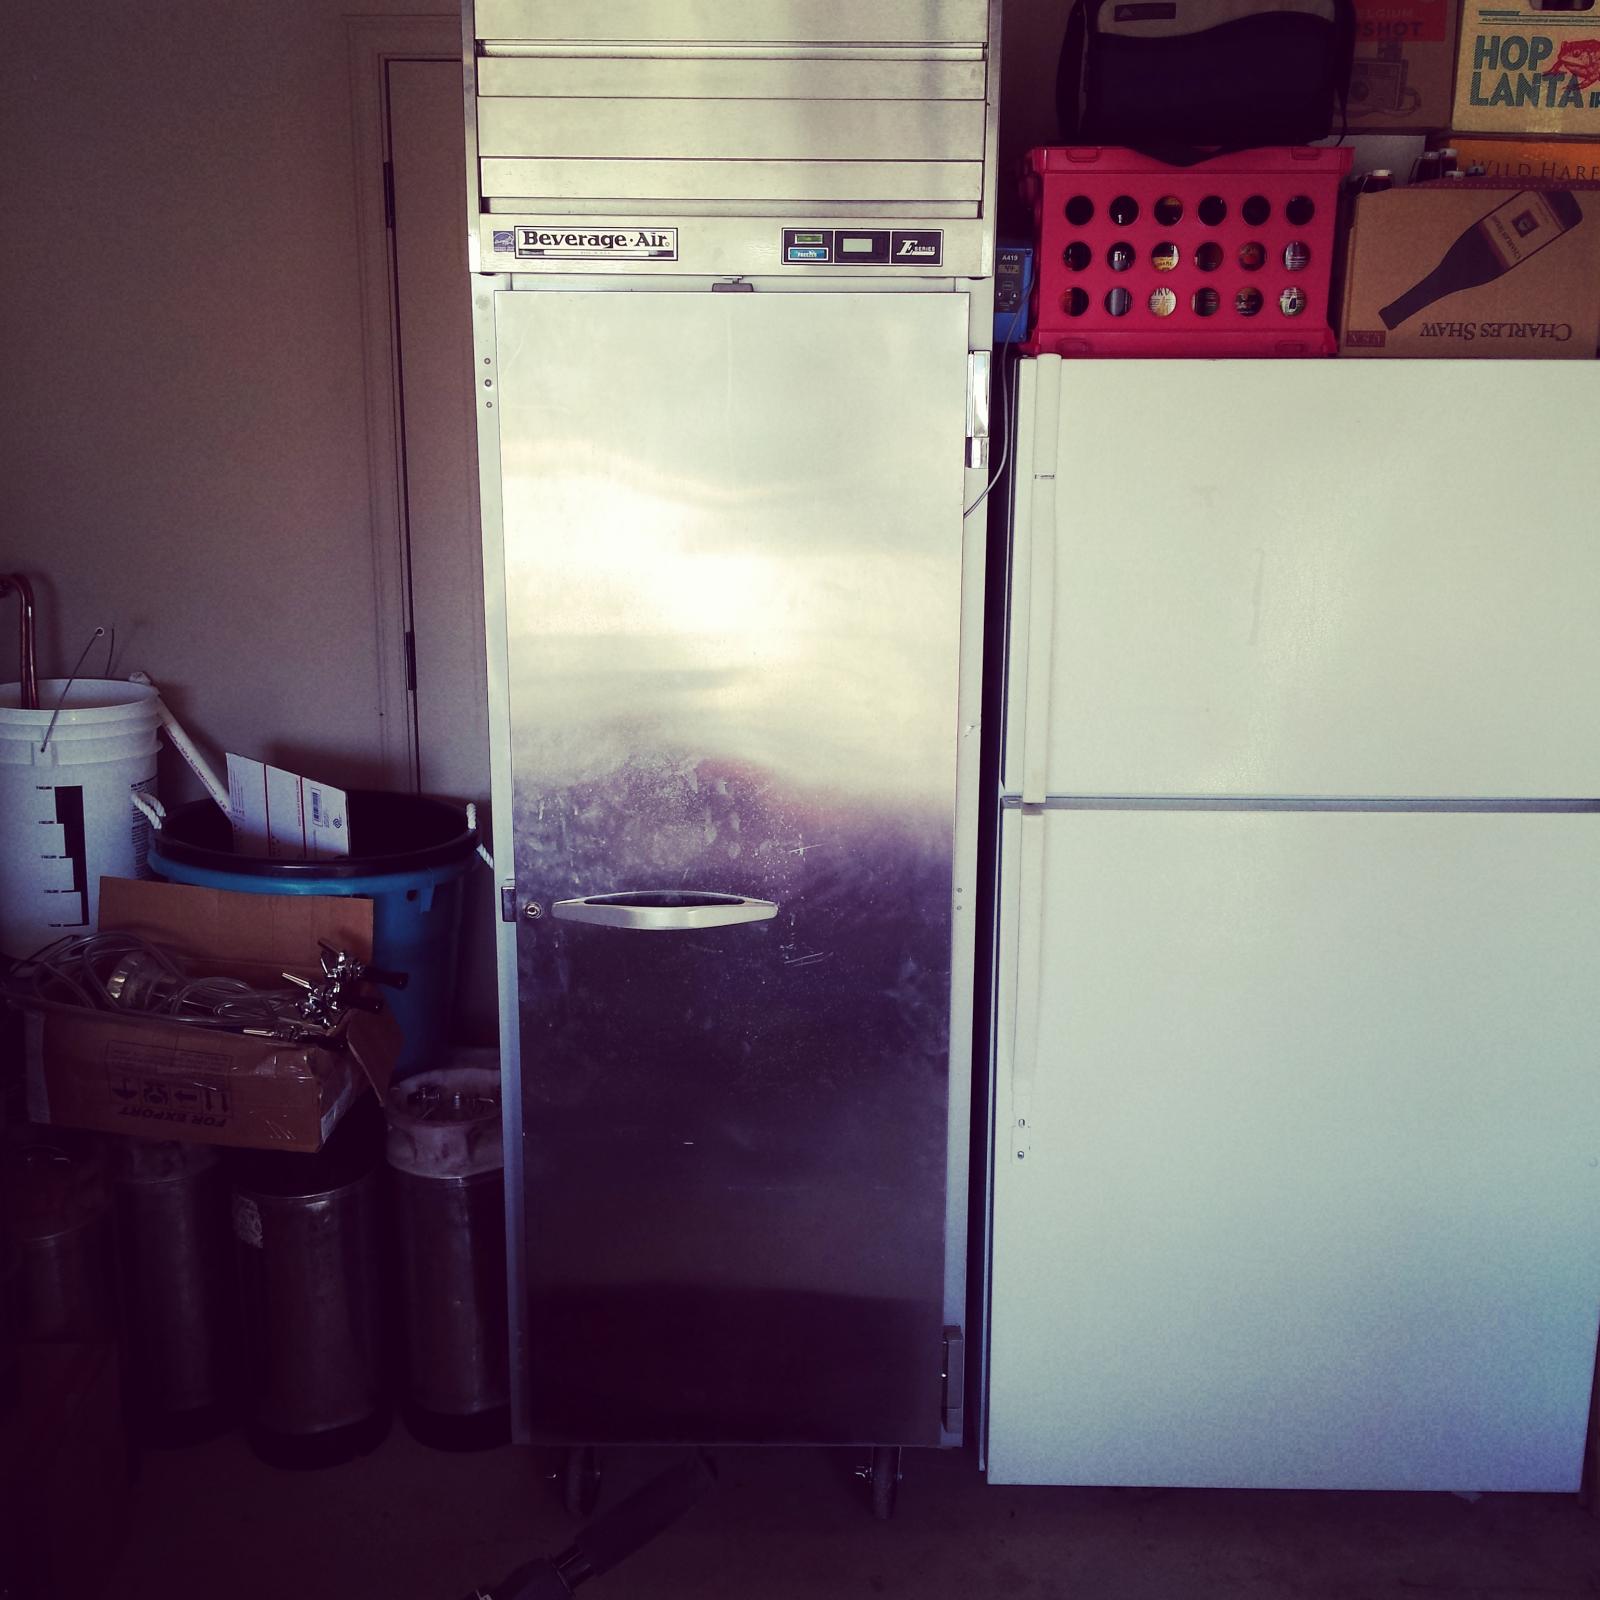
This is a bit different than the coolers you guys are working with. But i have a bev air freezer that I'm turning into a ferm chamber.

Holds 12 cornies. (Not sure if the top would support that weight tHough)

Can i just feed my temp probe wire through the door and tape it to my FV for temp control?

IMG_20150203_152008.jpg
 
in the pic my JC a419 probe is 0laced in a growler of water inside the freezer. The temps would swimg pretty widely.

I was thinking id have better results with an stc probe stuck to the FV
 
This is a bit different than the coolers you guys are working with. But i have a bev air freezer that I'm turning into a ferm chamber.

Holds 12 cornies. (Not sure if the top would support that weight tHough)

Can i just feed my temp probe wire through the door and tape it to my FV for temp control?

Yes - there's all kinds of methods for which you can set the temp probe inside. You could tape it to a keg, let it just stay out there in the air, or you could take a cold can of beer and tape it to the outside of the beer can.

My only suggestion is that you want to tape it to something that has some sort of mass. It will reduce the # of temp swings and the time between your freezer cycles.
 
Frost, when I get home I will post some photos of my fermentation vessel. I use a water bath that is my carboy (5 gallons) + bath (about 3 gallons around the carboy). It holds temp extremely well.
 
Cool. Thanks bondra.

Side note. Think it will work up against a plastic speidel FV? I'm thinking i will need to do your water bath method because the plastic is pretty insulating.

Or build a thermowell. : (

On second thought, the probes are pretty flexible.. maybe i could just sanitize that probe and slip it through that giant air lock those come with.
 
Hey Philip do you have any troubles with your beer coming off your taps and NOT going into the spill tray? I have the exact same spill tray you have but when my beer comes down from the taps it splashes everywhere rather than going down the tray. I'm considering changing out my spill tray but haven't researched any replacements yet.

It's definitely something you're probably going to have to consider as you move away from the factory perlick taps. If you come up with something let me know and I will do the same.

Are you talking about spilling beer??? Sacrilege!

I will have to see about that. When I add the new 7-tap, double-T configuration tower I've been working on, that's definitely going to be an issue because the side faucets won't even be over the drip tray.

But honestly, I've been keeping a bar rag folded up under the faucets, and if I pour carefully and the beer is pouring well, I've found the Perlick 630SS's drip a few times after shutoff and that's about it. So I'm not seeing a real flow of beer onto the drip tray.

...which is a good thing because the drain for the drip tray runs to a 1/2" PVC fitting at the base of the kegerator and I haven't plumbed that to anything.
 
Thanks for the heads-up t_d_harvey. I was planning to keep open the two vent areas on the lower front and rear corners by putting in a cover vent in the front and doing nothing in the back (that will be open). Do you think I'm okay there?
I believe if u do have have vents built in to allow circulation you will be fine. unfortunately I did not account for that in the rear of mine, but the cut-out was not hard to change so no big deal.
 
This photo of the evaporator pan shows a rust area right below where the evaporator is (which makes sense because that's what's going to drip).

It's in that area where the galvanized steel is literally perforated with dozens of tiny pin holes. I still think to seal the pinholes I should paint it with epoxy. Because it's galvanized steel, I was planning to clean, paint with an etching primer, and the topcoat it with epoxy paint.

Any thoughts about this? I haven't looked into buying a replacement part but I was kinda thinking because the thing is 10 years old I probably wouldn't be able to get one...
I doubt anybody is still checking his thread, but I've recently noticed my tdd2 (built in 1993!) has an ice skating rink in the bottom. While investigating I've noticed that the entire bottom of what I think is the evapoator cv we assembly is rusted through and I found the elbow drain on the bucket where I've been catching the water. Is this a fix that can be done by a pretty non-mechanical guy??
 
Mikey,

It's hard to tell, but do you have a drain hose coming from that pan? See my picture below. I have actually bypassed mine and connected a T and hoses to re-route to a bucket. How these are supposed to work is that any water that collects in that pan runs into a hose that is under the compressor I believe (bottom left of mine). The water is suppose to evaporate from the pan from the heat of the compressor. I re-routed for a few reasons, which I can explain if u would like.
Back to your water pan, easy fix? Only thing I could suggest is trying to replace it. I am not positive, but think it is held together with screws and can be removed and replaced if you can find the part. I have the same issue with the ice in the bottom of the cooler and you will continue having this problem if you don't fix it, because you basically have a "leak" and eventually it will get worse. The pan is there for the defrost problem. I have noticed multiple times I've build up on the coils behind the pan and when the unit defrosts the water holds in that pan and goes through a drain hose, at least that is how mine is suppose to operate.

IMG_5370.jpg
 
Thanks for the response, Harvey. There was an elbow drain that attached to a drain that disappears into the back wall of the kegerator. I assume this routes to the drain pan by the compressor. When I bought the unit that drain was cut and the water was dripping into a bucket that was placed on the floor of the unit. That worked until now. I'm assuming that the water eventually ate through the evaporator and if I replace that piece I can at least funnel that water into a bucket. I found a replacement for the evaporator cover assembly for 163 on a restaurant equipment website.
 
Okay, so that's clear now.

What I can tell you from experience with my setup, which is identical. I removed that drain-pan and did a lot of work to patch the drain holes. It is now leaking again, so I'm just going to replace it - so I think you've got the right idea.

Note: The drainpan itself is that odd shaped piece on the bottom. You can replace it by removing the sheet metal screws along the edges - no need to remove the entire framed-out box that extends to the roof of the kegerator (can you tell I made that mistake???)

Also, as cocked up as the drain-thru-backwall-to-an-evaporator-pan-under-the-compressor arrangement sounds, it actually works. When you get your new drain-pan, it will have a new elbow fitting on it. Make sure to ream out that drain tube to insure it's clear, and then just hook it back up and you should be good to go.

Have fun lying on your back, with your neck aching, half way in and half way out of that damned box, trying to get enough light in there to see what the hell you're doing!!! I know I did (and I am going to have to do it again soon to replace the thermostat - the fun never stops! Next time, as cheap as I am, I'm paying up and buying new).

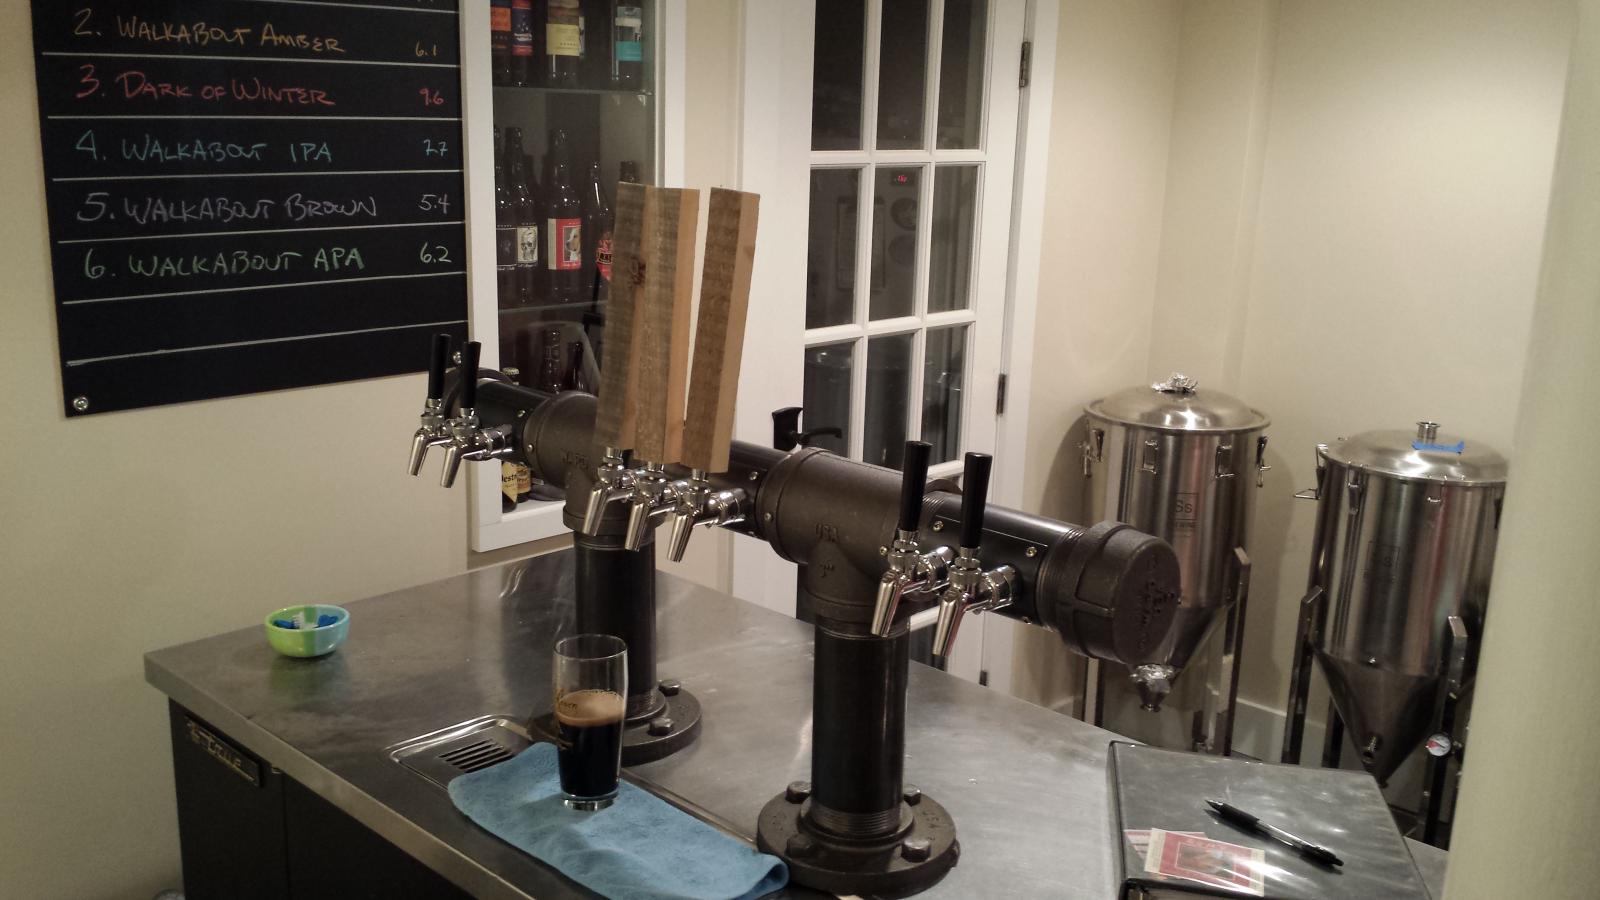
As inspiration - here's a shot of this unit now fully restored with upgraded tap gang...

20150419_213552_Flicker Ln.jpg
 
Ha! Thanks so much for the response. I believe I'll be ordering the part today. It looks like it'll take about 1-1.5 weeks to get here, but I'll update when it's complete. Thanks again for the info.
 
Thanks - and BTW could you share that web site and maybe the part number where you saw that $163 evap pan replacement? The only thing I've found is for $300!!!
 
Update: after I placed my order there was a note placed by the company stating that the piece I ordered was not the best piece for my unit (based on the serial number I provided). They replaced my order with what True recommended. The new part was $10 cheaper too. A+ for customer service.
 
Nice Mikey! Great set-up Phillip.

I will say the evaporation pan does work great unless you have installed the Kegerators under a bar top as I did...big no no on my part. Not enough air circulation for the rear vents resulting in an over filled evaporation pan! If anyone has any suggestions on a work around so I can use the pan, it would be greatly appreciated. I have the unit out right now and would be a great time to do some work.

Btw Phillip, so jealous of your taps! Exact setup I want to get to, going to have some strong convincing to the wife to get it done. :)

Here is my set-up, don't have a picture of the keg side, but you get the idea. Bar is rock faced and the keg sits in a spot under the bar that has about 6" on either side. Also it is the Tdd-3:

IMG_3902.jpg
 
MikeyA,
I've experienced what your talking about with the ice at the bottom. In my case I have a slow freon leak and when the system gets low it runs the compressor more and creates excess water and lots of ice. Even freezing some of my yeast bank. I would recommend having the freon level checked.
 
Thanks for the response, shadow. I had to replace the thermostat and when diagnosing the problem the technician said the refrigerant was good
 
Nice Mikey! Great set-up Phillip.

...

Btw Phillip, so jealous of your taps! Exact setup I want to get to, going to have some strong convincing to the wife to get it done. :)

Here is my set-up, don't have a picture of the keg side, but you get the idea. Bar is rock faced and the keg sits in a spot under the bar that has about 6" on either side. Also it is the Tdd-3:

Hah! I have to say that is a fine looking setup too. I love the stone. My plan is to build a bar around my kegerator too - I just haven't gotten there yet!

The TDD-2 has a condenser vent on the back side of the unit. I plan to build in a vent in the bar structure so as not to block that airflow.
 
Yea, would be highly suggested. Wish I would have thought of that when I built mine. Would b a pain to do it now, but maybe one day I can get it done.

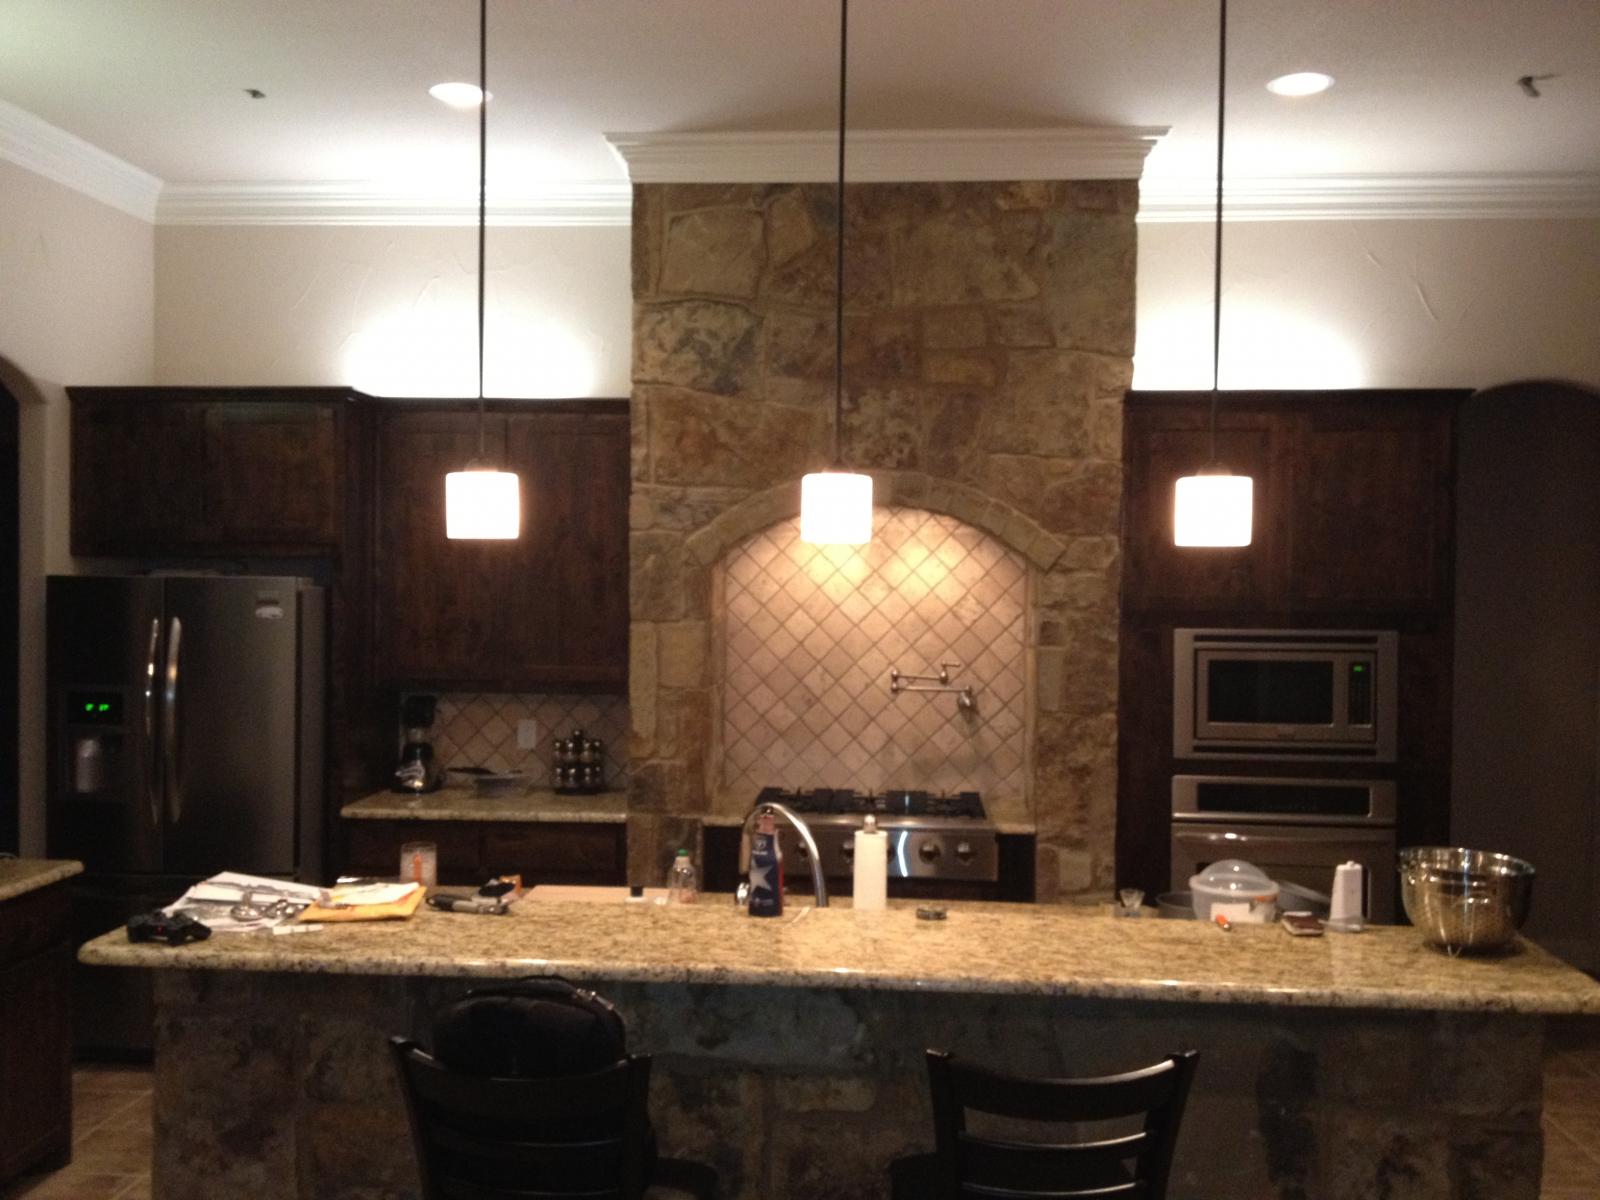
Thanks btw! I got stone every where in my house. Lol. Luckily I know a guy that owns a stone yard...below is my kitchen.

IMG_3479.jpg
 
Ok...I finally got my replacement piece from True. Starting to dig into this project, I fee like it's going to be a little more involved than I realized. How were you guys able to access the screws to remove the fan? Once I get that disconnected, do I just pull out the cold air tubes?
 
Yeah, I hate working on these things.

You just yanked and jimmy and inch those tubes right outta there. The screws are a bitch. I bought a hex nut bit for my drill but I also needed a hand tool to access some of those screws.

For what it's worth, you probably only need to replace that bottom pan piece so you may consider leaving the bigger piece that's attached to the roof of the box right where it is and just replace the pan part. They are totally separate.

Good luck. You will earn your homebrew tonight.
 
I'm having a hell of a time getting he old evap pan off. Probably because it's been stuck on for the last 23 years. I noticed two wires (one black, one white) that runs through the back, left corner of the evap pan. Do these wires go to the fan? I can't tell without taking apart a bunch of stuff I don't wanna talk apart if I don't have to. If they don't go to the fan, I'll just cut them and not worry about trying to disconnect them and run them through the new evap pan.
 
Very likely those wires feed the fan and the light. On mine they were joined with some wiring nuts and strapped down to the topside of the fan mounting plate. You probably don't want to cut those. Here are some shots of what my wiring looked like. And yes, I replaced those hoses, as ridiculously expensive as the replacement parts were.

Are you trying to remove the entire pan or just the bottom part? Only the bottom part is the culprit in this story - that's where the leaks are. As long as you get all the screws out, that should come out with a little convincing. Getting the new one back on will be the tough part because it's got to fit back into the gasket.

I know it's tight in there, but do you have any photos?

And for yucks, here's a shot of the gas tube racks I put in at the back of the kegerator.

20141130_180331.jpg


20141130_180315.jpg


20150405_123325.jpg
 
Back
Top