OP
OP
MrFoodScientist
Well-Known Member
And while we're discussing tools,
Why did Snoop Dogg go to the hardware store?
Fo' chisels!
Sorry, I couldn't help myself.
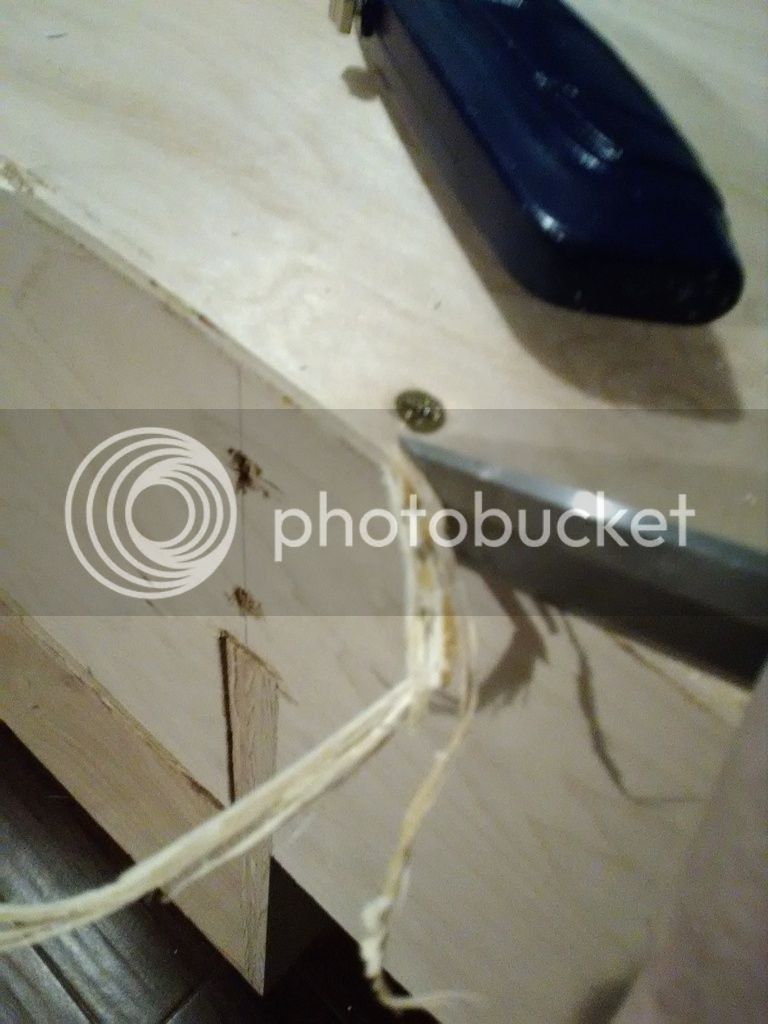
$6 for a set at harbor freight. I'm not going to trust my life with them, but they got the job done. Actually I bought these to chip out a recess for the strike plate of a deadbolt, so pulling double duty on this now.
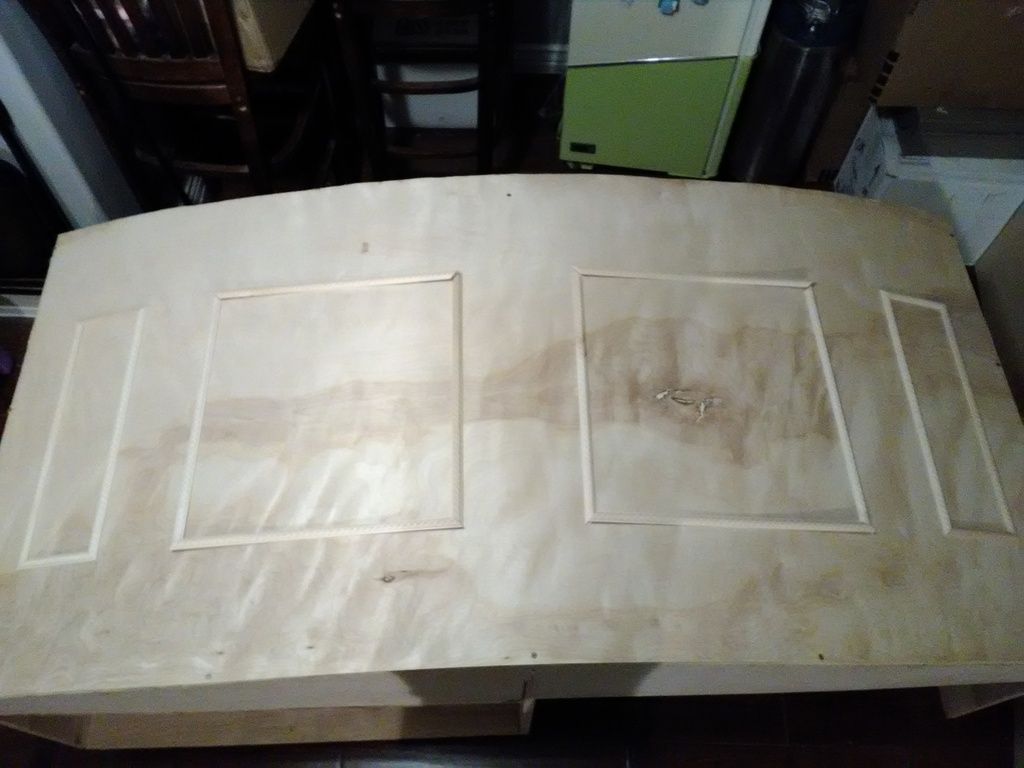
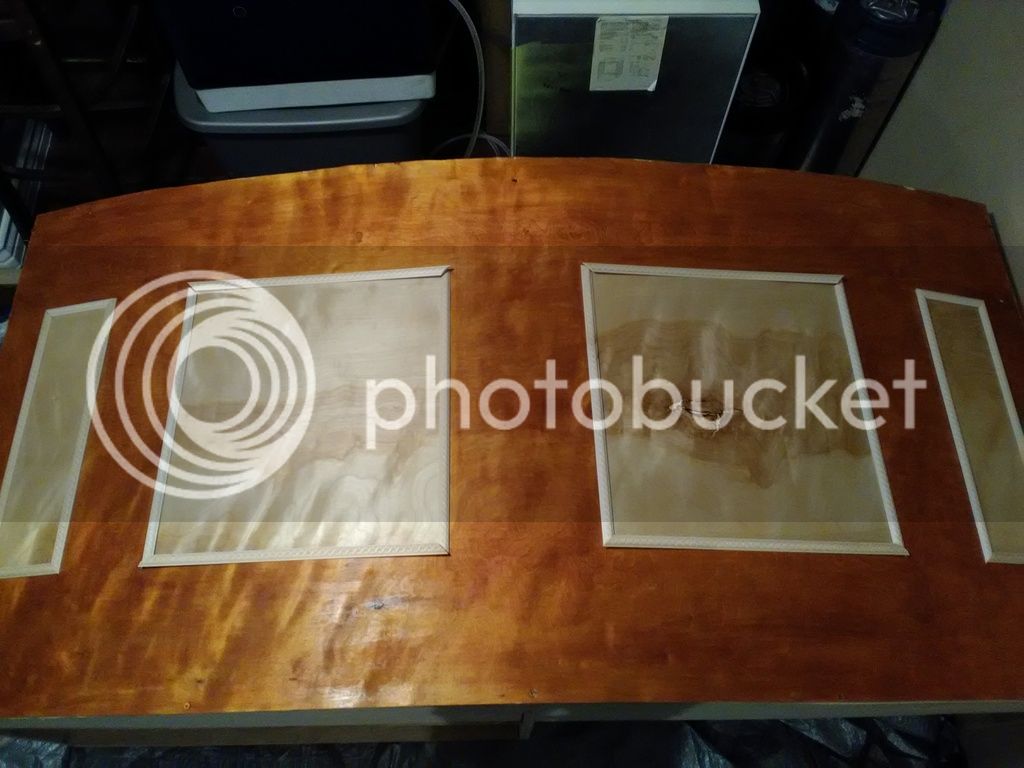
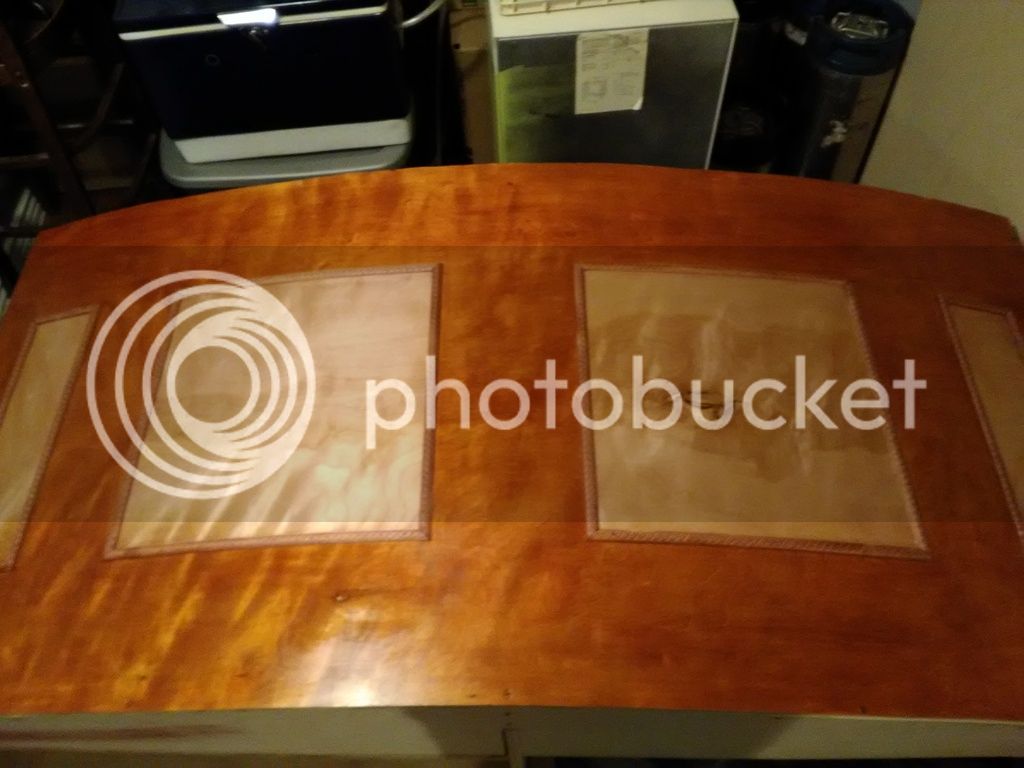
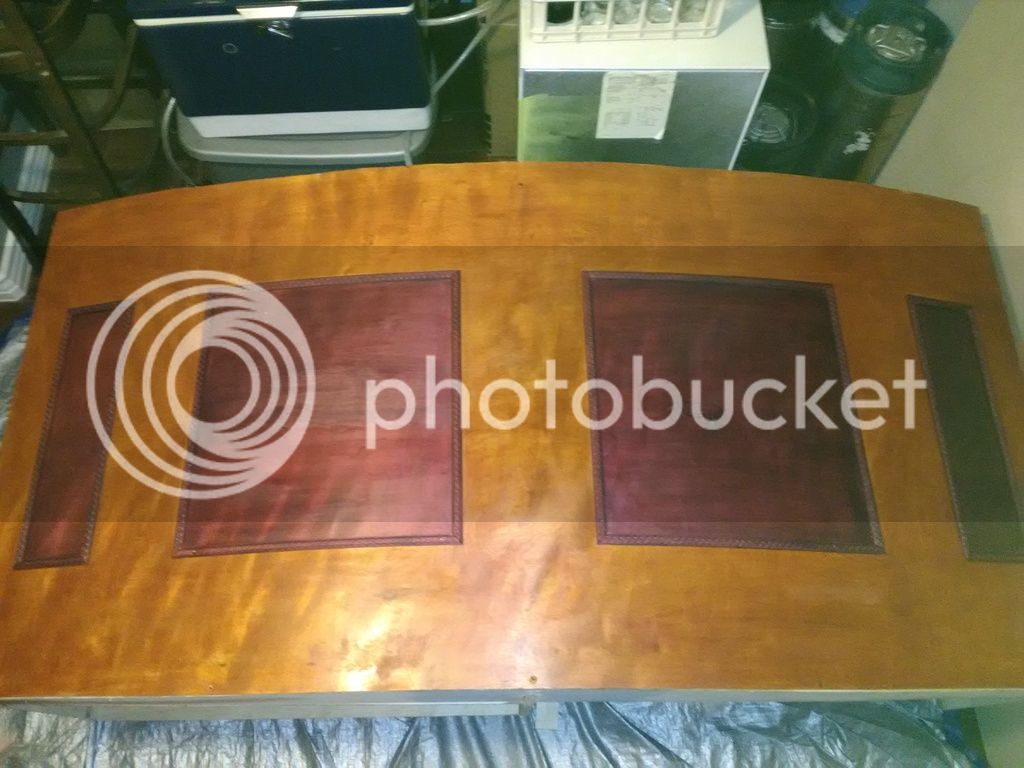
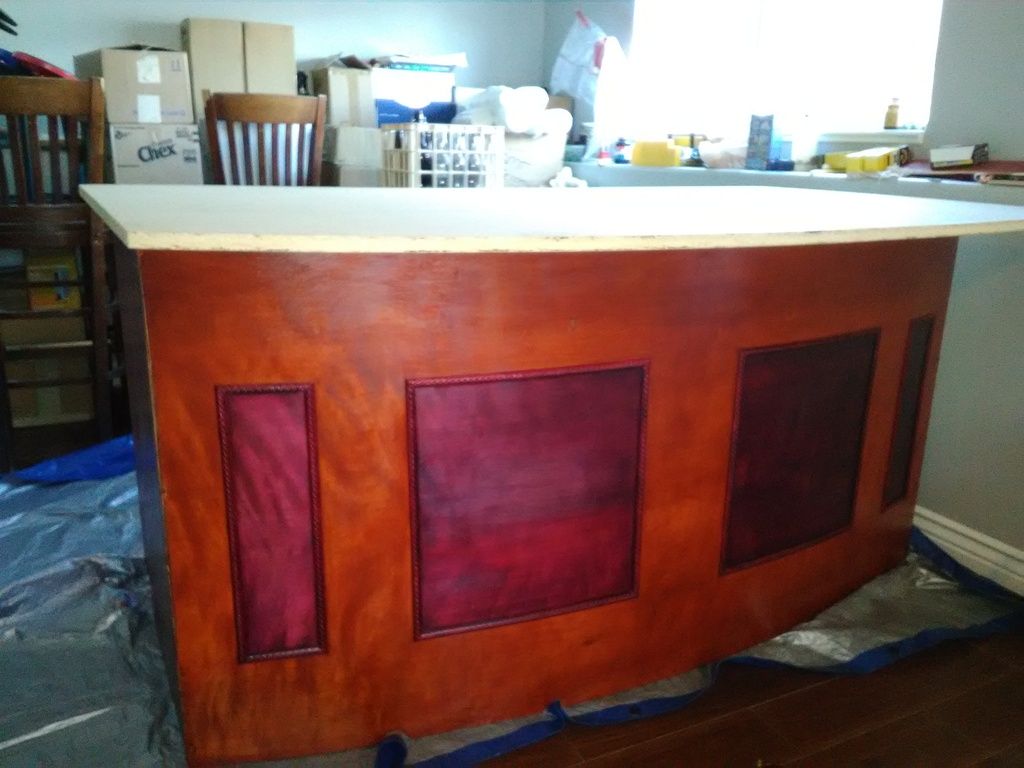
I had to trim the top and bottom flush so it wouldn't interfere with the floor or countertop. I may have to shim it, but all in all I've been pretty happy with how it has turned out so far given my aversion to buying a cabinet shop worth of tools.
Why did Snoop Dogg go to the hardware store?
Fo' chisels!
Sorry, I couldn't help myself.
$6 for a set at harbor freight. I'm not going to trust my life with them, but they got the job done. Actually I bought these to chip out a recess for the strike plate of a deadbolt, so pulling double duty on this now.
I had to trim the top and bottom flush so it wouldn't interfere with the floor or countertop. I may have to shim it, but all in all I've been pretty happy with how it has turned out so far given my aversion to buying a cabinet shop worth of tools.


![Craft A Brew - Safale BE-256 Yeast - Fermentis - Belgian Ale Dry Yeast - For Belgian & Strong Ales - Ingredients for Home Brewing - Beer Making Supplies - [3 Pack]](https://m.media-amazon.com/images/I/51bcKEwQmWL._SL500_.jpg)