• Please visit and share your knowledge at our sister communities:
  • If you have not, please join our official Homebrewing Facebook Group!

    Homebrewing Facebook Group

Super Simple 15G Plastic Conical

Homebrew Talk

Help Support Homebrew Talk:

This site may earn a commission from merchant affiliate links, including eBay, Amazon, and others.
Found in BYO:

"Copper is a double-edged sword in brewing. It is beneficial before fermentation, but detrimental afterwards. Copper ions react with the hydrogen sulfide produced during fermentation and reduce it to insoluble copper sulfide, which is left behind with the trub and yeast cake. Switching to all stainless steel brewing equipment can lead to noticeable quantities of hydrogen sulfide and sulfur off-flavors and aromas in the beer. The use of copper wort chillers will provide all the copper necessary, as will including a short piece (1 inch) of copper tubing in the boil.

Copper is a problem post-fermentation because it catalyzes staling reactions, including the production of hydrogen peroxide and can oxidize the alcohols to aldehydes. Finished beer should not be stored in contact with copper, although serving beer with copper tubing in a jockey box should not be a problem, because of the short contact time immediately before serving."

:mug:
 
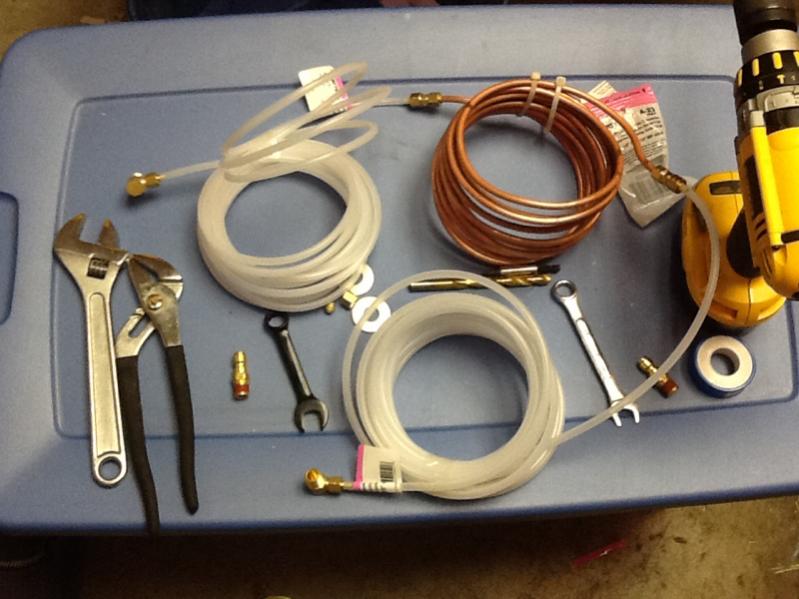
Here is something I was thinking about with an immersion chiller inside the Ferm tank. I have 25' of copper, which I will switch out once my special order stainless comes in. I used 1/4" ice maker line with compression fittings. I have my keezer right next to the Ferm tank and will keep a 4 gallon closed system. I am using a small aquarium pump that can lift to 4'. The major problem was chilled water lines into the lid of the tank getting tangled when the lid is removed. So I had a quick disconnect in the "extra" box. So I bought another one... And a few other items.

Here is the list
2 - Watts 1/4" Compression Union with Insert - $5.47
2 - Watts 3/8" x 1/4" Compression Connection - $4.34
2 - Watts 1/4" x 1/4" Brass Compression x MIP Elbow - $3.29
2 - PreciseFit 3/8" Quick Disconnect Adaptor Set - $9.98
2 - Watts 1/4" x 20' Polyethylene Tubing - $2.82
2 - Watts 1/4" Lead Free Female Pipe Coupling - $3.87

I cleaned all the brass with the super anti lead hydrogen peroxide. (Look it up when you get all the parts.)

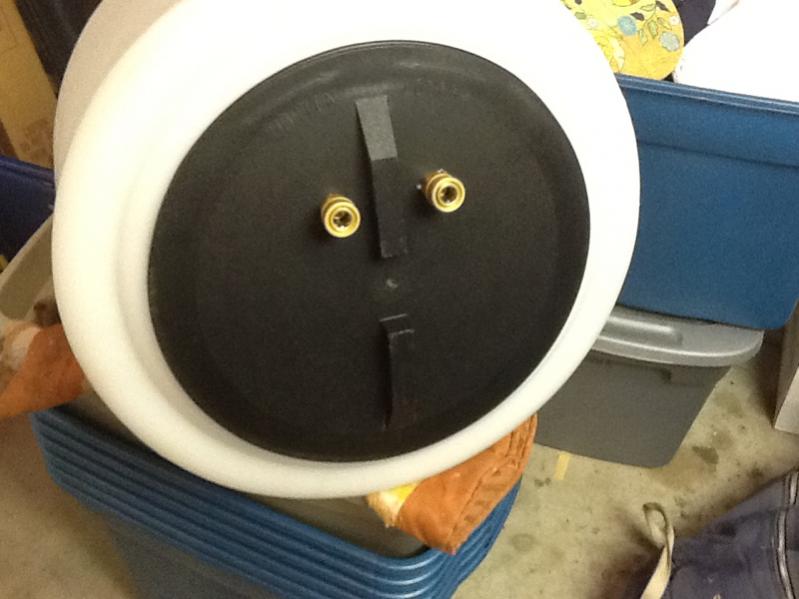
I drilled 1/2" holes in the lid I tried to make a face, who doesn't like a funny face. The 1/2" is perfect for threading the 3/8" through the lid. Then I put the female quick disconnect Teflon taped 3/8" x 1/4" compression connection. Attached the coil along with 17" of poly tube on the other side of the quick connect. It hangs perfect at the bottom do the Ferm tank. I measured it so it would be just above where most of the trub would be, more of a guess. I used the rest of the poly tube to run from the quick disconnect to the coupling to the elbow to the water tank. I have a special tube That connects the pump to the poly tube. I have an eBay aquarium kit attached to plug and long cord to turn the pump on/off to cool/heat the tank.

I took a couple pics when I thought about it.

image-17411780.jpg


image-3729031468.jpg


image-2049865876.jpg
 
Here is something I was thinking about with an immersion chiller inside the Ferm tank. I have 25' of copper, which I will switch out once my special order stainless comes in. I used 1/4" ice maker line with compression fittings. I have my keezer right next to the Ferm tank and will keep a 4 gallon closed system. I am using a small aquarium pump that can lift to 4'. The major problem was chilled water lines into the lid of the tank getting tangled when the lid is removed. So I had a quick disconnect in the "extra" box. So I bought another one... And a few other items.

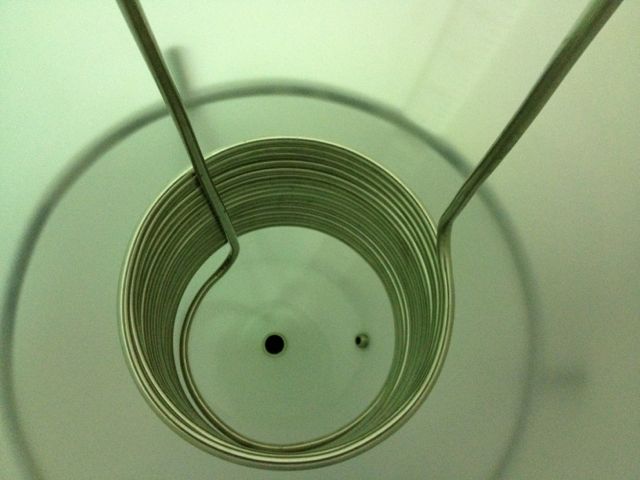
Looks good but you should switch out the copper tubing for stainless for the reasons mentioned by others. Brass fittings won't be a problem since they are just on the lid and most likely won't have much, if any, contact with the beer. Here's a couple of photos of what I did for my 60 gallon plastic conicals.

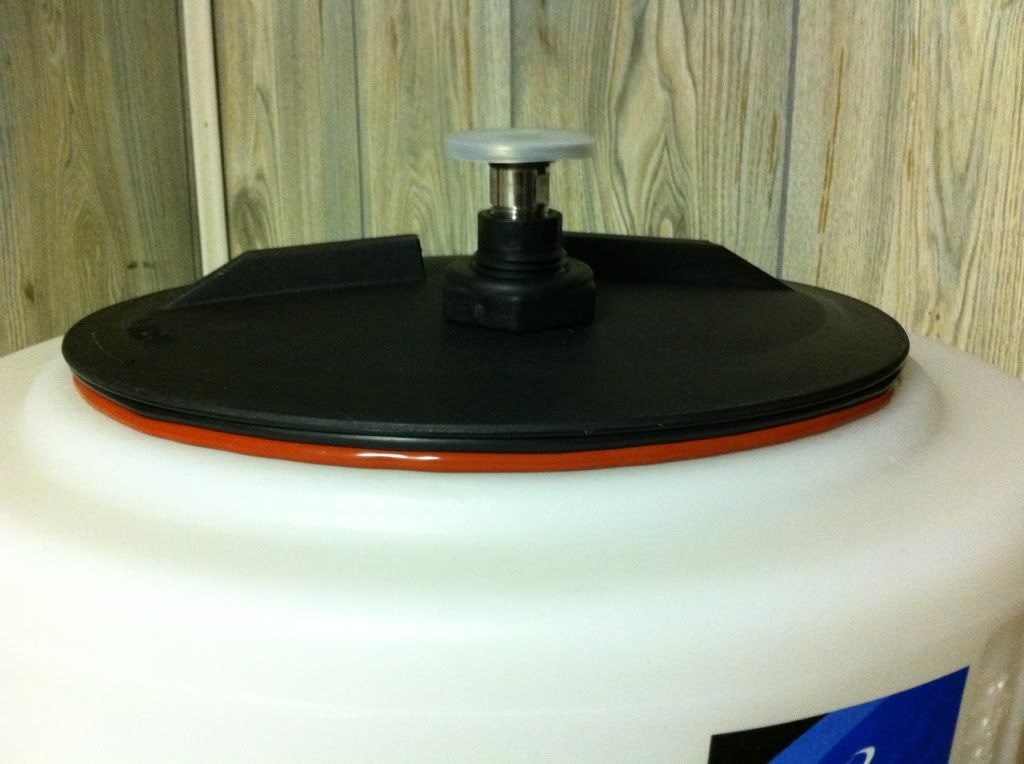
The photos aren't great but I'm using swagelok stainless bulkhead fittings to connect the stainless coil to the lid. The main problem I have right now is that the silicone o-rings I've used (show in the last photo) get squished and don't hold a good seal. I've looked around for flat/squared food grade rubber washers of the appropriate size, but they seem really hard to find. If anyone has ideas for this, I'd love to hear about it!

immersion_cooling1.jpg


immersion_cooling2.jpg


immersion_cooling3.jpg


immersion_cooling4.jpg
 
The main problem I have right now is that the silicone o-rings I've used (show in the last photo) get squished and don't hold a good seal. I've looked around for flat/squared food grade rubber washers of the appropriate size, but they seem really hard to find. If anyone has ideas for this, I'd love to hear about it!

What about this?

http://www.stainlessbrewing.com/12-Silicone-Gasket_p_111.html

I ended up buying these based of another guy's build
http://www.stainlessbrewing.com/12-Bulkhead-Connector-with-Gasket-and-Washer_p_109.html
 
Here is something I was thinking about with an immersion chiller inside the Ferm tank. I have 25' of copper, which I will switch out once my special order stainless comes in. I used 1/4" ice maker line with compression fittings. I have my keezer right next to the Ferm tank and will keep a 4 gallon closed system. I am using a small aquarium pump that can lift to 4'. The major problem was chilled water lines into the lid of the tank getting tangled when the lid is removed. So I had a quick disconnect in the "extra" box. So I bought another one... And a few other items.

Here is the list
2 - Watts 1/4" Compression Union with Insert - $5.47
2 - Watts 3/8" x 1/4" Compression Connection - $4.34
2 - Watts 1/4" x 1/4" Brass Compression x MIP Elbow - $3.29
2 - PreciseFit 3/8" Quick Disconnect Adaptor Set - $9.98
2 - Watts 1/4" x 20' Polyethylene Tubing - $2.82
2 - Watts 1/4" Lead Free Female Pipe Coupling - $3.87

I cleaned all the brass with the super anti lead hydrogen peroxide. (Look it up when you get all the parts.)

I drilled 1/2" holes in the lid I tried to make a face, who doesn't like a funny face. The 1/2" is perfect for threading the 3/8" through the lid. Then I put the female quick disconnect Teflon taped 3/8" x 1/4" compression connection. Attached the coil along with 17" of poly tube on the other side of the quick connect. It hangs perfect at the bottom do the Ferm tank. I measured it so it would be just above where most of the trub would be, more of a guess. I used the rest of the poly tube to run from the quick disconnect to the coupling to the elbow to the water tank. I have a special tube That connects the pump to the poly tube. I have an eBay aquarium kit attached to plug and long cord to turn the pump on/off to cool/heat the tank.

I took a couple pics when I thought about it.

Very similar to our current set up. (https://www.homebrewtalk.com/f51/15-gallon-conical-fermenter-cooling-system-333151/)

I personally would wait for the SS coil to come in before you try it with a batch of fresh wort. Fermentation and copper don't get along very well. Let us know how it works out as we are about to hook our system up using a dorm fridge for our water chiller. :tank:
 
Modo I'm really curious to see what kind of temps you can keep with the dorm fridge. Can't wait to see how it goes

Yeah hoping to get that going before our next brew day. Going to try to brew this recipe of mine. Just transferred the Kolsch we had in the conical with the chiller. Nailed our FG and it tasted great. No off flavors that we could detect. Seems like the chiller did its job. I'll keep everyone posted on the dorm fridge experiment. :ban:
 
Those bulkheads look almost identical to mine... I'm guessing stainlessbrewing gets them from Swagelok. That picture is not very clear. Are those gaskets nice and flat? I think I would also need the washer that his fittings come with. Also, I'm pretty sure mine are 3/8 inch...
 
I bought a 13 1/2" inside diameter (-456) red 70 euro FDA silicone o-ring from orings-online.com to fit on the lid assembly. It costs $9.87 each plus shipping. No nasty airborne particles - flying, crawling or otherwise - are going to get inside!. The lid itself seems to tighten on the assembly well enough on its own.


b5da2cc2.jpg

Found a better deal at oringwarehouse.com, 2 for $9.62!

-456 70-durometer Silicone, Red, FDA

Compound: 1200-70 2 $4.81 $9.62
Subtotal $9.62
Tax (7.75%) $0.75
Shipping $5.30

Order Total $15.67
 
chapusin said:
Found a better deal at oringwarehouse.com, 2 for $9.62!

-456 70-durometer Silicone, Red, FDA

Compound: 1200-70 2 $4.81 $9.62
Subtotal $9.62
Tax (7.75%) $0.75
Shipping $5.30

Order Total $15.67

Awesome thanks for the sweet find
 
Found a better deal at oringwarehouse.com, 2 for $9.62!

-456 70-durometer Silicone, Red, FDA

Compound: 1200-70 2 $4.81 $9.62
Subtotal $9.62
Tax (7.75%) $0.75
Shipping $5.30

Order Total $15.67

Nice find! Thanks!

I like the price of the 70 durometer buna o-rings even better, at $1.90 each. Isn't that the same stuff used for Cornie keg lid o-rings?
 
Squeeky said:
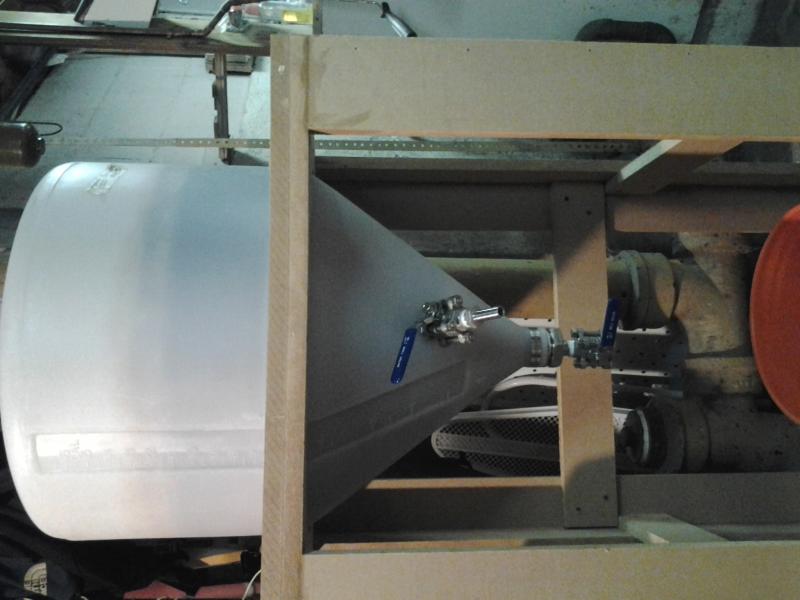
Just a heads up on my completed stand. You will likely see a detailed how-to in an upcoming BYO ;)

Thats awesome. I used a moving dolly from harbor freight and aded it to the bottom of mine for easy moving. Make sure your floor is level where your keeping it.
 
This project is amazing!!!!! I am thinking about buying two 15 gallon tanks. Because I hate using carboys.. I was wondering who has the best deal on these units?
I been looking around a few websites seems like the 30 gallon one is only pennies more but not sure if I will need that big. I could possible make 20 gallon batches but not sure if I am ready for that.
 
I would definitely add a couple of 2x4's to that setup. It looks a little flimsy. I would hate to lose any beer, I would cry.
 
It's confirmed; my wife bought me one for Christmas. Sad part is that it is in a box and wrapped, waiting to be unwrapped on Christmas. I already bought my 1.5 ballvalve, bulkhead for racking port, and all of my camlocks fittings. I don't know if I can wait that long though.

Forgive me...that is some funny sheeot. Just not fair!
 
Try spraysmarter based out of indianapolis got mine from them for under 60.00 and shipped fast look them up on web they have a website id call to order though to make sure u get the complete drainout version

Ditto for me. I ordered mine from Spraymaster last night. Got UPS notification this morning it has shipped and should be delivered (to Eastern North Carolina) Thursday. It was almost $10.00 less than Ohio Valley.
 
I don't think I have had an original thought since I joined HBT. Muuuuuch information here. Who needs TV?
 
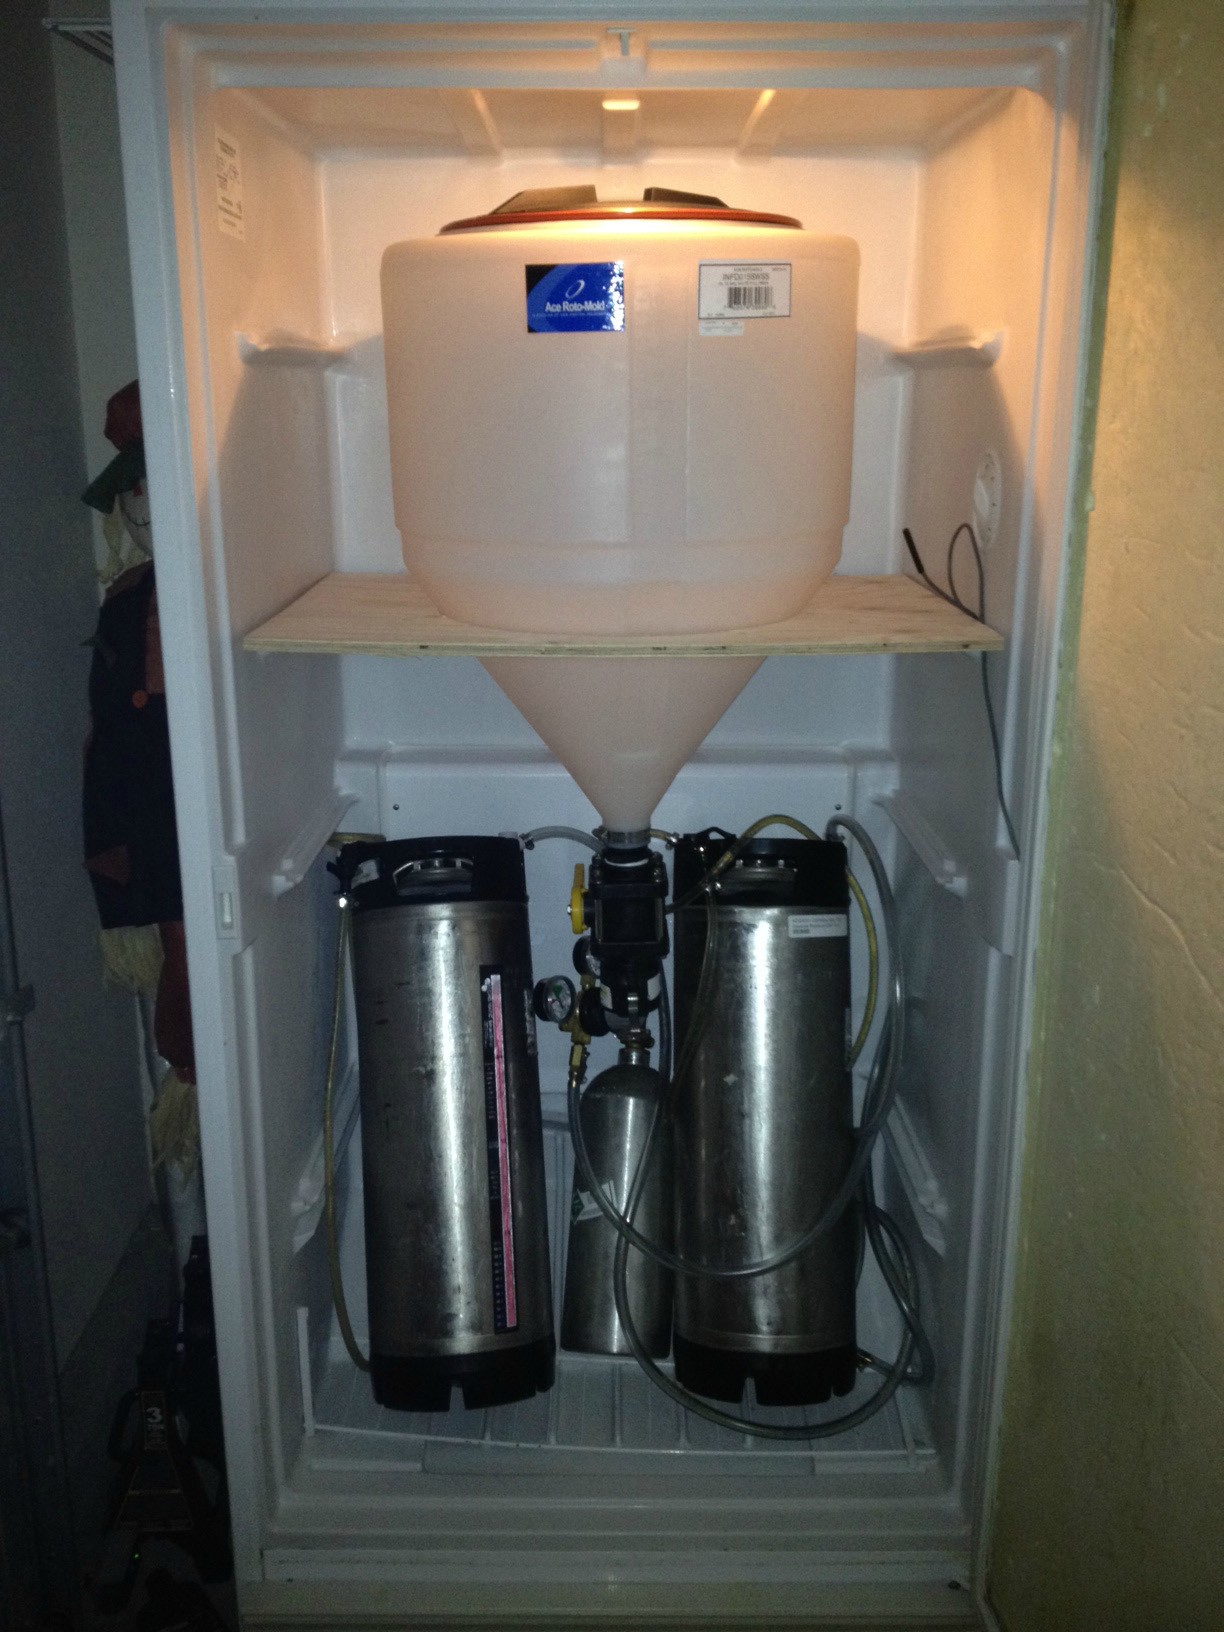
Hey guys, so this is what I used

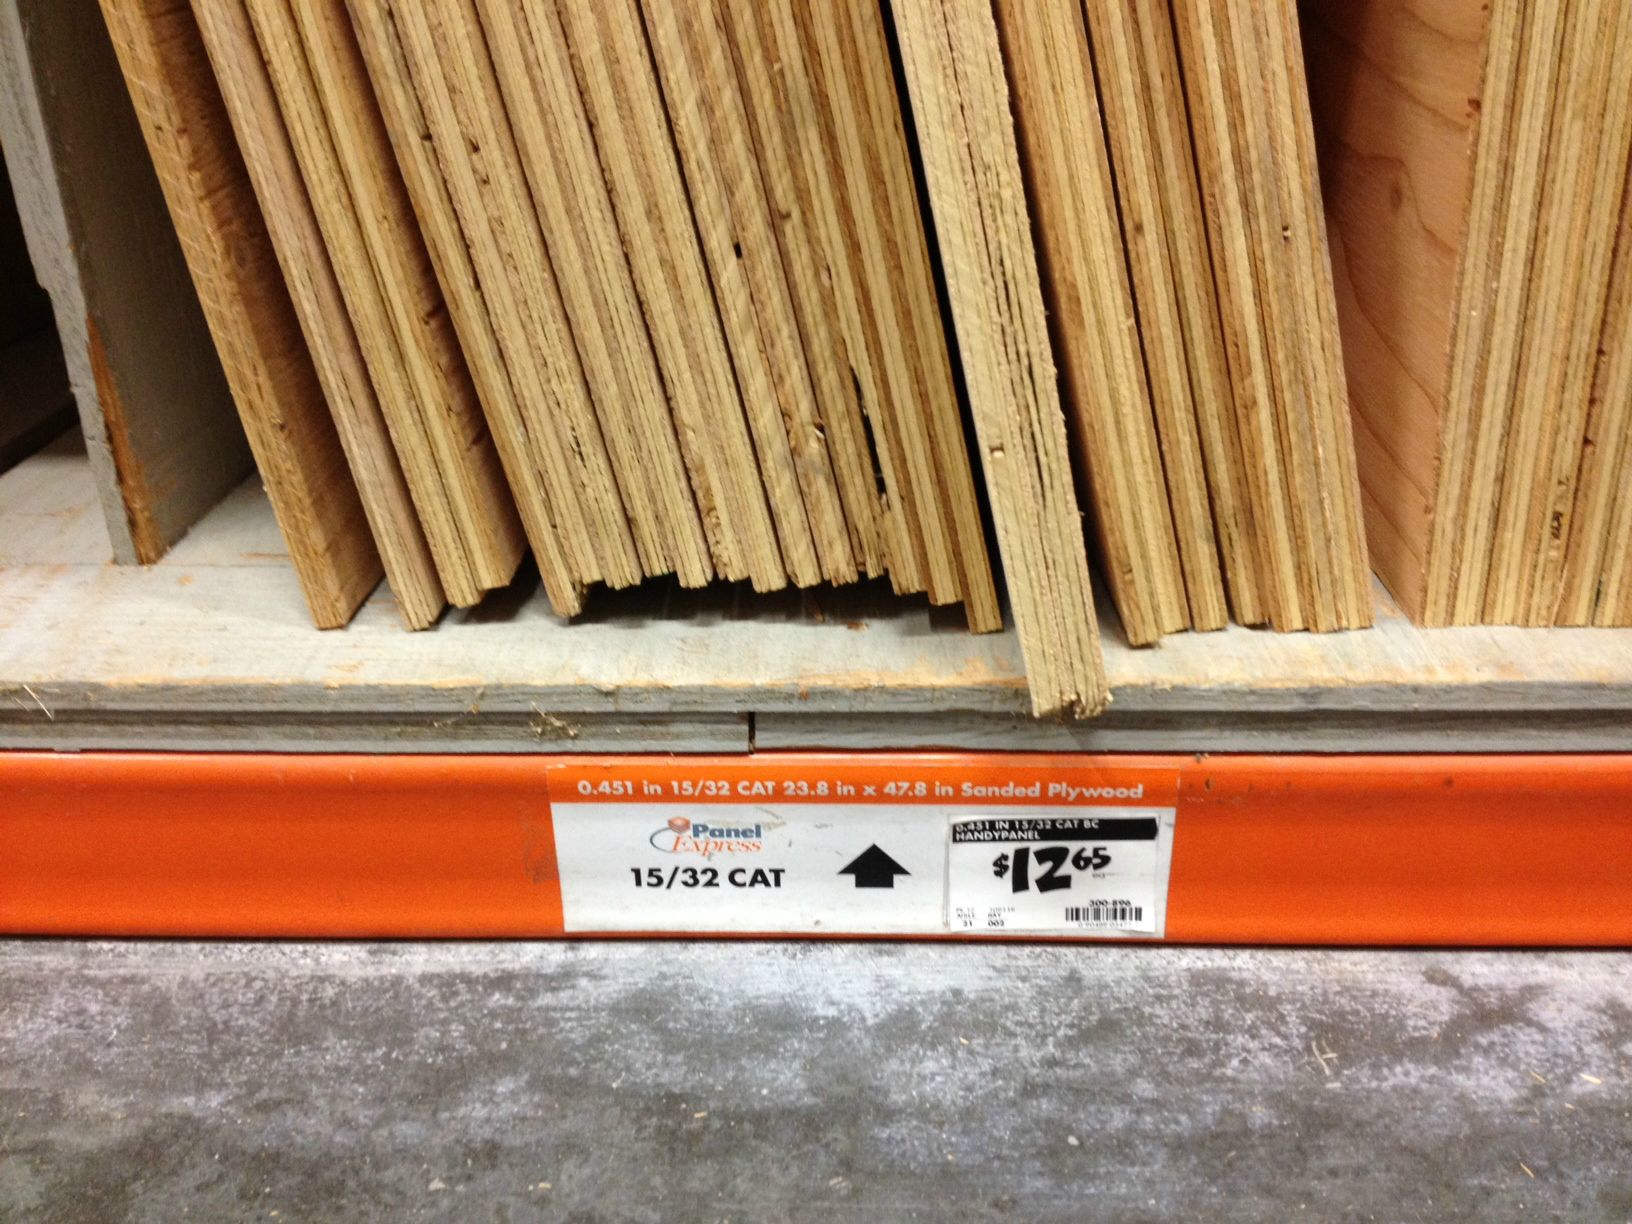
You think it will hold the weight?

d7TXr.jpg

I would have used 3/4" plywood, the shelf brackets on the fridge I don't think so. It might work for awhile.
I love how everyone likes to overbuild a brewstand and don't say anything about fermentation since its not hot.
 
I would have used 3/4" plywood, the shelf brackets on the fridge I don't think so. It might work for awhile.

+1 on this. I used 3/4" ply for both of mine. I would suggest adding "joists" underneath in a box layout, like Squeeky's above. I used more 3/4" ply for those on mine.

I would not trust those shelf brackets with 40-80 pounds of wort (5-10 gallons). I would add some 2x4 legs in the corners, then add horizontal connectors at the very bottom, both to keep them in place, and to distribute the weight on the fridge's liner.
 
I just a bought a full drain 15g roto tank ans I am just wondering how high to place my beer transfer ball valve above the trub ball valve. I am reading that everyone is going 6 to 6.5" above the bottom valve but wouldnt you lose a good amount of beer during transfer putting it so high? After 3 or 4 seperate days of a quick bottom drain flush everything close to the bottom should be somewhat cleaned up in time for transfer? The 6 to 6.5" mark puts me around 1/2 a gallon give or take lost during transfer. Also what valve kit for beer transfer would i buy if i bought one off say Northern Brewer? The cooler valve kit? Kettle valve kit?
 
I just pulled the trigger. Picked up 2 of the Tanks from RuralKing for $132 delivered, the 1-1/2" valves form ebay $30 (link from first page) and a pair of those red orings. All is just under $86 each new conical. Cant wait til they arrive.
 
Back
Top