• Please visit and share your knowledge at our sister communities:
  • If you have not, please join our official Homebrewing Facebook Group!

    Homebrewing Facebook Group

Super Simple 15G Plastic Conical

Homebrew Talk

Help Support Homebrew Talk:

This site may earn a commission from merchant affiliate links, including eBay, Amazon, and others.
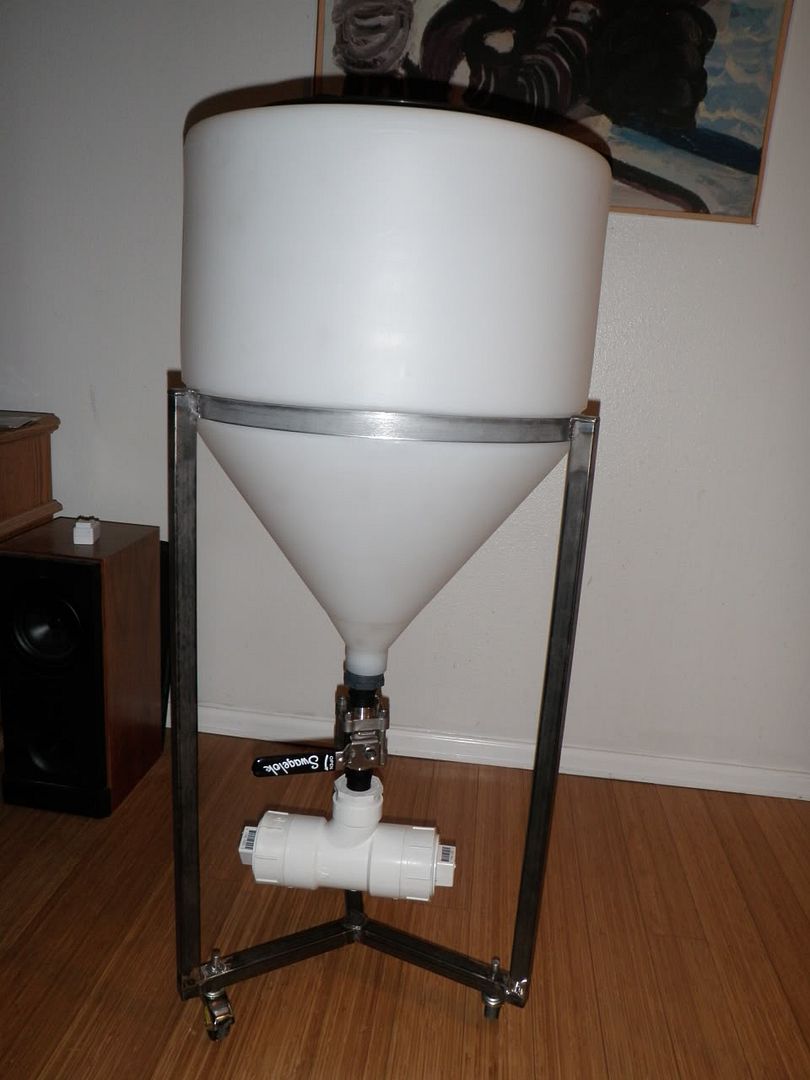
Ohio valley is still cheaper than this place, but if someone wanted to get crazy and go 110 gallon this place has one.

Plastic-Mart Product Search

they do will call in some location, but they still charge a 35 fee so doesnt really help unless you bought more and lived in the town.
 
I just got my conical and I was sad to see the lid assembly is held on with what look like wood screws that go all the way through to the inside. Is this how they all are? How are people cleaning these out and sanitizing everything? Is there anything to worry about with the screws?
 
I didn't notice that. Thanks. I haven't filled mine to the top with beer yet. My krausen hasn't reached that high either. I guess we could put some food grade silicone on the screws or just take them out every once in awhile. I am not too concerned.
 
I have one of these for the the last few years. I put it into use in 2007, anyways, they work fine, I don't age in the tank, just primary. They aren't airtight, don't need an airlock, and are what they are. I use mine all the time, 7 days, and outta there. Winters are better, but in the fruit fly season, its a quick trip then keg and drink.
 
Hey guys, just wanted to update my yeast catcher build. My parts for the quick disconnect came in today so no more threading issues.

IMG_0670.jpg
 
I just got my conical and I was sad to see the lid assembly is held on with what look like wood screws that go all the way through to the inside. Is this how they all are? How are people cleaning these out and sanitizing everything? Is there anything to worry about with the screws?

no screws in the two I recieved a couple weeks ago... lid screws on- not airtight -but I'm not worried about that
 
check on the inside, looking up through the bottom. The piece the lid screws into is held on with screws.
 
check on the inside, looking up through the bottom. The piece the lid screws into is held on with screws.

quite right! I'll check to see if they are stainless ( not likely) and replace tham if need be.. but Ill be disassembling between sessions for sanitizing for sure.
 
I haven't taken mine apart yet but would there be a way to take out the screws and then seal the holes / reattach the lid assembly with some sort of food grade silicon adhesive? Would this be overkill?
 
The screws do seem to be stainless steel by the "magnet" test. Given the location at the very top of the conical they aren't likely to have much contact with the Wort unless the Krausen gets up to the lid- and if they are SS I'm not worried about contact with the wort as long as the fermenter has been thoroughly sanitized ahead of time.
You probably could back out the screws and attach the collar with silicone, but that would make it impractical ... or impossible... to disassemble the lid assembly to clean and sanitize.
In the end having a fermenter that you can 'break down' to clean is probably a good thing as long as the components are non-reactive and food safe.
off topic a bit... has anyone fitted there lid with a gasket? I'm curious to know if it was an easy fit.
 
I'm interested in a gasket as well. I'd like mine to be airtight. The fruit flies have been unreal this year and I'm planning on having this thing in my garage.
 
oops... ordered the stands not the tanks
corrected order placed

2 Ace Roto Mold 15 Gallon Full Drain Inductor Tank IN0015-19 @ $61.99
2 Banjo 1-1/2" Polypropylene Bolted Ball Valve V150 @ $22.99
2 Nipple Male Thread 1 1/2" @$2.99
shipping to 19072 UPS ground $17.67
total $193.61
After keeping the very nice RuralKing rep on the line to correct the order I didn't have the heart to take my business elsewhere. I'm pretty happy with two tanks with valves for less than 2 Franklins, but I'll check the ohio valley to see if it would be better after shipping.
I started at another sight wich "guaranteed" the best price and lowest shipping... well the price wasn't lowest and the shipping was over $90- Buyer Beware

did you ever get this assembled?
what did you use to seal the nipple against the inside wall?
is the bottom outlet 1.5 or 2"?


just about to pull the trigger on this, but want to make sure i get everything the first go round
 
I'm working on building stands for it now, but other than that it's not much of a 'project'. I'm not putting in another bulkhead- I'll be draining out of the bottom valve only. Also not puting in a 'yeast/trub catcher'- again draining out of the bottom valve direcly into a bucket (trub) or sanitized ball jar (yeast). I may add either or both in the future, but I think it could work fine without them.
The nipple is threaded into the bottom port , with teflon tape to seal the threads and a hose clamp (comes with the conical) to tighten the connection, and the ball valve is threaded into the nipple with teflon tape to seal the threads.
the connections are all 1 1/2"
and I think that this is the minimum to make it work if you are prepared to build a stand
 
cool. so as i want to drain the yeast from the bottom and have a bottling spigot i'm going to need two nipples, two ball valves and at least one nylon nut for the inside.

anyone have a sourcing suggestion? or should i go in a different direction?
 
You may want to read the thread first, however, since the first page has 15-gal plastic fermenters for $70 ($80 less than your friend!).

Ditto. This tank has a stand included (the $70 one doesn't). Materials would cost me at least $40, and it would take me a few hours of "engineering" to make the thing, so for $20 an hour, I'll buy it and drink beer instead. :)
 
GatorDad said:
Ditto. This tank has a stand included (the $70 one doesn't). Materials would cost me at least $40, and it would take me a few hours of "engineering" to make the thing, so for $20 an hour, I'll buy it and drink beer instead. :)

Good call! :). I like the way you're thinking!

"All your home brew are belong to us!"
 
I'm interested in a gasket as well. I'd like mine to be airtight. The fruit flies have been unreal this year and I'm planning on having this thing in my garage.

Mine will be airtight, as well, so that I can pressurize it for transfer. I plan on following this guy's method of sealing the ring to the body of the conical. Let me know whatcha think of it.
 
http://*****************.com/library/tag/diy-conical-fermenter-plastic/

Don't know WTF is going on, but all those stars actually say "brewers round table" without space between the words. Hilarious that those three words are filtered! :drunk: I assume HBT has beef with BR.

BTW, the instructions are backwards, i.e., it shows part 3, then part 2, then part 1.

I hope this helps! :mug:
 
i plan on installing a racking arm in my conical. This is what i'm planning to use to breech the wall with :
36895kp2l.png


my question is. if i want to join a 1 1/2" ball valve to it, what do i need to do it? The through wall fitting should be an ID of 1 1/2"? and then use a all thread nipple to join the two?


Here's what i'm thinking:
McMaster Carr:
3/4" Through-Wall Fittings #3736K2 $13.11
3/4" Polypropylene Ball Valves #48015K22 $15.50
Male x Female 45° Elbow 46885K133 $7.16

Total: $35.77

Rural King:
Ace Roto Mold 15 Gallon Full Drain Inductor Tank IN0015-19 $61.99
Nipple Male Thread 3/4" #002952046 $1.49
Green Leaf Male Adapter 3/4" Thread with 5/8" Barb A3458P $1.99
Banjo 1-1/2" Polypropylene Bolted Ball Valve V150 $22.99
Nipple Male Thread 1 1/2" $2.99
Total: $91.45

Grand Total:$127.22 plus labor and lumber to make a stand....
 
i plan on installing a racking arm in my conical. This is what i'm planning to use to breech the wall with :
36895kp2l.png


my question is. if i want to join a 1 1/2" ball valve to it, what do i need to do it? The through wall fitting should be an ID of 1 1/2"? and then use a all thread nipple to join the two?
1 1/2" racking port is pretty big.... I'm using a 1/2" bulkhead fitting with 1/2" pipe and a 1/2" ball valve. Flows plenty fast. I'm thinking with 1 1/2" you're going to create turbulence in the conical and rack a lot of yeast. Cheers!!!
 
i posted that half asleep. if you'll notice further down the post everything got switched over to 3/4". having trouble sourcing 1/2"....
 
The designs of my conical stand and my fermentation chamber went hand-in-hand. Because the stand is fairly short, I can't fit so much of a "vertical" yeast catcher as everyone else has, so I designed a more "horizontal" one.

The ball valve is 1". Below the ball valve, the diameter goes from 1" to 2", then to a 2"x3"x3" tee with cleanout adapters on both sides and cleanout plugs screwed into the adapters.

I welcome any questions, comments, suggestions, criticism, etc.

PB210020.jpg


PB210019.jpg
 
The designs of my conical stand and my fermentation chamber went hand-in-hand. Because the stand is fairly short, I can't fit so much of a "vertical" yeast catcher as everyone else has, so I designed a more "horizontal" one.

The ball valve is 1". Below the ball valve, the diameter goes from 1" to 2", then to a 2"x3"x3" tee with cleanout adapters on both sides and cleanout plugs screwed into the adapters.

I welcome any questions, comments, suggestions, criticism, etc.

A few thoughts:
1) Be very careful when moving it, due to the 3-leg design, small wheels and being top heavy. I'm thinking it's going to be a bit tippy.
2) Are you going to add a racking port?
3) The yeast catcher looks cool but all you really need is a pint or quart jar to catch the yeast after you've racked the beer off. There will be plenty of yeast on the sides of the conical. That's all I do with mine. Just set a jar on an upside down pail and catch the thick slurry until the jar is full. Easy Peasy.

Cheers, and happy brewing.
 
Tried that link to the pressure conversion and its wacked can see the third part but not the first 2 anyone have any thaughts on sealing this thing airtight. id feel much happier with an airlock etc. To insure beer is isolated from outside air cause i plan on using it to the end of fermenting all the way to kegging and maybe even under pressure during whole process. hopefully my conical should be waiting for me when i get of work today wont have a chance to go over it close until then.
 
Tried that link to the pressure conversion and its wacked can see the third part but not the first 2 anyone have any thaughts on sealing this thing airtight. id feel much happier with an airlock etc. To insure beer is isolated from outside air cause i plan on using it to the end of fermenting all the way to kegging and maybe even under pressure during whole process. hopefully my conical should be waiting for me when i get of work today wont have a chance to go over it close until then.

I'm wondering looking at mine if the problem with the air tight seal is not that actual lid but the black piece that the lid screws into and where it attaches to the tank. I would think the way it screws in pretty tight that should seal but I do notice where the black ring and the tank meets there are some small gaps that could make it not air tight. Wonder if we could use some kind of silicone around that ring to seal it, any thoughts.
IMG_0671.jpg
 
I took the whole lid assembly off and caulked between the tank and then screwed it back on letting it seal. The lid threads would still leak. I haven't made mine air tight yet.
 
Back
Top