Simple wood working question.

Homebrew Talk - Beer, Wine, Mead, & Cider Brewing Discussion Forum

Help Support Homebrew Talk - Beer, Wine, Mead, & Cider Brewing Discussion Forum:

This site may earn a commission from merchant affiliate links, including eBay, Amazon, and others.

IrregularPulse

Hobby Collector
HBT Supporter
Joined
Nov 6, 2007
Messages
62,016
Reaction score
6,922
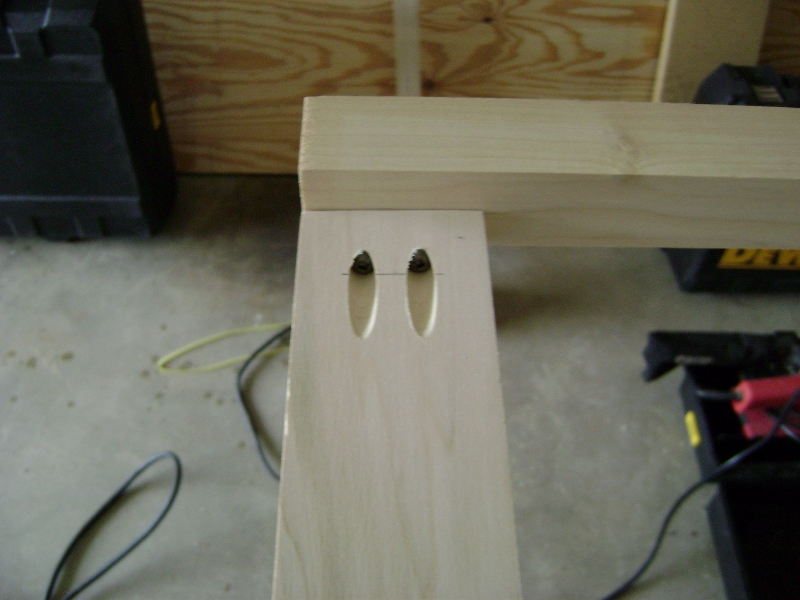
I'm making a simple structure to Child/drunk proof the new tv for new years. It consists of some simple triangle braces with plywood walls. I'm using 1x2's for the braces and ran into a snag last night after cutting all my pieces.
I'm having trouble holding my joint and trying to nail it together. Trying to come up with a simple jig.
Here's a sketchup image of my brace.
Primarily the top board fastened to the 45 of the angled brace. PLEASE HELP this noob.

View attachment brace.bmp
 
screws instead of nails?

or bend up some L brackets

20071113-cut-l-brackets.jpg
 
Absolutely. Take a trip to your local Depot, they have all kinds of small angle brackets like that. At least in my store, they're located in the same aisle as all the nails and screws.
 
OT: sounds like a hell of a party if you need crowd control barriers. What happens when someone trips on that thing and then falls into the TV?

No very mellow part, Just a couple kids with parents that don't watch them. Had a juice box straw druck across the screen a couple weeks ago. luckily no juice came out. And nice stern (said with sarcasm) "now honey"!

Mostly just a barrier so they can;t walkt directly up to the TV, also for when my boy starts crawling.

I'll take a trip back to lowes tongiht without SWMBO. She's always so impatient to get out.

Latest Sketchup Idea:

View attachment bracket.bmp
 
LOL, that is gonna be some party!

nope, just a kid friendly one and a piece of mind for me that the TV will still be in good shape the next day.
Dad (me) just got his nice TV and knows if it gets broke he won't get it replaced anytime soon.
It's probably overkill but it's an excuse to build something.:mug:
 
You could make some plywood gussets for the side of the angle and screw them in.

new to wood working. care to explain these "gussets"?:confused:

never mind, Wiki'd it.
That's a good idea. I have a ton of triangles left from cutting miters on other pieces.

Still the issue with holding it while attaching. I'll piece it together to see, but am probably going to switch to screws and look for a bracket.
 
A nail gun really helps in situations like this. You can hold the joint with one hand and nail with the other, since it is so fast it doesn't move the joint much. Just watch out for nailing your hand.

Also screws are good for this situation as well, predrilling will help even more when putting the screw in with one hand.
 
The simplest and best looking solution will be screws. Pre-drill your holes and zip some phillips head screws in there. That way the whole thing can be easily disassembled for later use.
 
A nail gun really helps in situations like this. You can hold the joint with one hand and nail with the other, since it is so fast it doesn't move the joint much. Just watch out for nailing your hand.

Also screws are good for this situation as well, predrilling will help even more when putting the screw in with one hand.
Where it would be nice to buy a nail gun and compressor, can't afford one right now, and definitely not for this little project.

The simplest and best looking solution will be screws. Pre-drill your holes and zip some phillips head screws in there. That way the whole thing can be easily disassembled for later use.

Yeah that's what it's gonna be. Pre-drillin' is what I'll need to do. Hopefuly be able to get it secure. Probably still going to look at some brackets first.

And I'm gonna make it in 4 separate pieces for storage.
 
I'd go with the Gussets. You can lay the boards down on their sides and screw threw the Gussets inth the angled boards. I'd also use some wood glue for extra strength. Any White Glue will do. I.E. Elmers.
 
You would be surprised how much stronger. The glue joint with screws will be the strongest and easiest way. A "good" glue joint the wood will break or tear before the glue will break. It will be way more than you need for a temporary stand. It'll be obvious when you try to break it down after use.
 
Please don't take me as a smart a.. I'm not telling you what to do with this. It just happens that I also do a bit of cabinetry work. Just trying to be helpful.
 
My personal favorite combination is Type III wood glue (the heavy-duty waterproof stuff) and Kreg pocket screws. Lowe's sells the Kreg pocket screw jig for around $20. A box of screws is $5. The result is damn near indestructible and assembly is easy because as others have mentioned everything is pre-drilled. Do yourself a life-long favor and invest in some appropriate clamps too. They make every project I do vastly easier.

$20 Jig Set
600088_l.jpg


The easily obtained result
DSC00411.JPG
 
I've got wood glue. You think they'd be sturdier than brackets?

Long-grain to long-grain joints (think 2x4's joined to make a 4x4) are usually stronger than the wood. End-grain to end-grain (2 8' 2x4's joined to make 1 16' 2x4) isn't as strong but still far stronger than screws alone.
 
Please don't take me as a smart a.. I'm not telling you what to do with this. It just happens that I also do a bit of cabinetry work. Just trying to be helpful.
Not at all, these are the kinds of suggestion I need, not just for this project but for all around wood working knowledge. I just started building this past year. it's great fun, I just have to figure it all out on my own and there are SOO MANY weird little tools!

My personal favorite combination is Type III wood glue (the heavy-duty waterproof stuff) and Kreg pocket screws. Lowe's sells the Kreg pocket screw jig for around $20. A box of screws is $5. The result is damn near indestructible and assembly is easy because as others have mentioned everything is pre-drilled. Do yourself a life-long favor and invest in some appropriate clamps too. They make every project I do vastly easier.

$20 Jig Set


The easily obtained result
I saw those while searching for jigs. I'll probably pick one up sometime. Nice looking joints.


Another good suggestion!! haha
 
Another good suggestion!! haha

You wouldn't believe how many times my SIL stepped on it barefoot before she realized that it was supposed to shock when stepped on and that it is the reason why the dog doesn't scratch at the back door anymore. She's 35.
 
Here is a very simple way to do this. Cut a couple of 2x6's 24" long. Cut a groove/dado in the middle of the 2x6 the width of the barrier board (use your saw and make multiple passes half way through the 2x6 till the groove is the same width as the barrier board). Make the cut the 5 1/2" direction not the long way. Glue and screw the 2x6's to the bottom of the barrier board. I am not great at typing explanations, so I hope this wasn't to confusing. Good Luck. This worked for me with out twins.
 
Here is a very simple way to do this. Cut a couple of 2x6's 24" long. Cut a groove/dado in the middle of the 2x6 the width of the barrier board (use your saw and make multiple passes half way through the 2x6 till the groove is the same width as the barrier board). Make the cut the 5 1/2" direction not the long way. Glue and screw the 2x6's to the bottom of the barrier board. I am not great at typing explanations, so I hope this wasn't to confusing. Good Luck. This worked for me with out twins.

A piece of plywood for a wall and the 2x6's are the feet of the wall.

Not a bad suggestion if a little crude, but I think cutting a dado with a table saw or a plunge router is beyond his working skill given the thread so far though.
 
A piece of plywood for a wall and the 2x6's are the feet of the wall.

Not a bad suggestion if a little crude, but I think cutting a dado with a table saw or a plunge router is beyond his working skill given the thread so far though.

Not necessarily beyond my skill, but definitely beyond my pool of tools to pull from. I got a rip saw, Miter saw, and jig saw.
and then of course drills and hand tools.

I ended up going with brackets. Cost me about $8 in hardware.

5361 - Closeup of the brackets I used
5363 - Back corner
5362 - Top Corner
5359 - 4 separate frame sections placed together (not secured)
5360 - The area it will surround with SWMBO getting WiiFit

I got the front walls put on but I guess I didn't snap a picture.

100_5361.jpg


100_5363.jpg


100_5362.jpg


100_5359.jpg


100_5360.jpg
 
She helped hold the Keezer lid while attaching my tap box last night. I can only stand 15 minutes or so of working with her on a project. She always (just trying to be helpful) has her inputs on how I should do it. If i wanted it done her way, I'd have her design it and plan the build. She just needs to stand there, and hold the bolt while I tighten it from the other side! haha topless preferred!
 

Latest posts

Back
Top