• Please visit and share your knowledge at our sister communities:
  • If you have not, please join our official Homebrewing Facebook Group!

    Homebrewing Facebook Group

Show us your Kegerator

Homebrew Talk

Help Support Homebrew Talk:

This site may earn a commission from merchant affiliate links, including eBay, Amazon, and others.
Premium regulators are not a whole lot more expensive. Here's the dual setup I was talking about:
http://www.micromatic.com/draft-keg-beer/regulators-pid-642-Battery.html

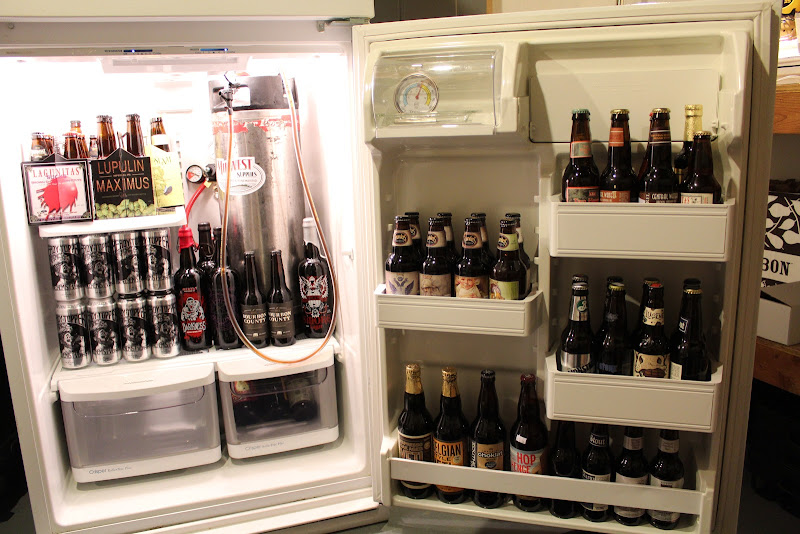
I'm currently serving 3 beers from a single body, single gauge version of that and it works quite well. I've had a few other budget and mid-level regulators in the past that all failed. Some barely functioned properly when brand new. I wish I had bought micromatic or similar right off the bat, it would've saved me a lot of trouble and money.
 
Have you read the review on the need for a check valve to keep beer from back-flowing into the regulator?

VERY IMPORTANT!!!!

I had a keg of ED Worts apfelwein that was pressurized at 40+ psi. Didn't think about it. Tapped it with 12 psi to serve. Apfelwein sprayed out of the regulator. I had to tear it apart to clean it out.

Micromatic deluxe regs. Keep in mind, most regs are designed with BMC kegs and couplers in mind. Those couplers have check valves built in.
 
Just got my Edge Star dual tap today. Totally psyched!

Upgraded to the dual gauge regulator and I'm gonna start looking around for a nice 1/4 of Guinness or some other tasty brew until I get my hands on some Cornies for my homebrew. Best investment from an income tax return I ever made!

P.S. Take notice to my HBT Decal at the base of my tower.

image-25594386.jpg


image-4165098393.jpg
 
how about a future kegorator?
my grand parents coke fridge just stopped working and they offered it to me if i could make it run. Bottom half for kegging system, top half for bottle storage. Taps out the right side :)

IMAG1328.jpg
 
I just finished my keezer. Though it copies several others but I figured why change a working thing.

Kenmore 8.8 freezer
Beveragefactory.com 2 keg picnic set
Added two Perlick 525ss with ss shanks
Triple gas manifold so I can carb and serve
Quick disconnect so I can take tank and keg out to use bottling gun in kitchen
eBay aquarium controller
Twin computer fans wired into lid power
4 coats of chalkboard paint
Stained the Red oak
(Pending) White Labs Vial tap handles

Only issue I have is my Kegco regulator seems to slowly lose pressure in the keg and I have to adjust it every few hours. But Beverage Factory came through and is sending me a new one and said I can keep this for parts. Maybe ill tear it down and see if I can fix it. If I can ill link the two and have a dual pressure setup

Cheers!

image-2247292210.jpg


image-2410874614.jpg


image-2045712038.jpg
 
how about a future kegorator?
my grand parents coke fridge just stopped working and they offered it to me if i could make it run. Bottom half for kegging system, top half for bottle storage. Taps out the right side :)

IMAG1328.jpg

My buddy used one of these. He replaced the glass with a whiteboard, and then pinned the lines neatly to the side and door so they weren't in the way. Very nice set up.
 
how about a future kegorator?
my grand parents coke fridge just stopped working and they offered it to me if i could make it run. Bottom half for kegging system, top half for bottle storage. Taps out the right side :)

IMAG1328.jpg

If a conical can fit in there, I think its highest best use is a fermentation chamber. Let us know if you do get it working. My old keezer would have cost too much to fix so I had to scrap and rebuild.
 
ja09 said:
More of a beer collection than kegerator, still need to drill some holes and get that damn co2 outta there to clear some space :mug:

Oh my God, talk about excessive.... Lol
....The truth is I'm just jealous :)
 
Premium regulators are not a whole lot more expensive. Here's the dual setup I was talking about:
http://www.micromatic.com/draft-keg-beer/regulators-pid-642-Battery.html
Additional benefit of premium regulators (Micromatic, Cornelius & Norgren) is that you can buy rebuild kits for them if needed.

Many gas shutoffs are available with check valve built in. I use them on the regulators and my distribution manifold. Cheap insurance.
Ditto - check valves on both! I keep the CO2 outside the fridge and the distribution block inside. I use clear lines on the CO2 so that I can visually see if there was ever any kick-back.
 
My nostalgic went out so looked around for something to replace with and found this Beverage Air UR30GE.. best thing is the air circulating fan that keeps my tower ice cold. Worst is the noise since its a little louder than the nostalgic. Still happy with the price of $100 for it off of the classifieds!! I use my deep knockout punch on it for the tower.. Easy and painless in less then and hour!! Working like a charm :mug:

ForumRunner_20130325_224813.jpg
 
Additional benefit of premium regulators (Micromatic, Cornelius & Norgren) is that you can buy rebuild kits for them if needed.

Ditto - check valves on both! I keep the CO2 outside the fridge and the distribution block inside. I use clear lines on the CO2 so that I can visually see if there was ever any kick-back.

Taprite also has rebuild kits and if you email them with a problem they will usually send a kit for free. There is really no reason to spend the extra cash on a "premium" regulator. They all have rebuild kits and a cheap check valve will prevent most common problems.
 
Taprite also has rebuild kits and if you email them with a problem they will usually send a kit for free. There is really no reason to spend the extra cash on a "premium" regulator. They all have rebuild kits and a cheap check valve will prevent most common problems.

I would add Taprite to the premium regulator category - should have had them in the named list I had above. There are so many cheap Chinese regulators out there now (as generics and house brands) that have inferior quality, soft metals and no parts. Taprite, like the others I listed above, stand behind the product and supply parts should you need to repair it.
 
Thanks! I'm a huge Batman fan and I got lucky with finding a perfect sized decal for the top. I do love me some Legend of Zelda too though obviously.

On tap right now I got a black IPA right now, a brown porter, Irish Red, and egg nog ale that didn't quite come out how I wanted but still is good. I was dumb and used too much water and it only ended up being like 1.07 OG instead if the 1.10 I wanted. Next time though....
 
What did you use to attach your drip trays to the freezer? I was thinking self tapping screws 3/4" but didnt want to screw anything up.

I glued some elbow brackets to the the front and put some velcro on the side so its attached to the kegerator. Keeps them in place but you can take them off to clean if you want to. I haven't tested the weight limit extensively, but it can support a full pint I know.
 
You can find this conversion elsewhere, but I did it differently because of the under counter application. I think this technique might be helpful to others in the same boat. What you are seeing is a loop of 1/2" copper pipe fed up thru the fridge into the counter top and into the tower. The tap line comes thru a T fitting in the copper pipe. The copper gets cold in the fridge and cools the tower, which comes insulated. It works very well (thanks to my brother for the idea). The advantages are:

1) you only have to drill a 5/8" hole in the fridge and countertop.
2) I think it's easier to line that up with the countertop than a piece of conduit.

I lined everything up by first making the cooling pipe, then marking where the T is in the fridge. Then I simply drilled up from inside the fridge. When I hit the underside of the countertop I removed the fridge before going the rest of the way thru the countertop.

This Danby will actually hold two corny kegs with a CO2 tank in the back on the shelf, but in that case you need to take off the door panel and replace it with flat plexiglass or something because as those pop bottle holder projections poke too far into the fridge to allow the second keg. But if you're happy with just a single keg you only need to remove the racks, and then put your CO2 tank on the right hand side. The door panel projections won't bother that. That's what I do for now. Maybe someday I'll add a second keg.

DanbyConversion.jpg
 
phschimpf said:
You can find this conversion elsewhere, but I did it differently because of the under counter application. I think this technique might be helpful to others in the same boat. What you are seeing is a loop of 1/2" copper pipe fed up thru the fridge into the counter top and into the tower. The tap line comes thru a T fitting in the copper pipe. The copper gets cold in the fridge and cools the tower, which comes insulated. It works very well (thanks to my brother for the idea). The advantages are:

1) you only have to drill a 5/8" hole in the fridge and countertop.
2) I think it's easier to line that up with the countertop than a piece of conduit.

I lined everything up by first making the cooling pipe, then marking where the T is in the fridge. Then I simply drilled up from inside the fridge. When I hit the underside of the countertop I removed the fridge before going the rest of the way thru the countertop.

This Danby will actually hold two corny kegs with a CO2 tank in the back on the shelf, but in that case you need to take off the door panel and replace it with flat plexiglass or something because as those pop bottle holder projections poke too far into the fridge to allow the second keg. But if you're happy with just a single keg you only need to remove the racks, and then put your CO2 tank on the right hand side. The door panel projections won't bother that. That's what I do for now. Maybe someday I'll add a second keg.


Actually, I have this fridge with two kegs in it. All you need to do is cut this shelves off the door. I used a reciprocating saw. They are plastic and filled with insulating foam. It's pretty easy. That gives you the room you need in the fridge.

I installed mine under the counter too. Remember this thing vents out the back. I put a floor register in the counter to allow heat to escape. Make sure it's vented, or the fridge won't last long.
 
Back
Top