awarner322
Well-Known Member
Does anyone on here have a recommendation for where to attach the collar on a keezer?...to the lid or base of freezer?

To the freezer. The taps go through the collar, so you don't want them and their beer lines to be moving when you open the lid.Does anyone on here have a recommendation for where to attach the collar on a keezer?...to the lid or base of freezer?
Flomaster said:Yeah the lid is stupid heavy after I roughed it out in wood, put plywood on top and then hardibacker board.
I need to take some quality photos after it's grouted.
-=Jason=-
Sent from my HTC using Home Brew Talk
EDIT: Here is the Finished Keezer after I grouted it today.
:rockin::rockin::rockin::rockin::rockin::rockin::rockin:
Does anyone on here have a recommendation for where to attach the collar on a keezer?...to the lid or base of freezer?


Hmmm that's an interesting idea...what do you use for a seal on both sides then?
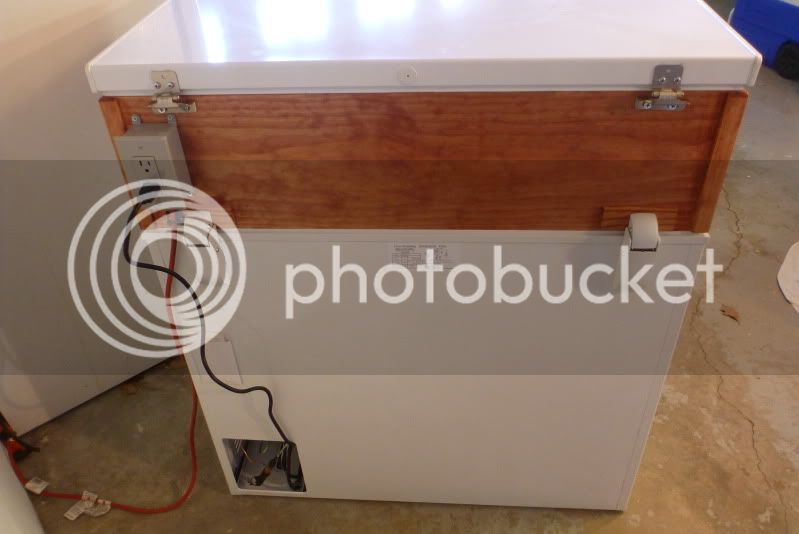
awarner322 said:Wow that looks real good (and clean) nice work...the outlet box is just what toy wired to so you don't have to have an extension cord hanging it the back? Thanks for the advice ok the hinges....I'll be replicating that for sure
Thanks, the outlets are switched by the temperature controller. That way I didn't have to make any changes to the freezers electrical.

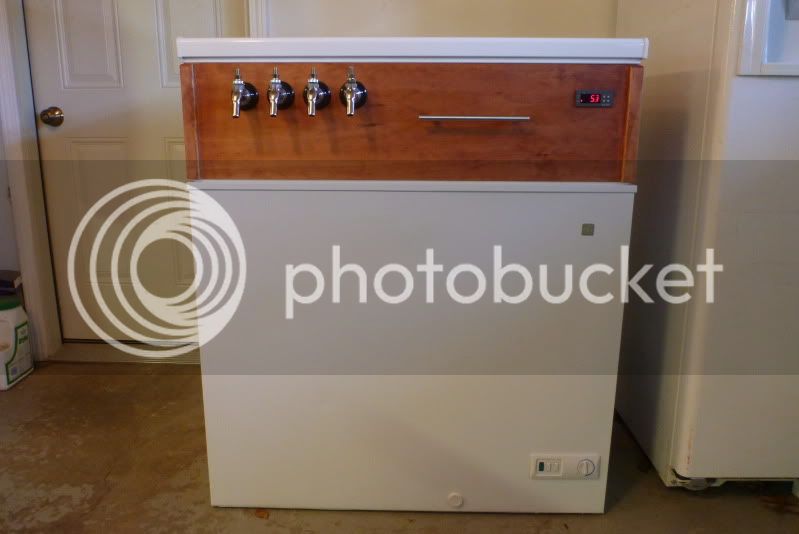
Nice, real nice. Your pictures give me ideas for my build. I like the location of the taps. What is the height of the wooden collar? And, perhaps a bit more about the neat looking temperature gauge. Is that the temperature controller? If so, who sells them.
Sorry to be a bit bothersome, but Wayne at Bargain Fittings put me on to HomeBrewTalk; what a wonderful find.


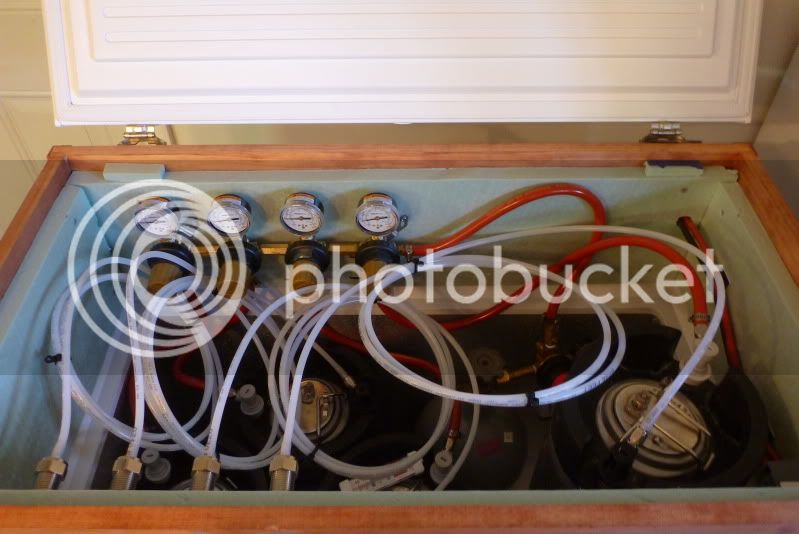
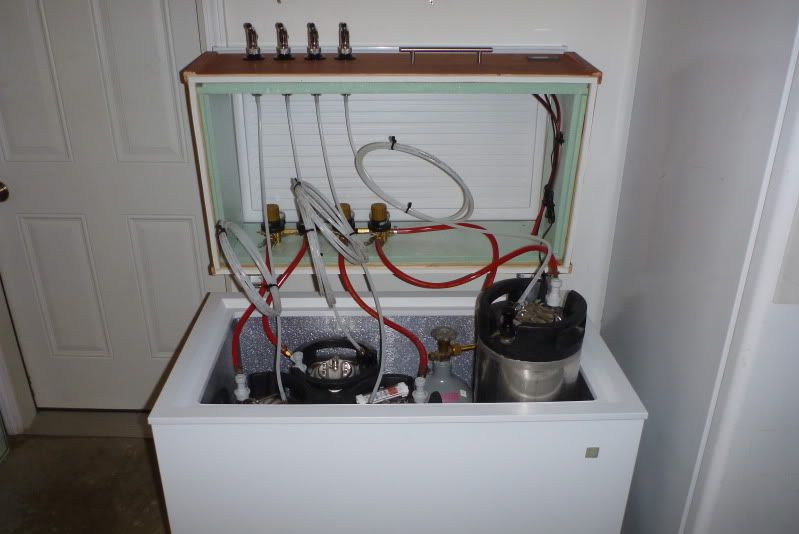
Here is mine basically complete, Just have to add some led lighting to it...
Thanks to everyone on here, the inspiration from seeing all of your projects really helped.
I used tin on the sides and back, tiled with glass tile and it has a digital picture frame so you know whats on tap...
Thanks again for all of your creations!


cool vibe and color... thats a ton of taps!!!!

") ...still need one more handle tho...but more importantly more full kegs!!!
...still need one more handle tho...but more importantly more full kegs!!!


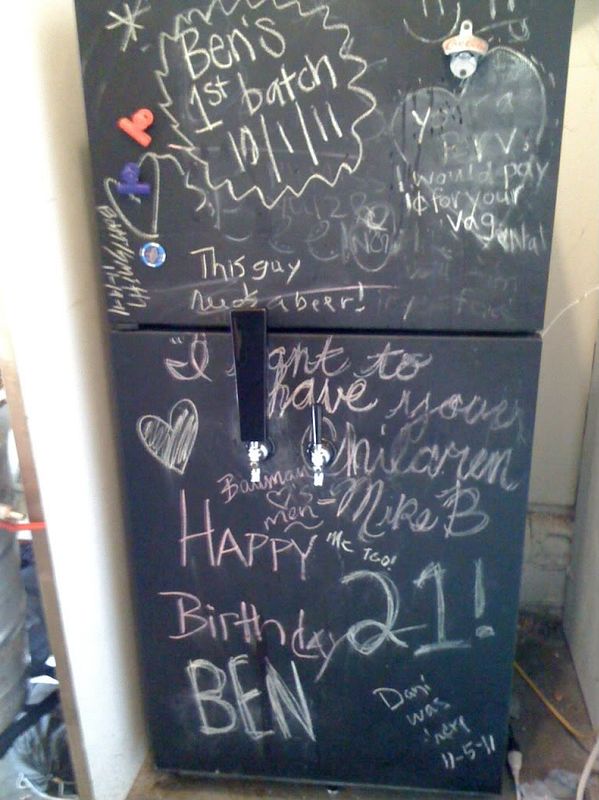
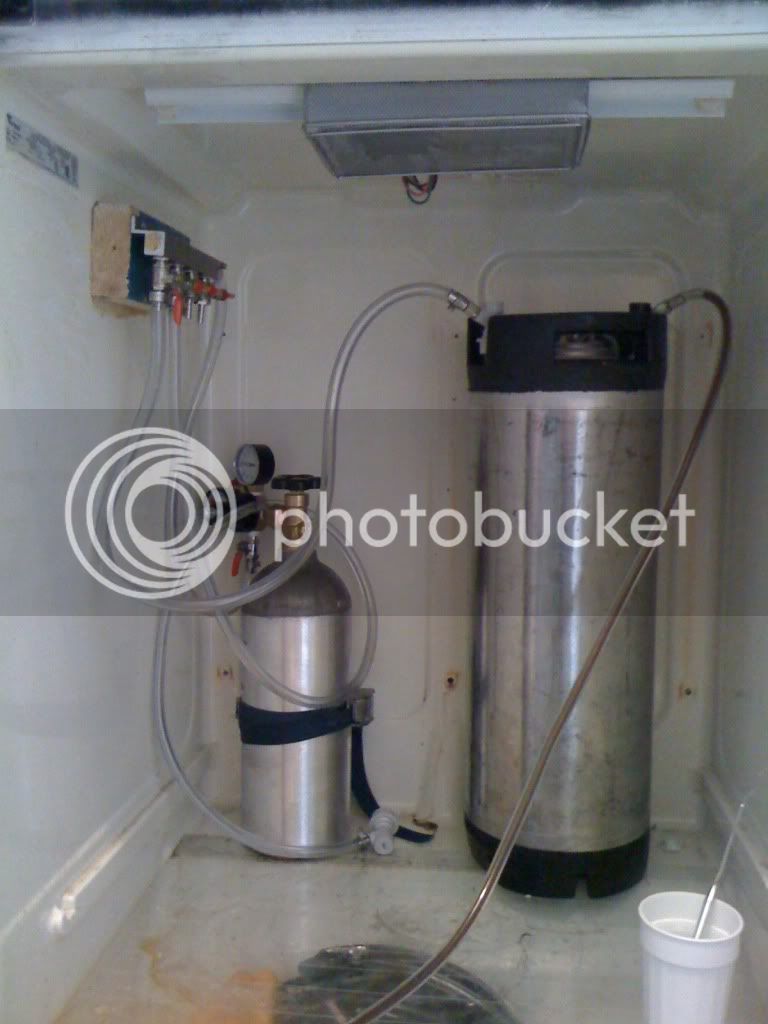
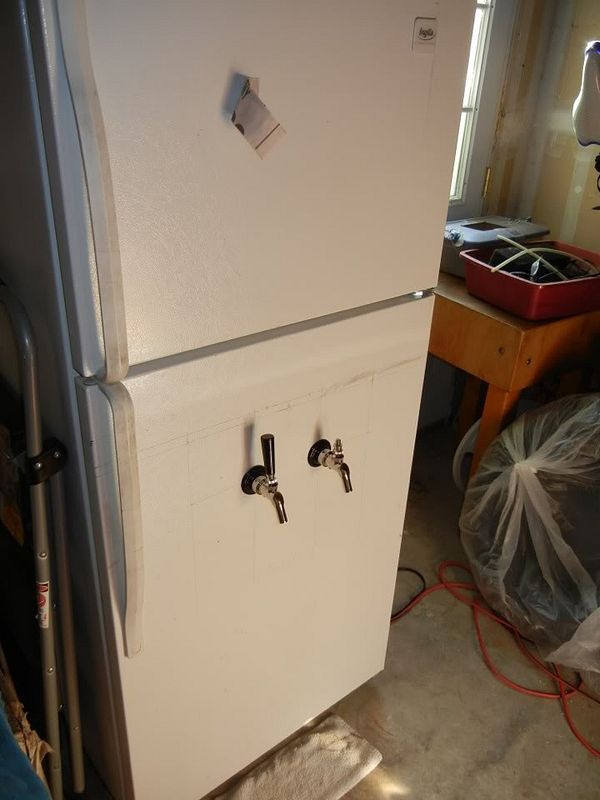
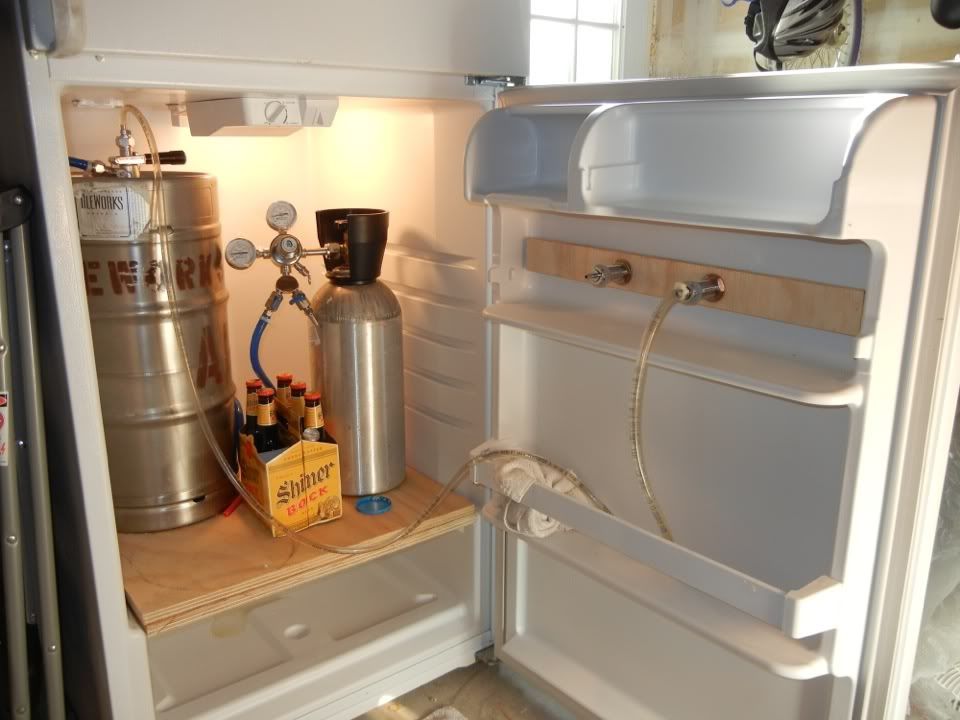
My fridge is on the porch for now. To keep bugs/kids out, I decided to mount the taps on the inside. At first I was going to use picnic taps, but then I realized there was wasted space in the butter tray area so I removed the door and molded a housing for three faucets. I have two regular faucets now with a Perlick 575SS creamer faucet on its way for the empty spot you see. I'm using ball handles out of necessity to clear the inside of the fridge when closing the door. Fridge will hold six kegs, or five with the CO2 tank inside. I plan on having four beers and one soda in there. Waiting on some parts to finish the regulator setup which will be able to set individual pressures for each style.
You must really trust your neighbors!My fridge is on the porch for now.


![Craft A Brew - Safale BE-256 Yeast - Fermentis - Belgian Ale Dry Yeast - For Belgian & Strong Ales - Ingredients for Home Brewing - Beer Making Supplies - [3 Pack]](https://m.media-amazon.com/images/I/51bcKEwQmWL._SL500_.jpg)