arturo7
Well-Known Member
I love this thread. One of these days I'll finish my rig...

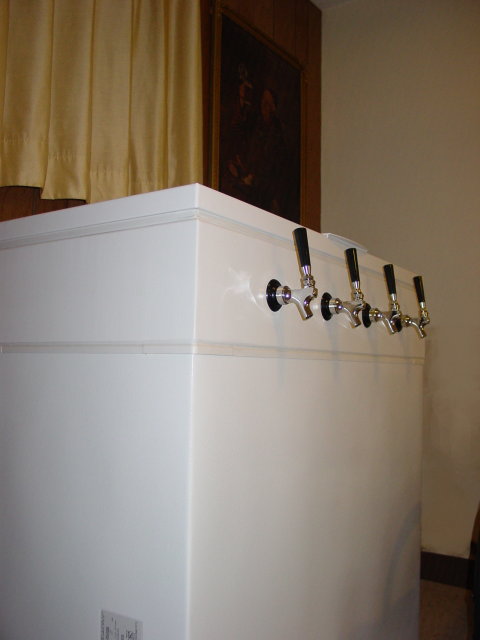
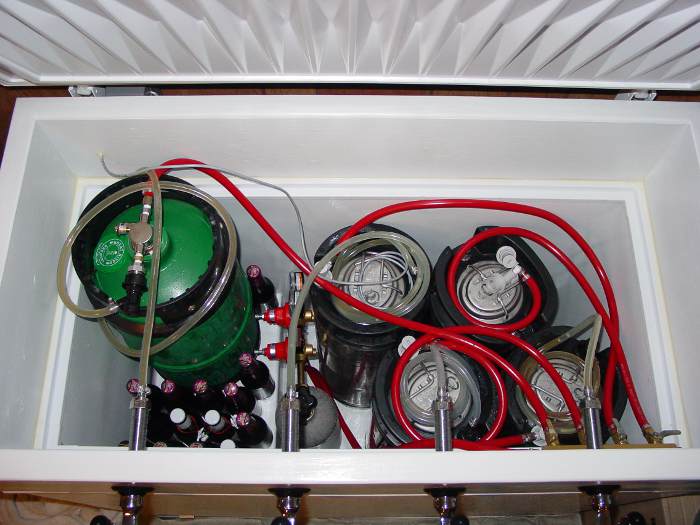
Micromatic sells a shut-off valve that can be fitted to sankey couplers to eliminate the need for untapping. They are a little pricy at about $25 dollars a pop, but worth it to prevent a disaster like I nearly had... One of my faucets spontaneously opened (from the weight of the tap handle, I assume). Luckily, I was home to catch it, or a half barrel of beer would have been flowing down the stairs, and through the floor into the lower rooms.
Perlick also makes a keyed lock that fits on the faucet itself. This is an option I may have to consider soon, as I have a teenager coming of age in my house.


")


Sensibull, I like that one very much. A neat and tidy installation that goes well with kitchen decor. It looks like it belongs there.
I was about to post mine... but my fridge stopped cooling after 3days!!! makes a weird clink noise and motor is hot to the touch. no coolant lines in the top on the Danby. didn't nick any lines while cutting. voided warranty when I made my first cut and removed door self panel. Which had nothing to do with tap install...
I AM SOOO BUMMED! was hoping to have 2 on tap by christmas!!! Now I need to find a fridge repair guy locally to take it to. Worked before I did my cuts. worked while I was making cuts. installed last bit... no chill. Right now it's a pretty looking 2 tap door stop. AAARRRGGHHH!
how would that be done? I un plugged it and had to walk away... majorly frustrated. I can post a pic when i get home...

what black paint are you guying using to paint the white Keezer black?
also im thinking about attaching my granite to face and sides of the lid instead of having it wood. do ya'll think that would look good?
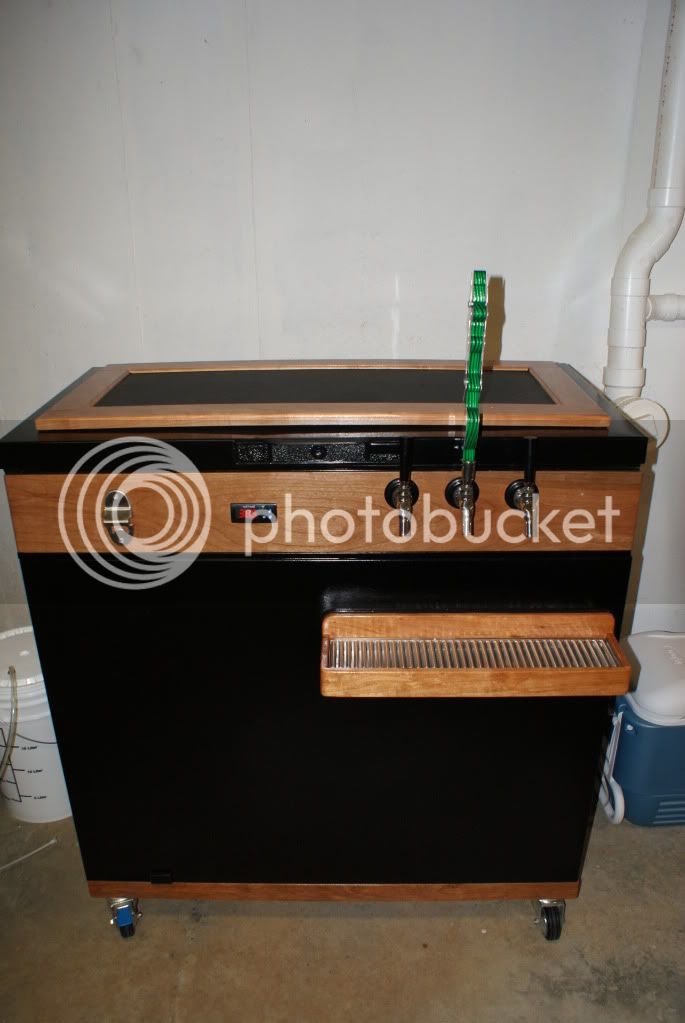
-=jason=-
8 CF Frigidaire Freezer
4 Corneys (with room for two more, or room for 6 gal lagering carboy)
2x8 Collar
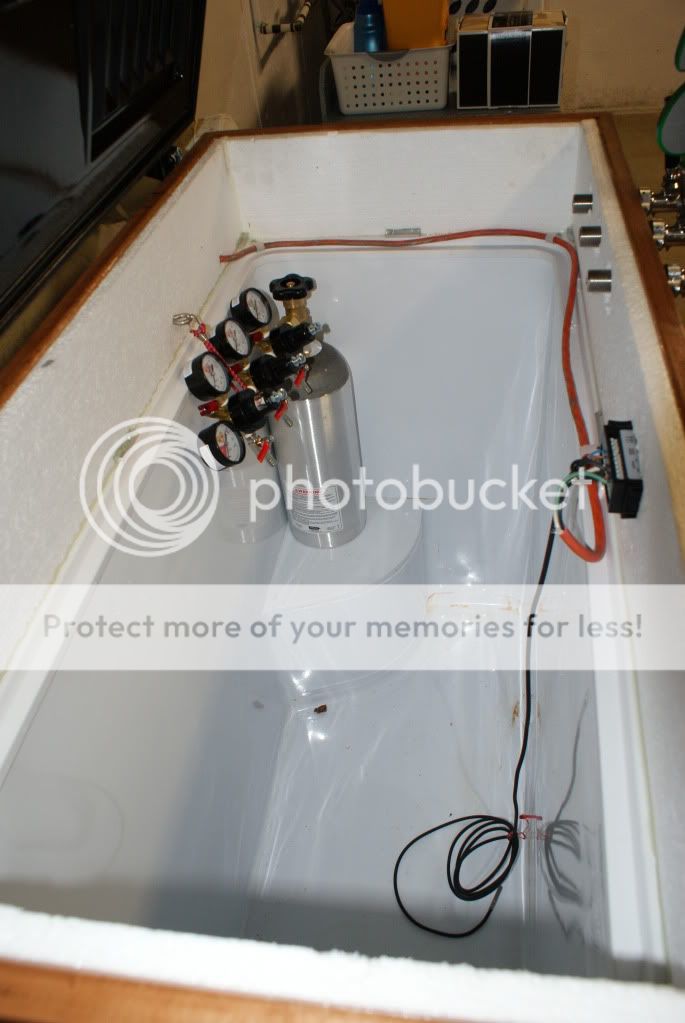
Johnson Controls A419ABC-1C

1990, that is one of the sharpest, nicest looking collar keezzers i have seen. The cherry and black is a real classy look. I also like what you did with the controller. The rounded corners on the collar and drip tray are a nice touch too.
What controller did you use?

There is a small chance that the fridge had short-cycled and liquid refrigerant got into the compressor and locked it up, especially if you have a different controller on it. This problem would clear after being unplugged for 10 minutes or so.

Thank you! If there's one thing I know how to do, it's work with wood!
The controller is a Love TSS2 2-stage. Currently only have it for cooling, but I figured if I bought one, might as well make sure I could use it as a fermentation chamber if I wanted to. Might not ever do it, but it saves me about 30 bucks down the road if it comes to it.
I'd put some sort of cover the back wiring though. Keezers even mine with a fan and damprid in it are notorious for having condensation issues and that wont mix well with electricity.


![Craft A Brew - Safale BE-256 Yeast - Fermentis - Belgian Ale Dry Yeast - For Belgian & Strong Ales - Ingredients for Home Brewing - Beer Making Supplies - [3 Pack]](https://m.media-amazon.com/images/I/51bcKEwQmWL._SL500_.jpg)


