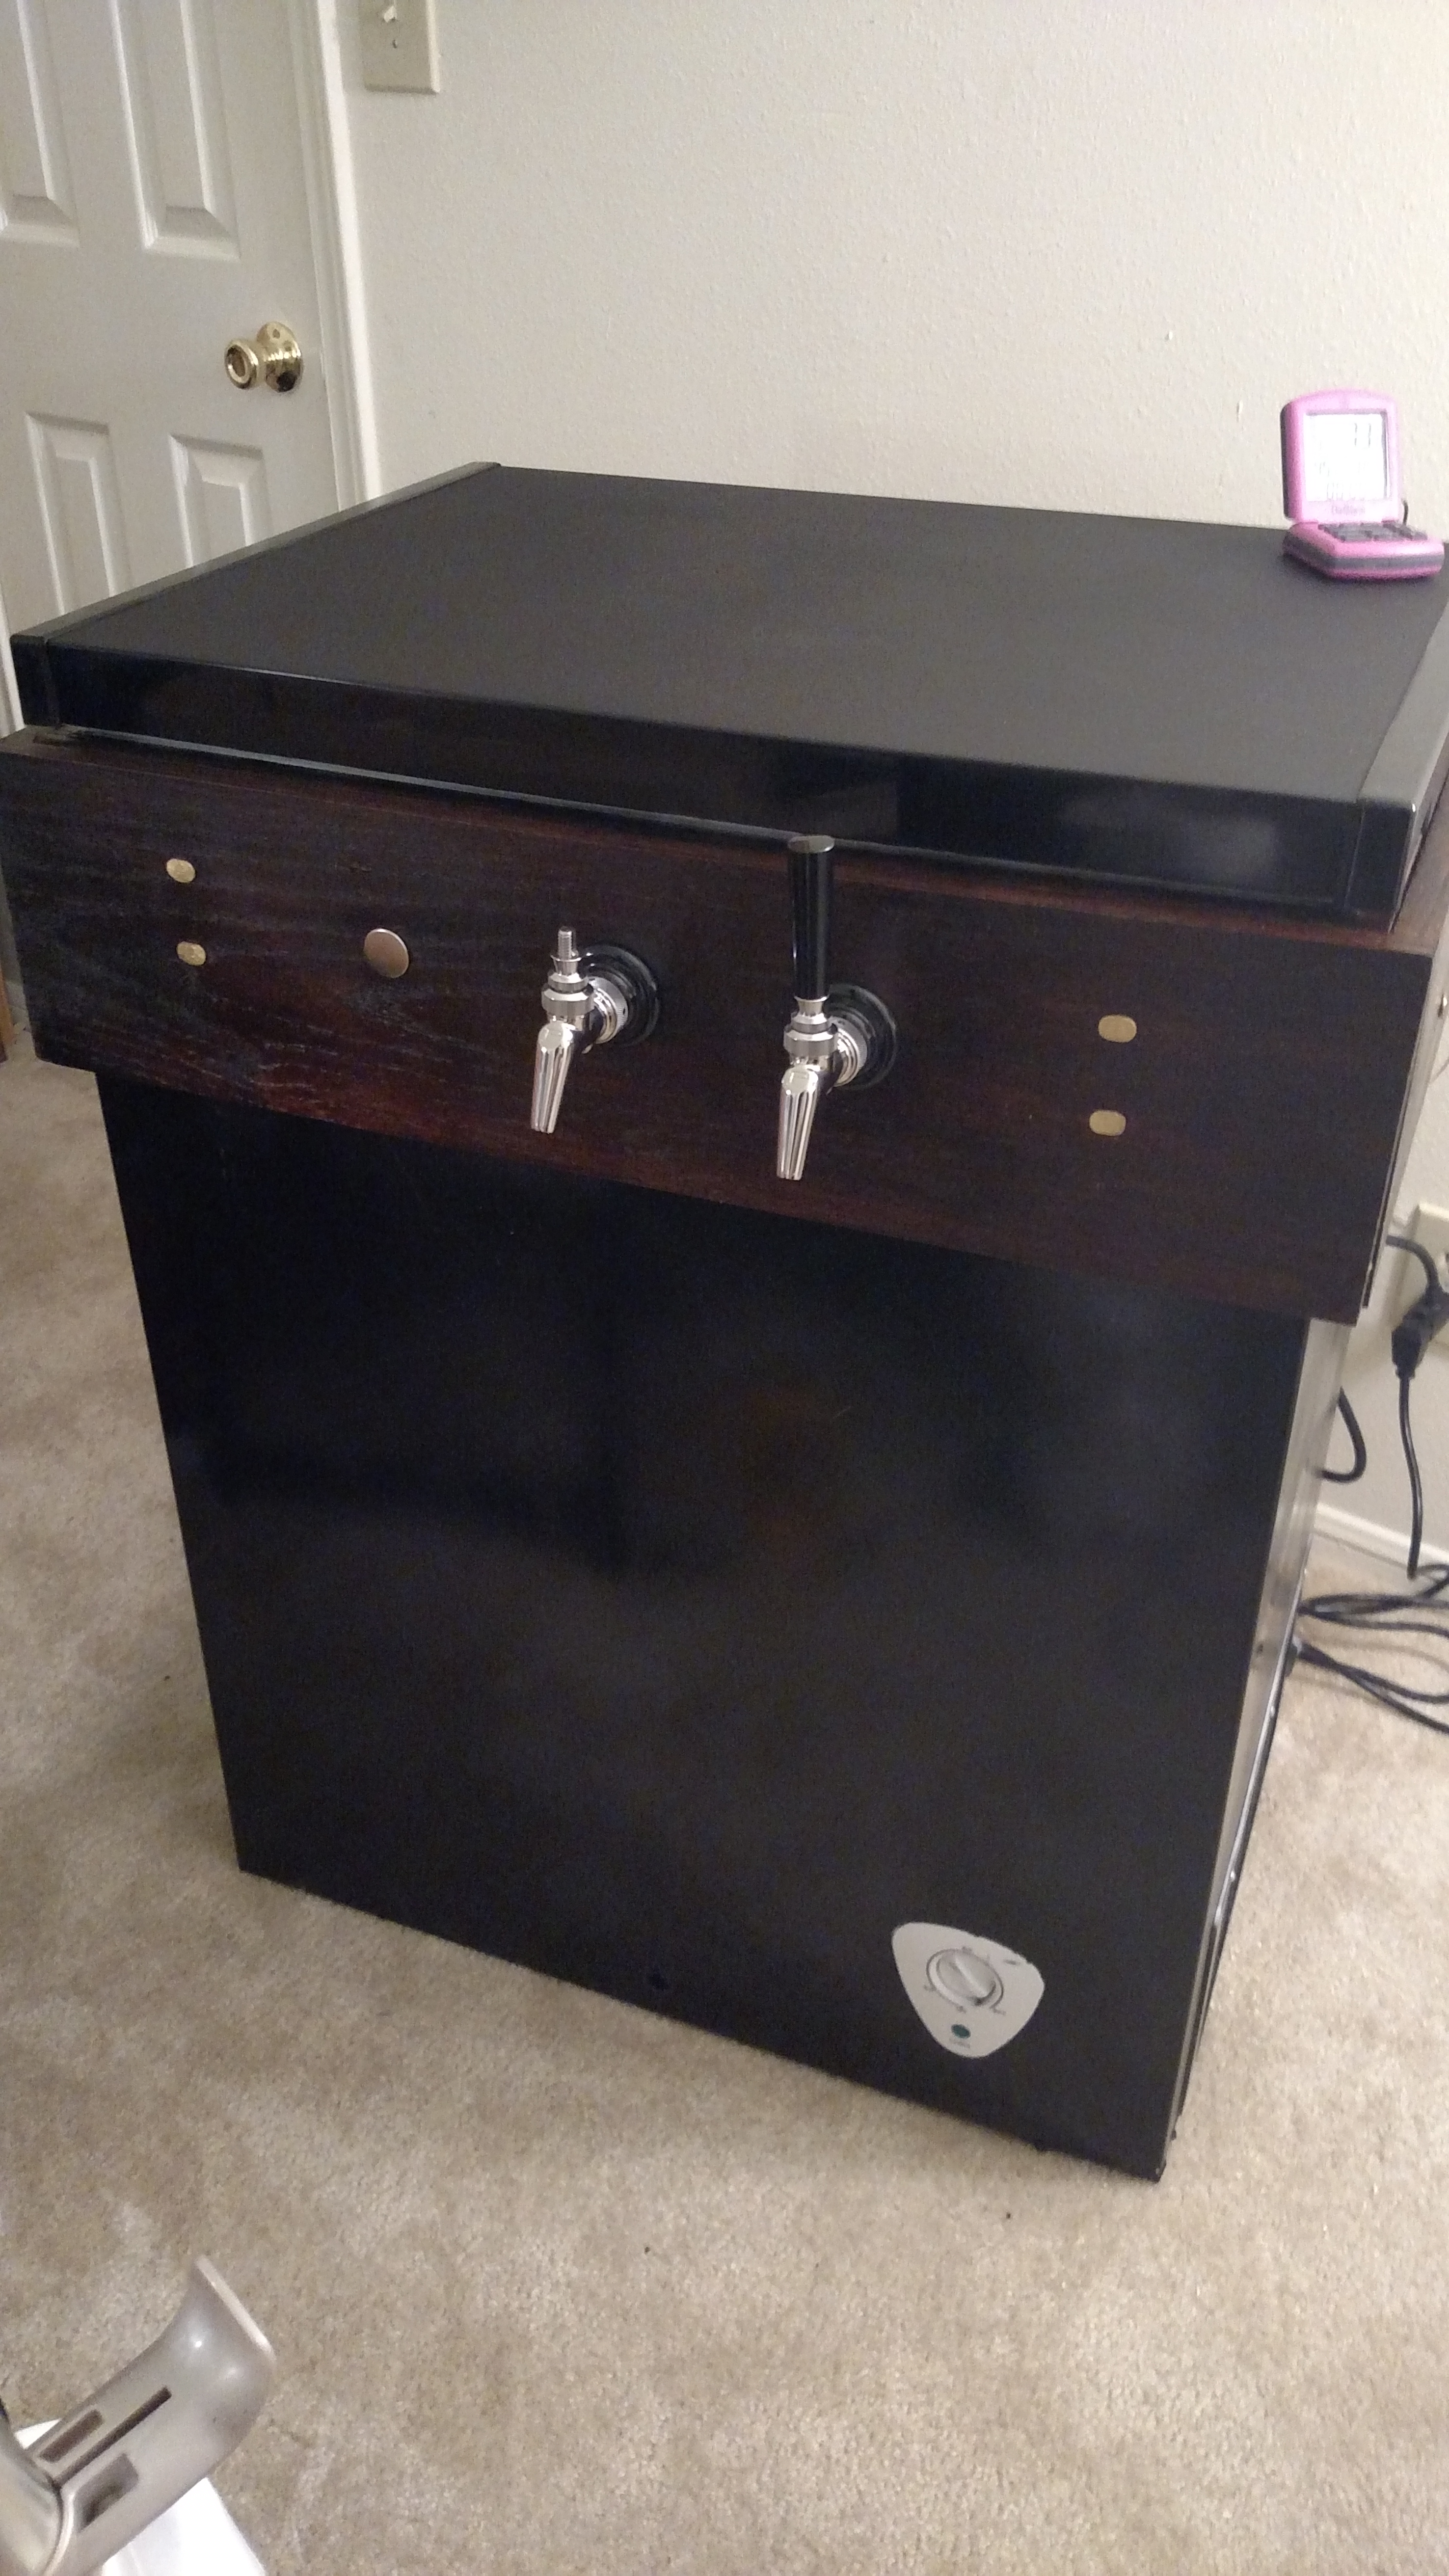
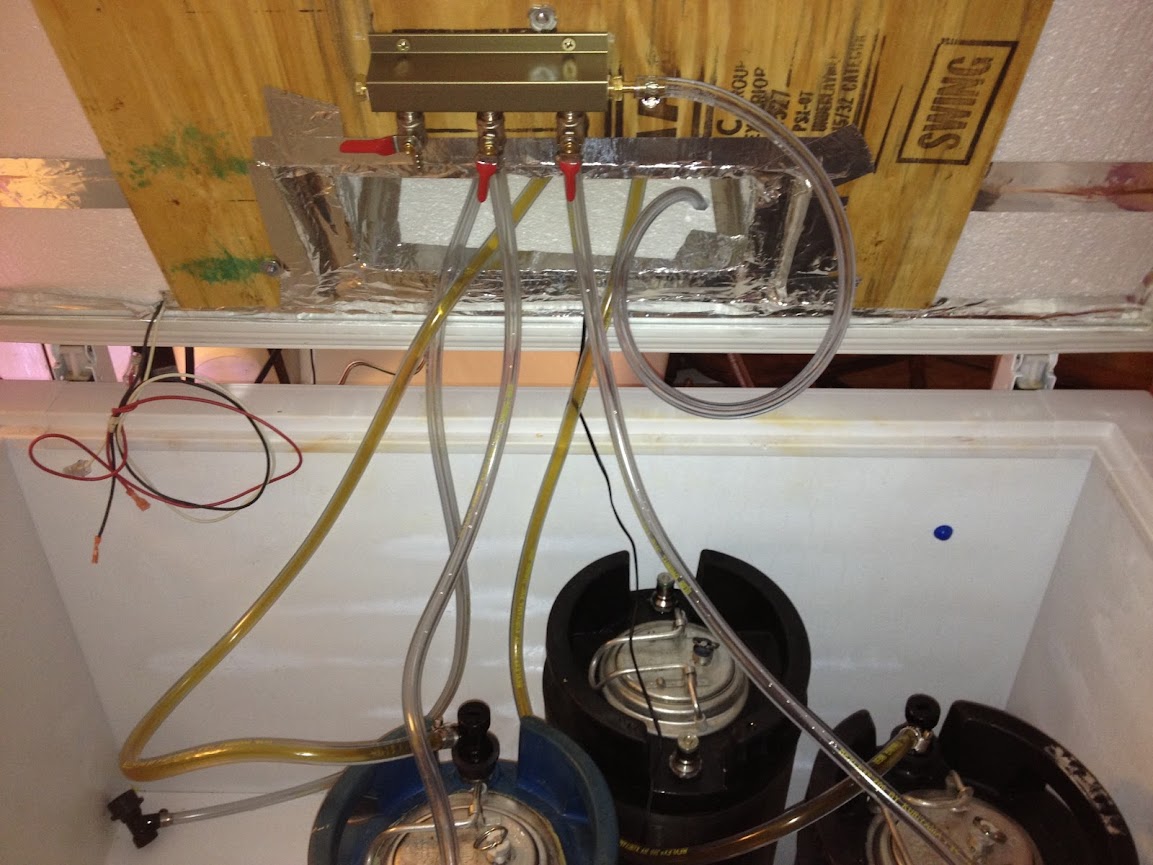
Long overdue, but figured it was about time to throw ours on here. Took a lot of inspiration from all the other builds we saw here (Thank you all!!) and need to pay it forward! Built it almost 2 years ago and only tweaked it once (added some shelving with PVC supports on the bottom to boost the height/get airflow below of 3 of the kegs), though at some point we really need to get a blower in there to get the taps cooled down better. Capacity for 3 on tap plus another 2 carbin up or just chillin out waiting for a brother/sister to kick.
View attachment 361831
View attachment 361832
View attachment 361834
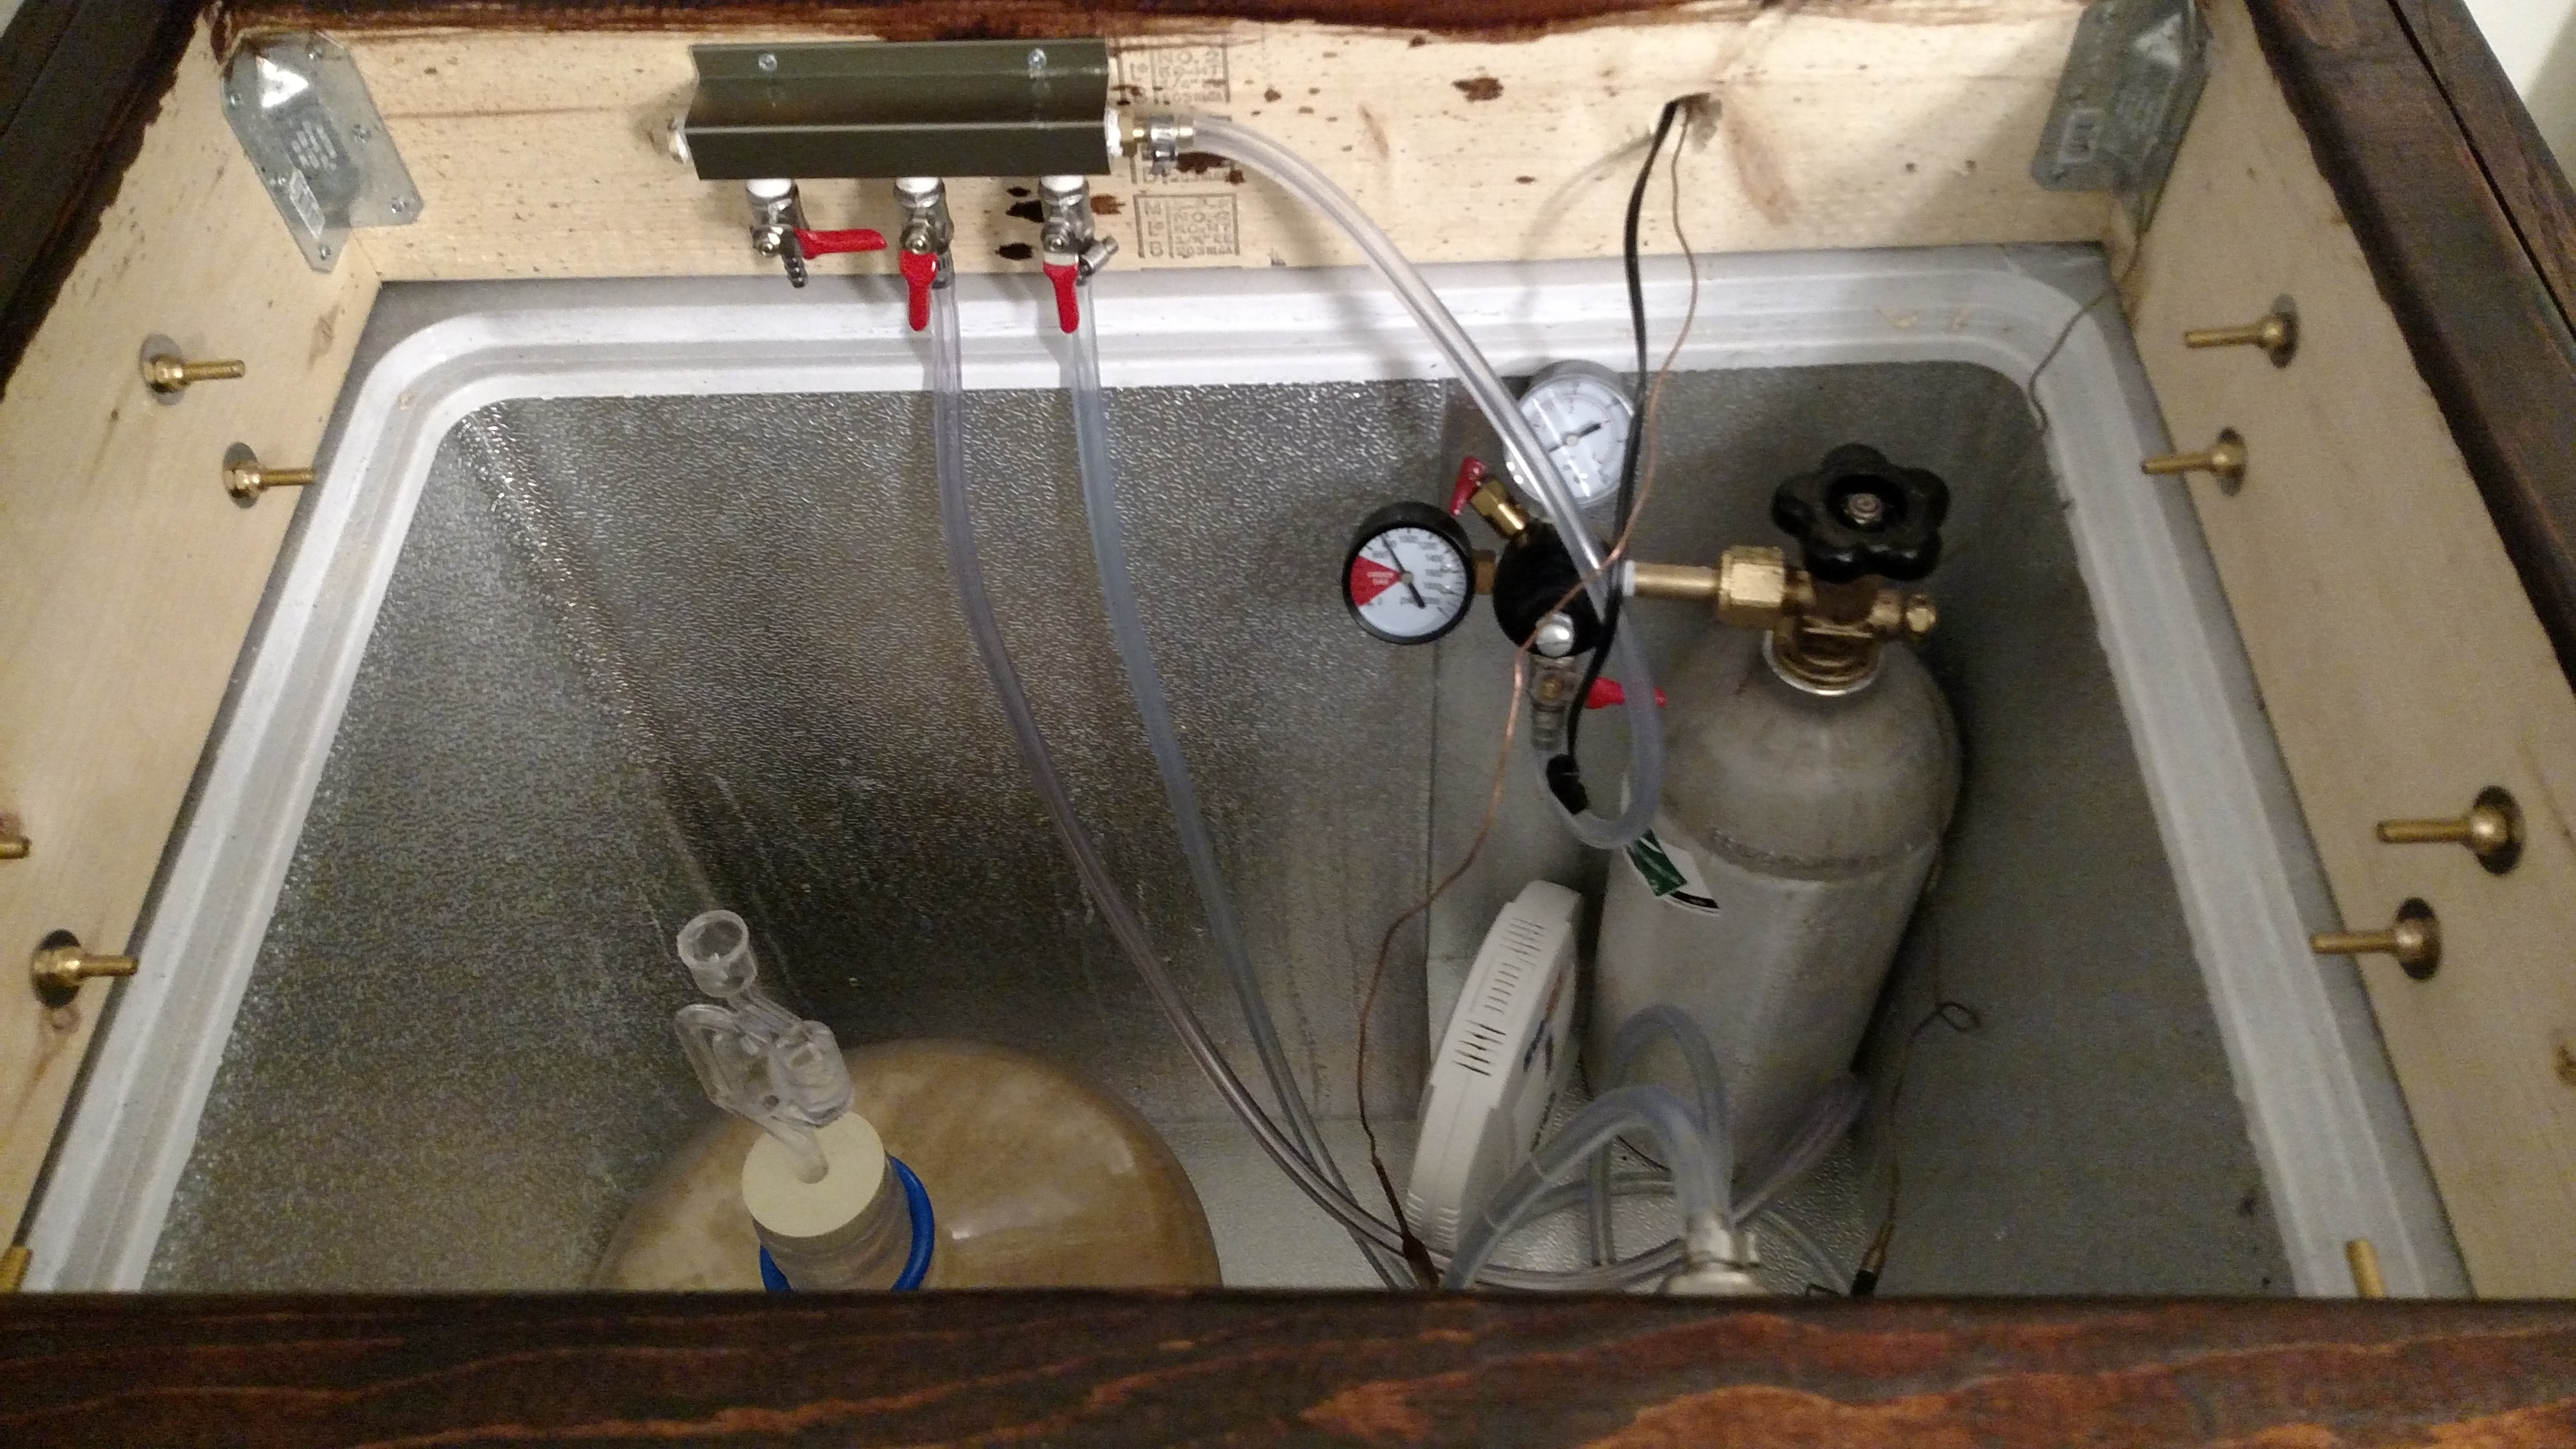
We also built in storage below the taps for the 20lb. CO2 tank and other miscellaneous items and tools.
View attachment 361833
Cheers!


![Craft A Brew - Safale S-04 Dry Yeast - Fermentis - English Ale Dry Yeast - For English and American Ales and Hard Apple Ciders - Ingredients for Home Brewing - Beer Making Supplies - [1 Pack]](https://m.media-amazon.com/images/I/41fVGNh6JfL._SL500_.jpg)


 , I see you got some of the tap handles from OBK too :rockin:


")


