I am in the process of getting my shed together for making it into a brew shed. I have run electric wire, put outlets in where I believe they will be useful, have 2 more locations that I will be putting that at, cause everyone knows that you don't have an outlet where you need it....it is a 12' x 8' building. 2 windows on the end opposite of where I have the brew station at. Currently it is going to be a propane 3 burner setup. I am insulating it, and will finish it with drywall and paint. I also wired in lights, and 2 other power feeds to supply the blowers I plan on utilizing to ventilate. 1 of them is an external mounted 1800 cfm kitchen vent that will be attached to a hood over the kettles. The other 1 is a blower motor from a furnace, that I need to make a filtered intake box to mount it on. This unit is to provide the "make up air " for the hot side ventilator. Some friends have said that it's not needed or it's not gonna work. I would like some feedback from anyone who has done this or is more qualified in air delivery systems than I am please. Whole purpose for this shed is for me to have a comfortable place that is protected from the elements to be able to brew. Tired of having mother nature decide that my brew day is not going to happen....also a place that I'm not going to keel over because of Carbon monoxide poisoning. I do have a Carbon monoxide monitor to install after I get the walls done. So, if you have experience, tips, do's and don't s, or just general advice, please share it with me.
You are using an out of date browser. It may not display this or other websites correctly.
You should upgrade or use an alternative browser.
You should upgrade or use an alternative browser.
Shed some wisdom on my shed
- Thread starter Ruint
- Start date

Help Support Homebrew Talk - Beer, Wine, Mead, & Cider Brewing Discussion Forum:
This site may earn a commission from merchant affiliate
links, including eBay, Amazon, and others.
skraeling
Scientist Extraordinaire
- Joined
- Sep 26, 2013
- Messages
- 721
- Reaction score
- 285
look ill admit its **** of me to suggest it. my garage has a heater in it and you probably get colder than I do here in STL, but I just got a GF... my next batch will be inside watching TV. maybe that works for you, maybe it doesn't. Im not sure what batch sizes you go for. I do 5g as at a time as variety + my kegerator having 5g kegs kind of makes sense. for me.
Im not sure ill touch my propane setup again.
as far as using your current setup? I cracked my garage maybe 1ft tops. was plenty of ventilation honestly. temps in the garage cracked maybe 52* (with outdoor temps in the 20-30's with the 220v heater running constantly along with the burner. CO is lighter than air so as long as you have air coming in from somewhere youll be fine.
I have a 10 gal. blichmann kettle, a 10 gal. igloo cooler mash tun, and a 30 gal. hot liquor tank currently. I have 2 30 gal. kettles in the making at Spike Brewing that will upgrade my MT and Boil kettles. I also ordered hardware to make my simple HLT into a HERMs capable unit. The Grain Father is a nice unit, but it did not exist when I started this adventure. I am rather happy when I'm brewing this way (3 vessel) and enjoy the challenges. It makes it so much better when tasting the fruits!!! I also had my 2 blichmann burners, 2 chugger pumps, and therminator before GF.....plus when maxing out the holding potential of both of the 10 gal. vessels I've got, it only seemed right to super-size!! 
I do plan on going electric...I am not set up for that though, especially being that I only have a 100 amp service....it's gonna take me a bit...

I do plan on going electric...I am not set up for that though, especially being that I only have a 100 amp service....it's gonna take me a bit...
Moving forward with the shed, I have been adding framework to the walls to accommodate the dry walling. Sheds these days are not built with finishing them, in mind... I have also had to box out the areas that I am installing the wall stack ducting for the make up air vents, but only at the tops of the walls where the gambrel roof is sloping inwards. First time ever, that I have tried my hand at duct work...we'll just chalk it up as a learning experience!!! It will serve it's intended purpose....
Now, after reading a boat load of posts here on HBT, I have discerned that I can use cement board as a heat barrier. I had concerns regarding this issue, as I certainly don't want to subject the walls or flooring to the abuse of off cast heat from the burners. I had a break in luck with this as I have a friend that is giving me 30 ceramic tiles that are 18" x 18" that compliment the linoleum flooring I put down. The other aspect of the tile is that it will be more aesthetic than raw or painted backer board. The plans for the brew stand I am going to make, will give me an overall height of 22" to possibly 26" depending on the caster selection...so the burner height will be 16" off the floor at it's lowest point... do I need to put any heat dissipating material on the floor still? I plan on having at least 1 foot of distance between the brew stand and the wall also, any insight as to whether or not that will be sufficient enough is welcome....
Now, after reading a boat load of posts here on HBT, I have discerned that I can use cement board as a heat barrier. I had concerns regarding this issue, as I certainly don't want to subject the walls or flooring to the abuse of off cast heat from the burners. I had a break in luck with this as I have a friend that is giving me 30 ceramic tiles that are 18" x 18" that compliment the linoleum flooring I put down. The other aspect of the tile is that it will be more aesthetic than raw or painted backer board. The plans for the brew stand I am going to make, will give me an overall height of 22" to possibly 26" depending on the caster selection...so the burner height will be 16" off the floor at it's lowest point... do I need to put any heat dissipating material on the floor still? I plan on having at least 1 foot of distance between the brew stand and the wall also, any insight as to whether or not that will be sufficient enough is welcome....
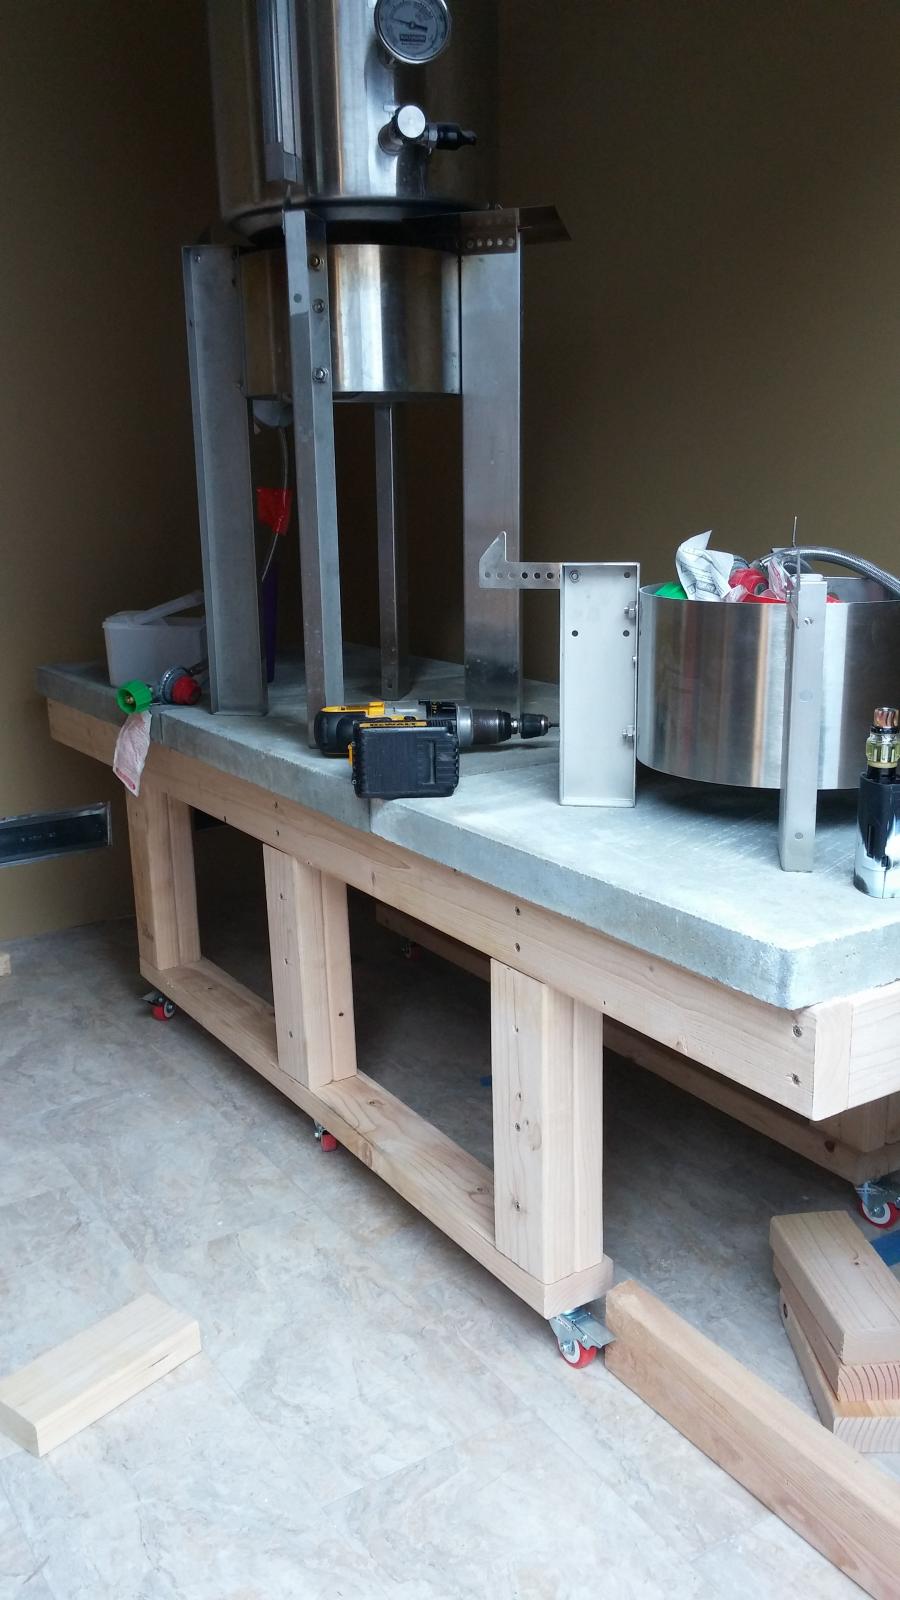
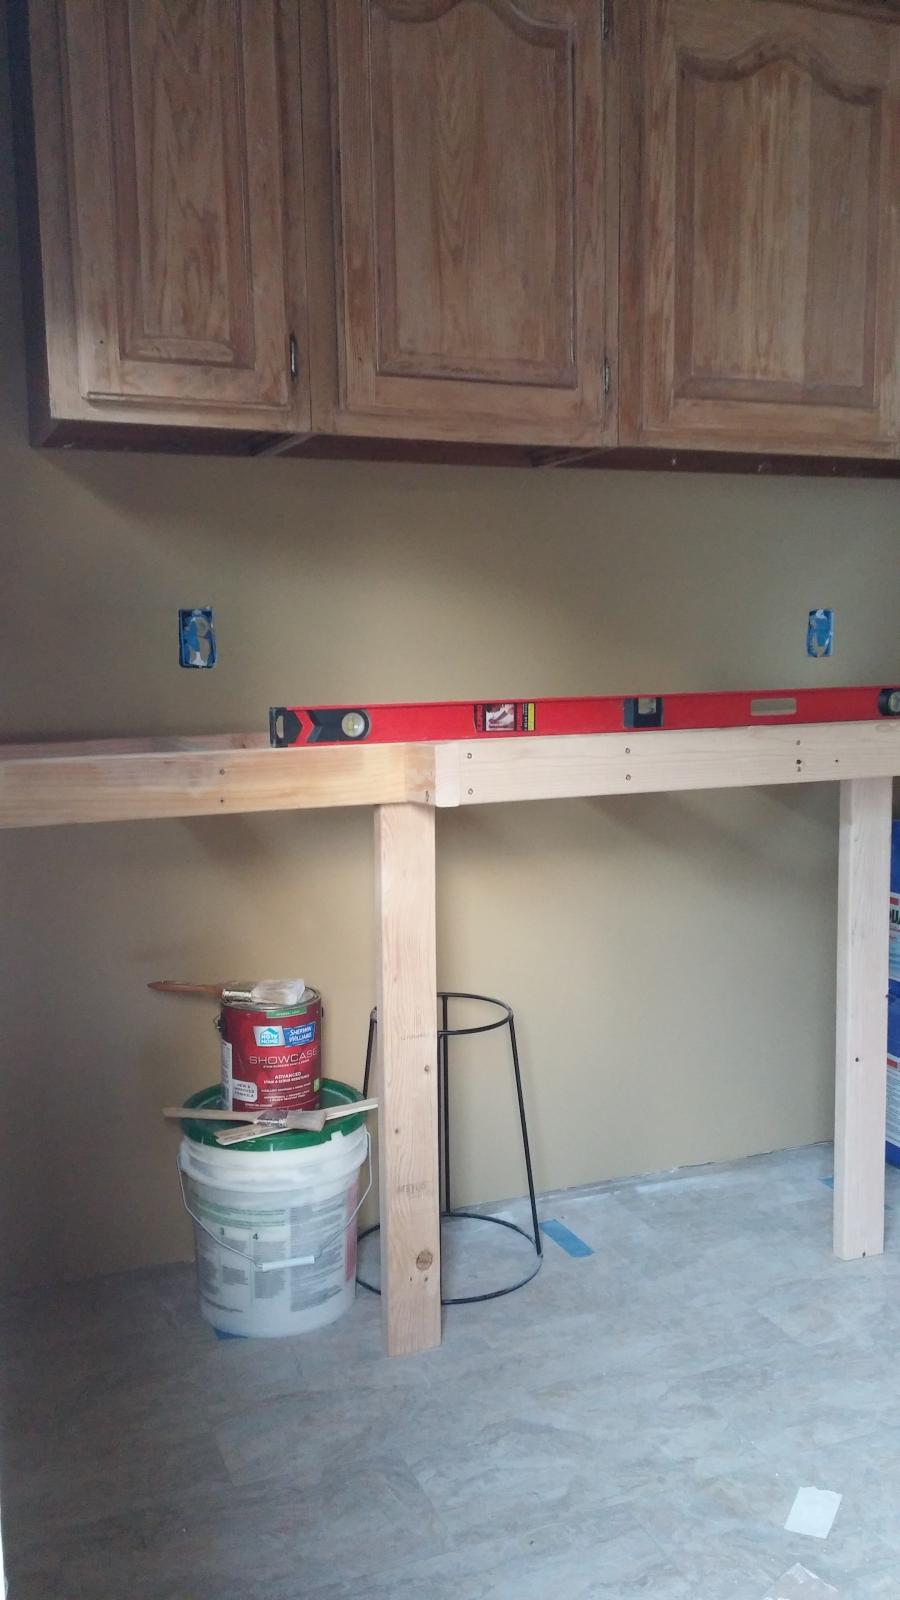
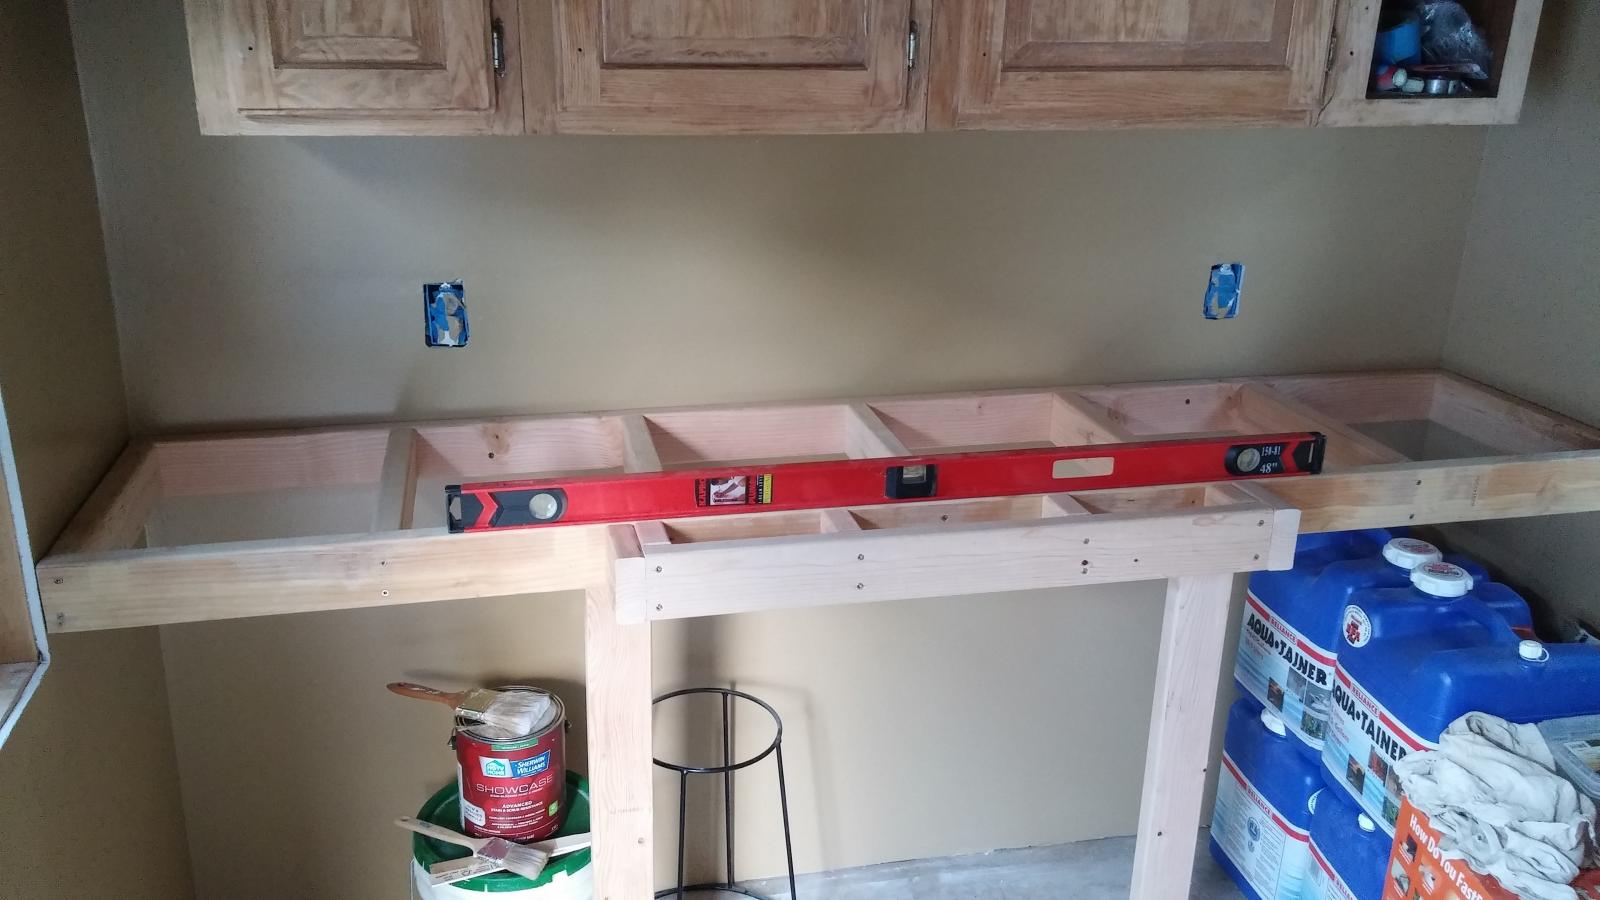
Some pictures taken of my slow progression.

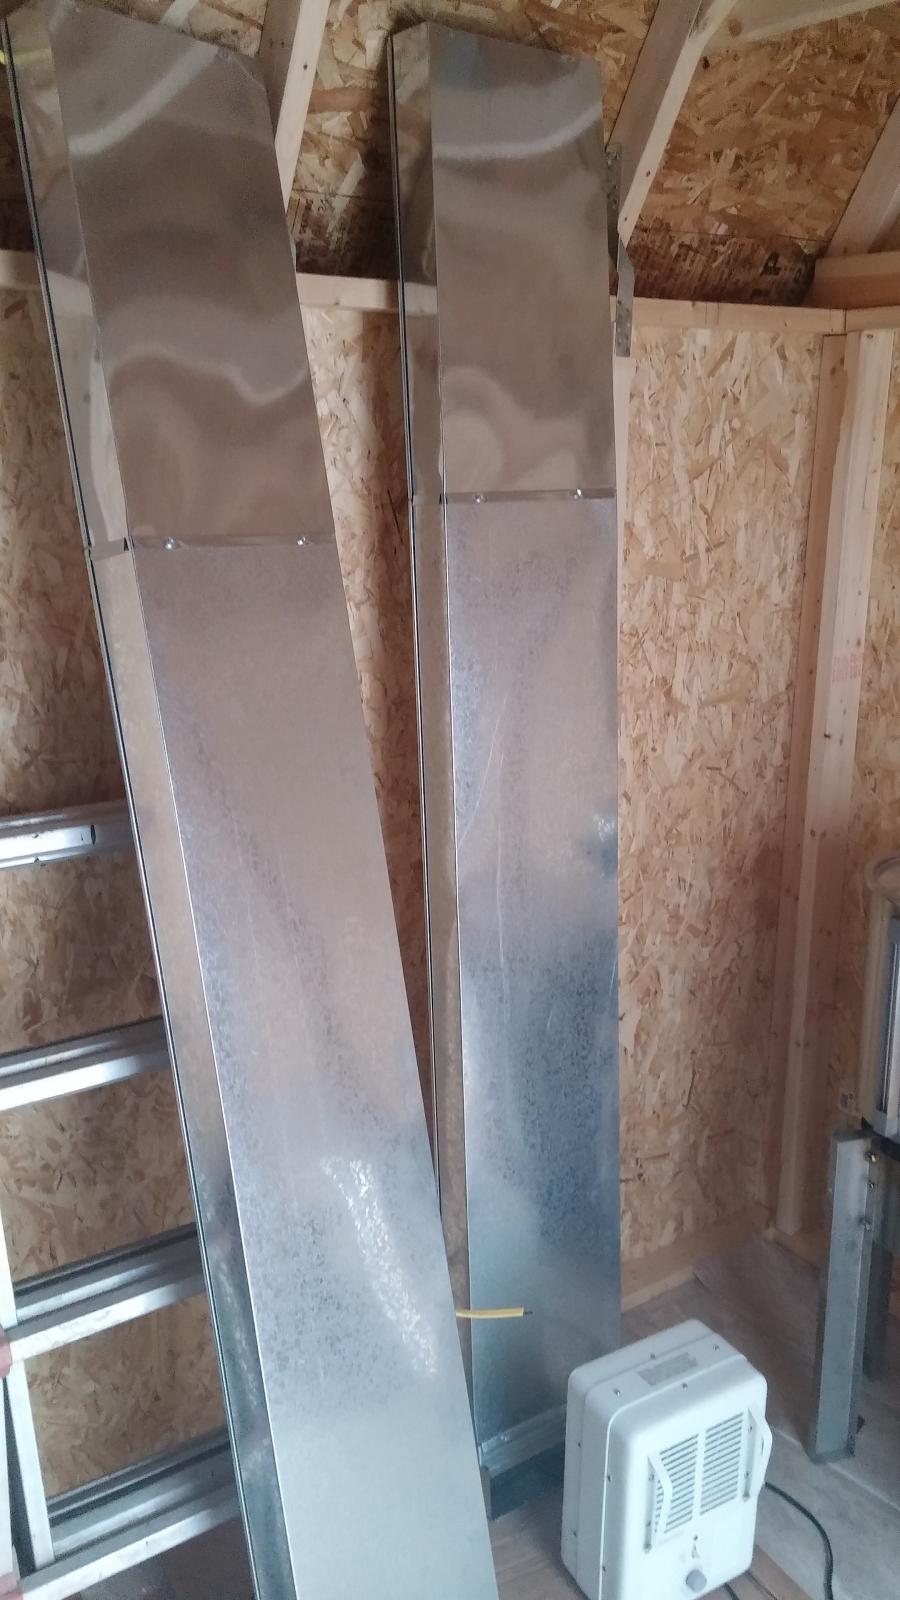
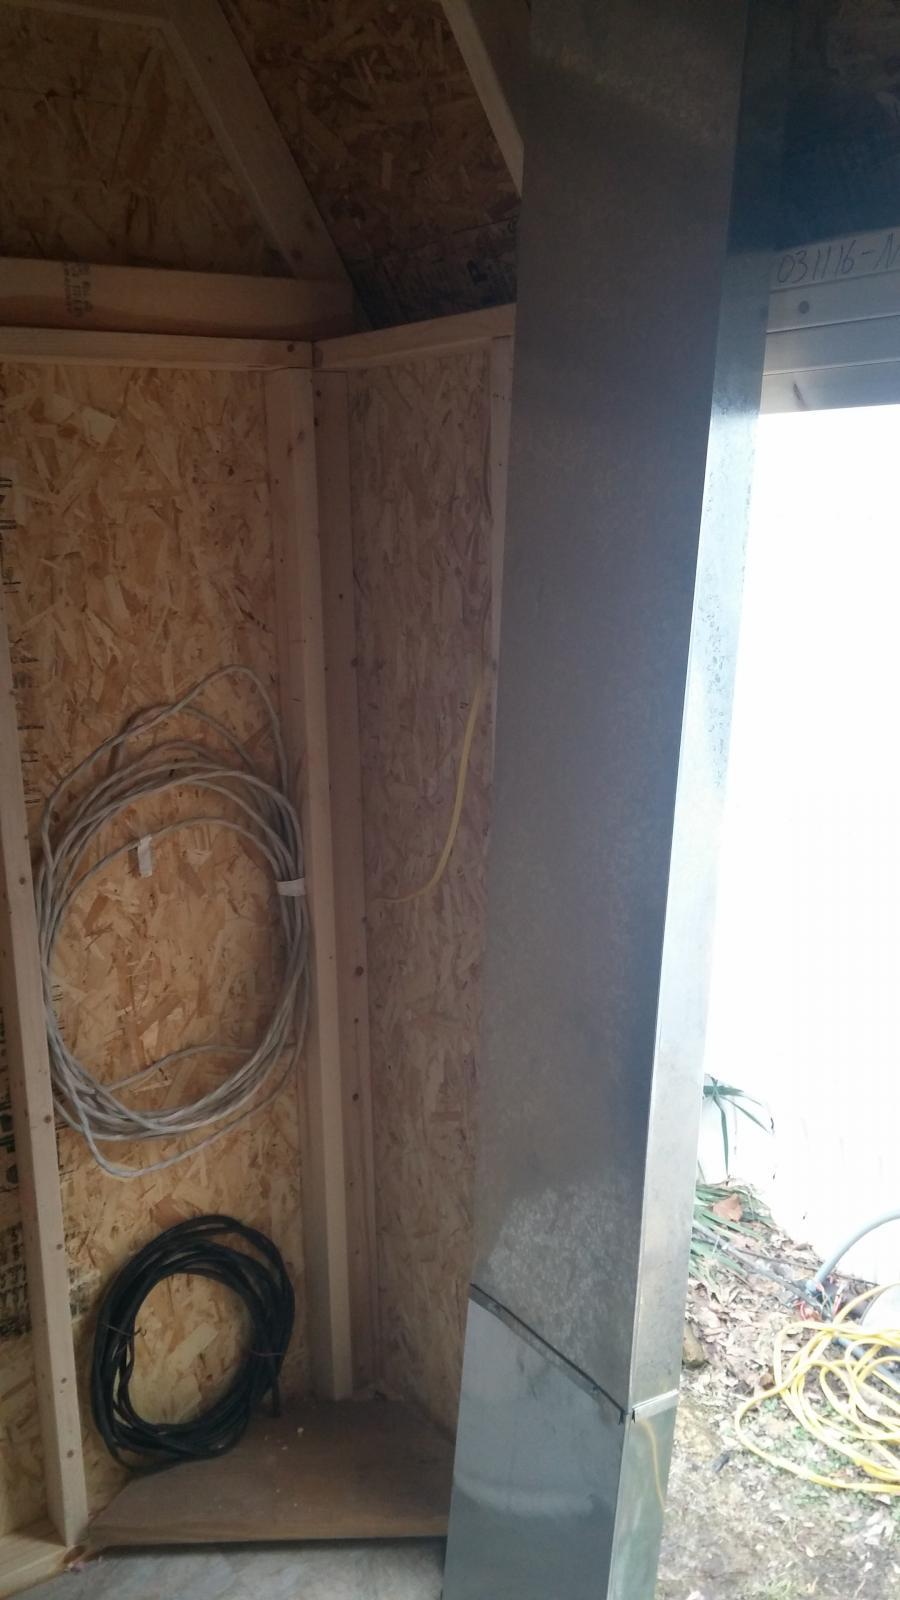

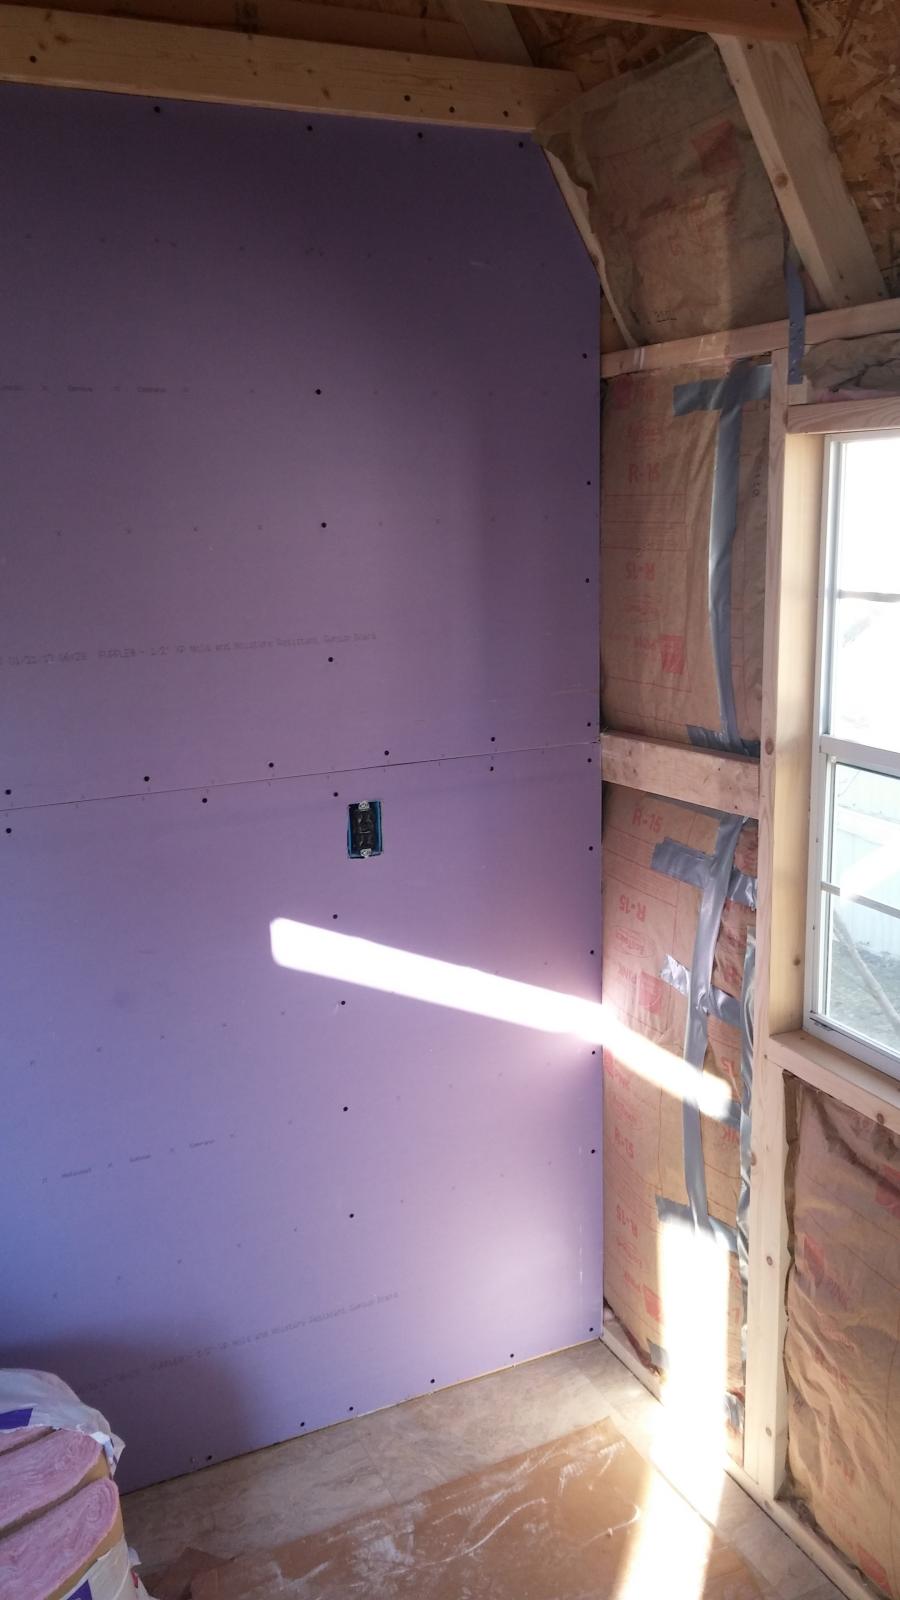
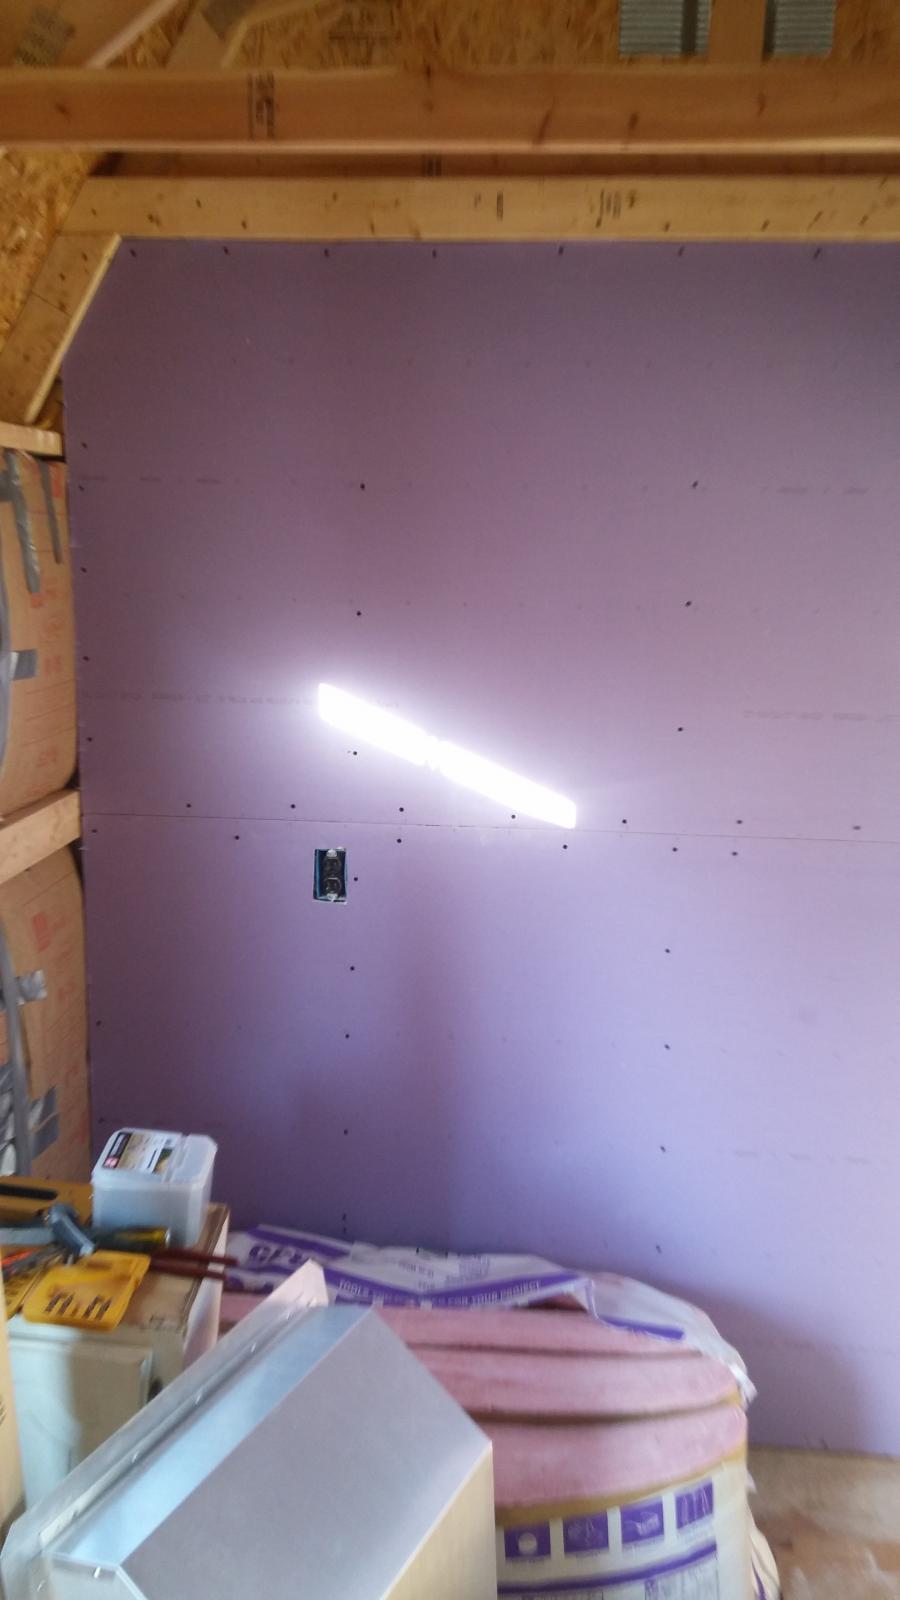

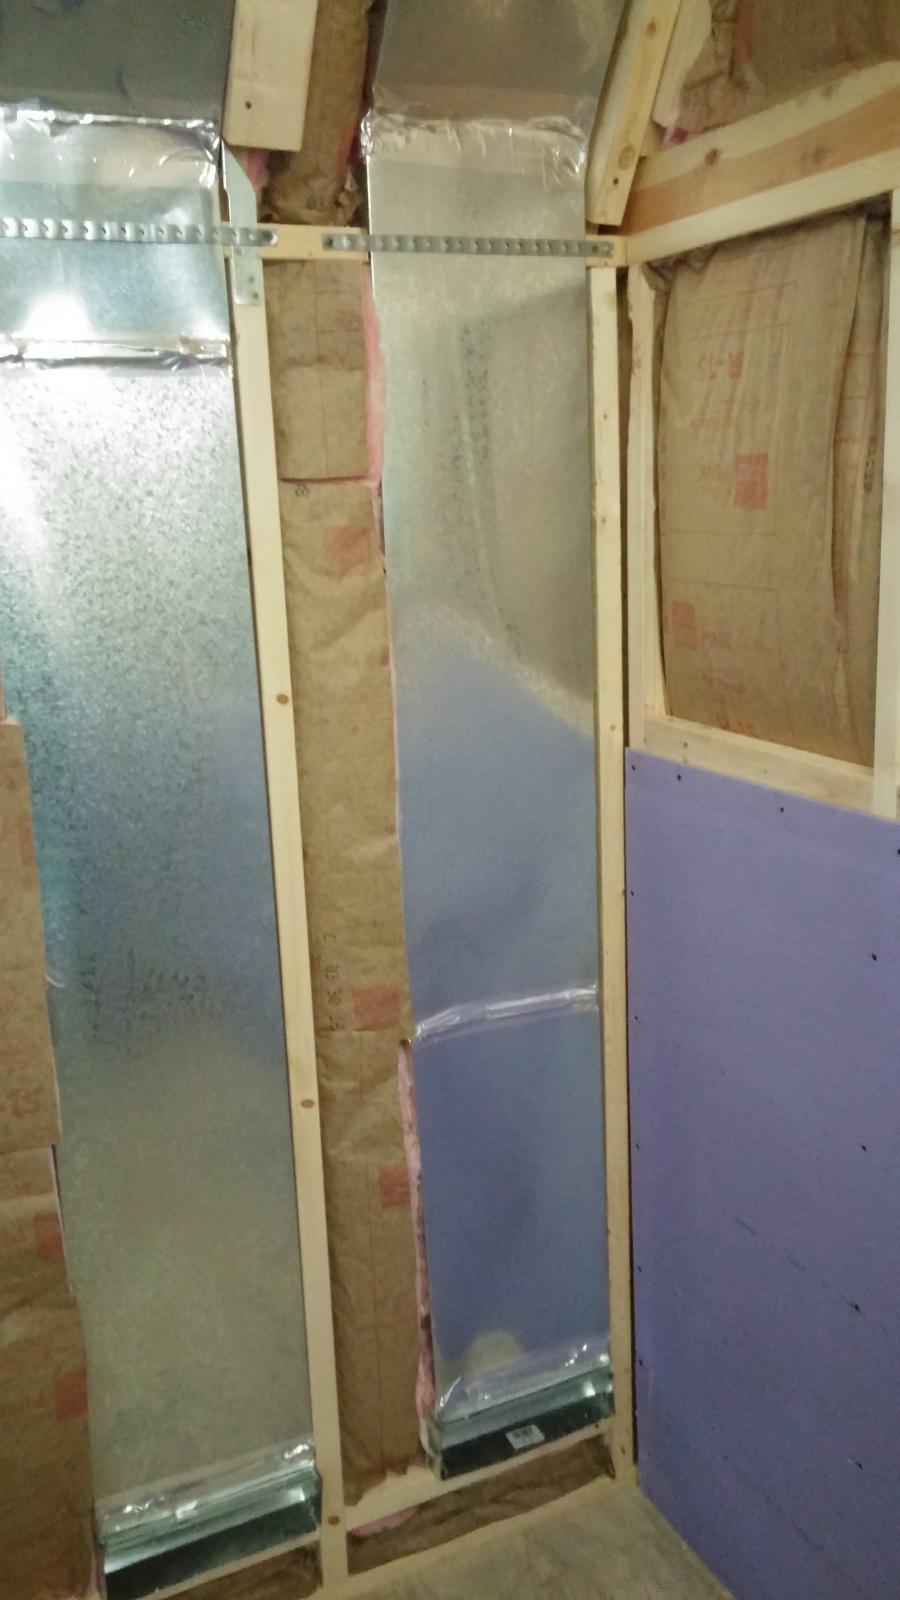
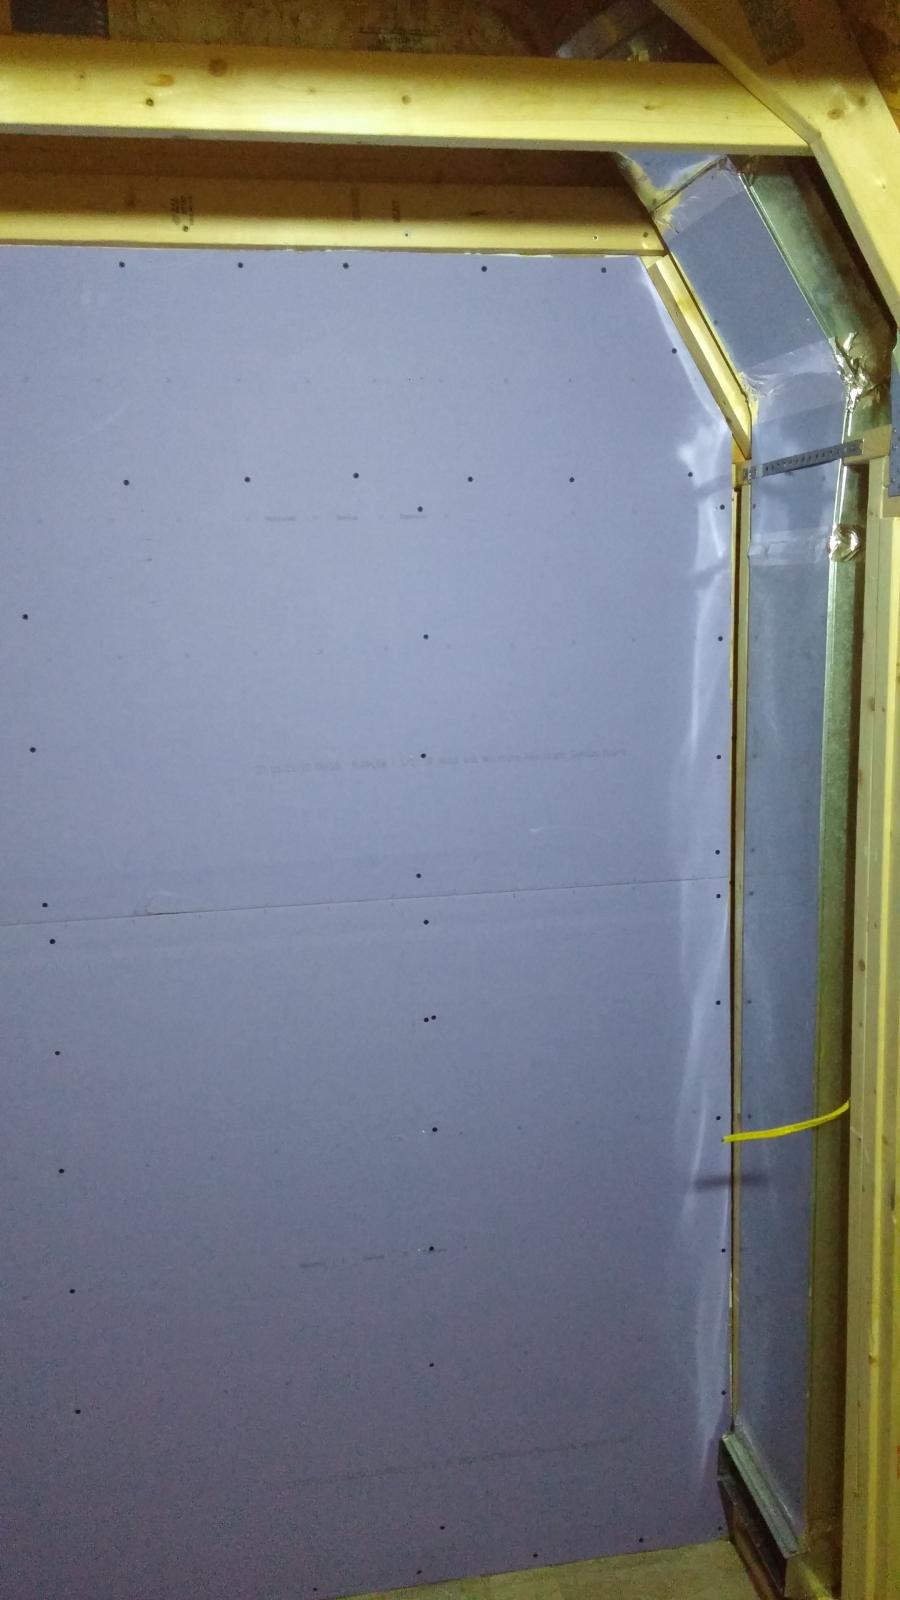


Had a decent break in weather so I have been able to do a little bit more on the inside...
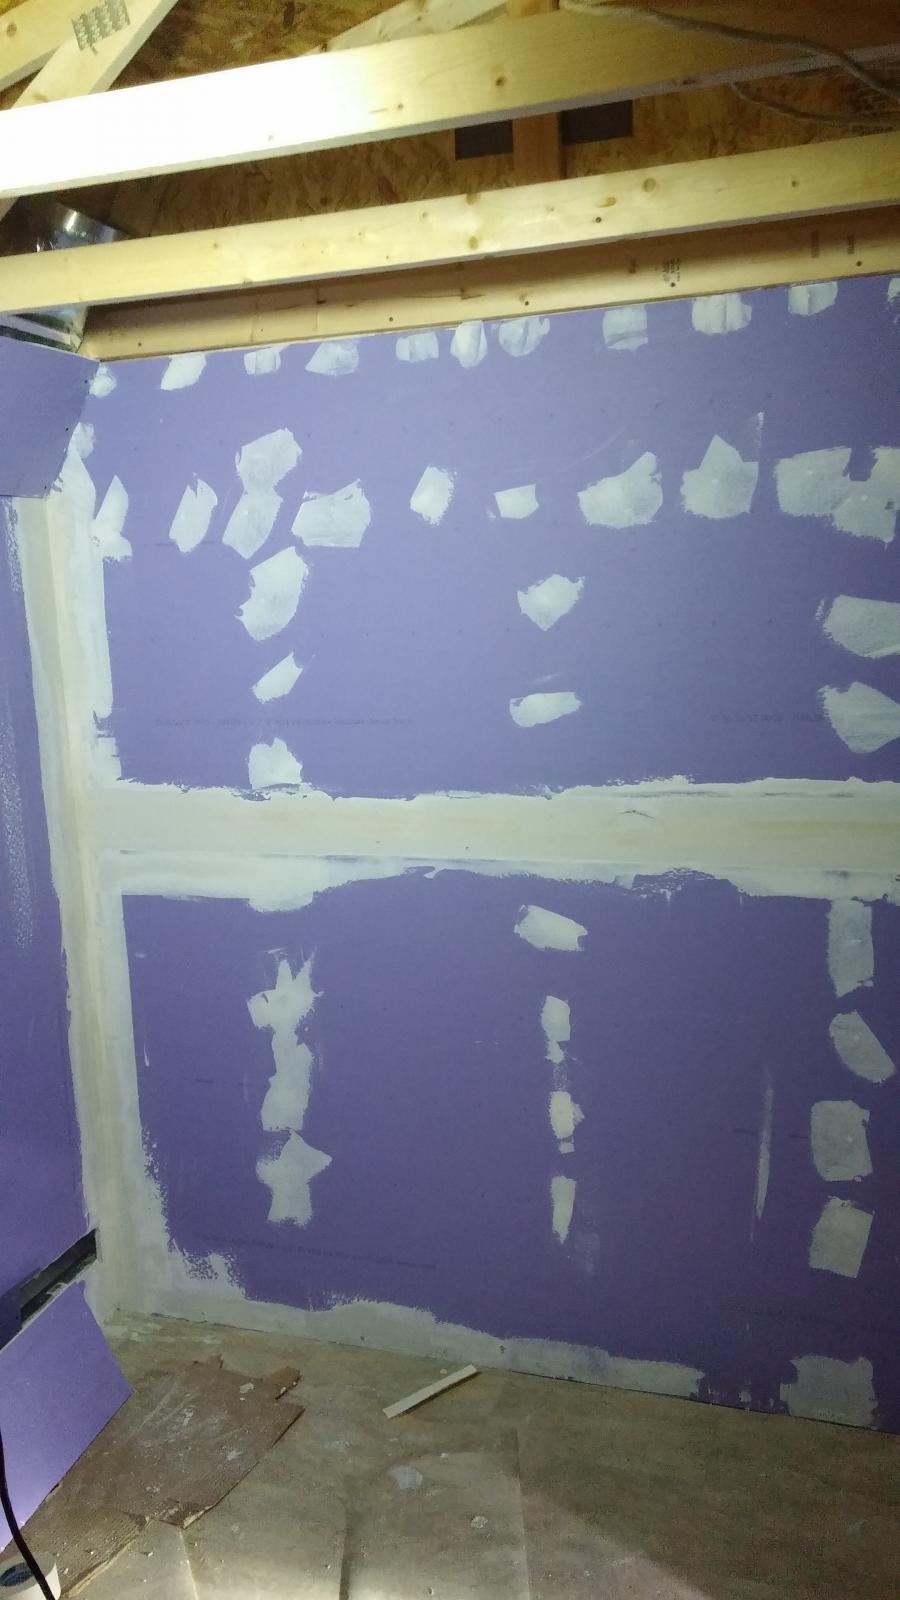
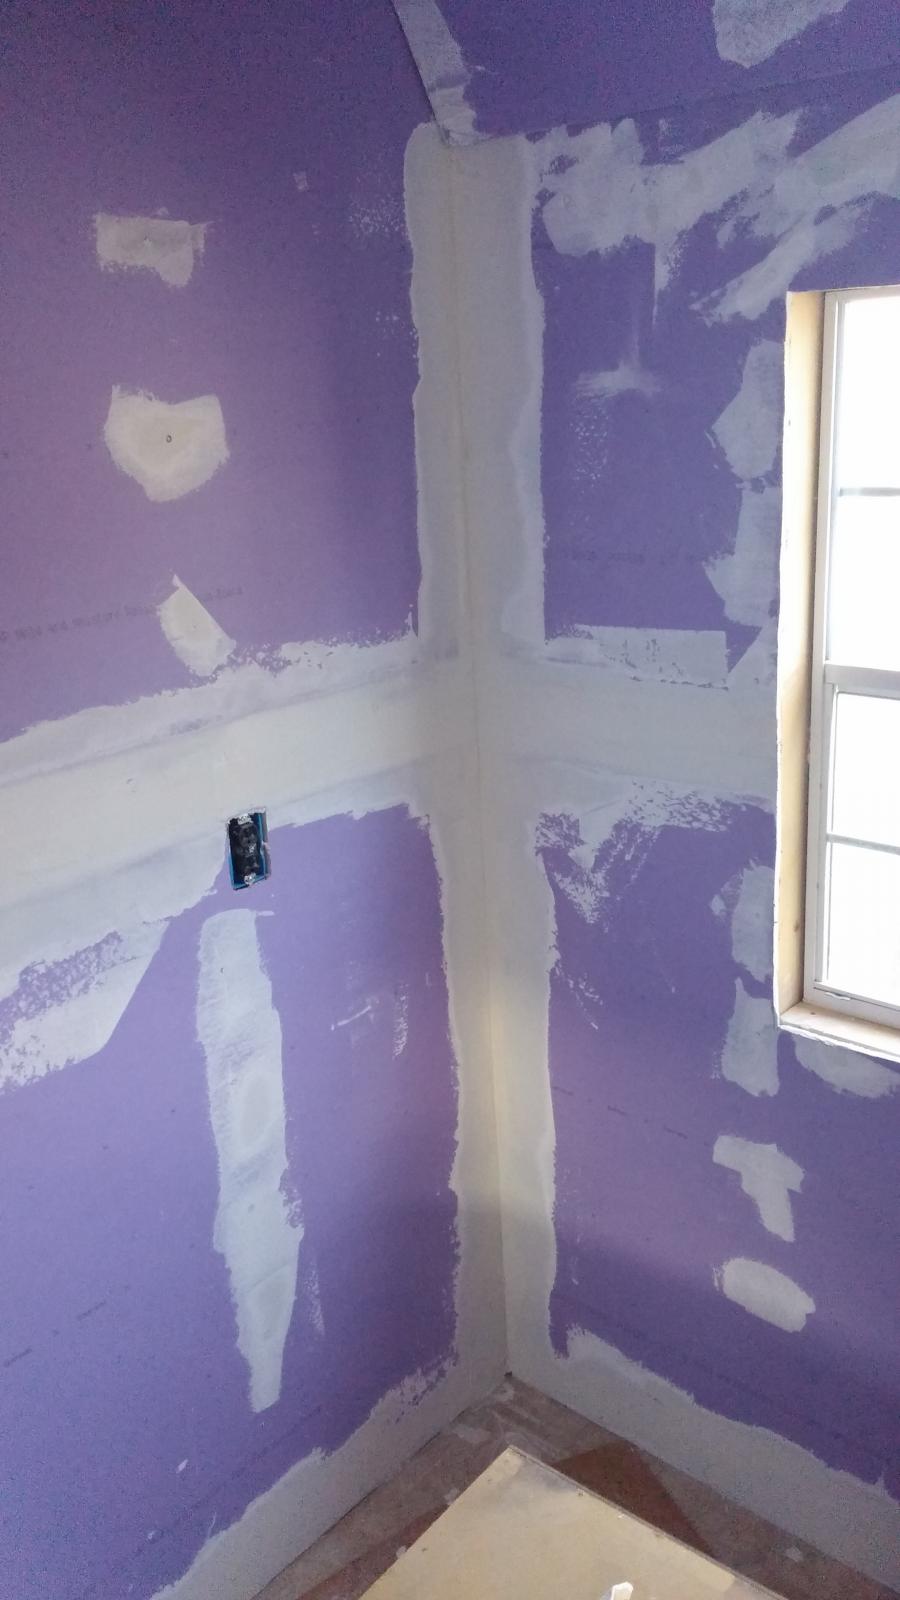
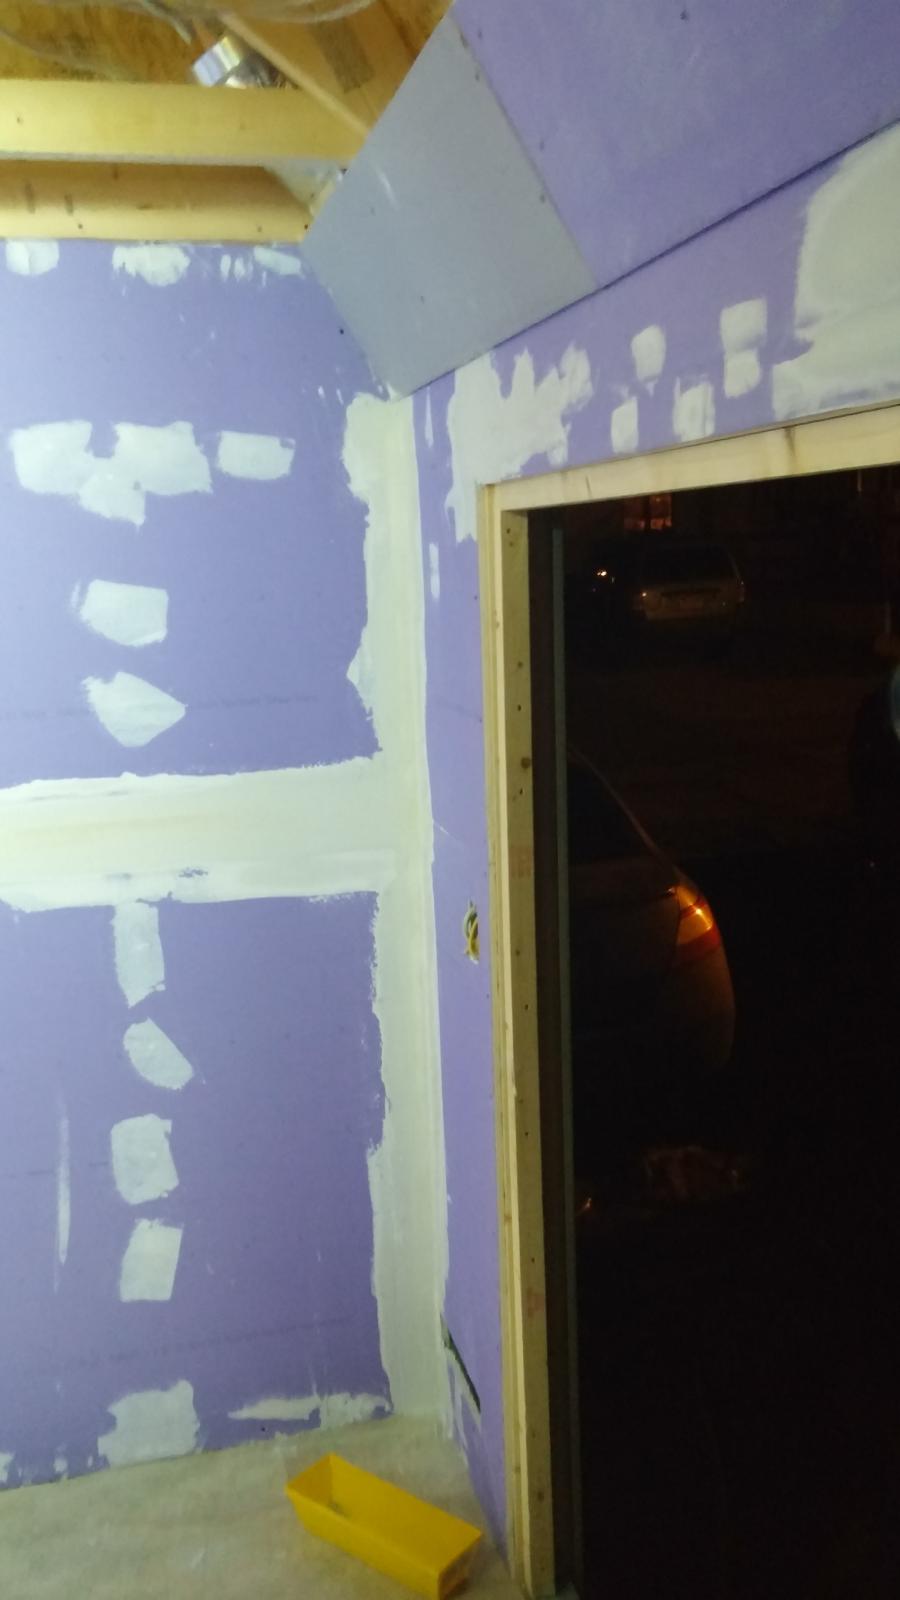
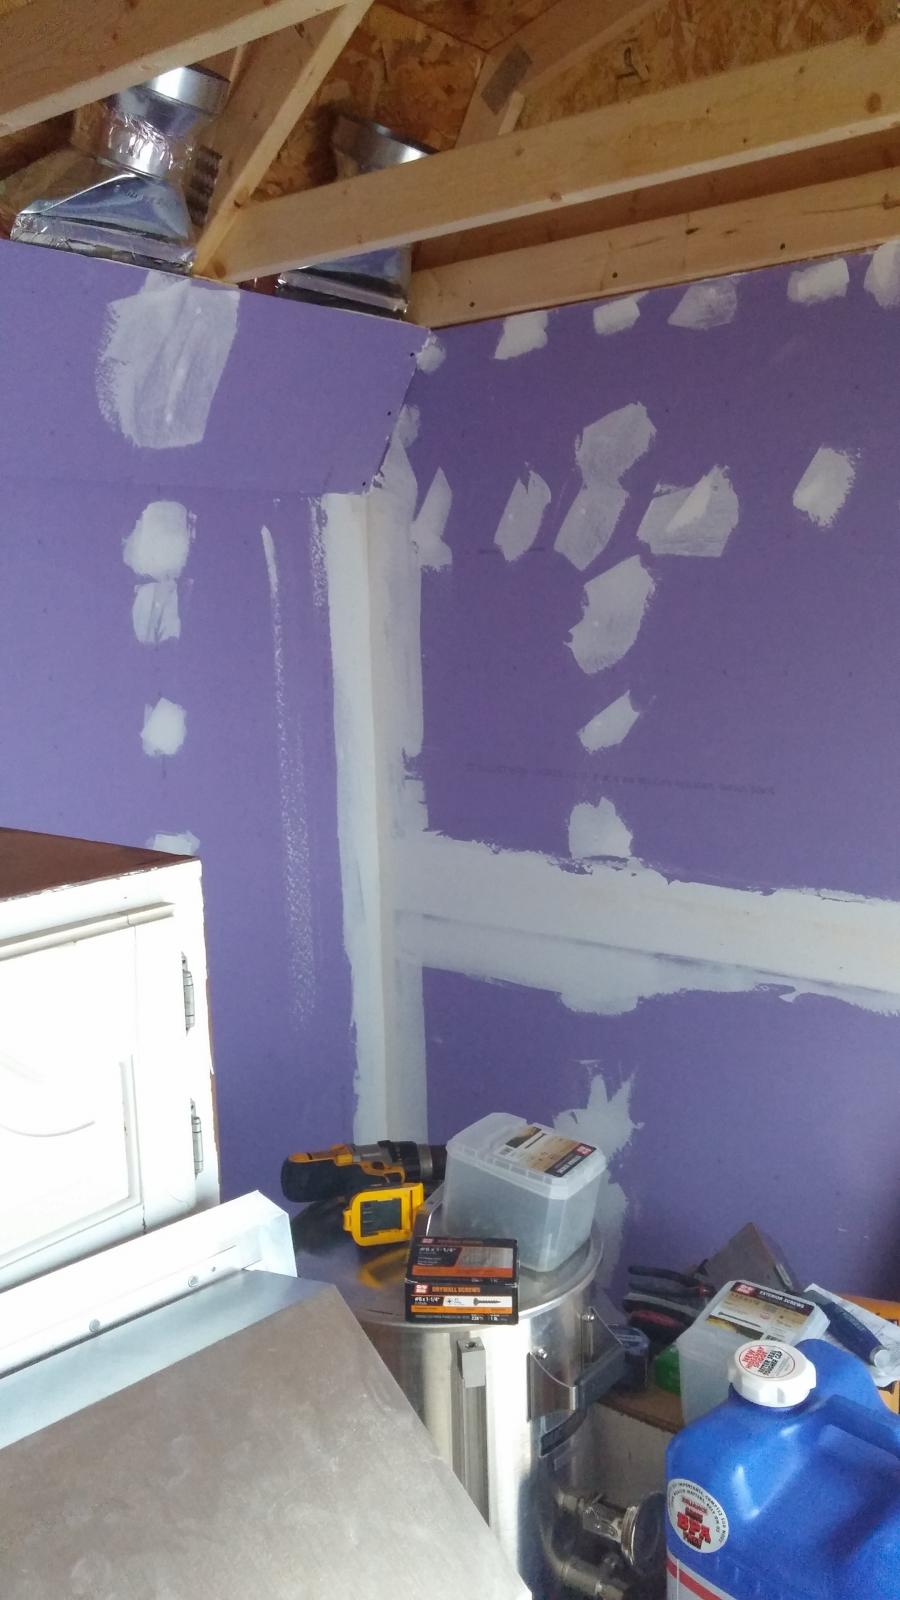


I was able to get the exhaust fan installed...due to the nice break in weather that we just had...
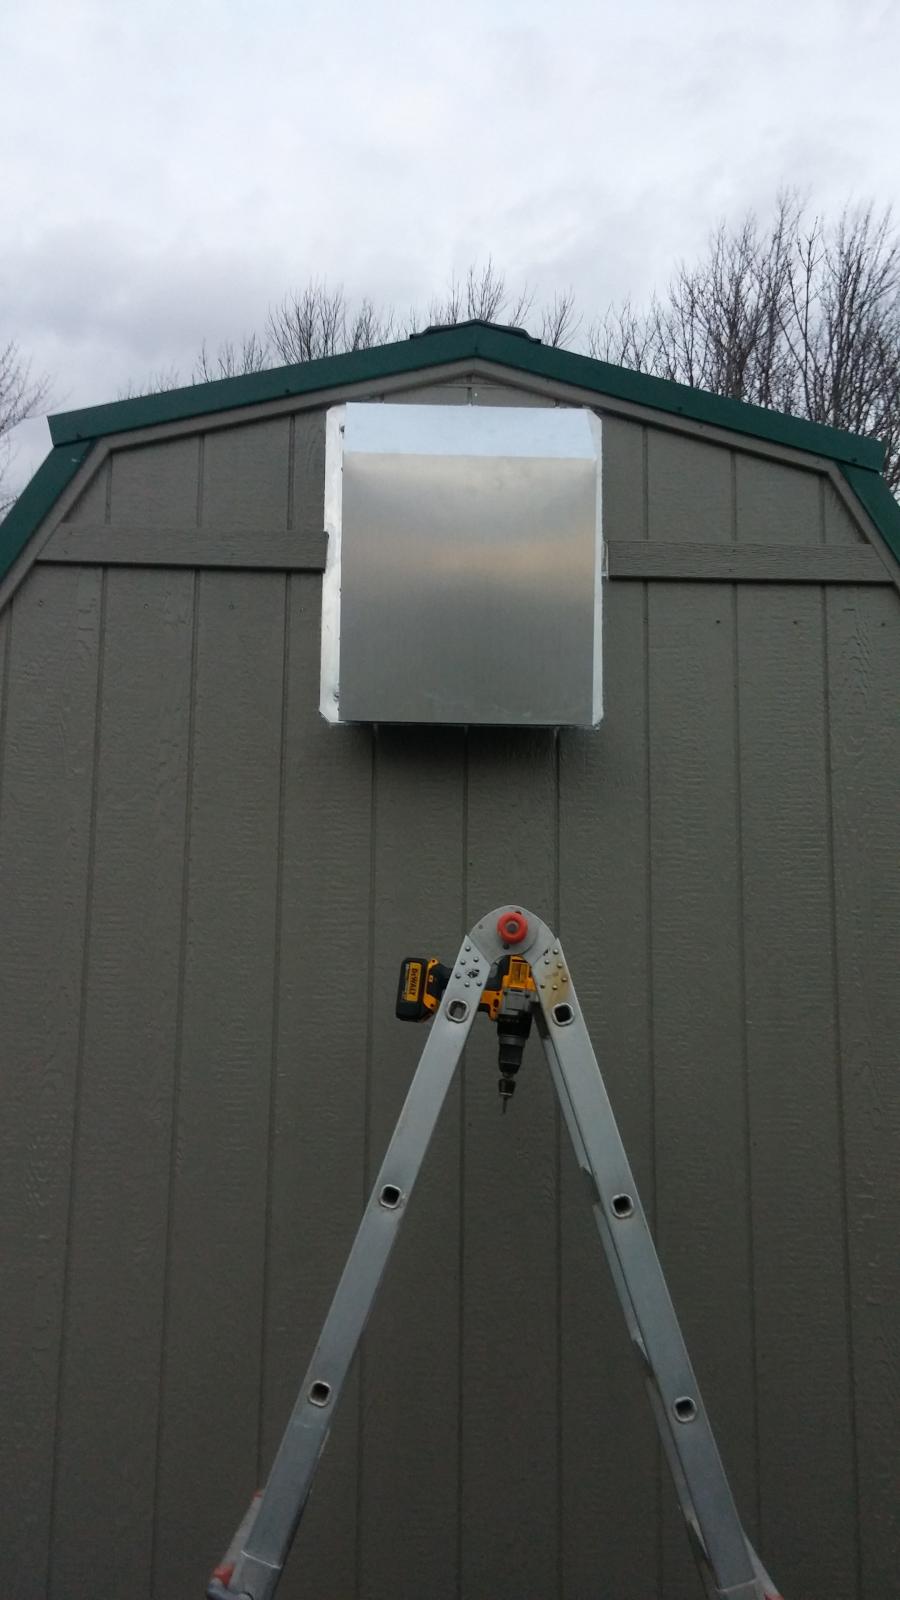
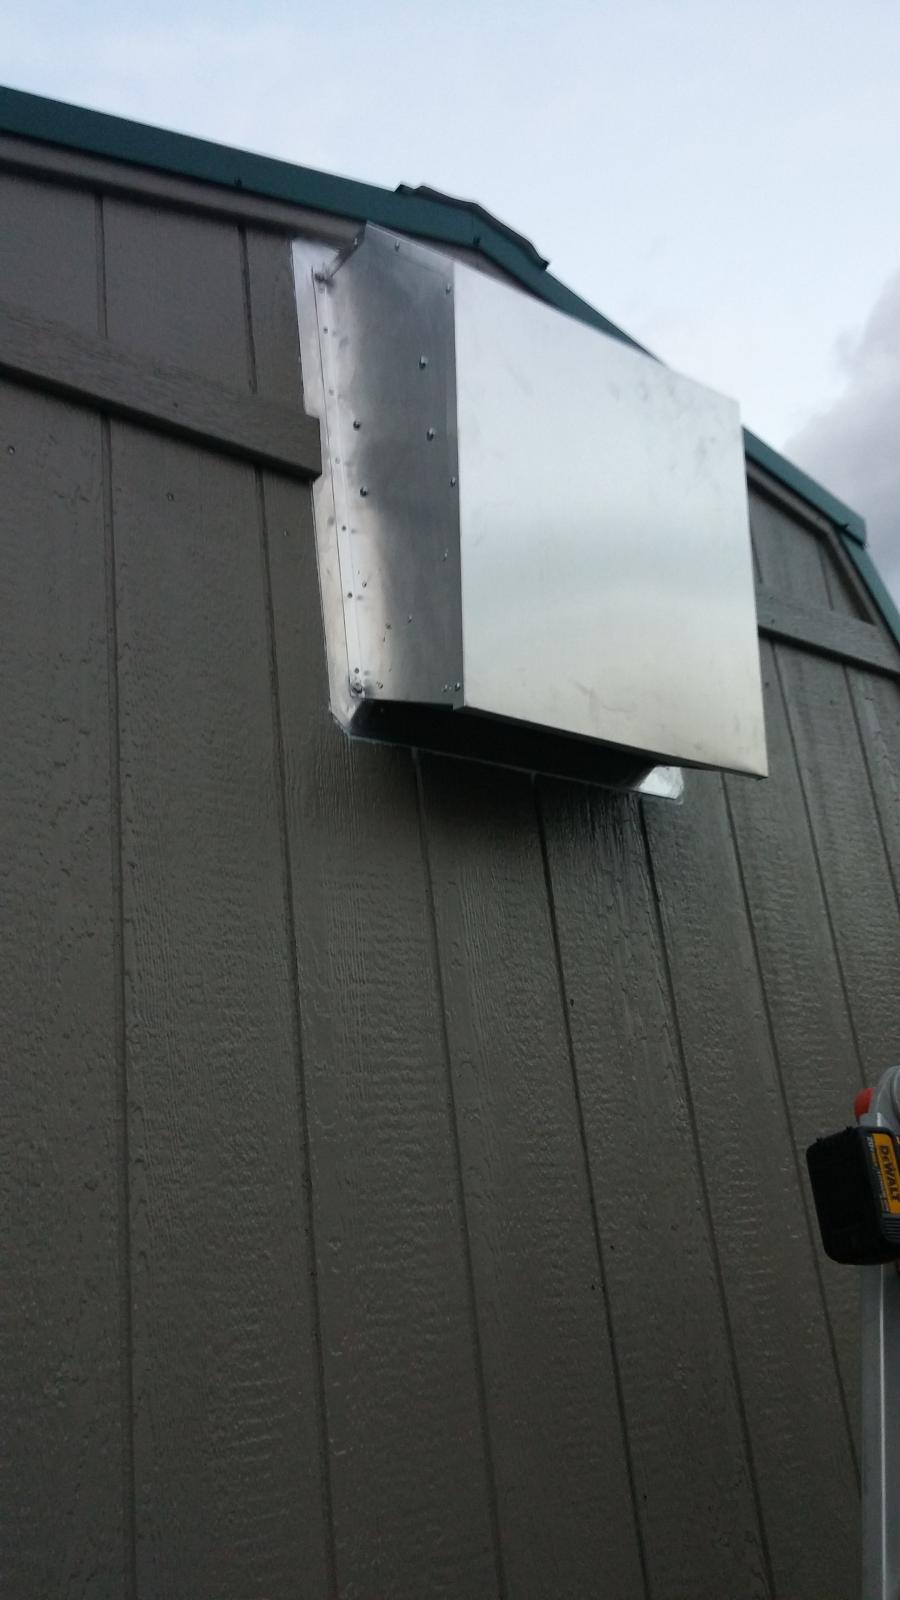


Nice! Please keep posting photos of your progress!
Nice job! Electric would be nice, but honestly, any brewing in a space that size is going to need ventilation. I hope you used Water Resistant Drywall for this...
Also, I didn't see where you will mounting the speakers.
Also, I didn't see where you will mounting the speakers.
Thanks for the positive posts!!! I will most certainly post more pictures as I get further along. The weather turned nasty cold so in turn it has slowed my progress some. The whole inside has been done with the purple 1/2" drywall to avoid moisture problems. They'll be painted as well, so I am thinking that should help keep the water out of them. That and the air circulation. I have not made it yet, but the hood vent I plan on building is going to be a 50 gallon steel drum, cut in half length wise and then welded together on the open end so it will give me an extended half barrel. I am looking to get 10" flanges for ducting and attaching them an equal distance apart on the hood vent so I can then attach them to that outside exhaust blower to help evacuate the steam, heat, and CO produced during the mash/boil. Still have to make the filter box for the make up air blower that will feed the ducts that are now behind the walls.
The placement of the speakers are yet to be determined! LoL!! You don't see the cabinets mounted yet either, but...I'm thinking that there might be enough space on either end....
The placement of the speakers are yet to be determined! LoL!! You don't see the cabinets mounted yet either, but...I'm thinking that there might be enough space on either end....
Harry482
Well-Known Member
Great work. Looking forward to seeing how it turns out!
applescrap
Be the ball!
My usual tip is to replicate a picture of what you want. Its been my experience this leads to better results ymmv.
View attachment 1489241293524.jpg
View attachment 1489241302137.jpg
View attachment 1489241293524.jpg
View attachment 1489241302137.jpg
EcuPirate07
Beer is a food group
Looking good. Hopefully there will be AC cause those bad boys get hot fast! I'm assuming even hotter when you start brewing
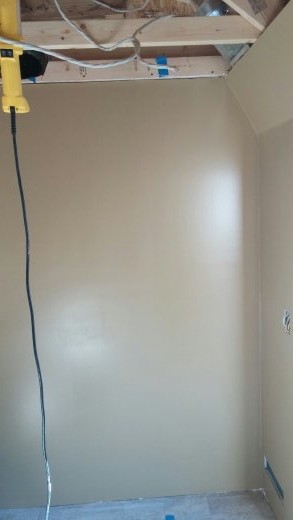
Was able to take a break from the hops field preparations and do some long over due tasks on the shed. Finished most of the sanding of the seams and corners, wiped it all down and painted a good portion of it. I had to rework the upper joint where the angle from the gambrel roof comes down to the wall. I original only mud filled that area, and found cracks, that kept coming back....so....I slapped some more mud on them and taped them. They were not workable when I painted, but hopefully tomorrow I get them looking decent.
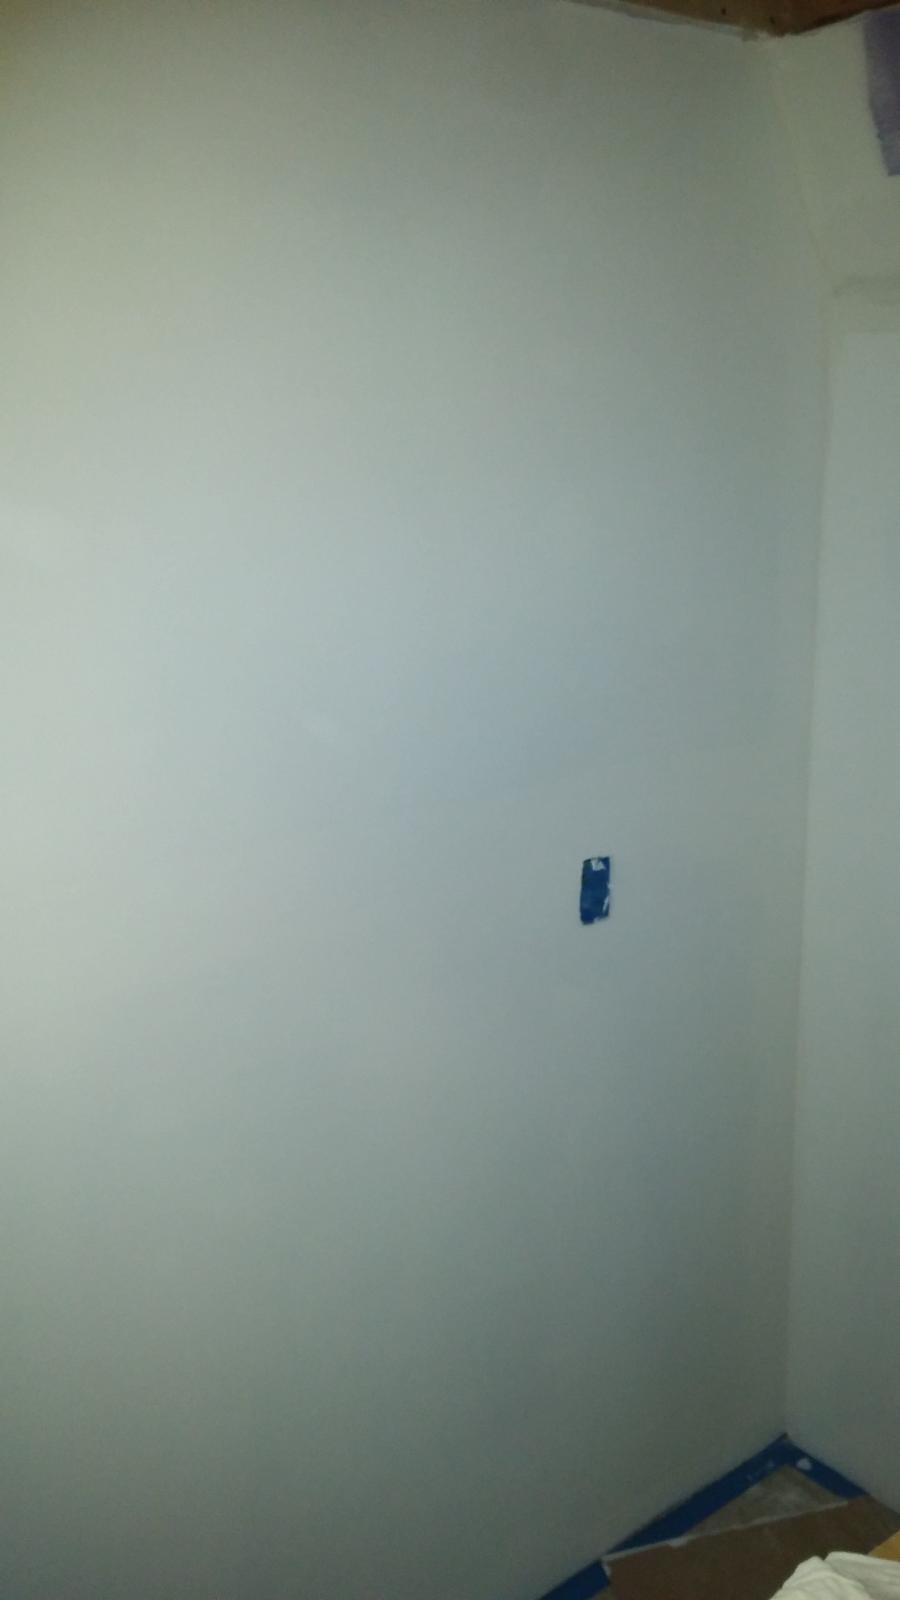
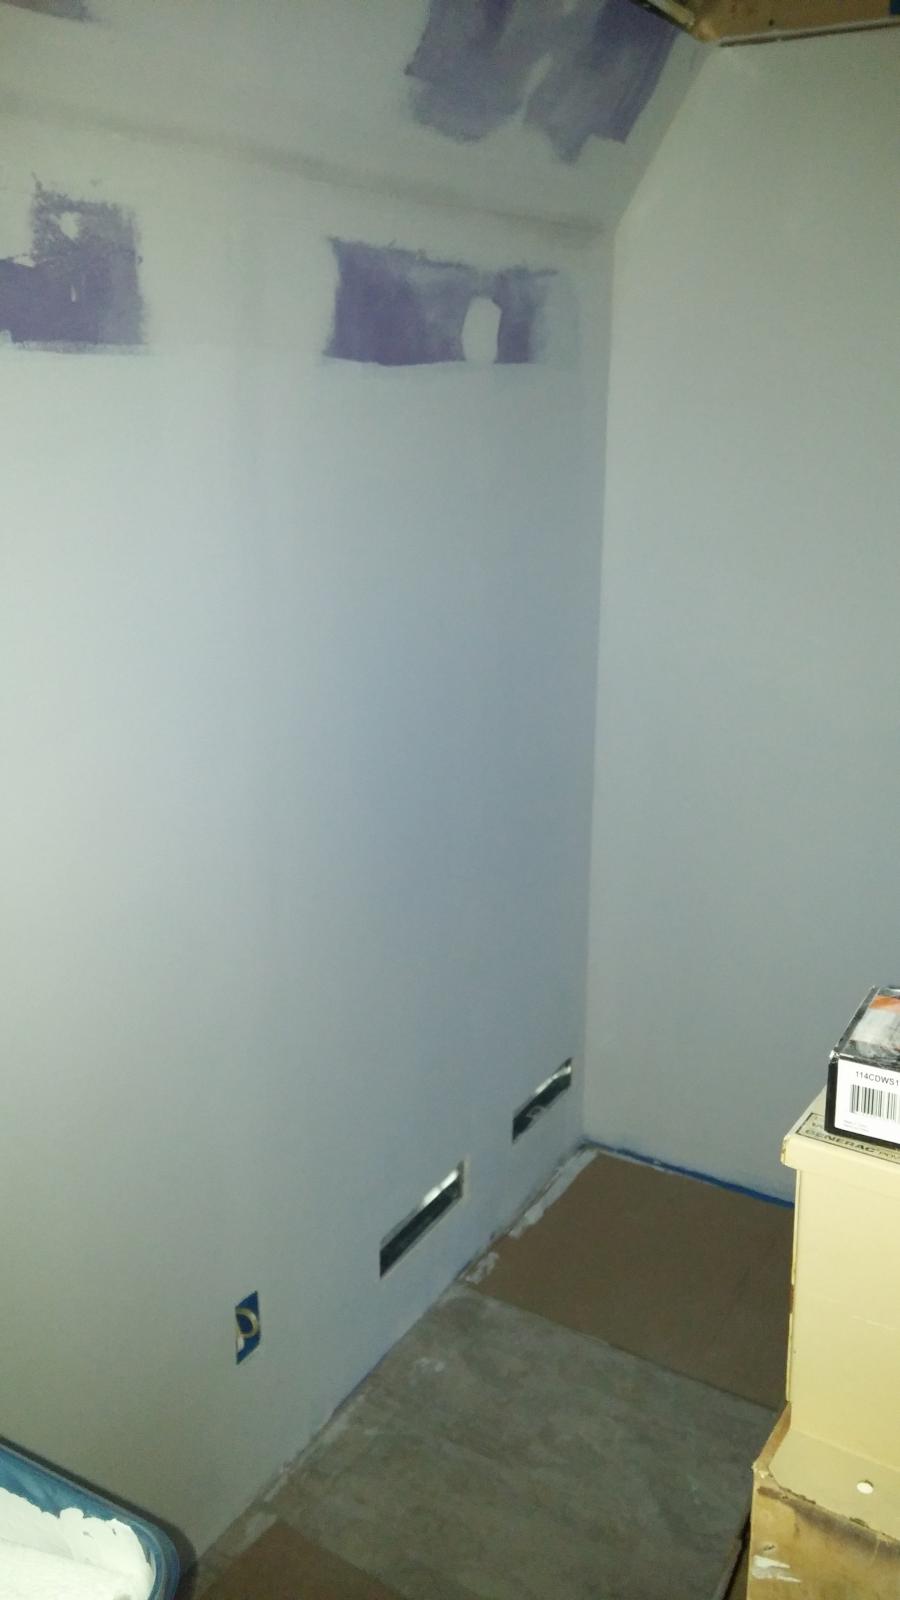

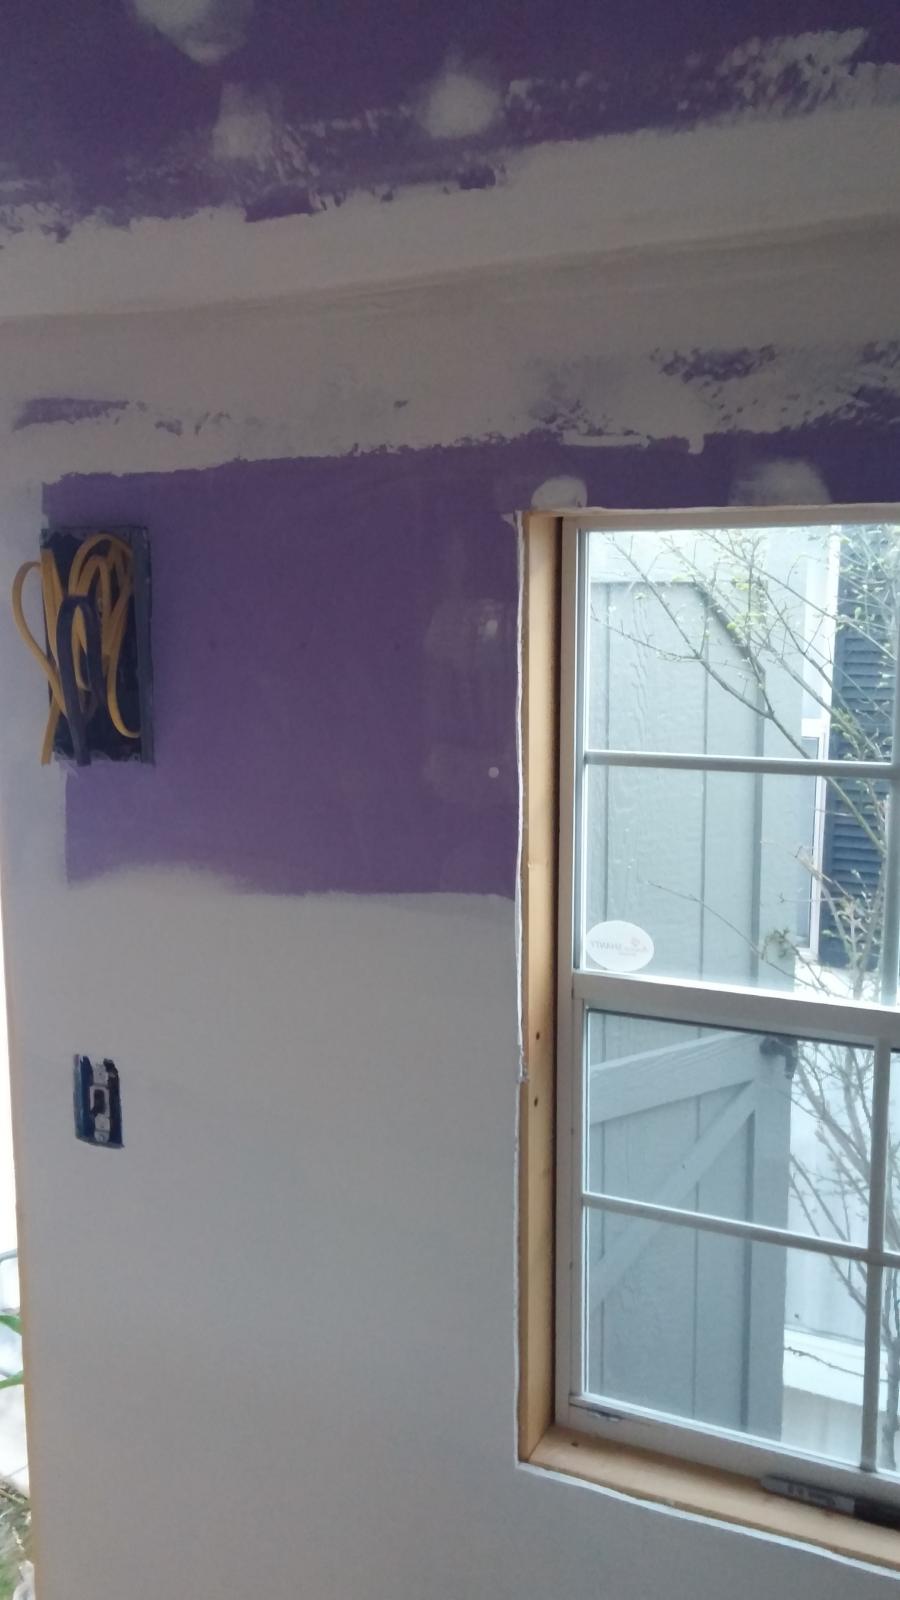


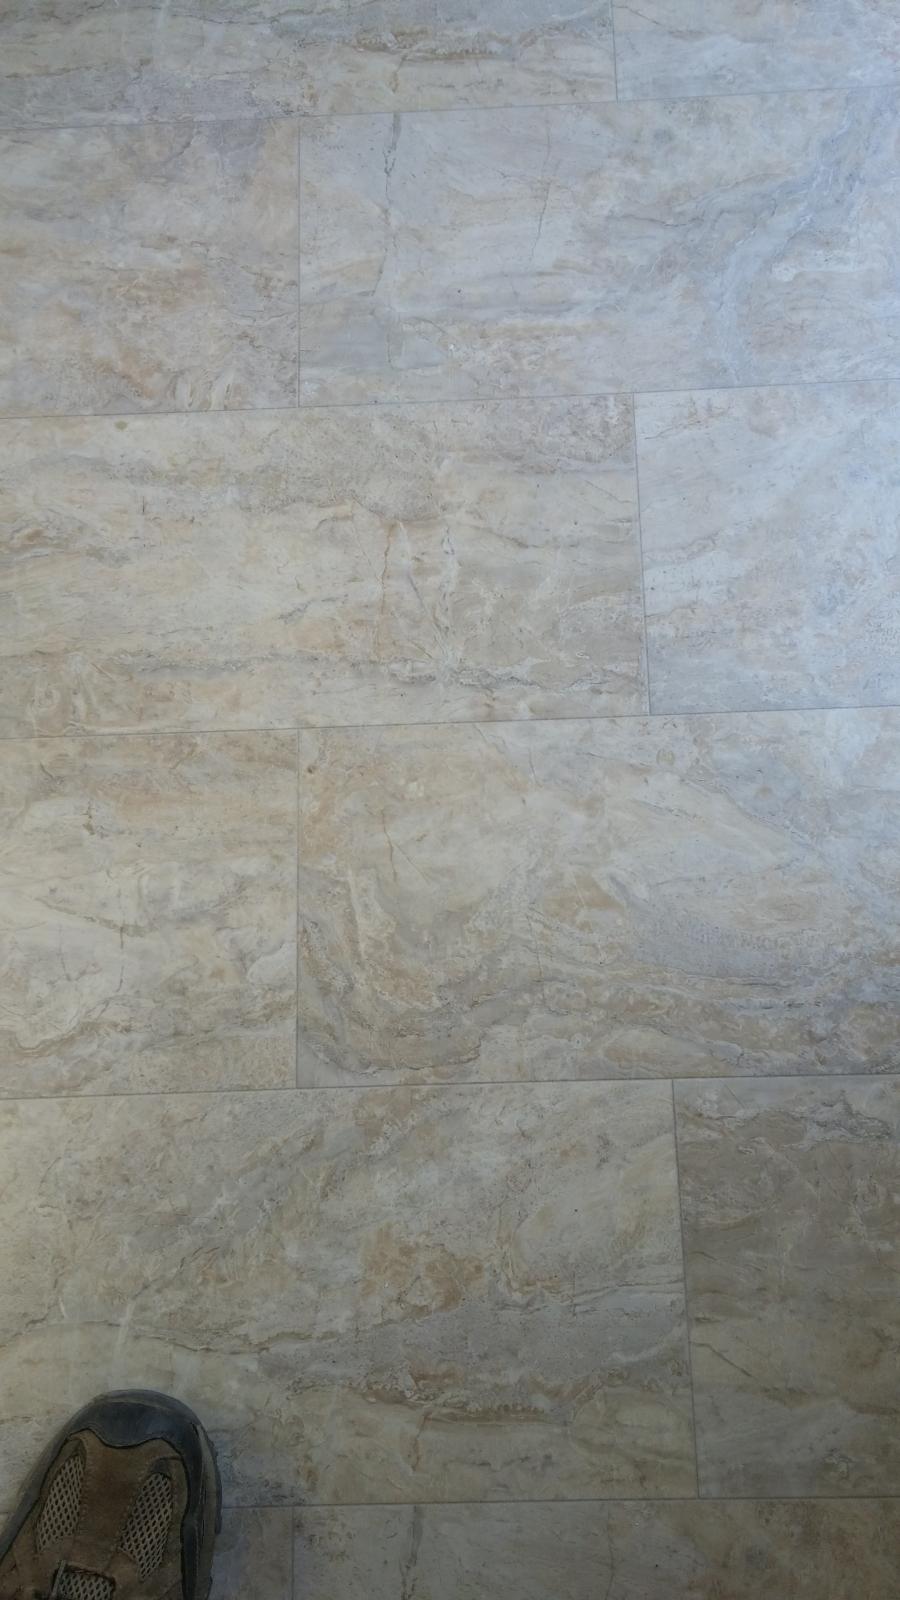
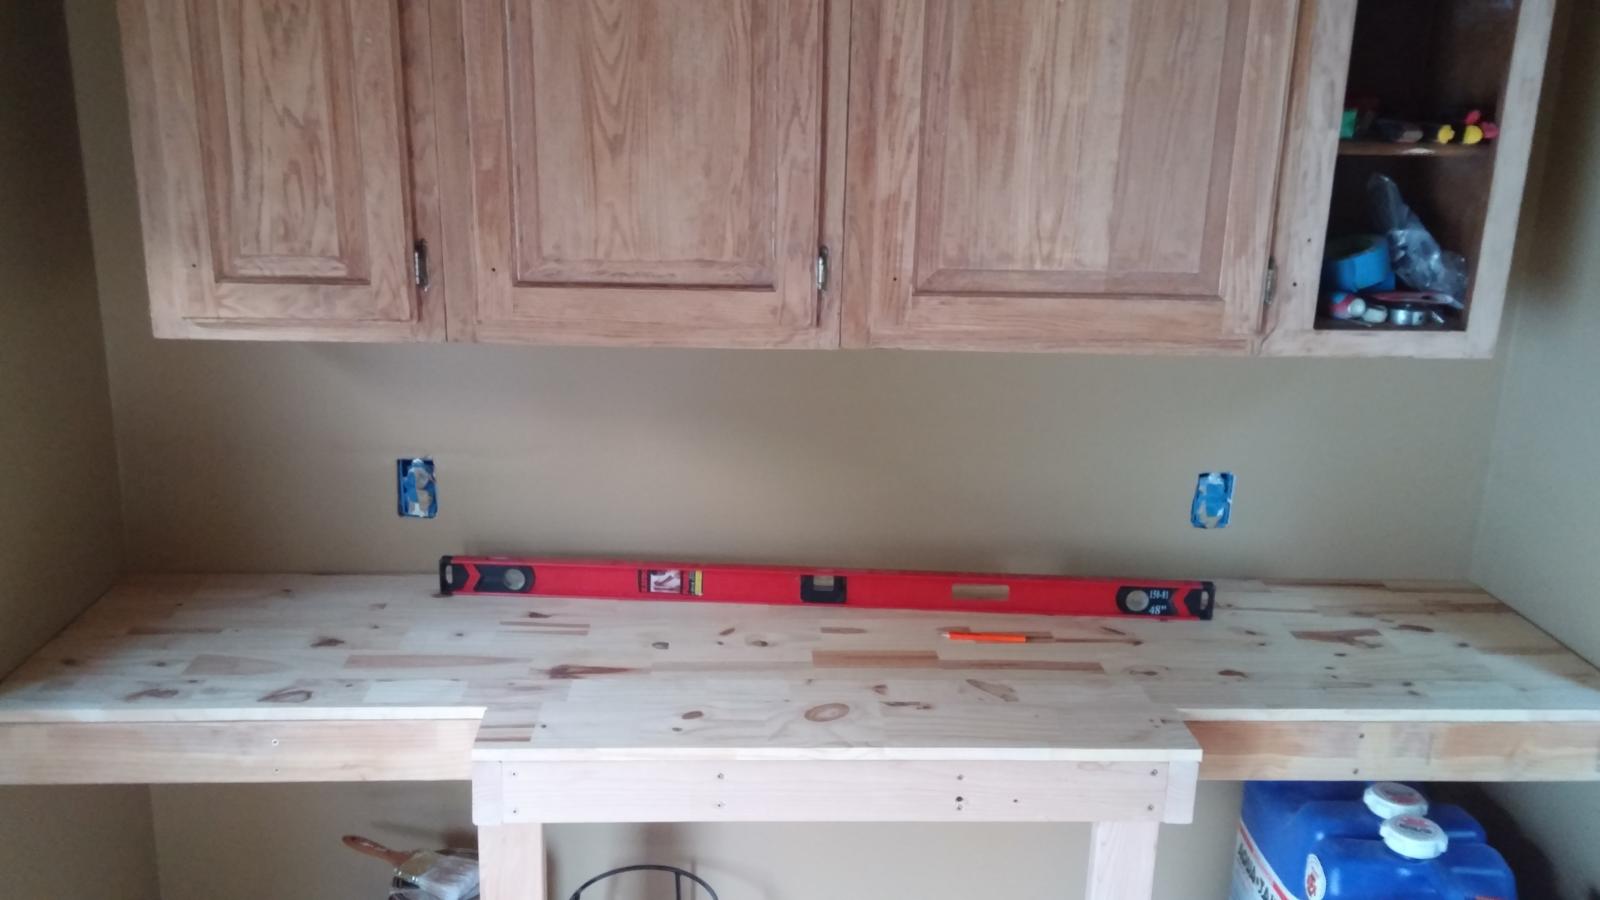
Well...this is where I am at now...getting closer! First pic is what I have for a floor covering...have tried to keep it covered for most of the construction phase...then the walls final color, and finally got the cabinets rough stripped and mounted!


casualbrewer
Well-Known Member
- Joined
- Jun 11, 2015
- Messages
- 477
- Reaction score
- 100
Needed to put a structural tape on those off angles. I am hoping you used the proper drywall materials... ( Drywall contractor here)
Yeah those off angles caused by the gambrell roof kicked my ass! No one suggested anything previously so I just used regular papar tape and quite a bit of mud. There's other imperfection I didn't see after I got the walls primed with kills...but they sure as **** showed up when I put a satin paint down over it. Was striving for perfection but starting to miss brewing....on to other projects that will let me start seeing the light from under the kettles.
Double posted from phone...
casualbrewer
Well-Known Member
- Joined
- Jun 11, 2015
- Messages
- 477
- Reaction score
- 100
Yep anything other than flat paint will show defects like crazy! Very nice project though.
had to slack off a bitfor a short time....this is now where I am at in the shed build....




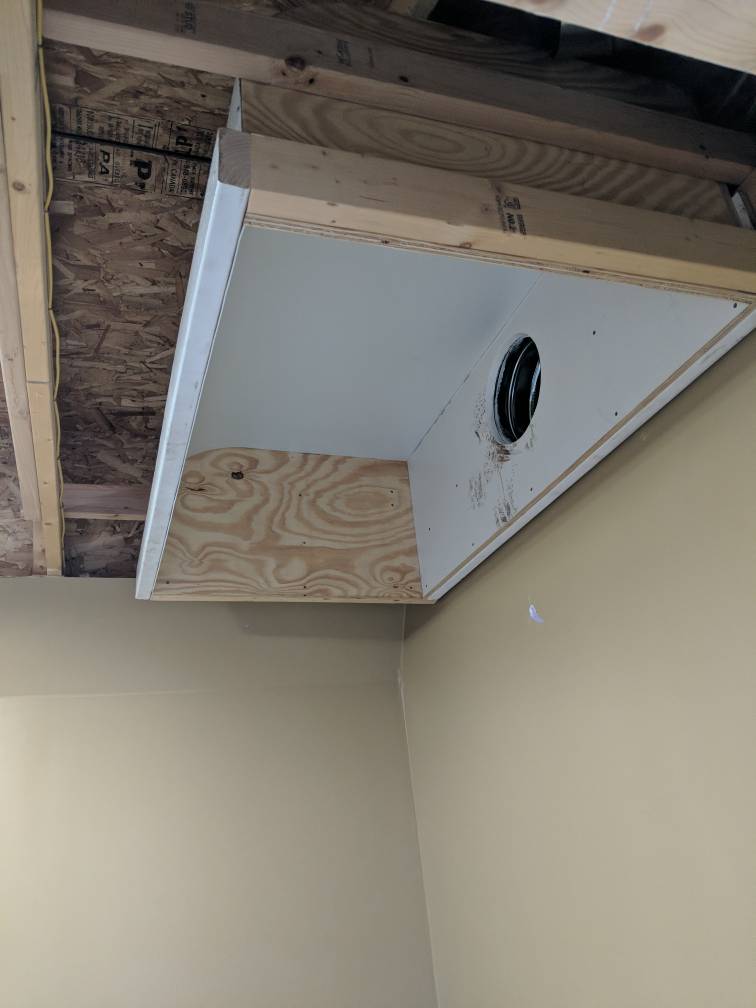
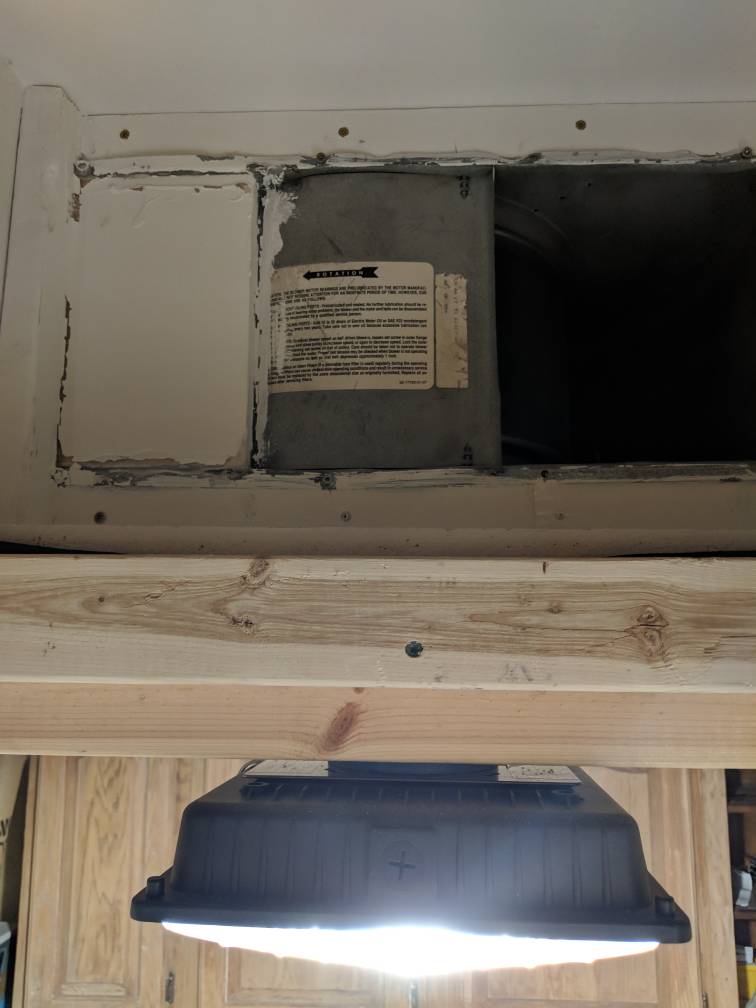
Getting back to the shed....this is the ventilation system I have...took me a couple tries to finally get a hood vent that would be acceptable for the use and of the correct size to fit where this one went. Made a filter box to house a furnace blower that I use for a "make up air" unit...there are 3 filters in it to help keep undesirables out. I have 2 10 inch air inlets that supply the air.




Last edited:
There is only 1 10 inch exhaust, but it is still capable of creating a vacuum in there, even with the make up air box on full speed, so it is good that it's control is just a dial potentiometer that lets me dial it down precisely. The 3 way split is starting off at 8 inches and reduced to 6 that feed the wall stacks that deliver air to floor level underneath the hood vent. I wanted to originally go with the 8 inch, but had to downsize because I would not have been able to get the ducting past the hood vent 
 Guess the visions of grandeur ruled in the designing!!!

 Guess the visions of grandeur ruled in the designing!!!
Bobcatbrewing42
Well-Known Member
- Joined
- Aug 8, 2014
- Messages
- 294
- Reaction score
- 53
I am in the process of getting my shed together for making it into a brew shed. I have run electric wire, put outlets in where I believe they will be useful, have 2 more locations that I will be putting that at, cause everyone knows that you don't have an outlet where you need it....it is a 12' x 8' building. 2 windows on the end opposite of where I have the brew station at. Currently it is going to be a propane 3 burner setup. I am insulating it, and will finish it with drywall and paint. I also wired in lights, and 2 other power feeds to supply the blowers I plan on utilizing to ventilate. 1 of them is an external mounted 1800 cfm kitchen vent that will be attached to a hood over the kettles. The other 1 is a blower motor from a furnace, that I need to make a filtered intake box to mount it on. This unit is to provide the "make up air " for the hot side ventilator. Some friends have said that it's not needed or it's not gonna work. I would like some feedback from anyone who has done this or is more qualified in air delivery systems than I am please. Whole purpose for this shed is for me to have a comfortable place that is protected from the elements to be able to brew. Tired of having mother nature decide that my brew day is not going to happen....also a place that I'm not going to keel over because of Carbon monoxide poisoning. I do have a Carbon monoxide monitor to install after I get the walls done. So, if you have experience, tips, do's and don't s, or just general advice, please share it with me.
I brew all winter in my garage with a HERMS propane setup. I just open the garage door. Even on the coldest days it is very comfortable. I brewed yesterday with 4 feet of snow outside the door and a moose eating my spent grain. I'm just saying to keep it simple. (I built custom homes for a living) I'd put my money elsewhere than a full blown HVAC system. I have a brew club buddy with a similar shed and he opens the door to ventilate. What counts for a lot is having an efficient cleanup system, with workspace, a huge sink and a floor drain. He can spray down and squeegee all of the stuff down the drain in minutes.There is only 1 10 inch exhaust, but it is still capable of creating a vacuum in there, even with the make up air box on full speed, so it is good that it's control is just a dial potentiometer that lets me dial it down precisely. The 3 way split is starting off at 8 inches and reduced to 6 that feed the wall stacks that deliver air to floor level underneath the hood vent. I wanted to originally go with the 8 inch, but had to downsize because I would not have been able to get the ducting past the hood ventGuess the visions of grandeur ruled in the designing!!!

Yes sir I agree that the ease of clean up should be considered! I did a test run with my set up yesterday. Found that it will be warm, like shorts and a t-shirt kinda warm, in there with all blowers on max power! I am also quite a bit shy on the ease of cleaning up area, as I don't have a big sink or drain. I may entertain thoughts of putting them in...sometime down the road!! It will do for now though...just need to straighten up the surplus supplies and get organised. The wife is ecstatic that I can now get my brewing gear out of our front room...lol
snarf7
Well-Known Member
- Joined
- Apr 30, 2017
- Messages
- 379
- Reaction score
- 114
I know a fair amount about make-up air because I recently redid our kitchen and we put in a huge hood. The entire reason for it is so that you don't create a 'negative pressure' situation which can be dangerous because it can create almost like a backdraft scenario where you are sucking CO and CO2 from your furnaces etc into your living area which is obviously not healthy and potentially deadly.
Where you have to be especially careful is with newer construction that is extremely 'tight' where everything is sealed up really well and no fresh air can get in. In an old drafty house, not so much because the exhaust will just pull fresh air thru the cracks around your old windows etc. So in a shed like this I dunno, if it's sealed super tight then maybe, but you wouldn't need a blower I don't think, just a one-way vent that will allow fresh air to come in as needed would suffice I'm sure.
Where you have to be especially careful is with newer construction that is extremely 'tight' where everything is sealed up really well and no fresh air can get in. In an old drafty house, not so much because the exhaust will just pull fresh air thru the cracks around your old windows etc. So in a shed like this I dunno, if it's sealed super tight then maybe, but you wouldn't need a blower I don't think, just a one-way vent that will allow fresh air to come in as needed would suffice I'm sure.
Thanks for the input snarf! Too late though. My concern for doing it was to evacuate the carbon monoxide being generated in there, even though it wasn't super air tight, it did create a very hard vacuum in there....believe me it was trying to pull air in from every where, and you needed to put 45 or 50 pounds of force into the door to open it. So more or less, wanted to take put the negative pressure, ensure the carbon monoxide was evacuated, and while doing that...maybe get lucky with establishing a convection curtain so it would help keep an environment in there that would still be fairly comfortable...
Last edited:
Yes sir I agree that the ease of clean up should be considered! I did a test run with my set up yesterday. Found that it will be warm, like shorts and a t-shirt kinda warm, in there with all blowers on max power! I am also quite a bit shy on the ease of cleaning up area, as I don't have a big sink or drain. I may entertain thoughts of putting them in...sometime down the road!!It will do for now though...just need to straighten up the surplus supplies and get organised. The wife is ecstatic that I can now get my brewing gear out of our front room...lol
If I were planning a dedicated brewing spot (and I am), I would make two things my highest priority:
- Sink right in the brew space for cleanup.
- Storage of all equipment in that same space
Floor drain is ideal, but at least having a sink with a a drain gets you 95% of the way there.
I use propane in my garage and I've brewed with temps down to 0 degrees with the garage open about 2' for ventilation. It's not ideal, but I'd rather do that and have easy storage and cleanup than the other way around.
This is how it will mostly look. Still have some more clean up to do...and a lot of gear moving yet....But pretty dang pleased for the time being. Was able to test run the tower of power gas control with the hellfire....found 2 bulkheads that leaked ( the ones that came with the kettle ), so they have been removed, and new ones ordered from Brew Hardware. Anyways, that hellfire didn't take long to get my mash temp to 148, via the herms coil in the hlt. About an hour...and that was with me dicking around by going gentle with it for a little bit.

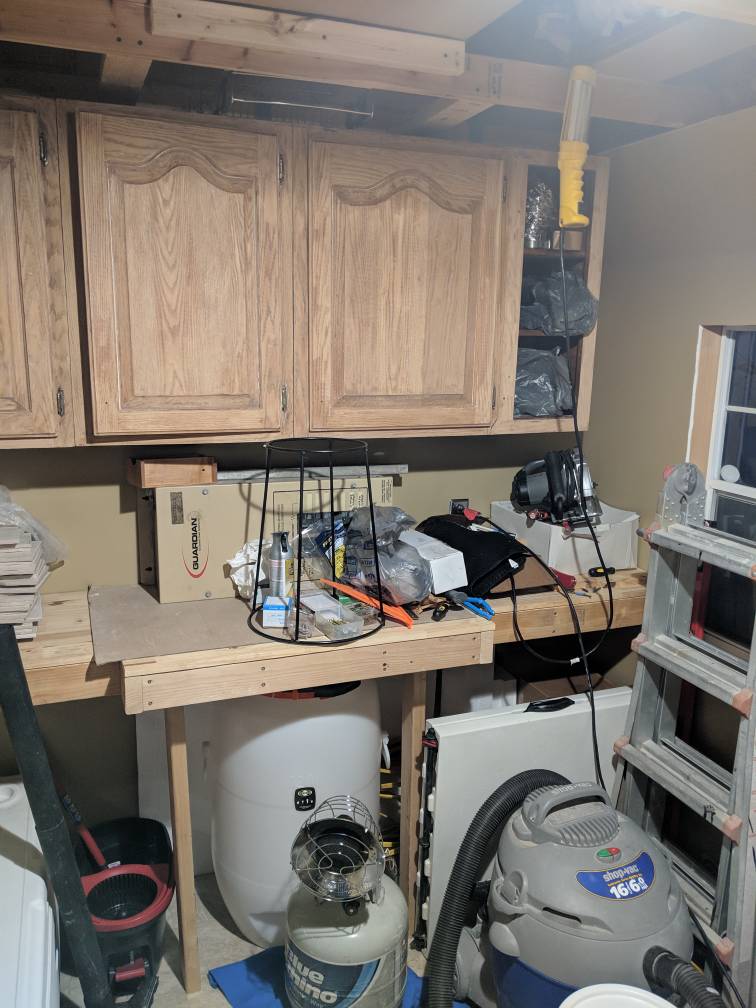
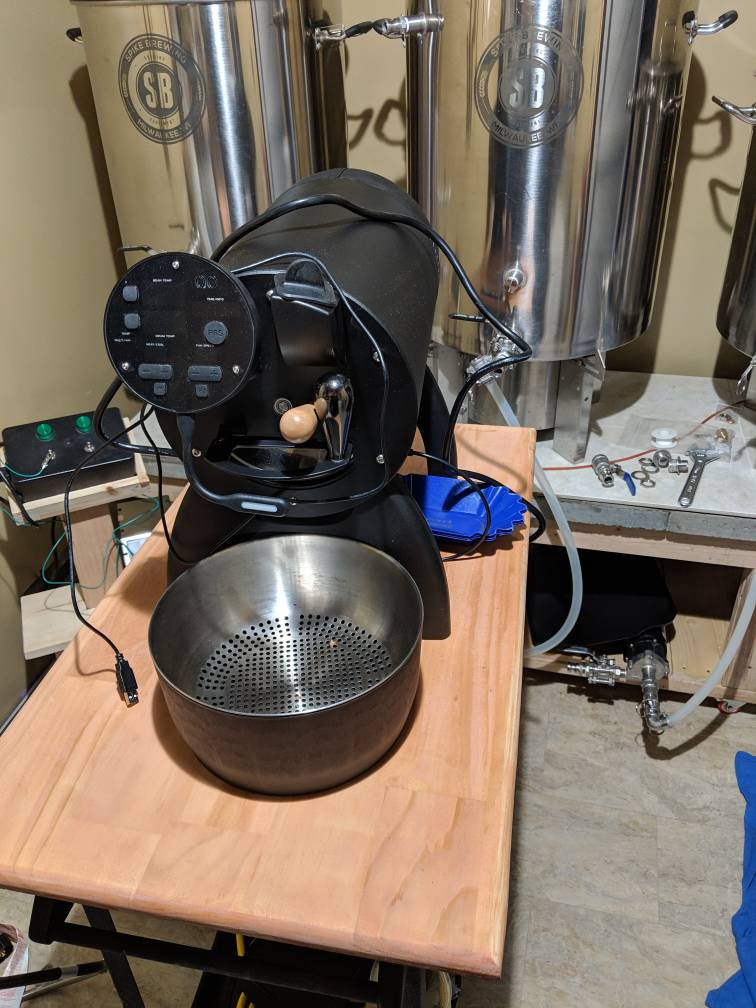


And of course the coffee roaster is a resident, as the wife will not tolerate the amount of smoke that beast breathes out!
Thanks for the input snarf! Too late though. My concern for doing it was to evacuate the carbon monoxide being generated in there, even though it wasn't super air tight, it did create a very hard vacuum in there....believe me it was trying to pull air in from every where, and you needed to put 45 or 50 pounds of force into the door to open it. So more or less, wanted to take out the negative pressure, ensure the carbon monoxide was evacuated, and while doing that...maybe get lucky with establishing a convection curtain so it would help keep an environment in there that would still be fairly comfortable...
Similar threads
- Replies
- 14
- Views
- 1K
- Replies
- 0
- Views
- 297

