jseyfert3
Well-Known Member
I figured I'd document my second kreezer build. Please note that this will not be a work of art like some of the builds I've seen on here. Also I ramble, so you've been warned on both fronts! 
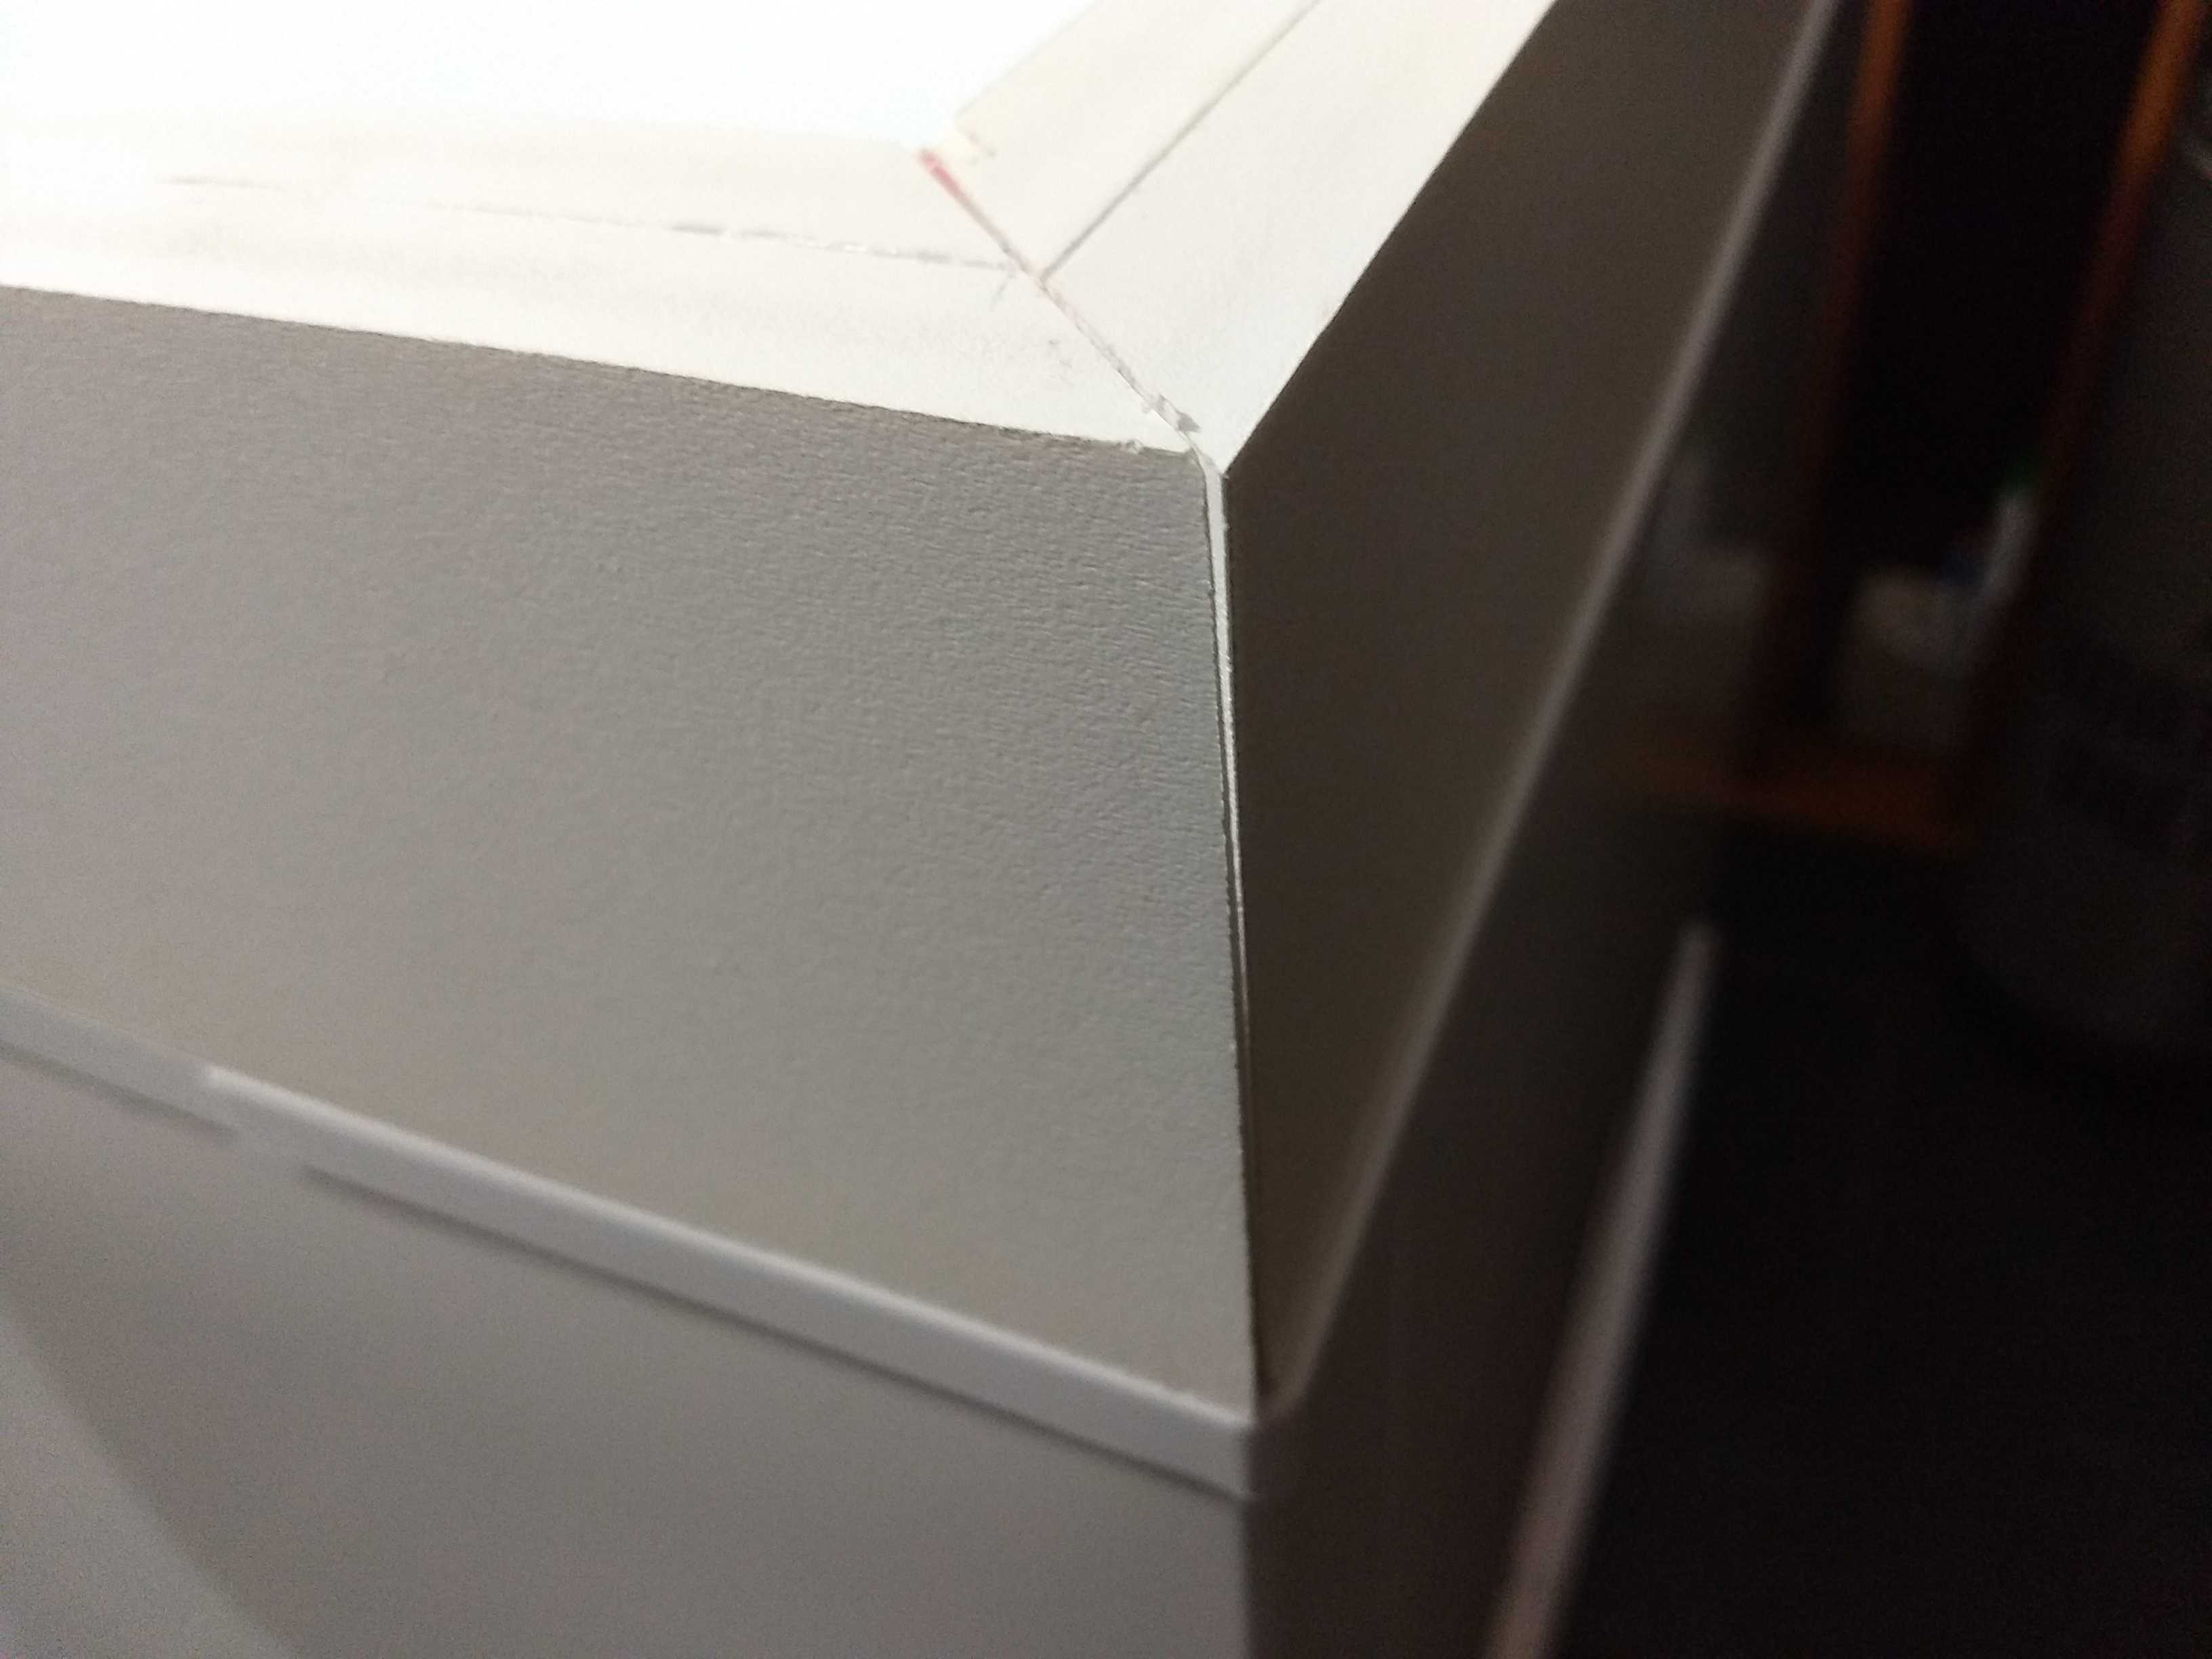
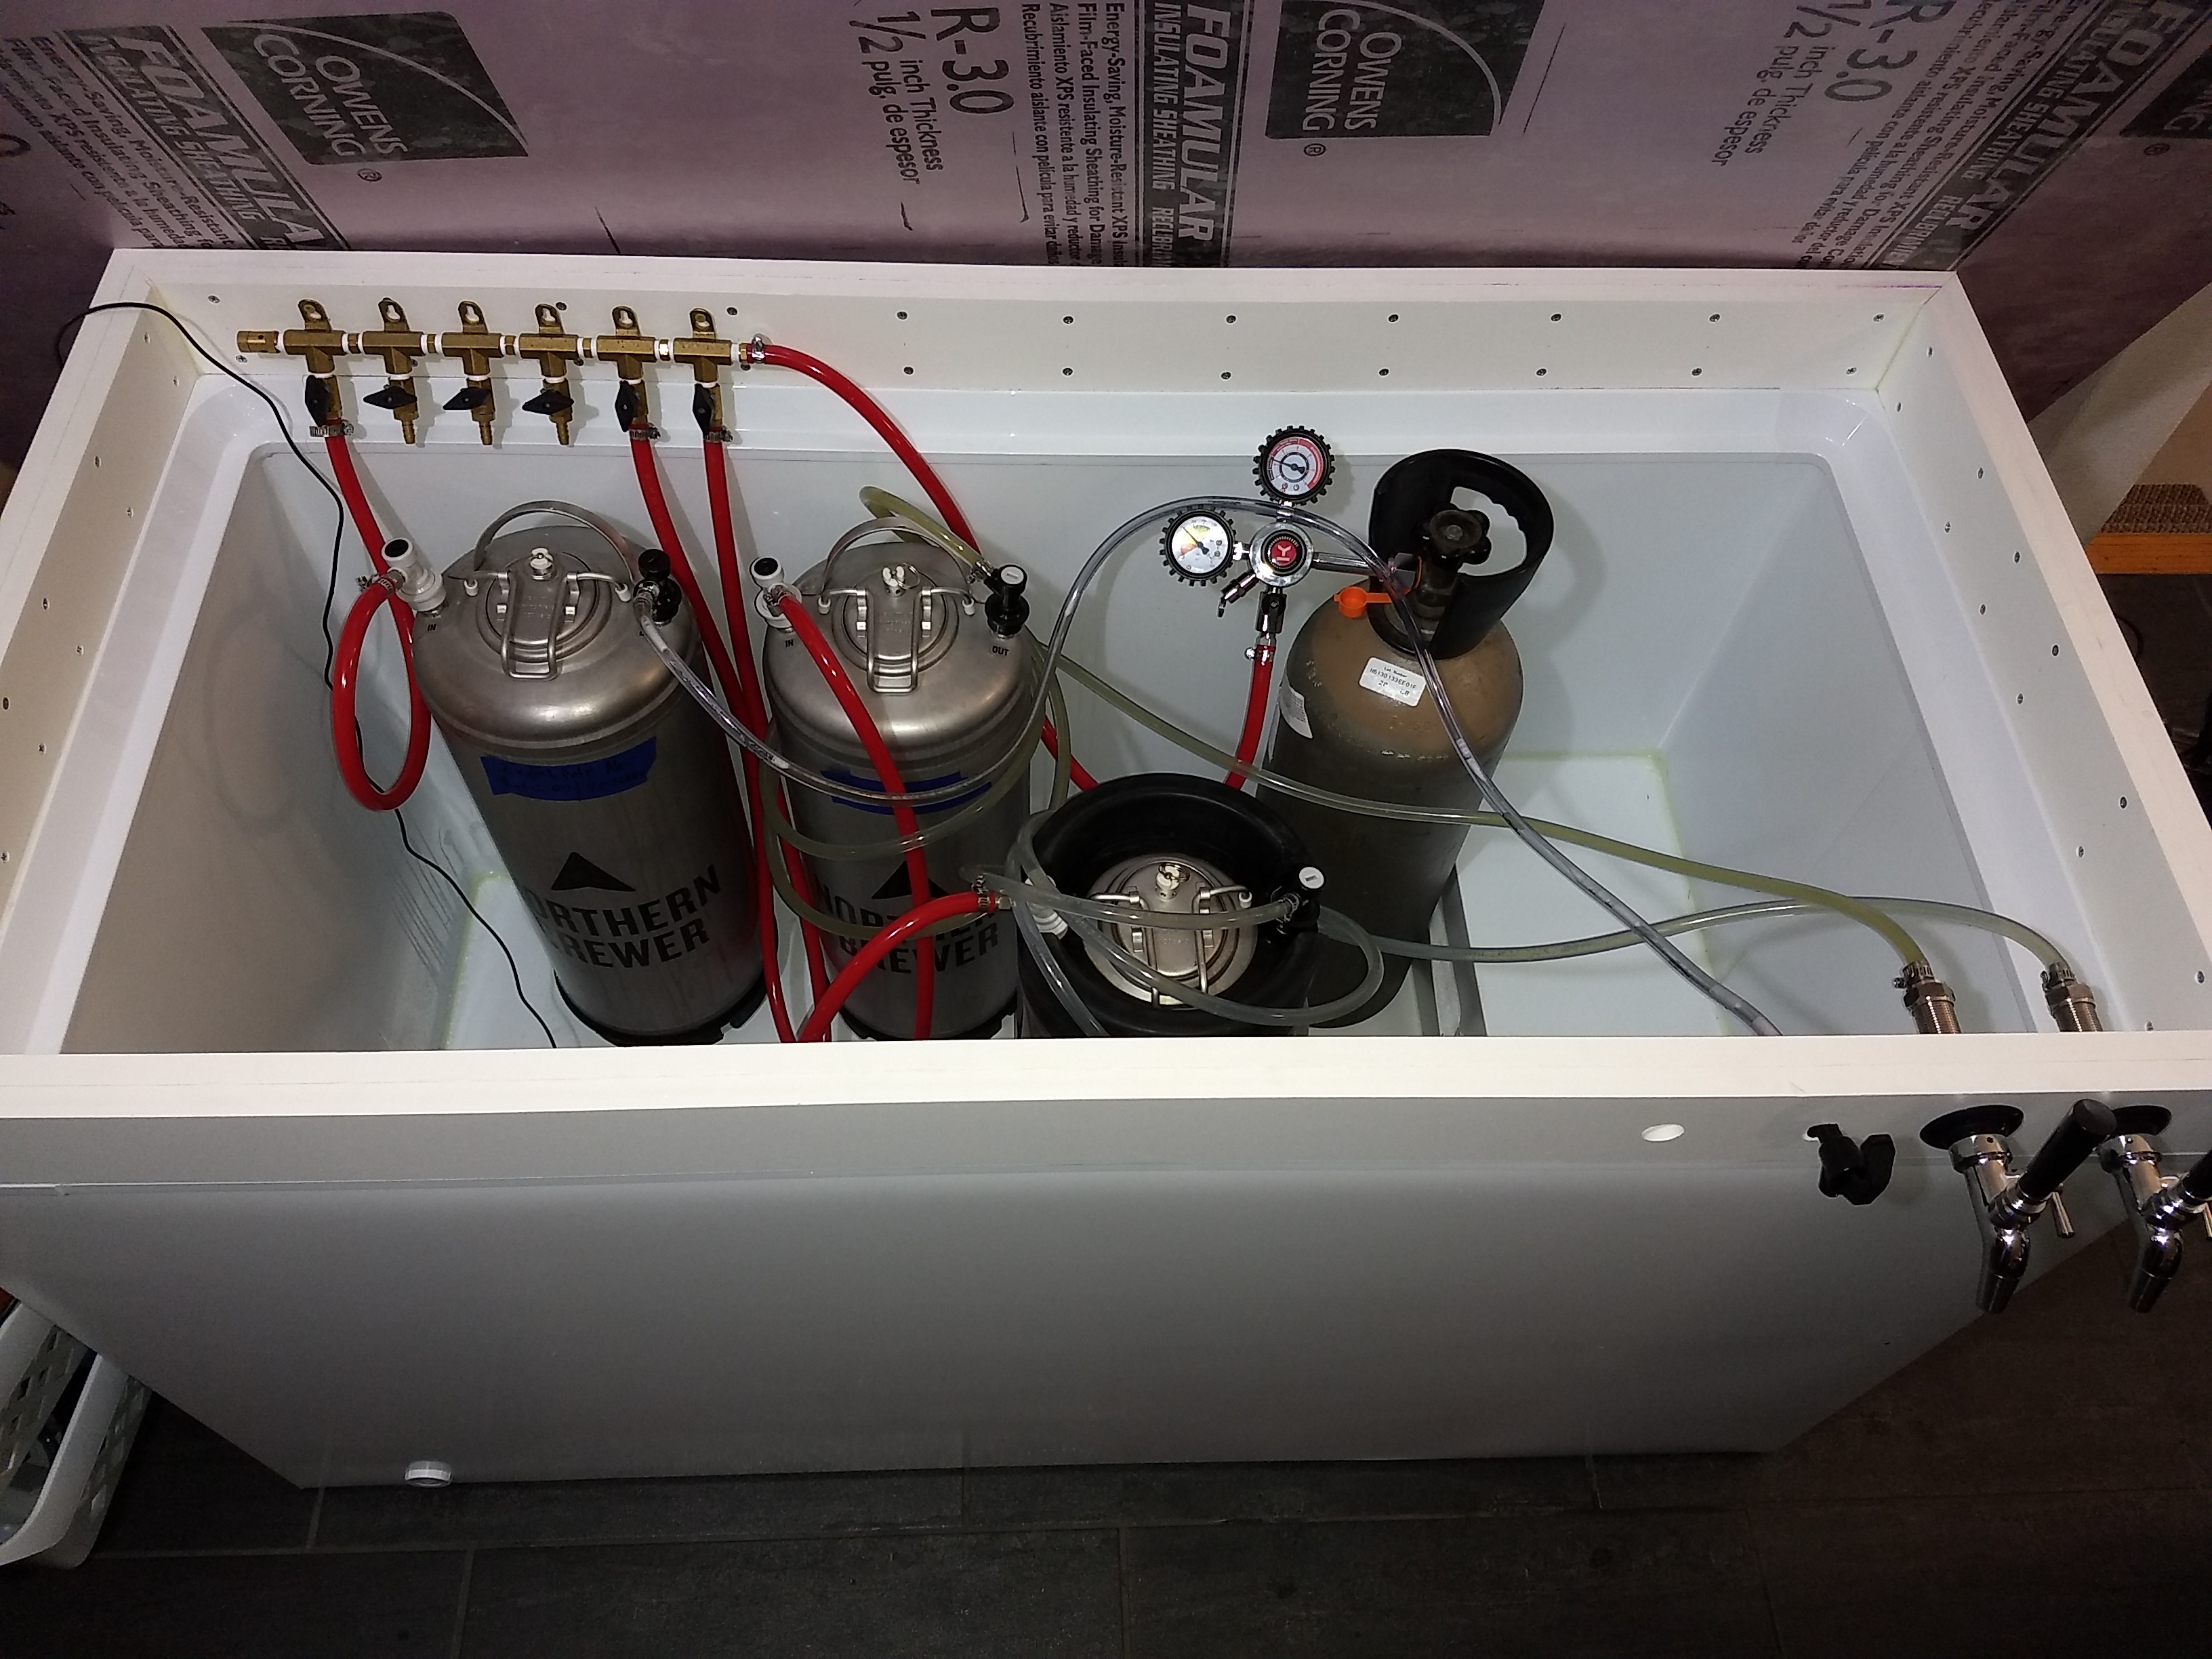
First off, this is my second build, the first was earlier this year. So let's go over that along with lessons learned. My first kreezer was build out of a 1980 Montgomery Ward freezer I got for free. I put a 2x8" collar on it, some insulation on the inside of the collar, and then painted the inside and outside with spray paint. Here's that:
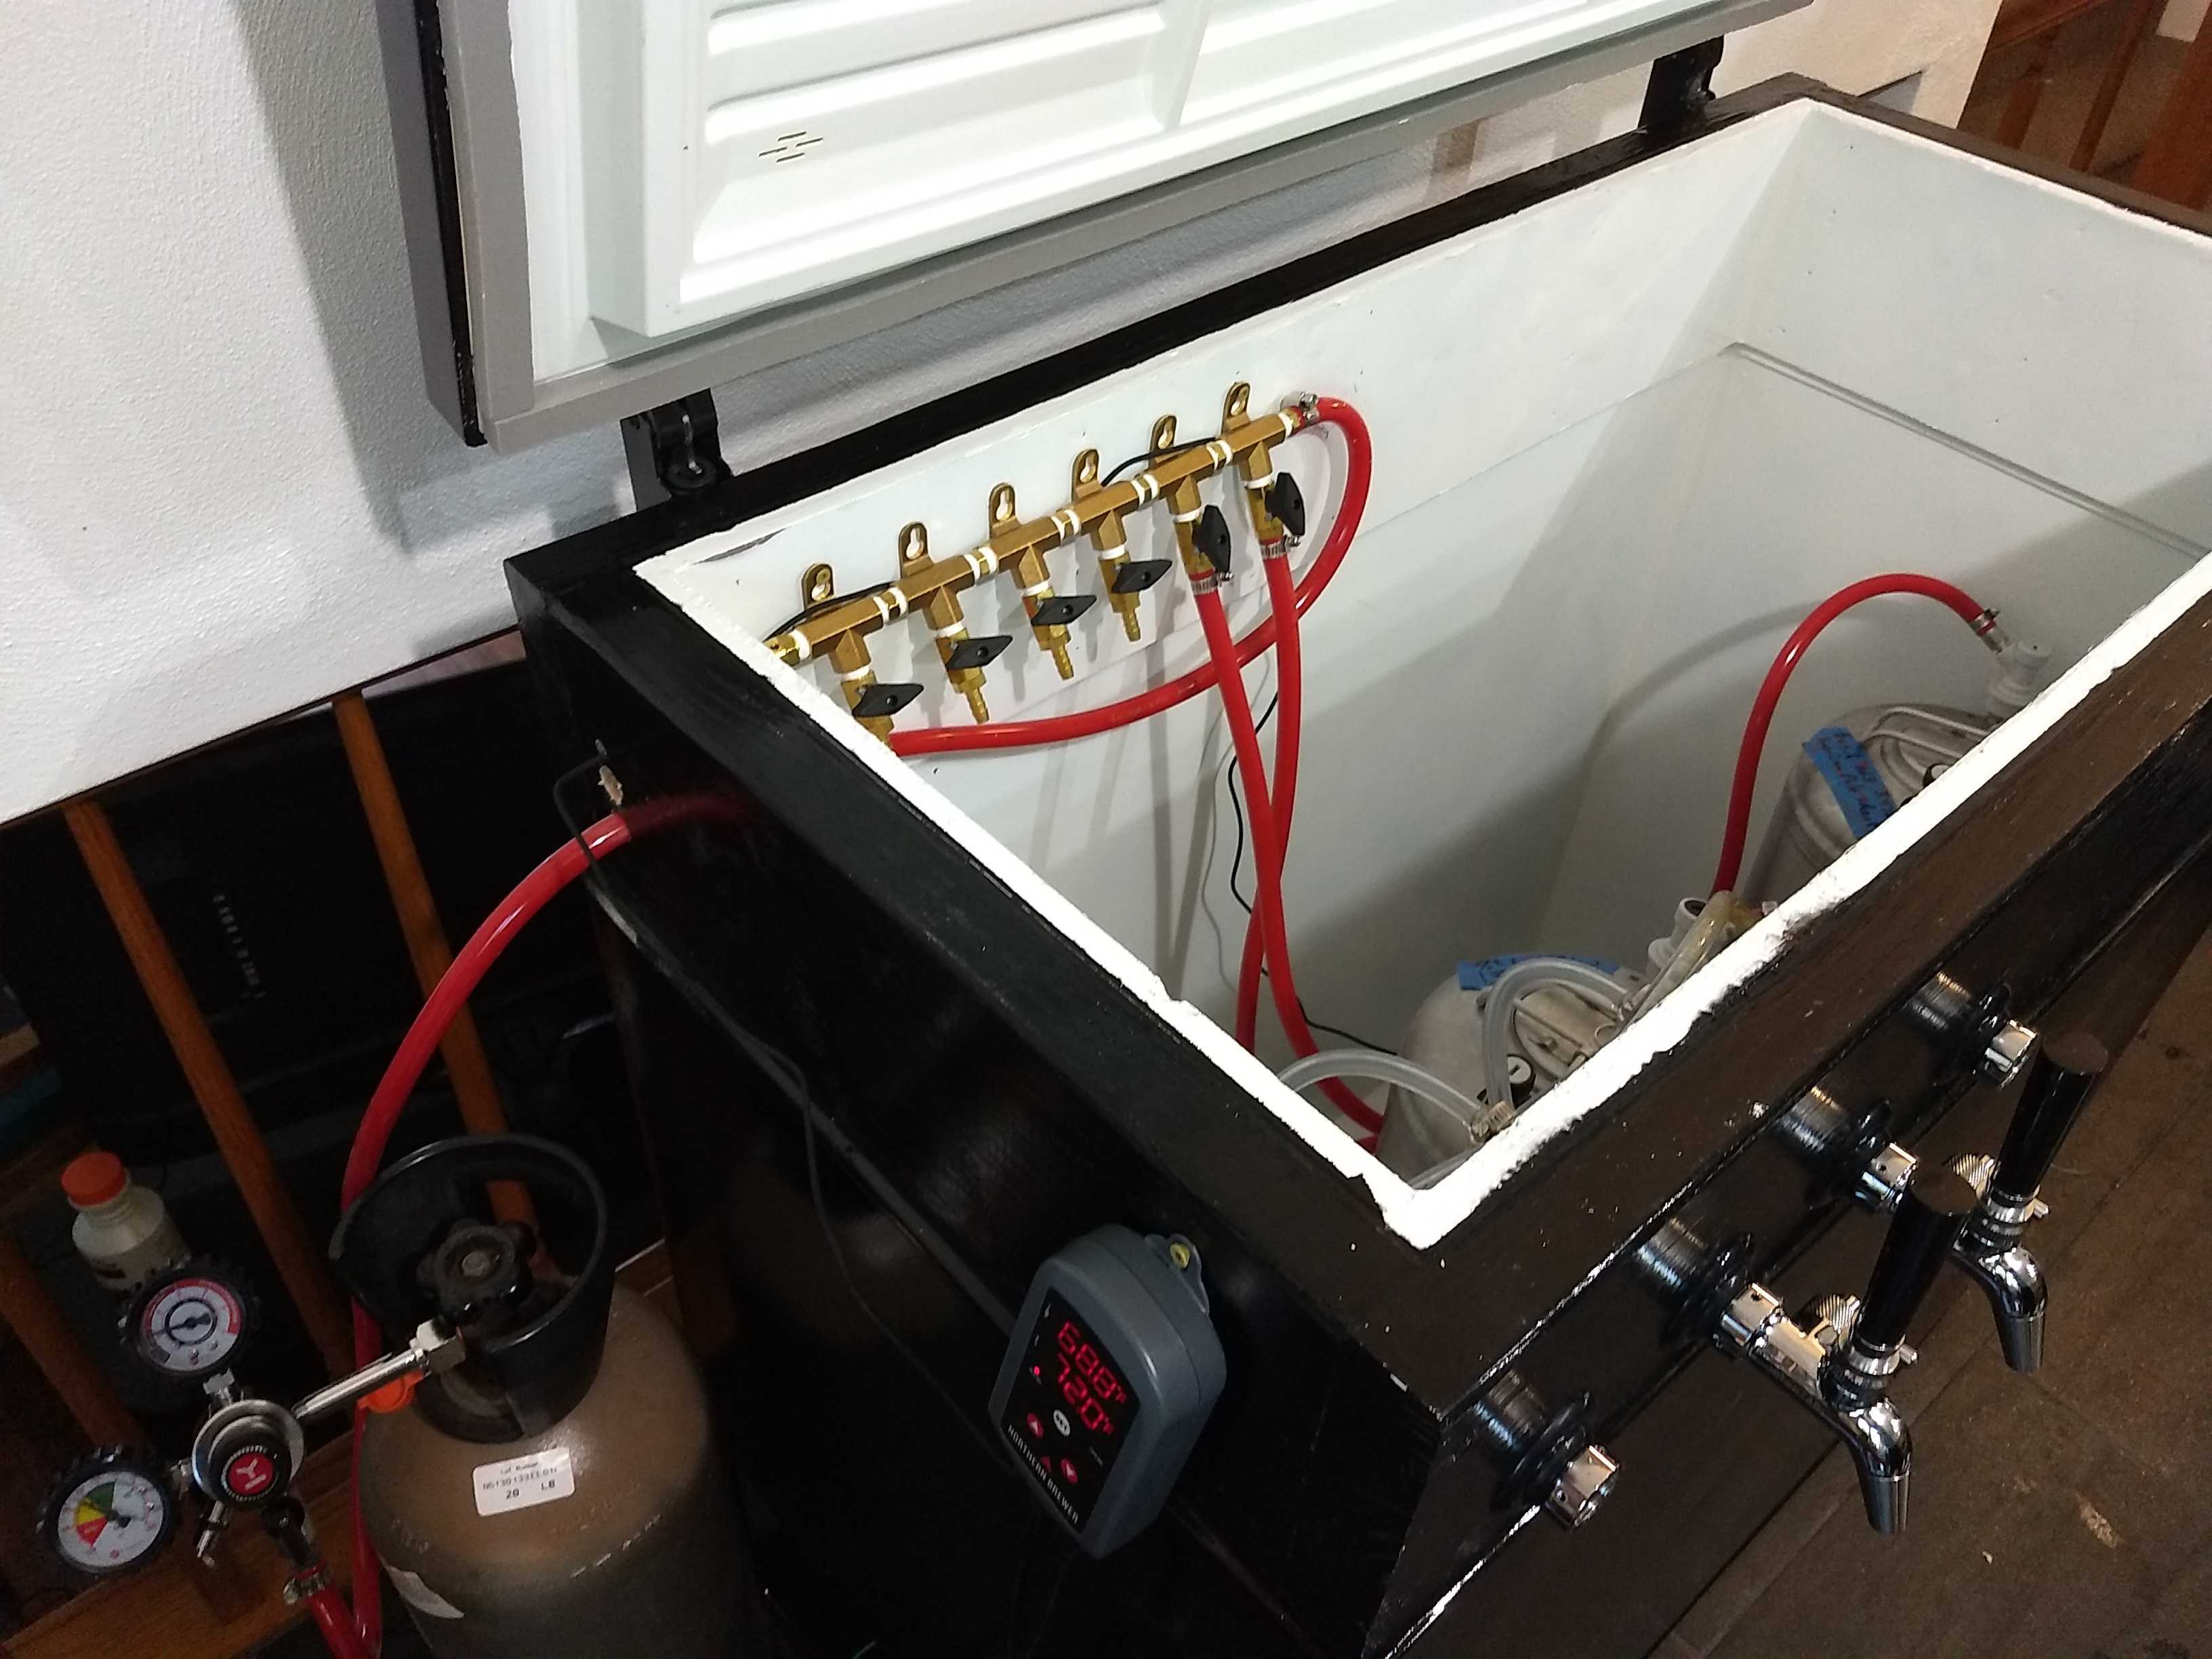
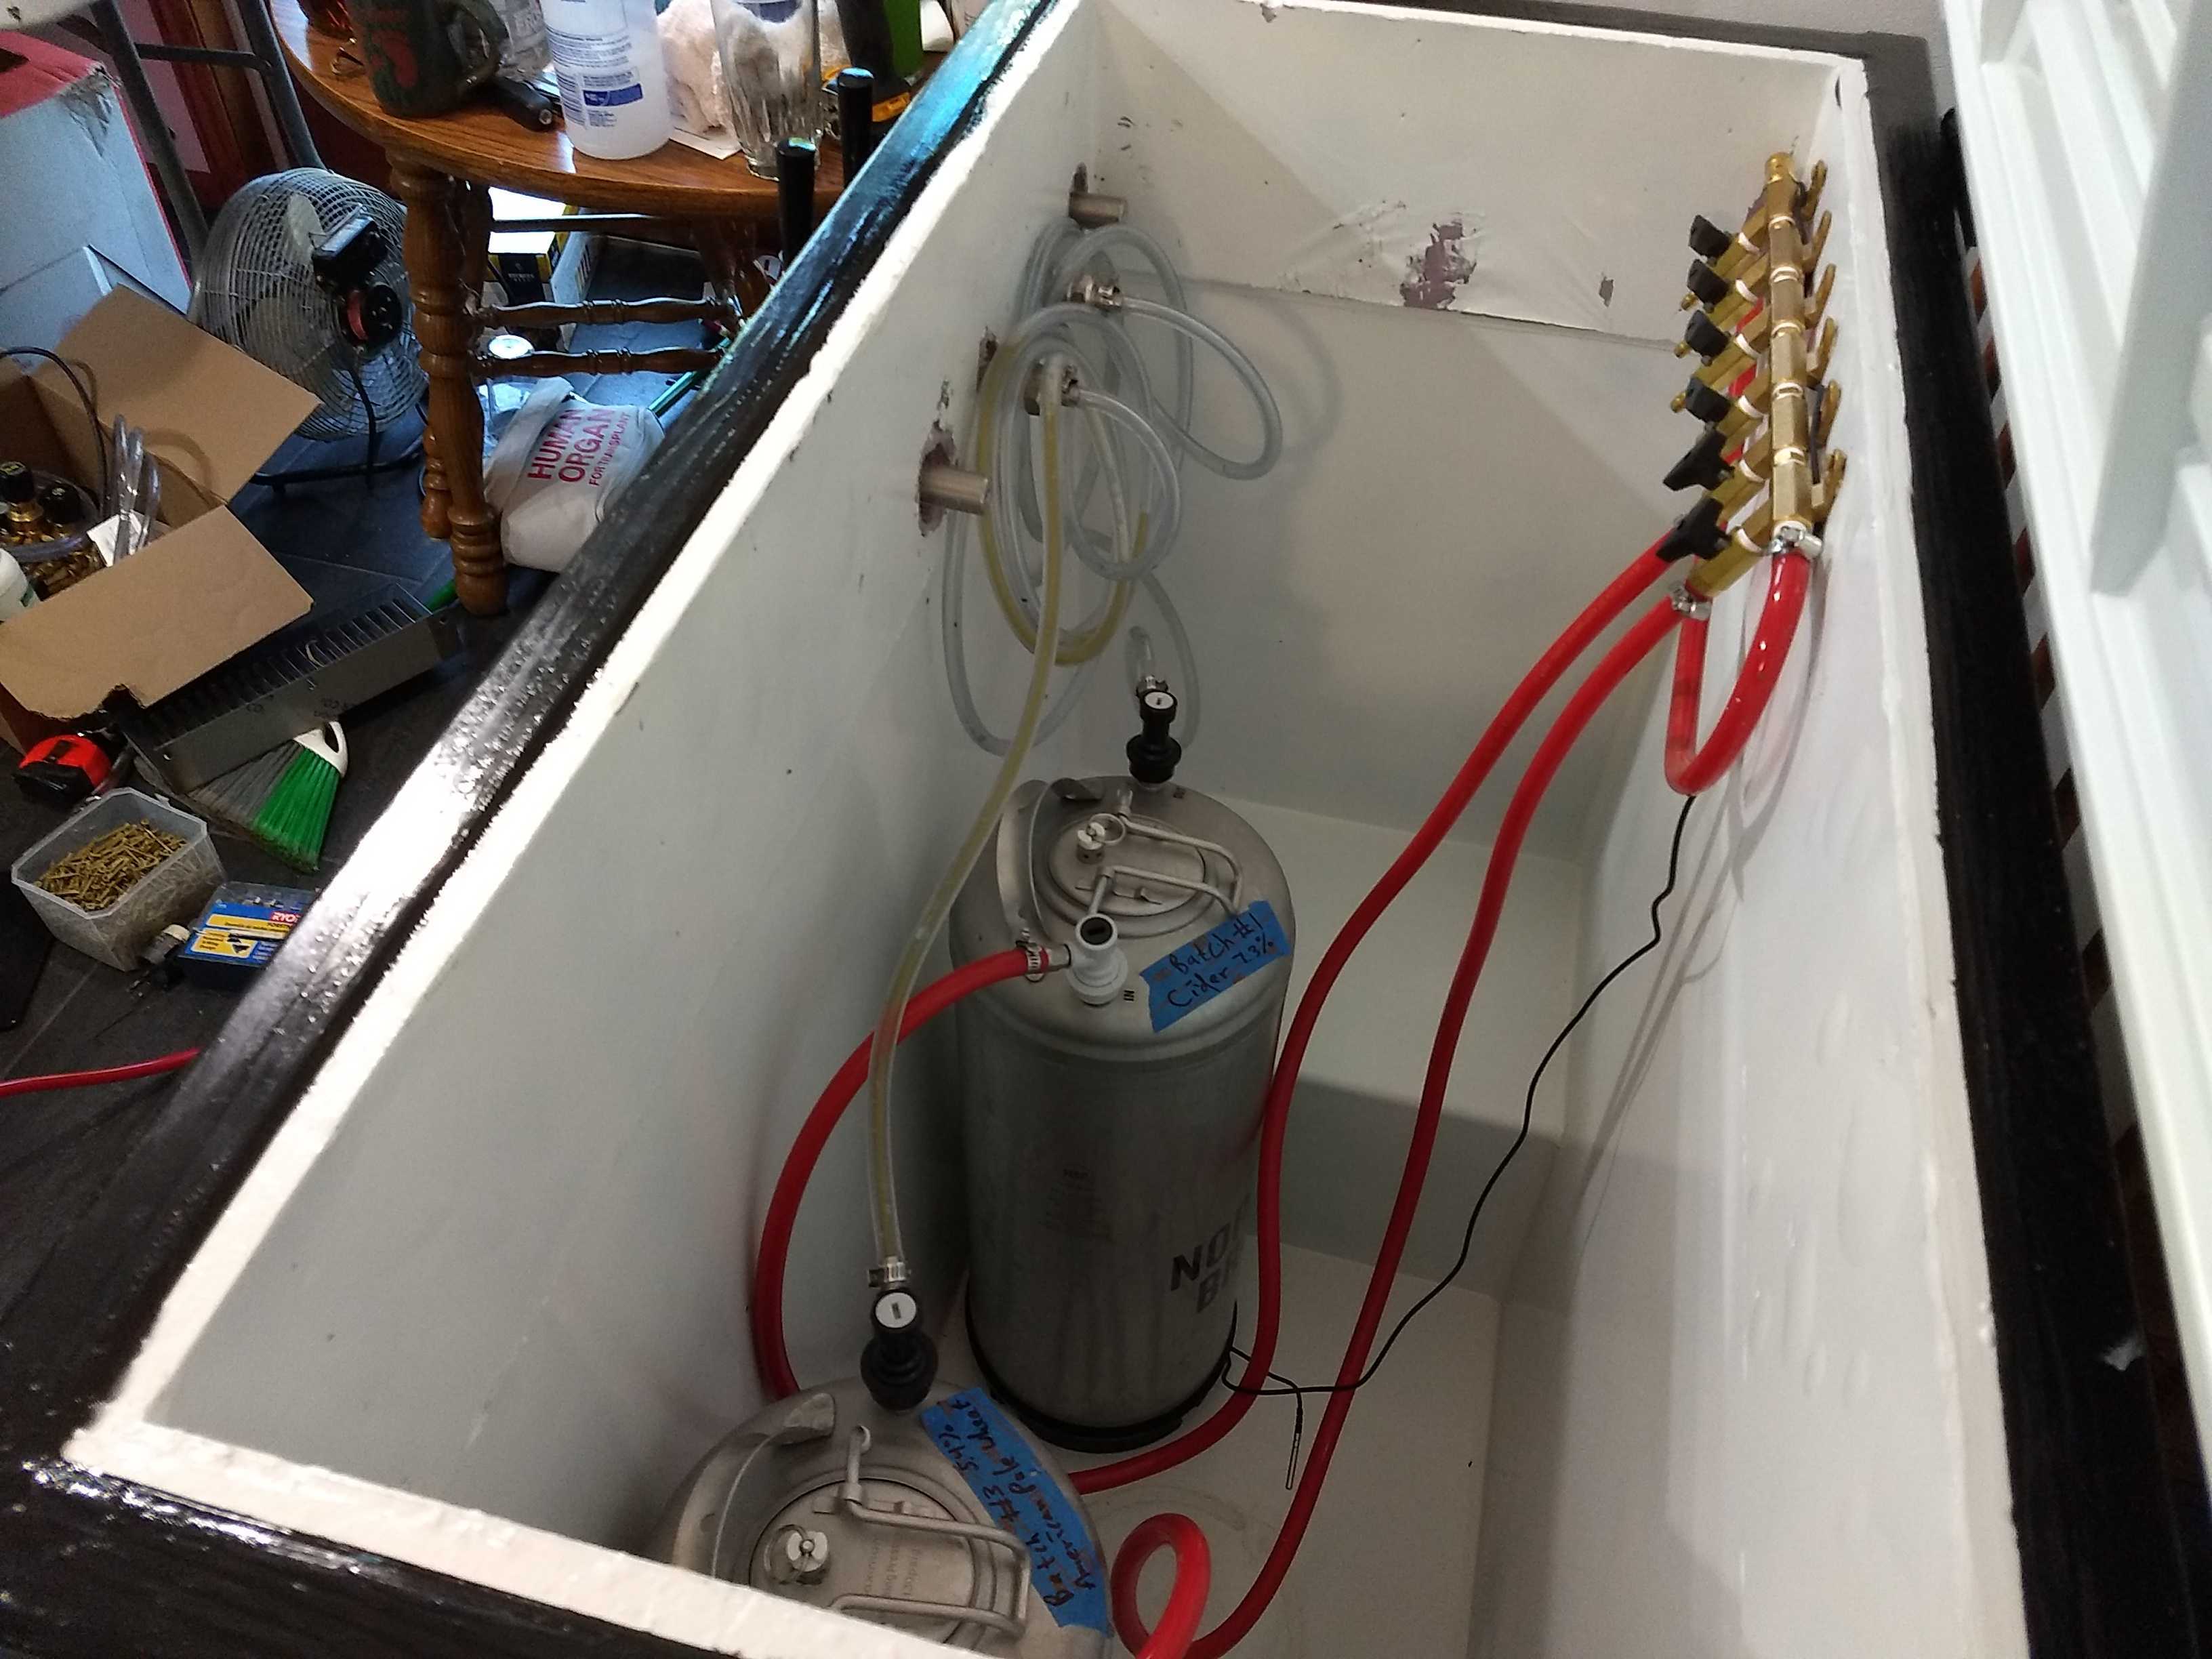
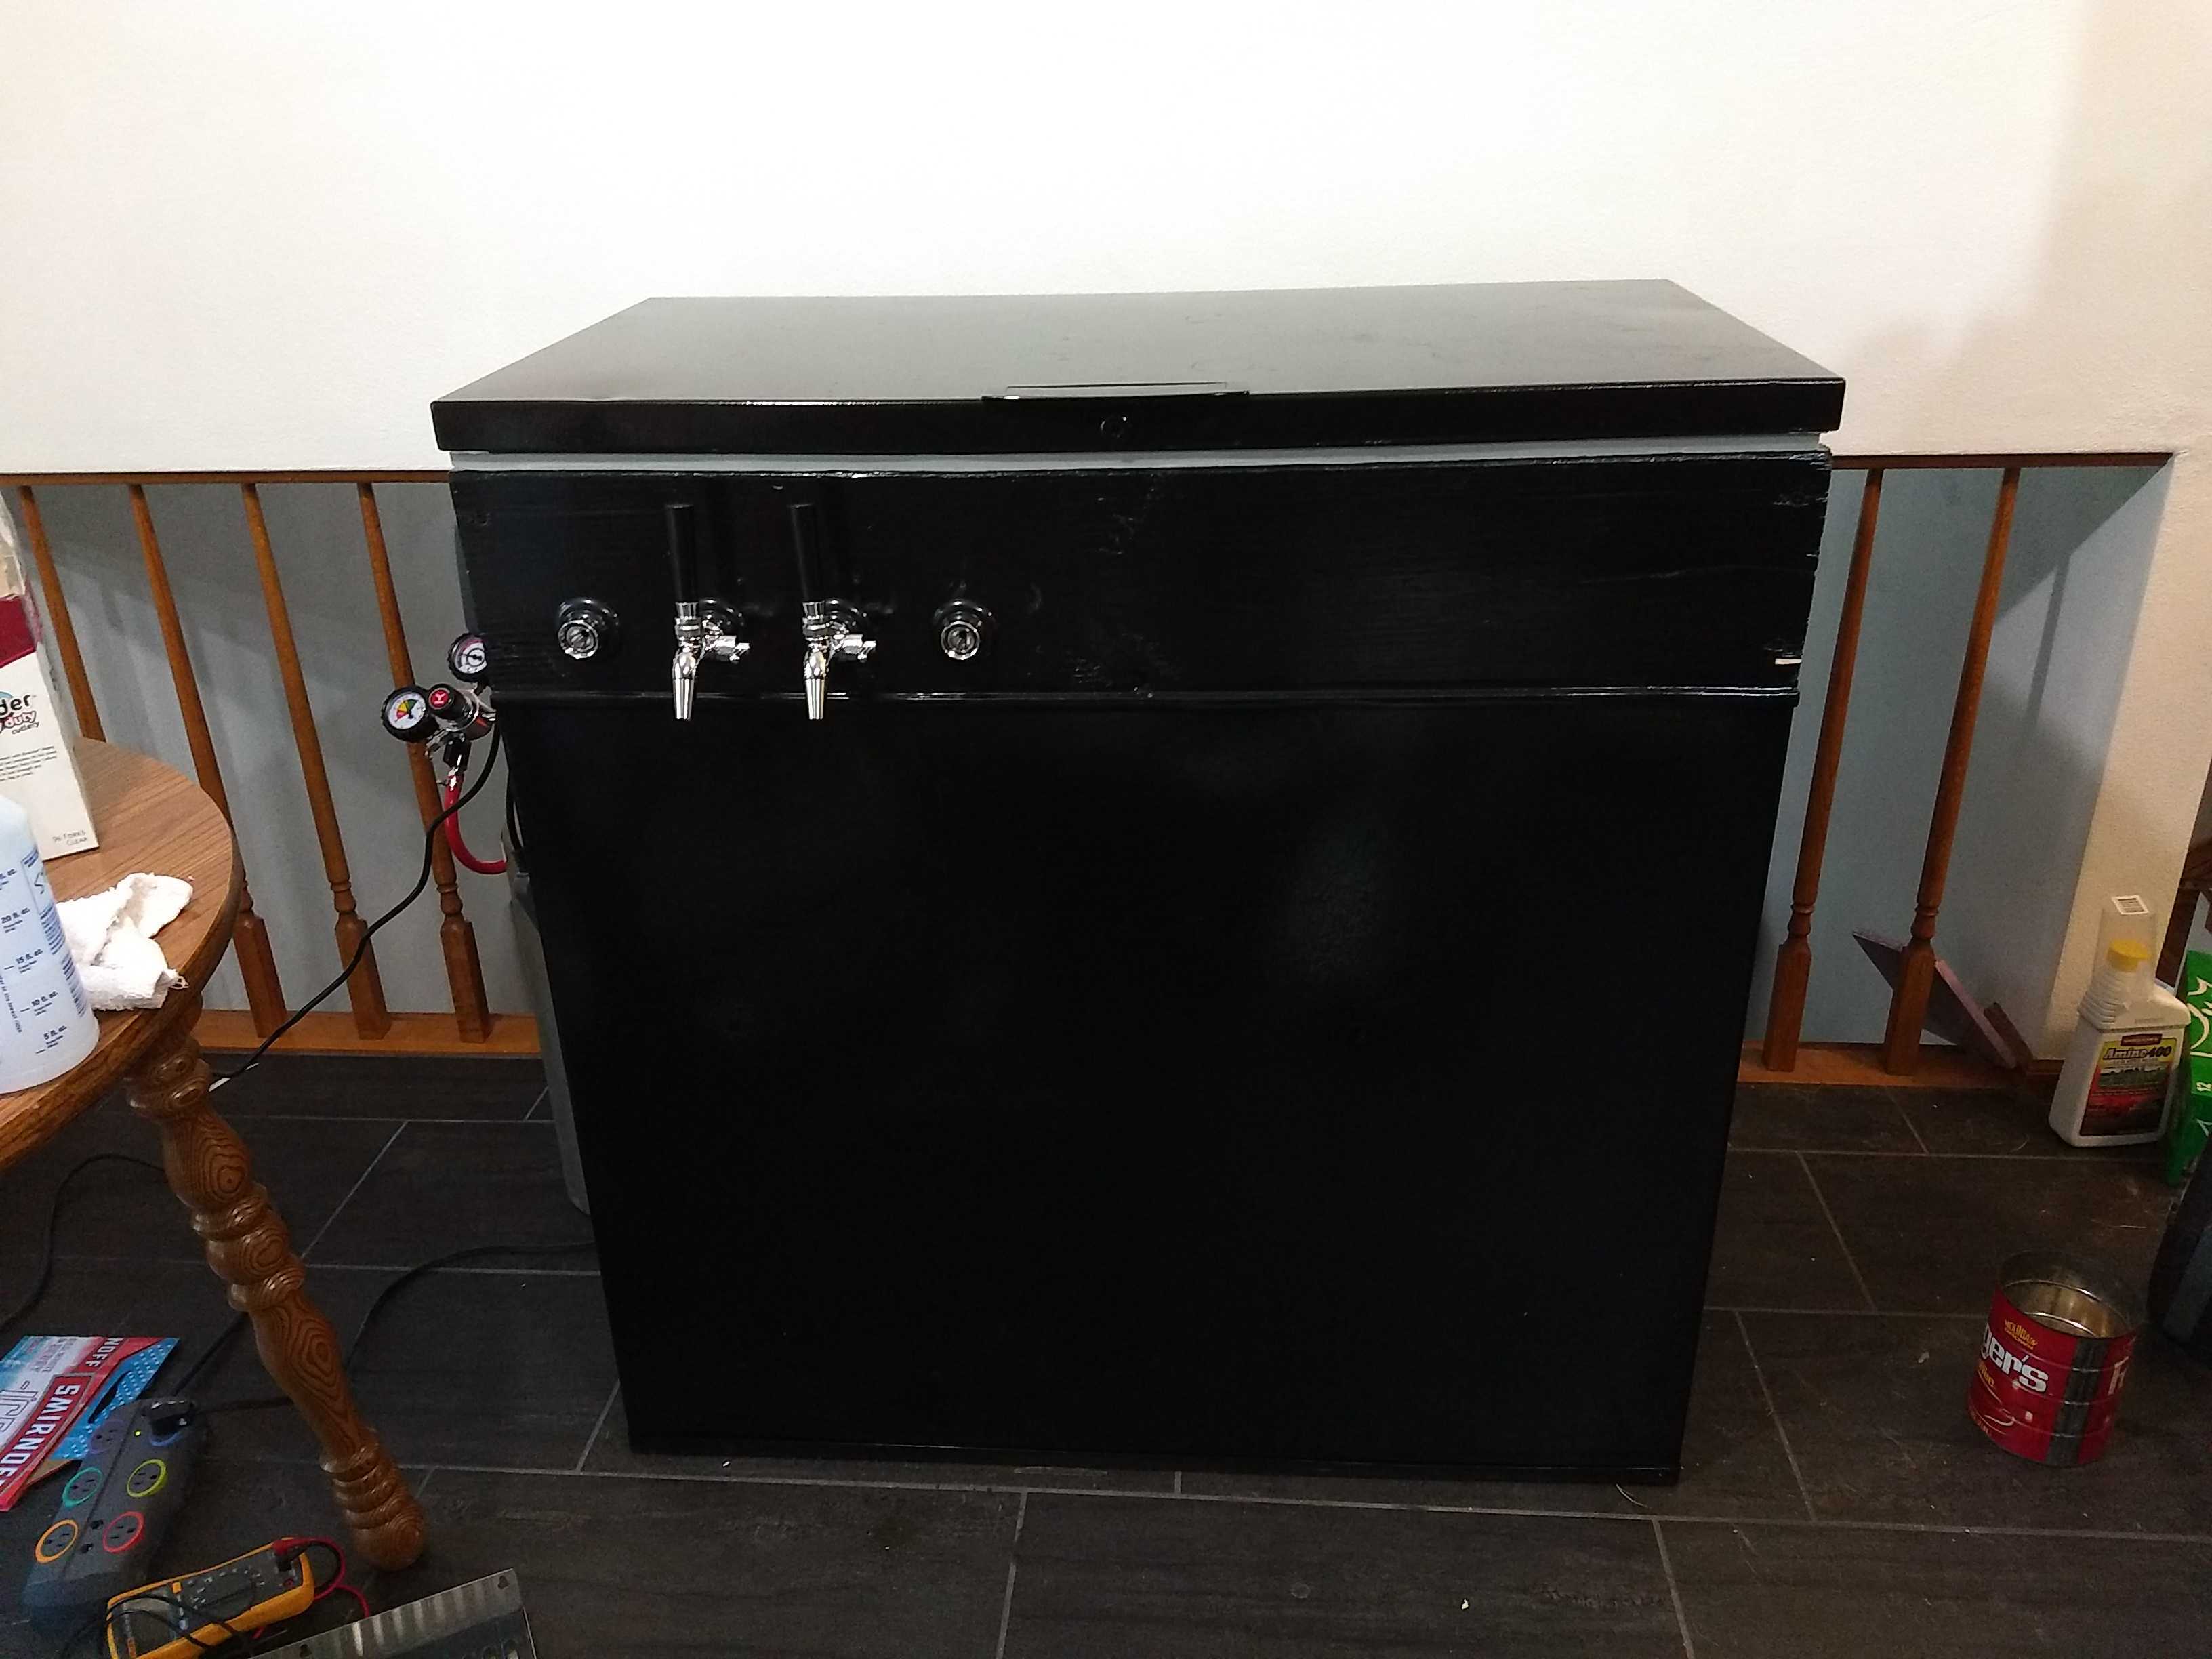
The kreezer had room for 4 or 5 kegs on the floor (can't remember which right now). I had planned 4 faucets total for now, but when I built the collar I went with a 2x8 as that let me put kegs on the compressor hump. That's the first lesson learned, a bit of "scope creep." I was trying to plan ahead for maximum future flexibility. A 2x4 would have been find for faucets, but then I realized a 2x6 would let me put an Ale Pale on the hump for cold crashing if I wanted and then a 2x8 would allow me to put a keg on the hump. But this also meant that I now had to lift kegs over a full 40" high ledge, which isn't terrible but isn't fun either, even if I am 6'05". Also I realized I essentially could no longer reach the bottom to wipe up condensation or spills, which wasn't great either.
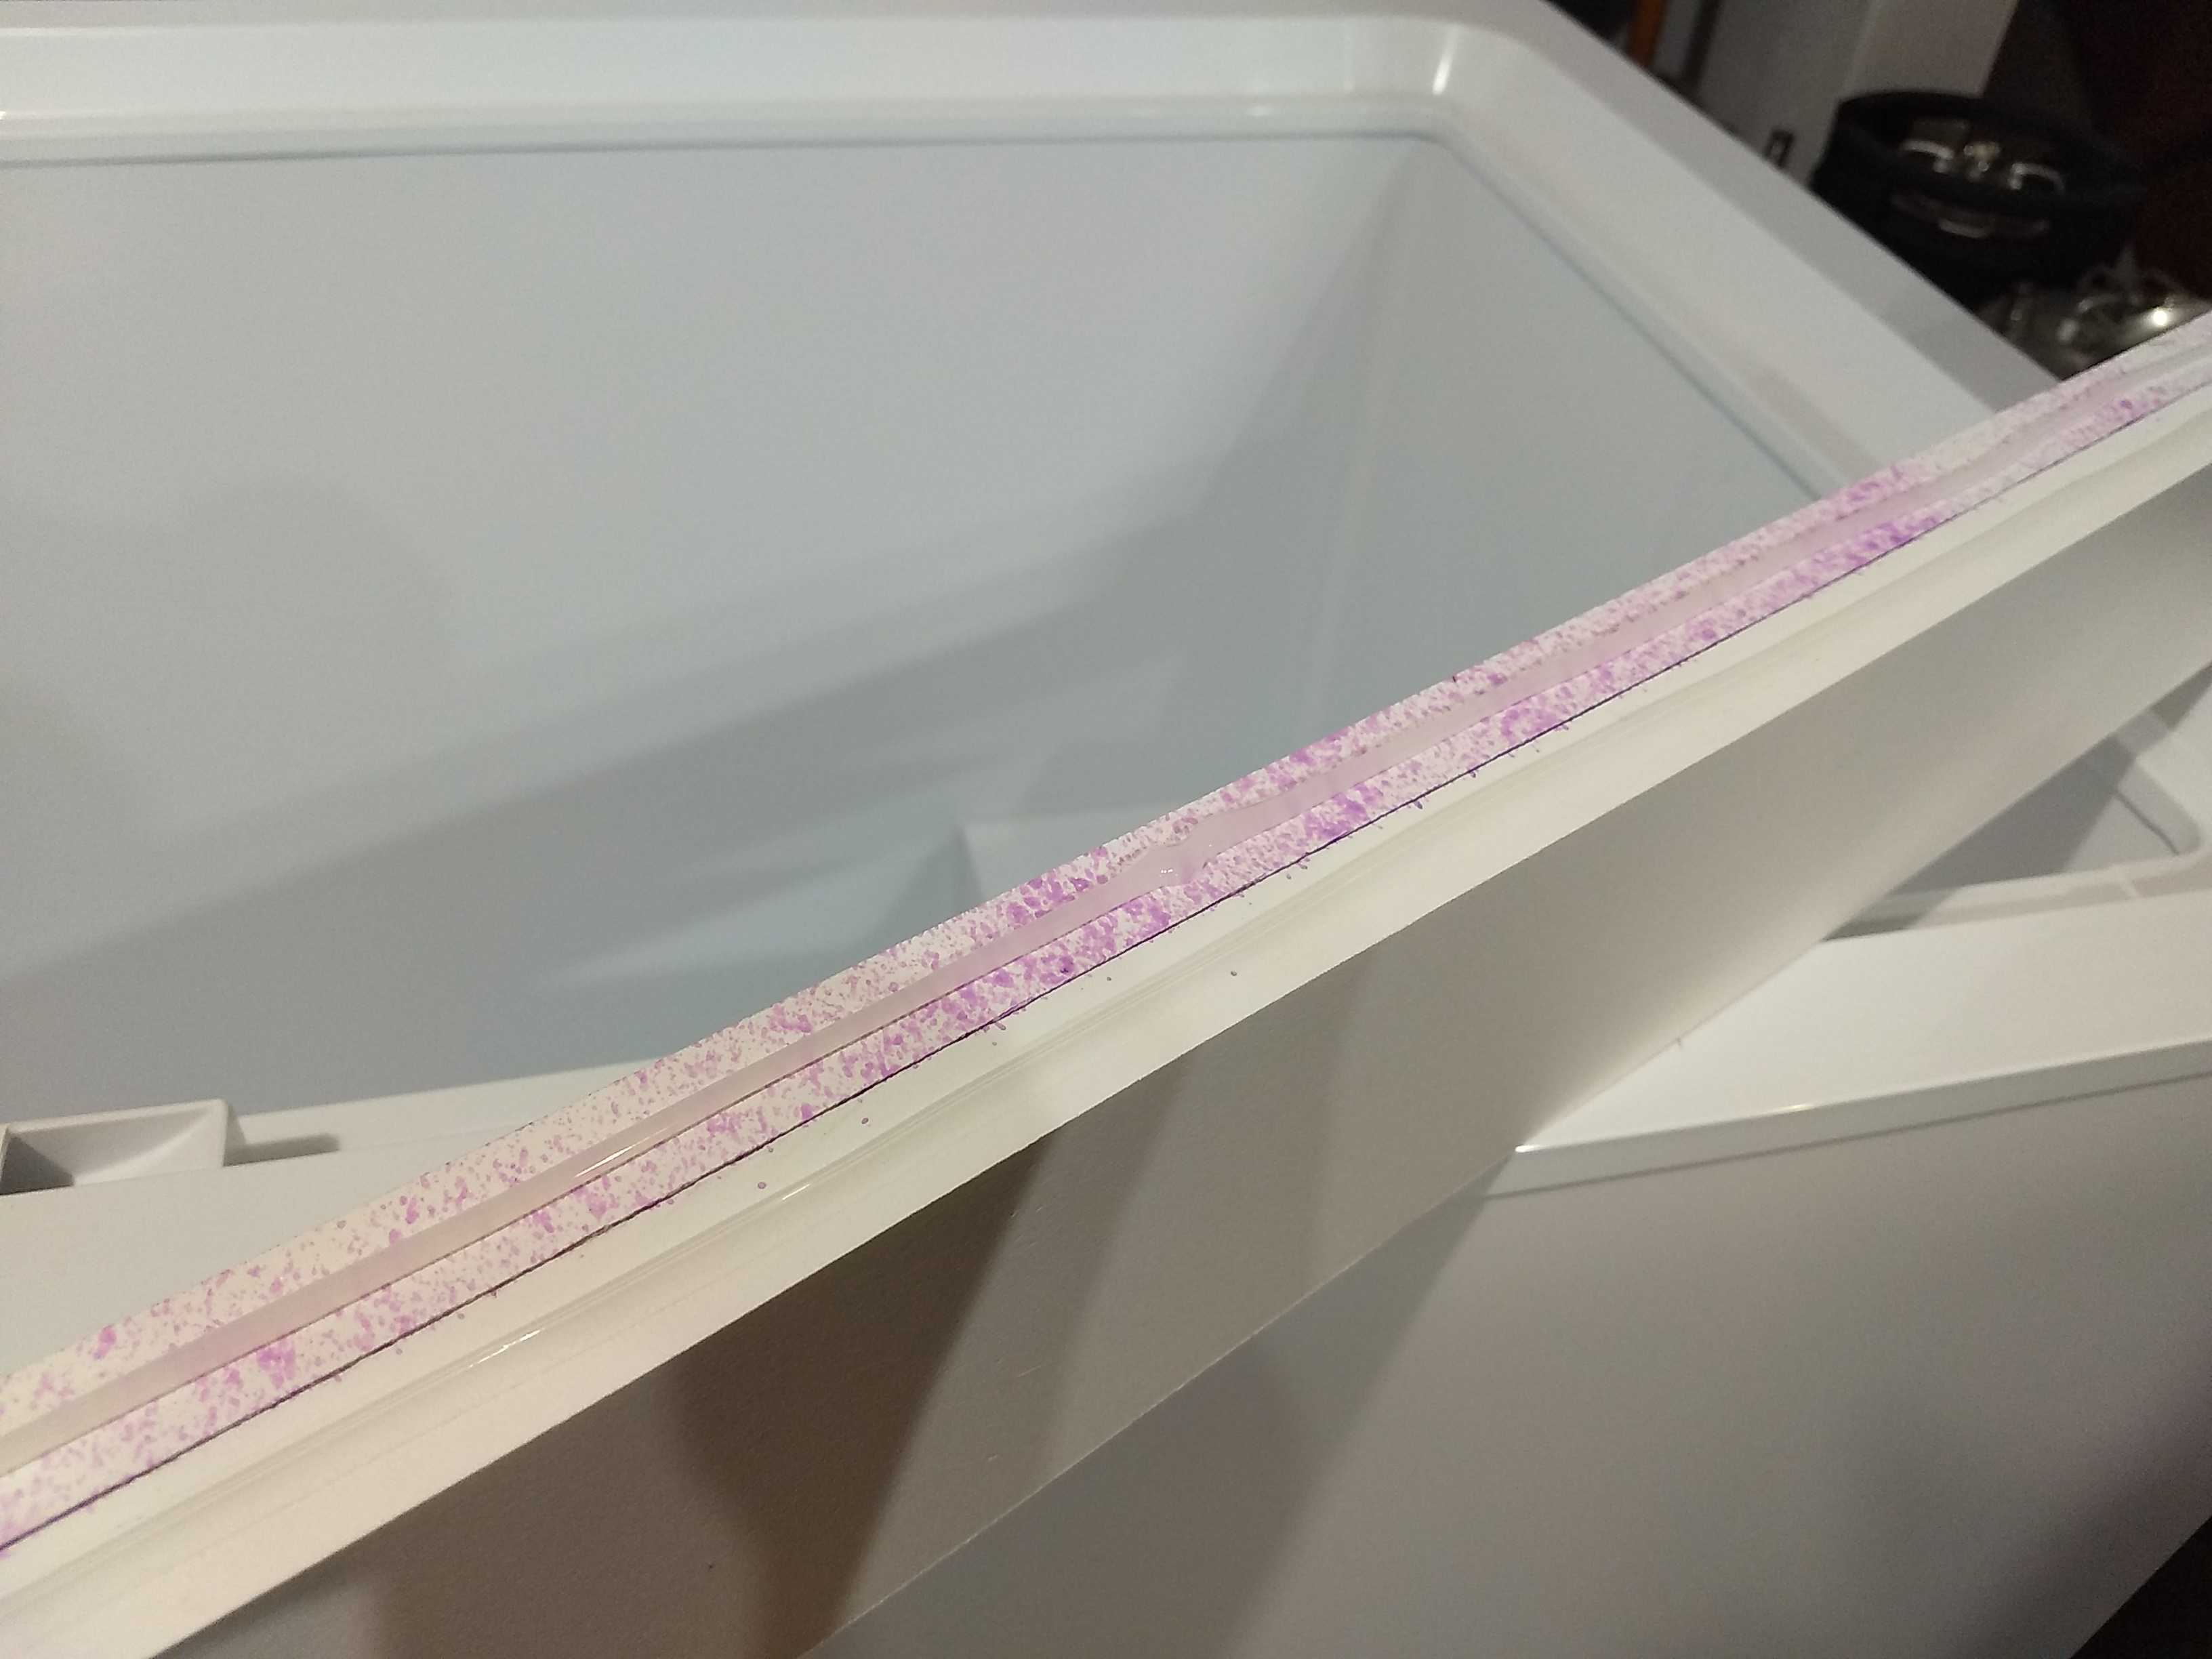
Second thing is painting. The paint on the outside is good, but the paint on the foam insulation started reacting to the foam a little bit and flakes off super easy. And the paint inside the kreezer is also peeling. I probably didn't let it dry enough before cooling and it didn't fully cure. I painted that cause there was some rust on the old freezer, but in hindsight painting the inside was not a great choice.
Thirdly was using such an old freezer. Even though it was free, that doesn't mean it's a good idea. This is a lesson I keep teaching myself... I can't remember exact numbers but when running it pulls about twice the current my 2010 era Whirlpool 14 cubic foot chest freezer does, and the walls are pitifully thin compared to modern freezer walls. Just look at the pictures, the 2x8 plus 1/2" foam board is thicker than the actual freezer walls, so it warms up quick and needs to run more often. If I remember somewhat correctly it used over twice the energy (kWh per day) to maintain 38 °F that my larger but newer Whirlpool freezer did to maintain 0 °F. So after a few years it's likely the extra electricity used will pay for a new, better insulated model.
Oh, and the final lesson was don't be an idiot. The starting relay died. I searched for a new model relay, found what I THOUGHT was the right relay, and ordered it. I then took apart the old relay to see what failed and then threw it away BEFORE THE NEW ONE CAME. Got the new one and it wasn't the right model, but because I threw away the old one I couldn't get the part number to do another search for the right relay. I rigged up a switch that let me manually start the kreezer but I had to manually start and stop it so it only worked for dispensing under close supervision. I intended to get some SSRs and make my own "starting relay" but never got around to it. Eventually I decided we should just get a new freezer, and my wife approved.
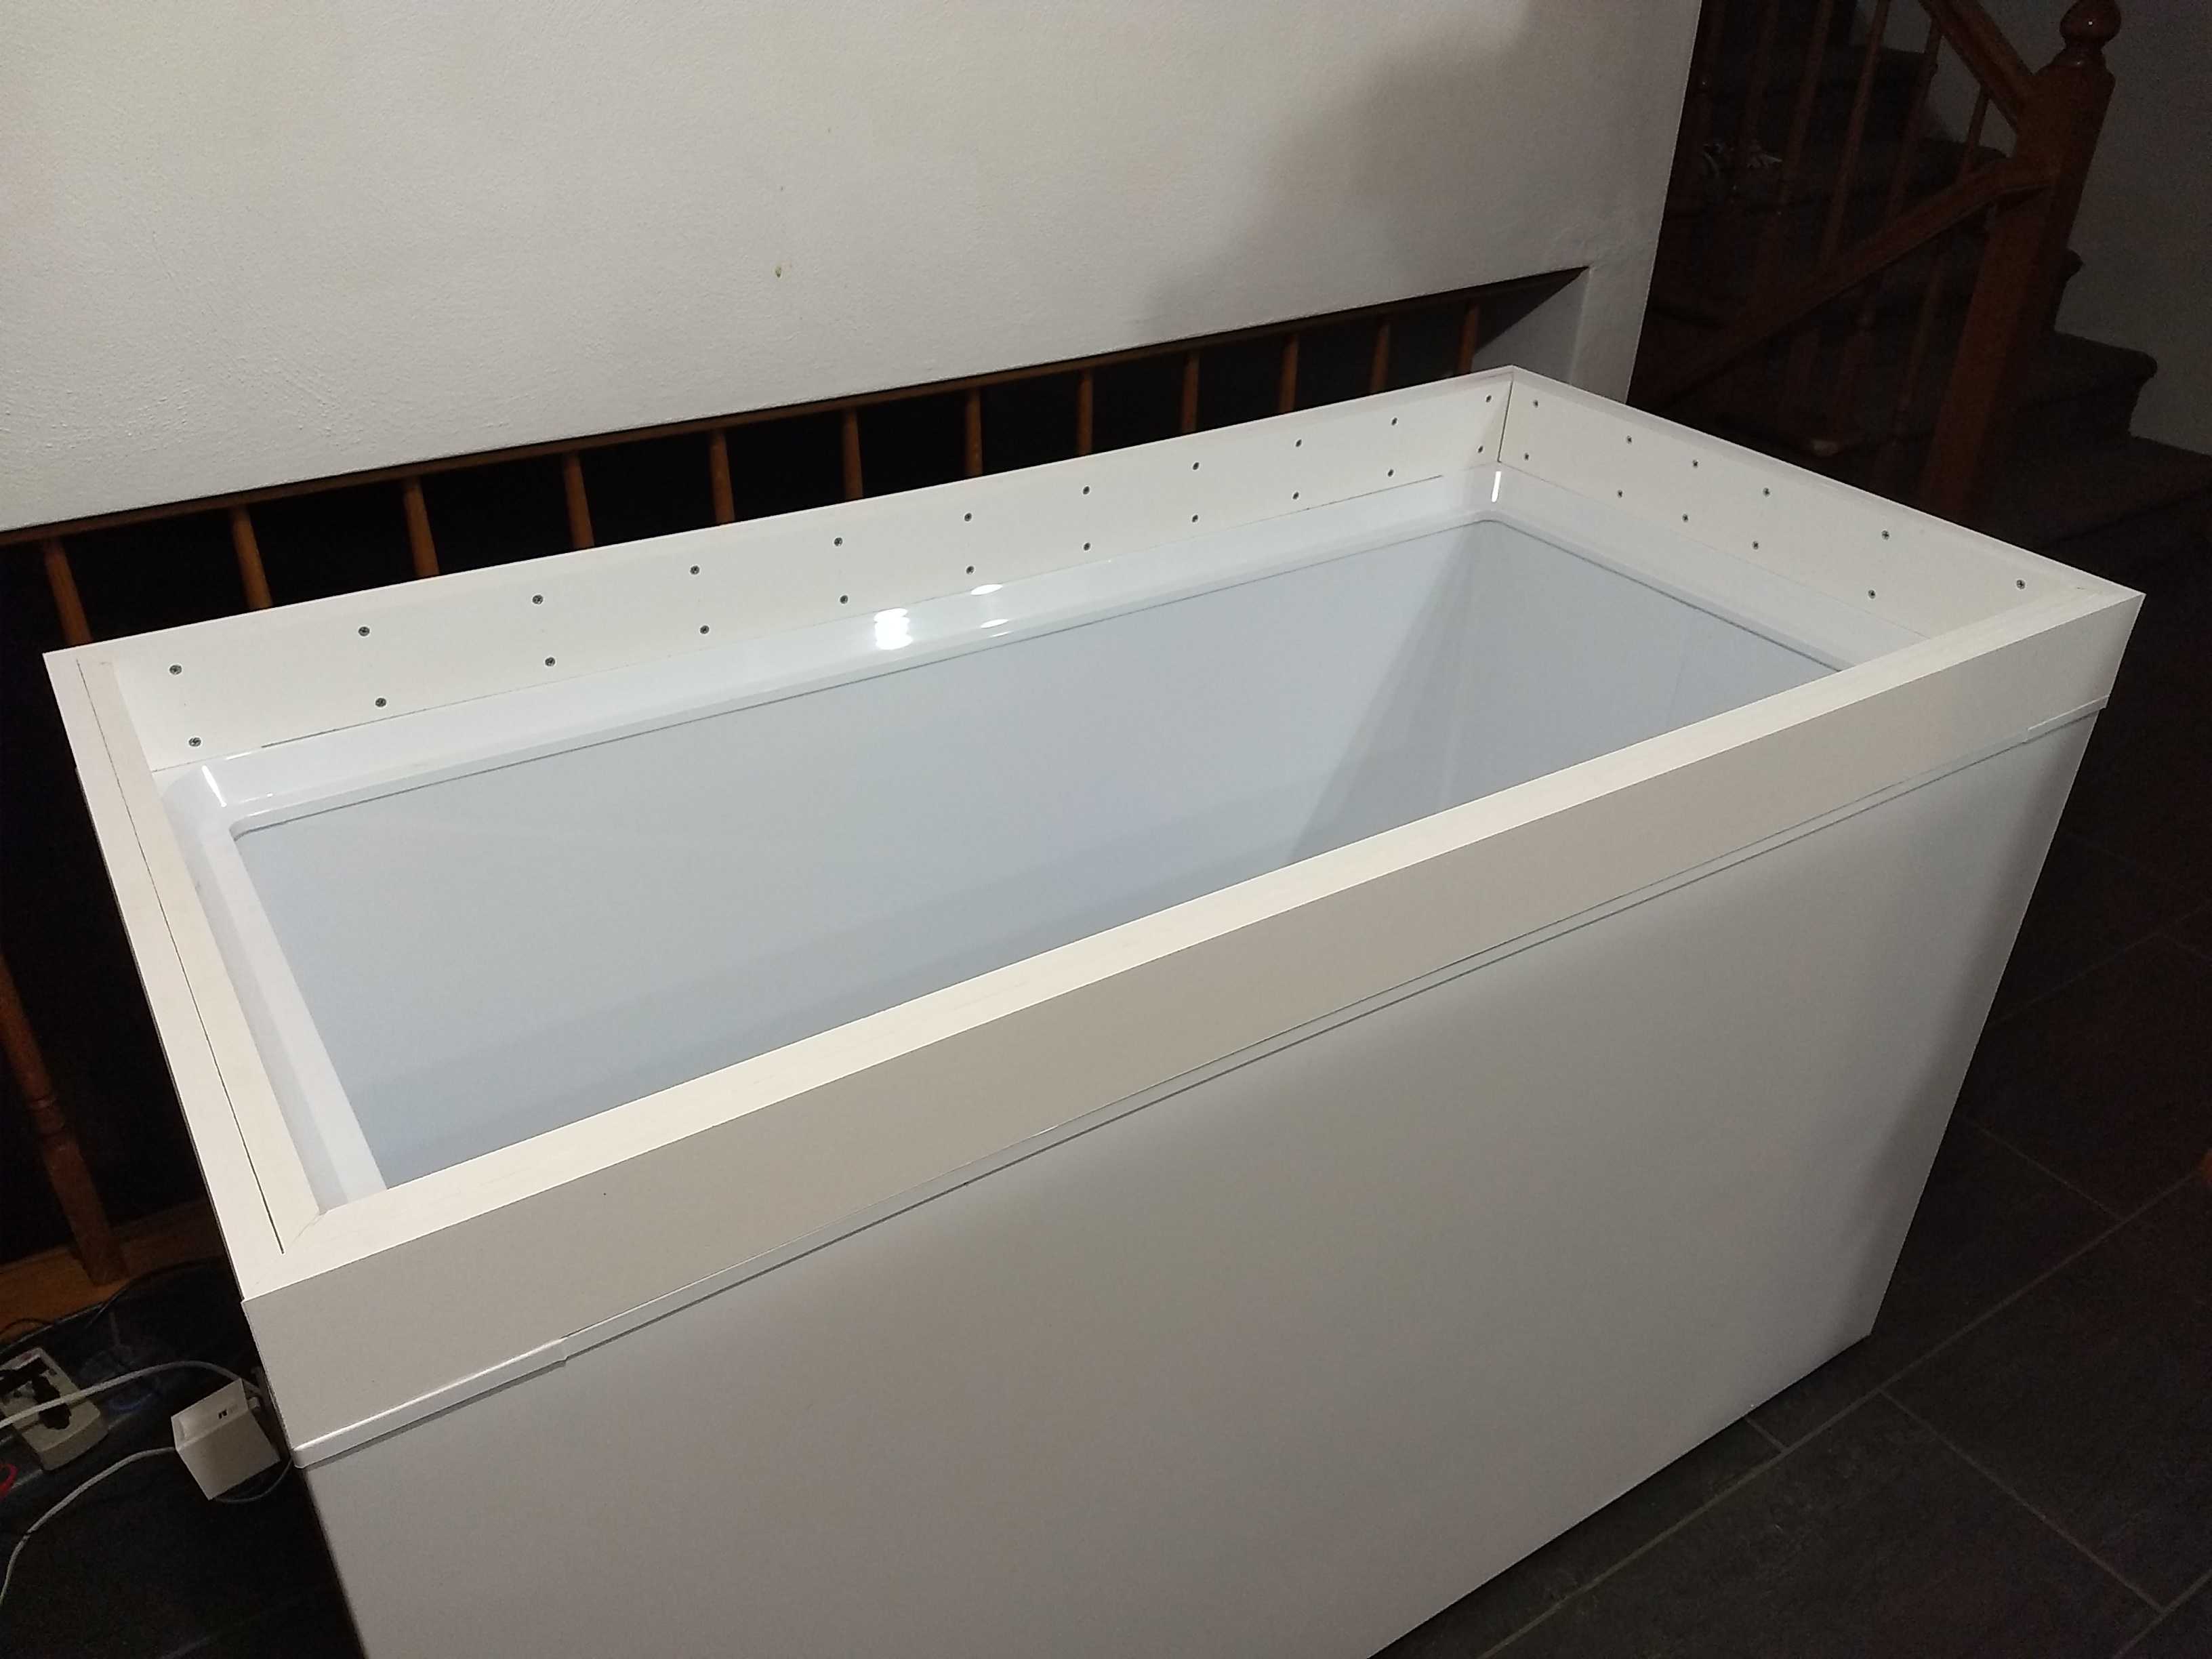
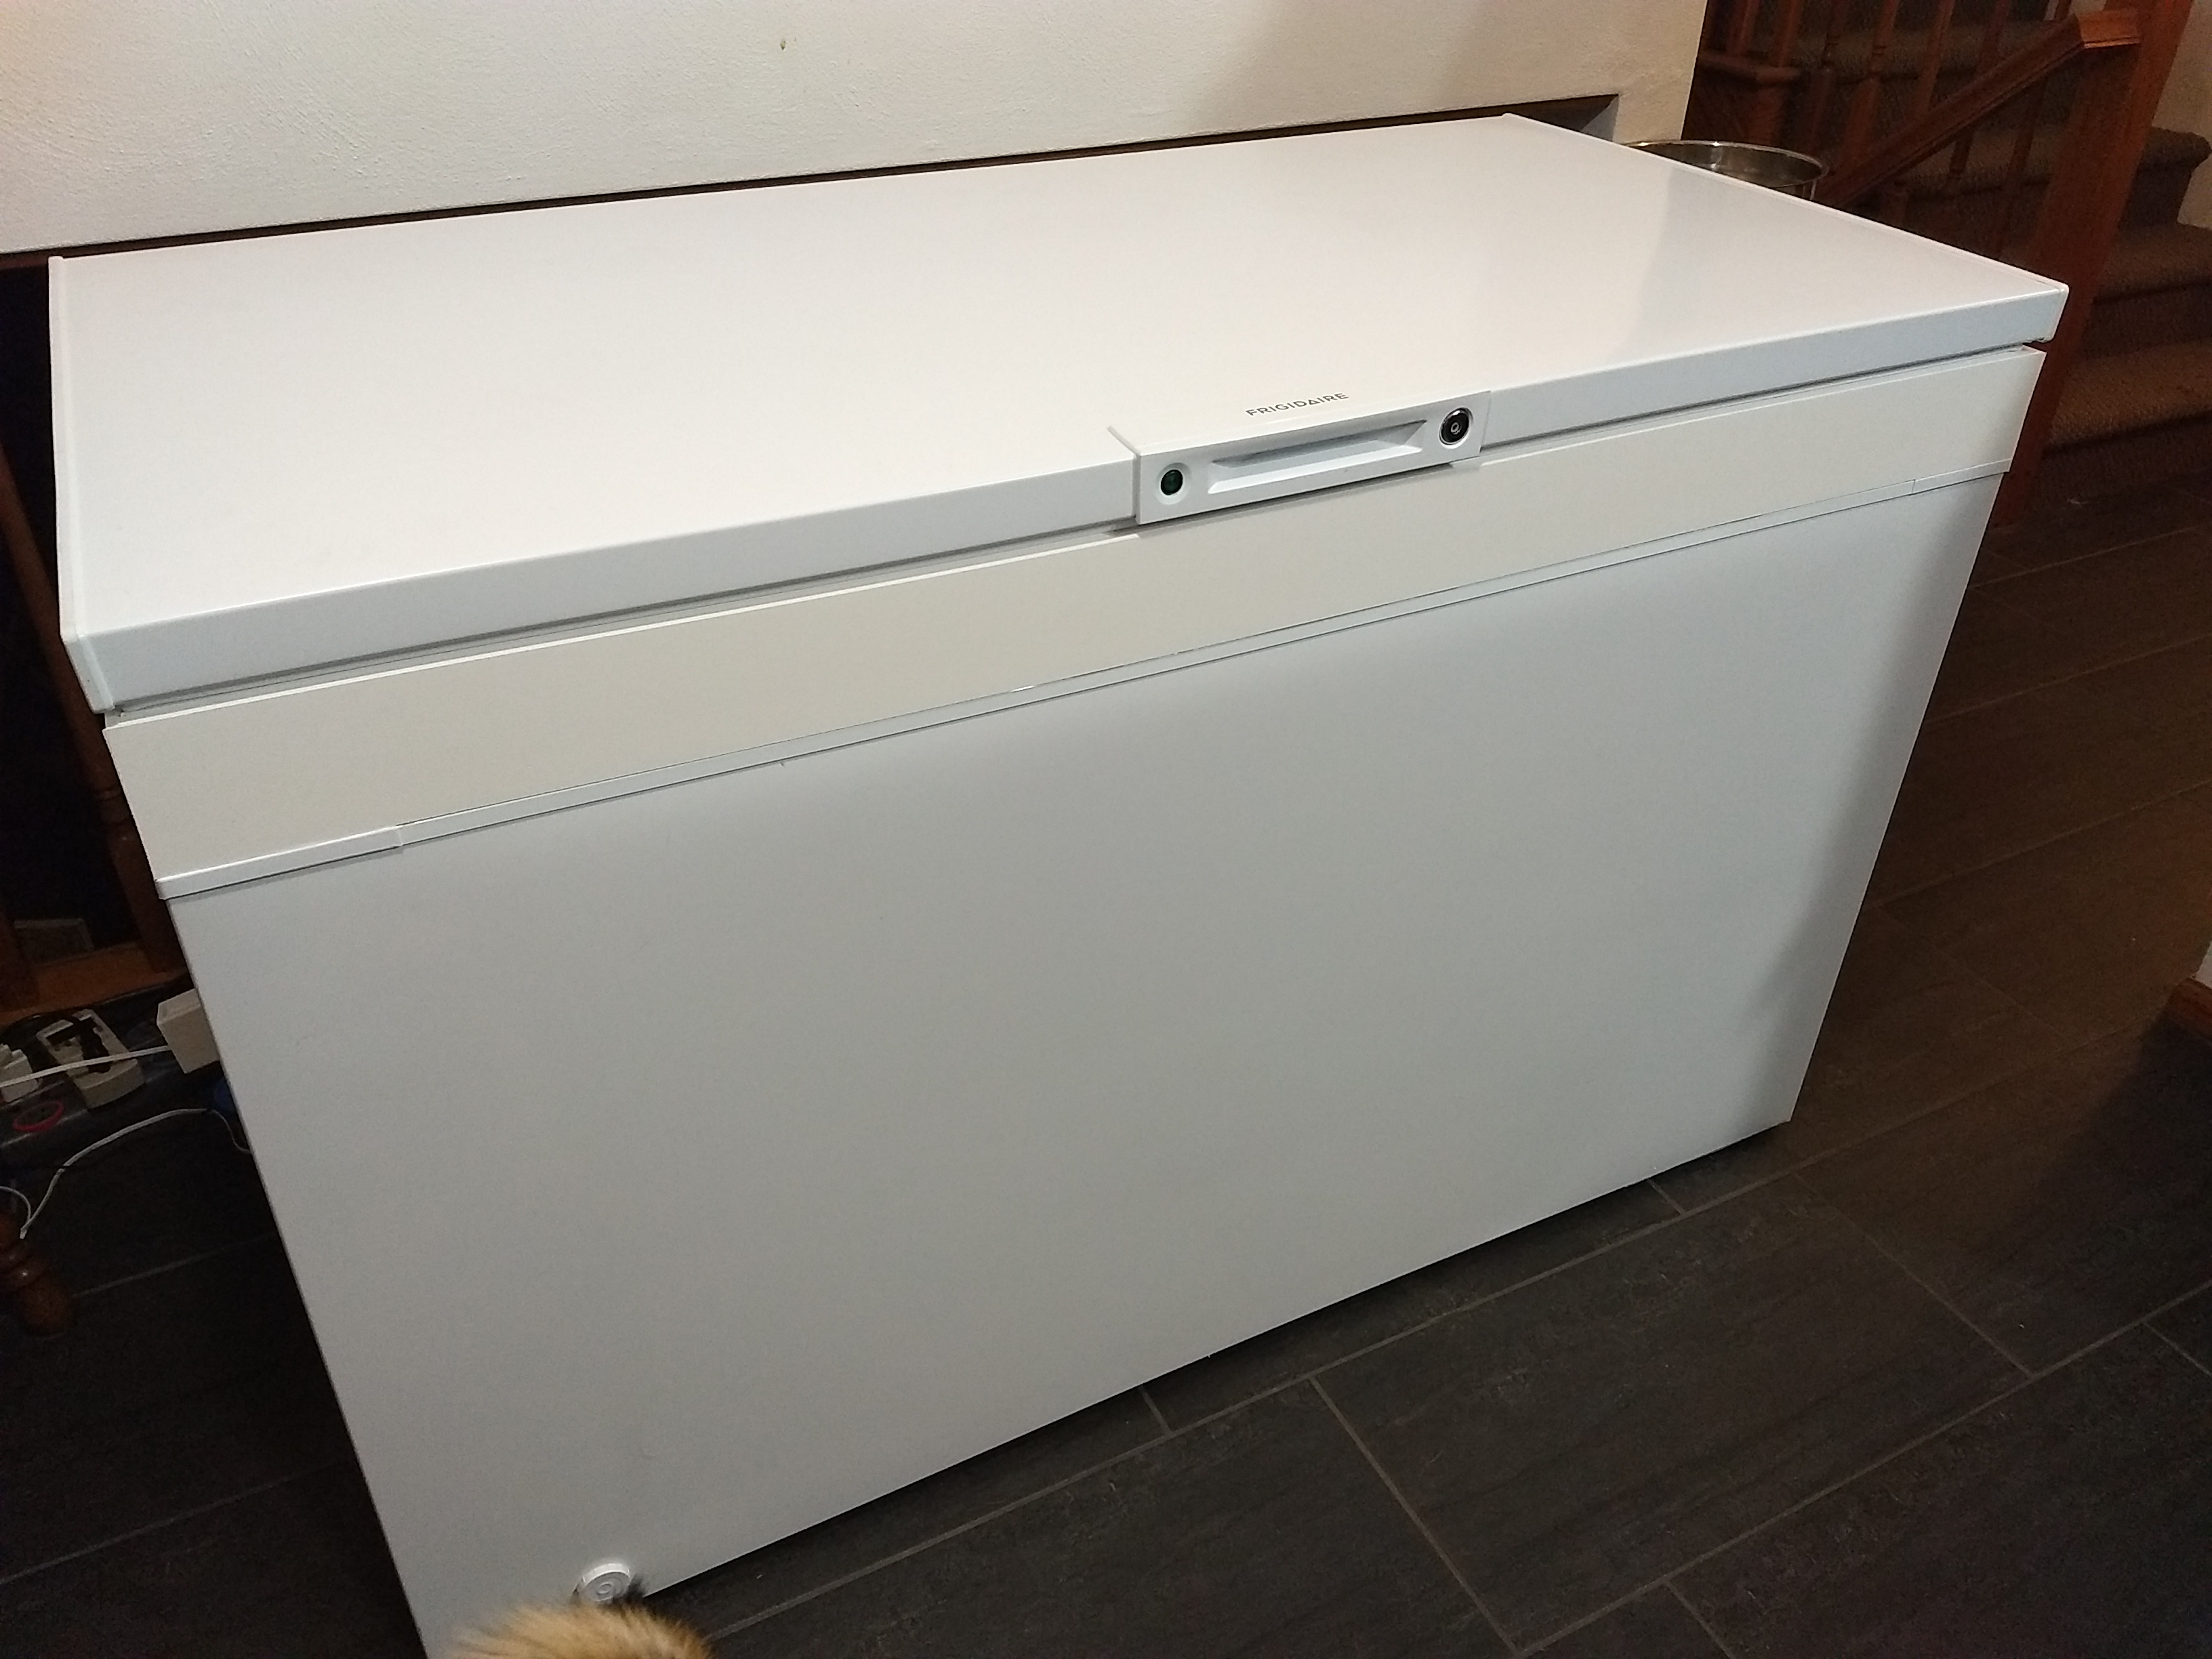
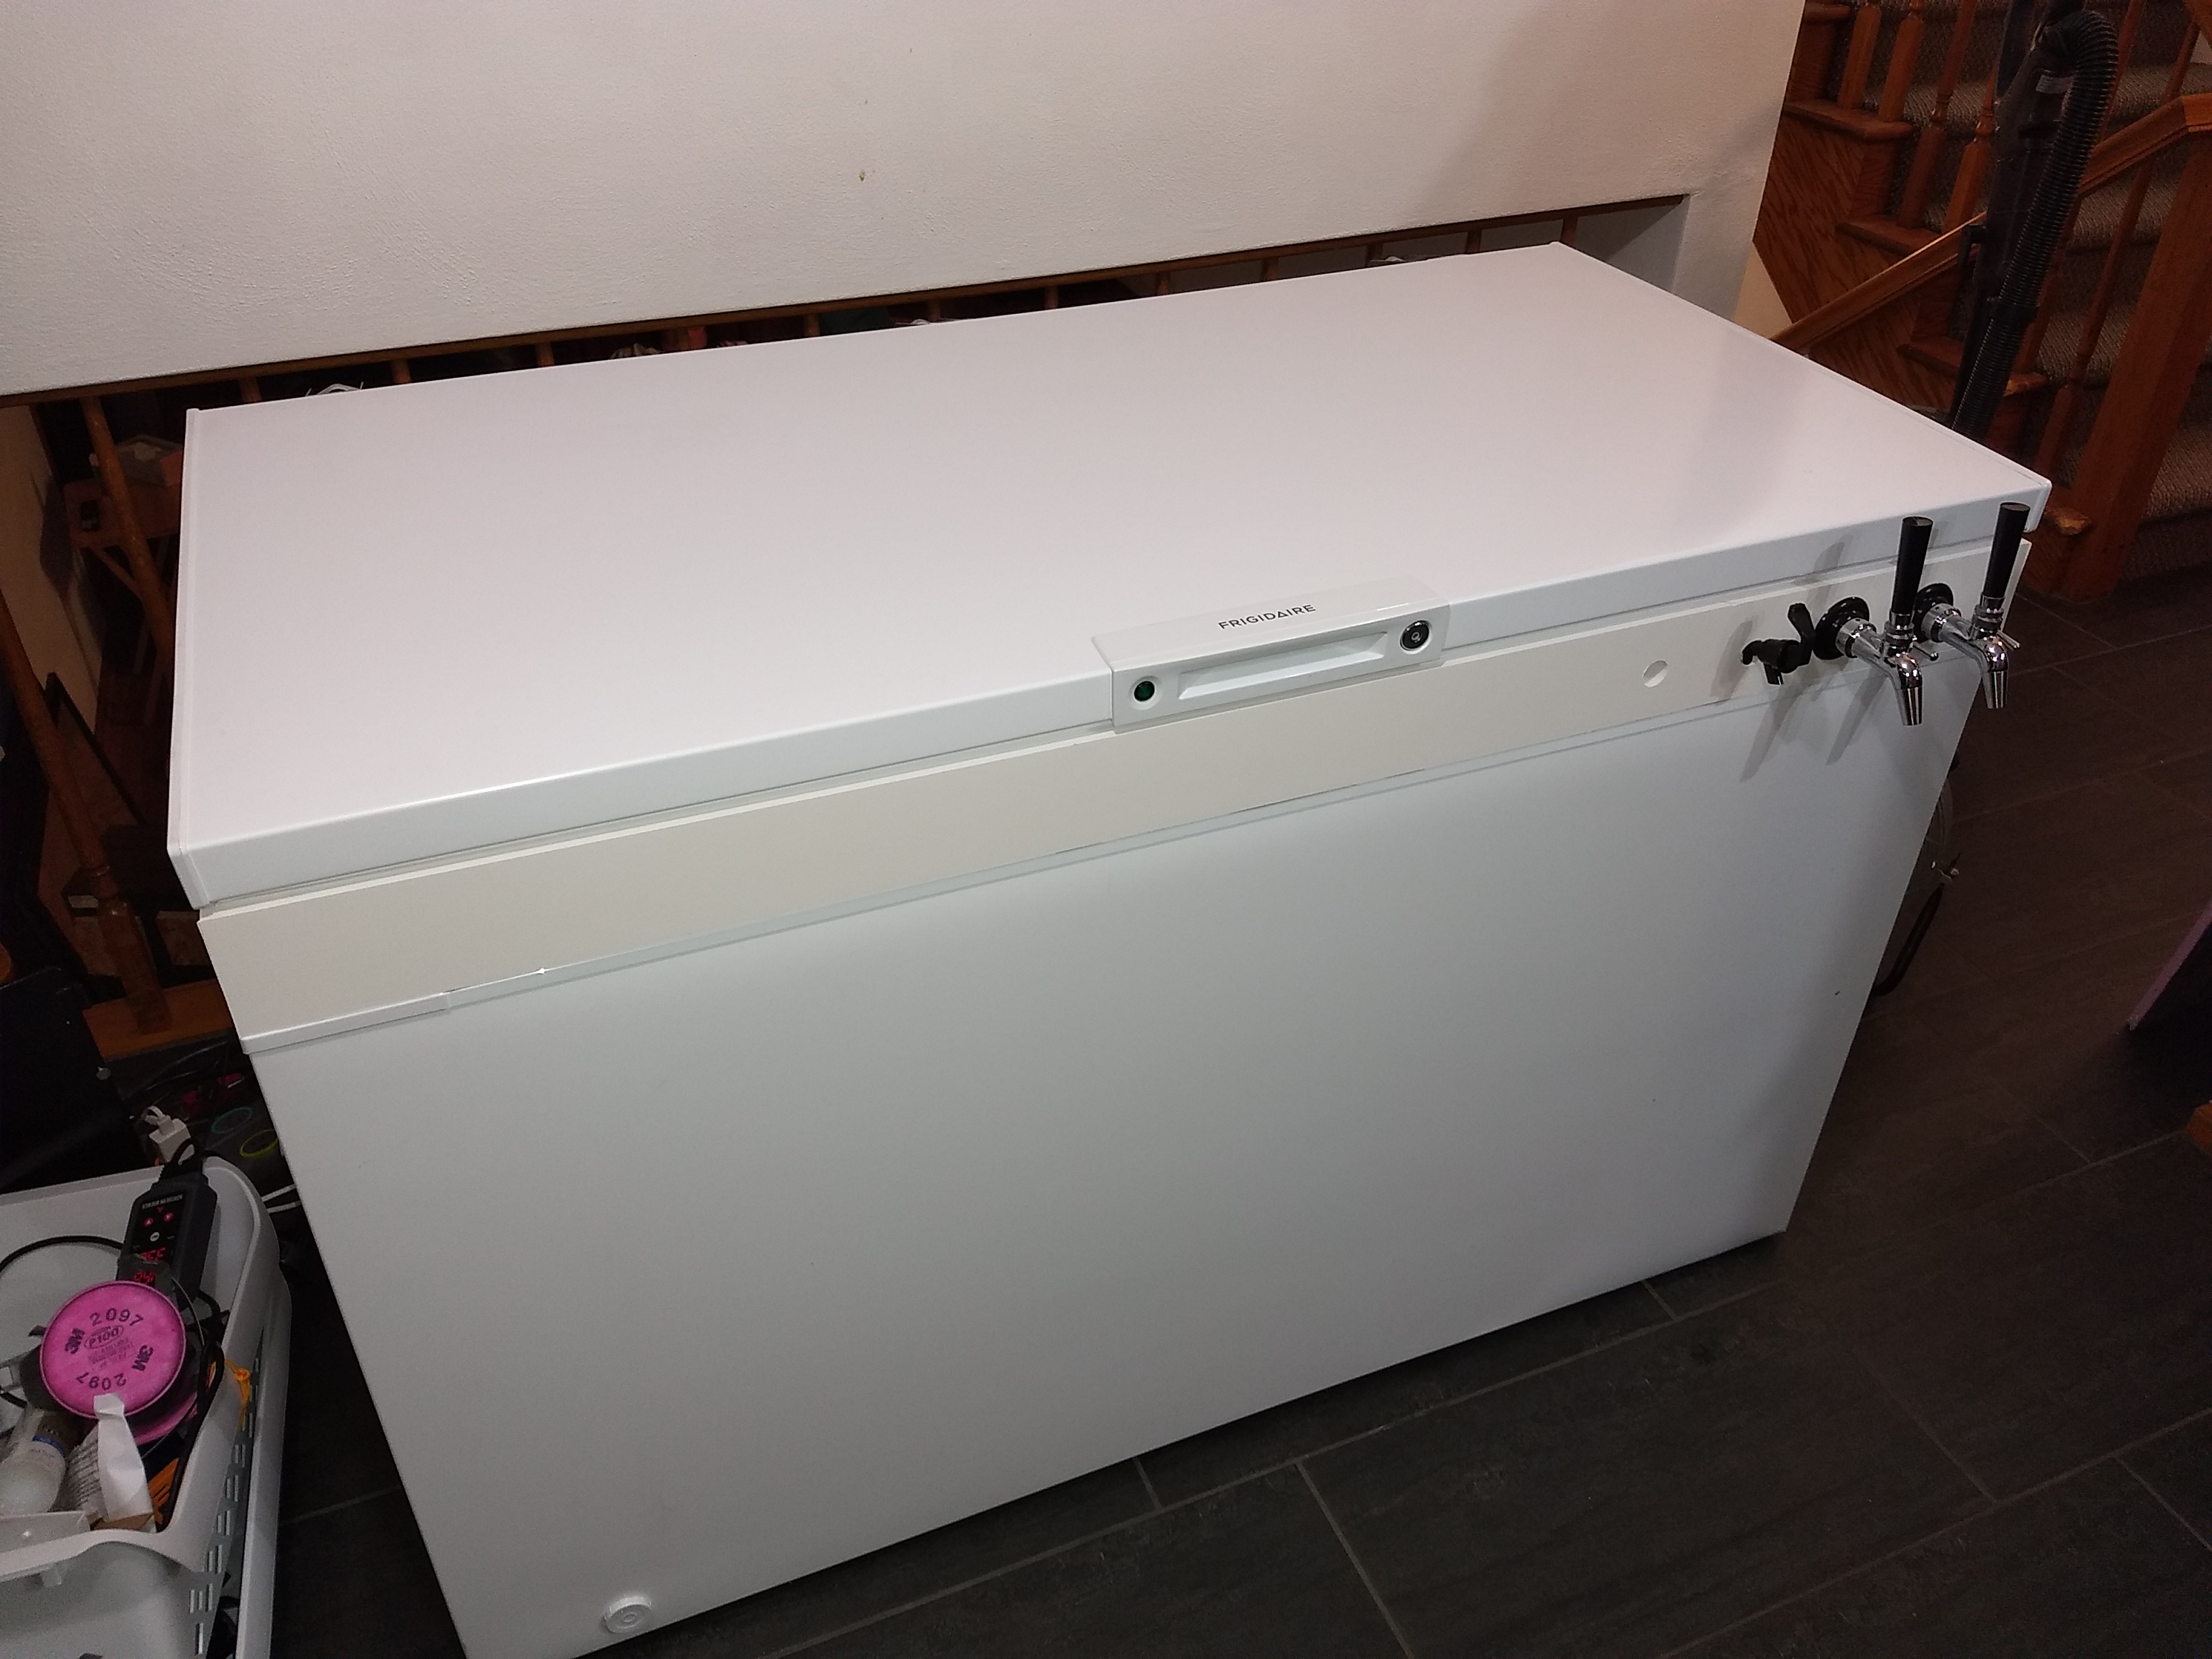
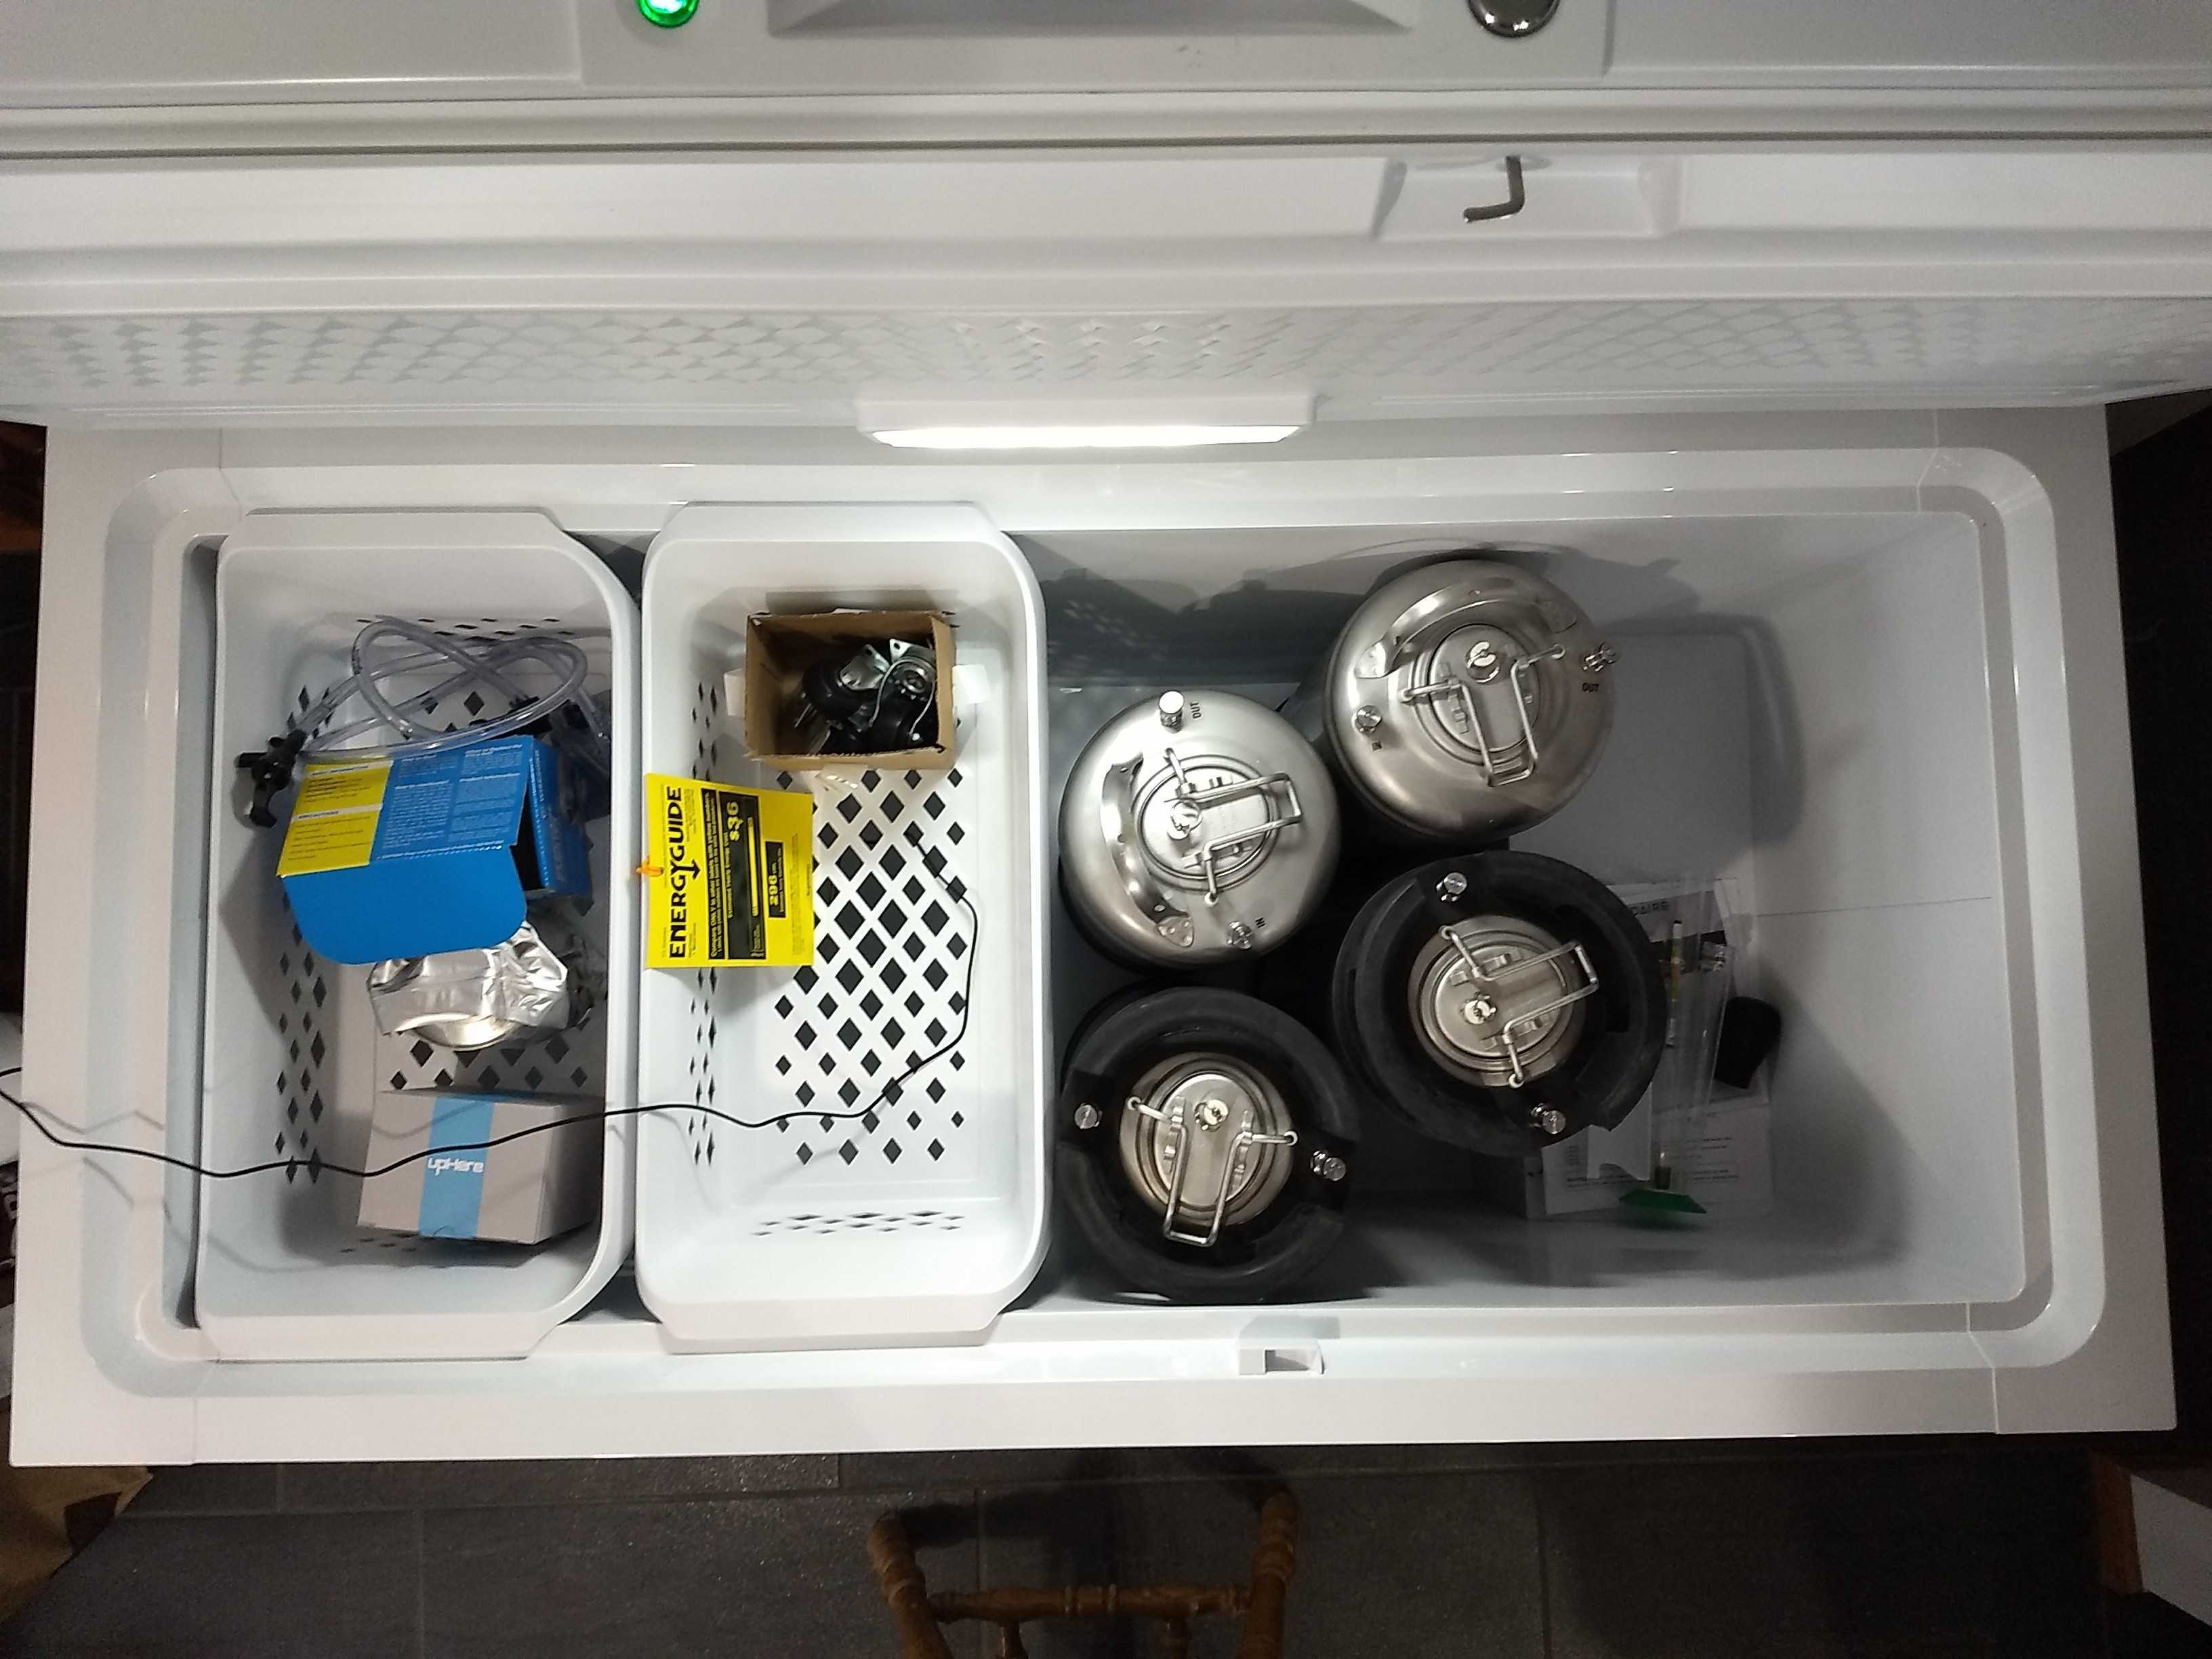
We ordered and just received a Frigidaire FFFC15M4TW 14.8 cubic foot chest freezer for kreezer #2. The idea is plenty of room for kegs without needing to put any on the hump. And I'd also like to put the CO2 tank inside the freezer, where it's more secured from falling and not taking up room outside the freezer. I didn't do that initially cause I heard the "condensation ruins regulators" argument, and later realized that's a non-issue from people who do inside tanks on here. Plus I'll have silica gel on the new build so there shouldn't be any condensation anyway.
Anyway, here is the new freezer. As you can see, lots of room for kegs. At least 8 kegs on the floor, perhaps 10 (I'll try a "keg shuffle" later to figure out the actual number), and if you built a higher collar two more on the hump. But I'm not going to do that, and just use the hump for bottled or canned beer storage, and keep the collar short.
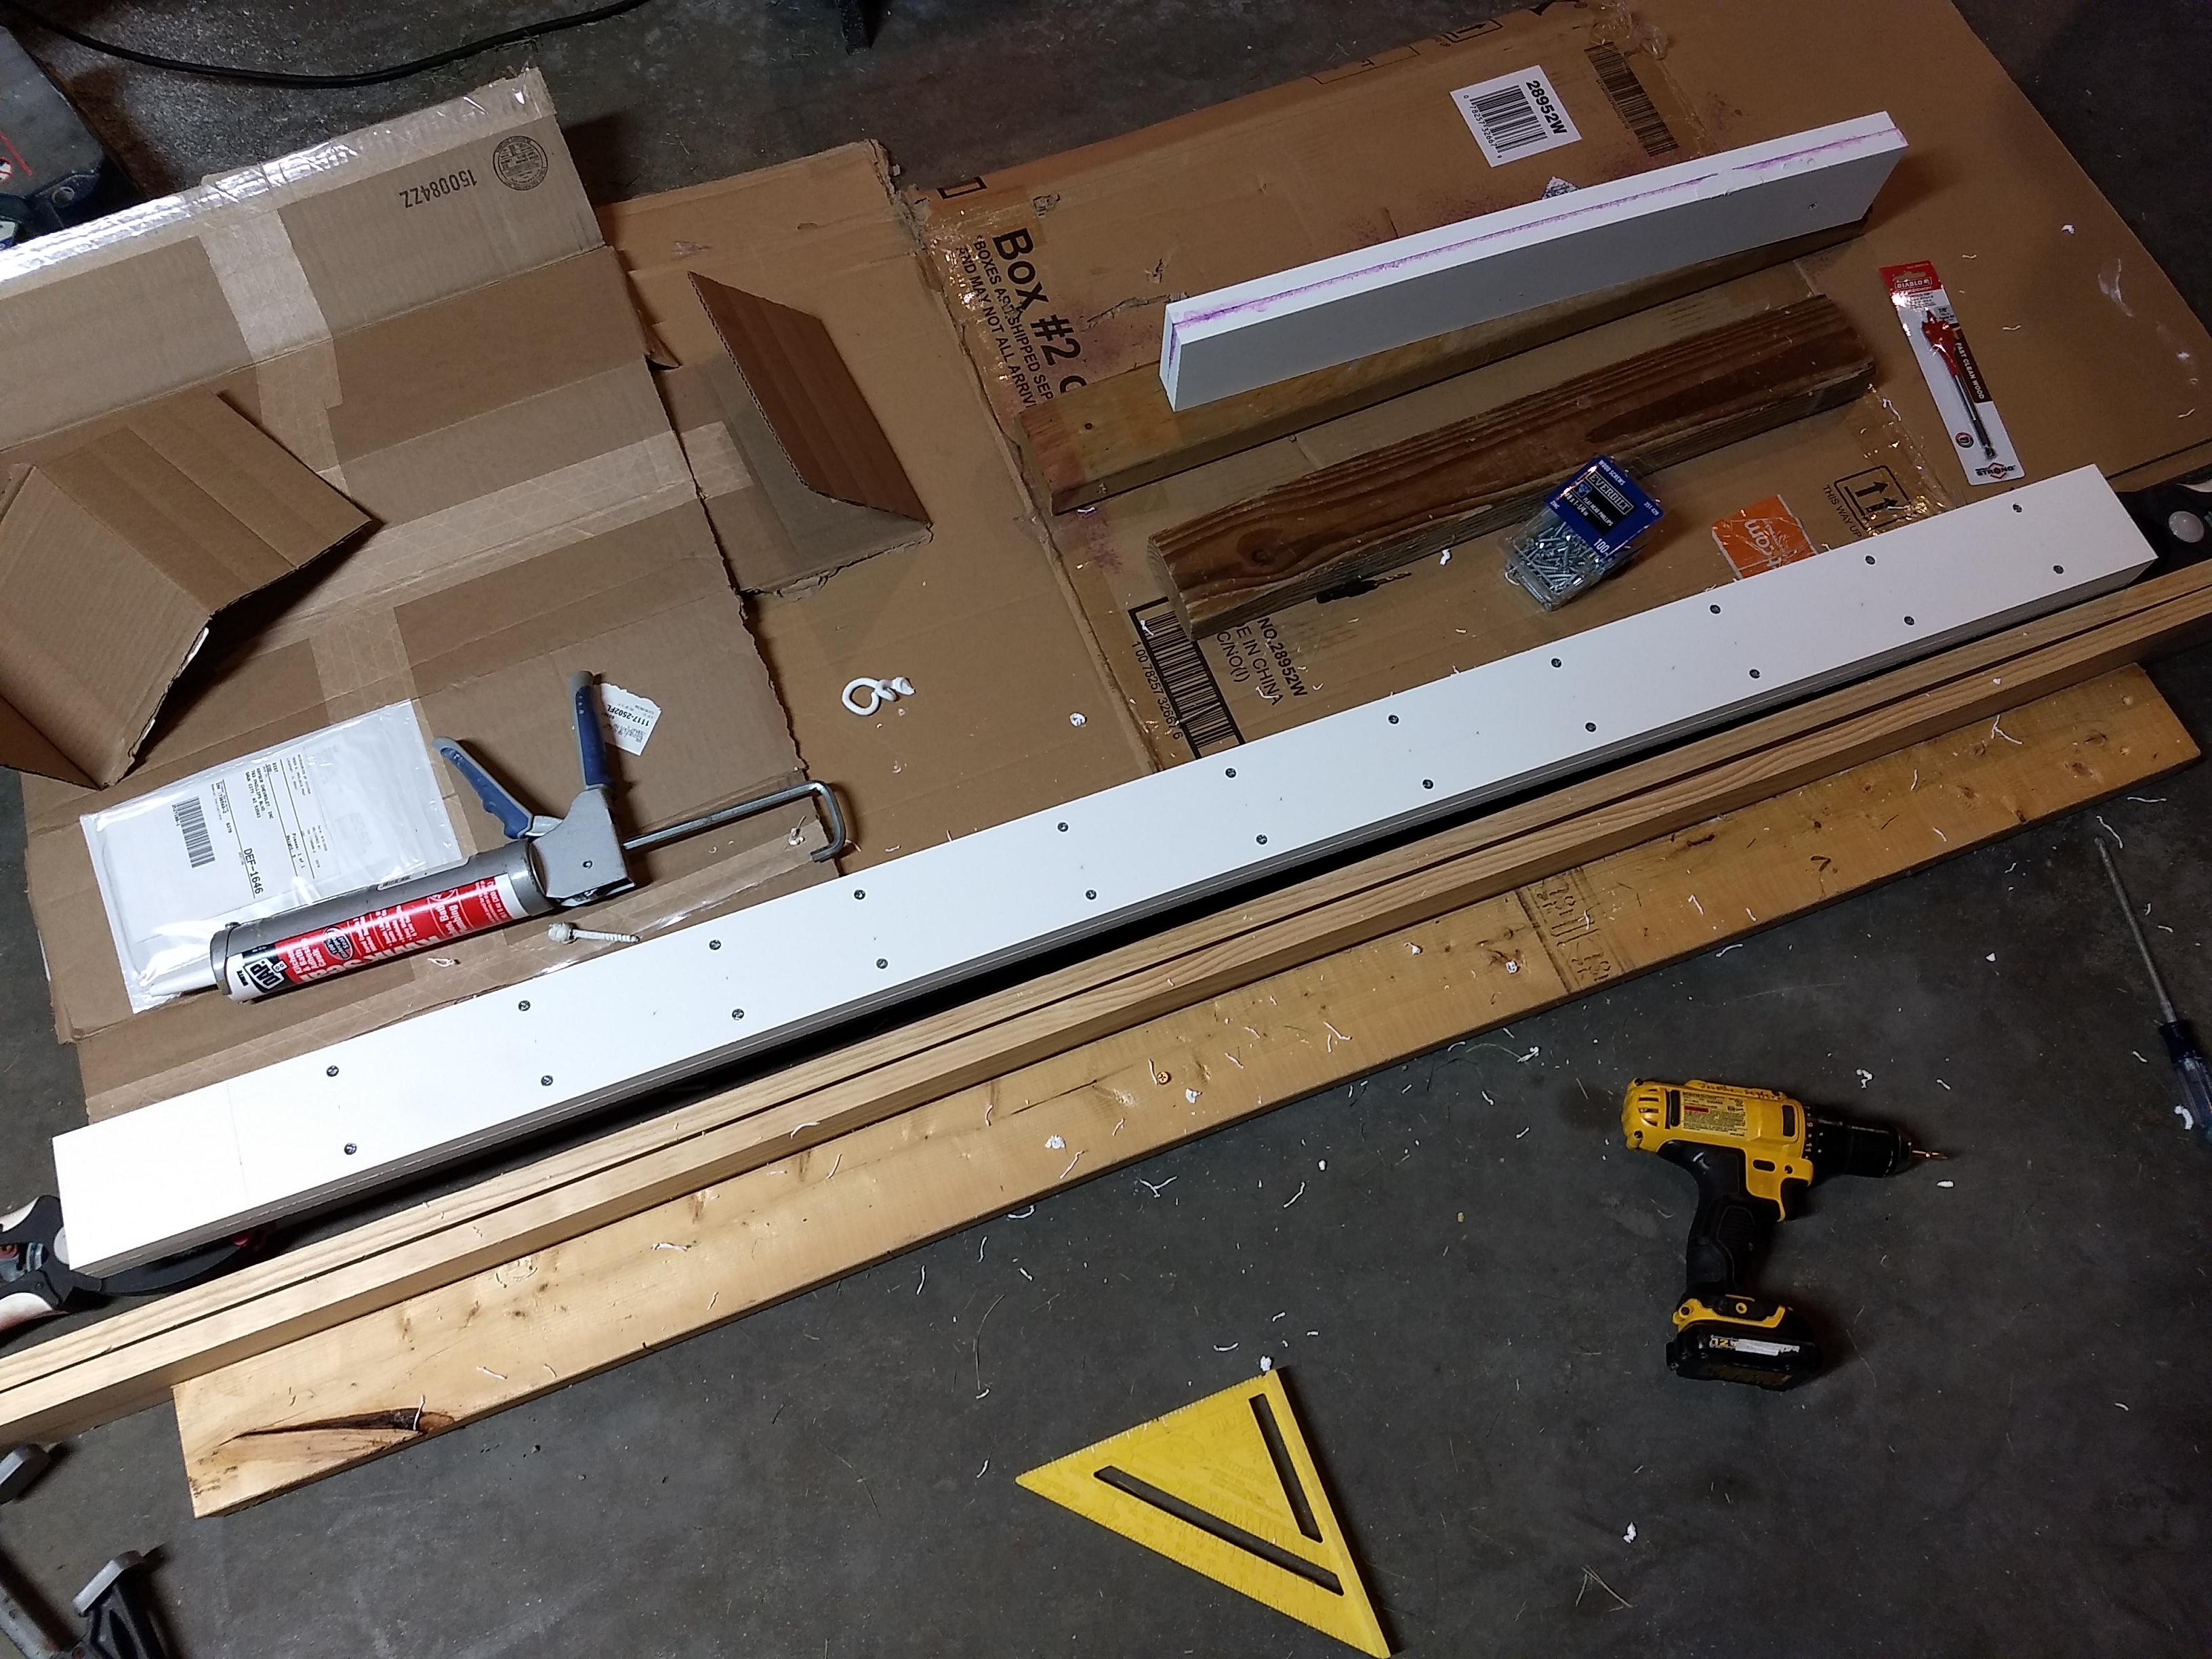
I thought about wood, and while that can be nice, it's also more work to look nice. Then I remembered you can get PVC sheets, I got one for a project in the past (can't remember off the top of my head). I did a search and found PVC trim boards, that come in 1x nominal sizes (so a 1x4 is actually 0.75" x 3.5" just like wood). I browsed at the Home Depot and found a 5/4x4, which is actually 1" x 3.5", and picked that up.
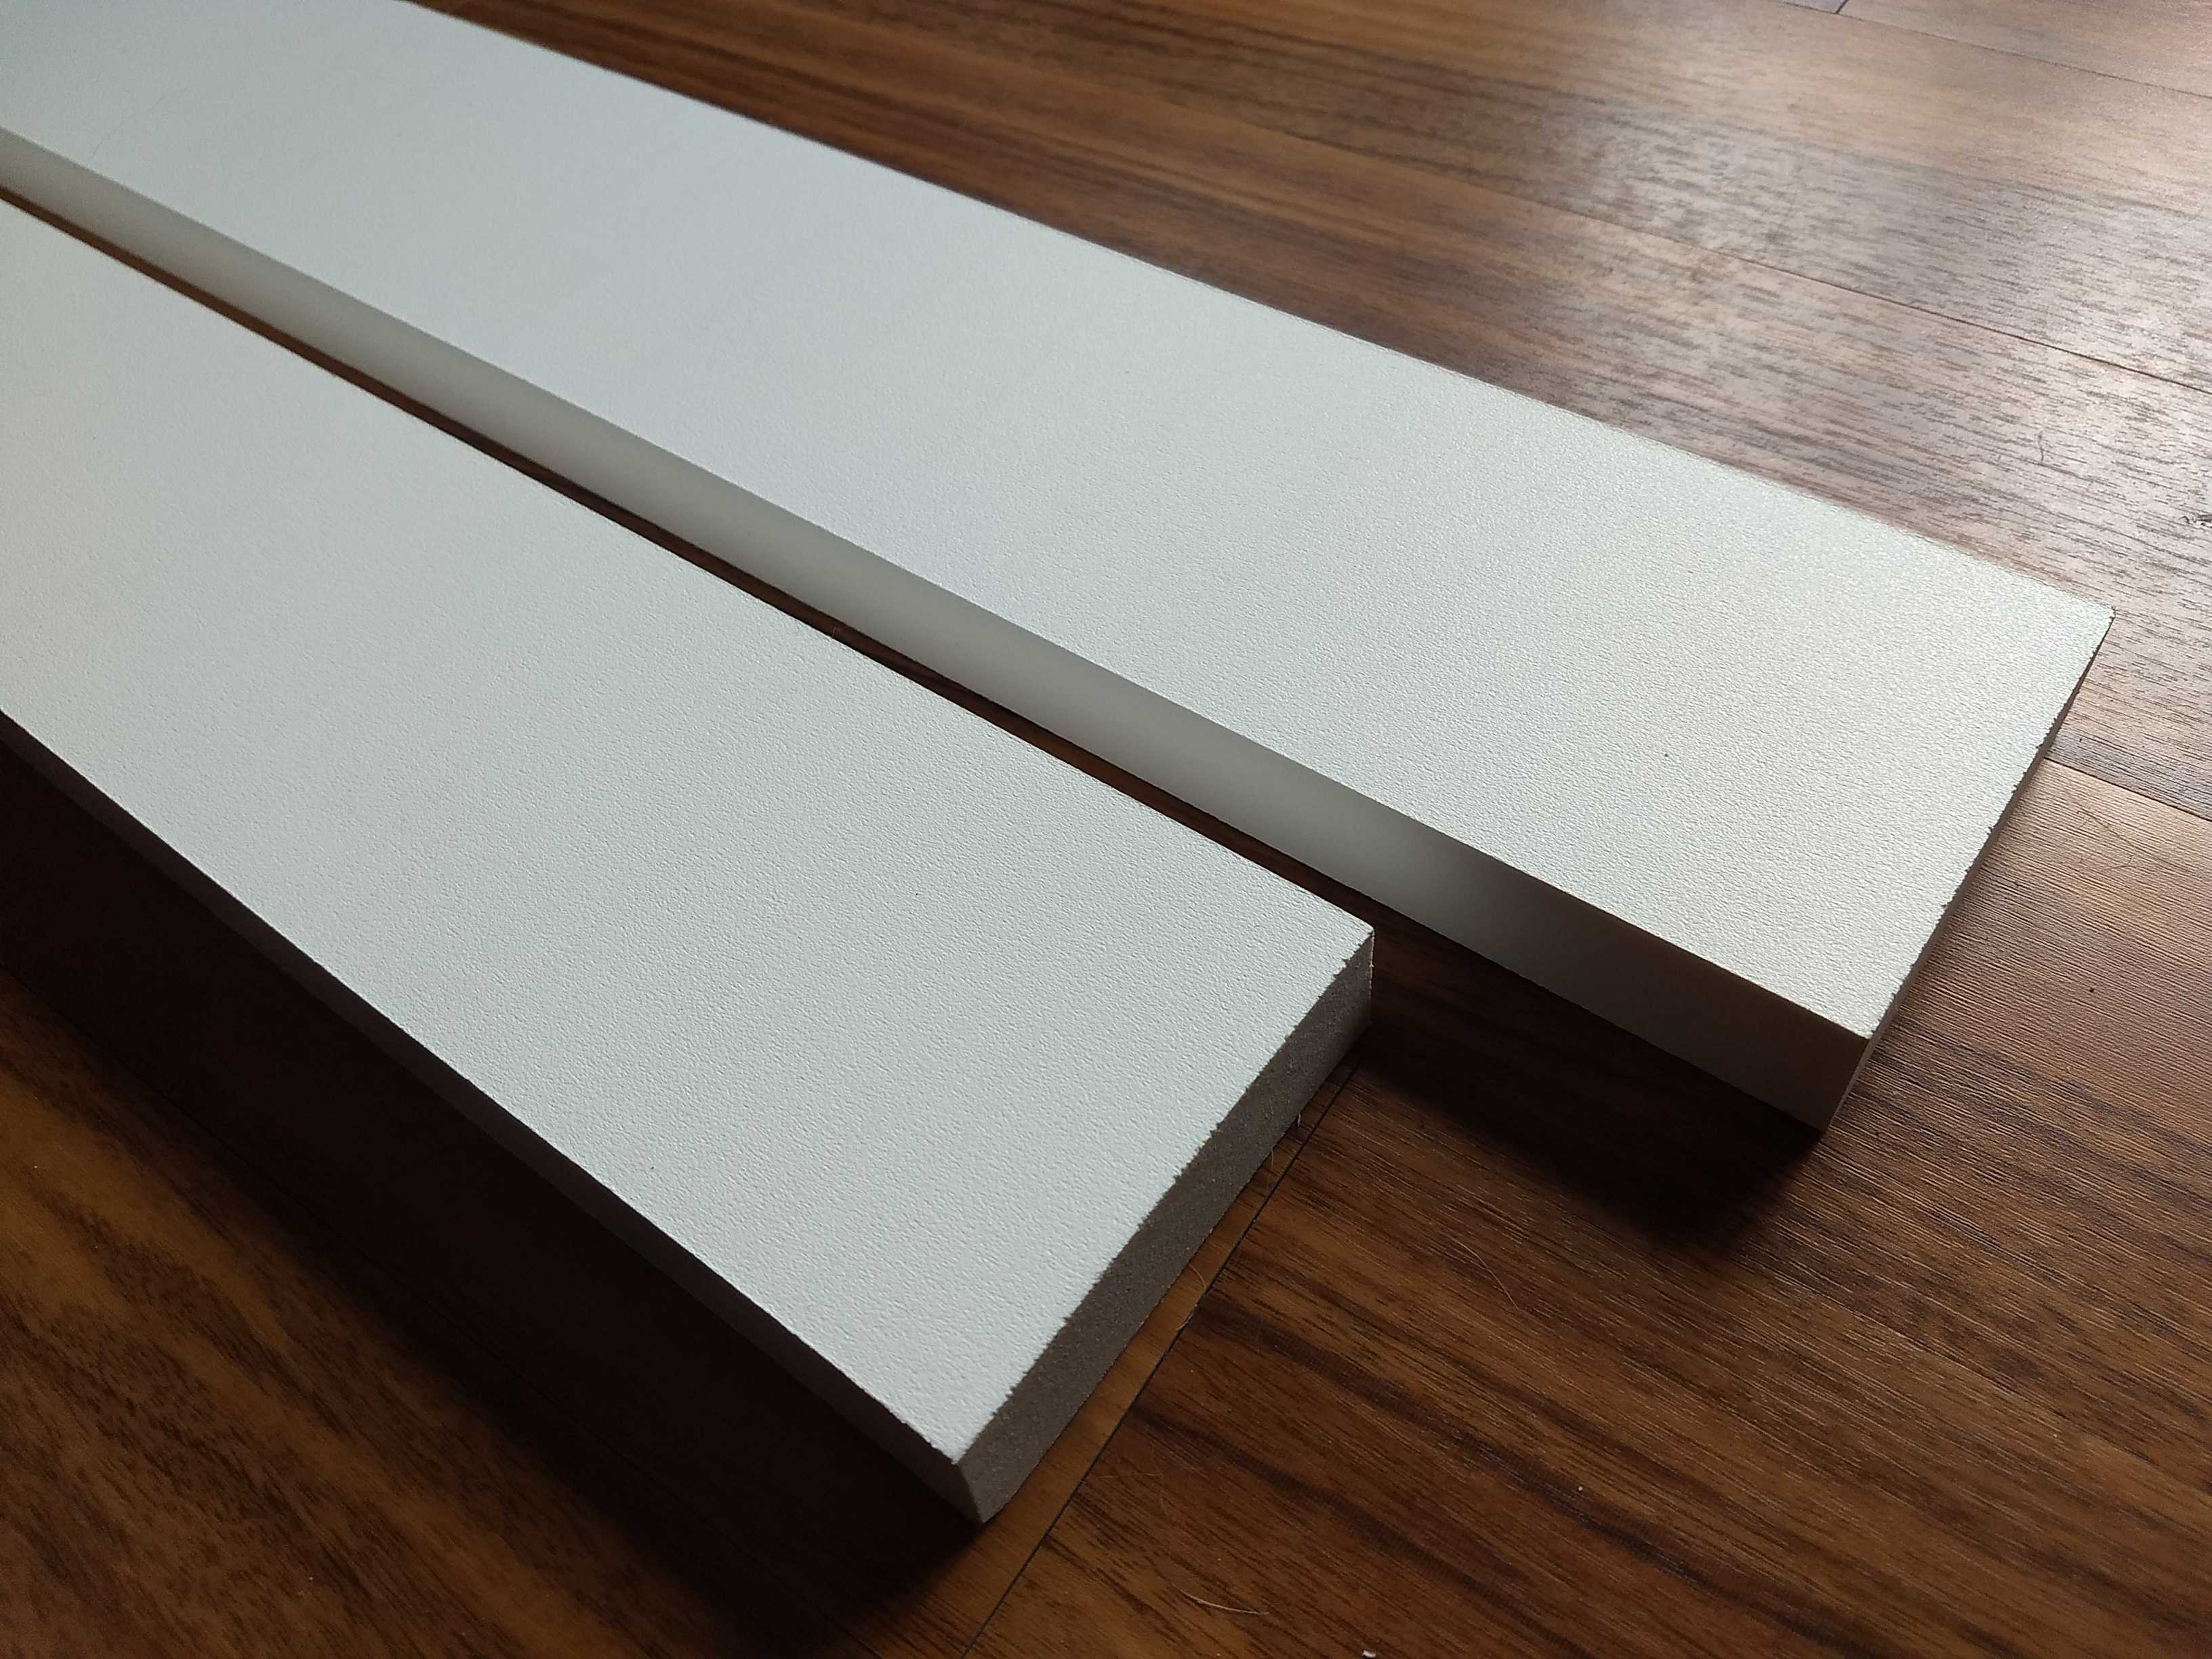
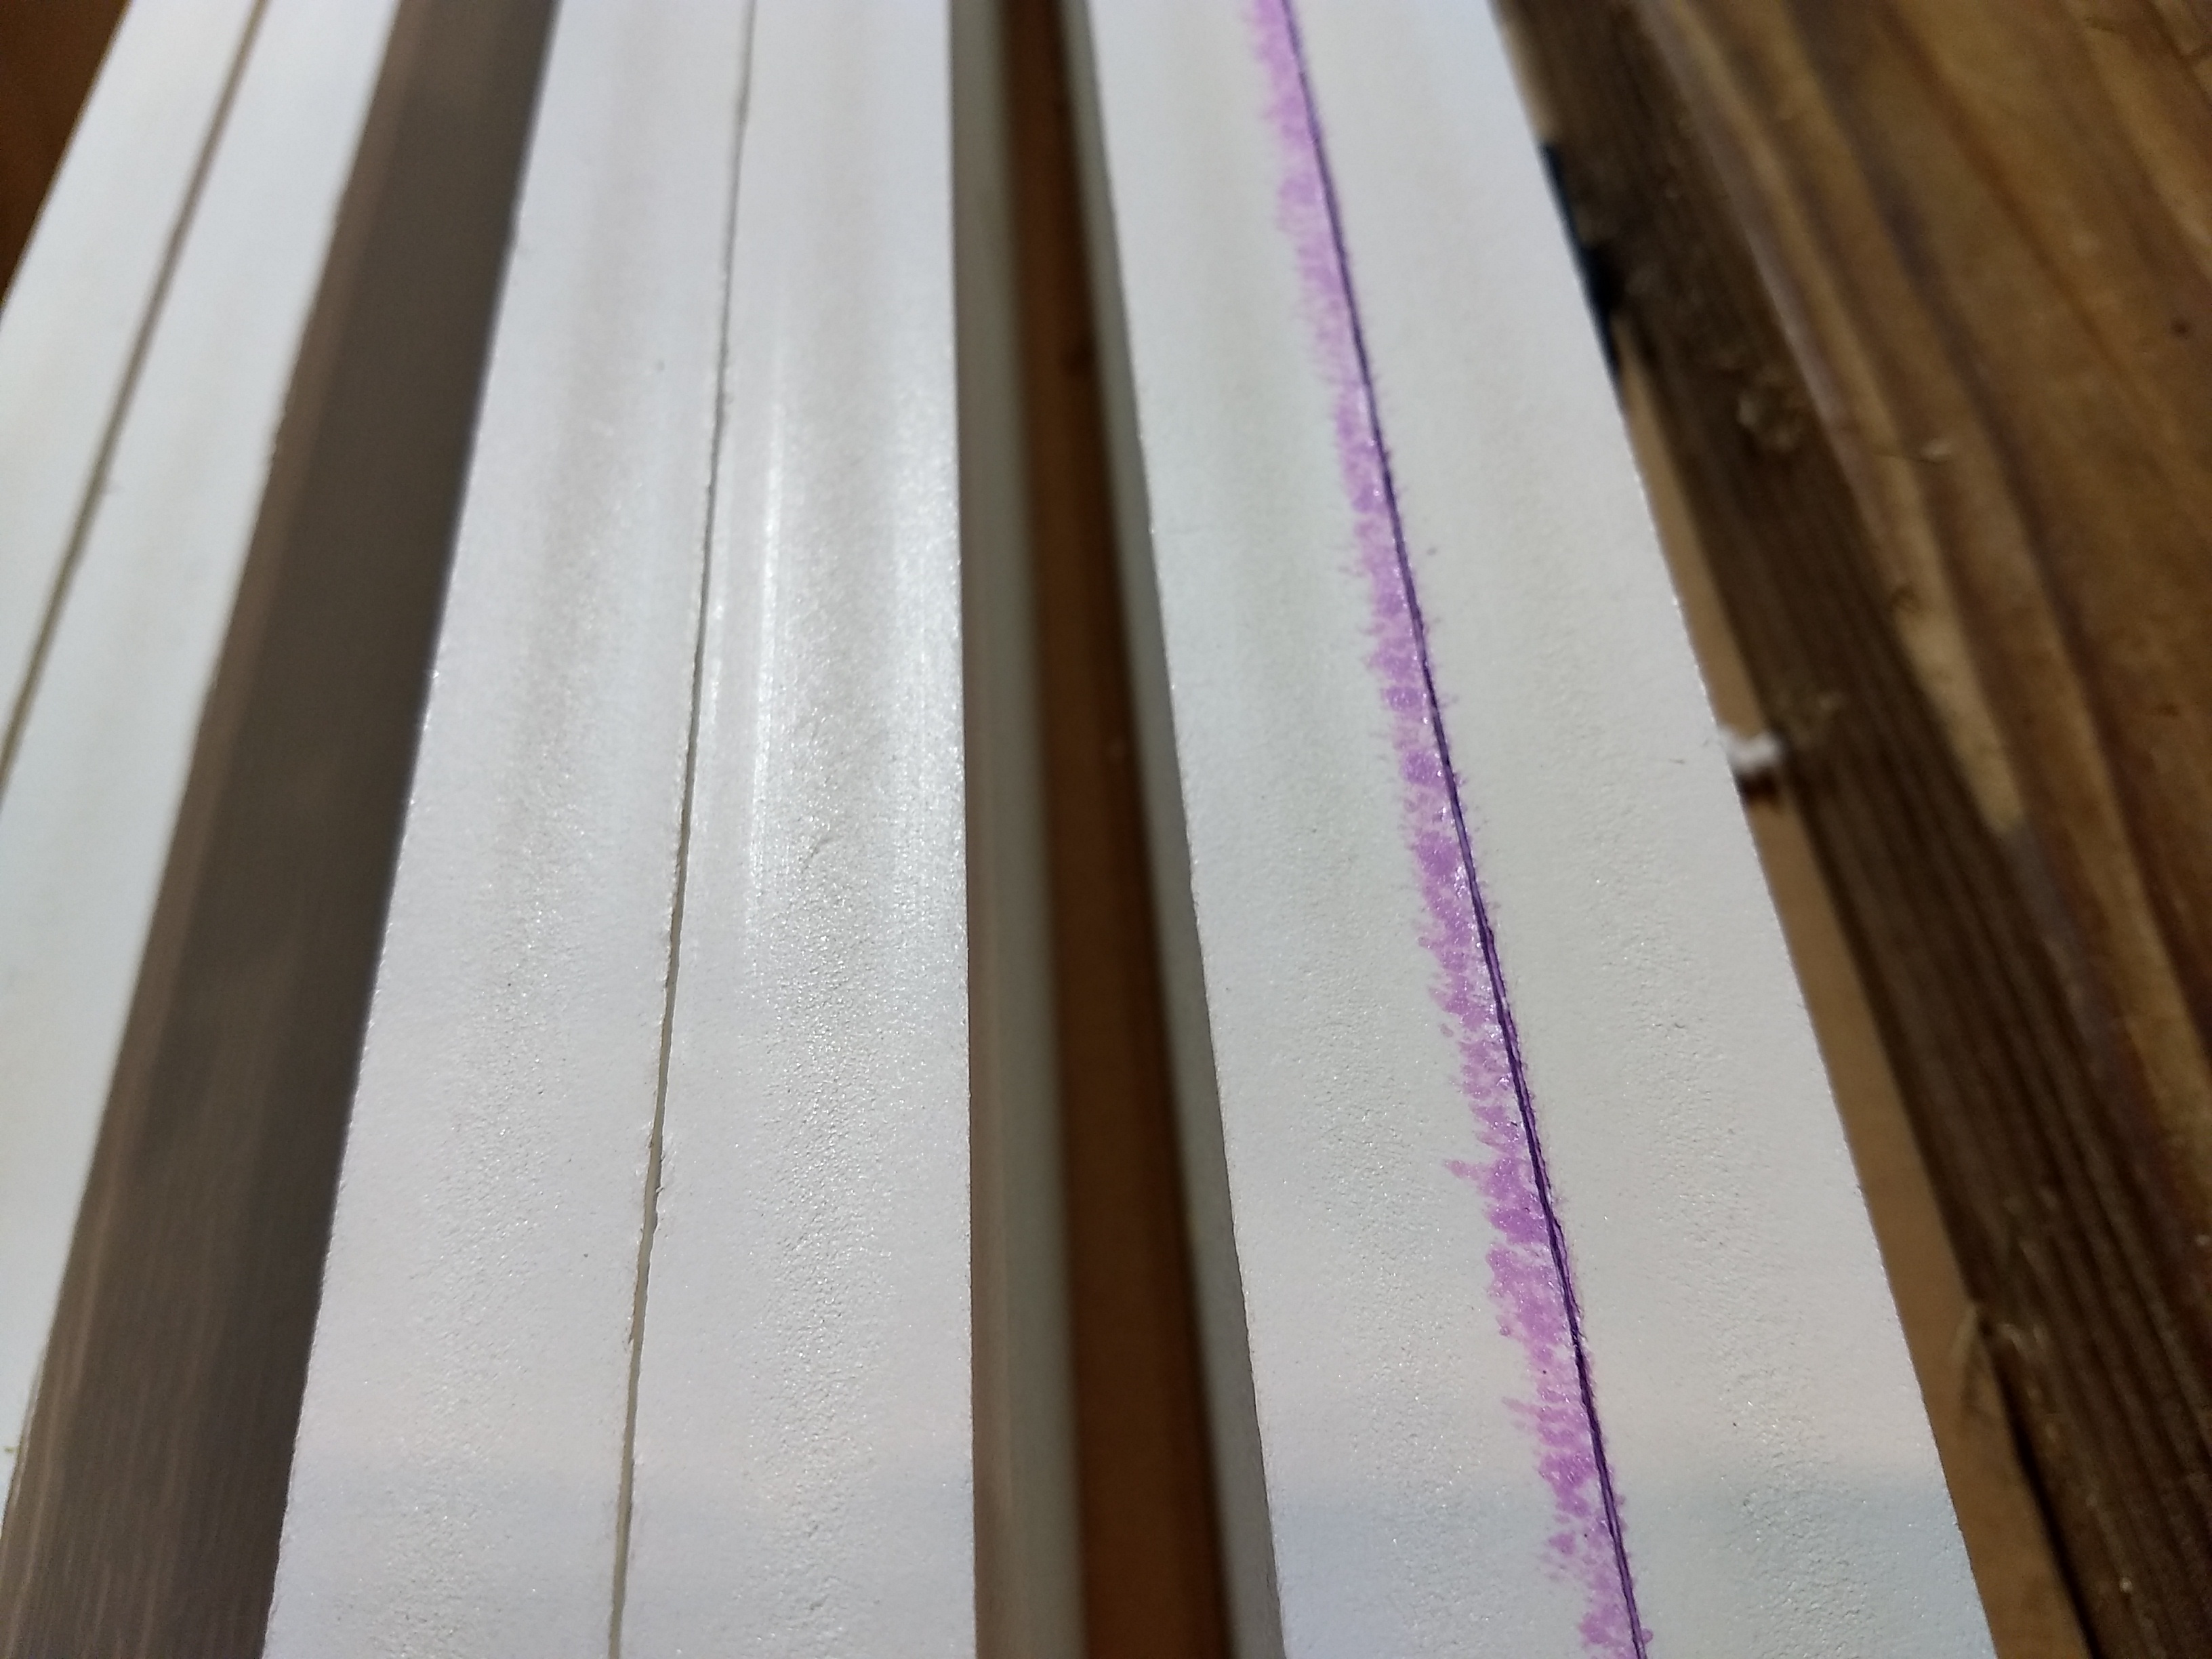
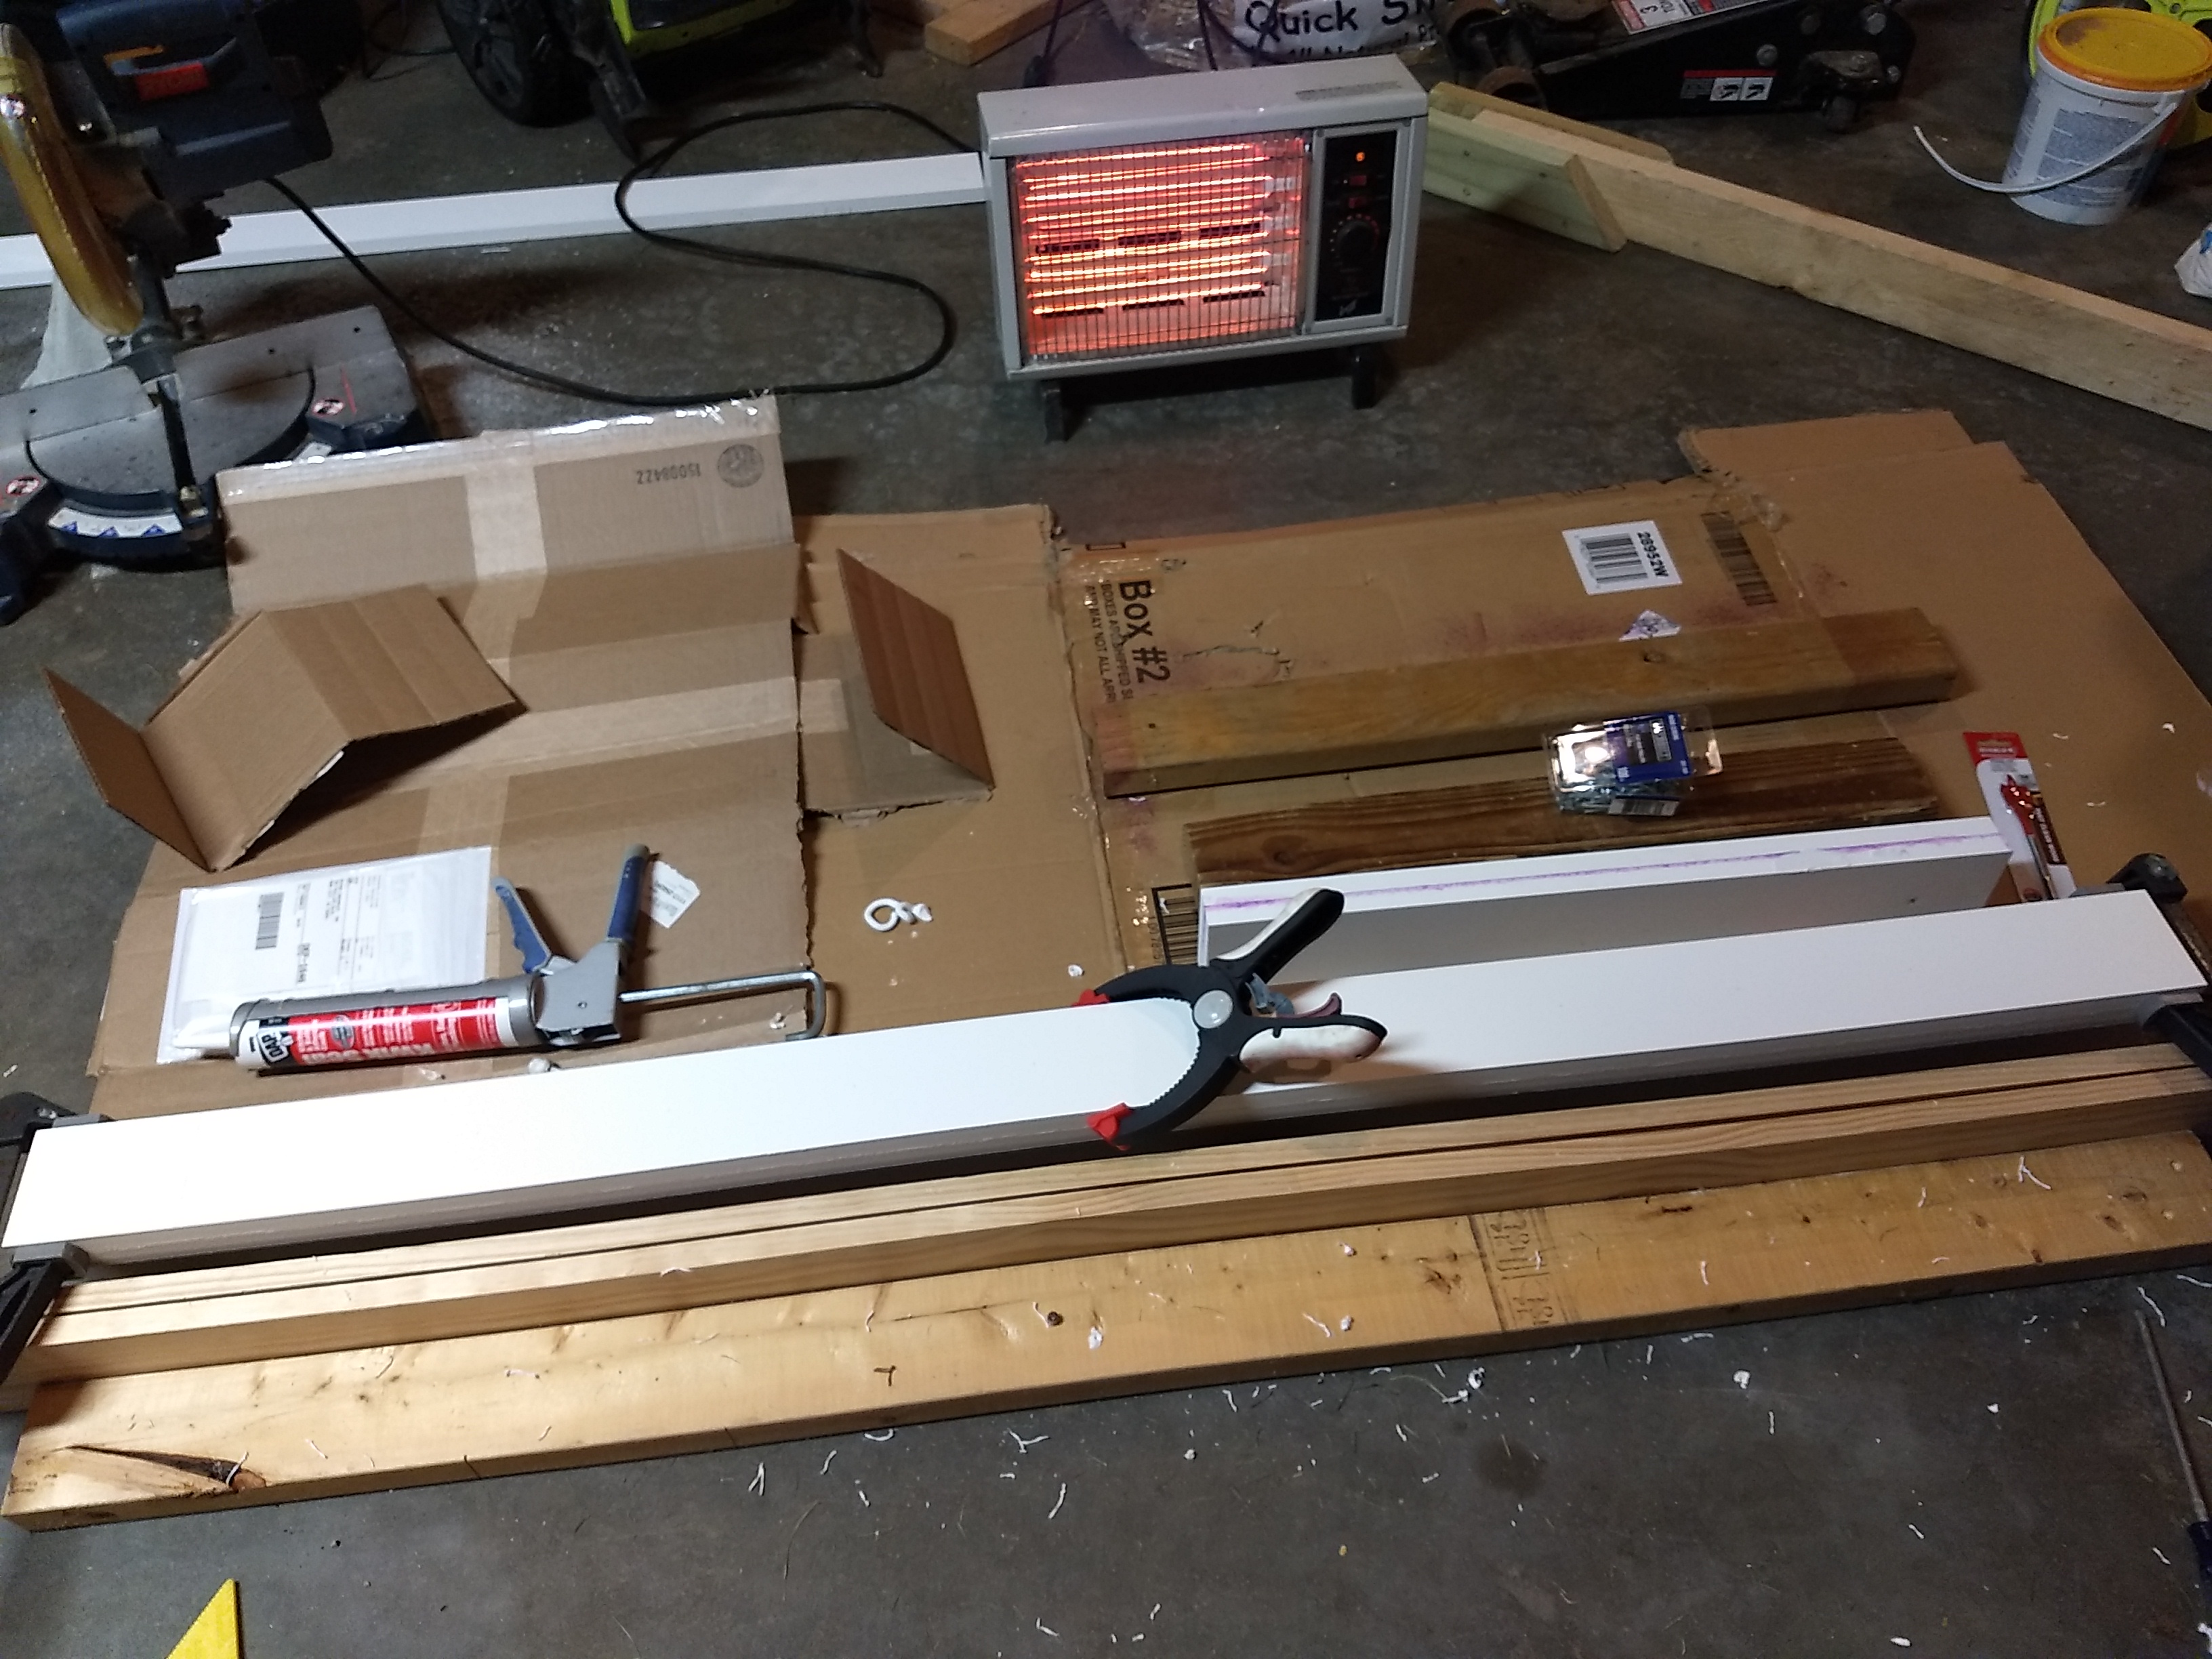
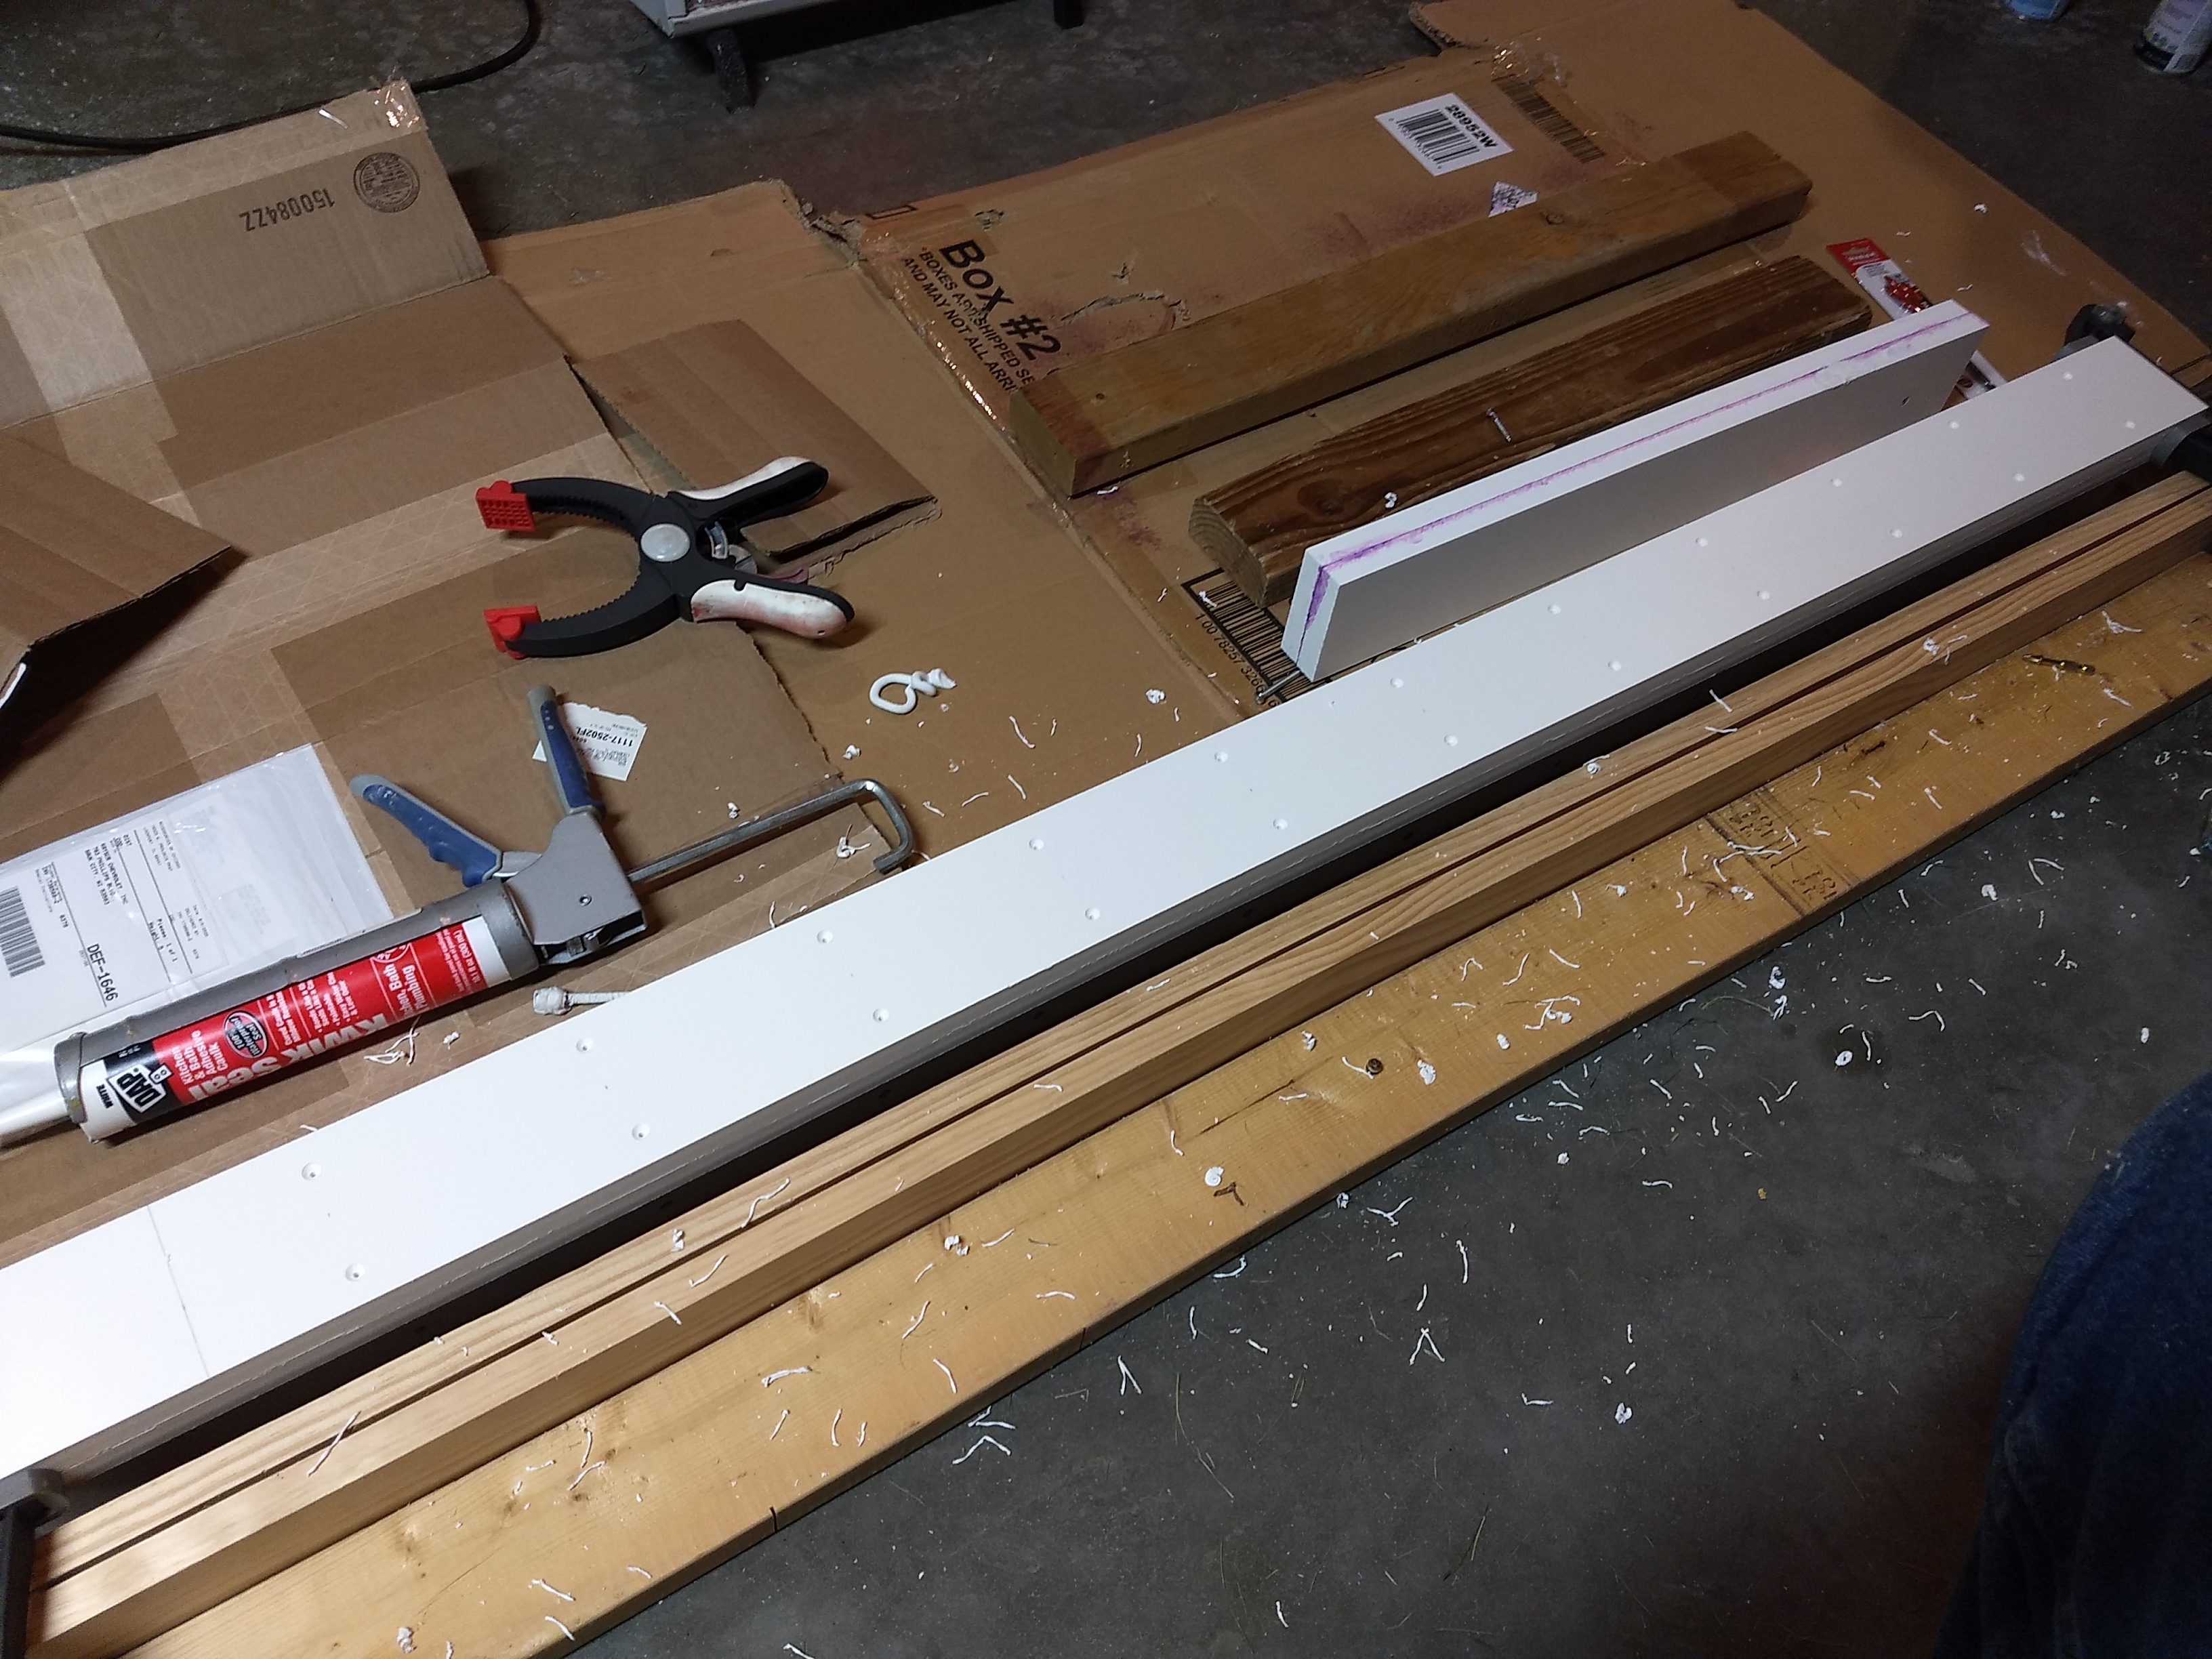
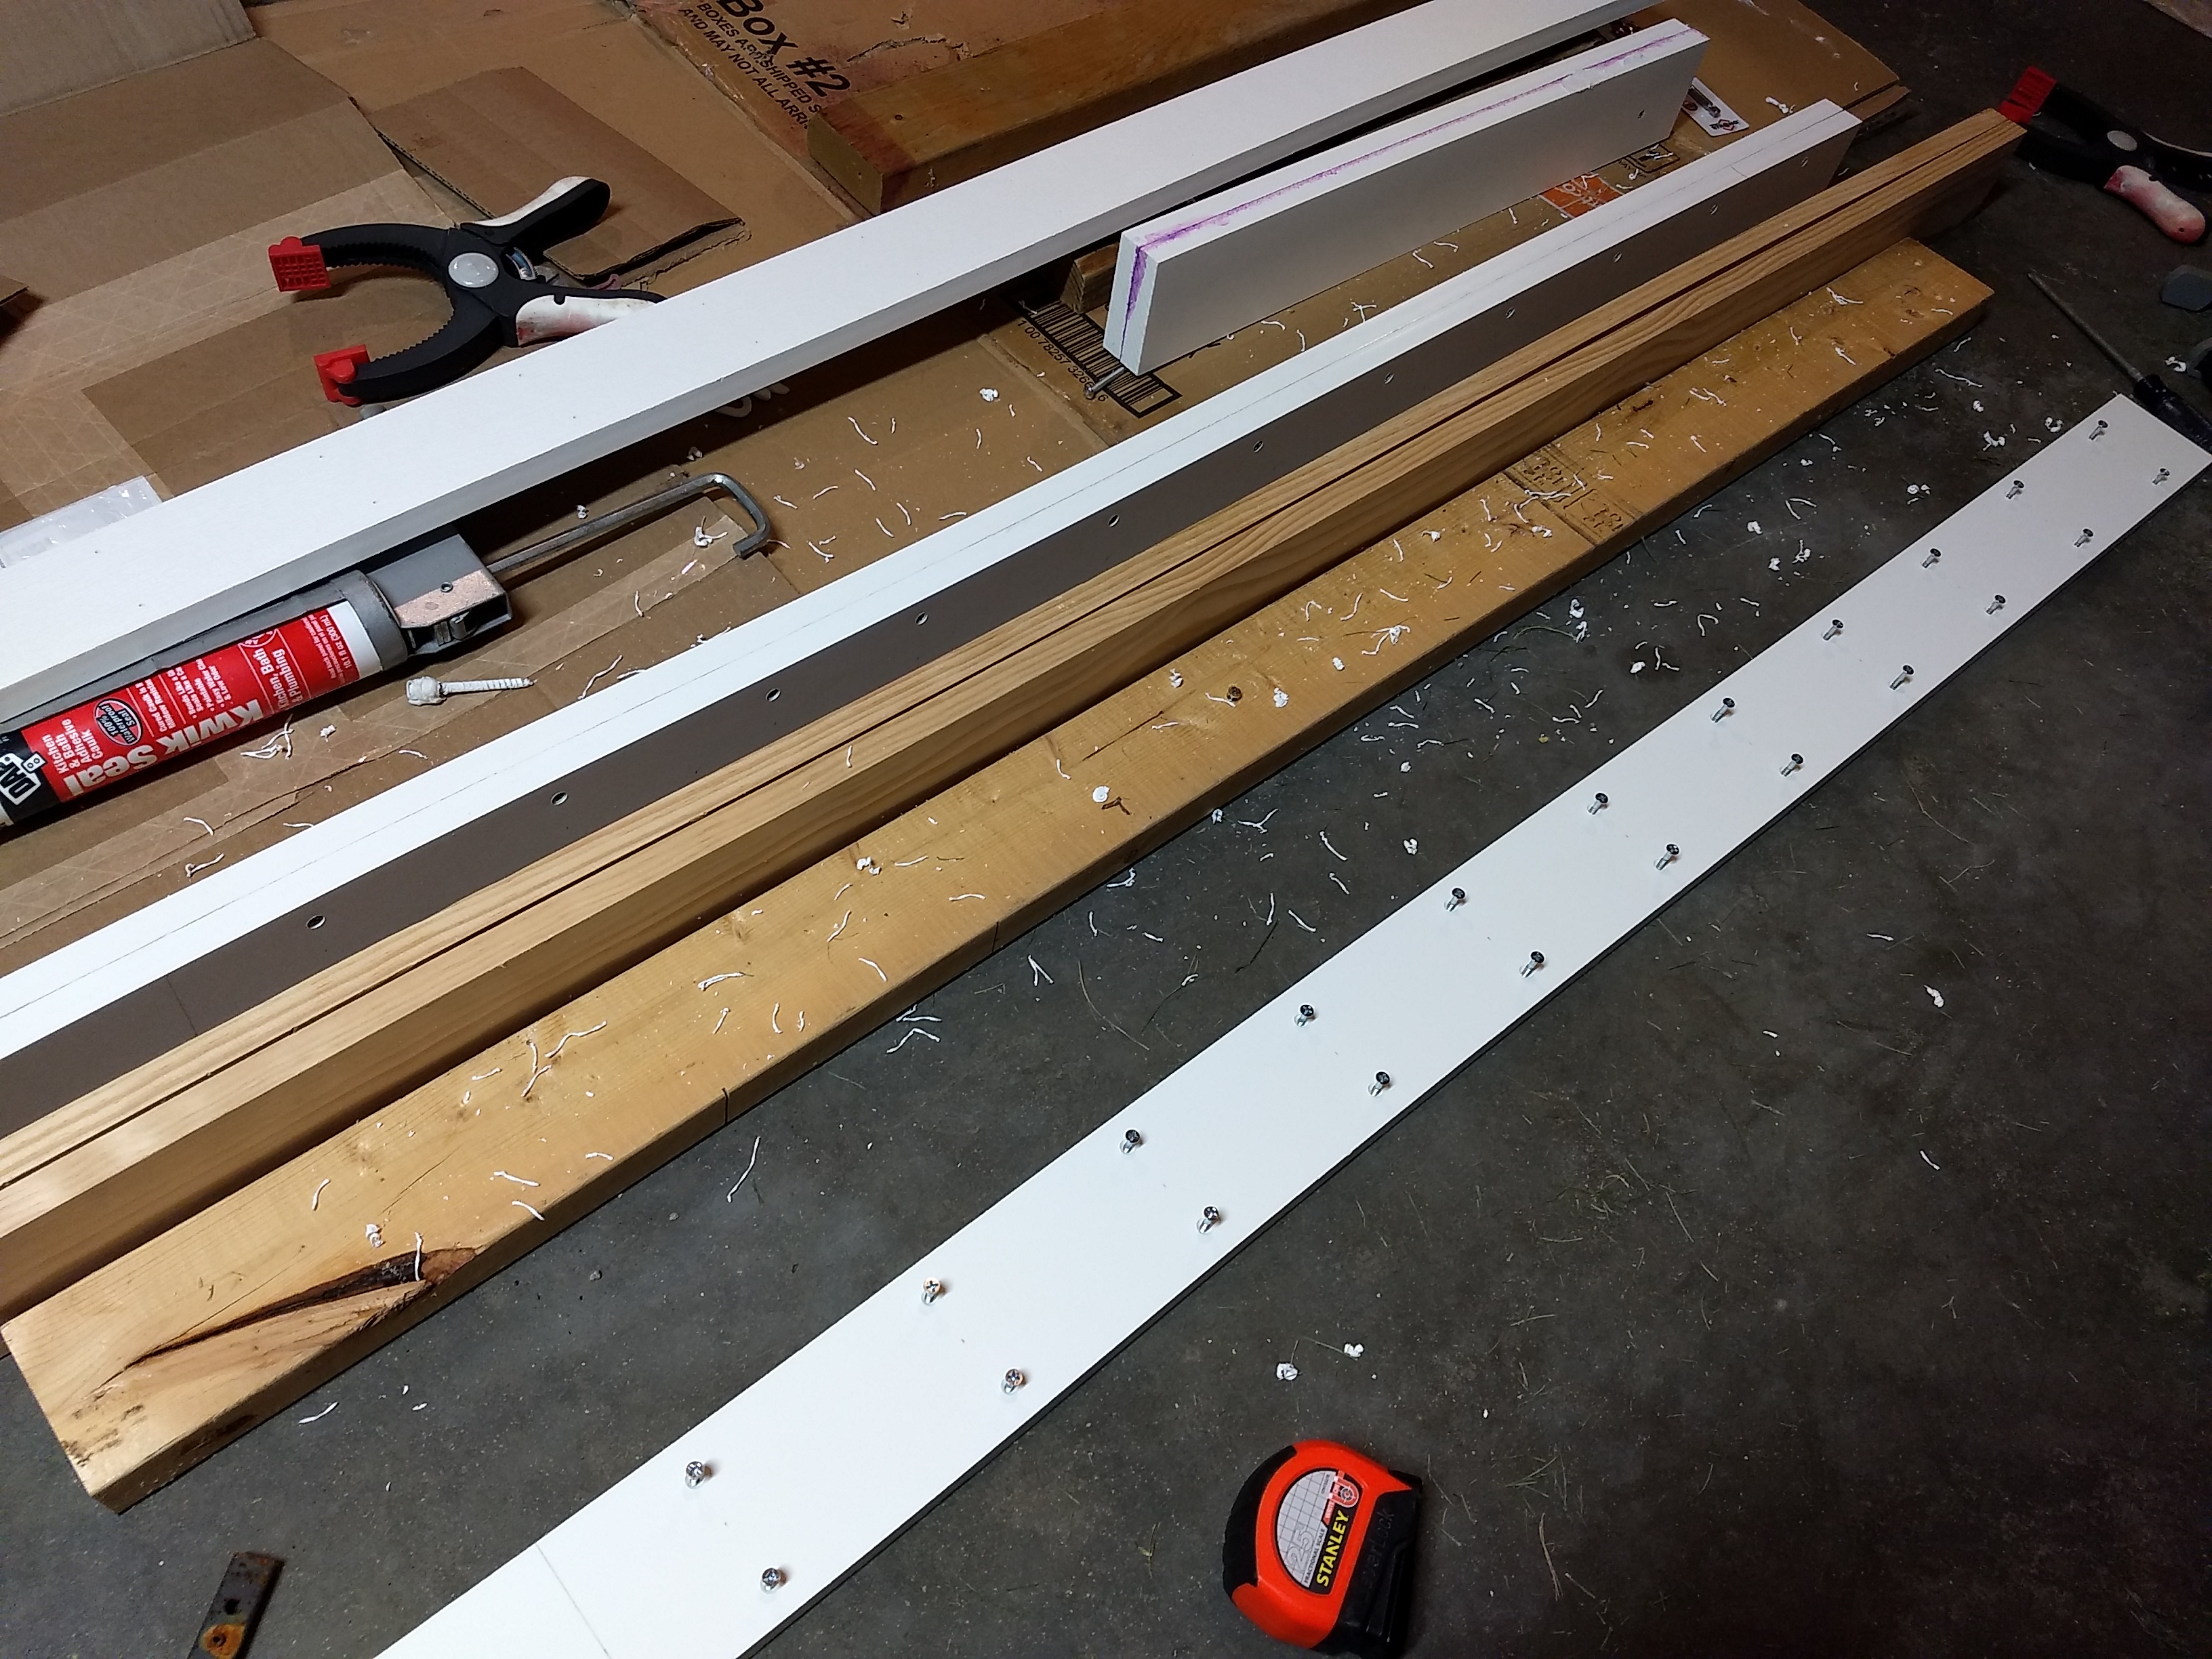
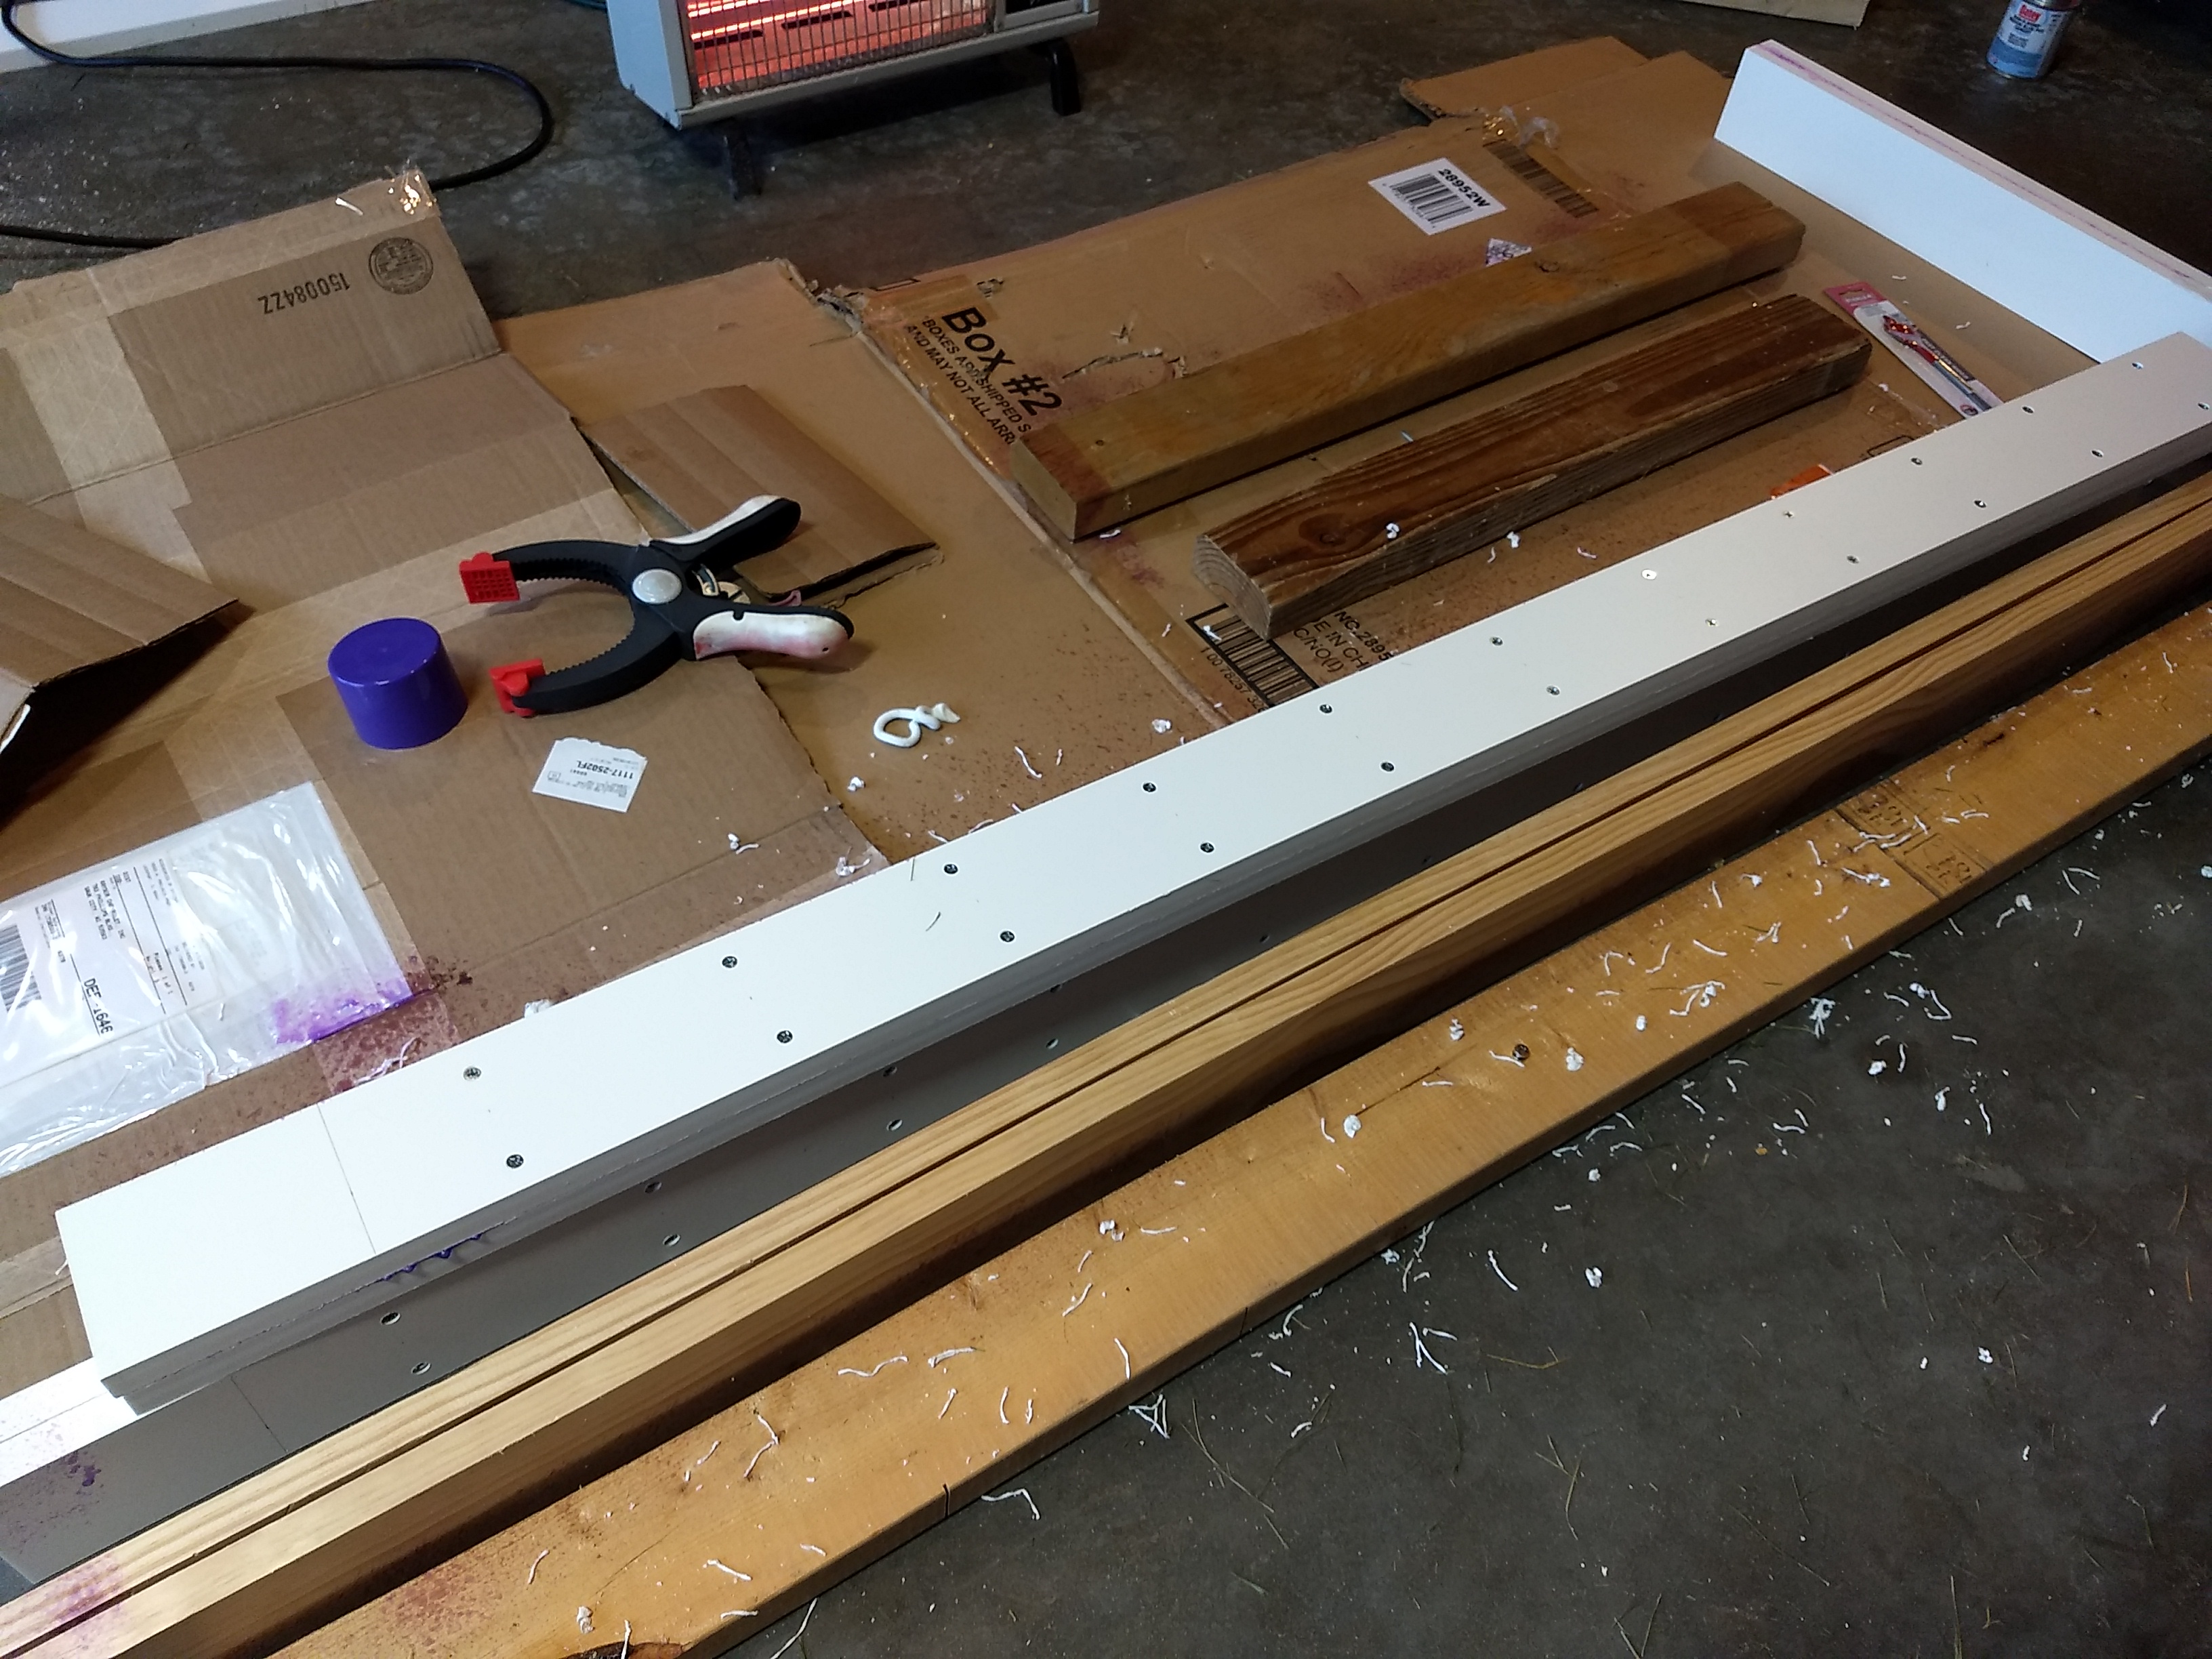
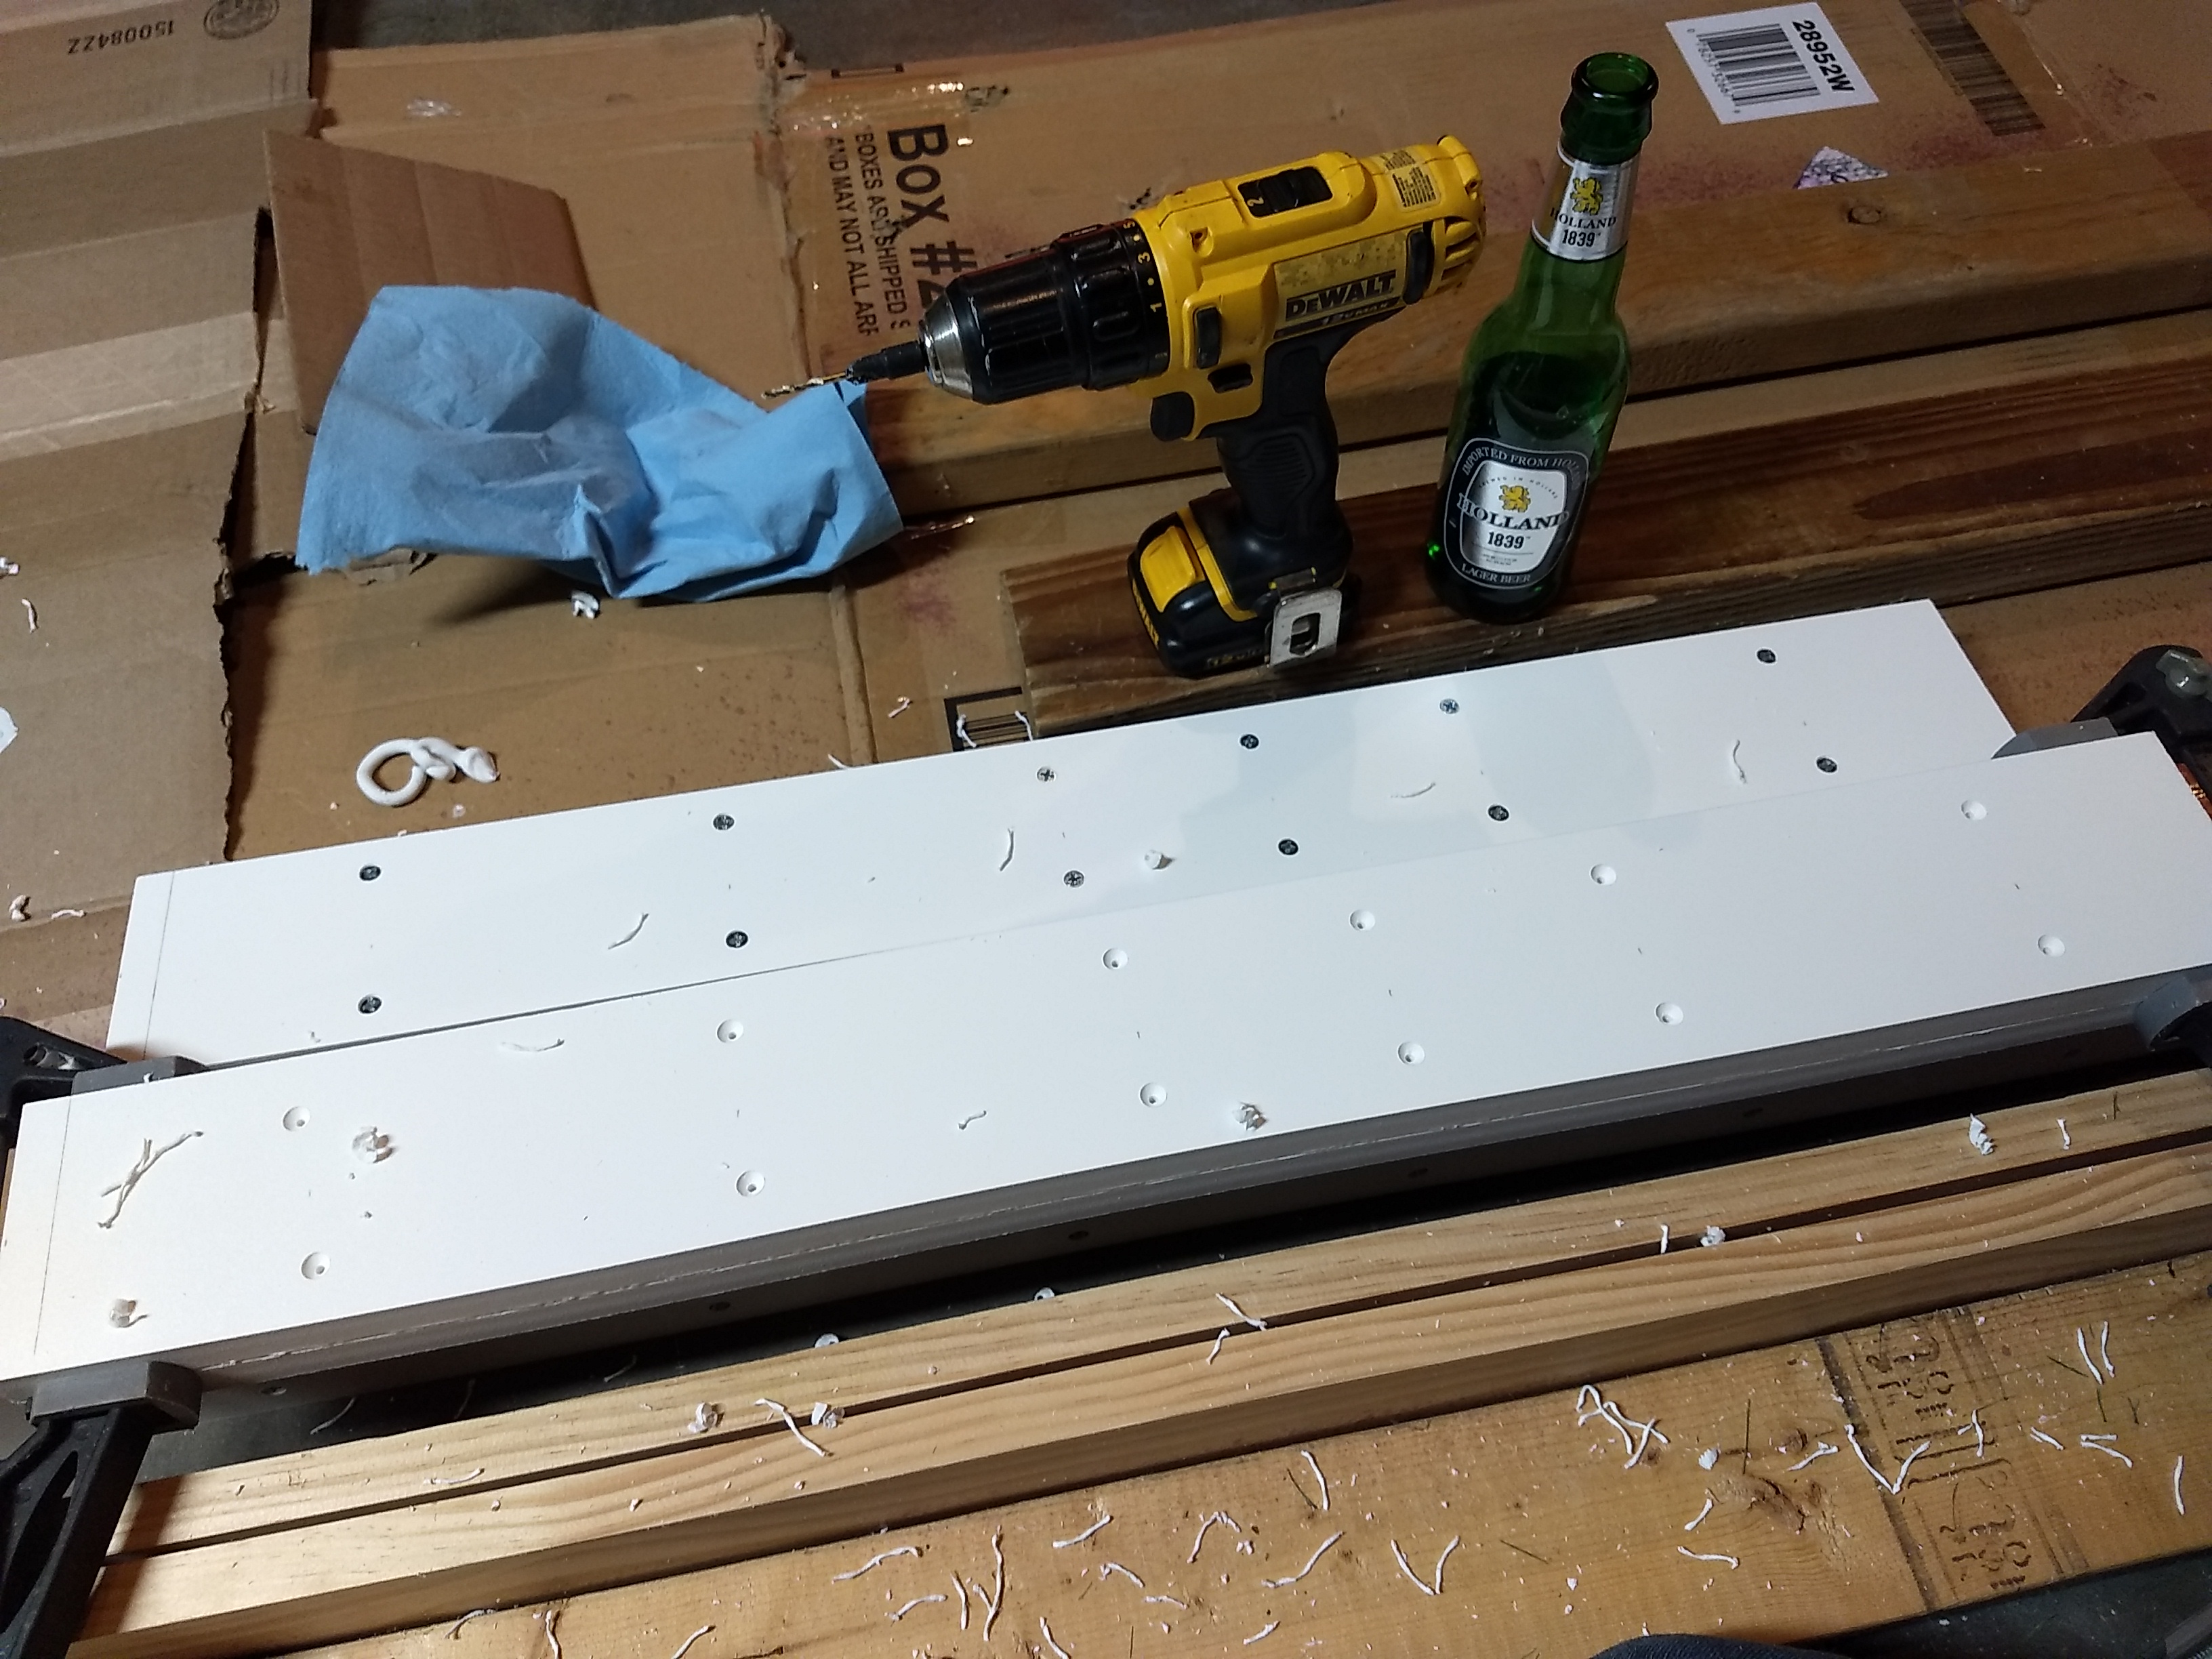
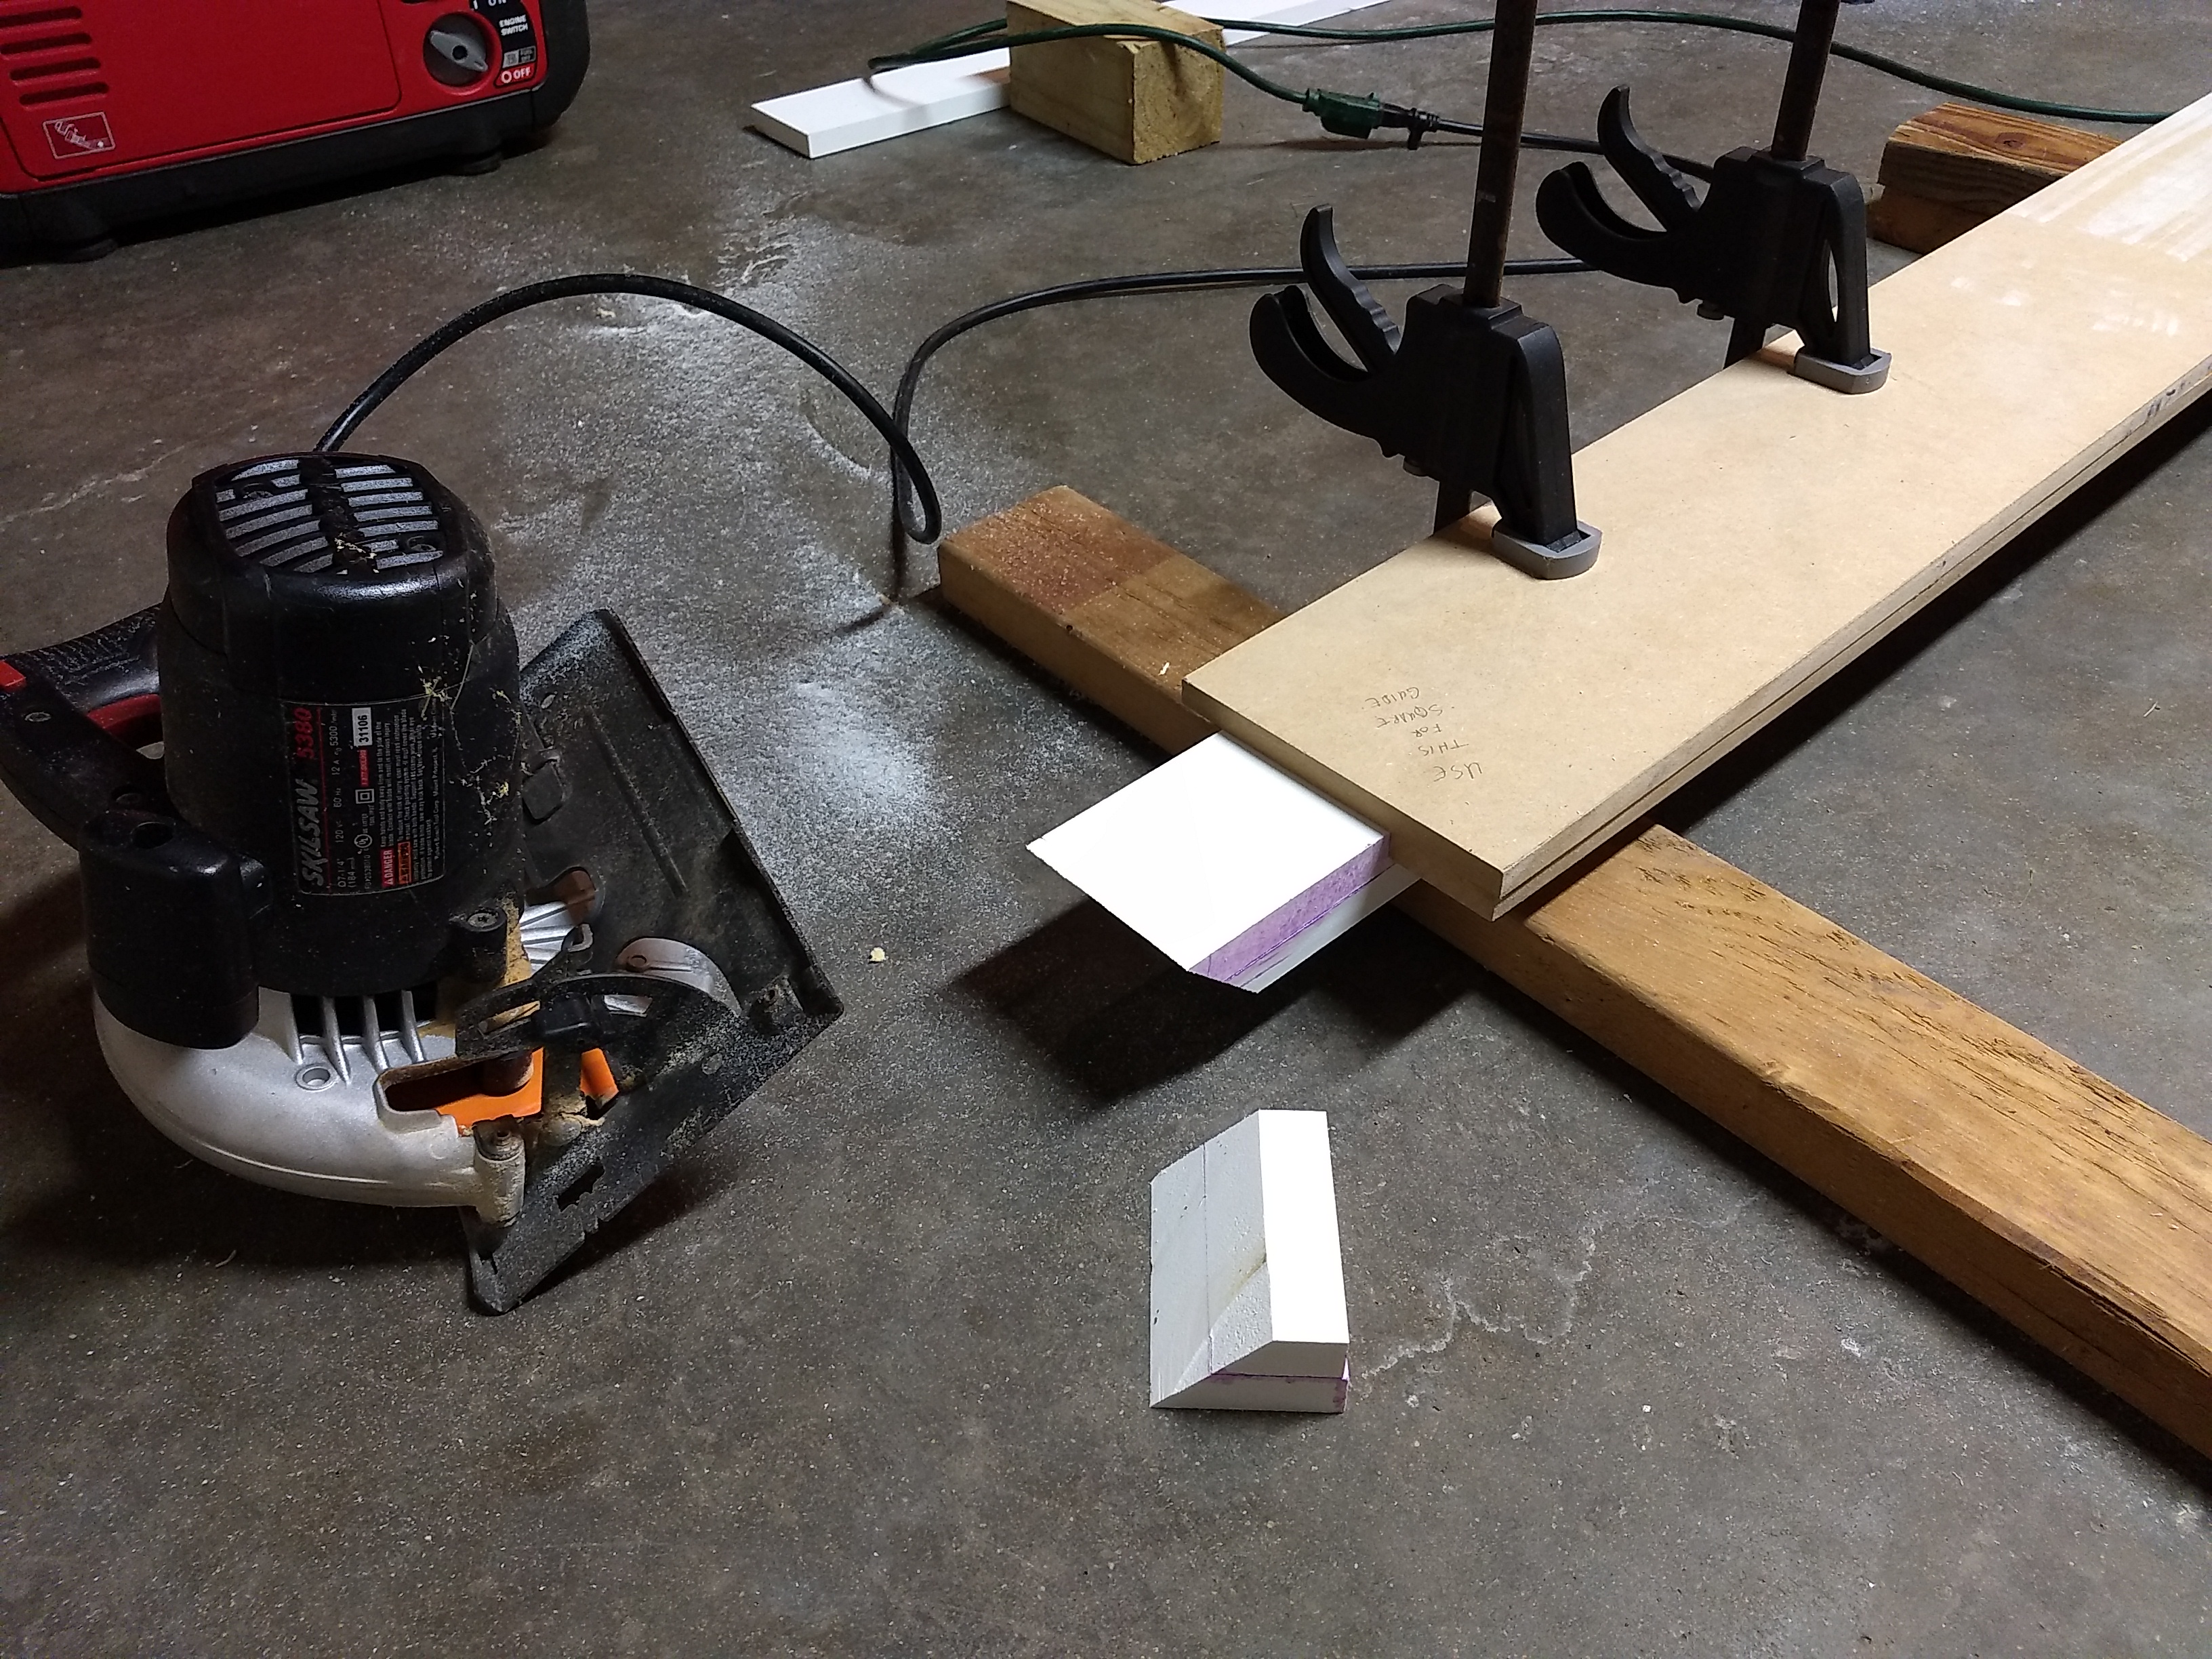
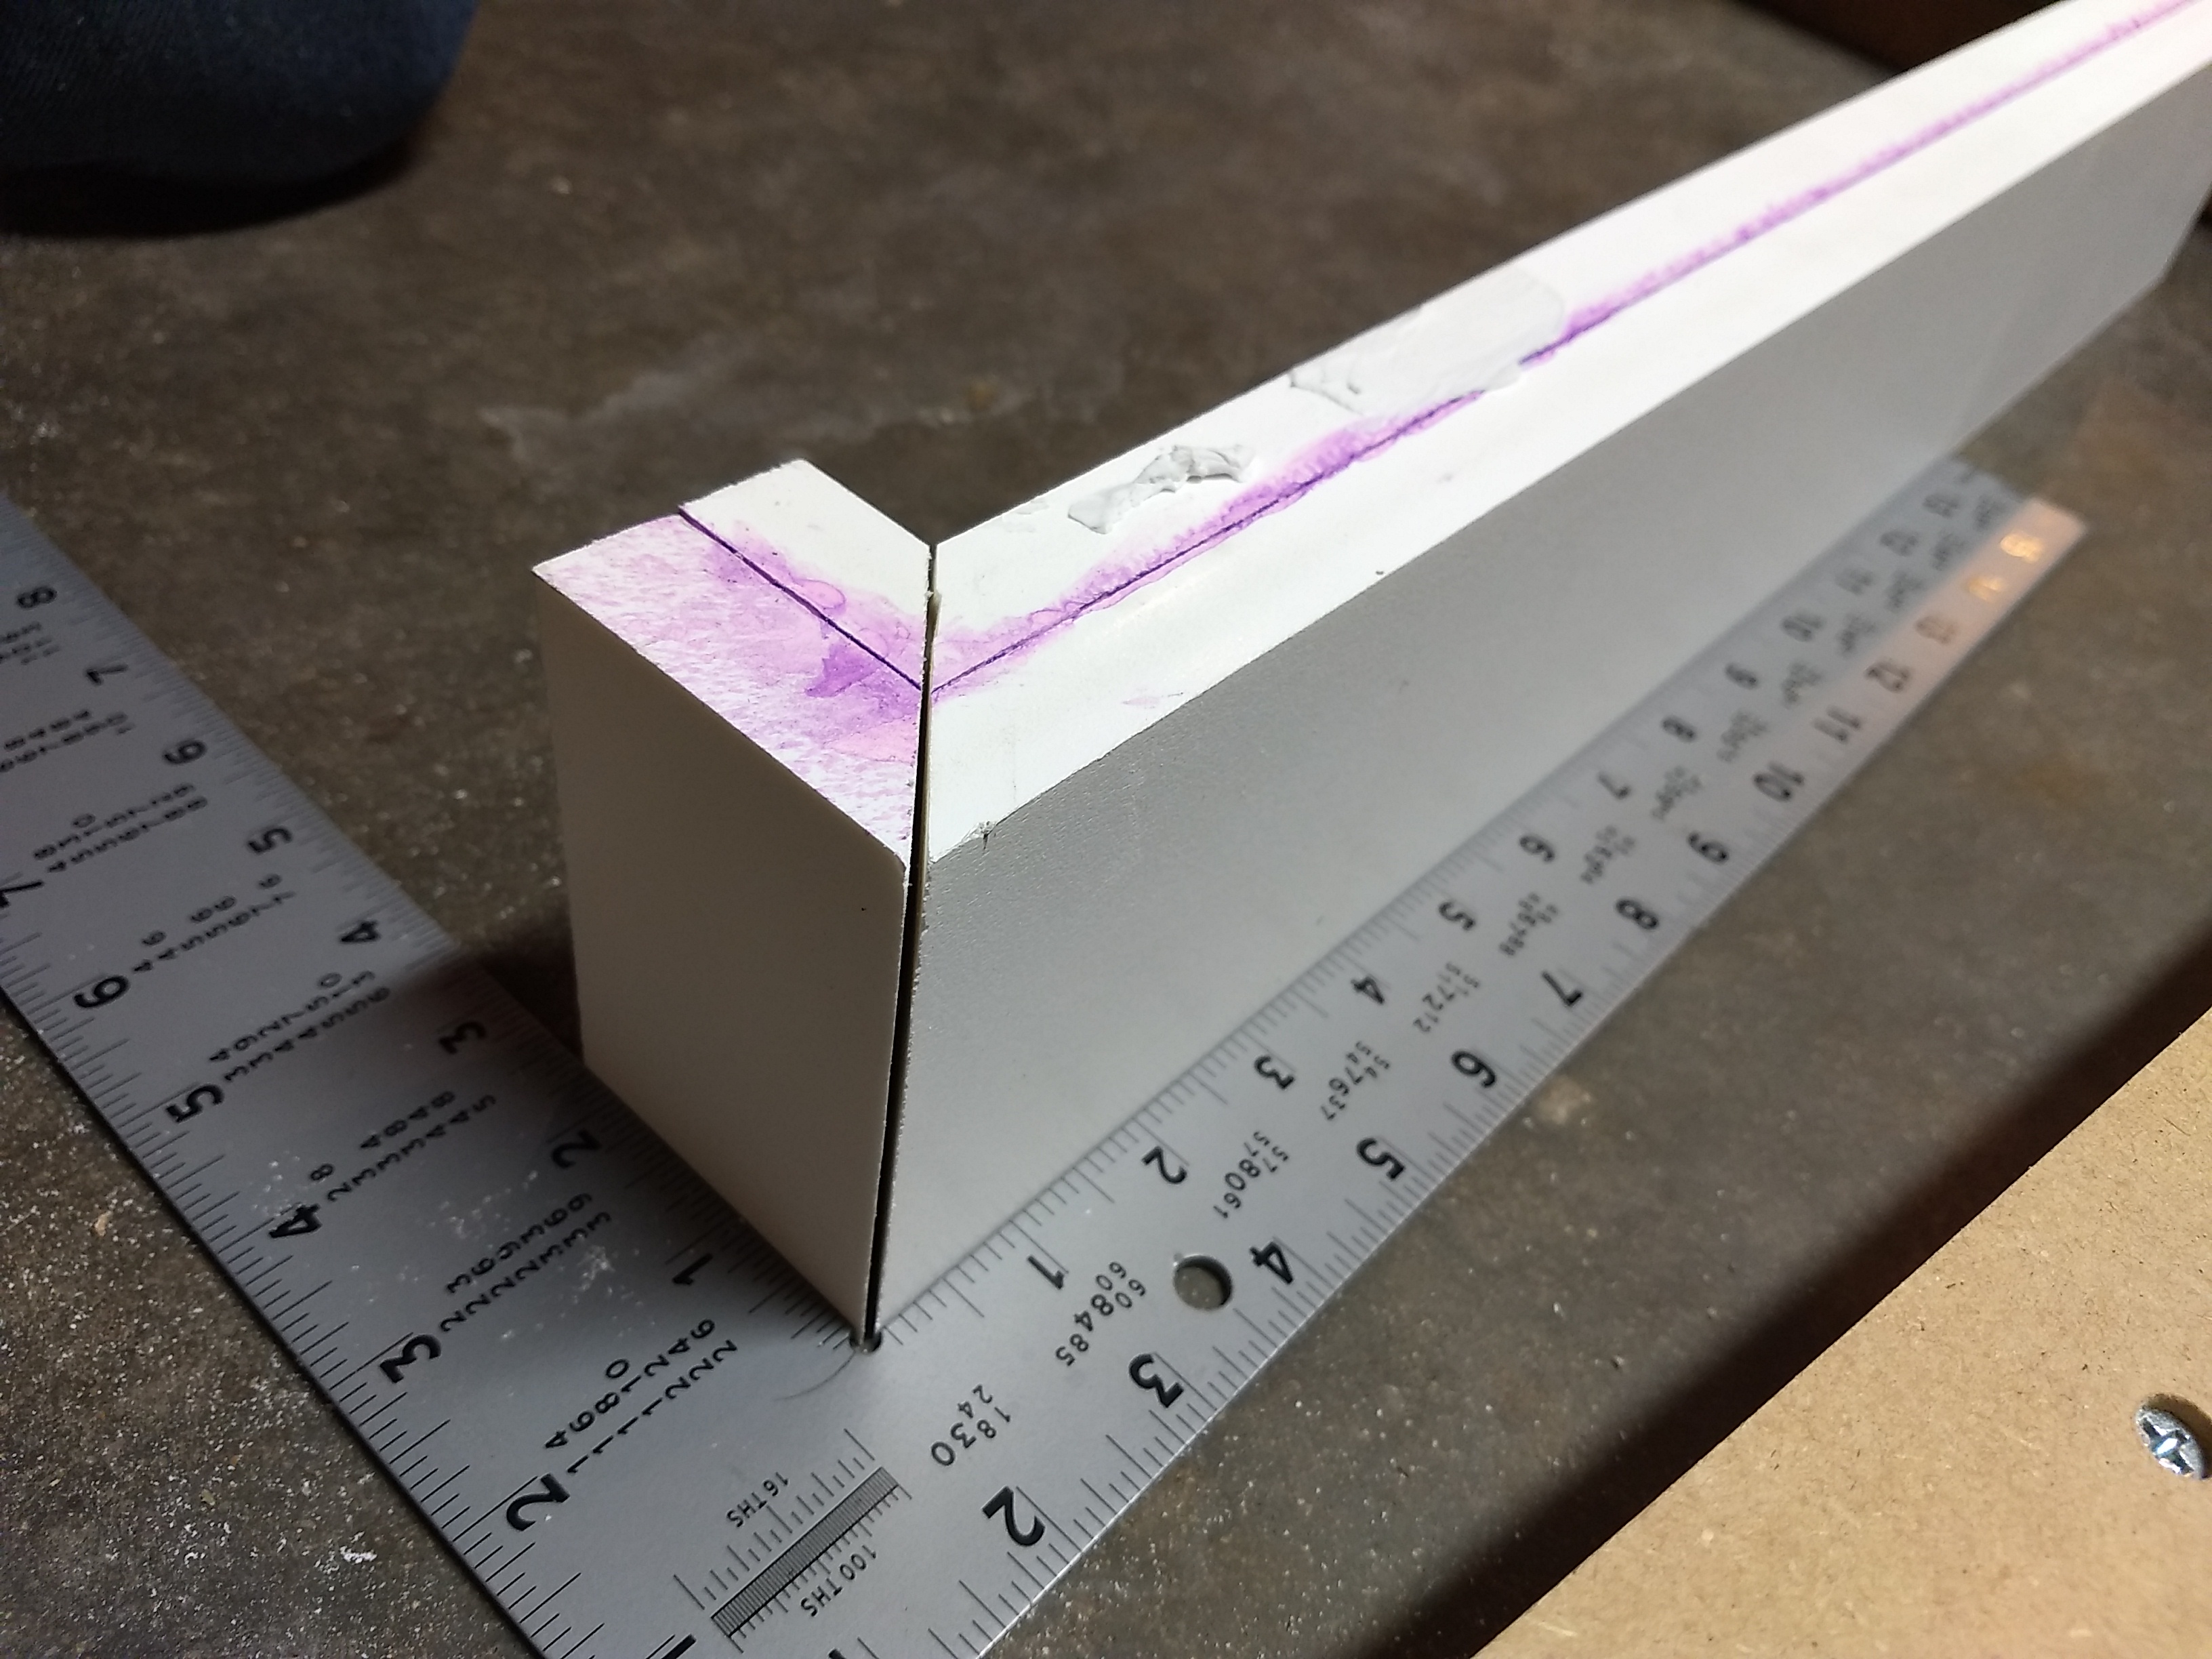
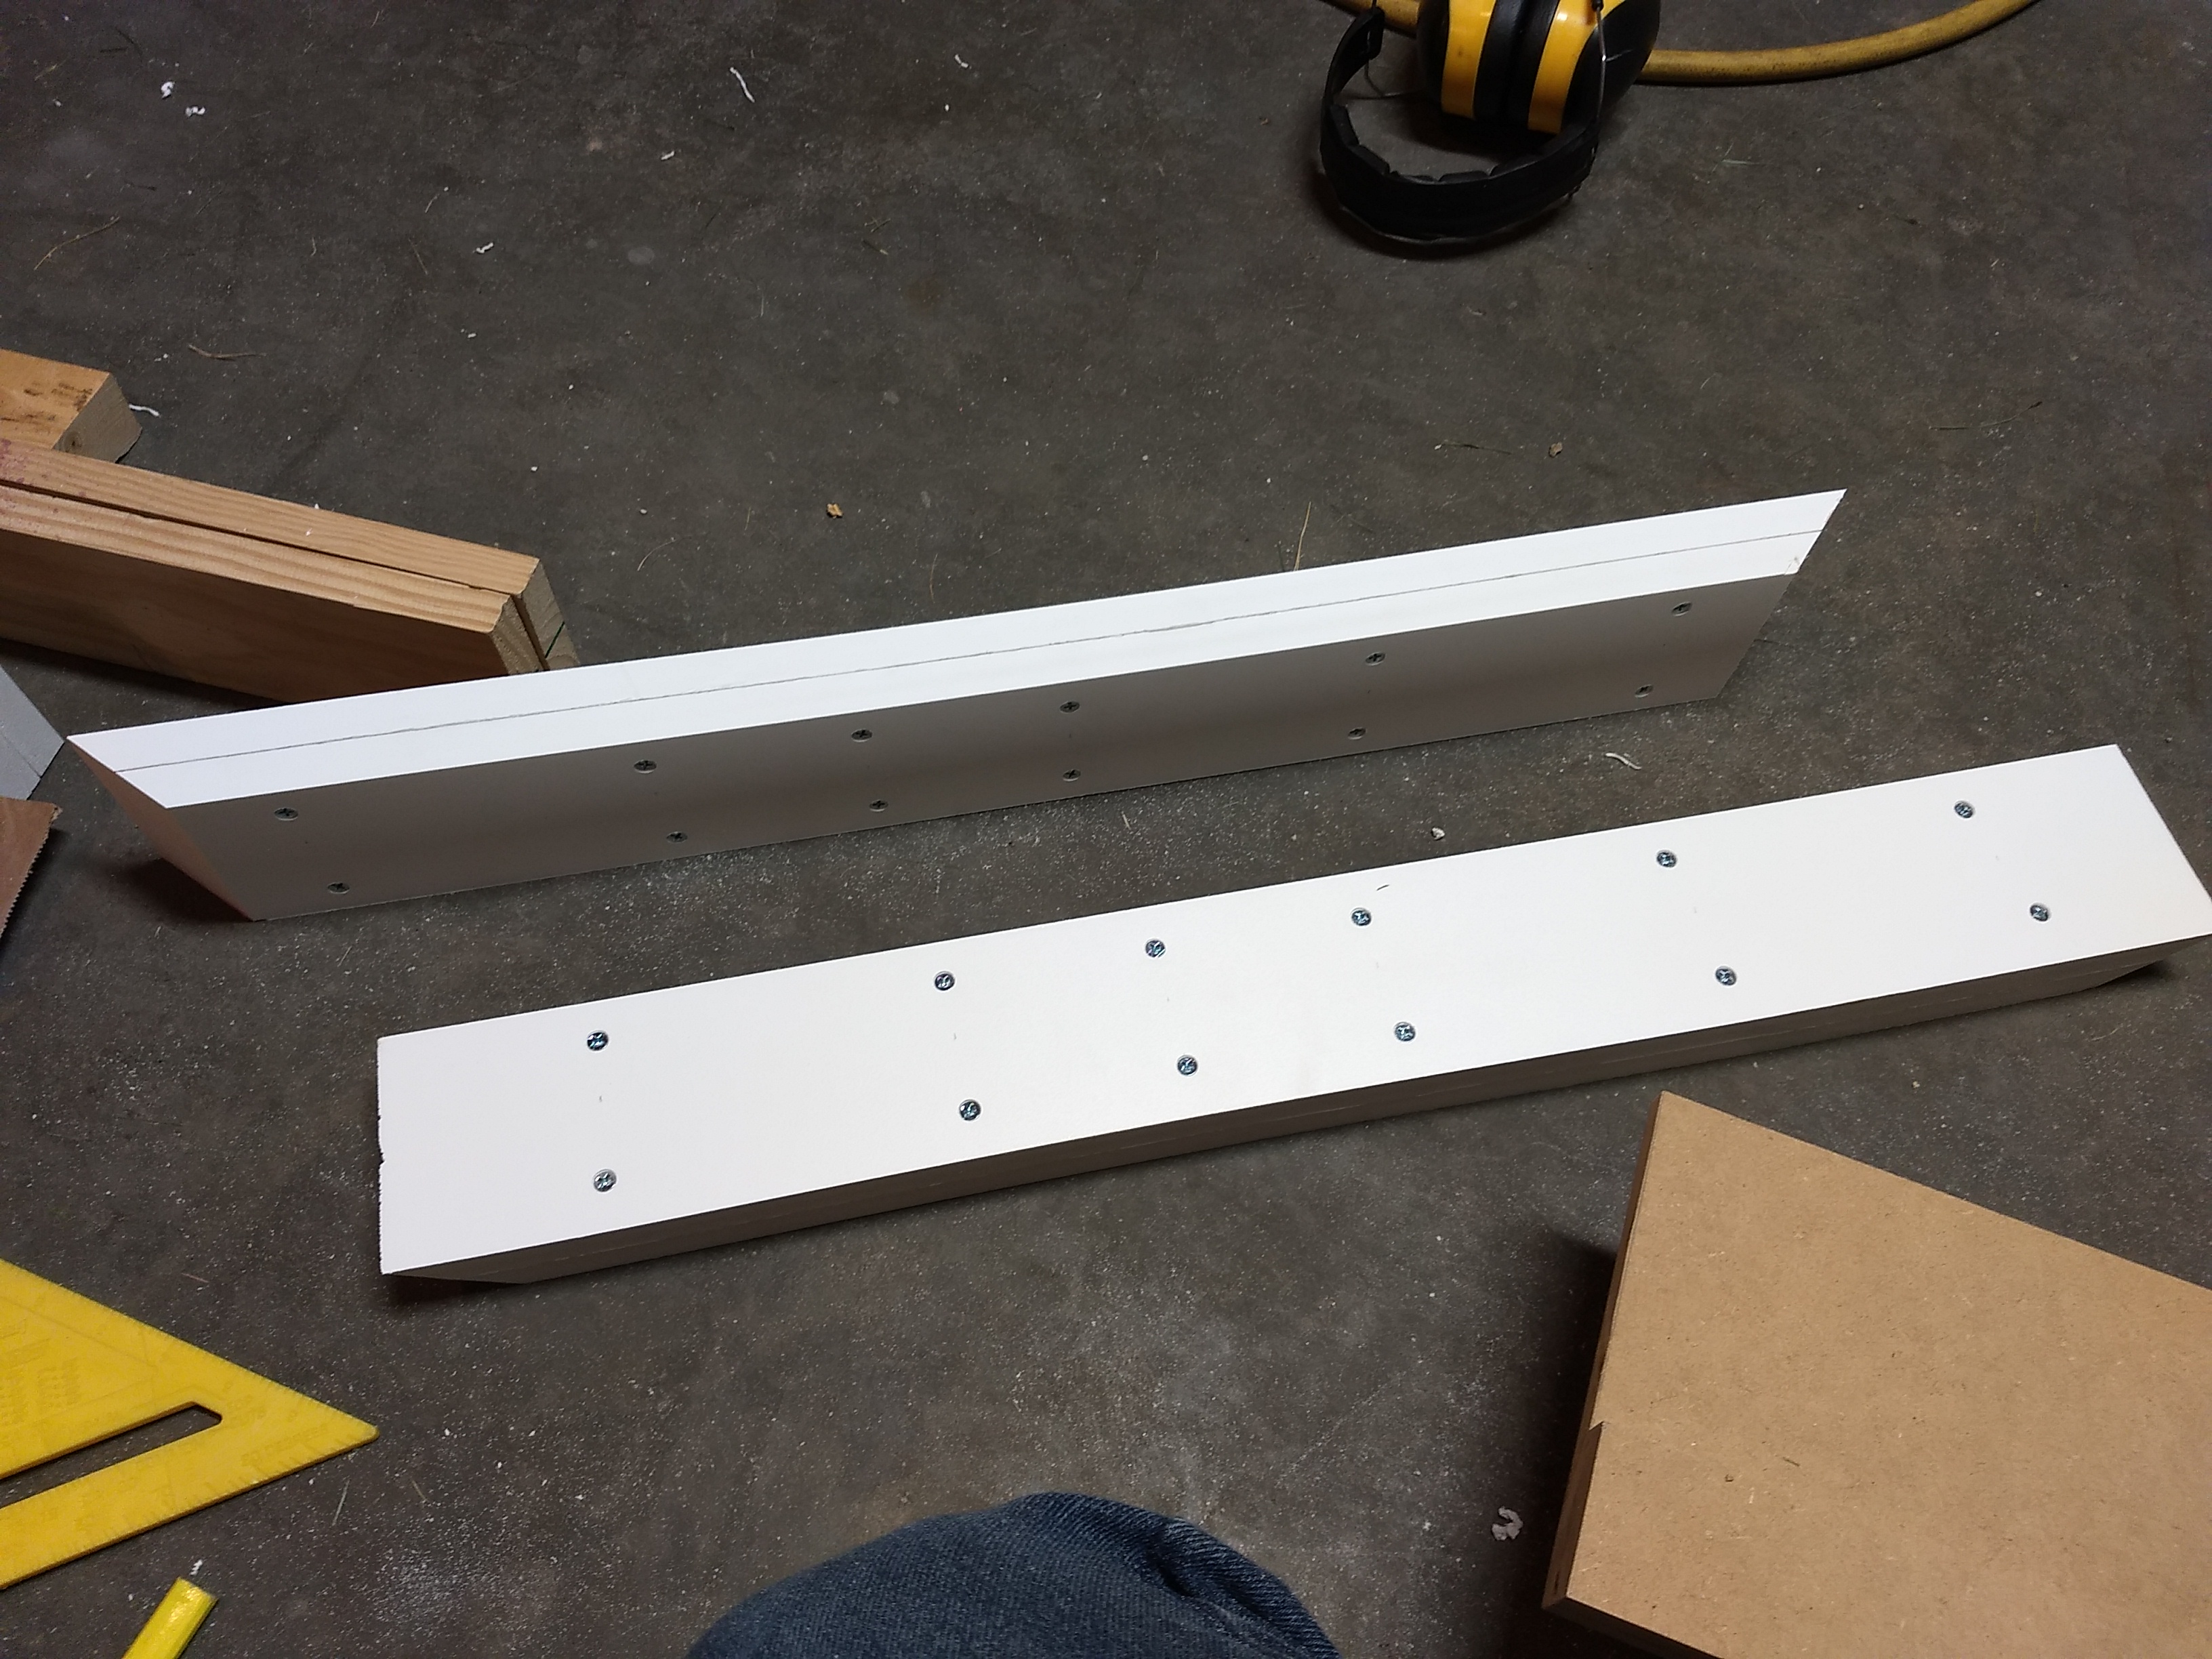
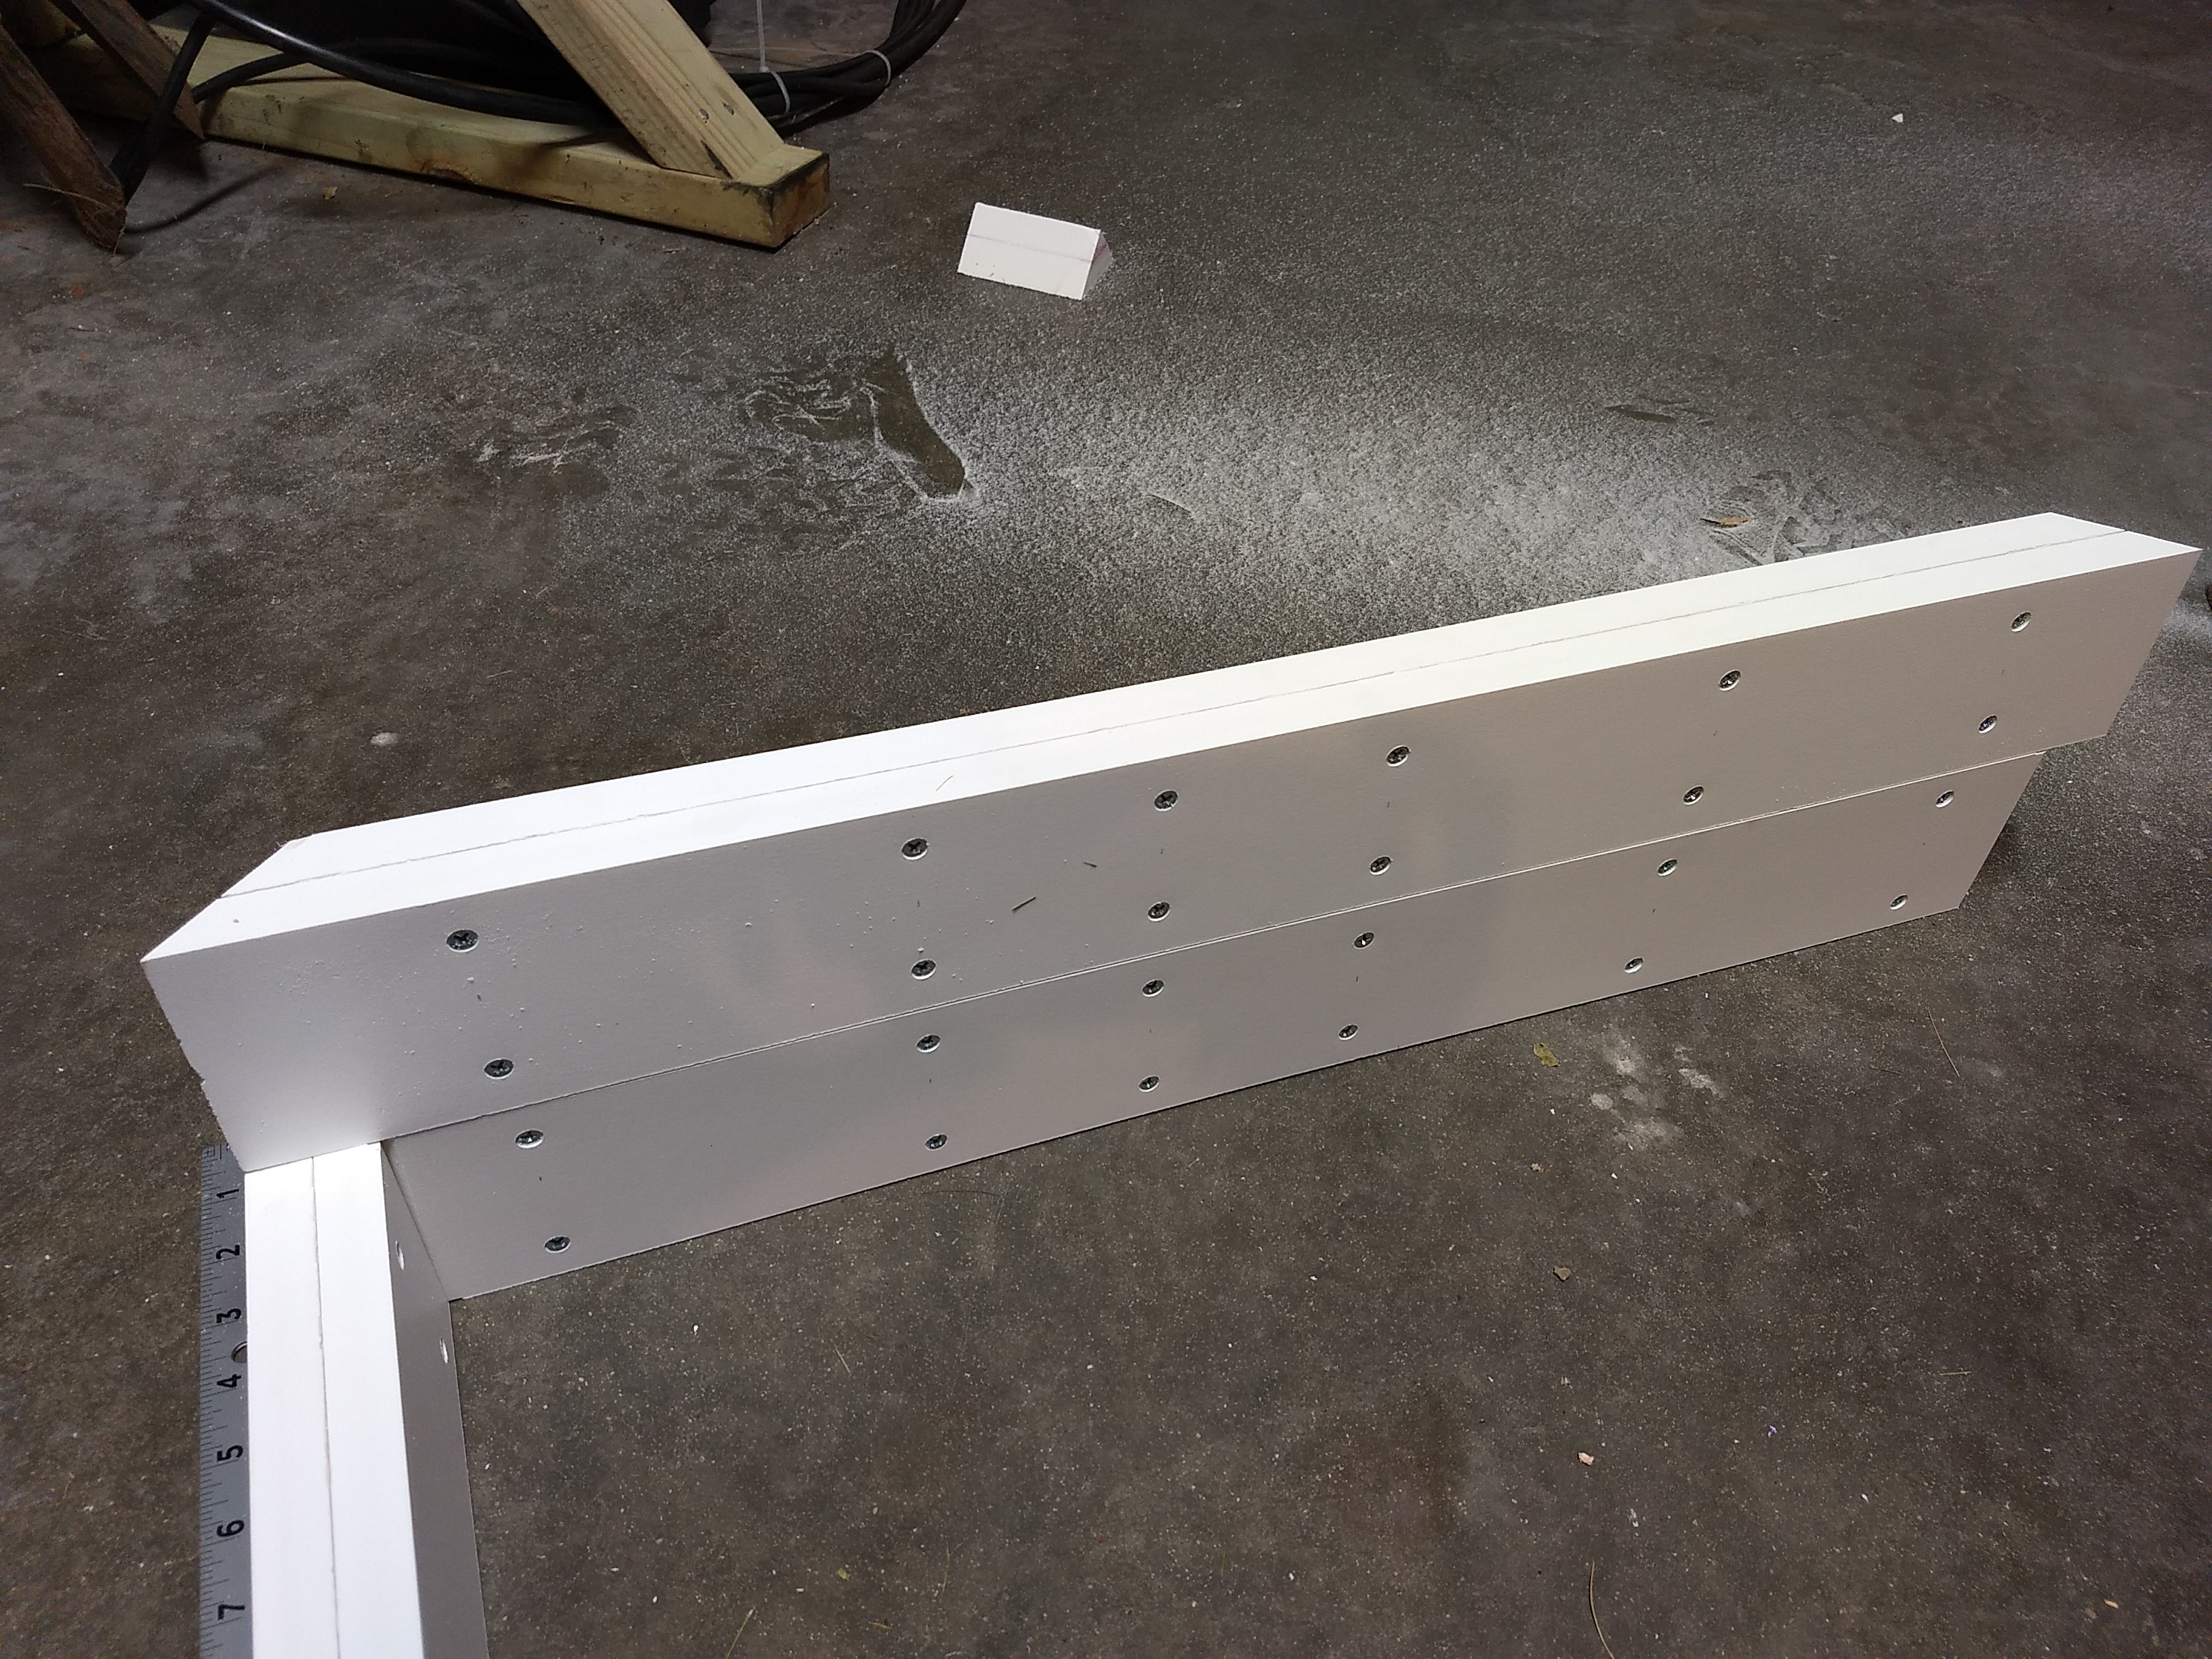
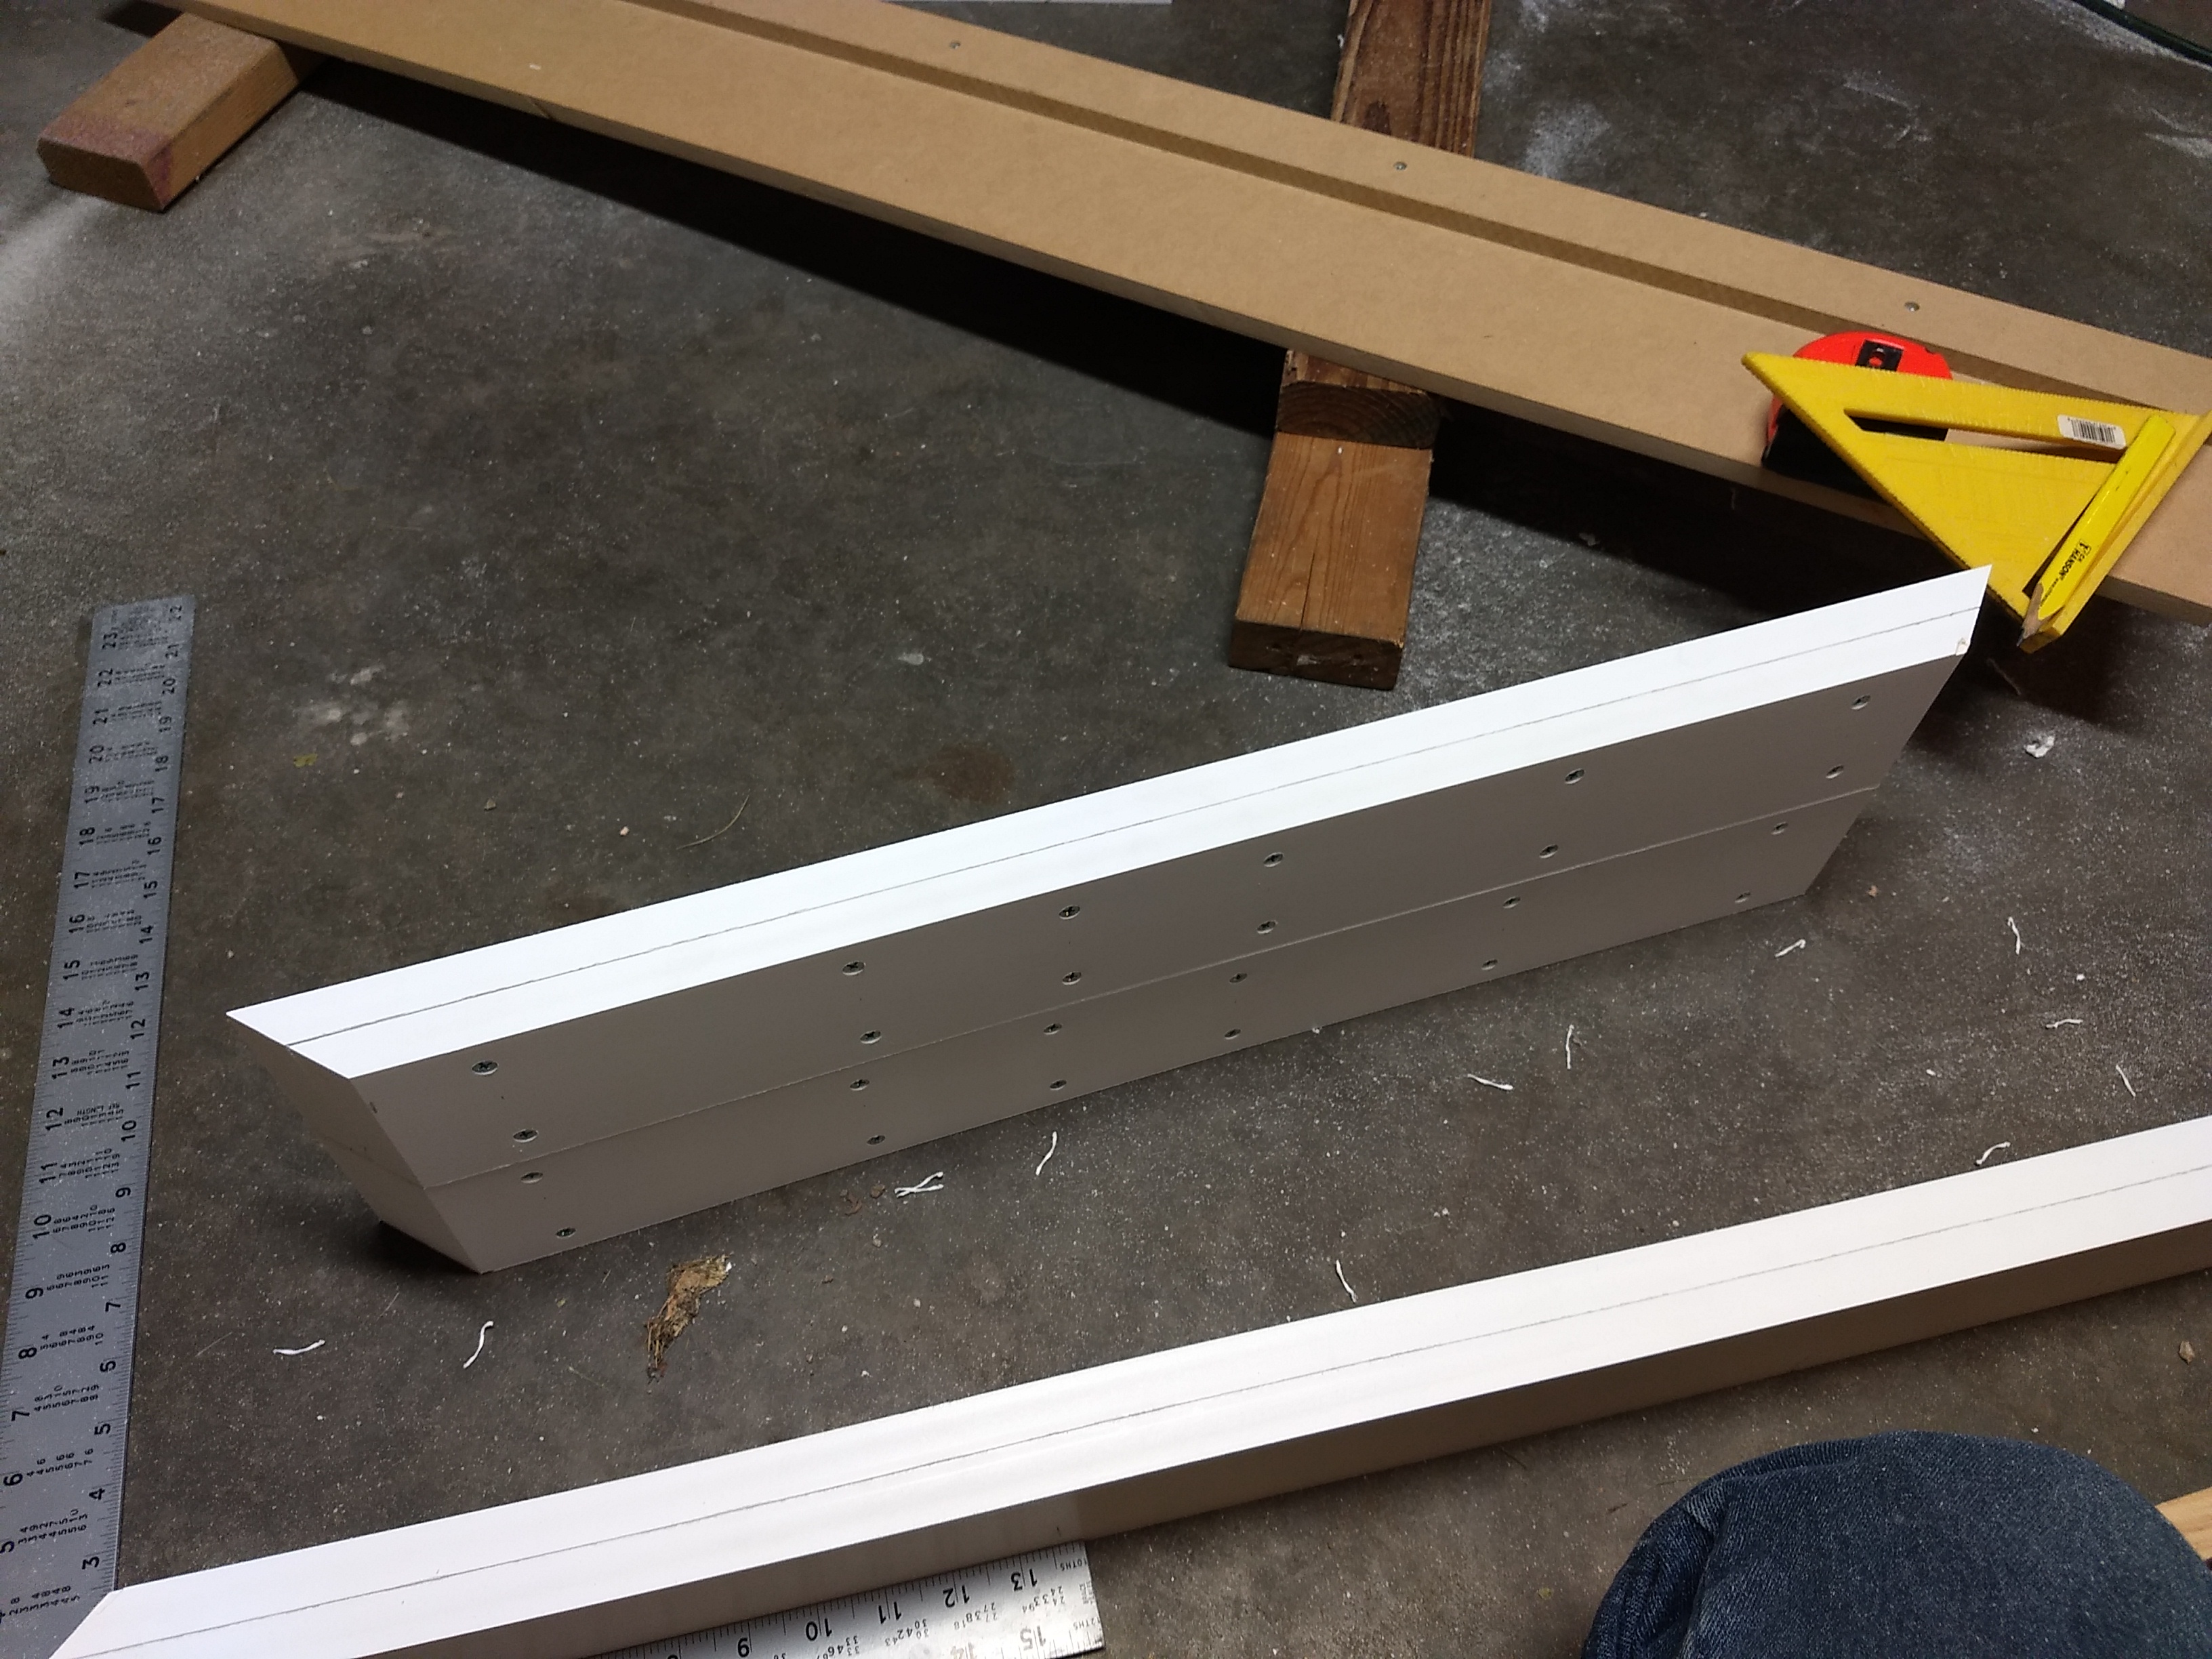
The idea here is that if I leave the freezer white, I can put these PVC trim boards on as a collar and skip painting them and they will more or less blend into the white freezer. Moreso than an unpainted 2x4 collar. With only 3.5", the total "lift height" for kegs is just about 34", or 6" less than my prior build (the old freezer had higher walls in addition to the higher collar I built). I plan on mitering the boards with a 45° angle with my circular saw so you don't see the edge of the board as you would if butt joined. The boards can be glued with any regular PVC pipe cement. I may end up doubling up some boards for strength, especially the rear ones with the hinge mounts, but we'll see how sturdy they are after I build a single wide frame. And the inside will get a layer of foam for extra insulation, though these are approximately R2 per inch so insulation is not strictly needed. But the freezer walls are thick anyway so I may as well insulate up to that thickness.
Anyway, that's where I'm at right now with the build and my thinking. I don't usually draw up plans, just think about things in my head and try them out. Doesn't always work out the best but it usually works out okay. I plan on doing some cutting and gluing of the collar boards later today.
First off, this is my second build, the first was earlier this year. So let's go over that along with lessons learned. My first kreezer was build out of a 1980 Montgomery Ward freezer I got for free. I put a 2x8" collar on it, some insulation on the inside of the collar, and then painted the inside and outside with spray paint. Here's that:
The kreezer had room for 4 or 5 kegs on the floor (can't remember which right now). I had planned 4 faucets total for now, but when I built the collar I went with a 2x8 as that let me put kegs on the compressor hump. That's the first lesson learned, a bit of "scope creep." I was trying to plan ahead for maximum future flexibility. A 2x4 would have been find for faucets, but then I realized a 2x6 would let me put an Ale Pale on the hump for cold crashing if I wanted and then a 2x8 would allow me to put a keg on the hump. But this also meant that I now had to lift kegs over a full 40" high ledge, which isn't terrible but isn't fun either, even if I am 6'05". Also I realized I essentially could no longer reach the bottom to wipe up condensation or spills, which wasn't great either.
Second thing is painting. The paint on the outside is good, but the paint on the foam insulation started reacting to the foam a little bit and flakes off super easy. And the paint inside the kreezer is also peeling. I probably didn't let it dry enough before cooling and it didn't fully cure. I painted that cause there was some rust on the old freezer, but in hindsight painting the inside was not a great choice.
Thirdly was using such an old freezer. Even though it was free, that doesn't mean it's a good idea. This is a lesson I keep teaching myself... I can't remember exact numbers but when running it pulls about twice the current my 2010 era Whirlpool 14 cubic foot chest freezer does, and the walls are pitifully thin compared to modern freezer walls. Just look at the pictures, the 2x8 plus 1/2" foam board is thicker than the actual freezer walls, so it warms up quick and needs to run more often. If I remember somewhat correctly it used over twice the energy (kWh per day) to maintain 38 °F that my larger but newer Whirlpool freezer did to maintain 0 °F. So after a few years it's likely the extra electricity used will pay for a new, better insulated model.
Oh, and the final lesson was don't be an idiot. The starting relay died. I searched for a new model relay, found what I THOUGHT was the right relay, and ordered it. I then took apart the old relay to see what failed and then threw it away BEFORE THE NEW ONE CAME. Got the new one and it wasn't the right model, but because I threw away the old one I couldn't get the part number to do another search for the right relay. I rigged up a switch that let me manually start the kreezer but I had to manually start and stop it so it only worked for dispensing under close supervision. I intended to get some SSRs and make my own "starting relay" but never got around to it. Eventually I decided we should just get a new freezer, and my wife approved.
We ordered and just received a Frigidaire FFFC15M4TW 14.8 cubic foot chest freezer for kreezer #2. The idea is plenty of room for kegs without needing to put any on the hump. And I'd also like to put the CO2 tank inside the freezer, where it's more secured from falling and not taking up room outside the freezer. I didn't do that initially cause I heard the "condensation ruins regulators" argument, and later realized that's a non-issue from people who do inside tanks on here. Plus I'll have silica gel on the new build so there shouldn't be any condensation anyway.
Anyway, here is the new freezer. As you can see, lots of room for kegs. At least 8 kegs on the floor, perhaps 10 (I'll try a "keg shuffle" later to figure out the actual number), and if you built a higher collar two more on the hump. But I'm not going to do that, and just use the hump for bottled or canned beer storage, and keep the collar short.
I thought about wood, and while that can be nice, it's also more work to look nice. Then I remembered you can get PVC sheets, I got one for a project in the past (can't remember off the top of my head). I did a search and found PVC trim boards, that come in 1x nominal sizes (so a 1x4 is actually 0.75" x 3.5" just like wood). I browsed at the Home Depot and found a 5/4x4, which is actually 1" x 3.5", and picked that up.
The idea here is that if I leave the freezer white, I can put these PVC trim boards on as a collar and skip painting them and they will more or less blend into the white freezer. Moreso than an unpainted 2x4 collar. With only 3.5", the total "lift height" for kegs is just about 34", or 6" less than my prior build (the old freezer had higher walls in addition to the higher collar I built). I plan on mitering the boards with a 45° angle with my circular saw so you don't see the edge of the board as you would if butt joined. The boards can be glued with any regular PVC pipe cement. I may end up doubling up some boards for strength, especially the rear ones with the hinge mounts, but we'll see how sturdy they are after I build a single wide frame. And the inside will get a layer of foam for extra insulation, though these are approximately R2 per inch so insulation is not strictly needed. But the freezer walls are thick anyway so I may as well insulate up to that thickness.
Anyway, that's where I'm at right now with the build and my thinking. I don't usually draw up plans, just think about things in my head and try them out. Doesn't always work out the best but it usually works out okay. I plan on doing some cutting and gluing of the collar boards later today.


![Craft A Brew - Safale S-04 Dry Yeast - Fermentis - English Ale Dry Yeast - For English and American Ales and Hard Apple Ciders - Ingredients for Home Brewing - Beer Making Supplies - [1 Pack]](https://m.media-amazon.com/images/I/41fVGNh6JfL._SL500_.jpg)