• Please visit and share your knowledge at our sister communities:
  • If you have not, please join our official Homebrewing Facebook Group!

    Homebrewing Facebook Group

Pics of your all grain setup

Homebrew Talk

Help Support Homebrew Talk:

This site may earn a commission from merchant affiliate links, including eBay, Amazon, and others.
It's been 7 1/2 years of constant change.

Started inside with a Mr Beer.

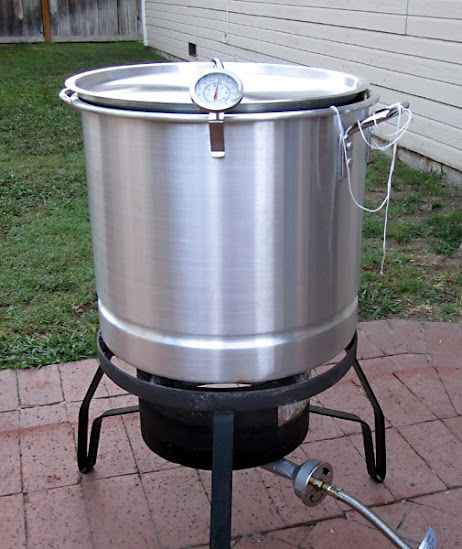
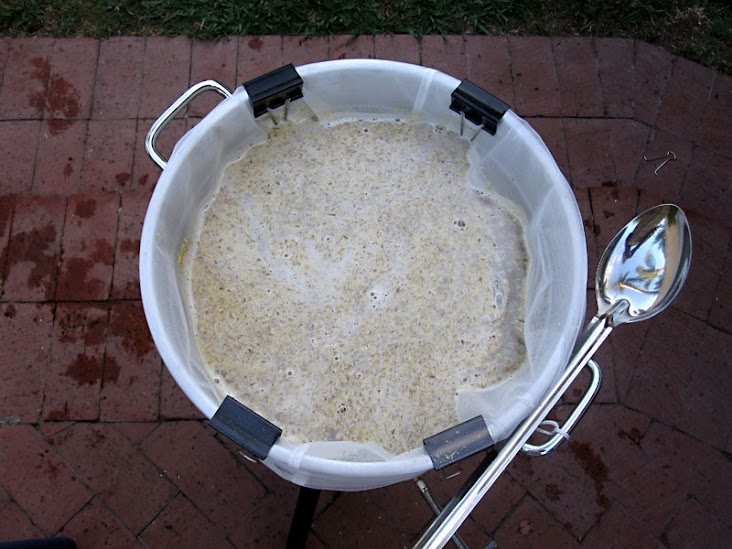
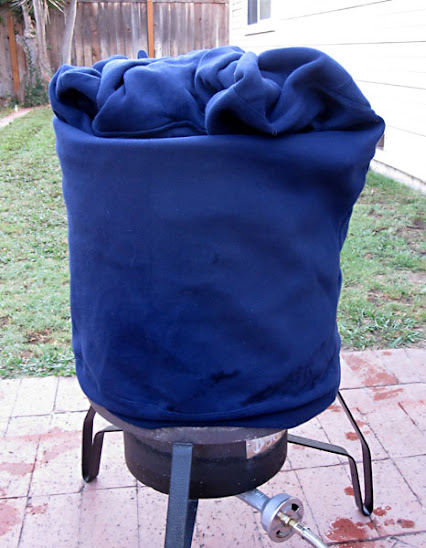
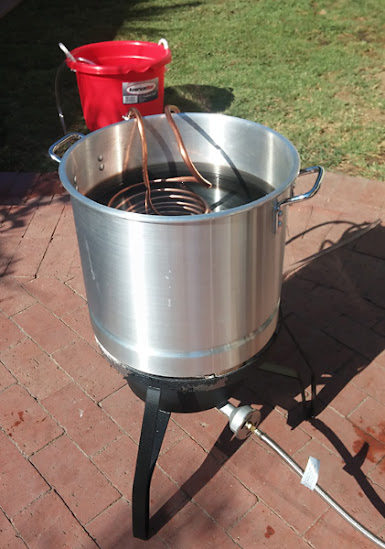
Moved outside using a turkey fryer set-up.

Tweaked the kitchen stove so that I could do 10 gallon boils and moved back inside.

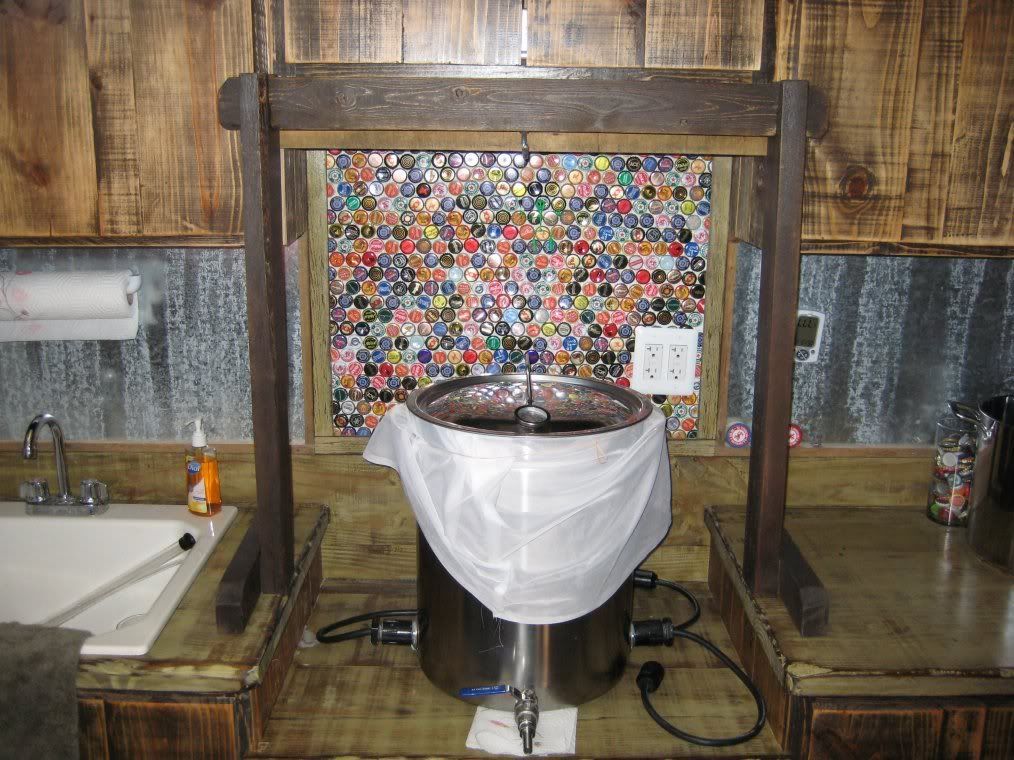
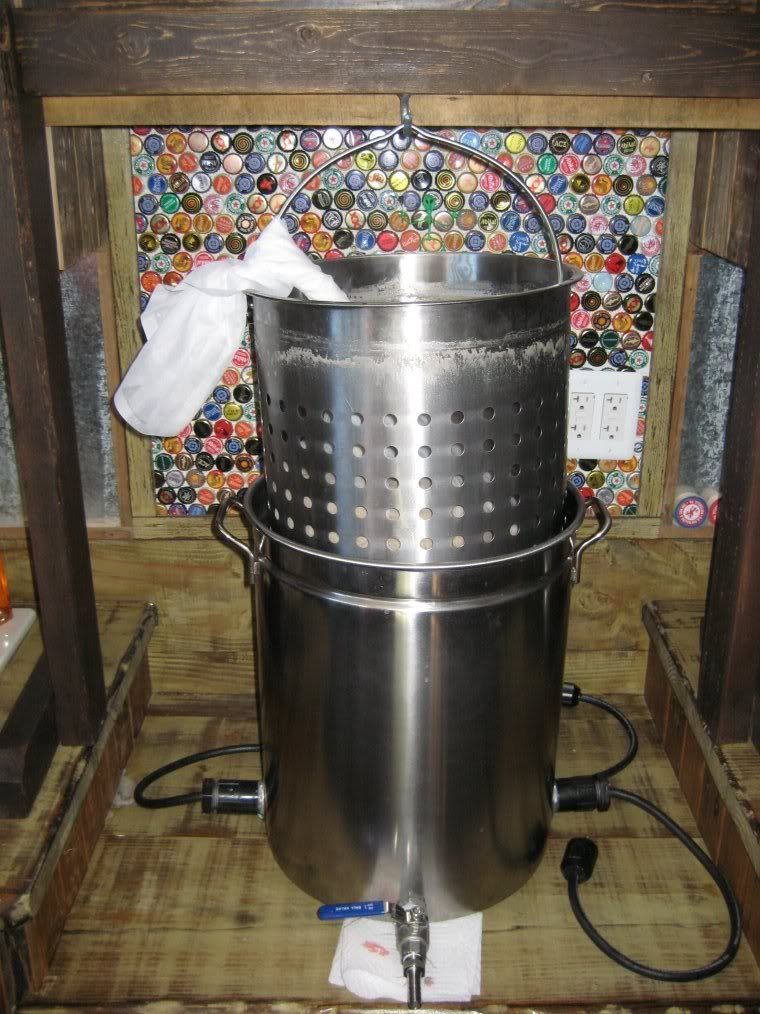
Went low-tech electric and moved to the other side of the kitchen.

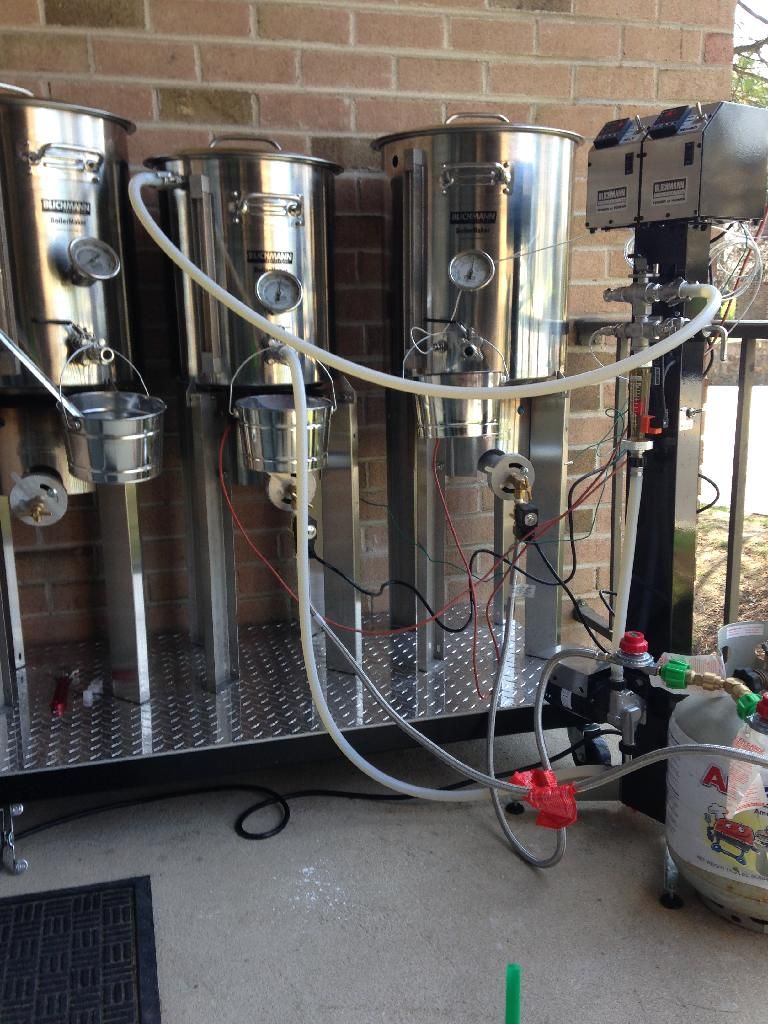
Most recent upgrade is a port in the boil kettle for whirlpooling.

Brewday140629-5.jpg


whirlpool_05.jpg
 
I mash in the kitchen to save some propane, plus I haven't built a stand yet. Drain into a pot and dump in my keggle on the banjo burner outside. The keggle pic is from my old duplex. Plan on using the small shed in the last pic to brew in as soon as I get some money together to build a stand.

1411738932361.jpg


1411739040679.jpg


1411739058473.jpg


1411739275936.jpg
 
So, couple of questions then. You must be heating sparge water separate, do you lose much temperature when you dump it into the cooler? How big is your brew pot? Also, I thought aluminum was a no no?


Sent from my NSA monitored iPhone.

Yes, I heat my sparge water while the mash is going on and dump it in the cooler. One of these days I'll remember to measure it. I heat to about 175 and I figure whatever it ends up on will be good enough.

Aluminum is fine as long as you treat it right - but you'll find plenty of discussion on both sides. Based on the scraps of science I could pull out of those discussions, aluminum is IMO a better choice than not brewing at all.
 
ImageUploadedByHome Brew1411818359.290551.jpgImageUploadedByHome Brew1411818426.155516.jpg

1/4 keg batch of hefeweizen boiling that I cooler batch sparged this morning.

Overall view of the basement E-brewery / kettle collection. 2 2000 w heat sticks on 20 amp gfi circuits allow heating or boiling in assorted vessels. Window fan behind kettle to vent steam.

I keep it pretty simple, either batch sparging with a cooler MT, or BIAB.
Cheers!


Wilserbrewer
Http://biabbags.webs.com/
 
Since I've only done one all grain batch, BIAB, I suppose this qualifies as my all grain setup.

[/IMG]

That's really all you need! I might suggest a digital stick thermometer, you can pick one up for 10 - 20 bucks. Not sure I would trust the thermo that comes with a turkey fryer?

My apologies if that's not what I'm looking at.
 
That's really all you need! I might suggest a digital stick thermometer, you can pick one up for 10 - 20 bucks. Not sure I would trust the thermo that comes with a turkey fryer?

My apologies if that's not what I'm looking at.

I have one. That's just one I picked up at the LHBS to let me know what ballpark I'm in. But they track right on.
 
I see a lot of guys using kegs, those are aluminum right? Then what's the fuss over stainless? Are there off flavors from aluminum? Or is it a Ford v. Chevy argument?


Sent from my NSA monitored iPhone.


Kegs are stainless.


Sent from my iPhone using Home Brew
 
Here's my ghetto setup. Bottom right is the natural gas wok burner that I built for short money that was one of the best things I have done for this hobby. Never worry about running out of gas.

WP_20140712_001.jpg
 
^^^^are there oxidation issues during the boil?


Sent from my NSA monitored iPhone.

You should passivate an aluminum kettle before using it the first time. Fill it full of water and boil for 30-60 minutes. This will form a dark layer of oxide on the inside of the kettle which is very non-reactive. You only have to do it once unless you scrub the oxide layer off, which is not easy.
 
Here's my gravity fed system. I use the pump at the end to send the hot wort through the Therminator.

That's a super nice, practical way of setting it up - on your garage wall like that. When we move into a house next year, I'll have to do something similar. Thanks for the idea!
 
Cooler mash tun with RIMS tube in the foreground; background is a twin burner Campmor stove, boil kettle, and HLT. Not shown is my RIMS controller box. I plan on building a stand out of strut material once I figure out the best layout for the RIMS tube, pump, chiller, and controller. Except for the sparge water, all of the liquids are moved using the pump.

img_0021-63864.jpg


And yes, that's really the color of our house!
 
Here is our his and hers 15 gallon sculptures.We brew roughly one day a month and make about 250 gallons a year.We're in our ninth year.ImageUploadedByHome Brew1412384607.650629.jpg


Sent from my iPad using Home Brew
 
Old School works well.

I built this when I decided to go to 10 gal batches.
IMG_0449_zpsd1f6b575.jpg


All Electric RIMs , the HLT and RIMS tube are PID controlled, the boil kettle is manually controlled.
I use 3 Pumps (all are 12VDC) and are small enough the mount to the cam lock fitting on the 3 vessel's ball valves.
 
Back
Top