jm_maclaren
Active Member
- Joined
- Nov 13, 2020
- Messages
- 30
- Reaction score
- 6
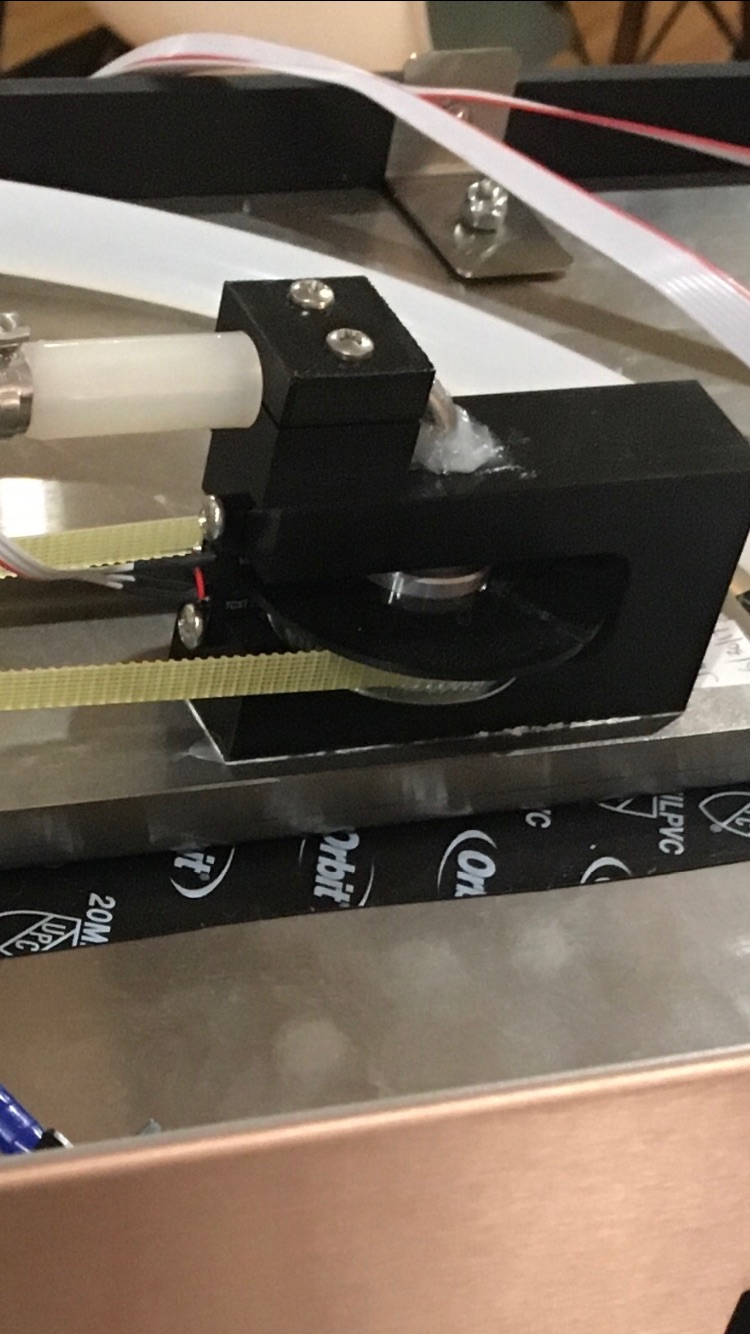
Thanks. Fortunately after the PBW deep clean I did not have any noticeable gunk in the keg. But the heater and wort curves tracked nicely. I'll make sure to do two rinses after the citrus acid rinse. I am swapping between the Zymatic and a pico pro using the pico-free box. I brewed a couple of batched with the pro and got really nice efficiencies (70% on one where the OG the overshot and 80% on one where based on that efficiency I lowered the grain bill from 35lb of 2 row to 2.5lb 2 row and 1/4 of carapils and 1/4 of crystal ended up at 1066. I bottled them today so wont get to taste for a while.Oh that is a good question... Don't know if I wrote that down, but I think I usually throw in 1Tbsp per gallon. I've started doing a citric acid rinse after each deep clean (every 3 cleans). Which since I switched to cleans every 2 sessions instead of 3 that is usually after 6 brew sessions. Remember after the citric acid to run at least 1 rinse, but I'd recommend even 2 if you have the patience and time.


![Craft A Brew - Safale S-04 Dry Yeast - Fermentis - English Ale Dry Yeast - For English and American Ales and Hard Apple Ciders - Ingredients for Home Brewing - Beer Making Supplies - [1 Pack]](https://m.media-amazon.com/images/I/41fVGNh6JfL._SL500_.jpg)


.jpeg")