
I started the planning for an electric brewery the moment that I saw Kal's build. Not one to settle with the road already walked, I started working on my own plans.
I knew that I would not be expanding from 5 gallon batches since I'm the only beer drinker. I spent some time considering my brew process and drew up requirements.
1. A stationary 5 gallon system
2. Eliminate heavy lifting as much as possible
3. Clean in place
4. Brew back to back batches
5. Repeatable process, minimize human error
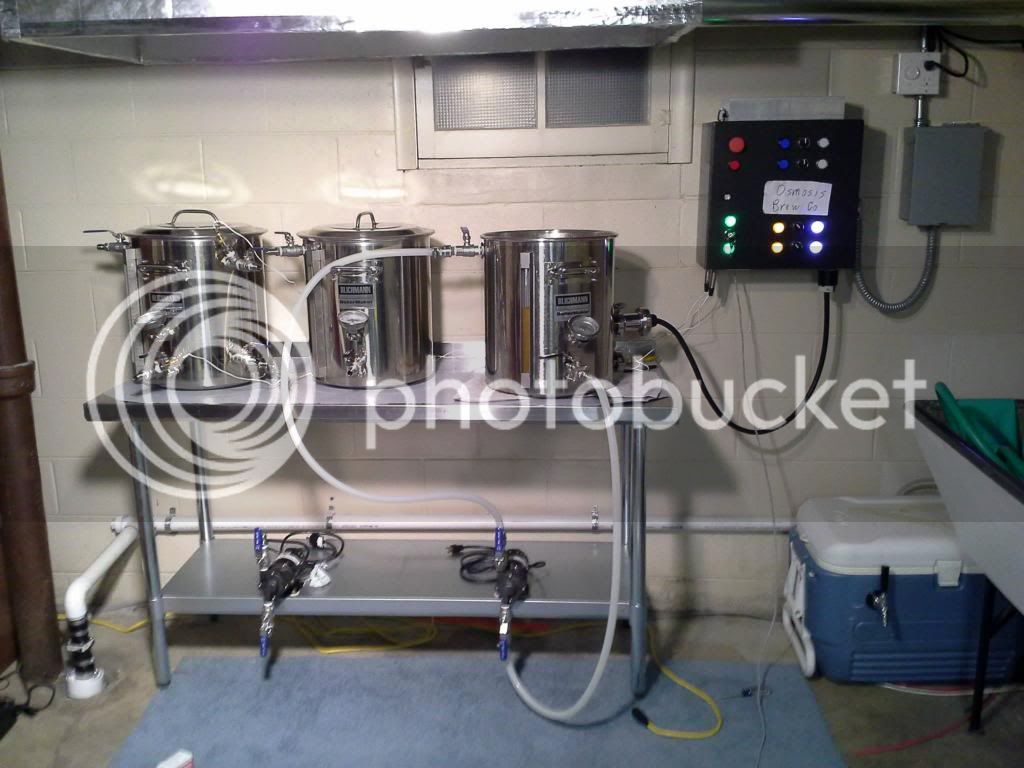
Based on the requirements, I knew that I would need a basement, single tier system. 10 gallon pots, ventilation, plumbing and electrical. I also knew that PIDS would not provide the type of experience that I wanted. I started looking at arduinos, the raspberry pi, brewtroller, etc. In the end, I settled on the BCS 460 primarily due to the interface and ease of use.
Over 6-8 months, I slowly gathered the brew pots, chiller, pumps, etc. Most pieces were bought off craigslist or HBT classifieds.
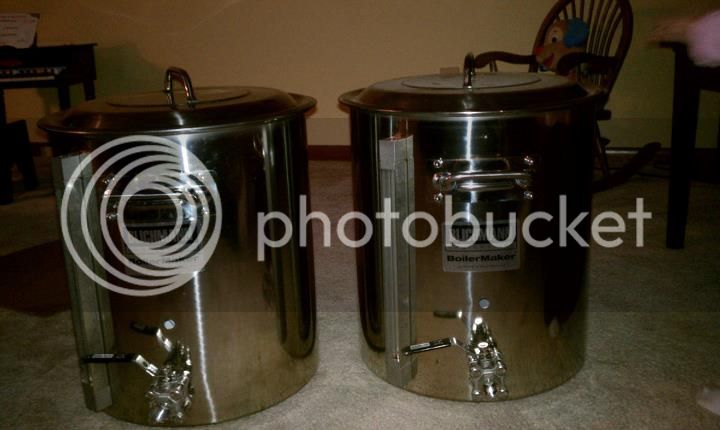
I also knew that I wanted to avoid Kal's weldless design while still being able to remove the elements for cleaning and replacement. Solution: Tri-clamps.
https://www.homebrewtalk.com/f16/lo...-south-chicago-336924/index2.html#post4255187
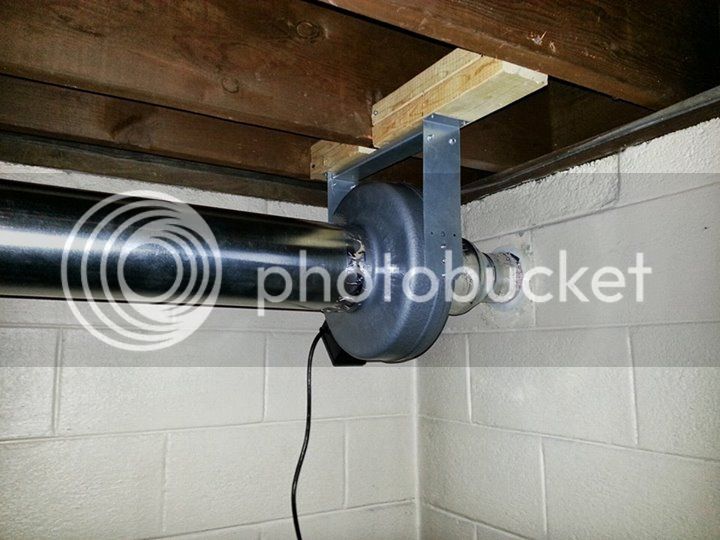
After researching ventilation and plumbing ideas, I stole Kal's solution for the exhaust fan and faucet.
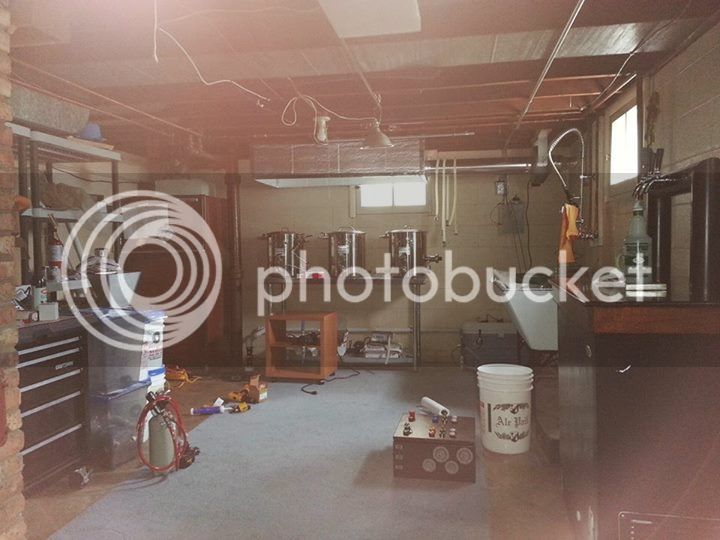
This is a terrible picture, but you can see the 'ferm chamber' fridge on the left. Laundry sink and faucet on the right.
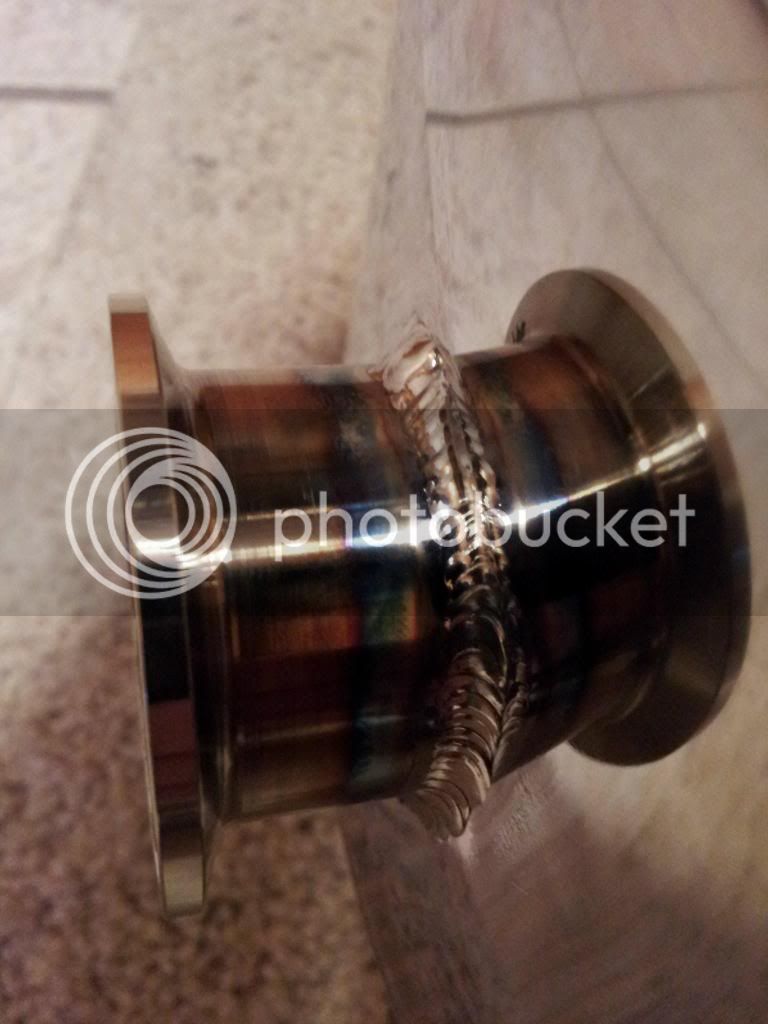
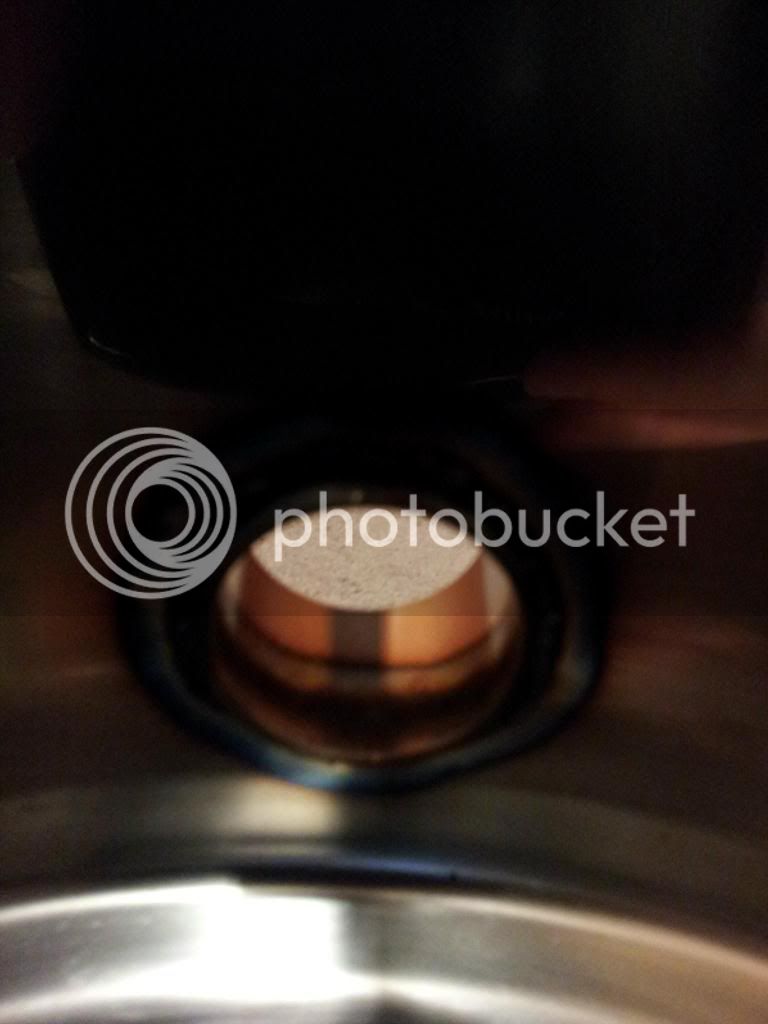
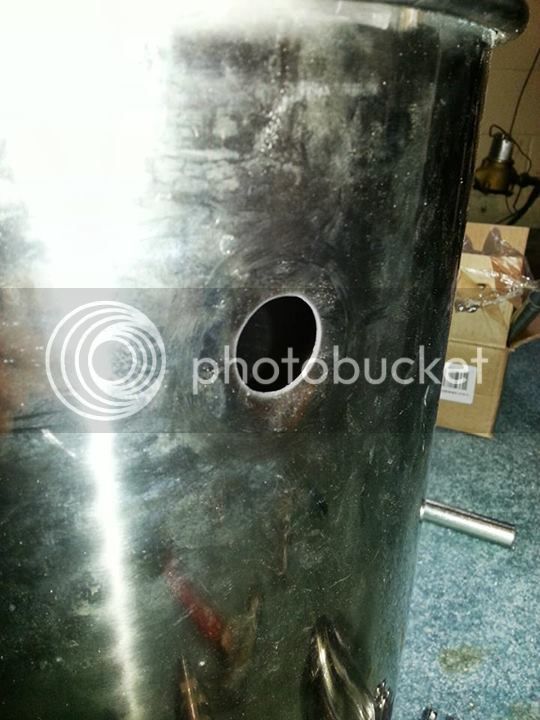
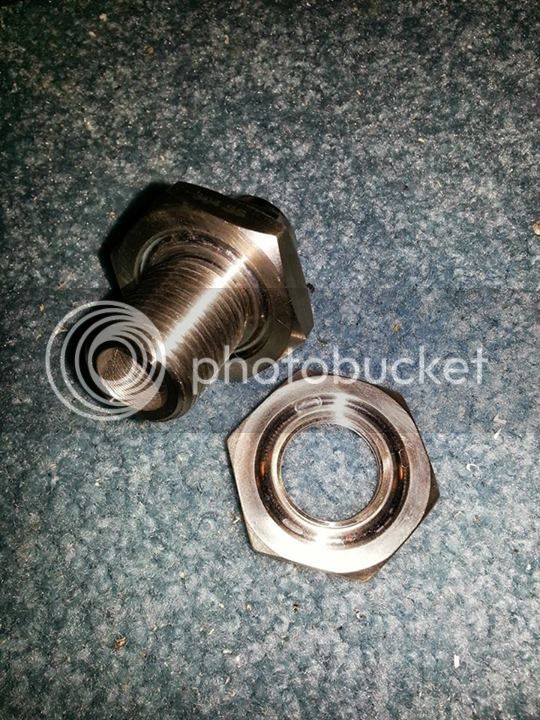
The thought of drilling holes in the Blichmann pots was terrifying, however, the greenlee step bit made easy work of it. The holes came out pretty clean with very little burr removal needed.
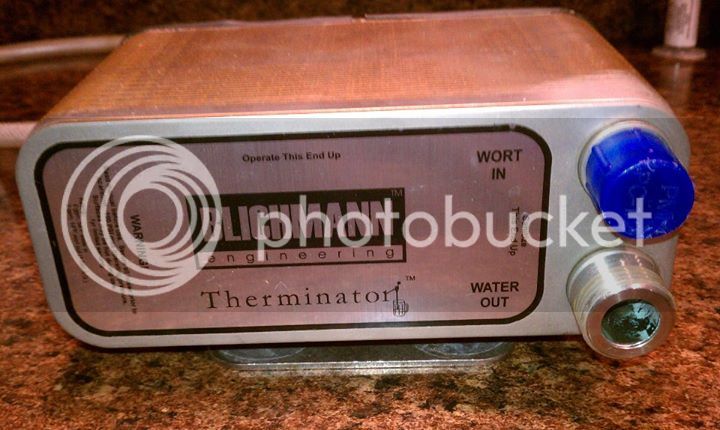
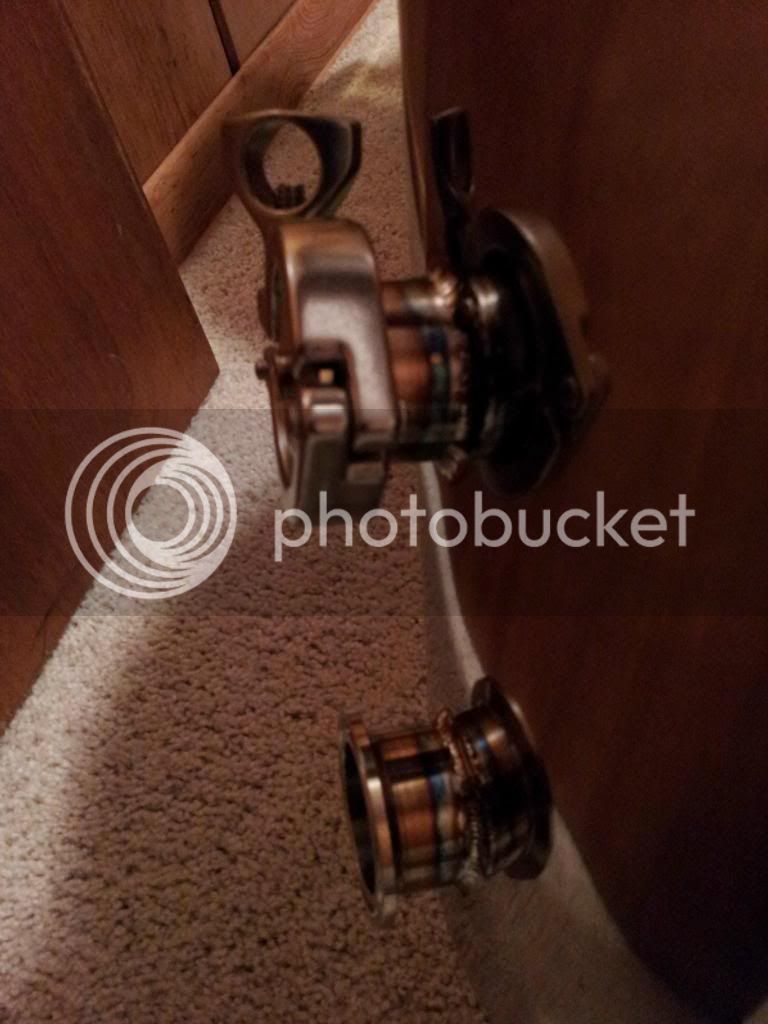
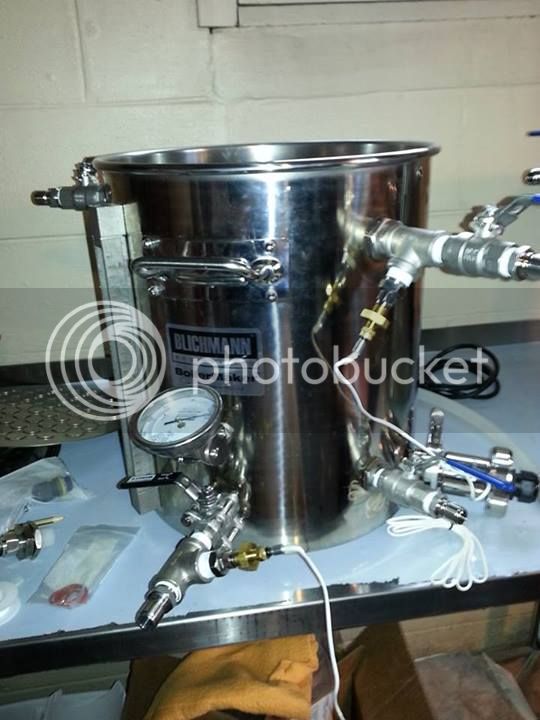
I found weldless connections on Brewers Hardware. The HERMS coil and ball valves were purchased from Stainless brewing.

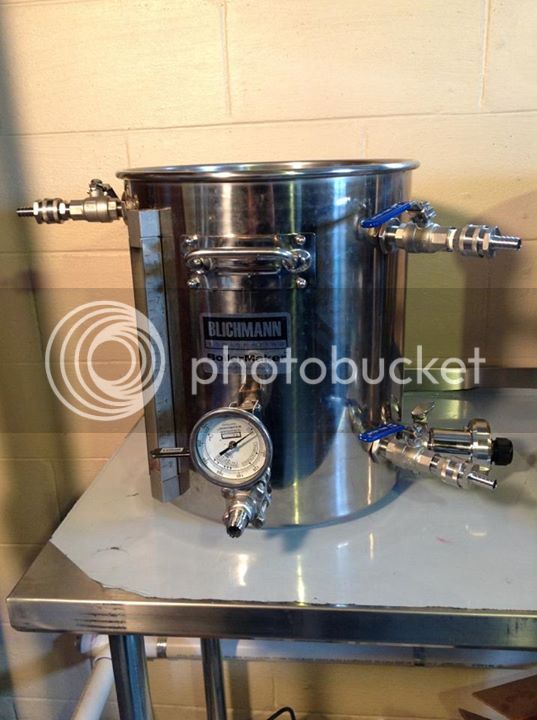
Temperature probes were added to the HLT and HERMS coils outputs. I need to do some testing to determine if I want the HERMS to flow from the top or bottom. For now, the output will be the top port.
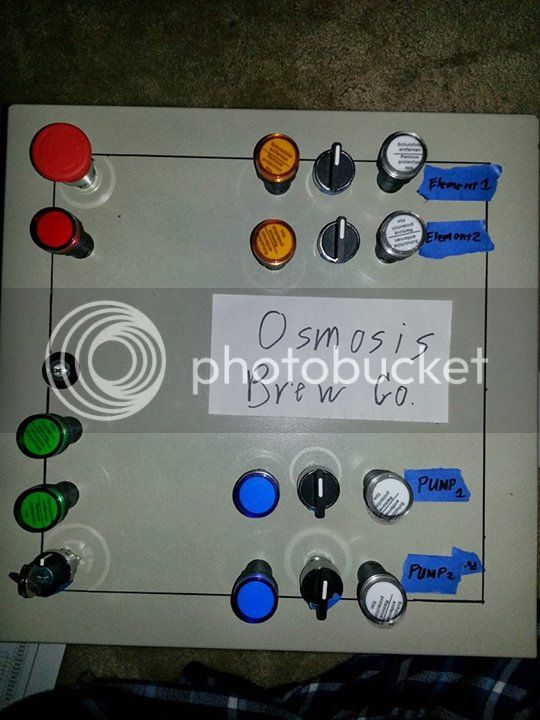
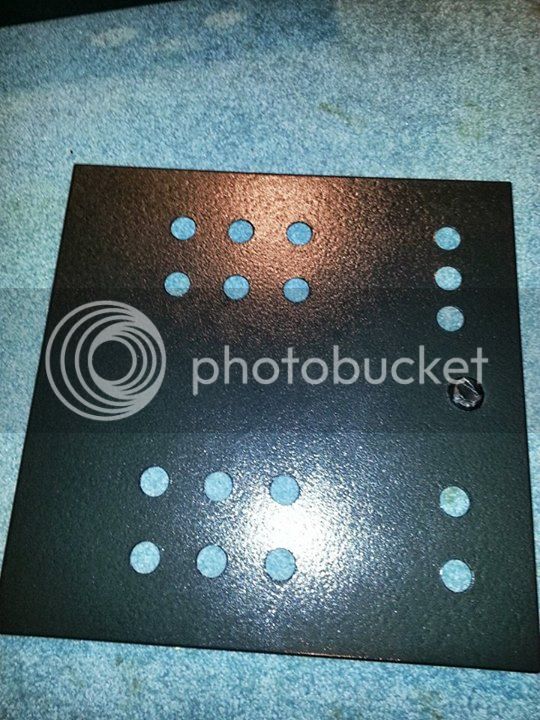
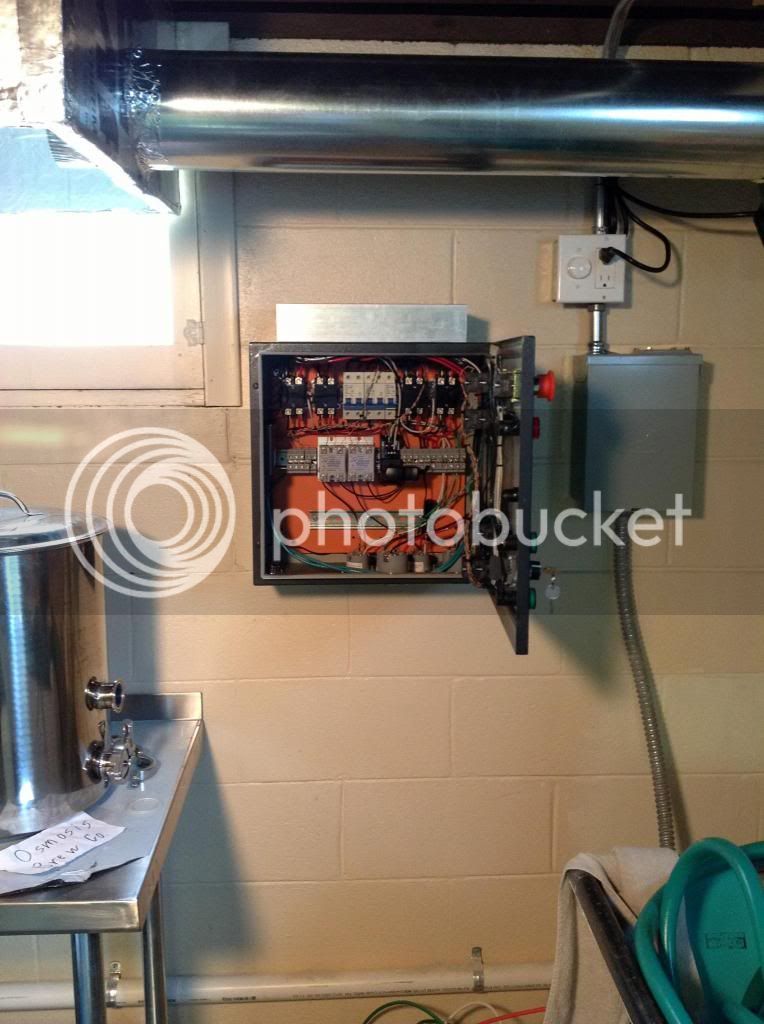
After the infrastructure and pots were completed, I started to work on the control panel. The holes were drilled, then punched with a greenlee 7/8" punch. I can't stress how easy that punch made the job. Highly recommended.
Panel layout mockup:
Holes punched, panel cover painted with a hammer finish:
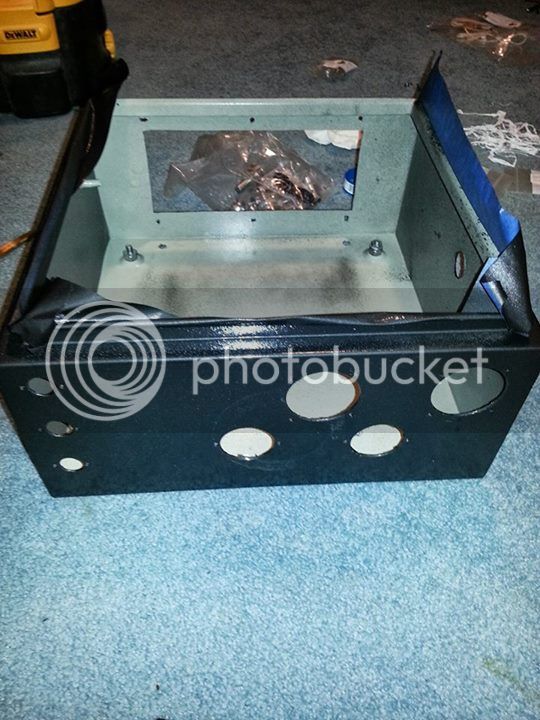
The bottom holes were cut with hole saws and a cordless drill. That was less than ideal. In retrospect, I should have purchased/borrowed a drill press. Not a big problem, but it did skip once and scratch up the bottom of the panel.
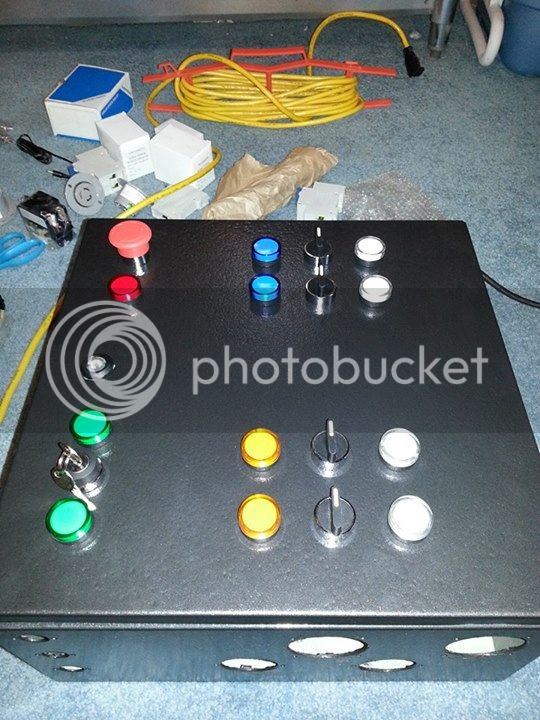
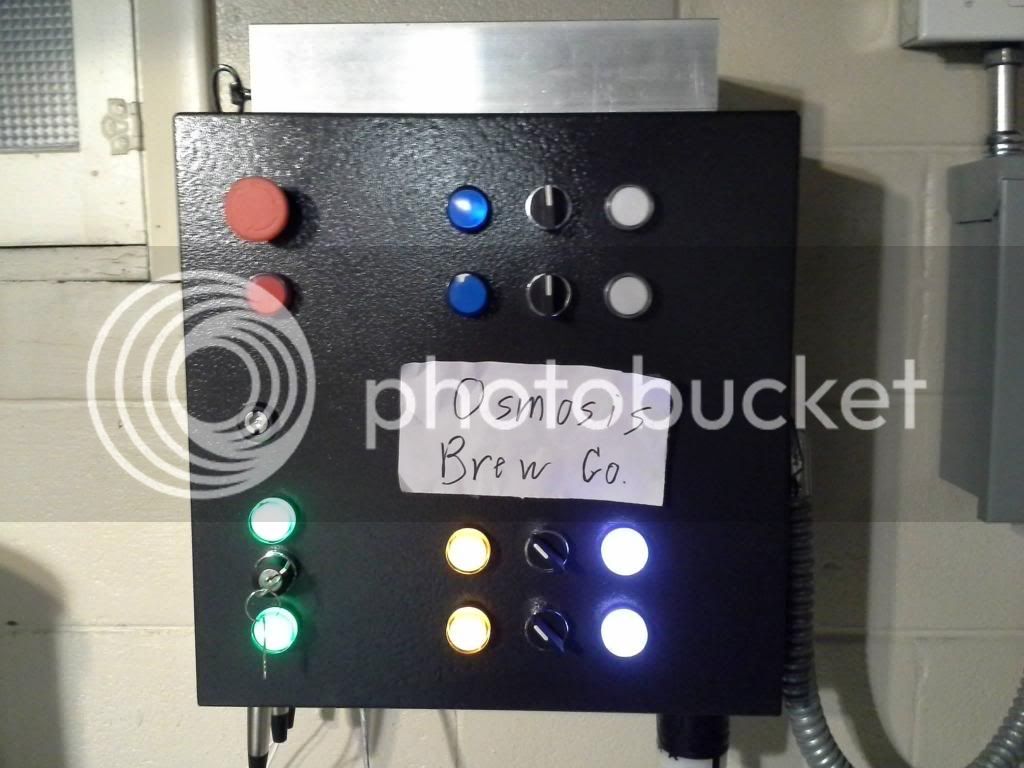
Completed front cover:
Complete bottom: (Mostly completed actually. I added an ethernet jack after this picture)
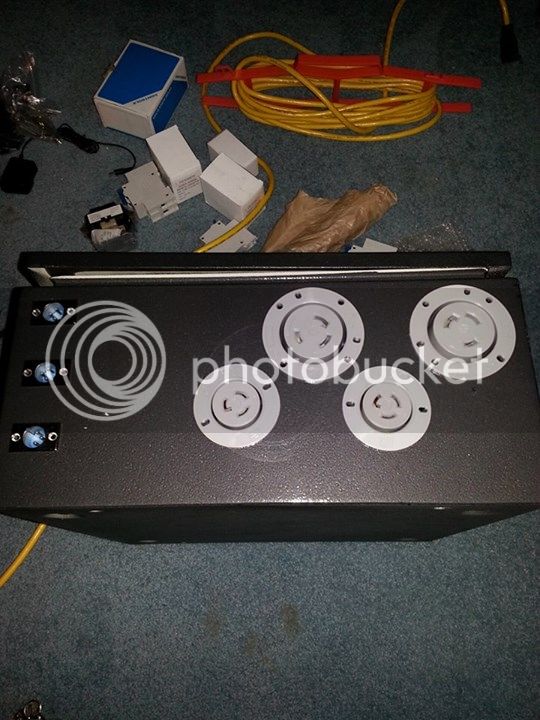
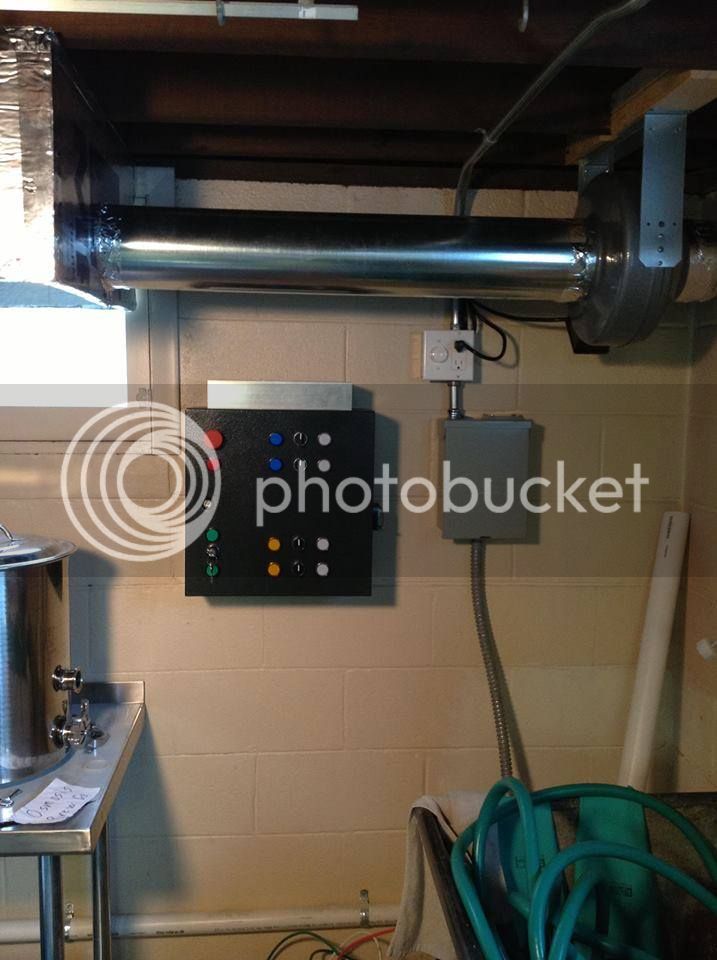
I had a spare 50 amp breaker in the panel, but GFCI was needed. I opted for the spa panel as seen to the right of the control panel. The additional benefit of the spa panel is that I can remove my entire system if I ever move.
The control panel components were purchased from ebrewsupply and the wiring resembles his 50 amp product.
It works! Sort of... Seems that my wiring isn't not quite right. I am unable to control the elements independently.
I did a test brew for the boil. The mash was done in a cooler due to concerns that the elements were not 100% yet.
Lessons learned:
1. The vortex exhaust fan works like a charm. A bit noisy when it's run at 100%.
2. My foam insulation board exhaust hood works great. No condensation at all. We'll see if that changes when winter arrives.
3. As expected 4500W elements are overkill for 5 gallon batches. I ran them at 100% when heating. 50% almost caused a boil over. At 30%, I had a nice rolling boil.
Thanks to Kal, PJ and many more here.
Cheers
I knew that I would not be expanding from 5 gallon batches since I'm the only beer drinker. I spent some time considering my brew process and drew up requirements.
1. A stationary 5 gallon system
2. Eliminate heavy lifting as much as possible
3. Clean in place
4. Brew back to back batches
5. Repeatable process, minimize human error
Based on the requirements, I knew that I would need a basement, single tier system. 10 gallon pots, ventilation, plumbing and electrical. I also knew that PIDS would not provide the type of experience that I wanted. I started looking at arduinos, the raspberry pi, brewtroller, etc. In the end, I settled on the BCS 460 primarily due to the interface and ease of use.
Over 6-8 months, I slowly gathered the brew pots, chiller, pumps, etc. Most pieces were bought off craigslist or HBT classifieds.
I also knew that I wanted to avoid Kal's weldless design while still being able to remove the elements for cleaning and replacement. Solution: Tri-clamps.
https://www.homebrewtalk.com/f16/lo...-south-chicago-336924/index2.html#post4255187
After researching ventilation and plumbing ideas, I stole Kal's solution for the exhaust fan and faucet.
This is a terrible picture, but you can see the 'ferm chamber' fridge on the left. Laundry sink and faucet on the right.
The thought of drilling holes in the Blichmann pots was terrifying, however, the greenlee step bit made easy work of it. The holes came out pretty clean with very little burr removal needed.
I found weldless connections on Brewers Hardware. The HERMS coil and ball valves were purchased from Stainless brewing.
Temperature probes were added to the HLT and HERMS coils outputs. I need to do some testing to determine if I want the HERMS to flow from the top or bottom. For now, the output will be the top port.
After the infrastructure and pots were completed, I started to work on the control panel. The holes were drilled, then punched with a greenlee 7/8" punch. I can't stress how easy that punch made the job. Highly recommended.
Panel layout mockup:
Holes punched, panel cover painted with a hammer finish:
The bottom holes were cut with hole saws and a cordless drill. That was less than ideal. In retrospect, I should have purchased/borrowed a drill press. Not a big problem, but it did skip once and scratch up the bottom of the panel.
Completed front cover:
Complete bottom: (Mostly completed actually. I added an ethernet jack after this picture)
I had a spare 50 amp breaker in the panel, but GFCI was needed. I opted for the spa panel as seen to the right of the control panel. The additional benefit of the spa panel is that I can remove my entire system if I ever move.
The control panel components were purchased from ebrewsupply and the wiring resembles his 50 amp product.
It works! Sort of... Seems that my wiring isn't not quite right. I am unable to control the elements independently.
I did a test brew for the boil. The mash was done in a cooler due to concerns that the elements were not 100% yet.
Lessons learned:
1. The vortex exhaust fan works like a charm. A bit noisy when it's run at 100%.
2. My foam insulation board exhaust hood works great. No condensation at all. We'll see if that changes when winter arrives.
3. As expected 4500W elements are overkill for 5 gallon batches. I ran them at 100% when heating. 50% almost caused a boil over. At 30%, I had a nice rolling boil.
Thanks to Kal, PJ and many more here.
Cheers


![Craft A Brew - Safale S-04 Dry Yeast - Fermentis - English Ale Dry Yeast - For English and American Ales and Hard Apple Ciders - Ingredients for Home Brewing - Beer Making Supplies - [1 Pack]](https://m.media-amazon.com/images/I/41fVGNh6JfL._SL500_.jpg)


