• Please visit and share your knowledge at our sister communities:
  • If you have not, please join our official Homebrewing Facebook Group!

    Homebrewing Facebook Group

Off brand punches

Homebrew Talk

Help Support Homebrew Talk:

This site may earn a commission from merchant affiliate links, including eBay, Amazon, and others.

shoengine

Whale Noun Member
Joined
Mar 21, 2017
Messages
1,729
Reaction score
1,630
Location
Pacific Northwest
Anyone use the offbrand non-Greenlee punches? I'm going to widen three holes on my kettle and at $20 I wonder if it will do the job?

https://www.amazon.com/SagaSave-Sheet-Hexagon-Cutter-Stainless/dp/B09MM49L7M
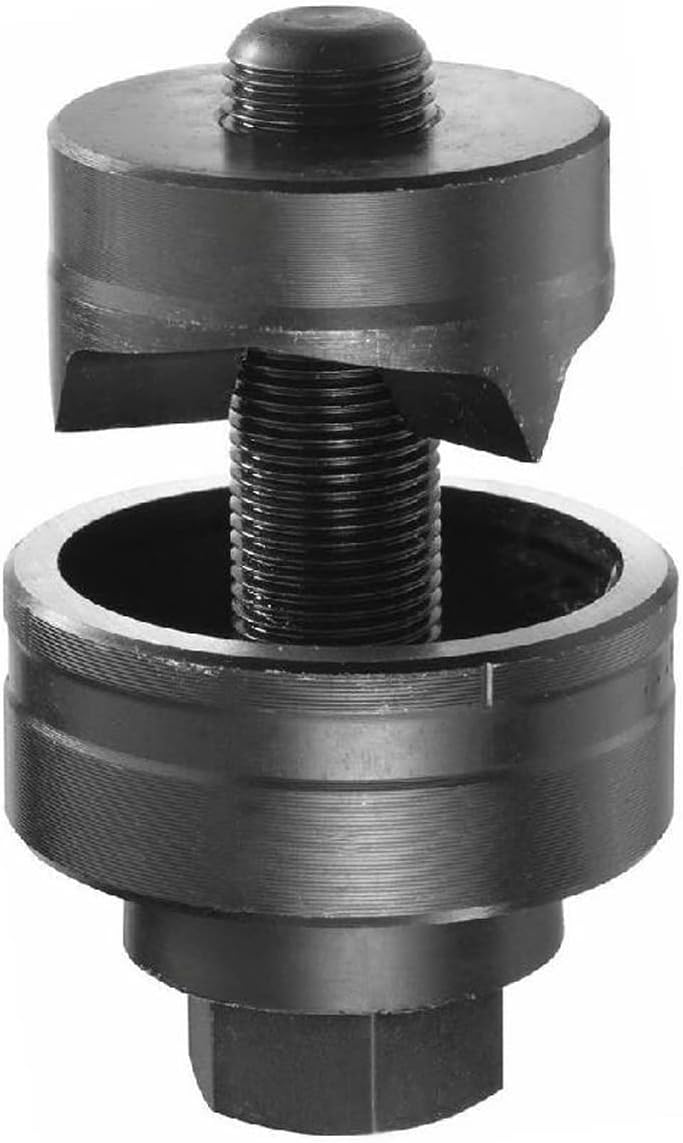
1000006599.jpg


I don't forsee using it more than than three times do longevity isn't an issue.
 
Are you planning to solder afterwards? I think I read something about not using punches in that situation. I'm not 100% sure about that but I think it was something I came across while looking for silver soldering tips and dimpling. [Needs confirmation]

Step bit from Harbor Freight worked fine on my recent BK conversion. A little harder going on my keggle with that bit but still worked. I put in a 1.5" TC and 3 smaller NPT ports using Brewhardware's pull through tool and silver soldering on the pot and then one more 1/2" coupling soldered into my keggle .
 
I haven't had a genuine Greenlee since the 80's but I do have some of those cheap imports and I can say that not all are equal... used with proper lubrication and slow and steady force, they will dull faster and I've likely been lucky so far with the 4 I have that the shank and bolt are properly tempered and haven't stripped with multiple uses. I have the 32mm which is a perfect fit for my leak-free Camco heating elements and though it has dulled some, I expect to get at least another 3-5 uses out of it before it needs sharpening. If it's for a heating element and you can't find a 32mm with mostly decent reviews, I'd go with @Bobby_M 's suggestion and use a step bit or hole saw;
https://www.brewhardware.com/product_p/stepbitlg.htm
https://www.brewhardware.com/product_p/holesaw32.htm
..just my 2-cents
:mug:
 
With a 1-star review rate of 24% ("broke on first use" most common complaint) I'd stay away from those :oops:
Haha, yeah these sorts of things are sometimes a bit dodgy. All probably made in the same factory but different specs for different companies and just sort of a crap shoot like @Broken Crow mentioned.
Are you planning to solder afterwards? I think I read something about not using punches in that situation. I'm not 100% sure about that but I think it was something I came across while looking for silver soldering tips and dimpling. [Needs confirmation]

Step bit from Harbor Freight worked fine on my recent BK conversion. A little harder going on my keggle with that bit but still worked. I put in a 1.5" TC and 3 smaller NPT ports using Brewhardware's pull through tool and silver soldering on the pot and then one more 1/2" coupling soldered into my keggle .
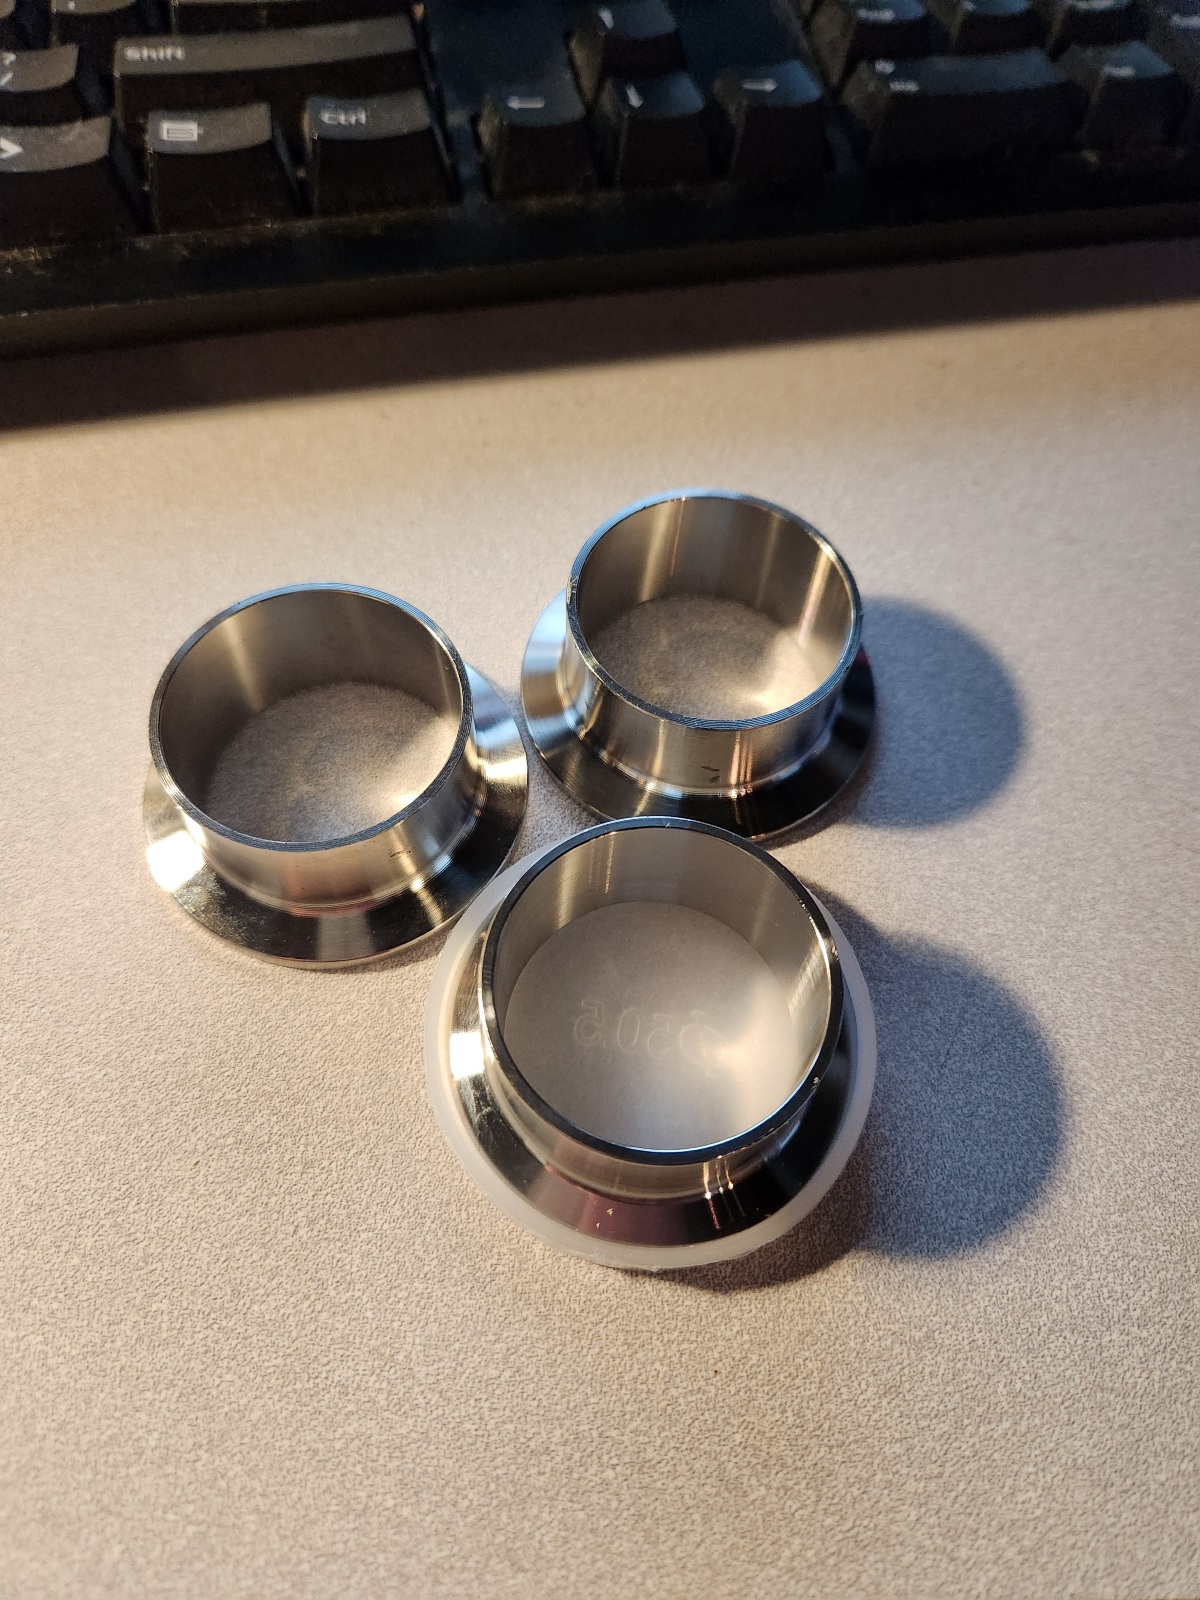
I think it will be TIG welded, but I can't remember what my friend said. His brother and dad are professional welders and can do sanitary. I'm just going to be getting the ferrules and opening up the holes.
If you're not going larger than 1-3/8", a step bit would be my preference for opening a hole up.
1-3/8" is precisely what I am doing. Or something between that and 1-23/64"! My ferrules ID range from 34.6mm to 34.8mm so a step bit at 1-3/8" should be fine.
 
Last edited:
I did use the Harbor Freight Pittsburgh punches to punch 2 holes in my keg hood. But you still need to open a hole big enough to get the punch bolt through. Which I ended up needing a step bit for. I forget which size NPT pipe I needed to fit through but I do know it wasn't the smallest punch I used in the set. The bigger sizes need a bigger starting hole for the bolt.

I think the punch issue as far as the soldering involved potential cracking when dimpling. Some metallurgical reason. I'm not sure of the prep involved before a weld.
 
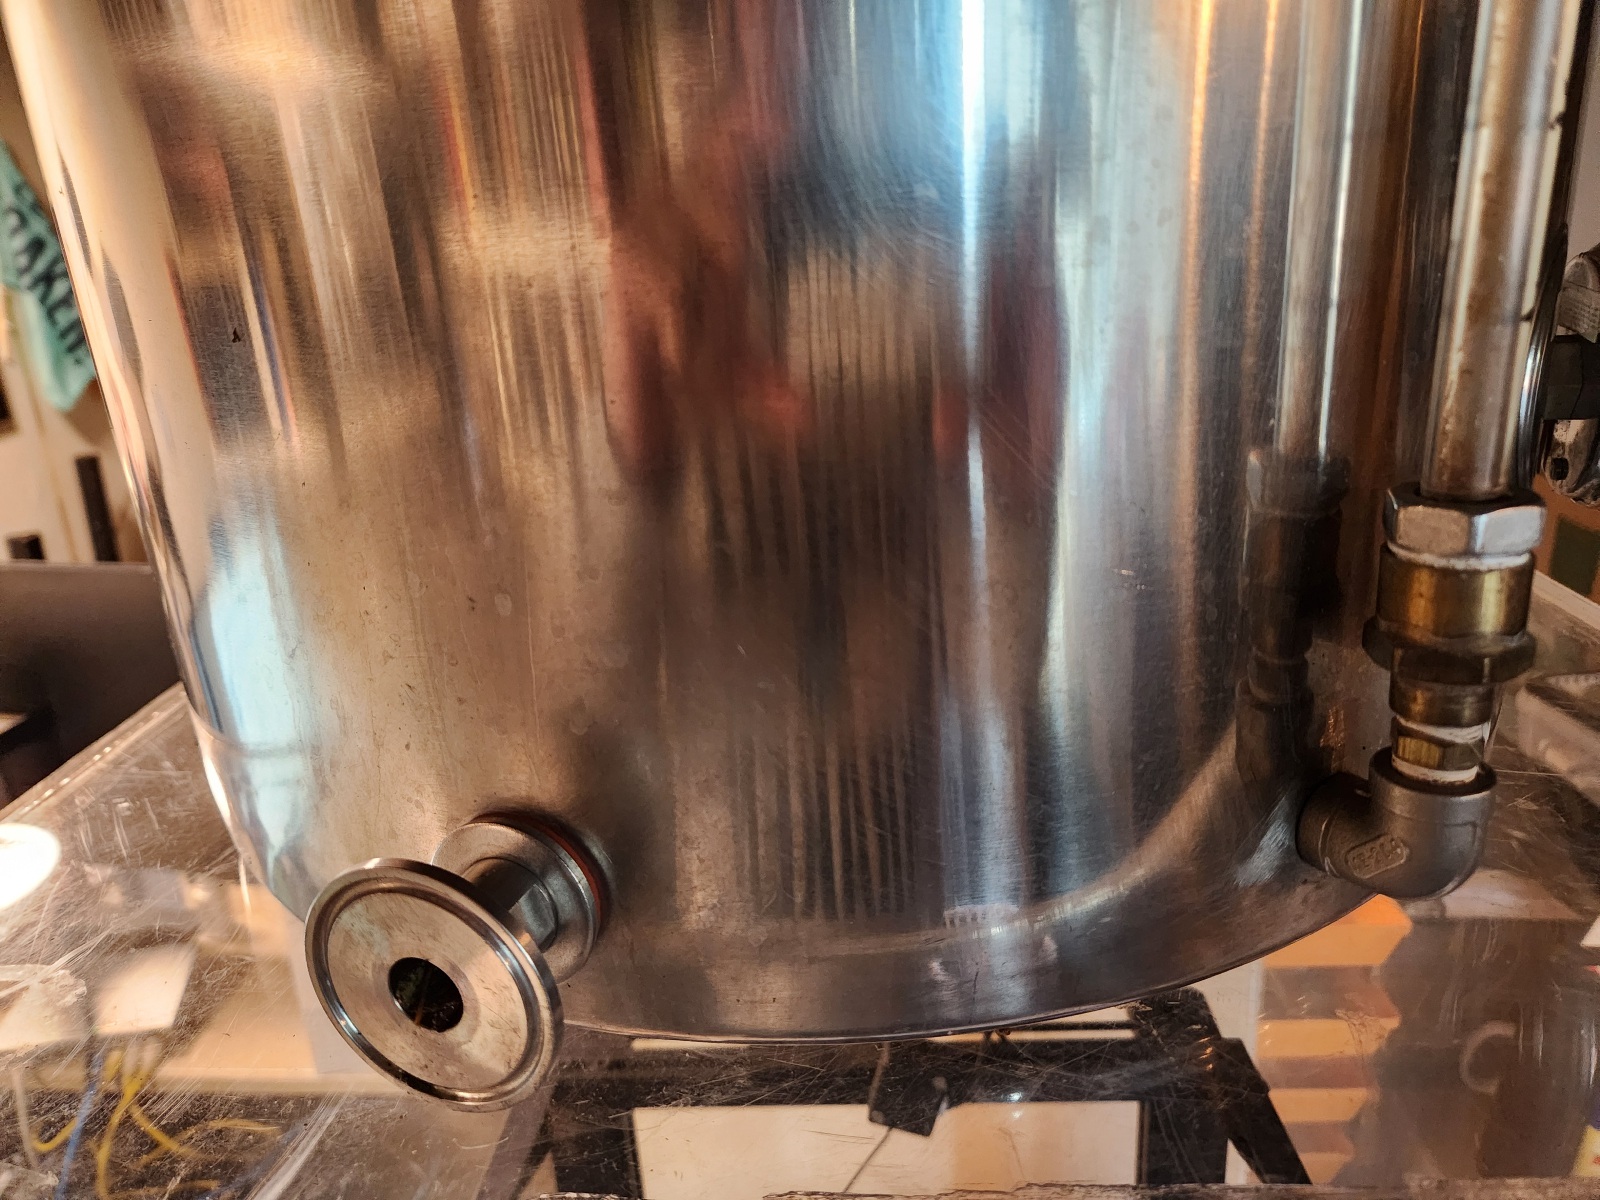
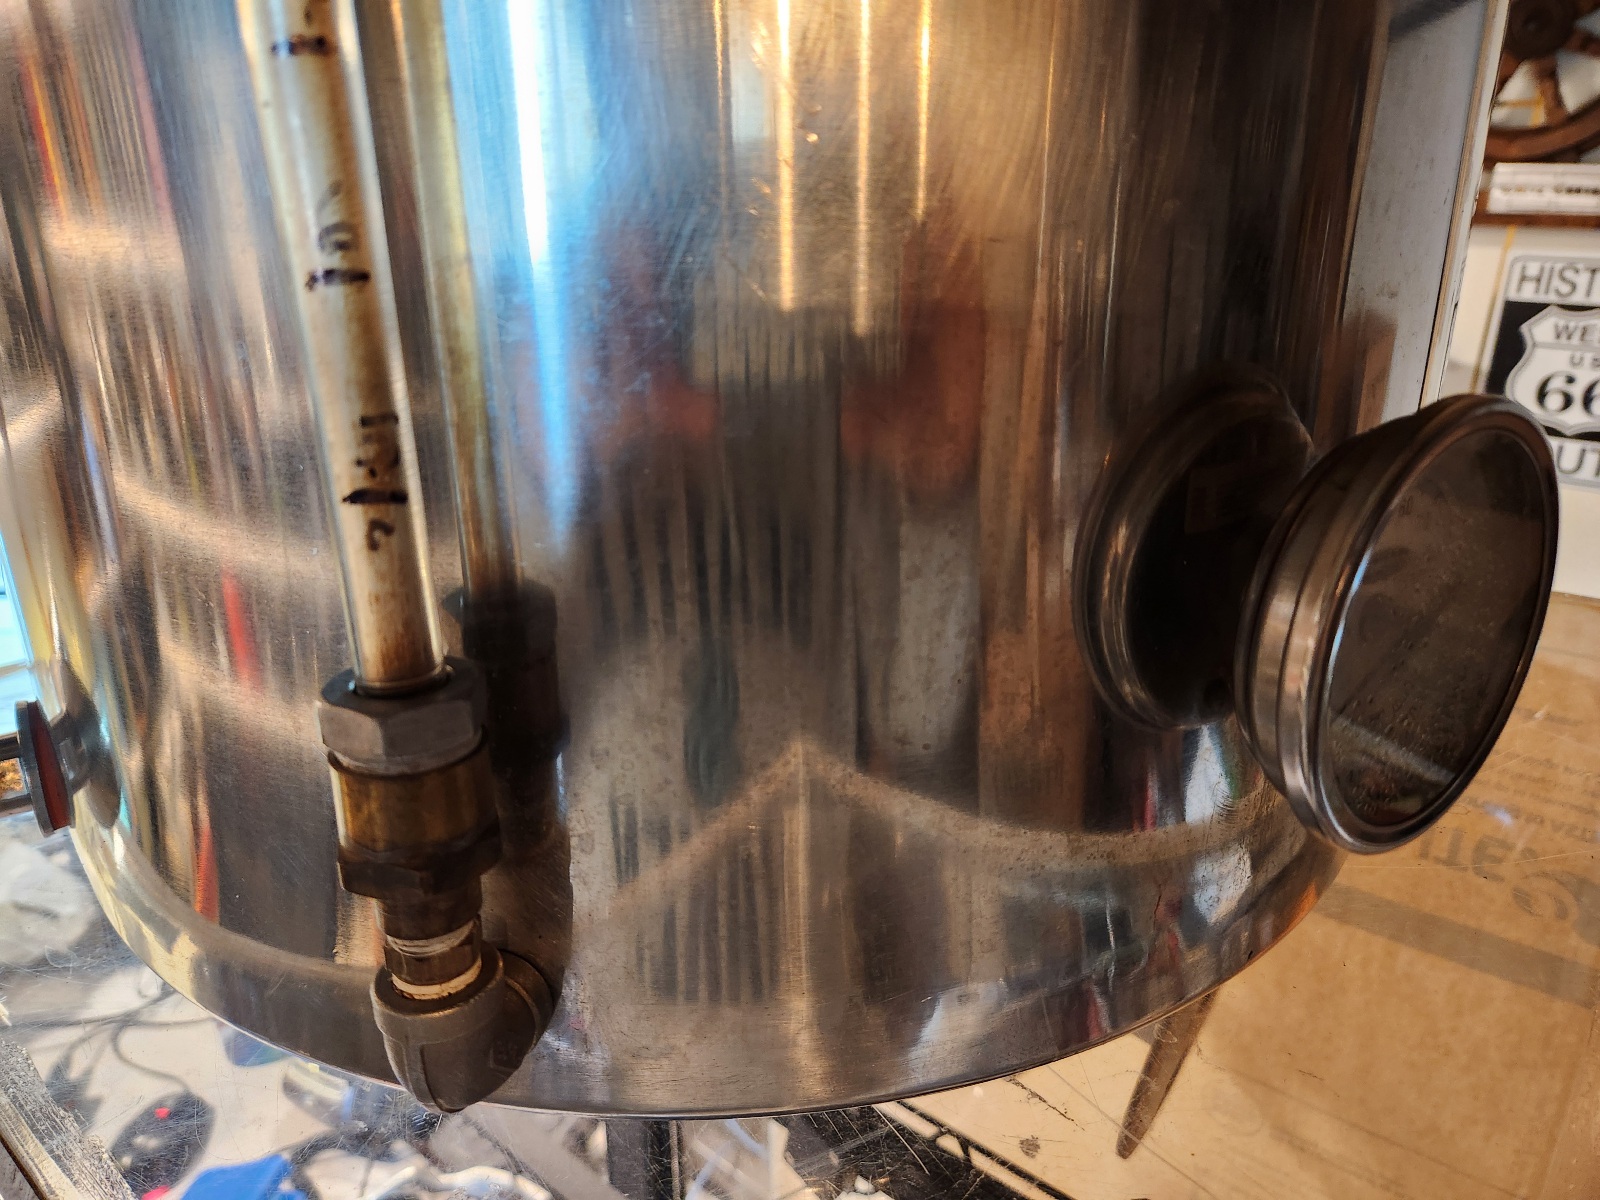
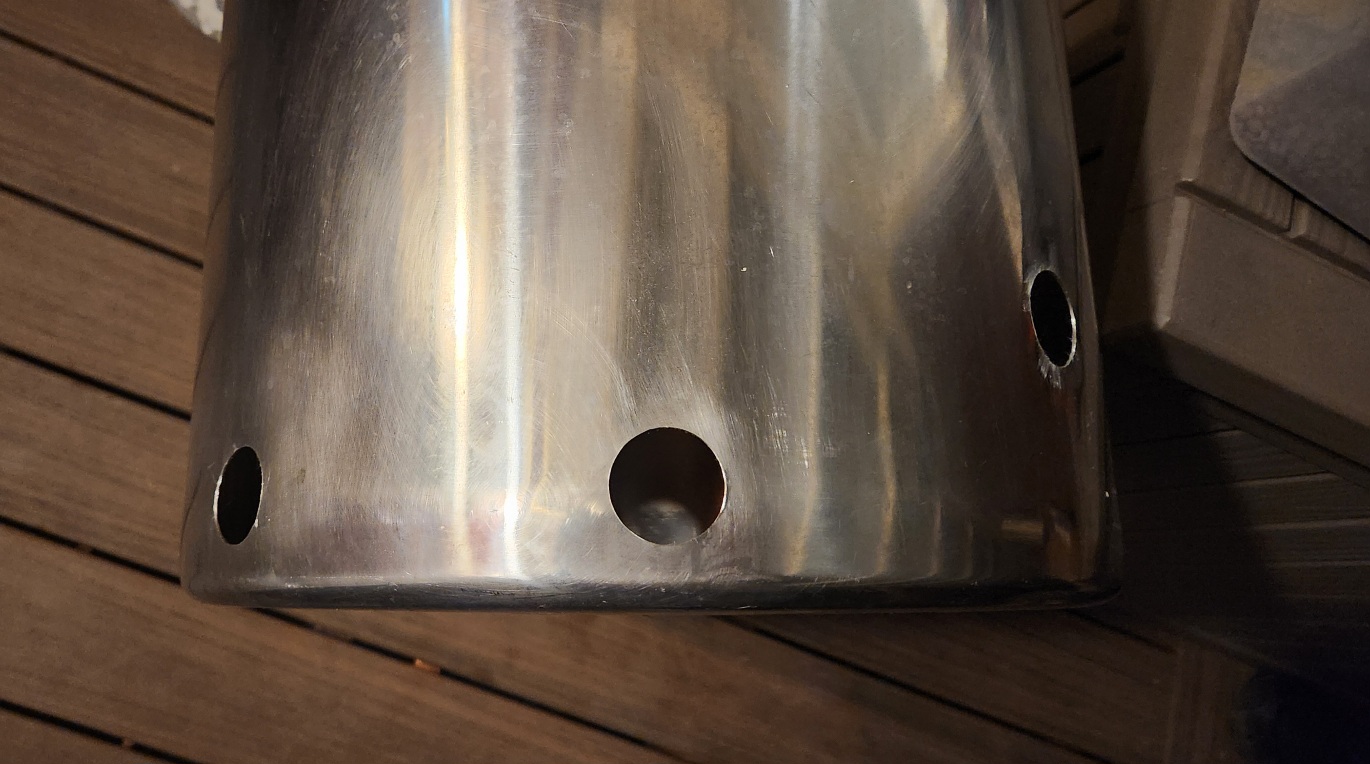
Hard tell without removing the fittings, but I think all of the throughs are larger than 13/16" already aside from the sight glass.

1000006602.jpg


1000006603.jpg


1000006601.jpg
 
And not meaning to go on too much but electrical punches are sized for electrical conduit which is inner diameter based like NPT so the hole made is bigger than the nominal punch size. I think sometimes punches may actually make the hole the size it says on the punch. I also am not 100% confident all electrical punches are sized nominally like I mentioned. I have seen it mentioned here at HBT where people did not get the size hole they were expecting when using electrical punches.
 
Hard tell without removing the fittings, but I think all of the throughs are larger than 13/16" already aside from the sight glass.

View attachment 864138

View attachment 864139


View attachment 864140
13/16" is about the tightest I think for the threads on a 1/2" NPT fitting like a nipple or street elbow. So if you put the hole in for the elbow and were careful about getting a tight fit, it's very likely close to 13/16". Hard to tell what size the TC bulkhead is using or the the thermometer.

I have one 1/2" NPT female bulkhead that needed a larger size hole and I may need to put in a TC flange if I try soldering it. It's likely too big for the 1/2" solderable ports I've used from Brewhardware.

Whether NPT or TC, it's nice to have a soldered or welded port because I break down the vesselsx fittings completely about every 2 years. Getting all the weldless bulkheads back online can be time consuming as far as leaks and fitting orientation. For TC that is much easier since orientation is super quick vs NPT.
 
fwiw, I used a Greenlee 730BB-13/16 punch on my three kettles for all of the 1/2" fittings. Zero slop. The 10th went as easily as the 1st...

Cheers!
 
fwiw, I used a Greenlee 730BB-13/16 punch on my three kettles for all of the 1/2" fittings. Zero slop. The 10th went as easily as the 1st...

Cheers!
I'm not sure about the sizes on the Pittsburgh set as I only used it for pipe and conduit. Nothing is mentioned about the actual hole size in the short manual included but the set uses the nominal inner diameter NPT and conduit size for the punches. I'd bet the 1/2" makes a 7/8" hole. I've only used it for electrical a couple times and maybe one time on the keggle when I added a drain valve for my hopstopper.
https://www.harborfreight.com/knockout-punch-kit-10-piece-60575.html
 
Whether NPT or TC, it's nice to have a soldered or welded port because I break down the vesselsx fittings completely about every 2 years. Getting all the weldless bulkheads back online can be time consuming as far as leaks and fitting orientation. For TC that is much easier since orientation is super quick vs NPT.
100%. The sightglass for me is the worst, and with that elbow it is almost impossible to thoroughly clean while on the kettle. Eliminating the sight glass is a huge benefit for me, as well as the other two weldless fittings. I'm ordering a rotatable racking arm and false bottom from brewhardware to complete the buildout. All in all with the free labor this is going to cost $650 to go electric. Ouch! Hope it is worth the cost for quality of life.

Holes are 13/16 and 1/2.
Electric does add additional costs. A burner and the element are comparable but then a controller is needed of some type. I definitely recommend the TC element and your TC changes will be easier to clean, remove, and put back on. I was brewing outside with propane before converting so it's nice being inside on cold days!

Just to mention in case TC isn't an option for others, Bobby_M has a nice suggestion at Brewhardware about using an NPT half coupling (1/4" or 1/2") on thermometers and t-probes on the the inside of the vessel for weldless situations. This leaves a smoother inside fitting with fewer if any threads showing. It depends on how far the male fitting seats into the half-coupling. Soldering it leaves most of the fitting outside the pot and a smooth end on the inside, welding would too. I soldered one to my keggle BK for a 1/2" t-probe, which i put in my old site glass hole. I went with a weldless flex loop site glass to replace my old site glass, as I really wanted the two point attachment. The old one was on a single elbow like yours but was glass. This new one has special fittings at the elbow which are 1/4" so I needed new holes. I put butterfly clamps on the tubing, so probably a little easier to clean than the old one and definitely going to be less problematic when cleaning the whole BK since it attaches closer and at two points. Your TC one will be easy removal and to clean (no threads) and have a solid welded connection.
 
Watching with great interest. The number of people who have a friend that assured them they were capable of welding stainless and it turned out they had zero ability to do it is off the charts. I really hope your hookup is that rare exception. Ask how he plans to shield the back of the weld like you're just making conversation. If he says "what?", run.
 
Watching with great interest. The number of people who have a friend that assured them they were capable of welding stainless and it turned out they had zero ability to do it is off the charts. I really hope your hookup is that rare exception. Ask how he plans to shield the back of the weld like you're just making conversation. If he says "what?", run.
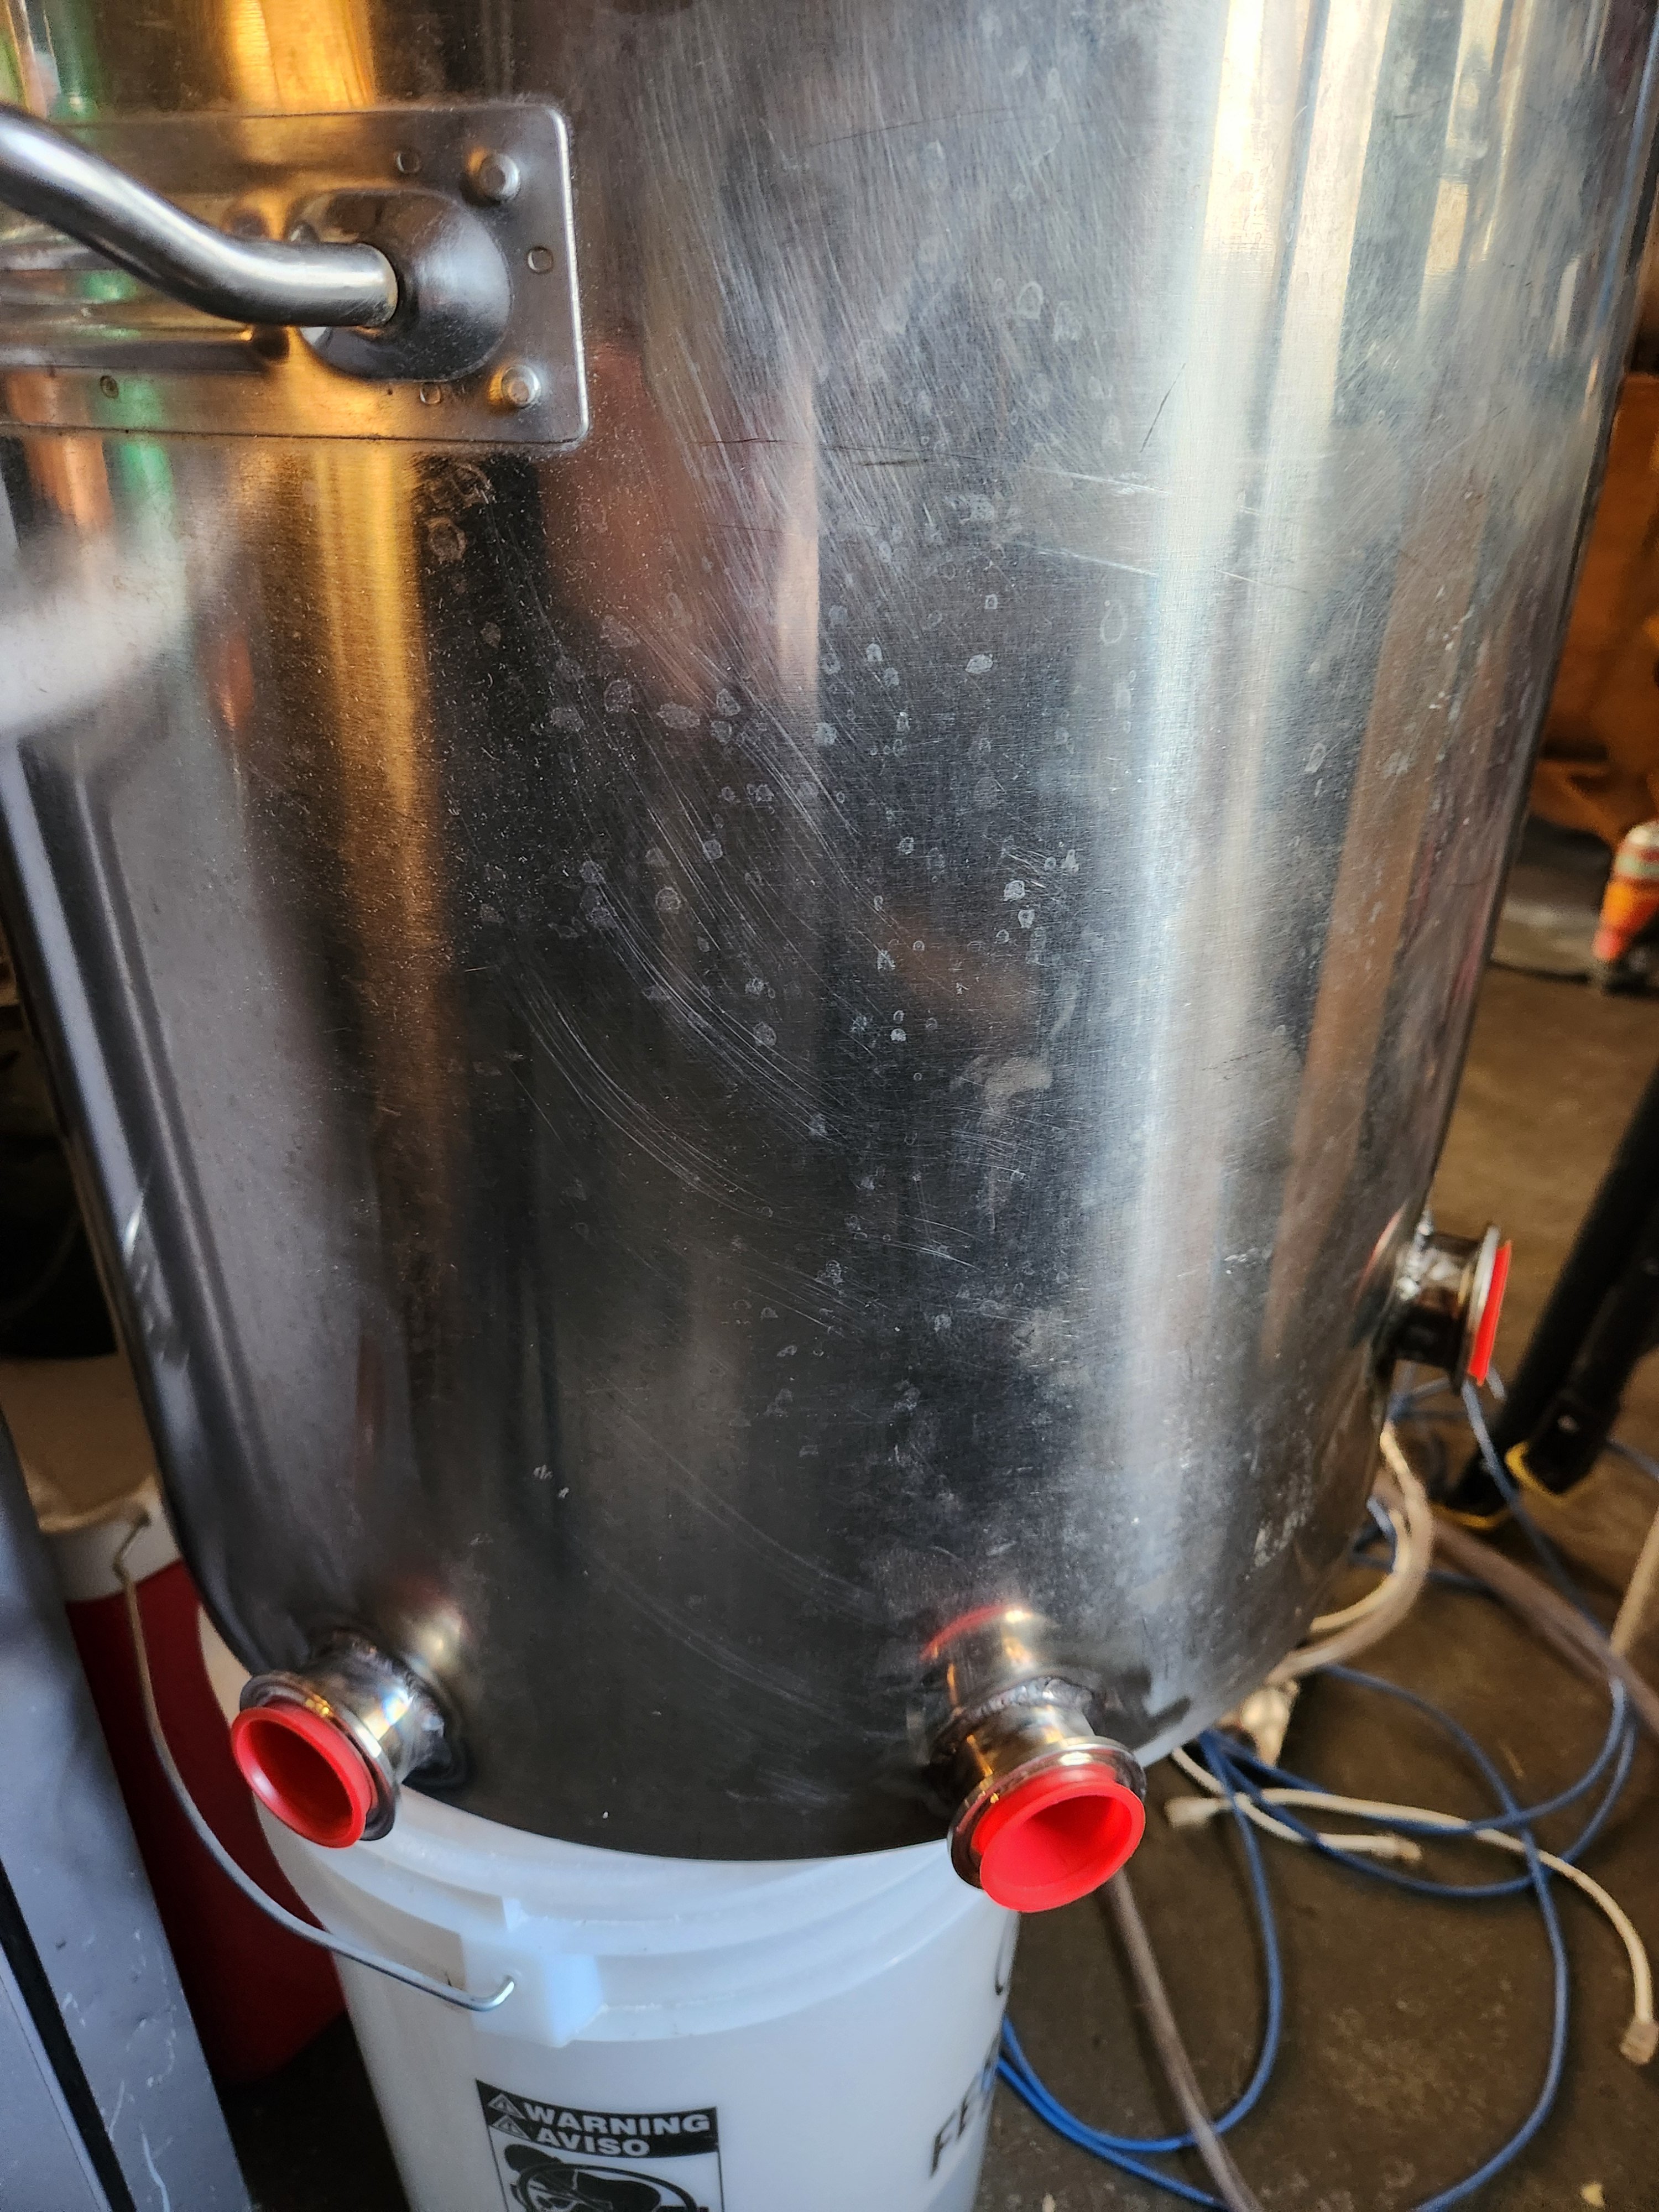
He said it world be challenging but doable. I'll provide pics after the fact :yes:
 
1000007020.jpg


@Bobby_M Roast at your convenience. He did end up poking a hole through on the high weld, but patched it acceptably.

Going forward, I want to re-passivate it, after a thorough delousing, and for whatever reason my brain has a hard time wrapping around acid concentrations. From my calculations, I should need 22675 ml of water for my 907 g of citric acid to make a 4% solution using the w/v method. Does that look correct?

My old thermometer fitting was somewhere around 3-4 gallons, with the first measurement line at five gallons. The six gallons should be able to reach all of the areas touched by the torch and the subsequent grinding. From one source the suggestion is 140 - 160 minutes at 4%. Thoughts?
 
Last edited:
25x the CA weight for the water is certainly close enough, but to be dead-nuts 4% solution you'd use 21768 ml of water.

fwiw, when I do a CA treatment on various SS equipment (most frequently my Hopstopper V2) I use an 8% solution at 150°F for an hour...

Cheers!
 
25x the CA weight for the water is certainly close enough, but to be dead-nuts 4% solution you'd use 21768 ml of water.

fwiw, when I do a CA treatment on various SS equipment (most frequently my Hopstopper V2) I use an 8% solution at 150°F for an hour...

Cheers!
Thanks @day_trippr How did you choose 8%? I could certainly go higher but I'd need another ~1000 g of CA.
 
4% solution citric acid by weight. My simple rule of thumb is 1LB of citric acid powder to 3 gallons of water. Close enough. Mid 100's F for an hour. Rinse, air dry. If you can source a drill mountable stainless steel wire wheel, you can get a head start before you let the acid do its work.

It's not that bad. It's kind of right down the middle in the range of the worst and best attempts I've seen. I think the main issue is that a pass was made from the inside without shielding on the outside. It's either that or the gas coverage was really poor.
1738684717486.png


Good argon coverage
1738686207012.png
 
How did you choose 8%?
Prior research on passivation of SS using CA suggested a range from 4% to 8%.
Also, I actually let it rip for as long as it takes, even if re-heating is necessary, but if I stay on top of things and not let rust build up, an hour is plenty...

Cheers! ("Gimme max power!" 😁)
 
4% solution citric acid by weight. My simple rule of thumb is 1LB of citric acid powder to 3 gallons of water. Close enough. Mid 100's F for an hour. Rinse, air dry. If you can source a drill mountable stainless steel wire wheel, you can get a head start before you let the acid do its work.

It's not that bad. It's kind of right down the middle in the range of the worst and best attempts I've seen. I think the main issue is that a pass was made from the inside without shielding on the outside. It's either that or the gas coverage was really poor.
View attachment 868294

Good argon coverage
View attachment 868295
Thanks for the comparison! I can definitely see the difference.
 
Man, some of those holes are super low on the sidewall.
Hopefully fitting valves and dip tubes isn't going to be a challenge.

Cheers!
There is one benefit to having the ferrules so low: false bottom placement. My standoffs are only 2.25" off the bottom which means only 1.5 gal won't be in direct contact with the grain (although I will be recirculating).


1000007172.jpg


Gotta trim a quarter inch or so off the pickup tube but the kettle is just about dialed in!
 

Latest posts

Back
Top